Derek Cohen (Perth Oz)
Established Member
Well I finished painting today. While I was busy I had time to mull over a design for a shooting board fence. Some of you may have seen the recent fence I built, modelled after the Stanley #52 (thread is here: http://www.woodcentral.com/cgi-bin/handtools.pl/page/1/md/read/id/145698/sbj/son-of-stanley-52/). I thought this one deserved a fresh thread as it is a new design.
The design was inspired by a question I was asked on the Ubeaut forum (where I offered to make up a few fences for forum members) - could I make a left-handed version? My first response was to say 'yes' and consider a simple mirror image of the RH model. But I got to thinking about this while painting, and I had this idea for a combined model. I was quite excited about this design, and managed to make first a prototype, then just squeezed in a preproduction version before I was called for dinner.
I had second thoughts about making a fence with more than 45 degrees and 90 degrees. The times when other angles may be used is very infrequent. More useful would be the ability to shoot in both directions, which is important in mitred joints, such as picture frames.
So here is what I came up with. I call it the Carousel Shooting Board Fence as it is based on a circle. It has been tested with vigour as I was concerned that heavy use may move the fence. But it did not - the fence is very solid.
Note that this is a completed version, but it is on a very basic shooting board base. As you will see, there are a few options here, all up to the user.
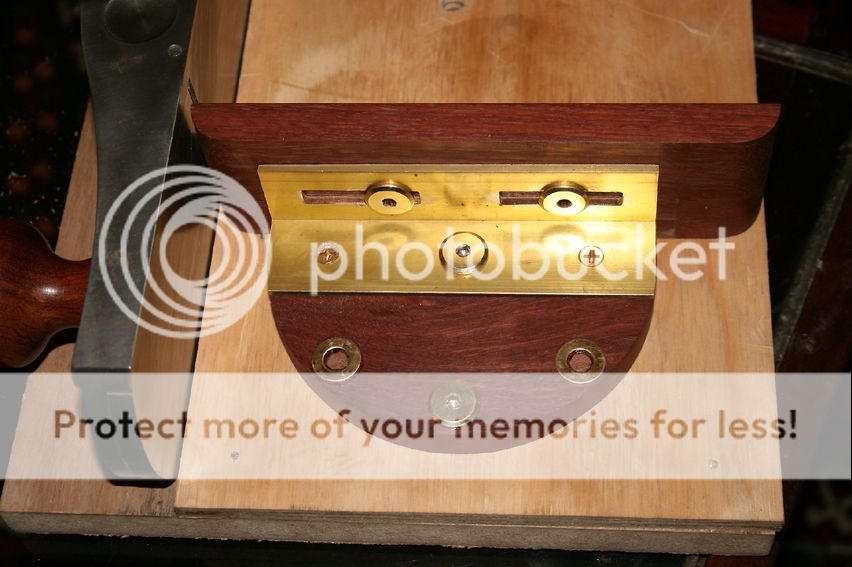
The fence set for a square cut ...

Dimensions: The fence is 7 1/2" wide and 4" deep. (Note that I am using on old subfence on this preproduction version. The eagle-eyed will note the unevenly set fence bolts)
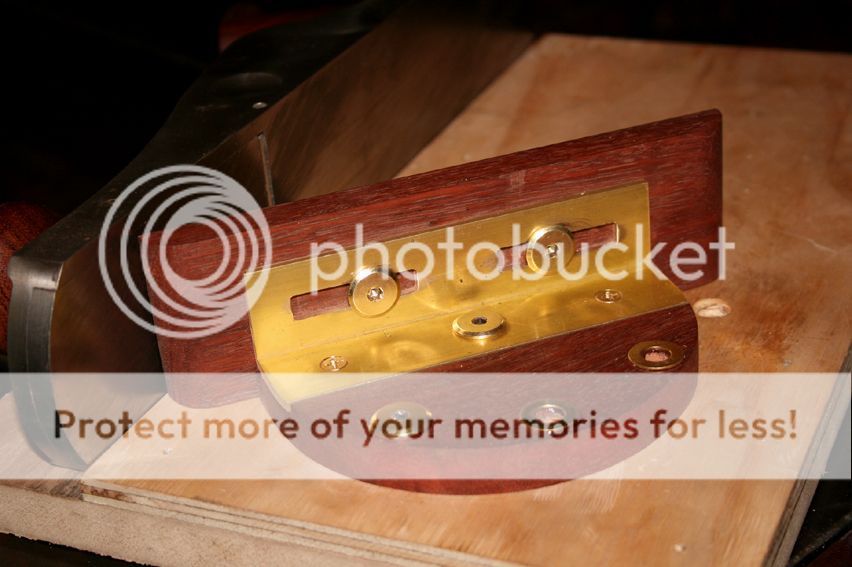
Here is the mitre setting ...

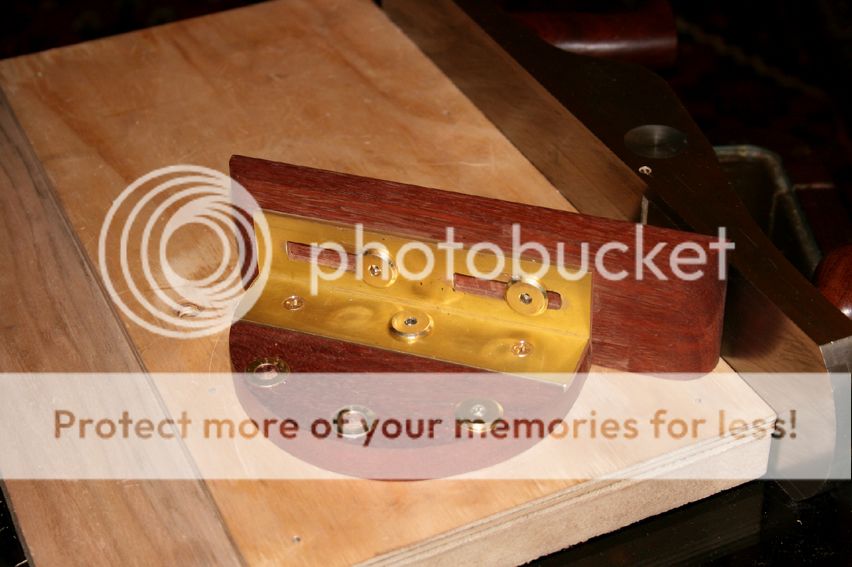
If all you want is a standard shooting board, then just stop at this point. However what the fence has designed into it is the facility to add a second runway (I did not have a base with then so you see a mock up below). Now you can either use it left-handed or you can swing the fence around so that you may shoot a joining mitre ...

Installation is similar to the #52 version - requires drilling two holes and using two very simple set up tools. I will have pictorial up on my website shortly for those wishing to make their own.
Regards from Perth
Derek
The design was inspired by a question I was asked on the Ubeaut forum (where I offered to make up a few fences for forum members) - could I make a left-handed version? My first response was to say 'yes' and consider a simple mirror image of the RH model. But I got to thinking about this while painting, and I had this idea for a combined model. I was quite excited about this design, and managed to make first a prototype, then just squeezed in a preproduction version before I was called for dinner.
I had second thoughts about making a fence with more than 45 degrees and 90 degrees. The times when other angles may be used is very infrequent. More useful would be the ability to shoot in both directions, which is important in mitred joints, such as picture frames.
So here is what I came up with. I call it the Carousel Shooting Board Fence as it is based on a circle. It has been tested with vigour as I was concerned that heavy use may move the fence. But it did not - the fence is very solid.
Note that this is a completed version, but it is on a very basic shooting board base. As you will see, there are a few options here, all up to the user.
The fence set for a square cut ...

Dimensions: The fence is 7 1/2" wide and 4" deep. (Note that I am using on old subfence on this preproduction version. The eagle-eyed will note the unevenly set fence bolts)
Here is the mitre setting ...

If all you want is a standard shooting board, then just stop at this point. However what the fence has designed into it is the facility to add a second runway (I did not have a base with then so you see a mock up below). Now you can either use it left-handed or you can swing the fence around so that you may shoot a joining mitre ...

Installation is similar to the #52 version - requires drilling two holes and using two very simple set up tools. I will have pictorial up on my website shortly for those wishing to make their own.
Regards from Perth
Derek


