Building the Lingerie Chest

UKworkshop.co.uk

Help Support UKworkshop.co.uk:

This site may earn a commission from merchant affiliate links, including eBay, Amazon, and others.
He's just so strong. Look at his illustrations too. He was in the fine arts program at RISD and Frid made him get involved with furniture. The guy is shot full of talent.
 
I look forward to your next installment Derek, what I find most impressive, apart from the work itself of course, is your enthusiasm and willingness to share your experiences and learning on the forum.


Anyways, thanks for the update and good luck with finishing the mitre saw build

David
 
It's been at least a month since I managed time on the Lingerie Chest. Found some time today. It seems to take forever to get the rhythm back.

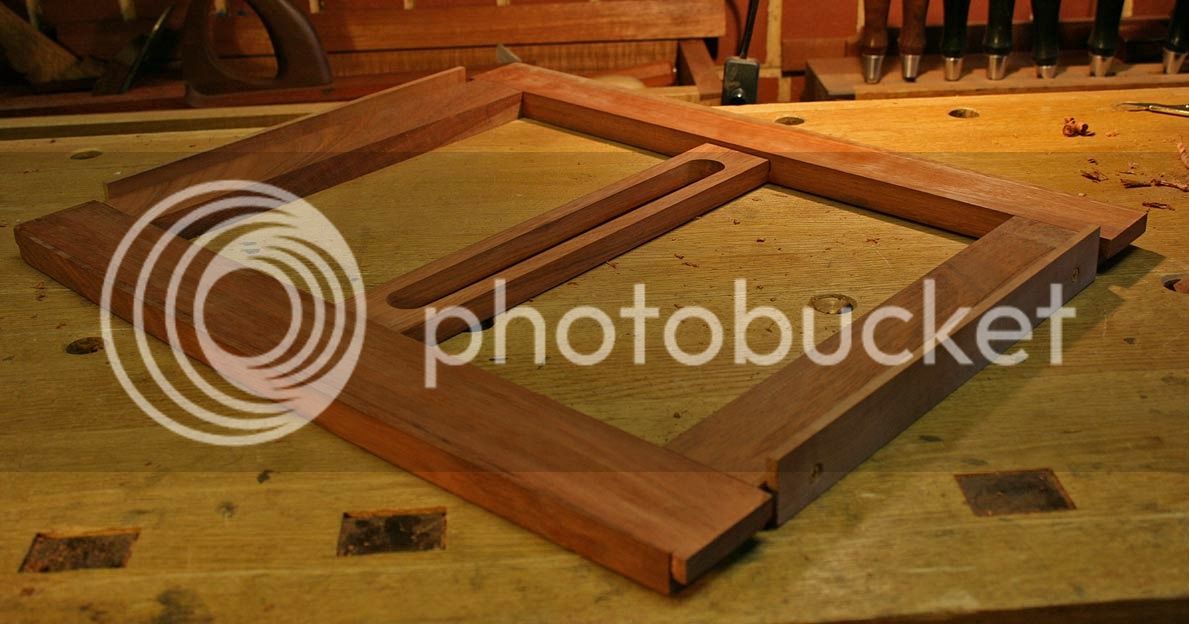
We left off last time with the sliding mortice sockets installed. These had been built in one section (a "fillet" - I did not know what else to call it), which was split into two parts, one for the rear and another for the front of the carcase. This was to ensure that they were both parallel and coplanar in this curved sided chest ...

TheProofOfThePudding_html_m18de464a.jpg


The front and rear drawer blades were fitted ...

TheProofOfThePudding_html_m62cac893.jpg


Today every was removed ..

1a_zpsnuvdaiav.jpg


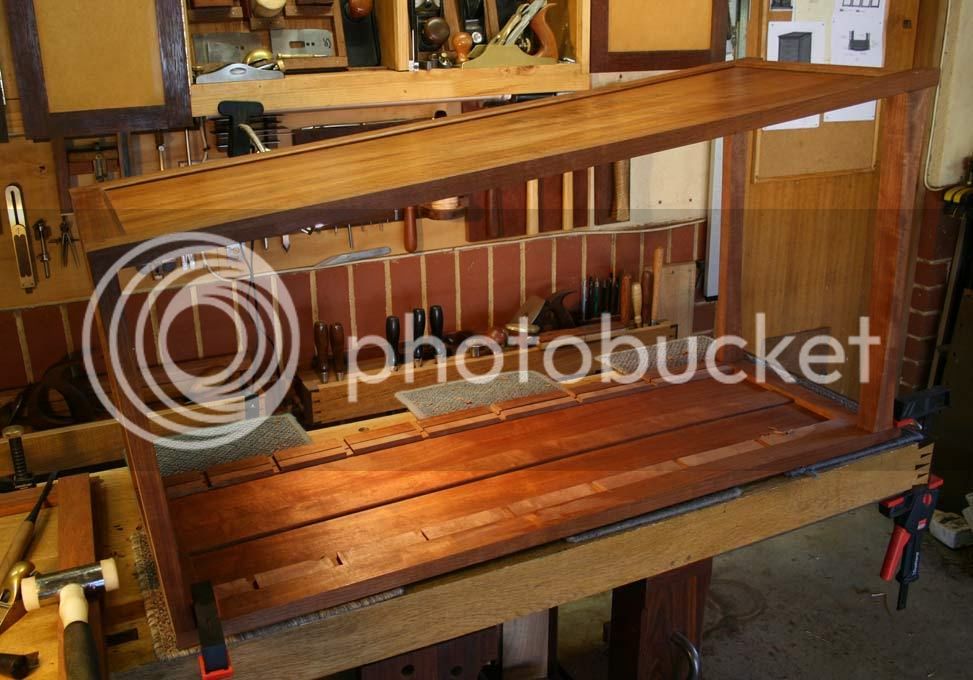
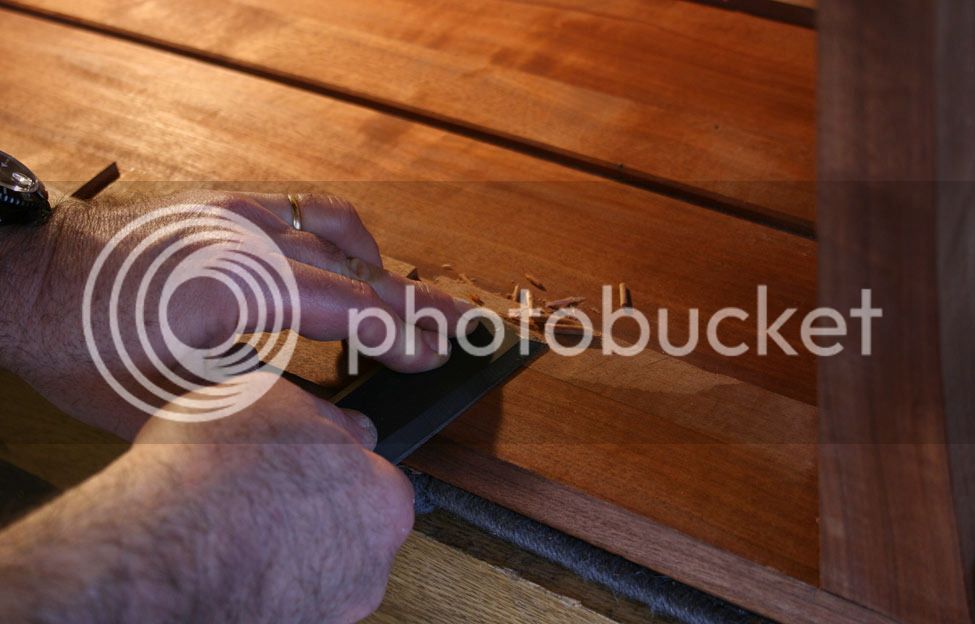
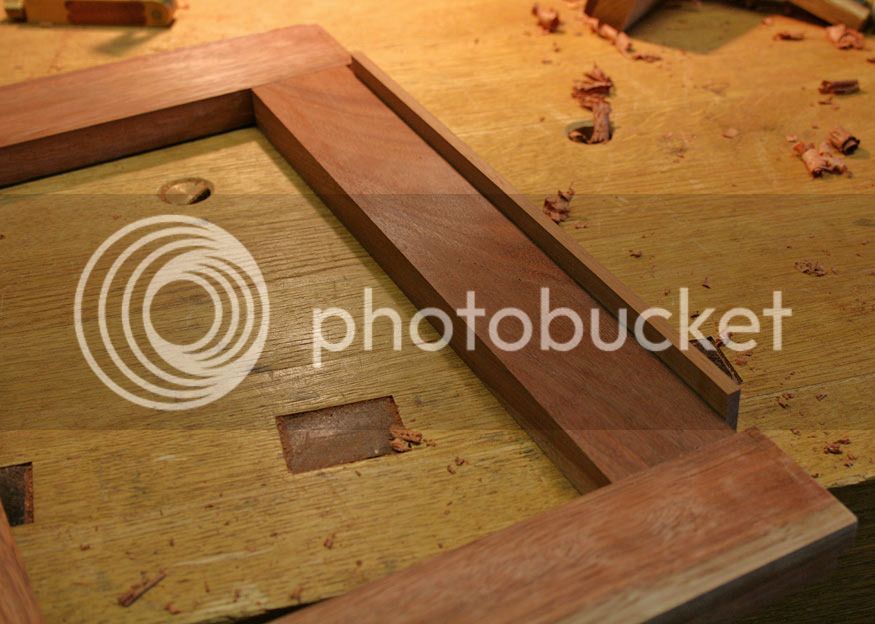
The first task was to ensure that there were no sections of the fillet that were higher than the sides of the carcase (otherwise the drawers would not be flush with the sides). These were pared down ..

2a_zpsq9fxq4w6.jpg


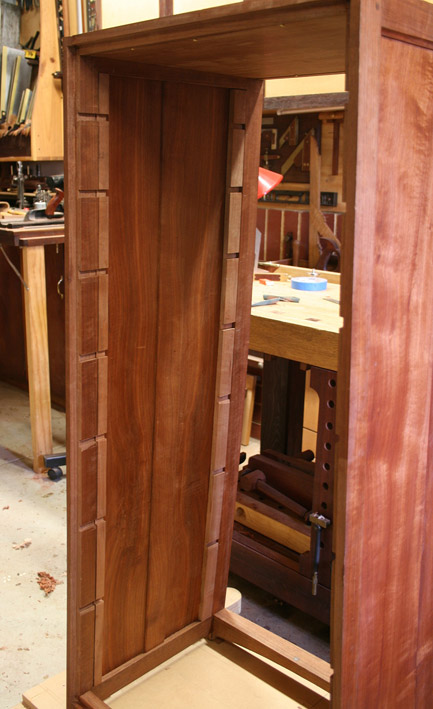
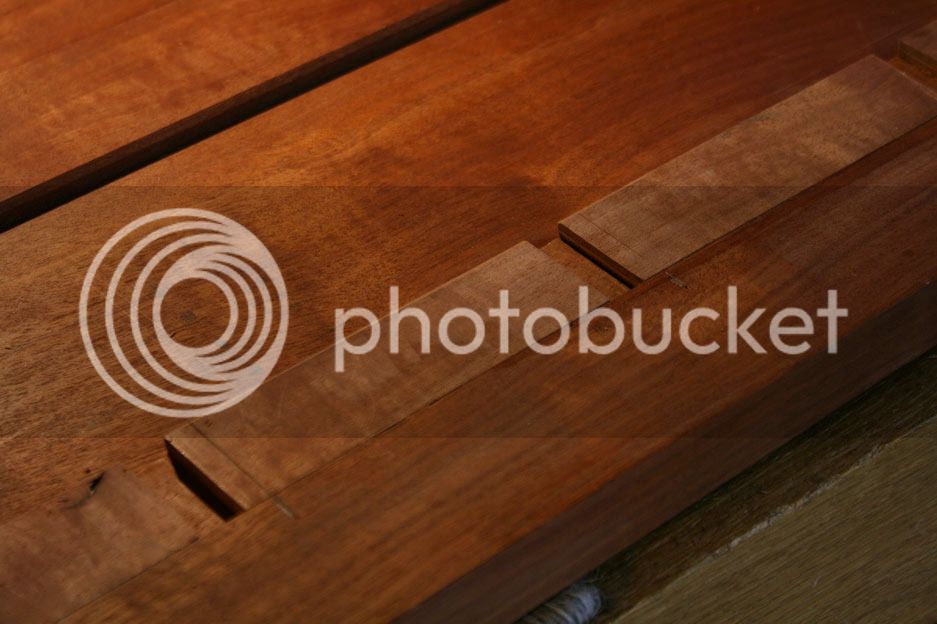
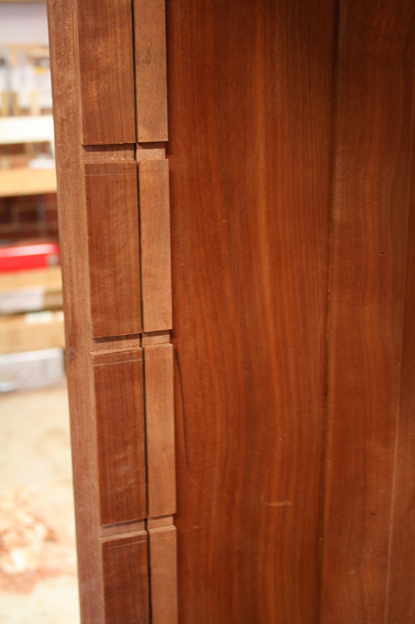
The dovetails in the fillets needed to be extended into the sides of the carcase ...

4a_zps0nkfamnn.jpg


... by 20mm (this will leave space for a 22mm thick drawer front and a shadow front edge). The fillets were glued onto the panel - any movement in the floating panel will be towards the rear, and allowance for this is made in that area. The extention of the sliding dovetails would solidify the structure at the front ...

6a_zps8pqmsn7m.jpg


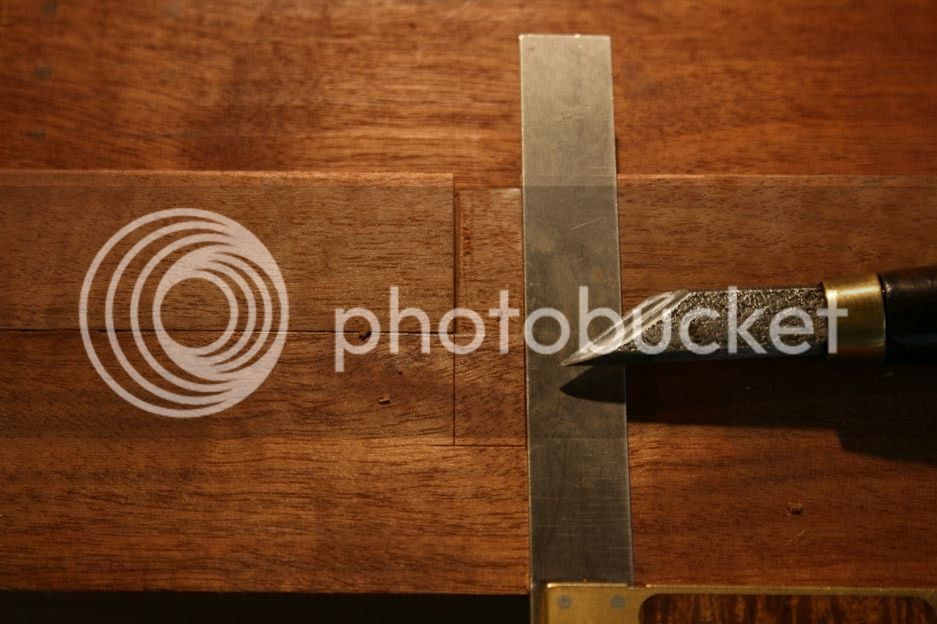
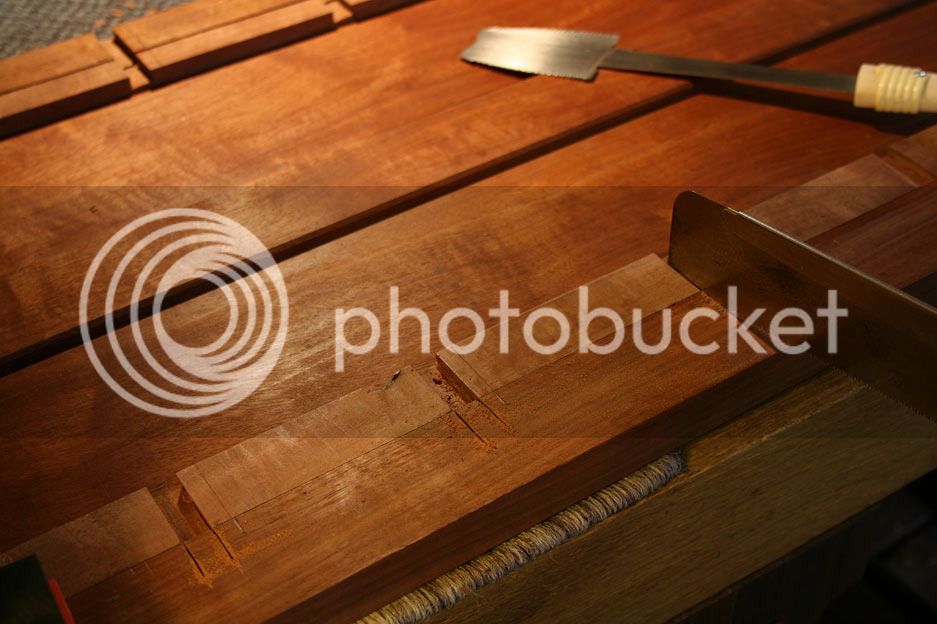
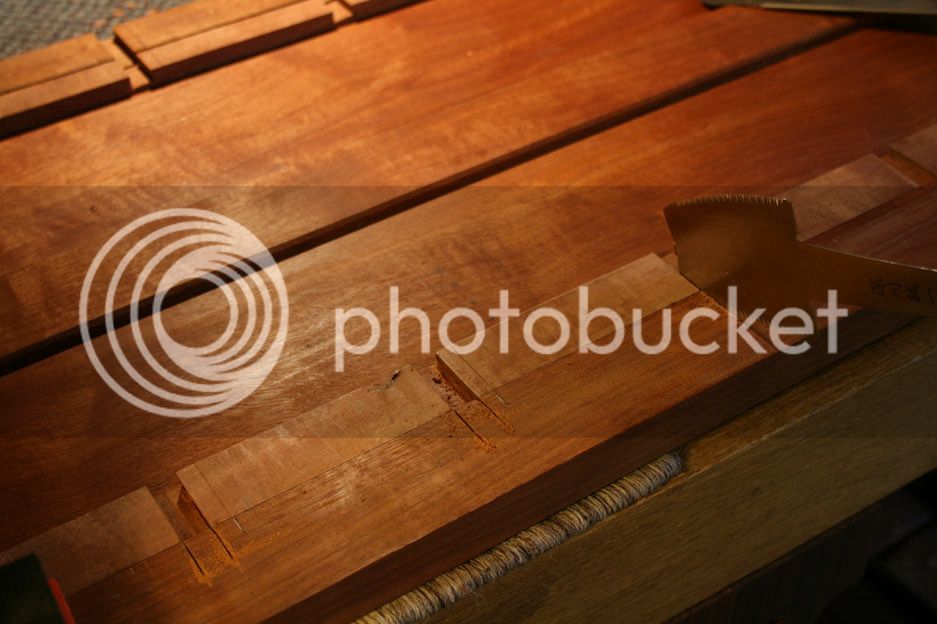
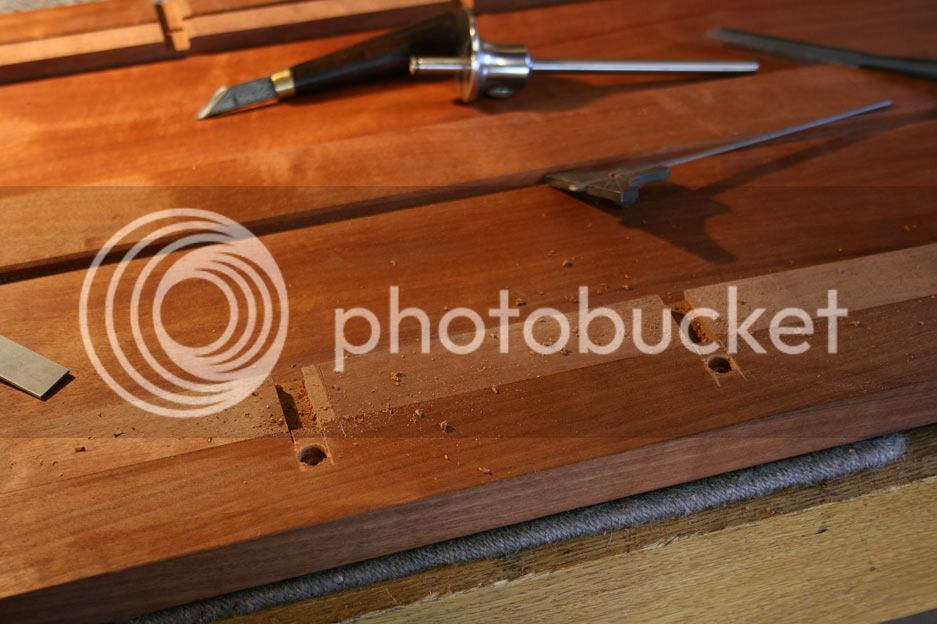
The sides of the sockets were saw, first with a dozuki and then extended a little deeper with an azebiki.

7a_zpskrckk5hj.jpg


8a_zpsc828twdy.jpg


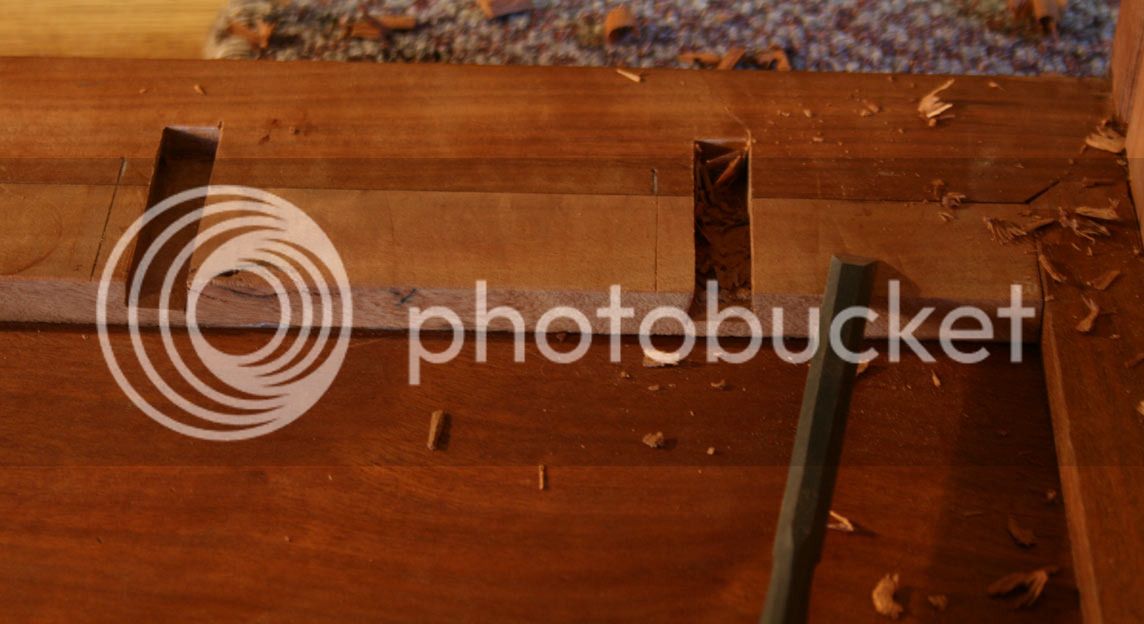
The ends were drilled to depth ..

9a_zpskq3hiswe.jpg


.. and then pared out. The sides of the sockets became handy guides to maintain angles ..

10a_zpssmi3dvjx.jpg


Now that that front and rear drawer blades were in their correct positions, the side drawer runners needed to be made.

The drawer blades were morticed and the runners received tenons ..

11a_zps1uaccb6p.jpg


12a_zpsvmh977cr.jpg


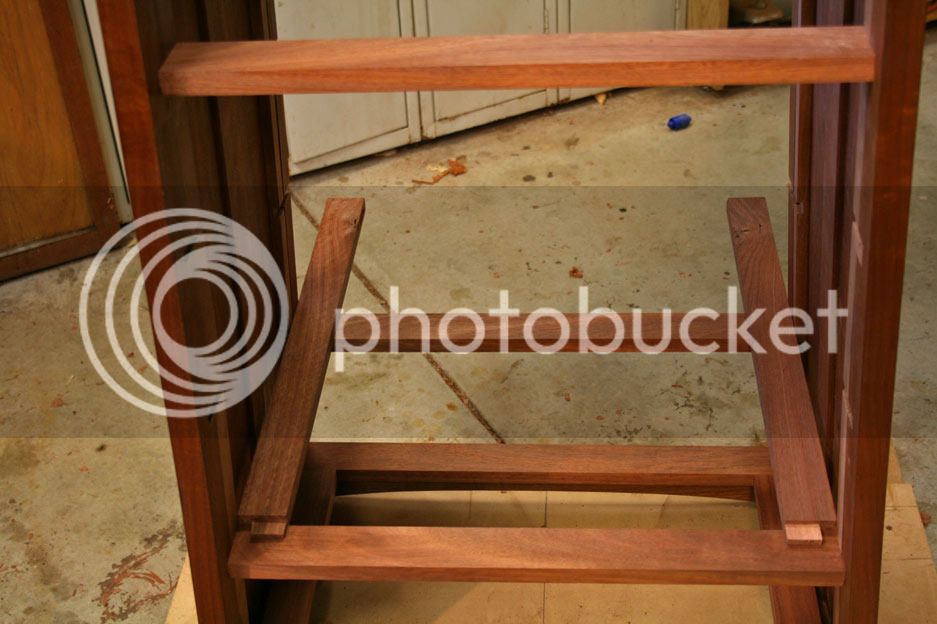
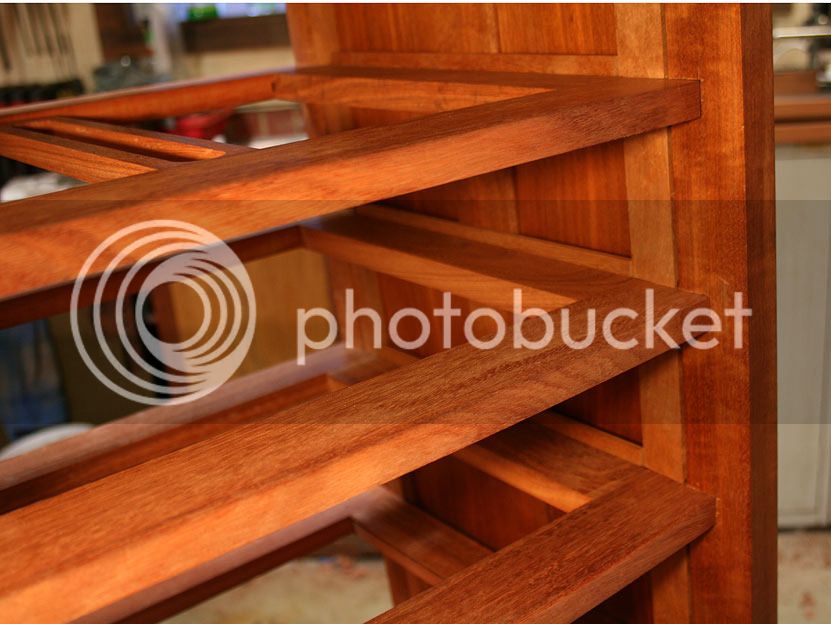
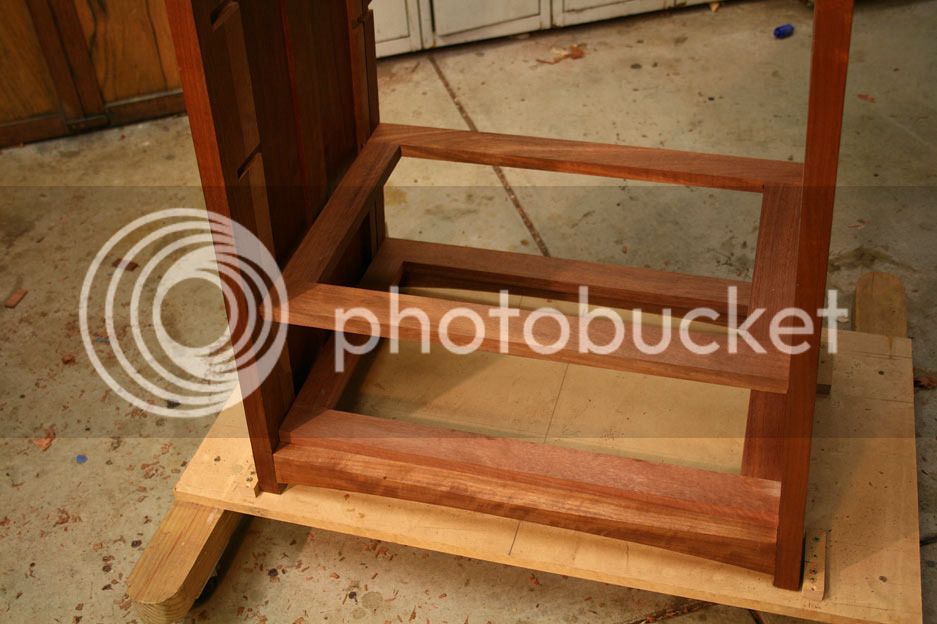
In fitting them, the front blades were first inserted (from the inside), and the runners fitted (the picture below is taken from the rear of the chest) ..

13a_zpsxtbuzcm9.jpg


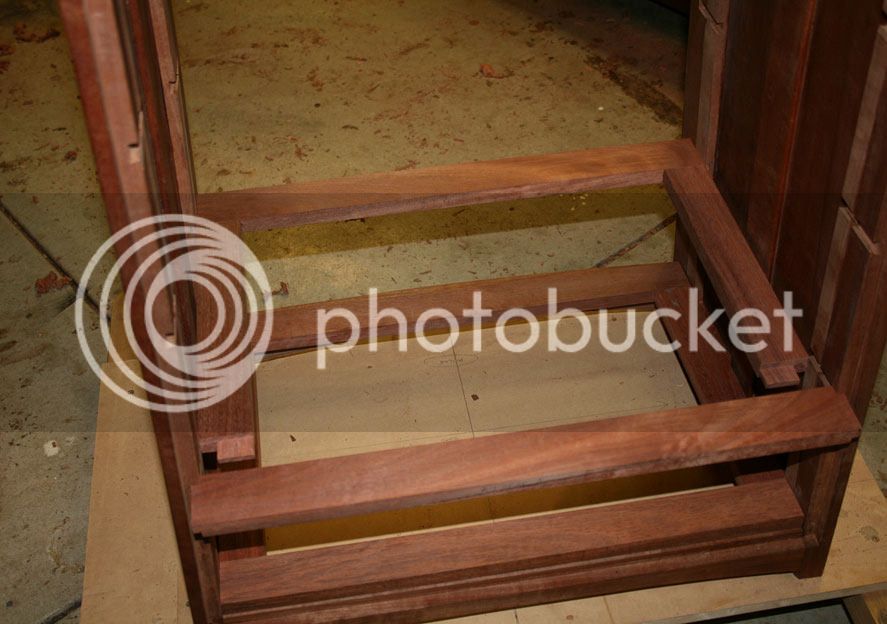
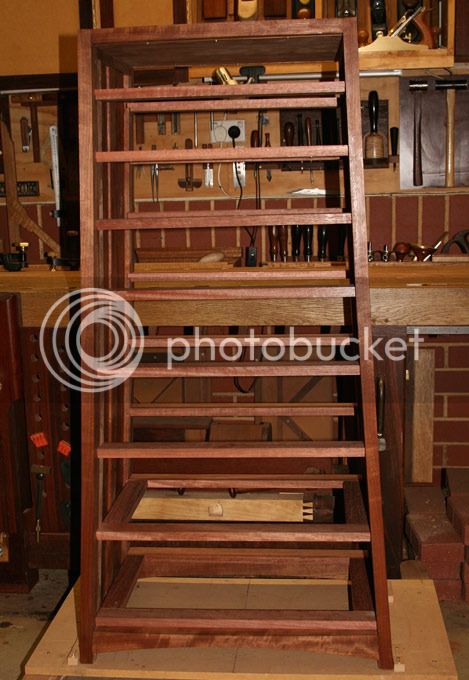
The rear blade could then be attached. The photo below is taken from the front of the chest. The lower two drawer blades and runners are filled (dry so far) ..

15a_zpssgyveuua.jpg


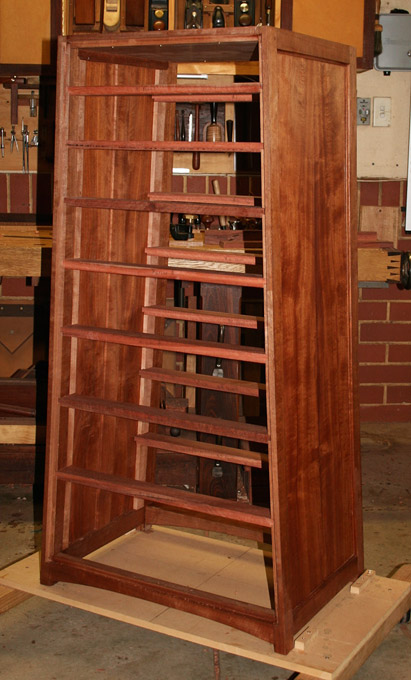
Note that the drawer fronts are bowed, and bowed filler sections are yet to be added to the front drawer blades.

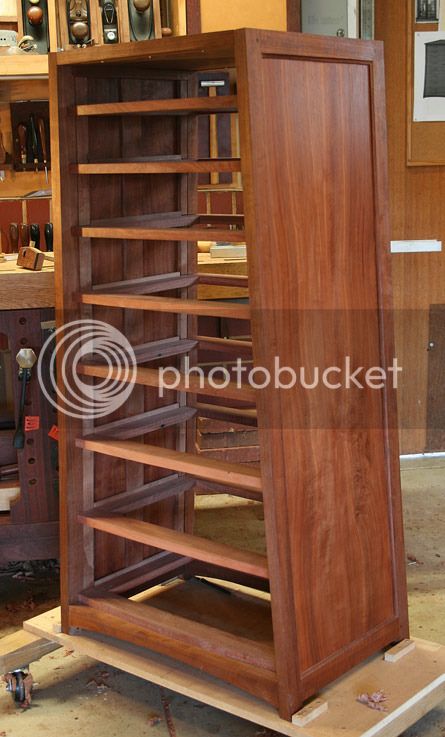
And the last photo before I close up for next weekend ...

16a_zpsirecqvp5.jpg


Regards from Perth

Derek
 
Looking good!

Thinking about it, there are at least two options for coping with the solid sides moving relative to the framed drawer supports.

1) Glue the sliding dovetails at the front, glue all mortice and tenon joints in the frame so the frame is rigid, and let the back of the frame move in its own sliding dovetail (unglued).

2) Glue front mortice and tenon joints and glue front of frame to sides. Glue rear side-to-side piece to sides of case. Cut rear M&Ts slack and leave dry, so any movement is accommodated within the joints.

Will you be doing either of these, or some other ingenious method?

I think (1) is a bit neater, provided there is enough clearance between the rear of the rear cross piece and the back panel, while (2) would still work if you wanted the back panel to touch the backs of the rear cross pieces. (It's fun to agonise over invisible details like this!)
 
Hi Andy

The aim is to allow the panel to move. The front fillets are connected to the front legs, so all movement have to be towards the rear.

The rear fillets have a 5mm gap between the fillet and the rear leg, allowing the panels to move by this amount (which is about twice as much as likely) ..

TheProofOfThePudding_html_318a6dd8.jpg


The plan is to glue the sliding dovetails at the front and rear, but leave the sides unglued at the fillets. The panel is then still free to move.

Your thoughts?

Regards from Perth

Derek
 
You've lost me, but I'm confident that your design will make sense somehow!
 
It's been at least a month since I managed time on the Lingerie Chest. Found some time today. It seems to take forever to get the rhythm back.

I take my hat off to you. Embarking on a major project when you only have a few hours at a time requires astonishing discipline and commitment in order to maintain progress and quality standards. So when you finish it will be a double triumph, the piece itself and just as significantly sticking the course to the end!
 
You're making good and steady progress Derek. As mentioned, made more impressive by the fact this work is all conducted on a 'hobby' basis, as and when time becomes available.

It is starting to become quite a large piece now, do you have frustartions and concerns when storing it out of the way when not working on it. I know you have a reasonable sized shop although I suspect never enough room.

David
 
Thanks David.

I suspect that one can never have enough room. :? In my case I share a double garage with my car (my wife's and son's is parked outside! :) ). I do have a longer-than-usual garage ... well, that was my specification when we built the house 20 years ago. Consequently, there is space for a workbench and all the cabinets at the one end. Still, I'd love not to have to move the car out each time I get in there (but it is a soft top - ragtop to the Yanks - convertible, and I cannot leave it out in the Perth sun).

My not-so-secret weapon is a little "jig" that I have used for a goodly number of years now. About 5 years ago Megan at Popular Woodworking asked me for a contribution to the magazine "tip" page, and I showed her a picture of the jig. She published it. I was semi-surprised - not because it is not useful, but because it is so simple. It allows me to move my build around the workshop with the greatest of ease.

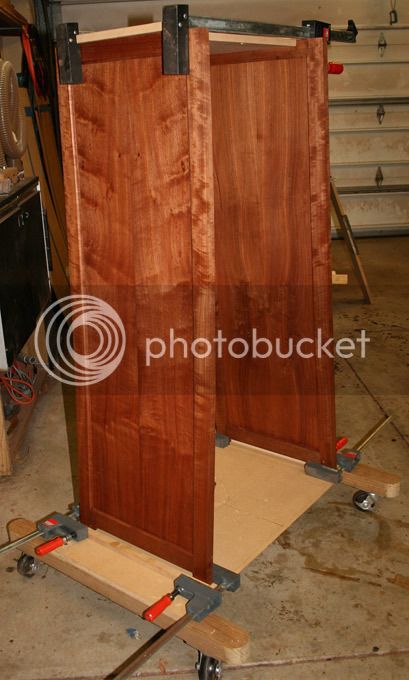
Basically it is just a 2"x4" with locking wheels at each end (I do not have a photo of them as they are so insignificant on their own). I have one pair of these, each being about 3 ft long. I simply screw on a MDF board to create a moving platform - whatever length/size is needed for the current project. The project is easy to move into a corner of the workshop when time to shut shop for the day.

Here they are under the current project ...

Wheel-Jig1_zpsdkq5mjk8.jpg


Just add whatever blocks needed to the MDF - in other words, easily customise your own work table for each project.

Here is a larger, longer piece ...

Raisingapanel_html_3d5d8ae8.jpg


When the project no longer needs the wheels, just unscrew the MDF and pack the wheels-on-the-2x4 away.

Regards from Perth

Derek
 
A simple solution to an everyday problem Derek. My shop is not a big as yours although storing projects out of the way is I am sure a problem most of us have.

Good to read you prioritise your own car above the rest of the family's :D

I too have a simple jig much like yours, although for wheels i screwed on half a dozon of those roller bearings. They are OK provided the shop floor is clean or not riddled with extension cables. It being so slim fits between my drill press base and adjacent cabinet so no need to screw on a base, I guess I am just lazy.

I also have the swivel roller base from an old office chair. by screwing a scrap of MDF onto it it has proved to be a useful platform on the few occasions I have used spray euipment. Tne swivel base is an easy means of spraying the back of the cabinet without having to walk around to the other side, very useful in my small wshop.

Keep up the good work.

David
 
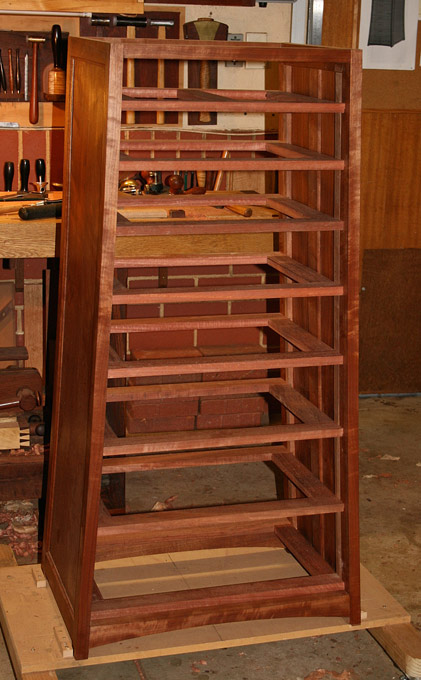
Well, it has been a lot of work to complete the drawer runners. Everything is now done preparatory to building the drawers. I've really been looking forward to this stage, since it will be another challenge.

The drawer runners, themselves, required a great deal of finicky work. Getting them in square and coplanar is straight forward in a straight construction, but curves and compound angles change all that.

We left off last time with the basic frames in ...

LingerieChestMorticeTenons_html_m459388d8.jpg


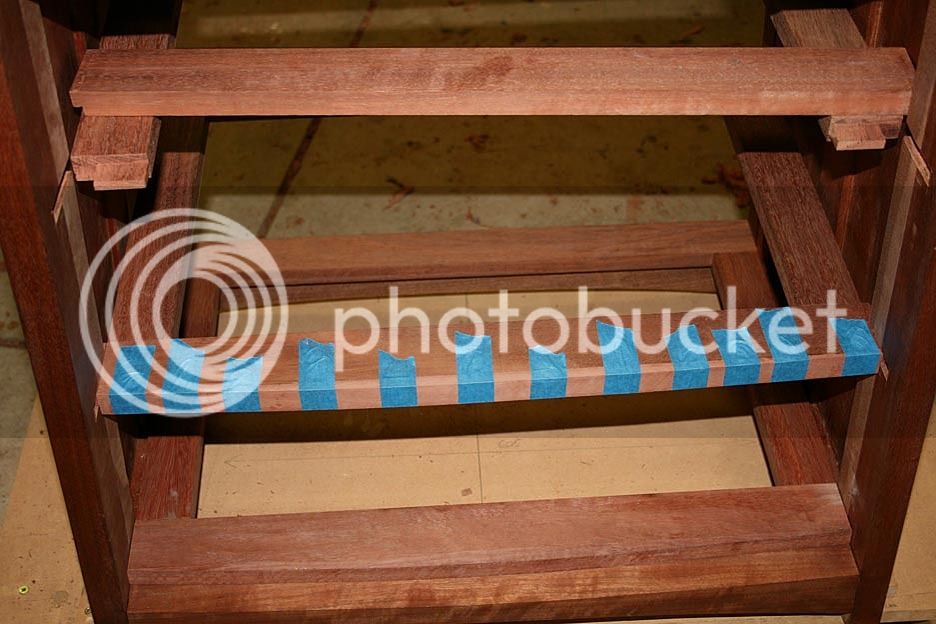
To the front of each drawer blade was added a bow.

4a_zpsjvnvwdak.jpg


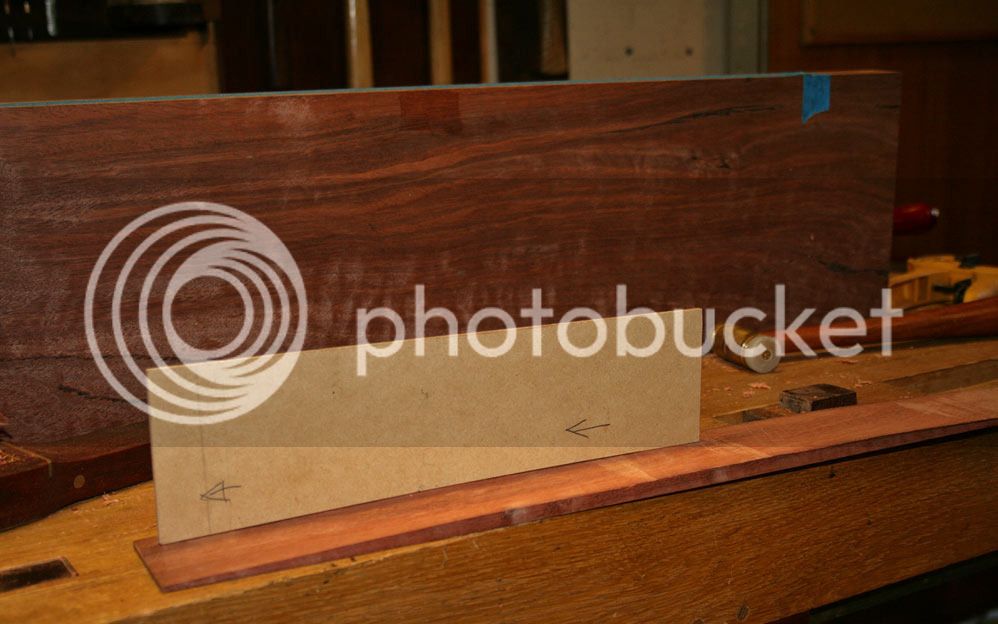
I was asked early on why I did not just shape this directly on the blade. The reason I chose to do it this way was just that I felt I had more control over the result. Every drawer is a different width, and needs to project in a coplanar line from top to bottom. I drew up a template to shape a consistent curve ...

18a_zpsqgu7osh0.jpg


That is the Jarrah for the drawer fronts at the rear.

The upper most drawer will have a secret lock (since this drawer will be a jewellery box). I decided to use the Shaker method. My variation consists of cutting a slot in a centre mullion ..

7a_zpsquoyrhsp.jpg


... which is lowered below the rails ...

8a_zpsykzehgz7.jpg


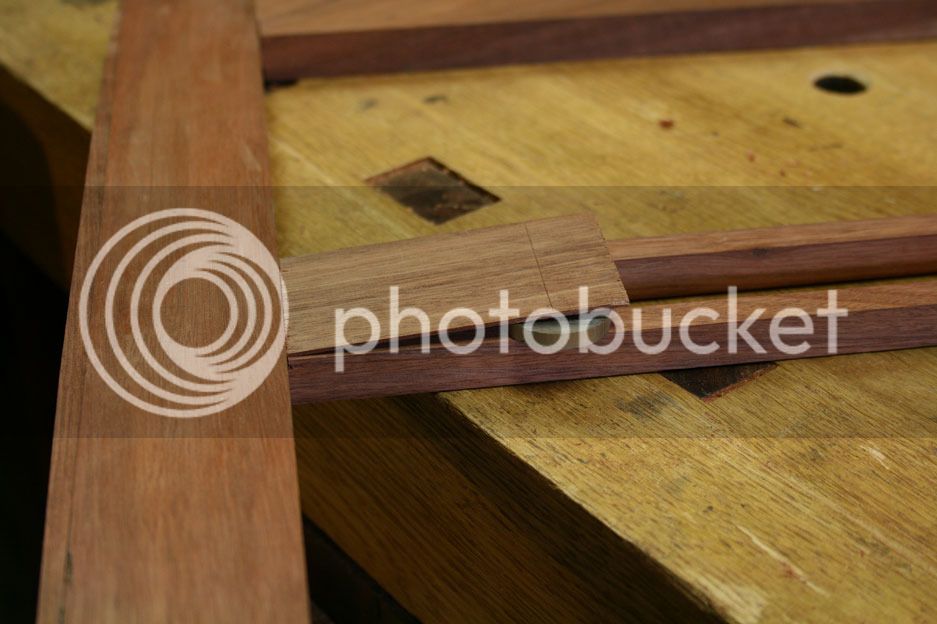
There will be a spring (probably in mild steel) beneath the drawer that will drop down and lock into the rear of the front drawer blade ...

9a_zpsk33hsael.jpg


A finger (through the slot - which will hide the mechanism from below) will lift the spring to permit the drawer to slide forward ..

10a_zpsvtfy0ymm.jpg


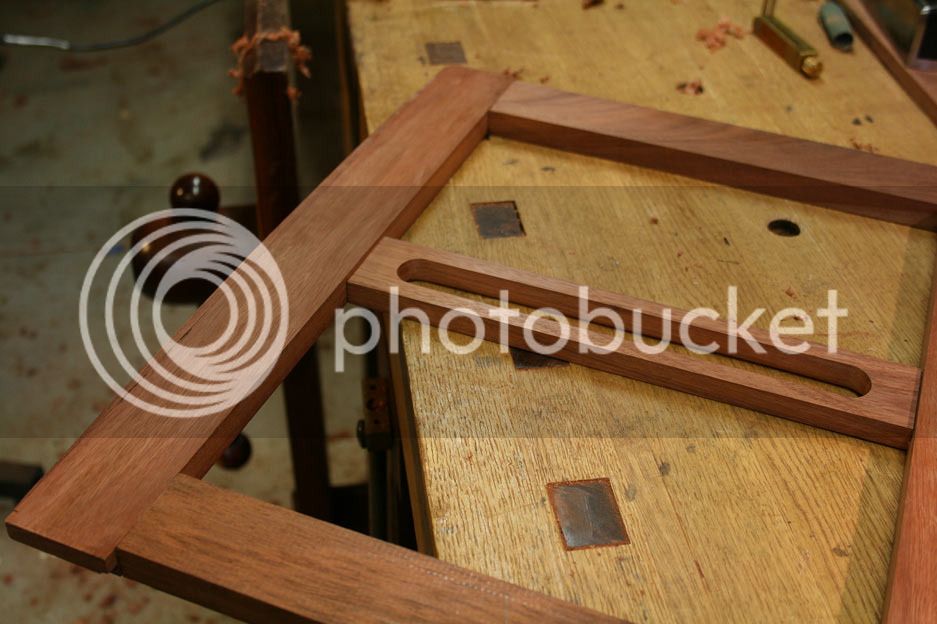
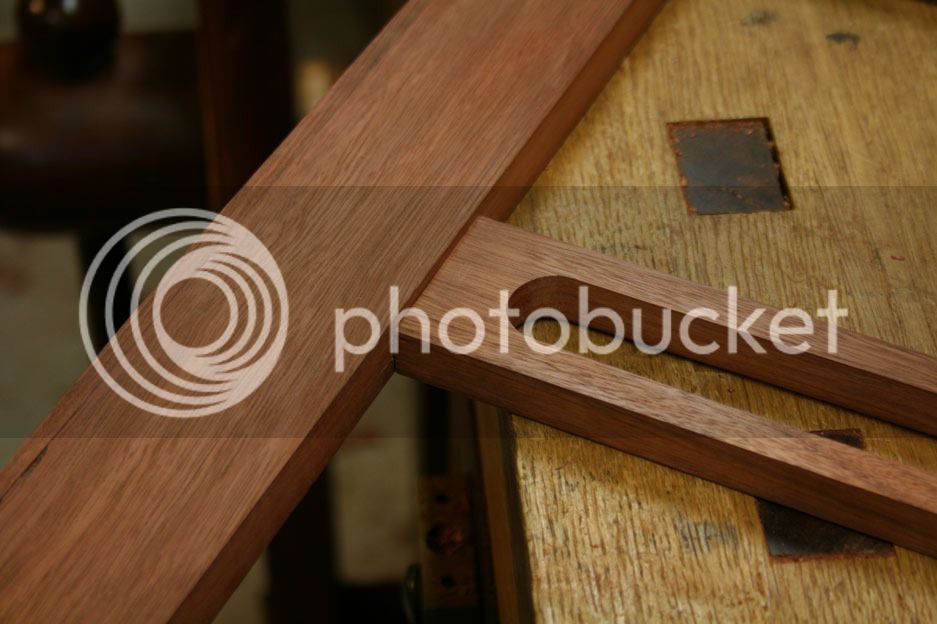
Since the casework is a framed panel, guides are needed for the drawers ...

14a_zpsk6mvffim.jpg


13a_zpsfs8d3ocz.jpg


Here are they installed. Perhaps you can begin to see the how the slight bow will form ..

15a_zpskgumlquo.jpg


16a_zps8yoztsdz.jpg


Now I need to figure out the drawers construction - coping it into the sides. Any thoughts?

Regards from Perth

Derek
 
Interesting piece of work Derek. As an aside, when I first clicked on your website I quite quickly left to again. The reason is that your home page is white text on black background, plus you use a less than easily legible font, and unless you have sharp young eyes (as opposed to my spectacled middle aged ones) it is very hard to read. We are in a click and rapidly move on era and capturing attention fast is what keeps people on pages. Not intended to be offensive in any way - just stating what we have found in rebuilding our own commercial websites over the years.

I do enjoy seeing fine furniture being made and give you kudos for doing this in a workshop that has to store cars and other stuff.
 
Now I need to figure out the drawers construction - coping it into the sides. Any thoughts?

Regards from Perth

Derek

Well, I was expecting the drawers to be straight backwards and forwards (I think this is fundamental!) but also straight up and down, for the sake of your sanity. They would have curved false fronts, planted on.

But if you are going to make the sides curve in the vertical plane, and dovetail them onto bulbous fronts, I shall sit back and learn how it's done!

(Maybe you could start with very thick wood, make the drawer boxes in the normal way, and then plane/carve away until the desired curved shape is revealed inside the block? There must be a better way!)
 
That is a very fine looking piece of furniture Derek. Will be interested to see how you approach the drawer construction.
 
custard":3mcc7bec said:
That's a serious piece of furniture! How many hours so far?

Oh Gawd ... I do not want to think about that! :)

Every now-and-then I start thinking of the pieces I am planning to build next, and have to shut them out.

Regards from Perth

Derek
 
AJB Temple":7wzc0agx said:
Interesting piece of work Derek. As an aside, when I first clicked on your website I quite quickly left to again. The reason is that your home page is white text on black background, plus you use a less than easily legible font, and unless you have sharp young eyes (as opposed to my spectacled middle aged ones) it is very hard to read. We are in a click and rapidly move on era and capturing attention fast is what keeps people on pages. Not intended to be offensive in any way - just stating what we have found in rebuilding our own commercial websites over the years.

I do enjoy seeing fine furniture being made and give you kudos for doing this in a workshop that has to store cars and other stuff.

Yes, the website was written for a computer and not a phone, iPad or similar screen. I shall have to redo it one of these days. No time. It is not a revenue-maker, and all the costs are mine. So, one day ...

Regards from Perth

Derek
 
Back
Top