Walnut bedroom

UKworkshop.co.uk

Help Support UKworkshop.co.uk:

This site may earn a commission from merchant affiliate links, including eBay, Amazon, and others.

enecosse

Established Member
Joined
12 Mar 2009
Messages
27
Reaction score
0
Location
South Lanarkshire
Found this forum a couple of months ago, been browsing thougft I would post some projects, This is purley a hobby, had never done any woodwork befor the first project on here, I am a plater /welder type.
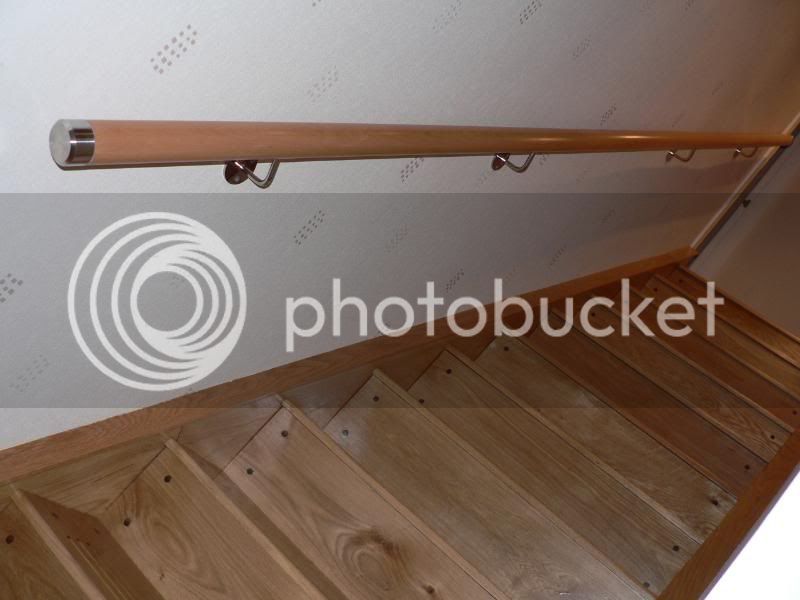
Decided to clad my stair in oak,not long before first leason in woodwork
Picture169.jpg

bought the oak 250 wide for the treads, 2 weeks in the house it curled, had to cut it up the middle and reverse grain, also used walnut miller dowels to fix down, stringers were hard to survey/mark out, easy to get wrong, worked out alwright though. made the handrail brackets from stainless and had the machine shop turn the ends from stainless also.
2nd project jumped in a bit deep bought net of vat 3k worth of rough cut
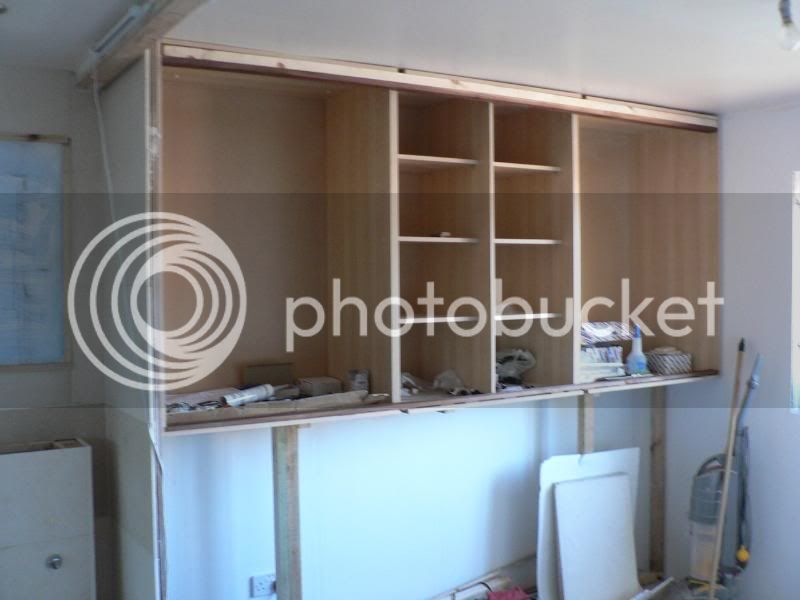
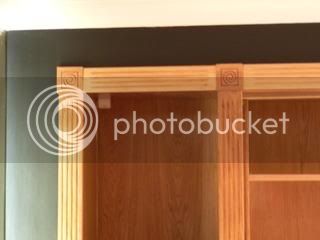
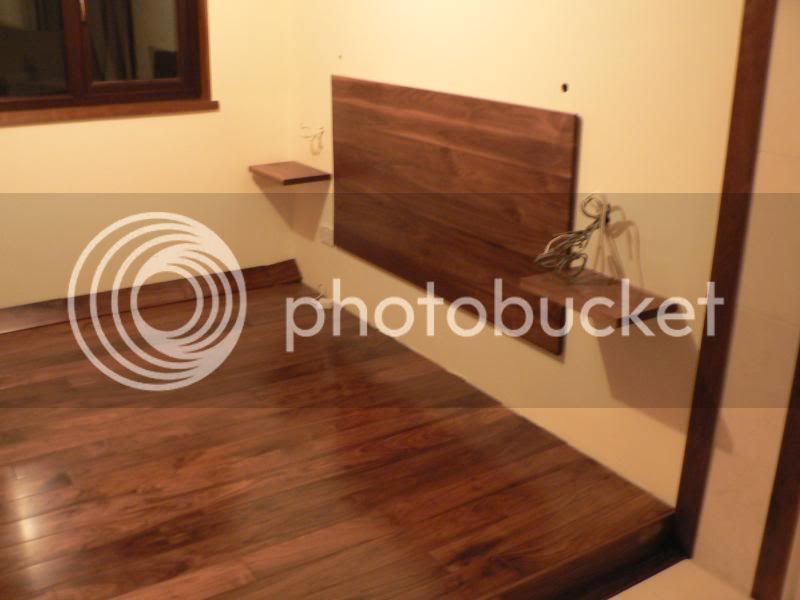
walnut and made a bed headboard, side tables, window cil, doorfacings
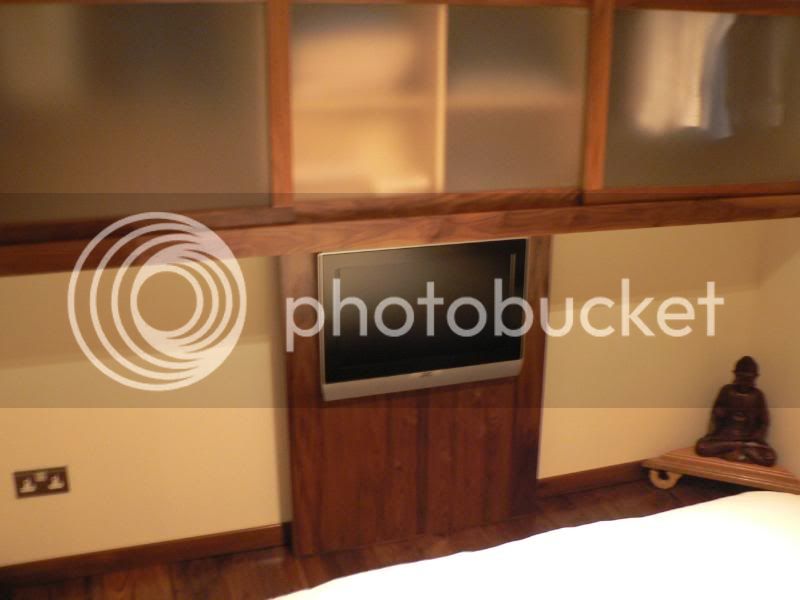
wardrobe sliding doors, room divider sliding doors, cabinet, the list goes on,
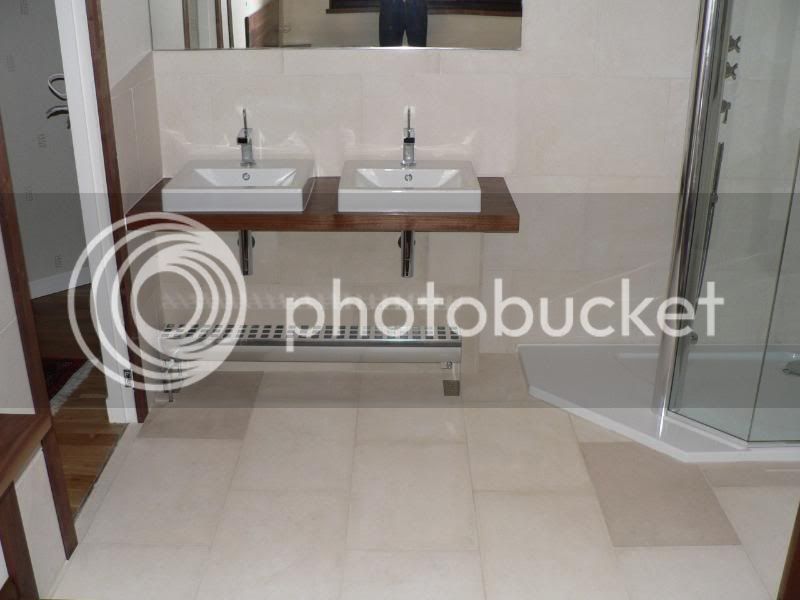
sink unit
P1000142.jpg

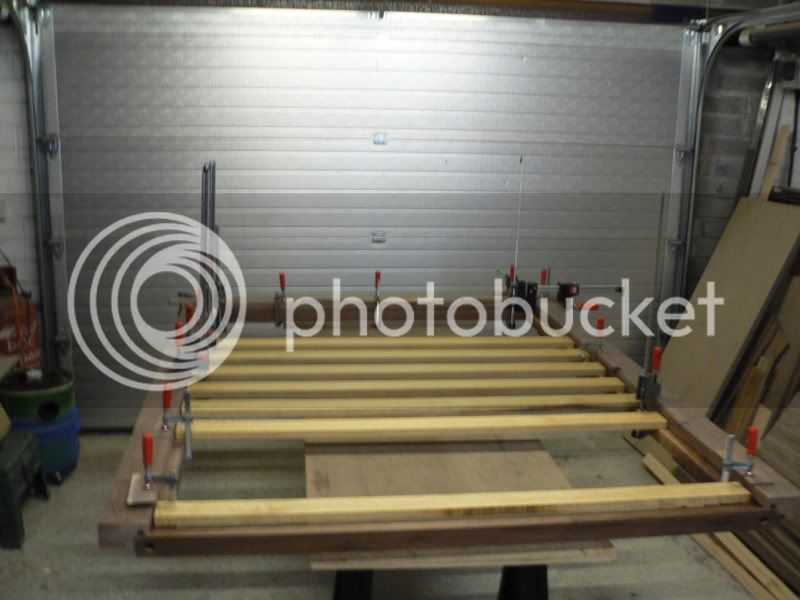
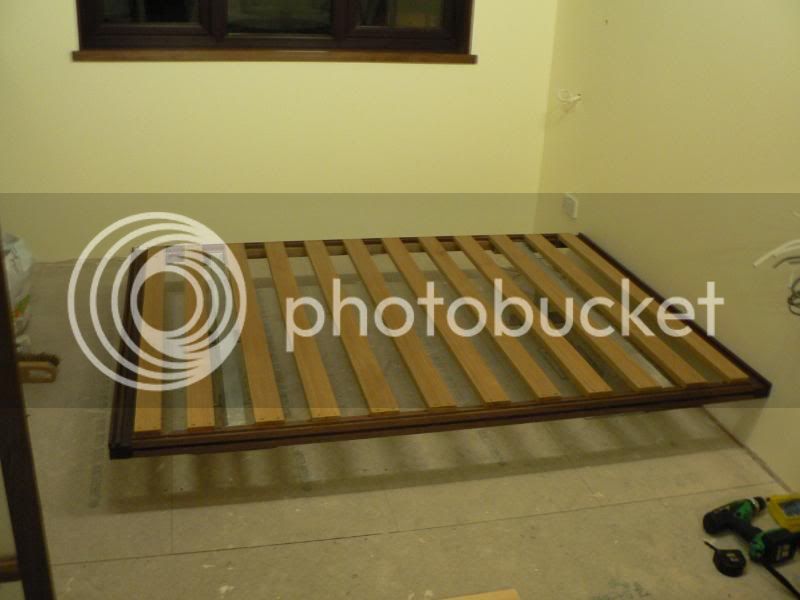
bed
Picture001.jpg

Picture002.jpg

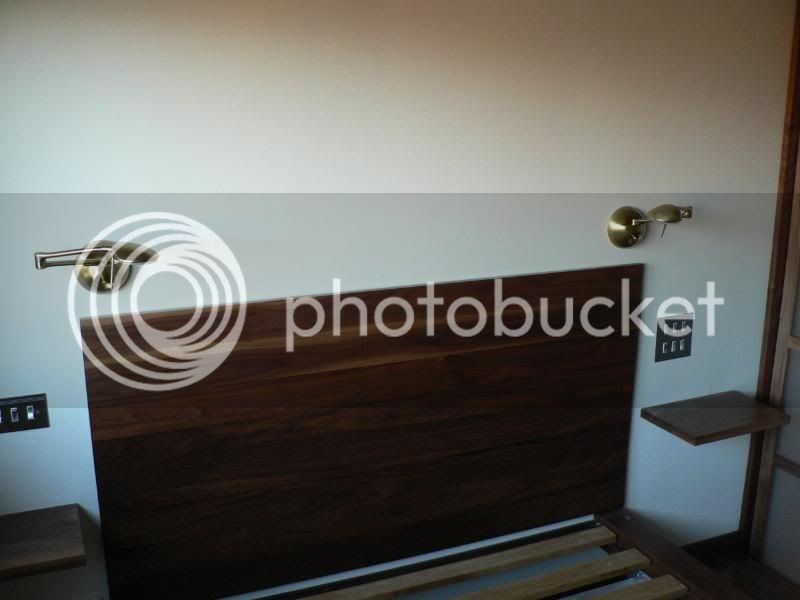
headboard
Picture006.jpg

P1000156.jpg

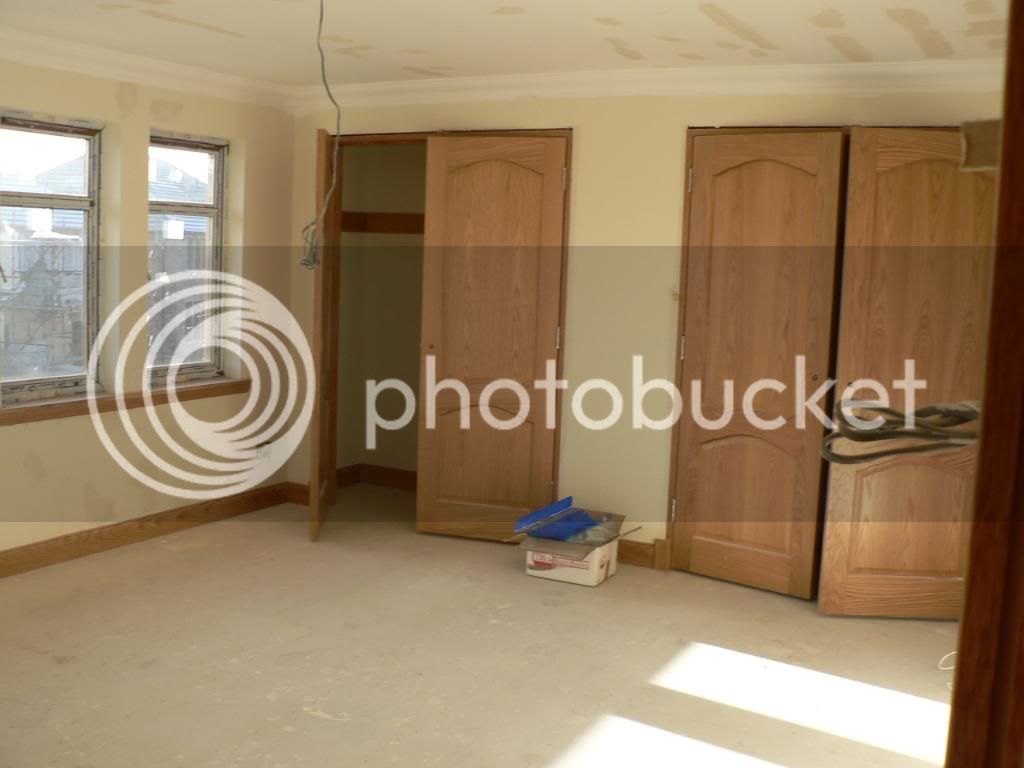
wardrobes
Picture159.jpg

Picture168.jpg

going to do a jump too amny pics

 
more pics
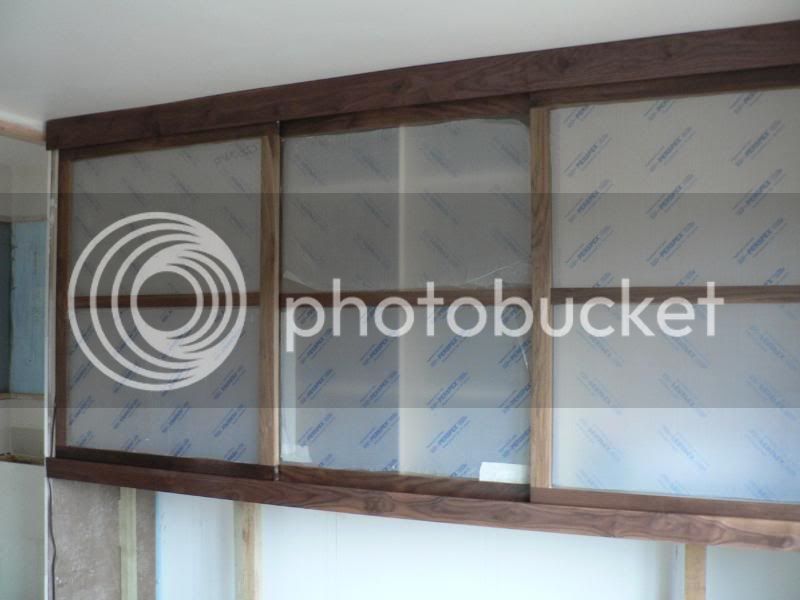
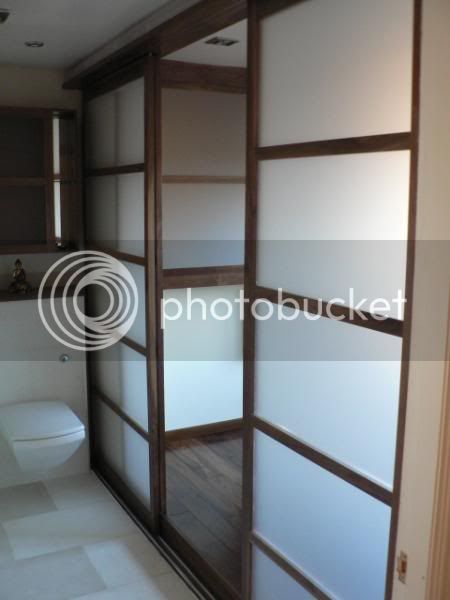
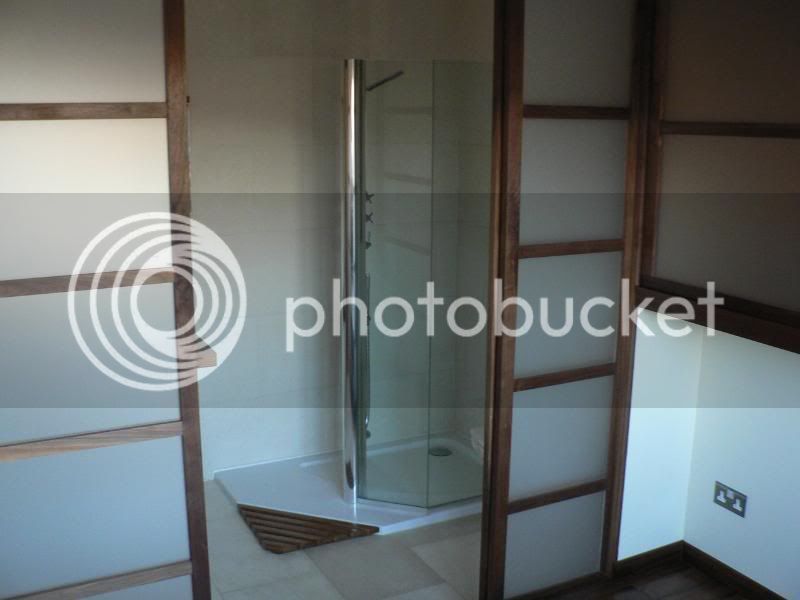
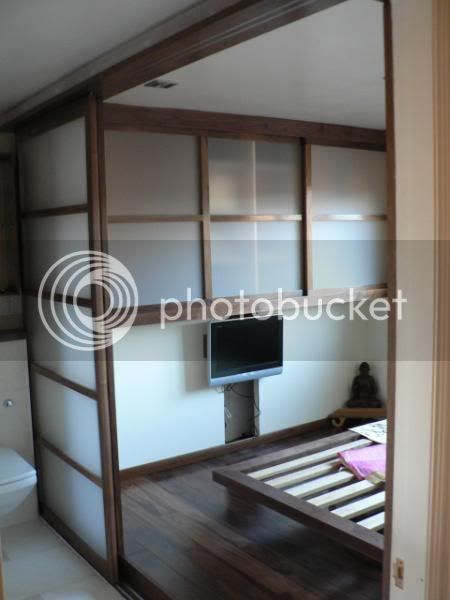
room divider doors
P1000157.jpg

from ensuite side
P1000159.jpg

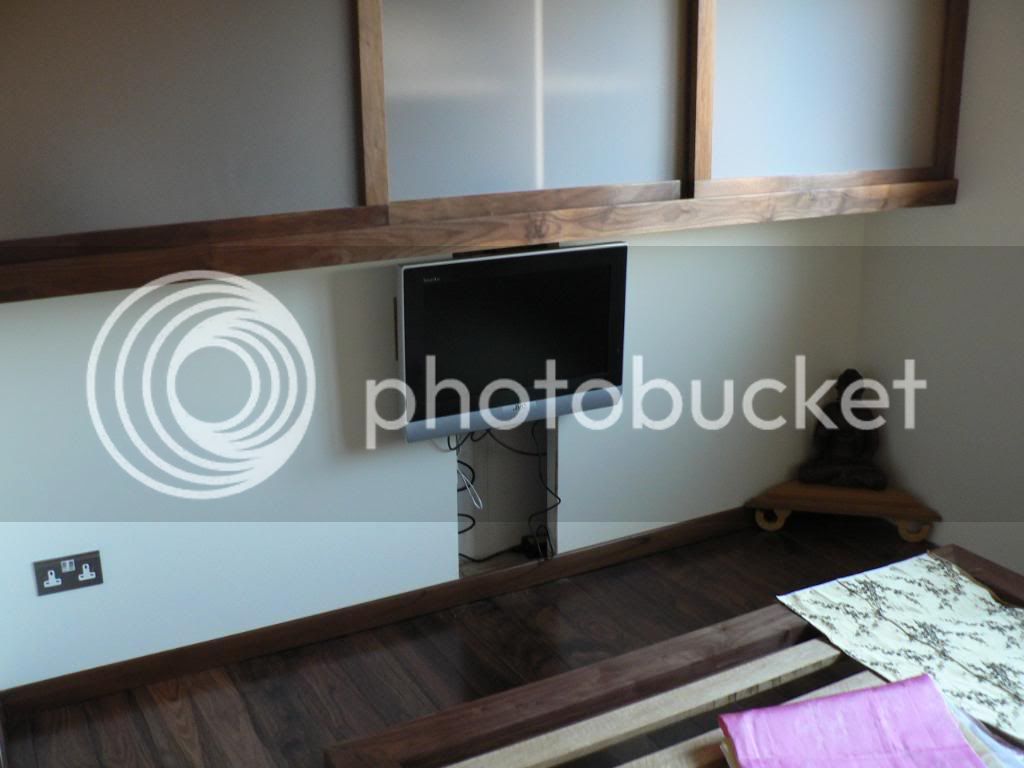
from bedroom side
P1000158.jpg

from
P1000160.jpg
door into room
P1000155.jpg

After this was finished the wife announced she was expecting and it was twins, so we had to put the house on the market, the room took me 450 hours that was me doing the plumbing electrics, everything bar the plastering really, nights and weekends.
 
enecosse

That is some really nice work you have done especially the design....Have you moved somewhere bigger because of the twins ?

P.S. there is never too many pictures
 
Some nice work there with a distinct Oriental approach. The only thing I find that's slightly off-putting for me is the use of sapwood 8-[ in the headboard which I avoid - Rob
 
New house more projects
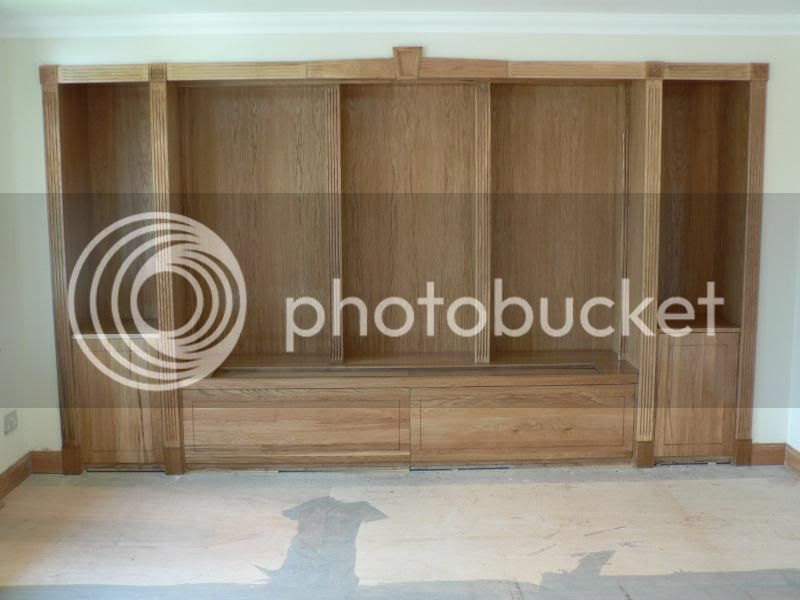
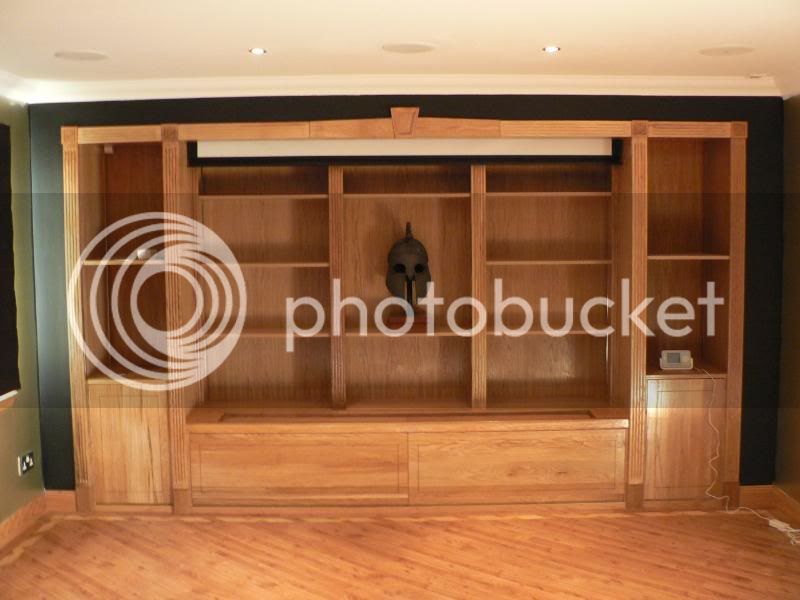
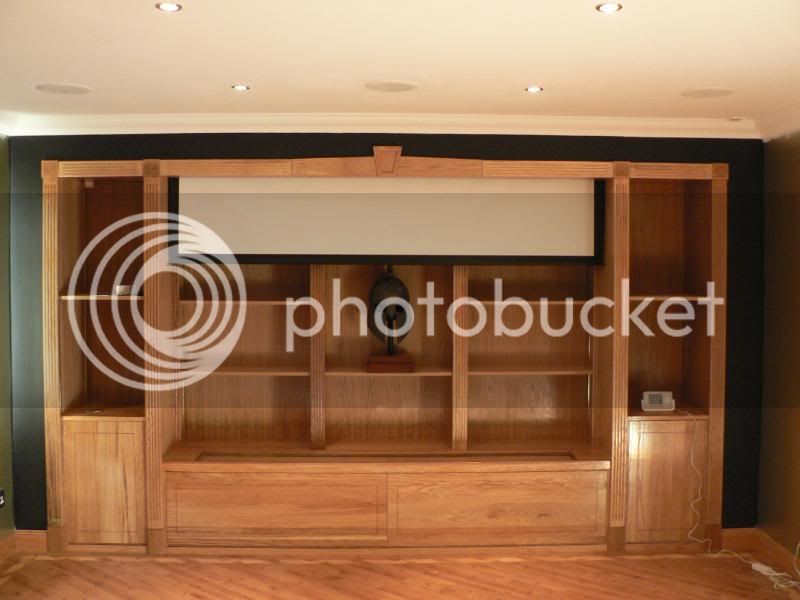
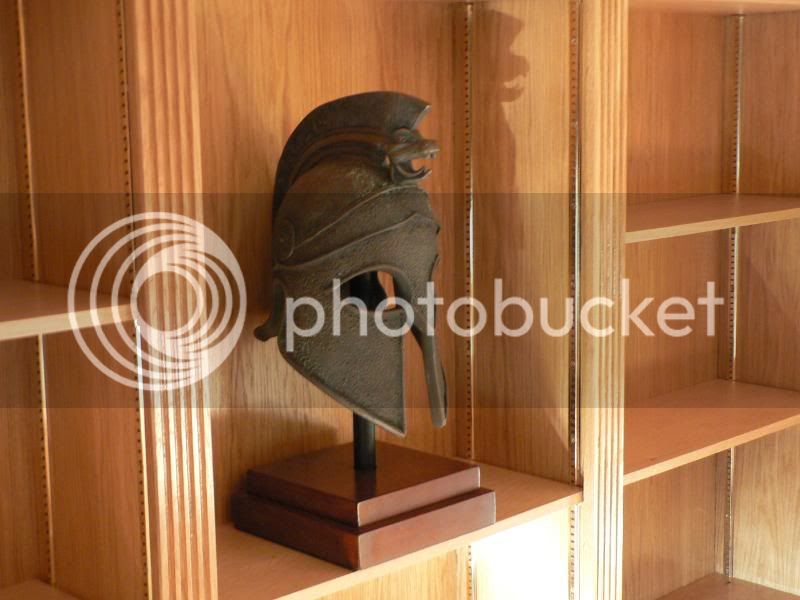
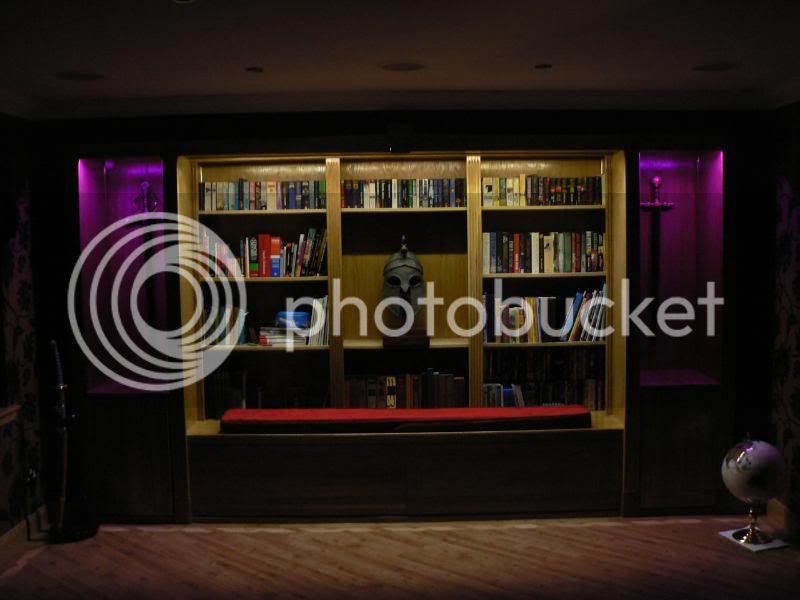
bookcase cum cinema room, made from oak MDF and random lengths
of oak planking.
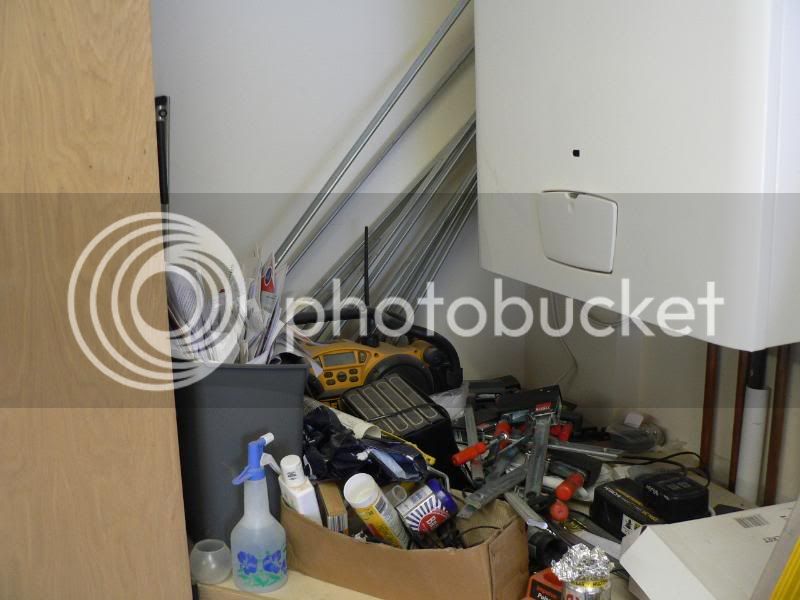
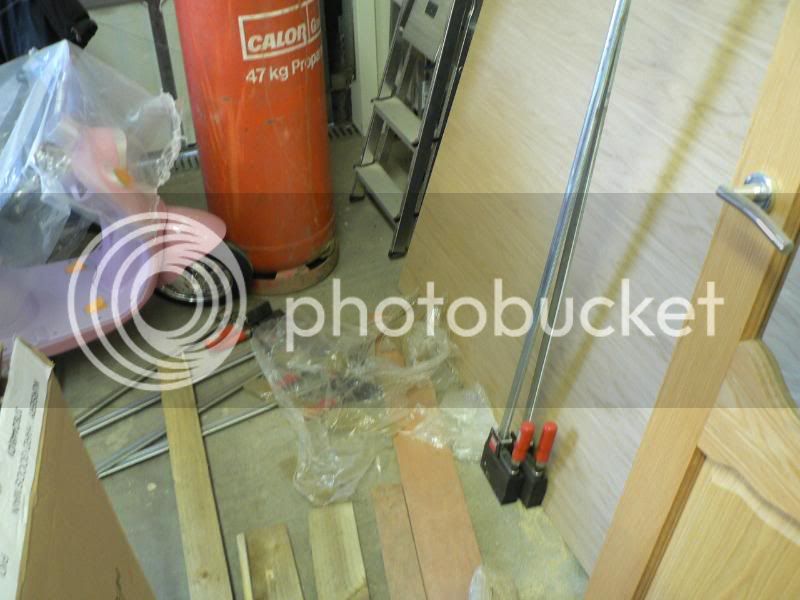
before
P1000826.jpg

after
CopyofP1010285.jpg

P1010378-1.jpg

P1010379-1.jpg

P1010382-1.jpg

P1010399-1.jpg

P1010386-1.jpg

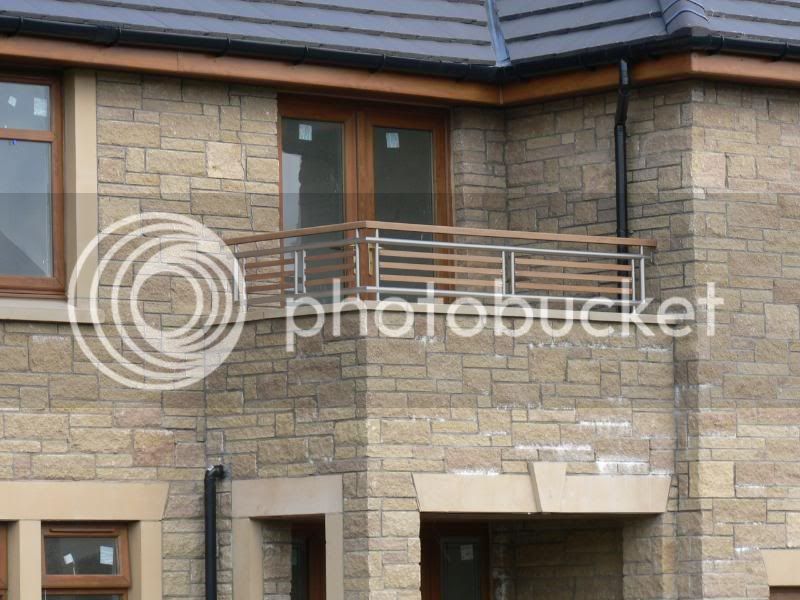
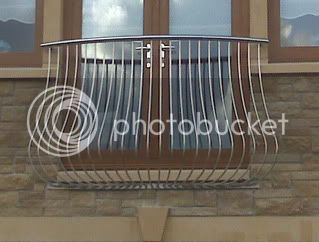
stainless steel raillings I made with teak infills
P1010011.jpg

I buit anither two raillings which I will post when photobucket can catch up
 
Impressive work...the only thing I would have done is to make the 'tonk' fittings flush with the wood surface. It looks like you've screwed them directly to the timber instead of dropping them into a groove...could be wrong though, trick of the light? - Rob
 
Paul yes partly because of the twins, and in making the place feel bigger
I got rid of cubboard space, credit crunch hit just when we moved, then you question your decision to move could we have got by etc, probably yes, but then the next shock, Scott, you better sit down, why? I am pregnant again, should have bought a lathe.

Woodbloke as I say bought a load at the start to do full job and thats how it came, also did not know enough about wood (still don't) to pick and choose, etc, oriential was exactly the way I wanted it to look, also was the illusion of space the doors dividing the room pushed to the one side
and you had the one big room.
 
Woodbloke, yes they are surface mounted, when I was designing this I was looking around for ideas and one I saw by somebody who charges alot of money to build you fitted bookcase had this surface mounted type.
I guess though when looking straight on and partly from the side you do not reall notice them because I made the architraves 30mm overhang on both sides, also with the twins only being 13 months old at the time I was on limited playtime.
 
For somebody who claims to know little you've sure made a great job of what you've done, you should be very proud,well done :wink:

Where in Lanarkshire are you buying Walnut, always found hardwood hard to come by unless for windows ? when I lived in Glasgow.
 
Outstanding work for a Beginner!! :shock: Look forward to seeing more of what you can do. :wink:
 
Lovely stuff; SWMBO looked over my shoulder and likes to! Similarly, would like to know what you used for the opaque panels.
 
Bloonose, All true never did woodwork before, was totaly mince at school
failled class, but I do deal with drawings and fabrications all day, so it was just a matter of turning those skills to woodwork, bought the wood from a local merchant who we do work for, so put it went through the business and saved the vat. Though they get it from Boness.
The opaque pannels are 3mm perspex opaque one side though you can get it both sides, I routered the walnut using a 3.2mm trend cutter, the pannels fit in really nice. bought from Newcastle.
The twins are Lana and Lewis 20 months old, new baby the middle of June.
 
Tierney":3ehua6qf said:
Lovely stuff; SWMBO looked over my shoulder and likes to! Similarly, would like to know what you used for the opaque panels.

Yes I would like to know what the opaque panels are, and where you bought them? Also the dark flooring in the room with the opaque panels looks stunning what is it?
 
The flooring is 18mm hardwood walnut flooring with the high gloss finish,
Think they were the 125mm boards, could always check, as the funny thing is the new owner gave me a key to thew house and phones me every now and then to go and collect my mail, and I let my self in as she goes to London every other weekend.
I would not have used the high finish in any of my other rooms.
The opaque pannels came from Bay Plastics Newcastle, as I said they fit in snugly, I used the trend 3.2mm bit. I had to learn quickly
the wardrobe doors I built first, and I tried to glue them at once,with pannels in, on the big doors I glued the 3 main sides and middle bars leaving one side dry fitted, after checking the pannels fitted,once they went of I then fitted the pannels and glued up the last side rail, first way
I got glue all over the pannels and its hard to get of without marking the pannel.
some more pics not so good quality though
Picture026-1.jpg

P1000164-1.jpg

P1000159.jpg

some lighting I added, should have done it at the time, and made life a bit easier
P1010653.jpg

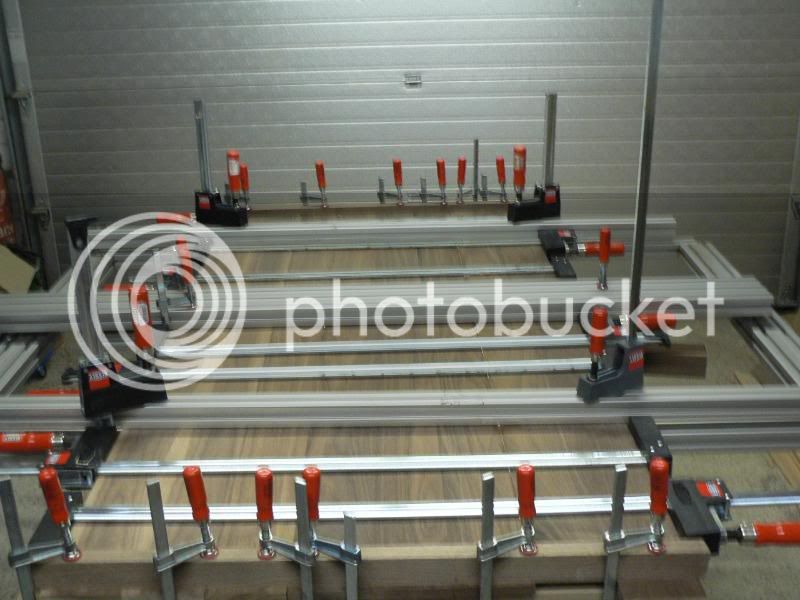
My clamp rack Lord Nibbo
P1010672.jpg

P1010673.jpg

Have too dash twins tearing each other to bits, excuse any typos
 
Thanks for the extra info, my old clamp rack looked just like yours before I hung them on the wall :lol: but even saying that yours looked tidier, mine got buried under loads of other stuff to a point where you couldn't find the ones you needed. :lol:
 
Gime ittime my lord only moved in last August,
Just remembered my manners, Thanks for all the replies, its always
nice to know your work is appreciated.
Don't you just love forums, going to post some pics of my day job
one reason I bought the house I did, the builder moved in as well (his own house of course) I built 2 of these for him from 316l stainless
IMG00038.jpg

next the Kincardine bridge, we did most of the welding on-site also built 2 600ton pushers that pushed the concrete sections out onto the piers
P1010445.jpg

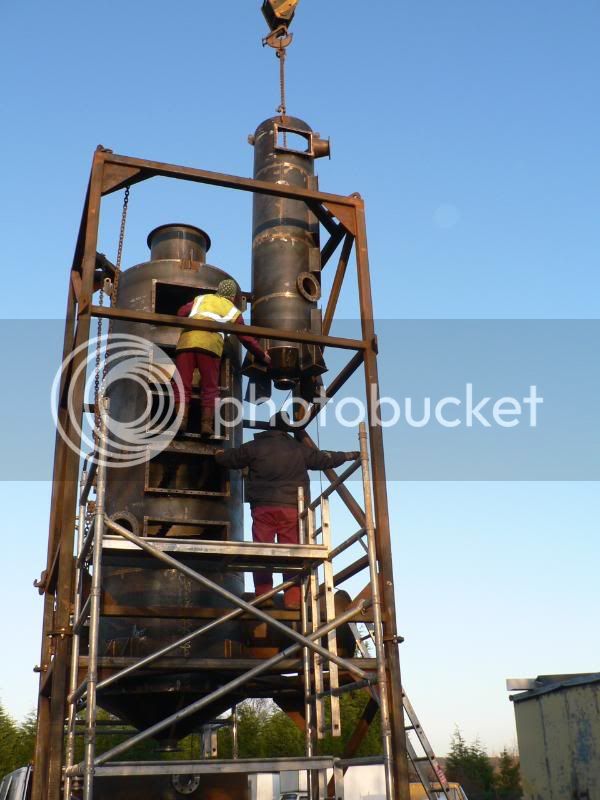
This thing is a little more complicated, part of a 11million pound experiment to burn coal in liquid oxygen at power station level, this bit is to do with the cooling of waste water which their is a lot of at very high temp.
P1010463.jpg

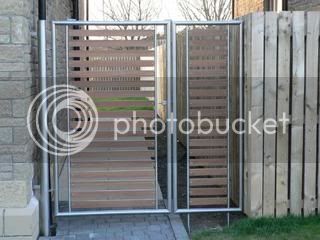
my side gate to go with the others posted earlier, just finished.
P1010668.jpg

I am in the process of turning my garage into a w/s should I start a new thread or keep this going, also got filters from axminster today, going to build a air filter same as davel, a blanket, chest, a glass verandah, coffee tables( might be beyond my limited ability but I can think big)lamp tables,
a router station, plus lot more, how long till I retire 24 years might just manage to get the garage finished. like I said I like to think big.
 

Latest posts

Back
Top