Walnut and painted WIP

UKworkshop.co.uk

Help Support UKworkshop.co.uk:

This site may earn a commission from merchant affiliate links, including eBay, Amazon, and others.
Doug B":glok5ncb said:
JonnyD":glok5ncb said:
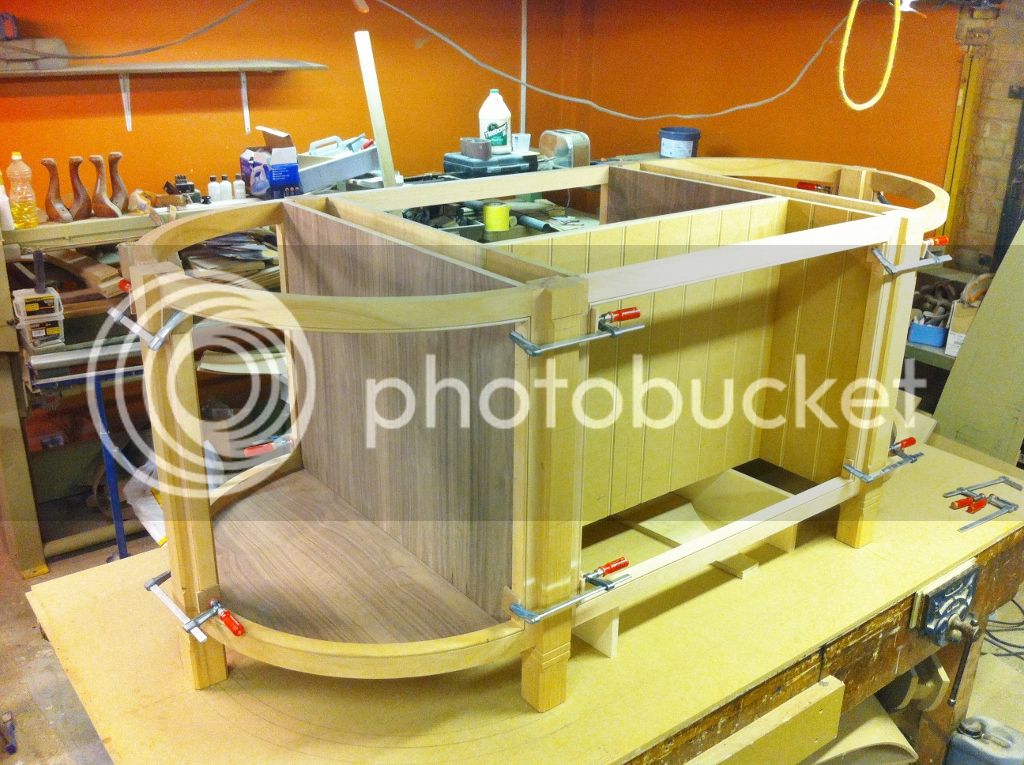
k-1231024x765.jpg


You`ve painted the workshop walls orange :?: :shock: :shock: :shock:

They have always been orange I have knocked down the office that was in the corner and inside was painted orange by the previous tenant.

This is what was removed

workshop-10.jpg


Cheers

Jon
 
Great post, thanks.

You inspired me to use the method for face frame beading for some cabinets. Apart from one corner it worked a treat.

This post makes it look so easy, the reality is you need very very well set up machines and for us with a small space then it takes so much longer.

I look forward to learn how you made the doors for the curved cabinets. Are the curved rails done from one piece of wood then?
 
angelboy":1ipfe70b said:
Where in Lincs are you?

Just outside of Boston

the_g_ster":1ipfe70b said:
Great post, thanks.

You inspired me to use the method for face frame beading for some cabinets. Apart from one corner it worked a treat.

This post makes it look so easy, the reality is you need very very well set up machines and for us with a small space then it takes so much longer.

I look forward to learn how you made the doors for the curved cabinets. Are the curved rails done from one piece of wood then?

good to here this curved doors coming up

cheers

Jon
 
So onto the curved doors mostly in the past we have made shaker doors but these ones have a mould so a bit more tricky.

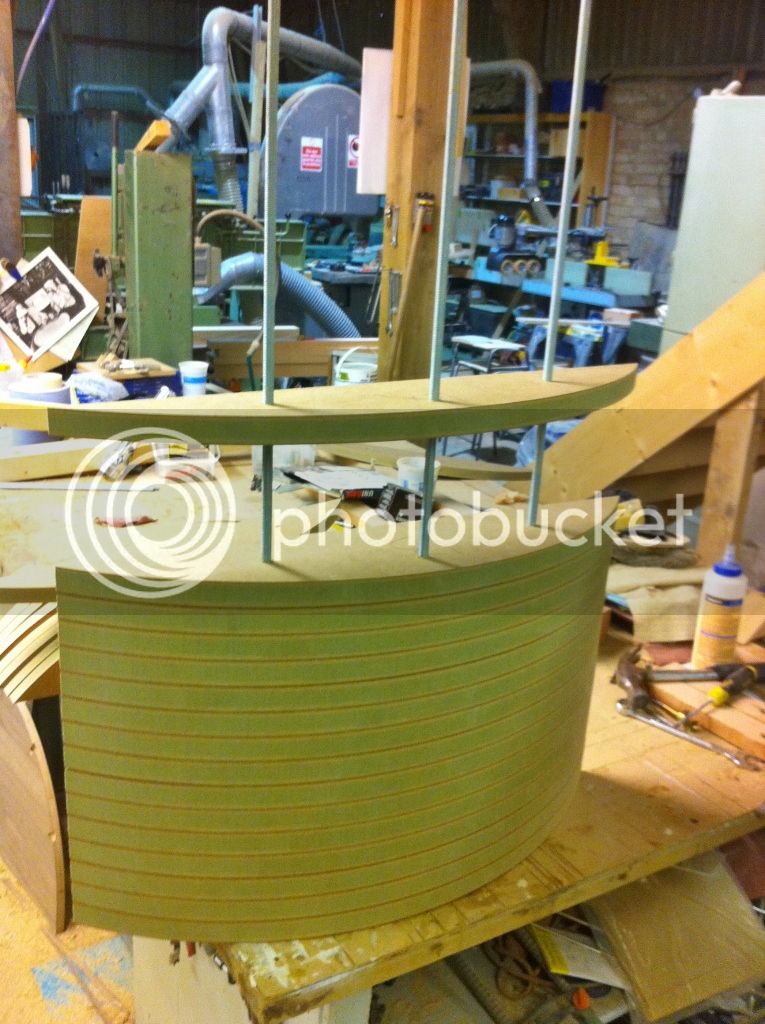
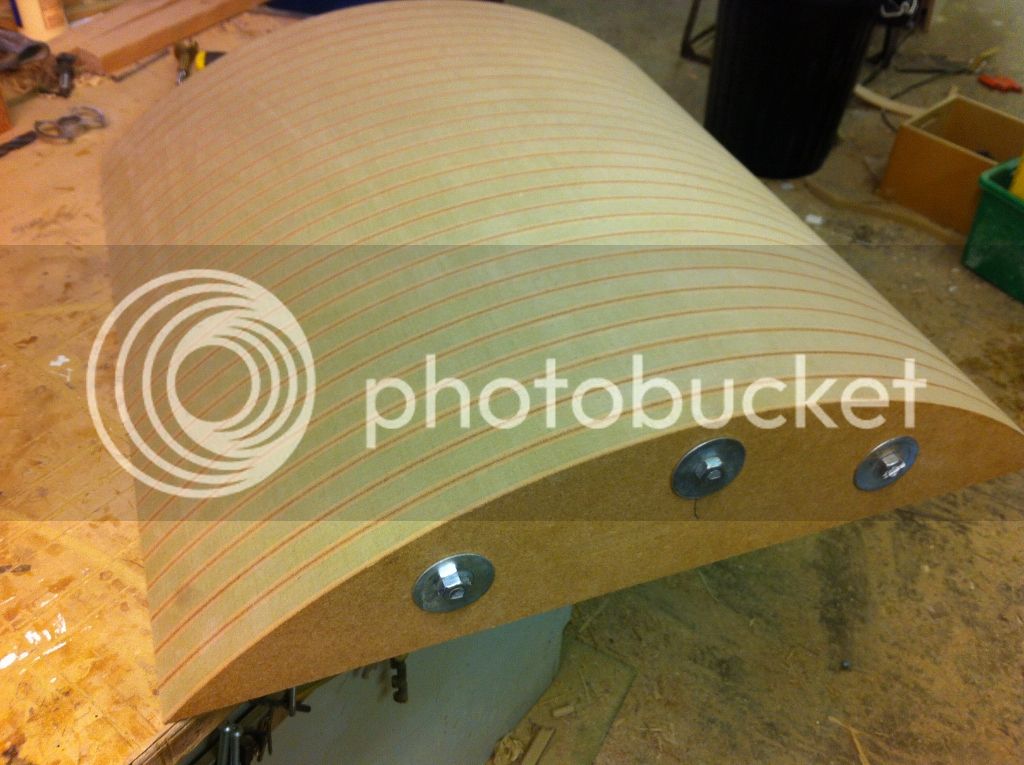
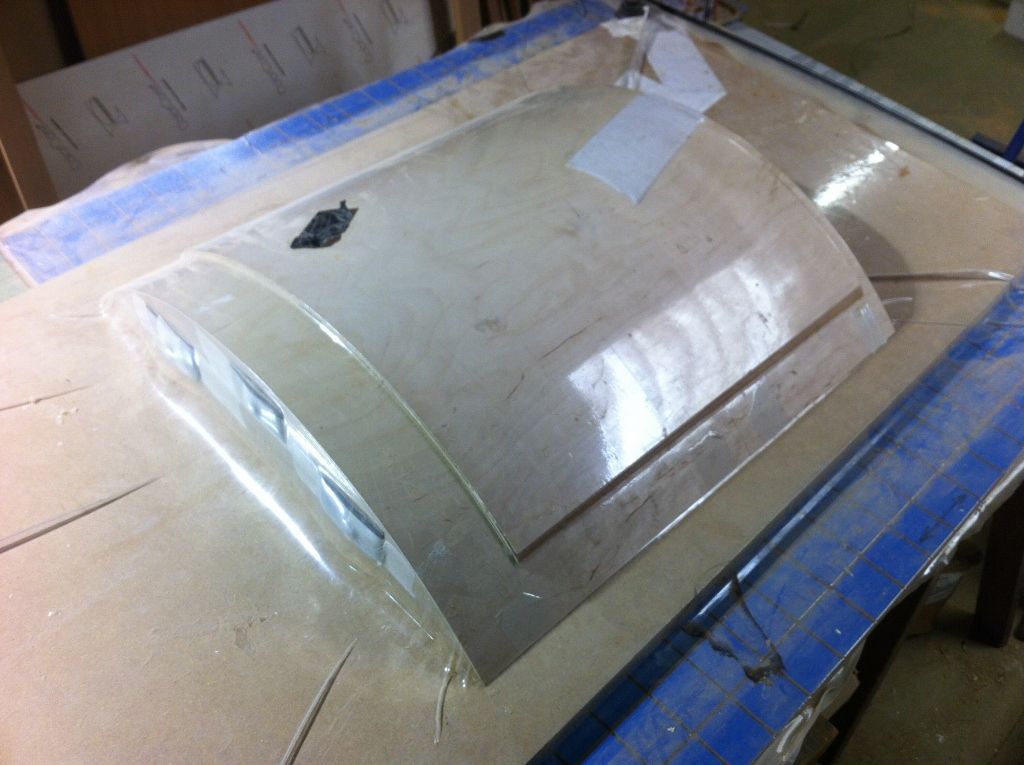
First job was to make the former for the curved panels about 30 pieces of 25mm mdf were cut to the same size and some 10mm holes were put in using a router and guide bush through the template. The pieces are then assembled onto some threaded rod.

k-130765x1024.jpg


The finished former was skinned in 1.5mm ply but i forgot to photo that

k-1311024x765.jpg


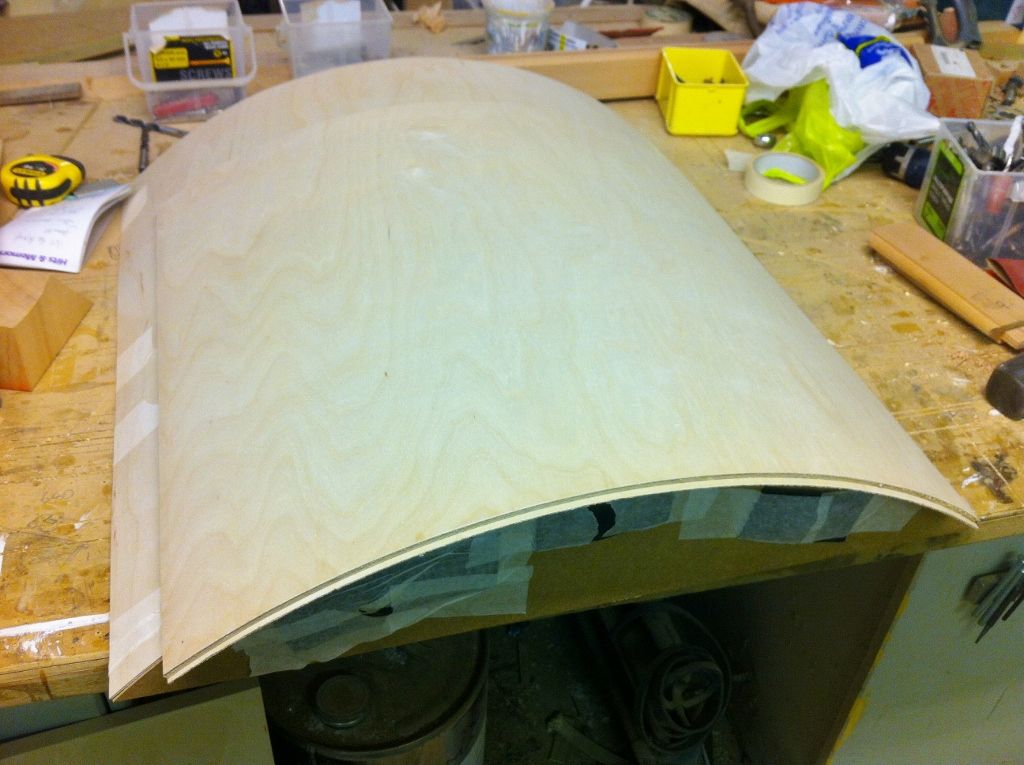
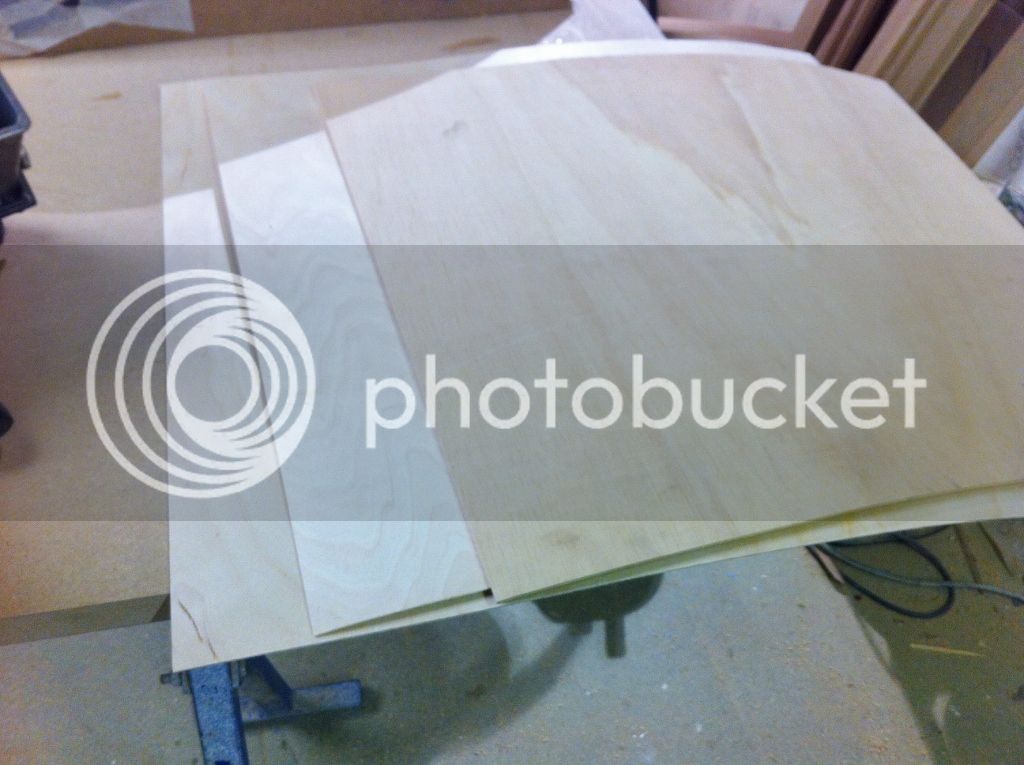
The panel is made up of 2 pieces of 1.5mm ply with a 3.2mm piece of bendy ply in the middle. The 1.5mm ply was used on the show faces as the bendy ply grain is quite coarse

k-1341024x765.jpg


this sucks

k-1331024x765.jpg


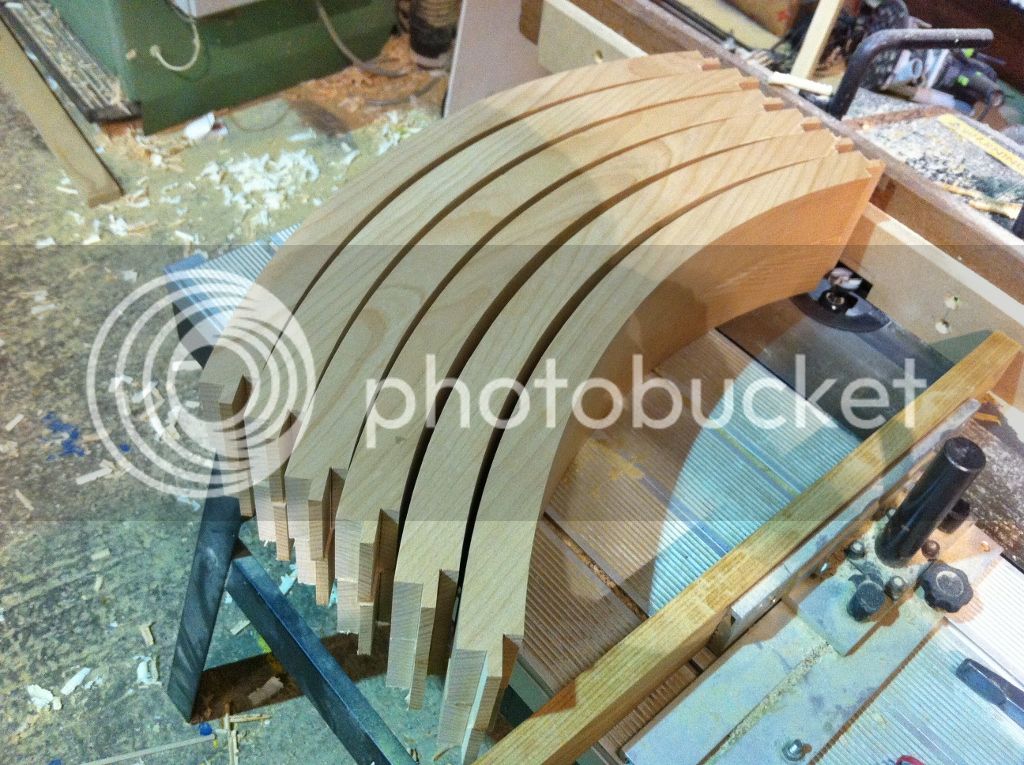
The frame component were cut from the solid and machined the same way as frame components previously.

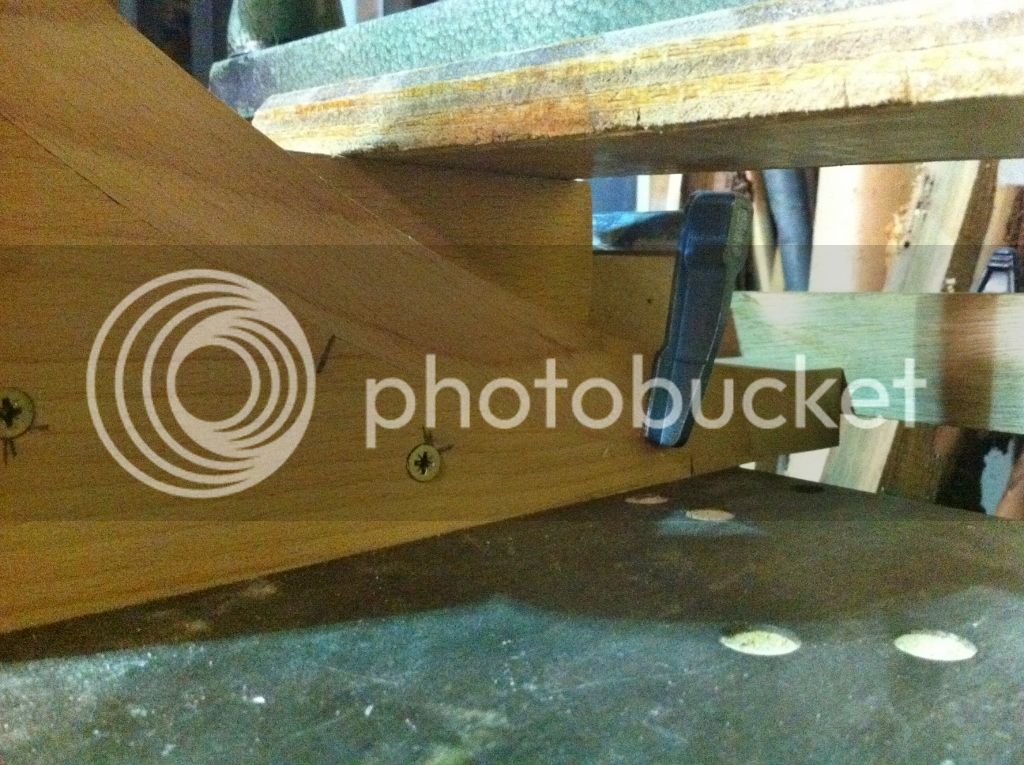
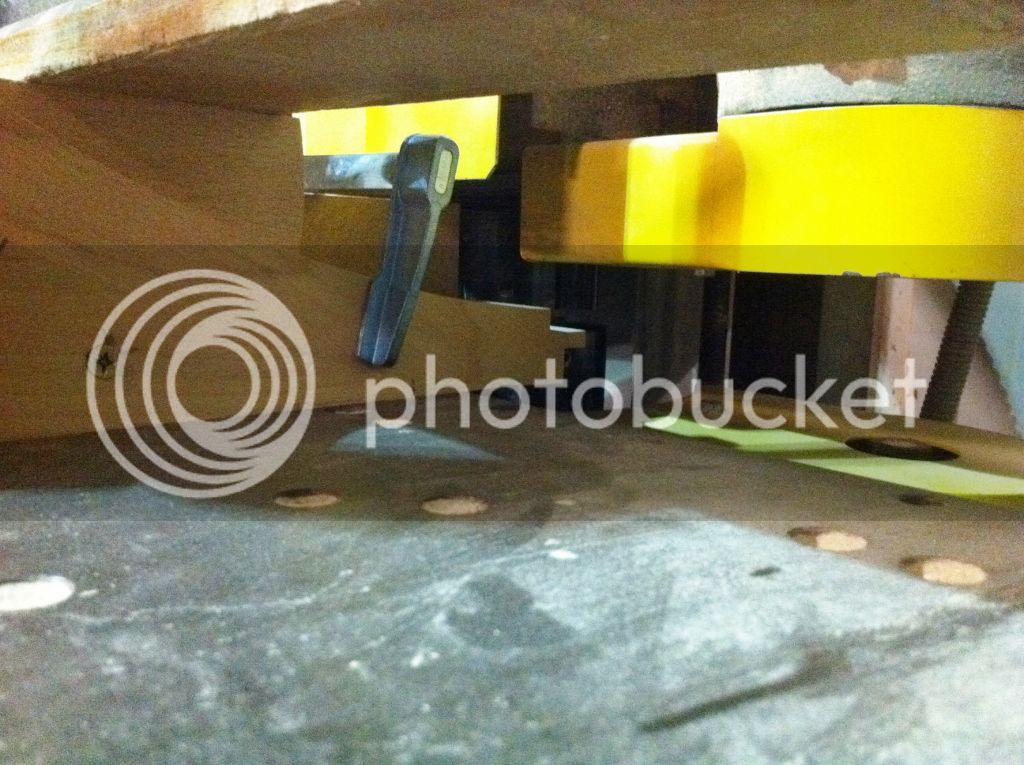
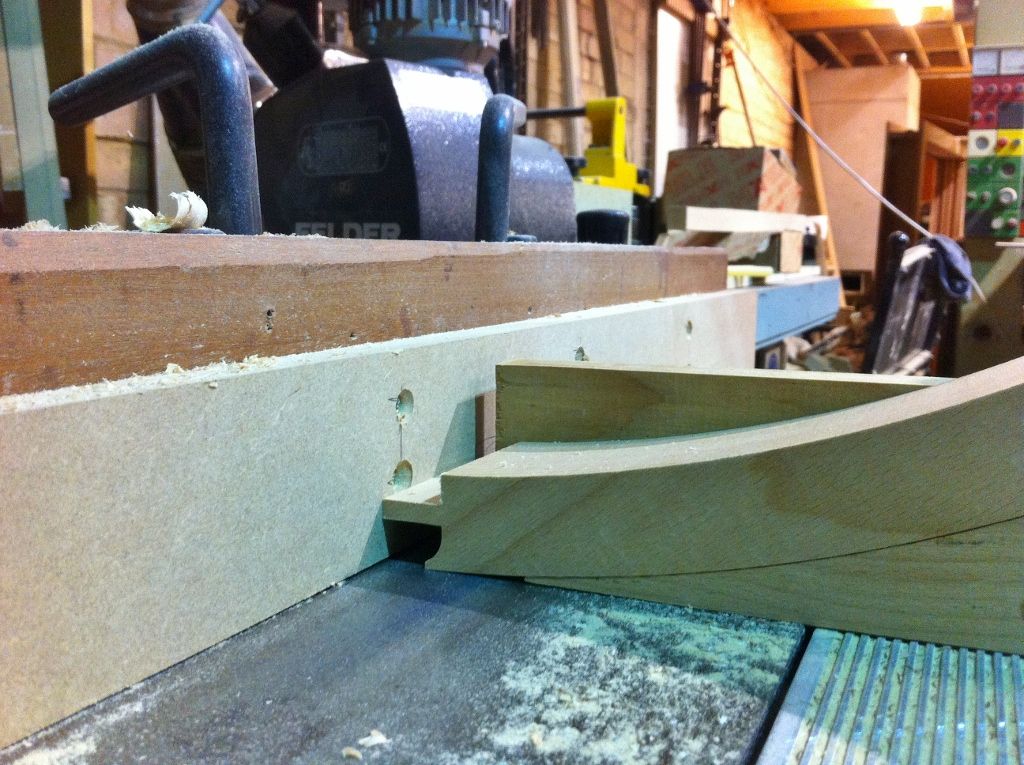
A curved saddle was made to hold the curved rails in the tenoner at the right angle and the cut made

k-1351024x765.jpg
k-1361024x765.jpg


Components tenoned

k-1371024x765.jpg


A scribe cut was made on the router table

k-1381024x765.jpg

k-1391024x765.jpg


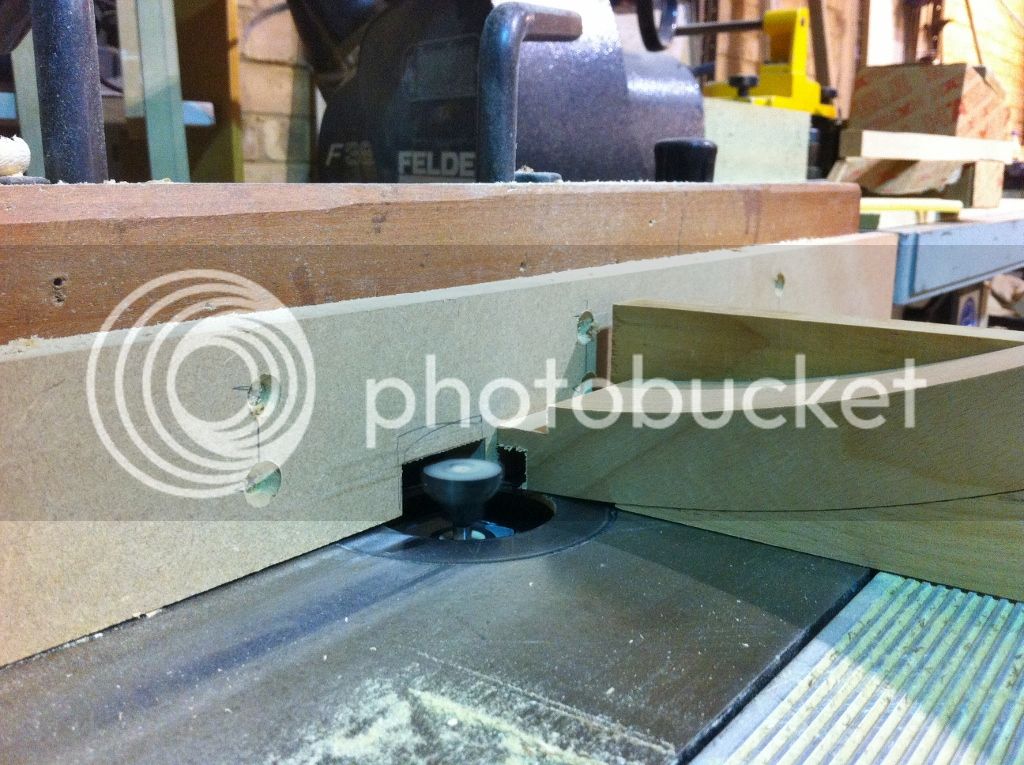
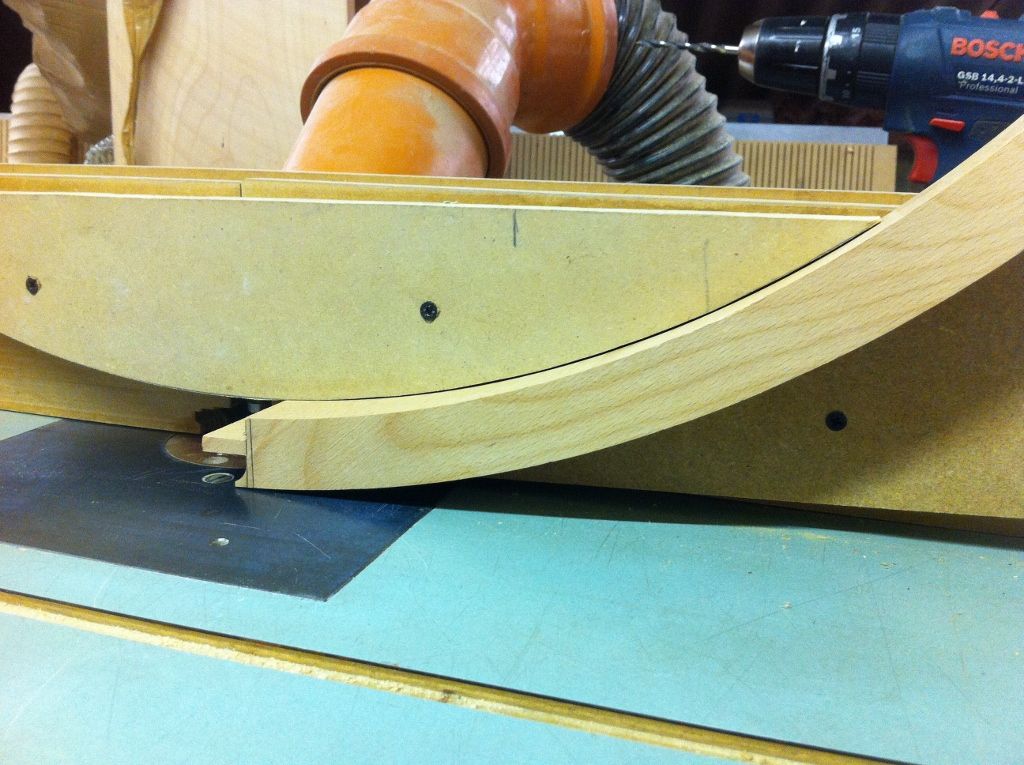
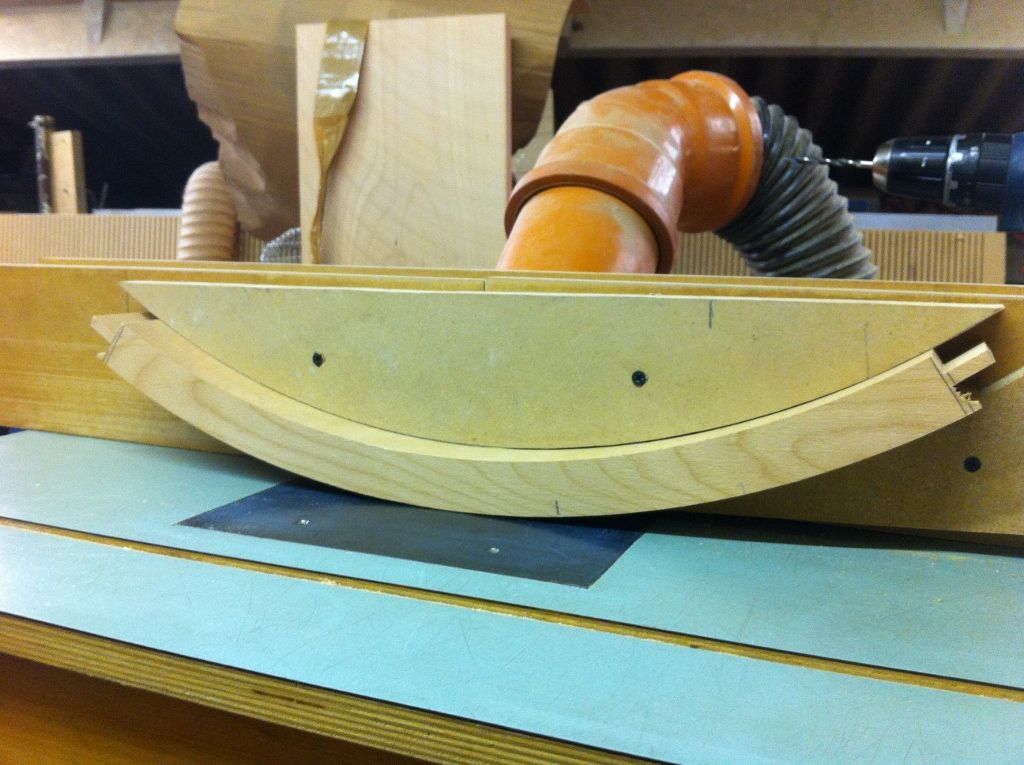
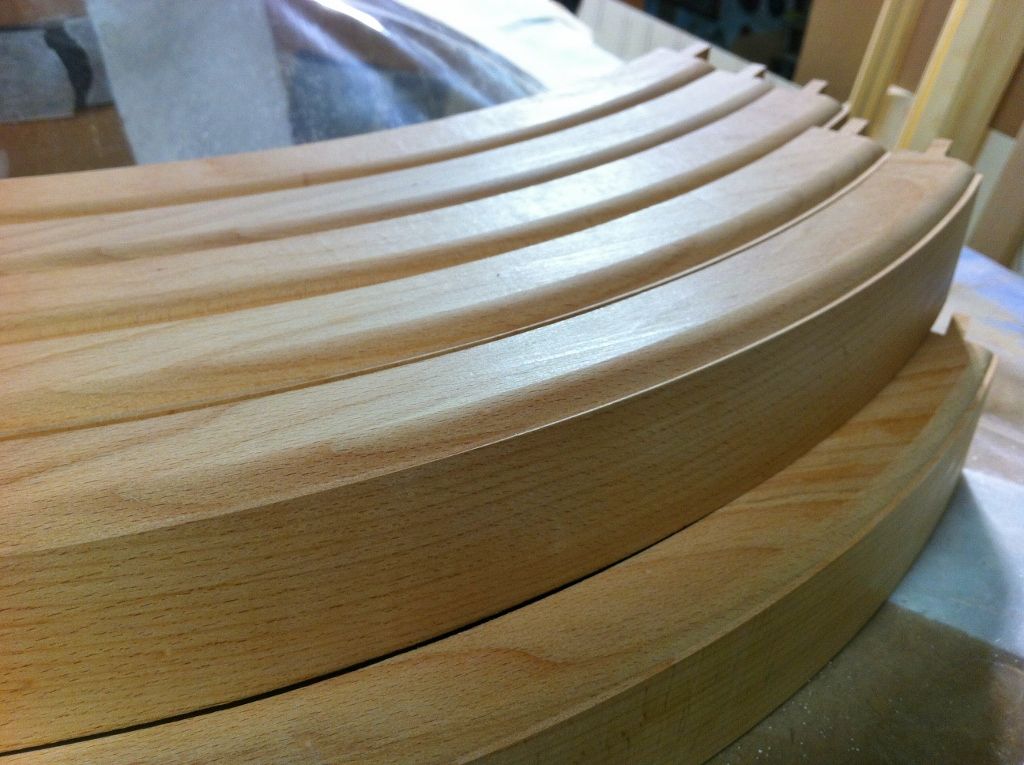
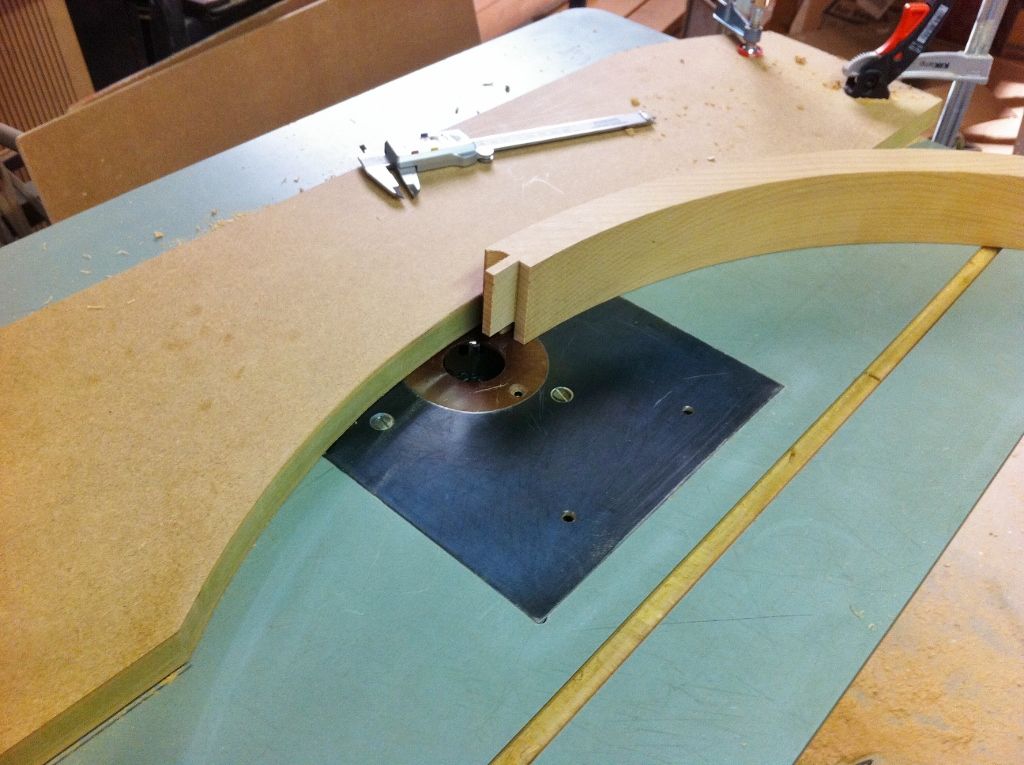
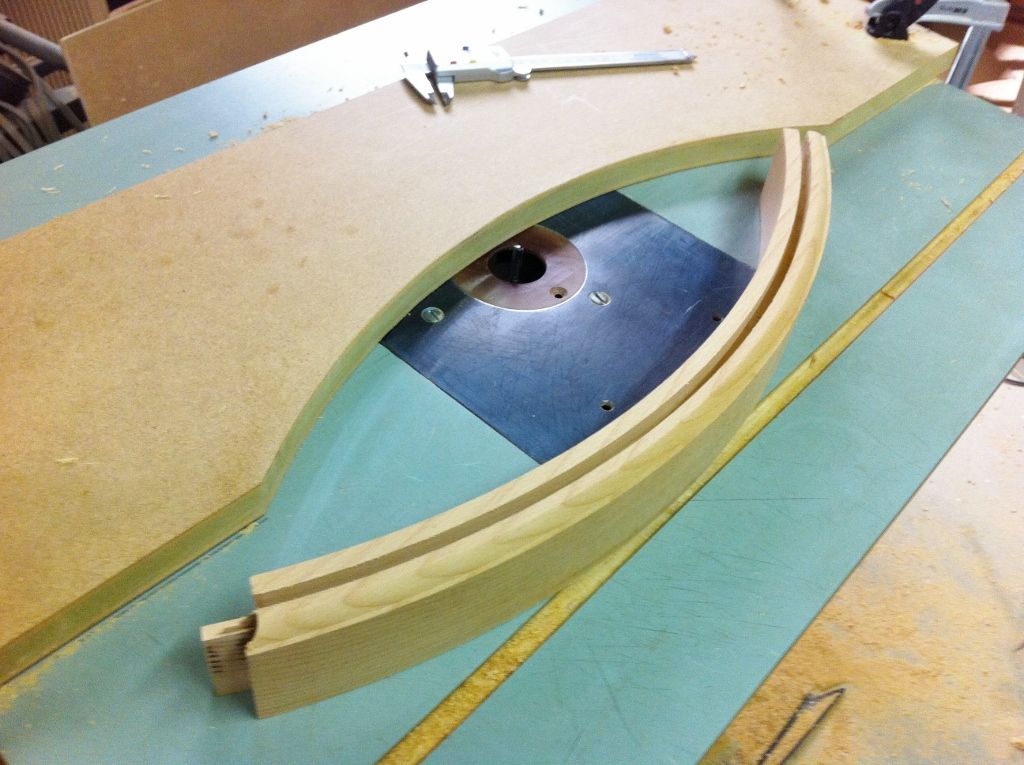
The ballache with this was always how was the mould going to be put on the curved rail as the cutter works with the stock flat in the end it was quite simple. some curved parts were screwed onto the router table fence and the bits fed through. You have to lower the cutter slighty than the setting for the flat stock as i found out on the test bit probably to do with the arc or something

k-1401024x765.jpg

k-1411024x765.jpg

k-1421024x765.jpg


Just the groove to put in now. 6.35mm cutter in the router table a curved fence and about 4 3mm deep passes

k-1431024x765.jpg

k-1441024x765.jpg


The former was used to get a datum on the panel to get it square without being twisted

k-1451024x765.jpg


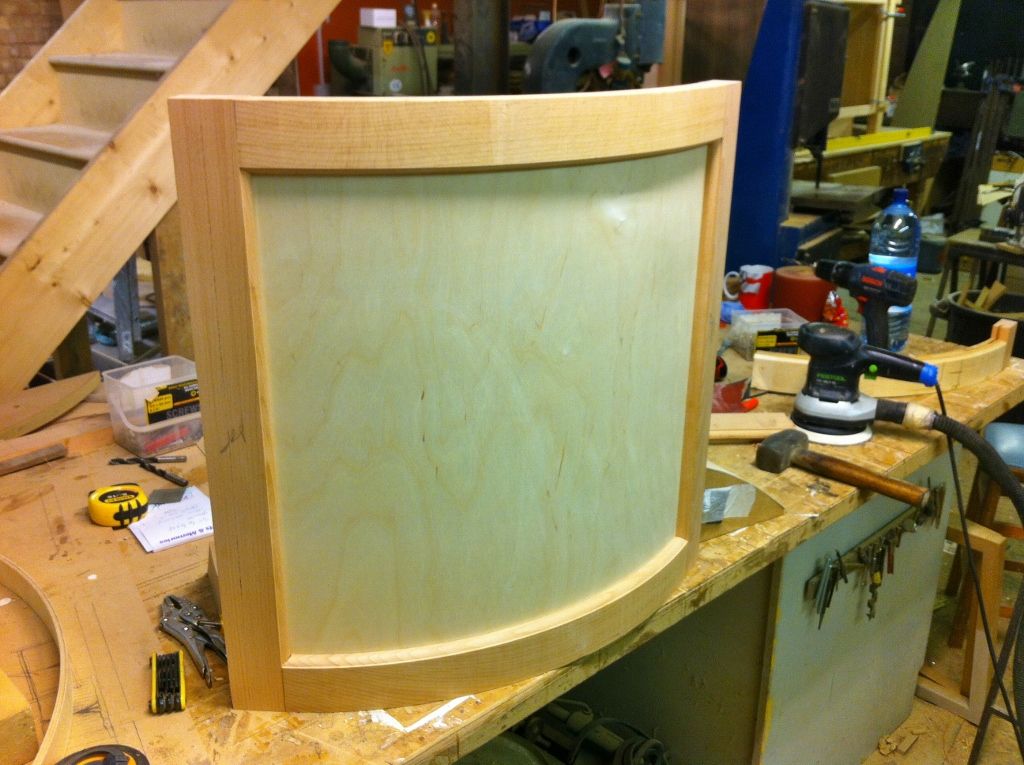
It works a dry run of assembling the door

k-1461024x765.jpg


Thanks for looking

cheers

Jon
 
Fantastic Jonny, keep them coming.
 
Really interesting to see the curved work.

You surely don't use that fookin big hammer to knock your doors together do you? :shock:
 
Nice thread Jonny. Very interesting systems and unbelievable Tekkkkkers on display.
You_da_man_dalai_lama.jpg
 
Cheers guys

Mr Ed":263p35d8 said:
Really interesting to see the curved work.

You surely don't use that fookin big hammer to knock your doors together do you? :shock:

They only needed a light tap :D I don't actually know what it's doing there the doors are assembled using a counterbored screw as its pretty much impossible to clamp them up without a lot of jigging about.

Cheers

Jon
 
Awesome wip.

Though all of a sudden I feel a bit humbled at the skill some people have, thanks for sharing though.
 
Thanks for the comments :D

So on with the top

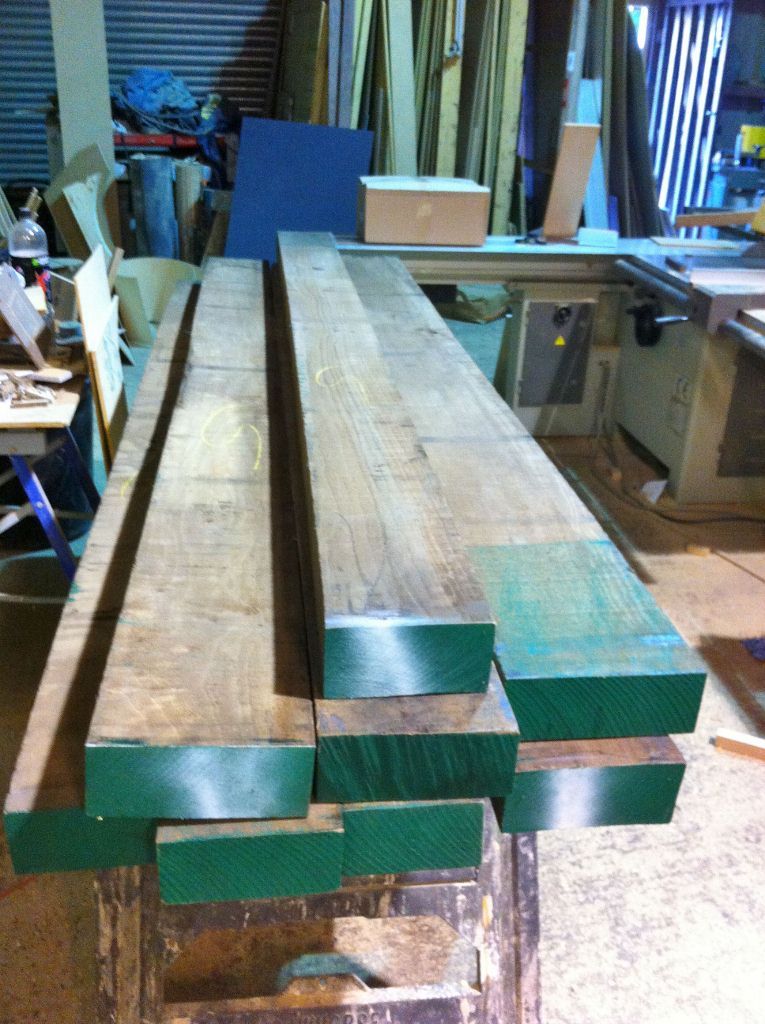
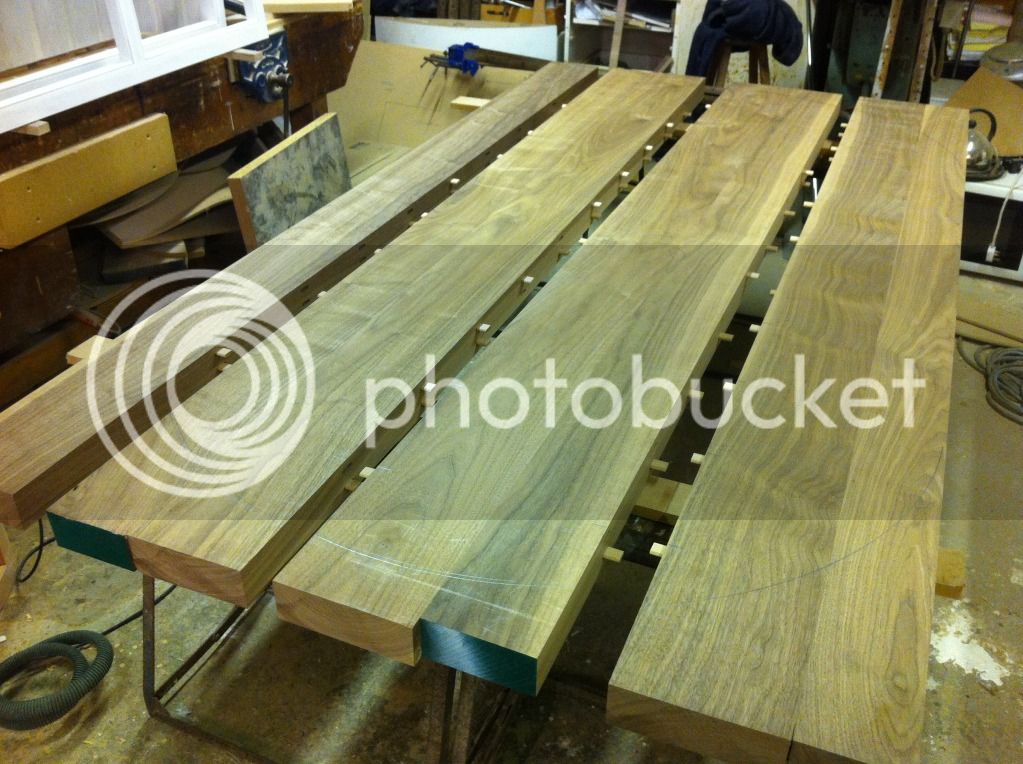
Some expensive 3inch walnut

k-151765x1024.jpg


The top is going to end up at 60mm thick so I decided to do the top glue up in 2 hits firstly the stock was joined into smaller sections the thickness at the moment is 65mm

k-152.jpg

k-153.jpg


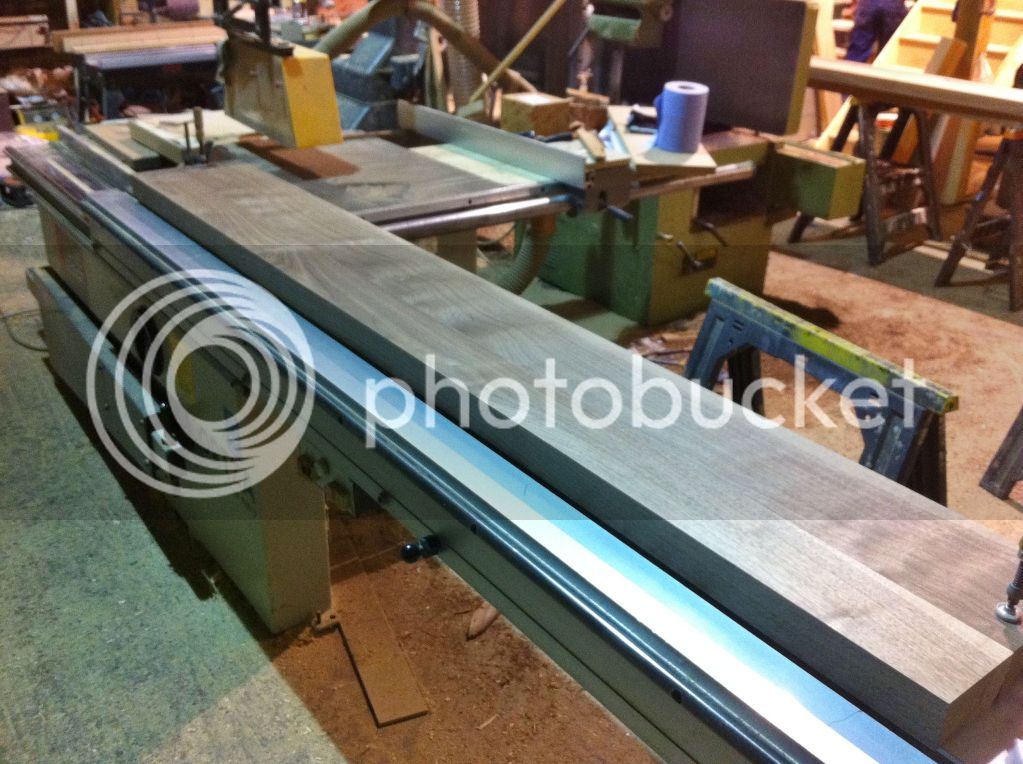
These sections are then resurfaced and thicknessed down to 60mm due to the size and weight these pieces are jointed on the sliding table with a fine cutting blade

k-154.jpg


A dry run was done to check everything was straight and level. You can see the double row of dominoes as well

k-155.jpg


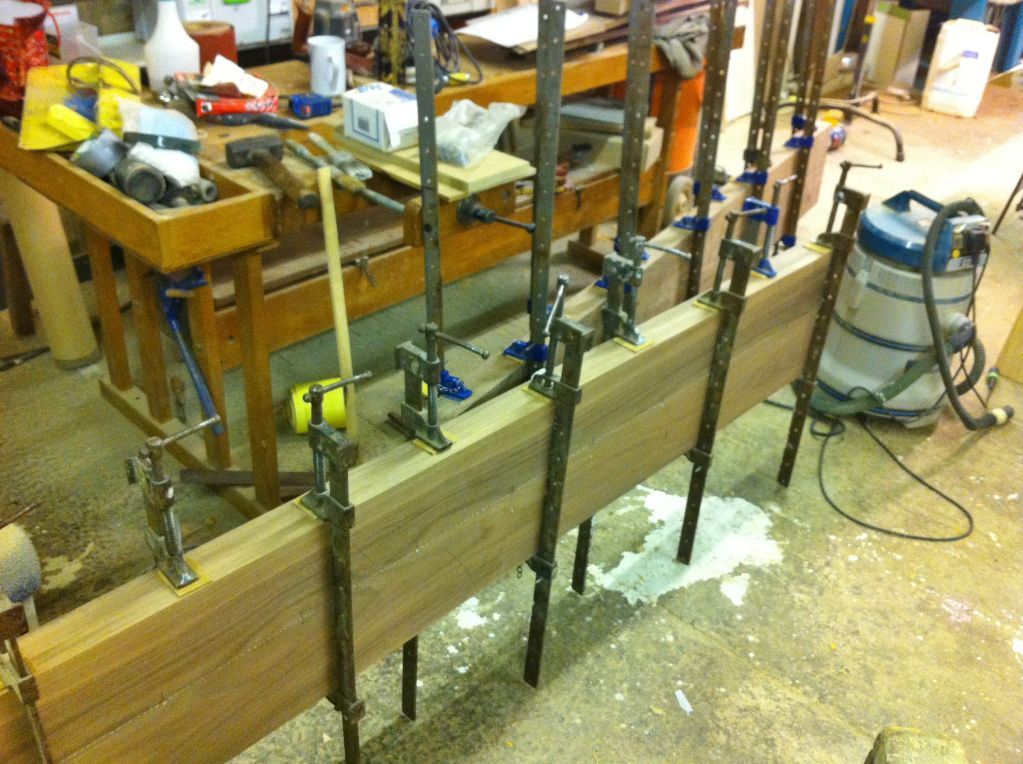
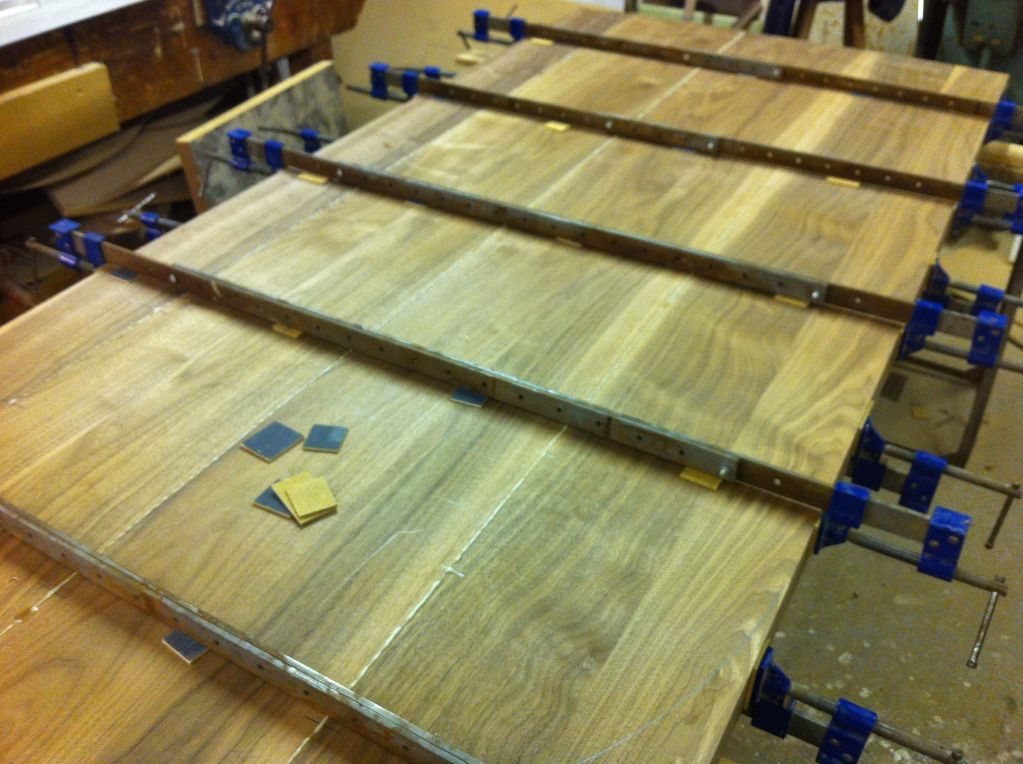
I didnt have enough cramps of sufficient length so 22 sash cramps were bolted together to get 11 the right length

k-156.jpg


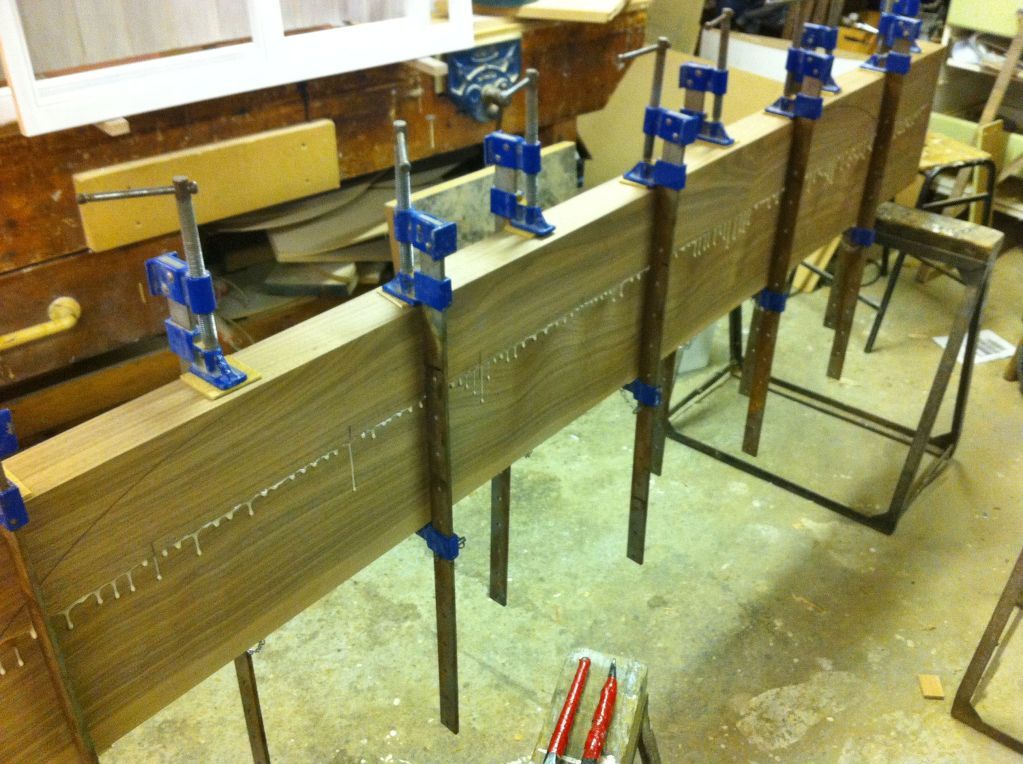
Glued with UF resin

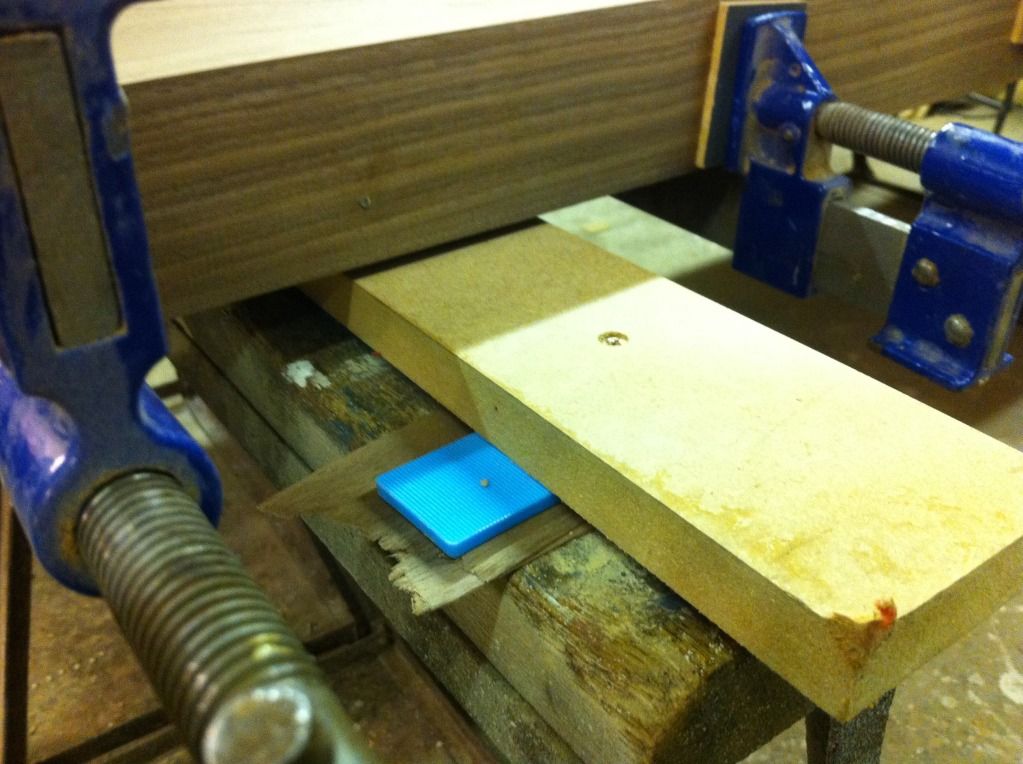
The floor is uneven in the workshop so the tops of the trestles are leveled so hopefully the top will be nice and flat when the clamps are released

k-158.jpg


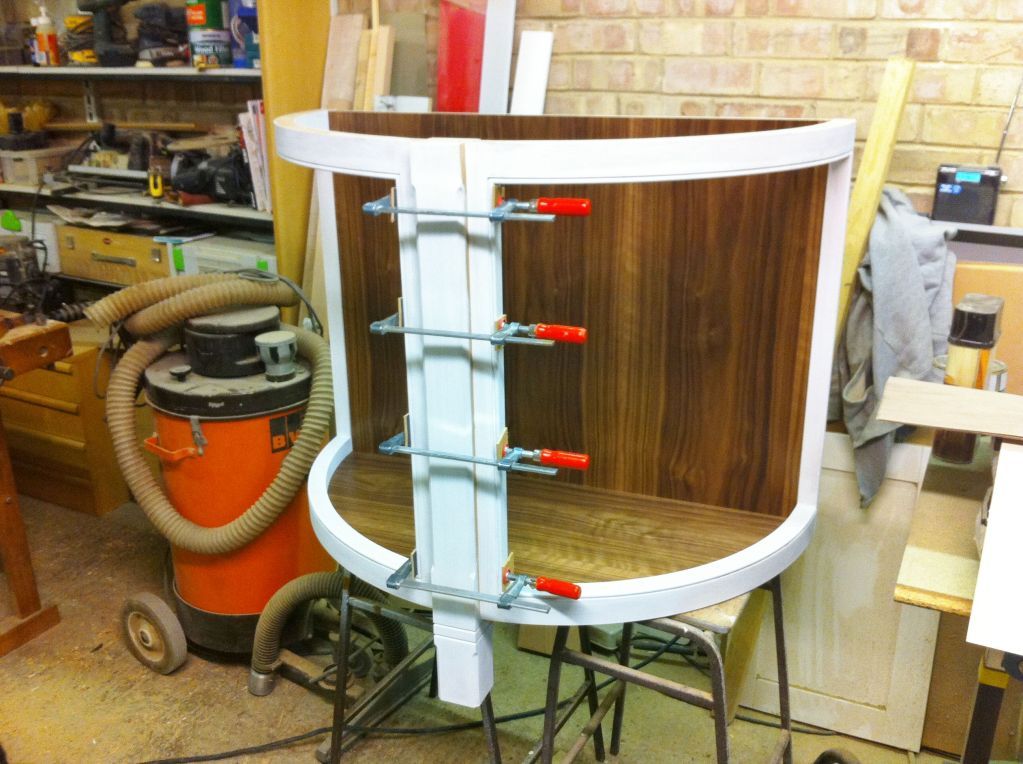
I have also been glueing up the carcases

k-159.jpg


Thanks for looking

cheers

Jon
 
How well did the joints turn out in the worktop? Looks good, that worktop will be impressive.
 
That's a stunning top to finish off some remarkable work, don't envy you having to handle that weight of the slab to finish it off, or the completed unit for that matter.
 
Back
Top