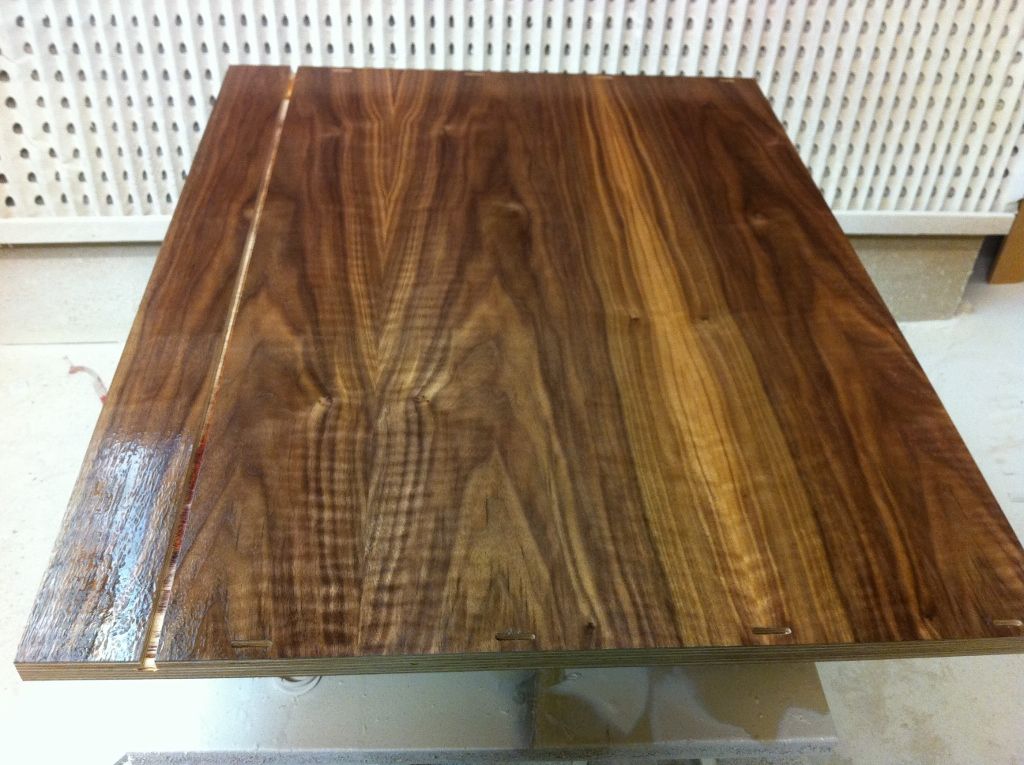
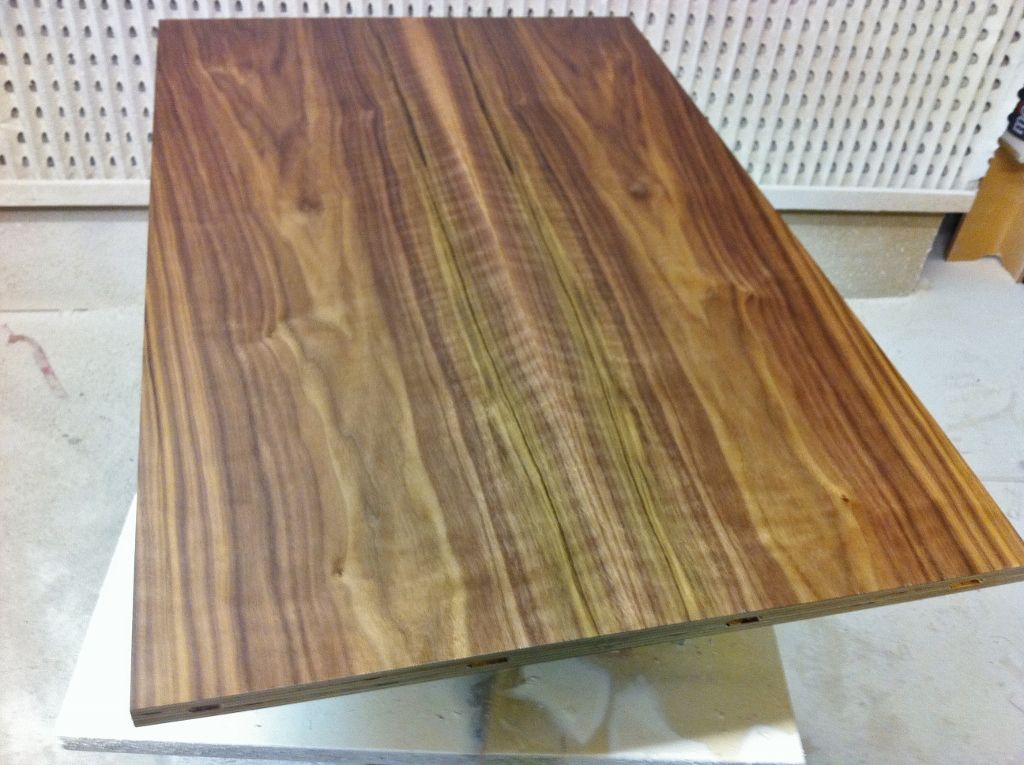
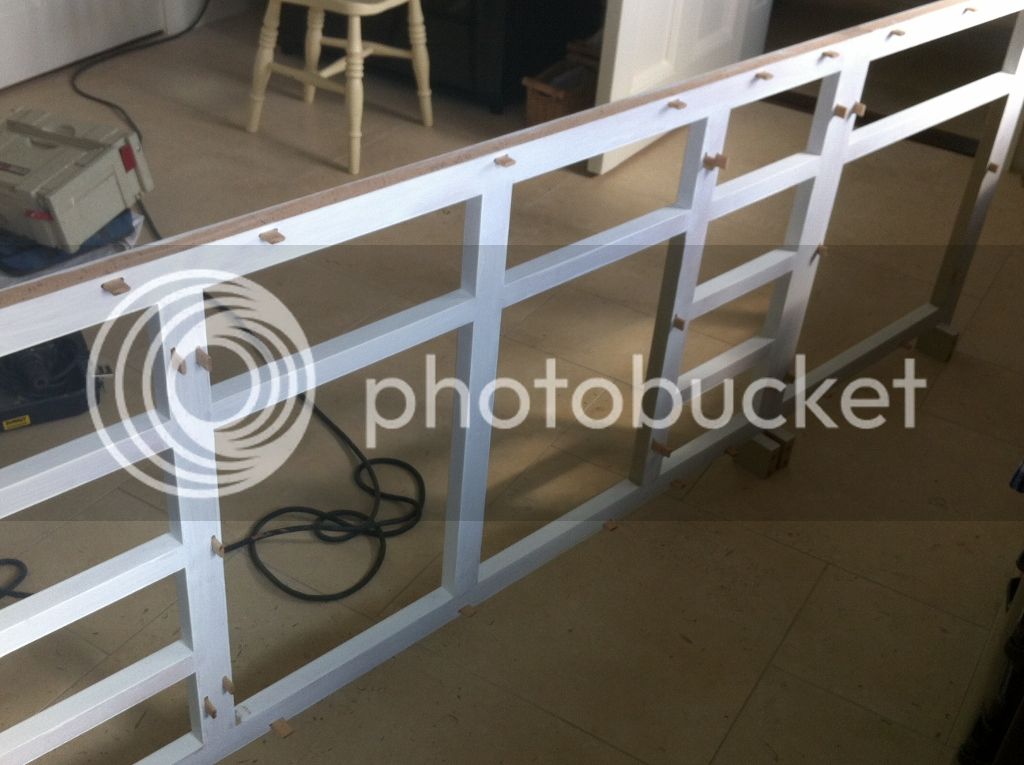
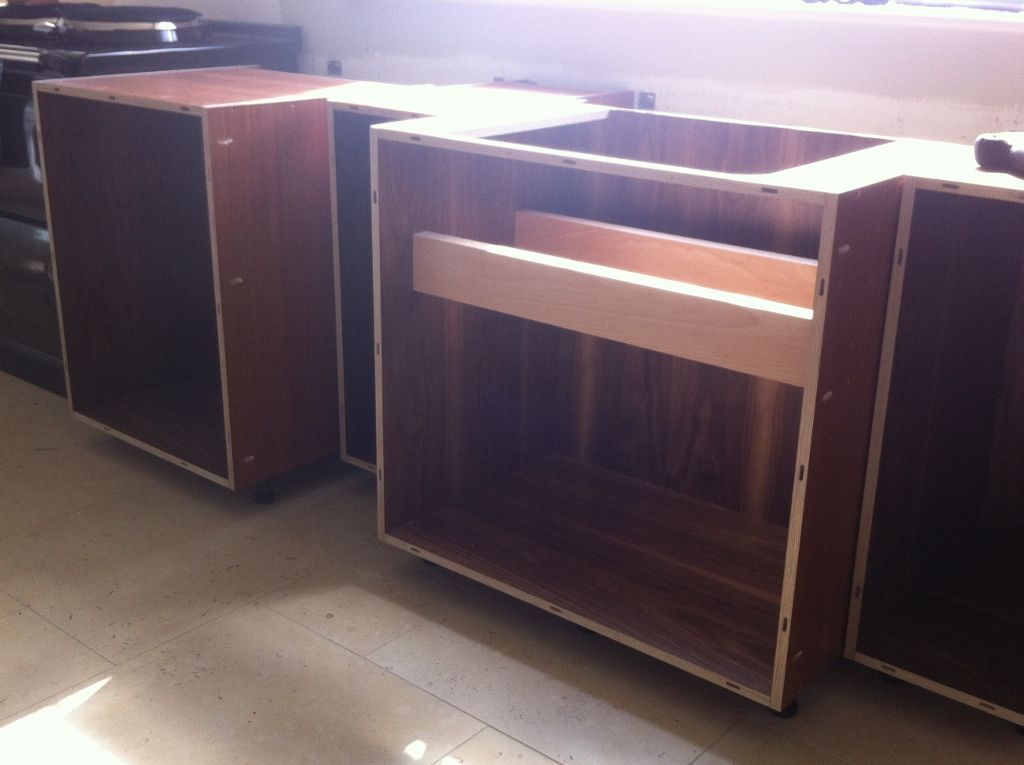
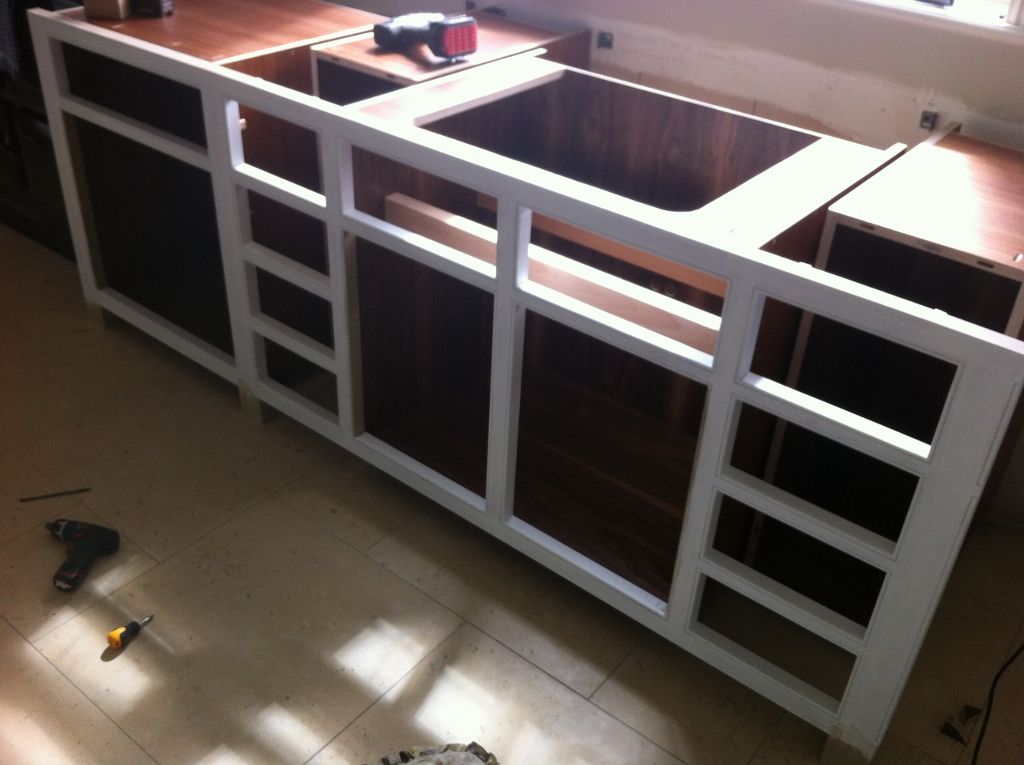
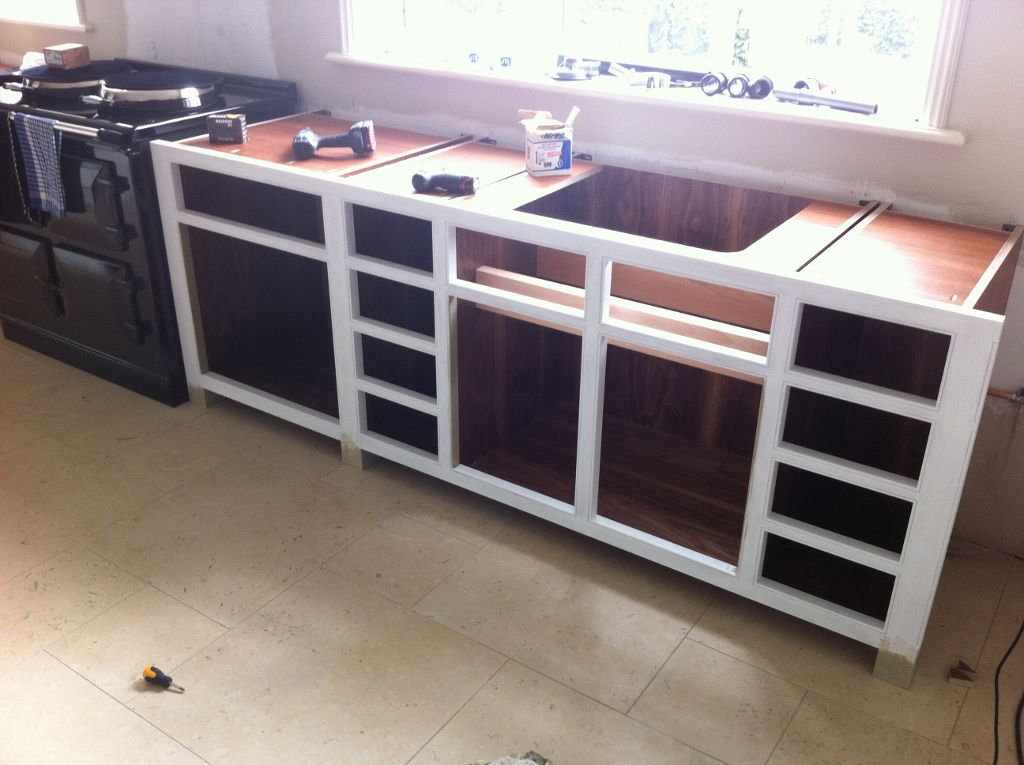
Walnut and painted WIP

UKworkshop.co.uk

Help Support UKworkshop.co.uk:

This site may earn a commission from merchant affiliate links, including eBay, Amazon, and others.
Been doing a bit more today started by ripping some stock to make the face frames in CND Beech which stands for colour no defect but in reality its pretty clean stock usually.

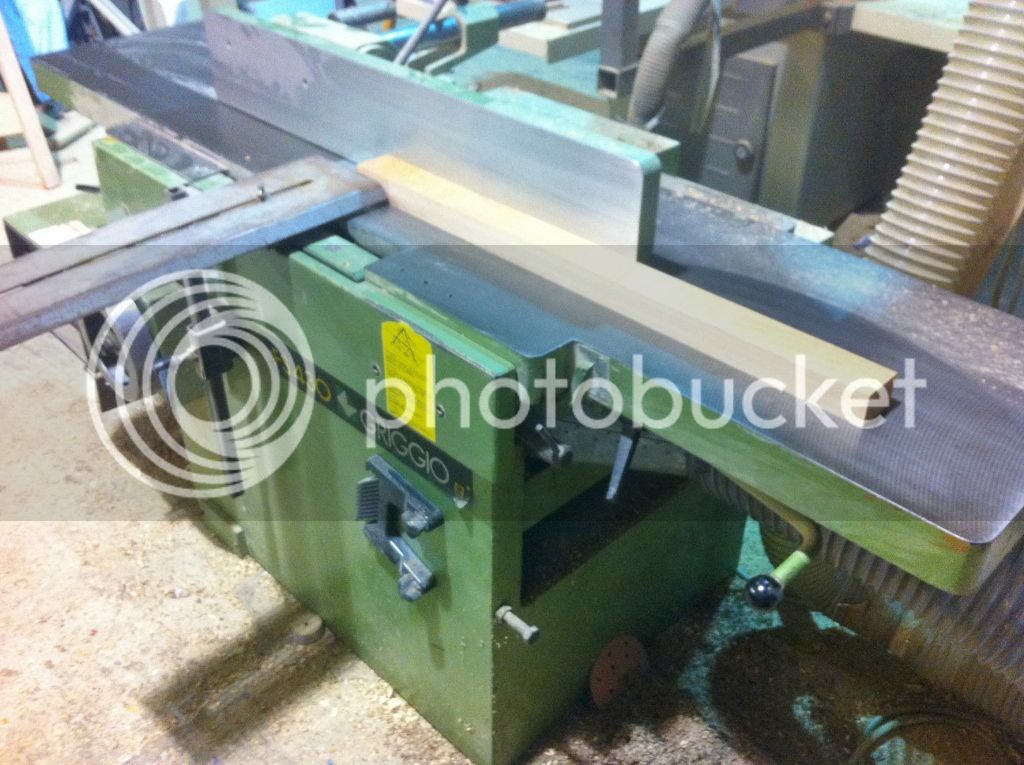
Sections were machined on the planer thicknesser
k-311024x765.jpg


I prefer to do the widest face first and then thickness all of the pieces to thickness in this case 33mm
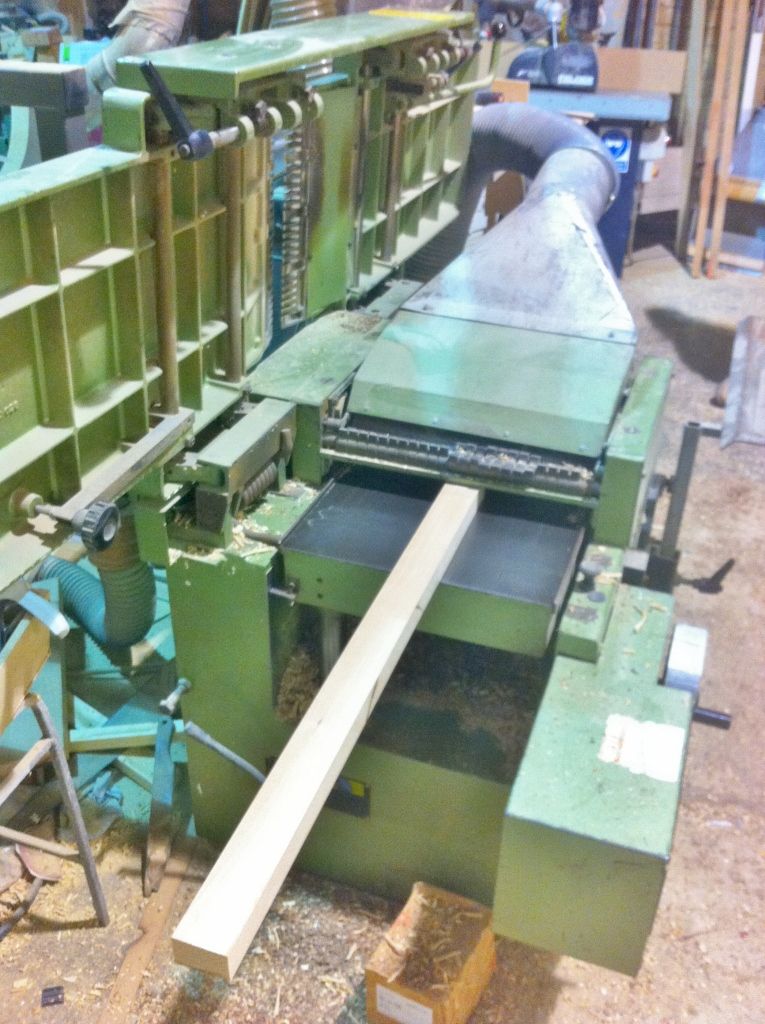
k-32765x1024.jpg


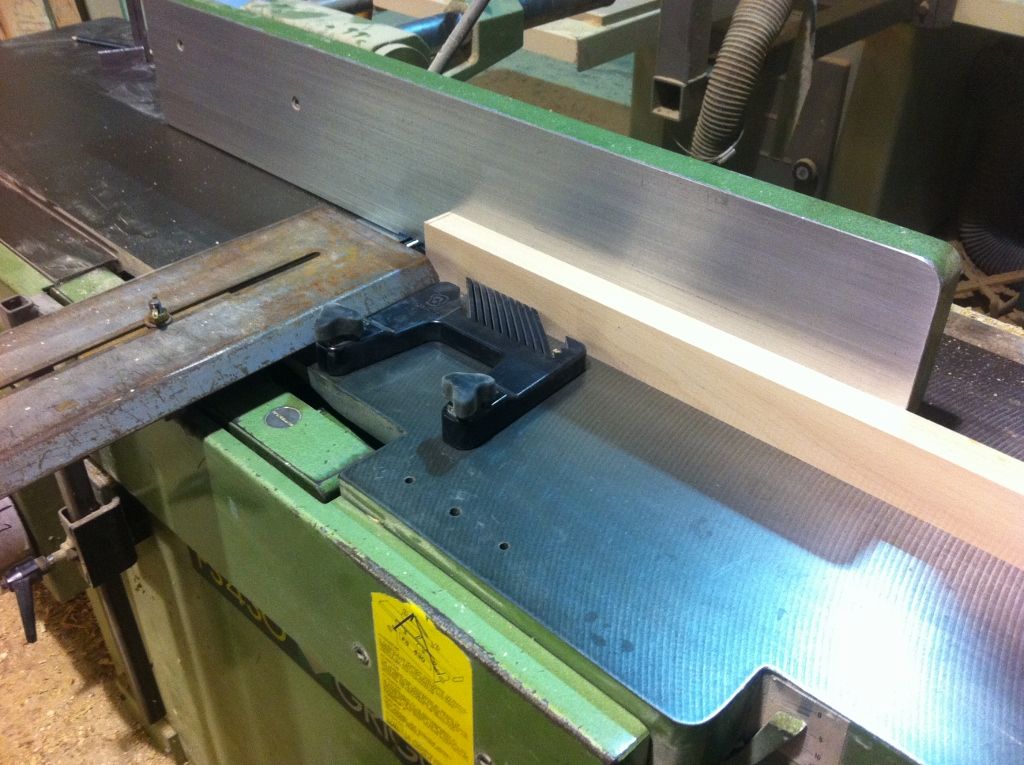
I then joint all the edges and thickness to width
k-331024x765.jpg


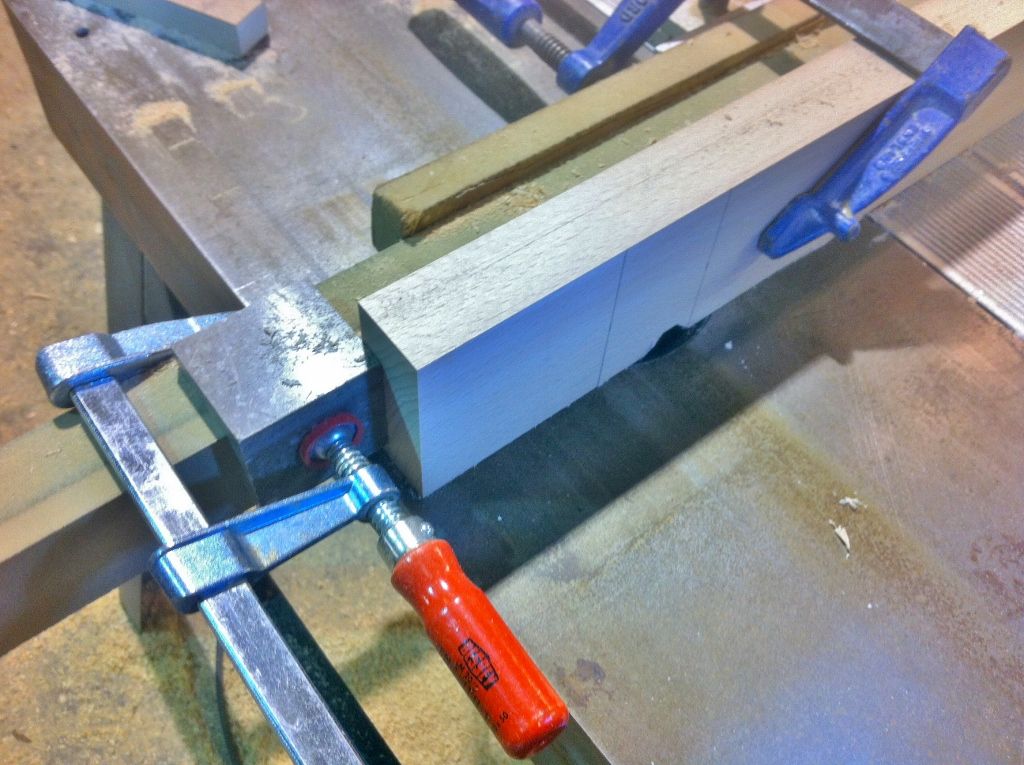
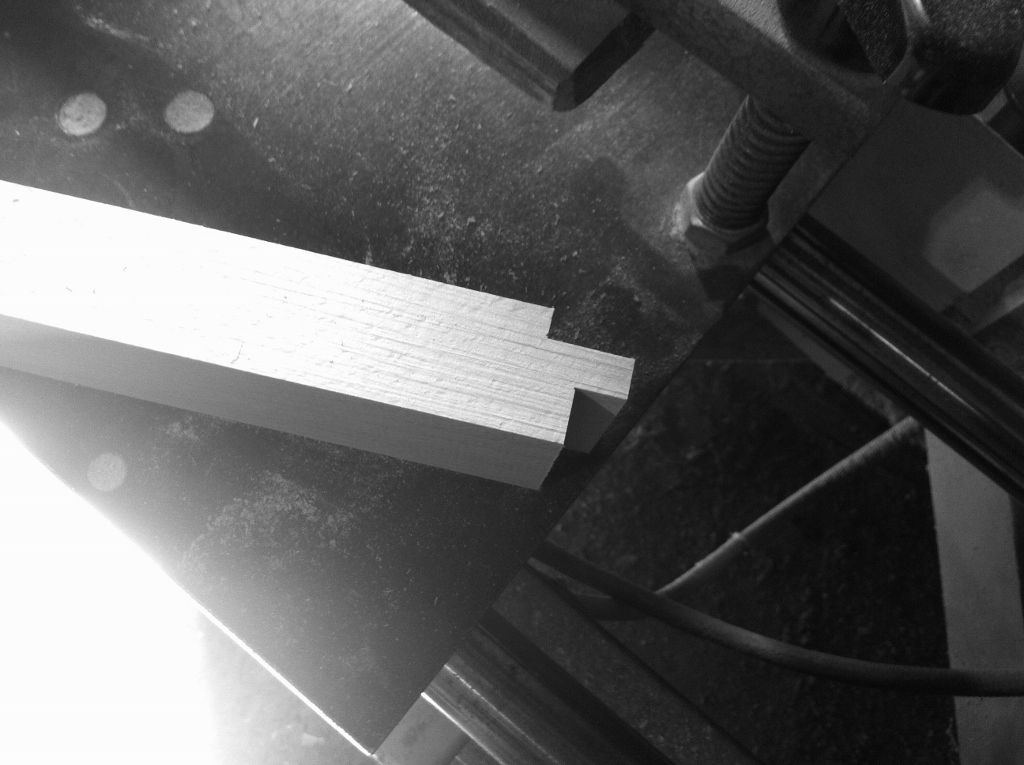
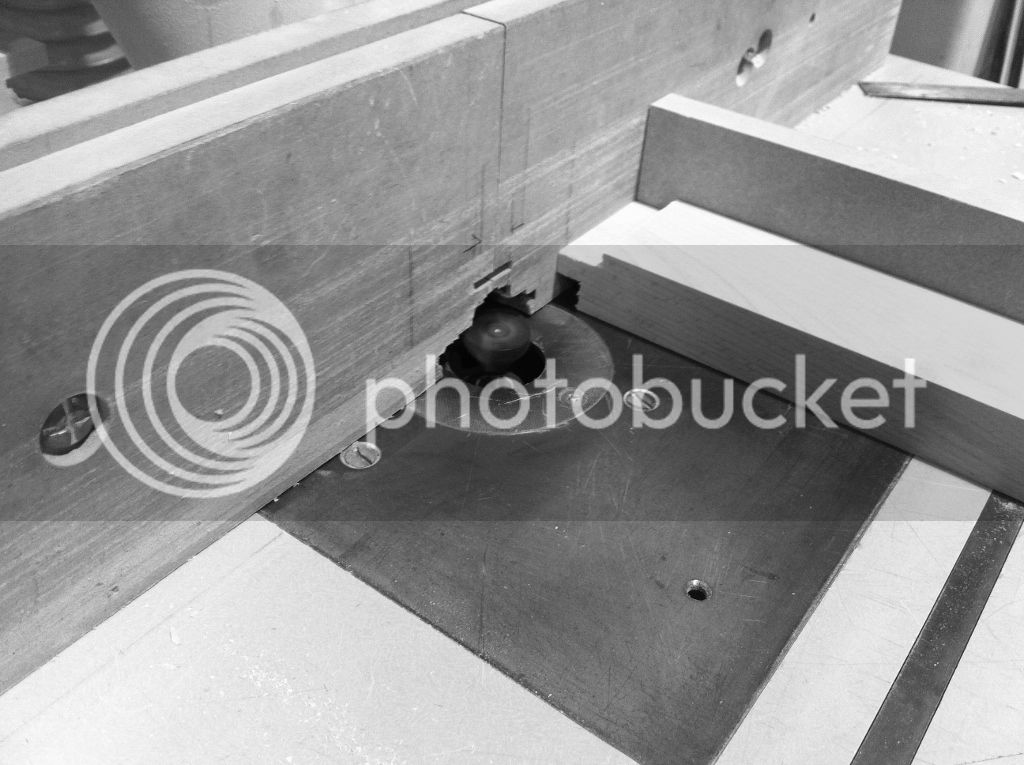
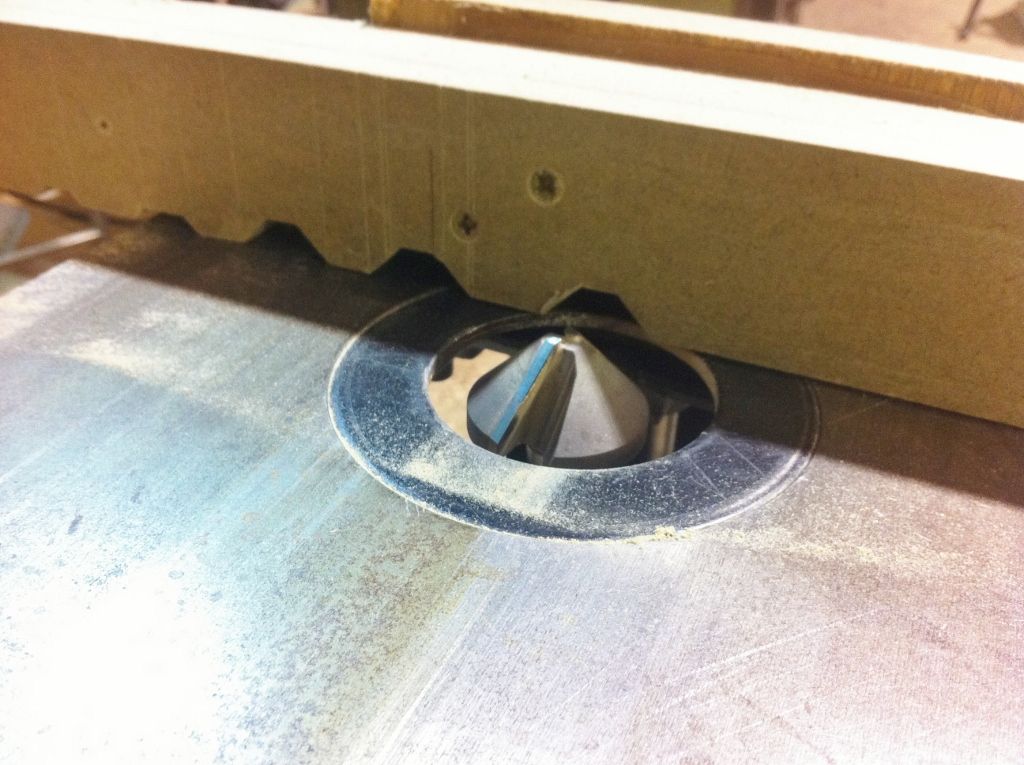
To start making the frames i cut the joints first before mouding the bead. A 45 degree cutter is used in the router table to do this. I decided to treat myself to a new squelch bit on the fence so i moved the fence along a bit and made a cut
k-341024x765.jpg


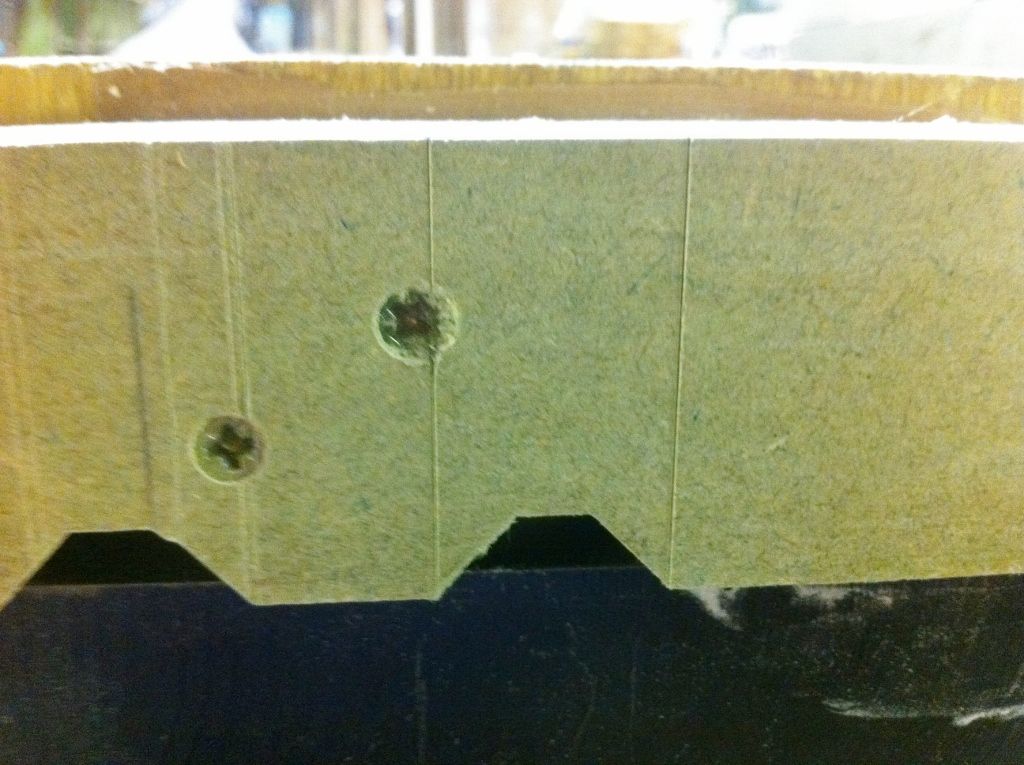
A couple of lines are scribed on the fence to aid laying out the joints
k-351024x765.jpg


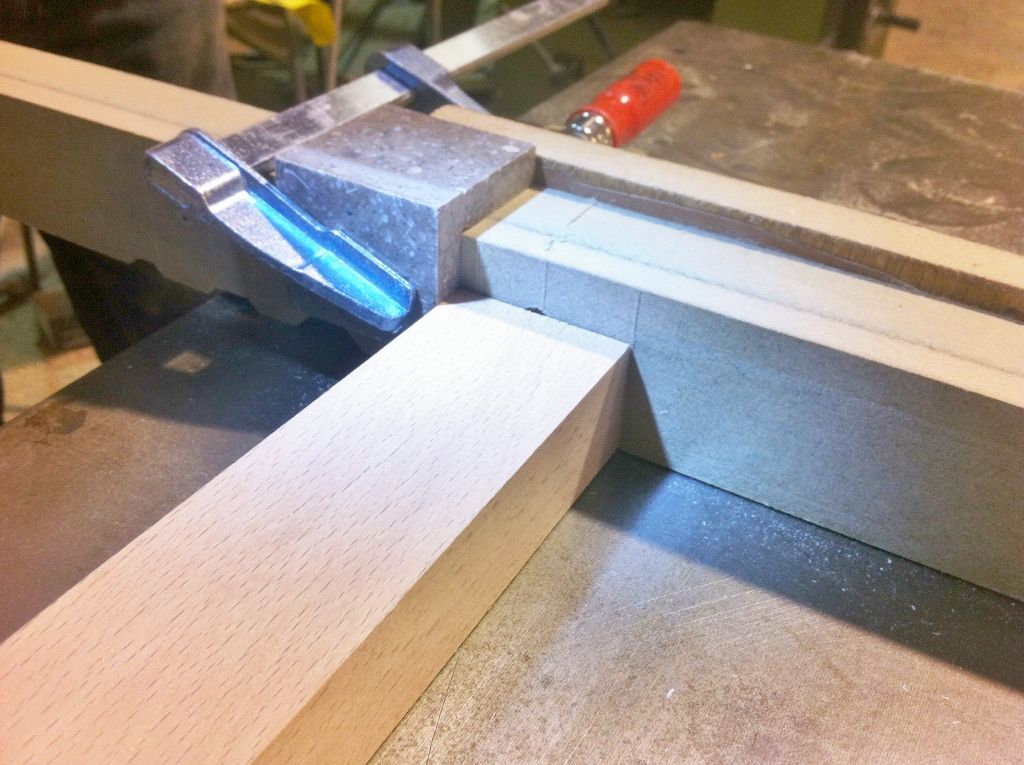
The end cuts can be setup by aligning a piece of stock against the scribed line and the stop (a right angle of corian) attached to the fence
k-361024x765.jpg


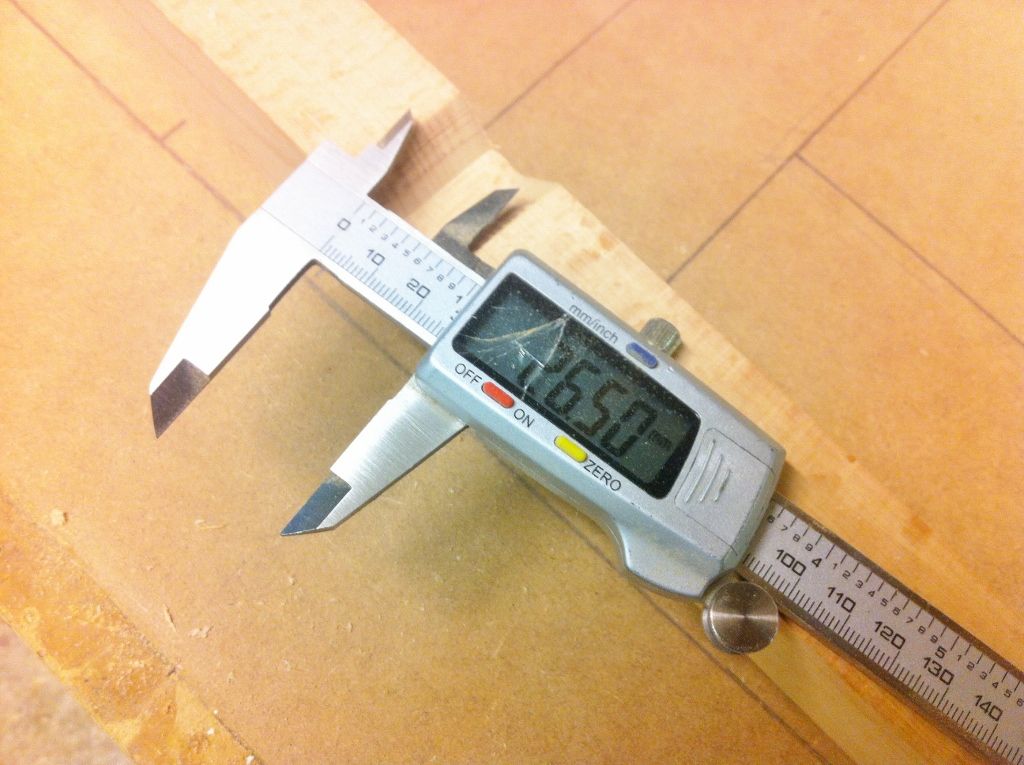
To do a notch in the middle of a board you need to know how wide the cut is in this case its 26.5mm
k-371024x765.jpg


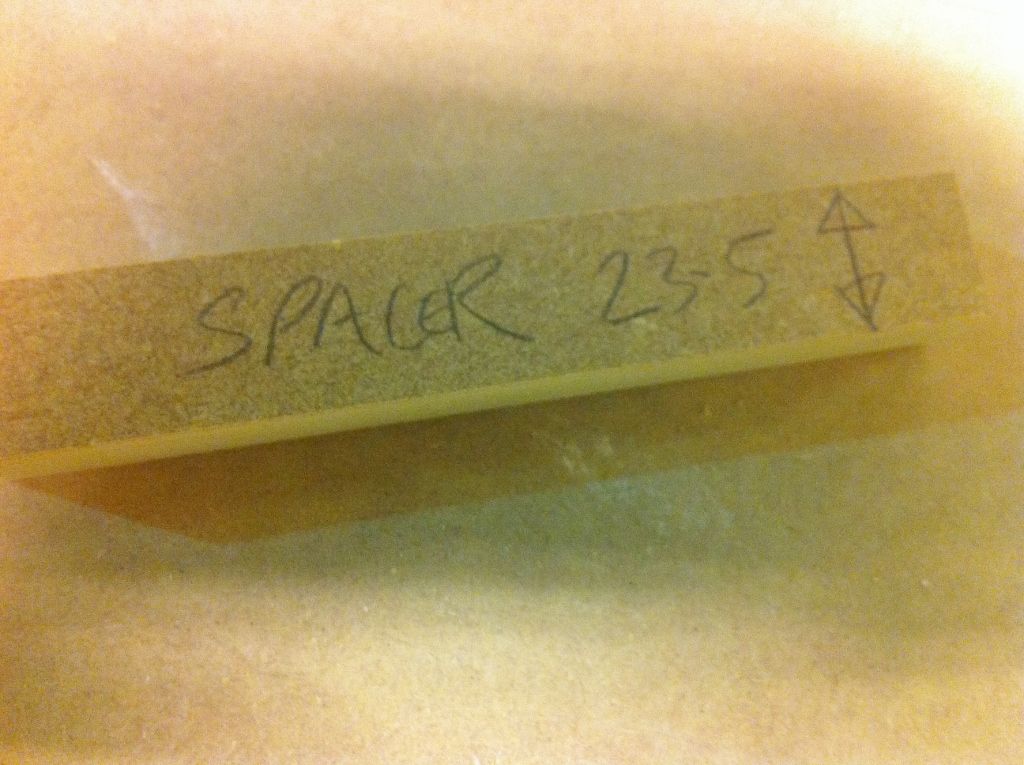
The stock for this part of the face frame is 50mm wide so a 23.5mm spacer is made on the table saw to allow the notch to be cut with one fence position
k-381024x765.jpg


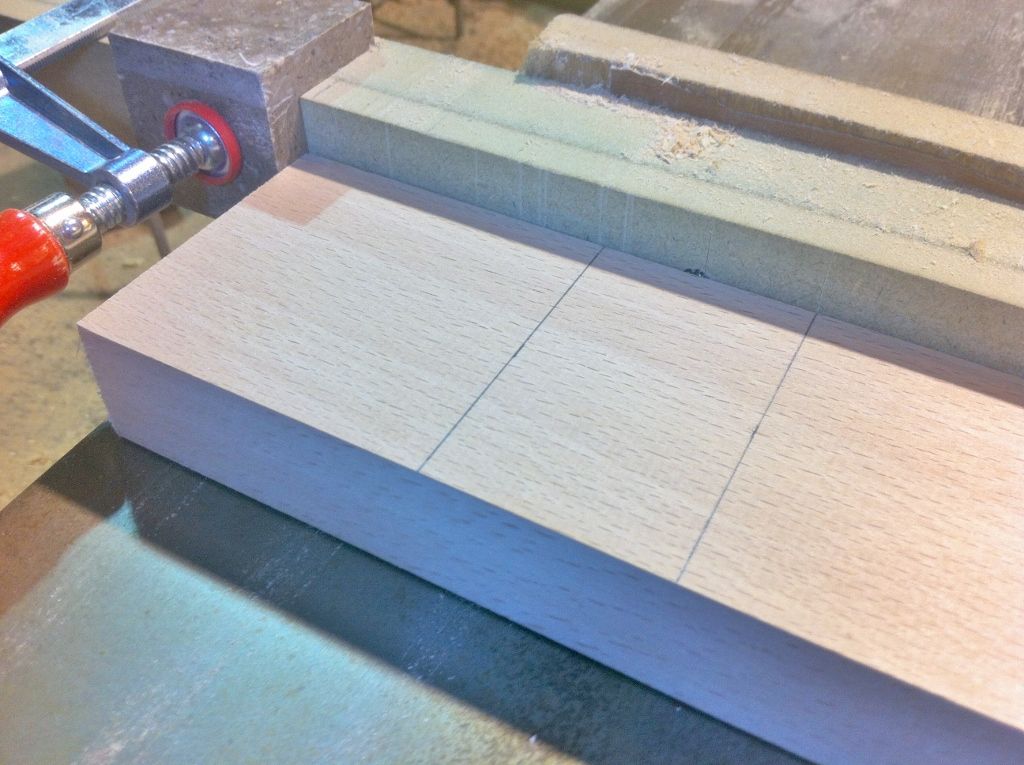
The joint is marked out and the first line aligned with the scribed mark on the fence and the stop positioned
k-391024x765.jpg


First part of the joint is cut

k-401024x765.jpg


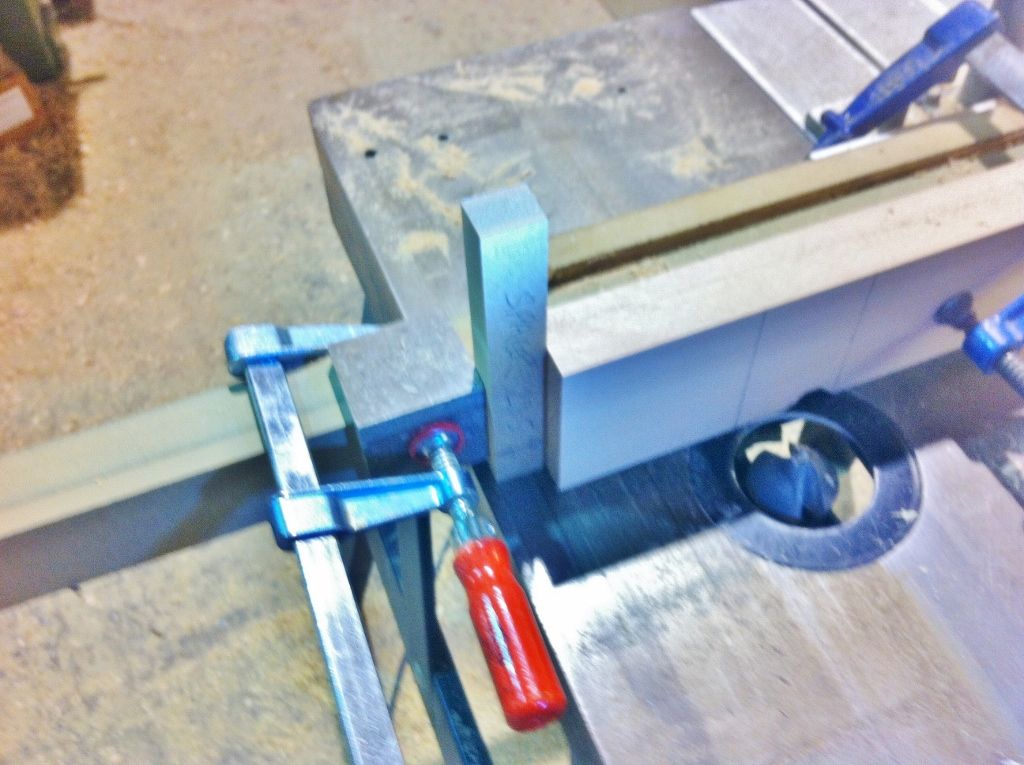
The spacer is then inserted between the end of the stop and the stock and a second notch made which will be the exact size of the 50mm rail
k-411024x765.jpg


The bit in the middle is taken out freehand
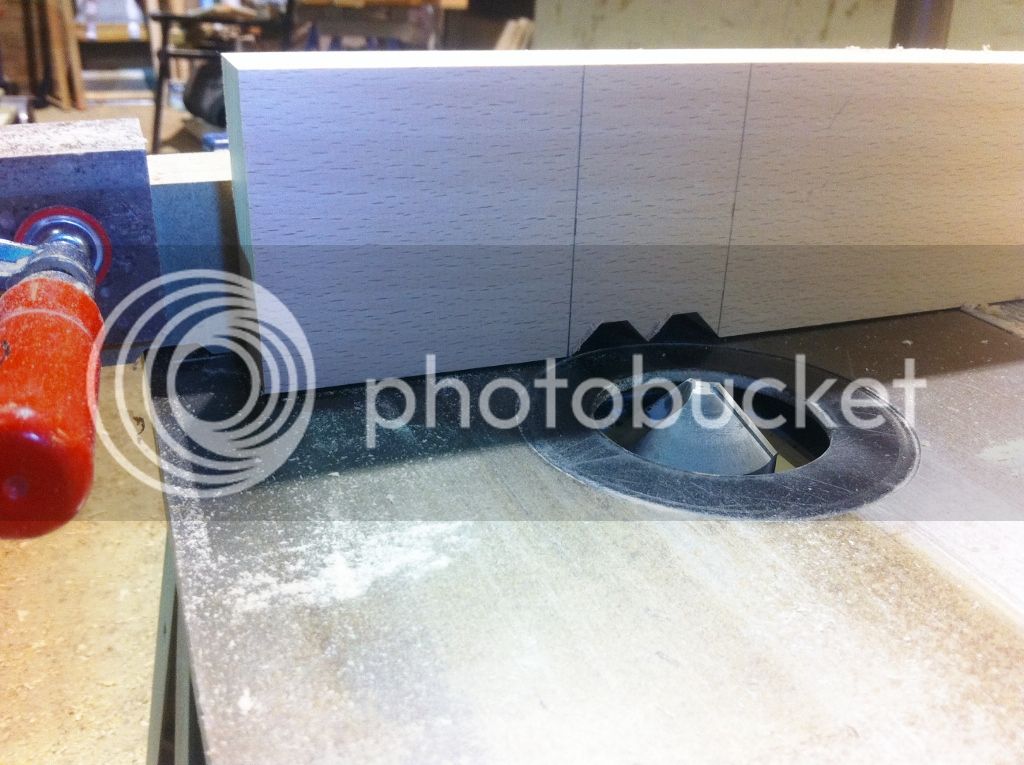
k-421024x765.jpg


The end 45 degree cuts are done by moving the stop to the right place
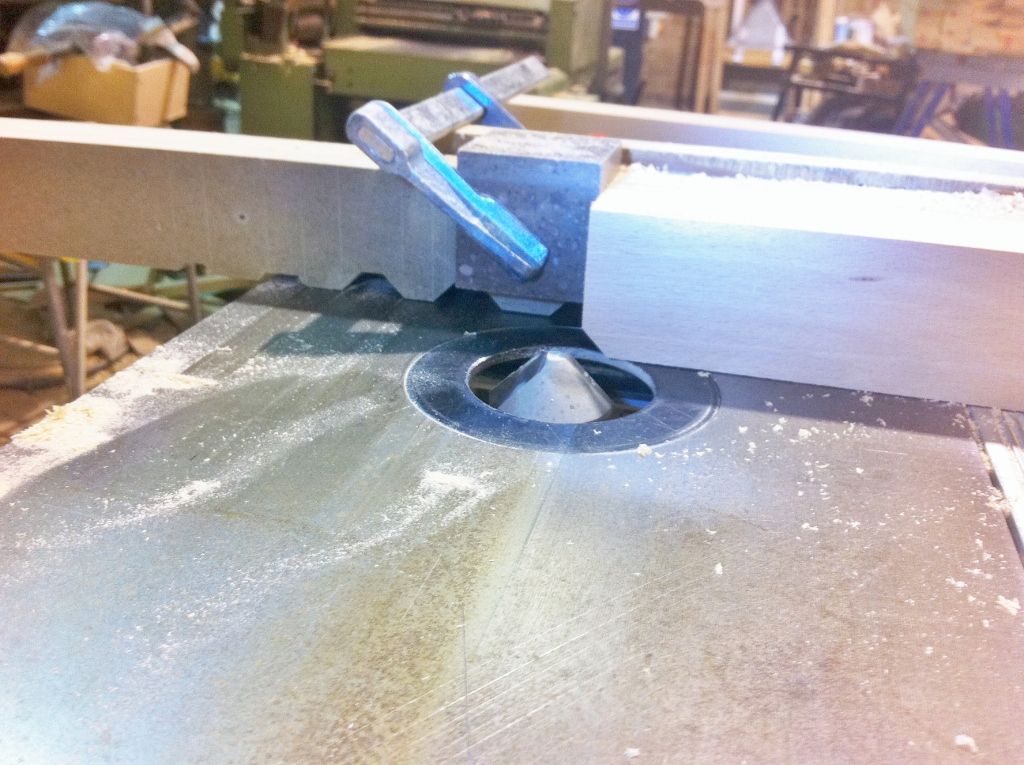
k-431024x765.jpg


I start with the outside frame

k-441024x765.jpg


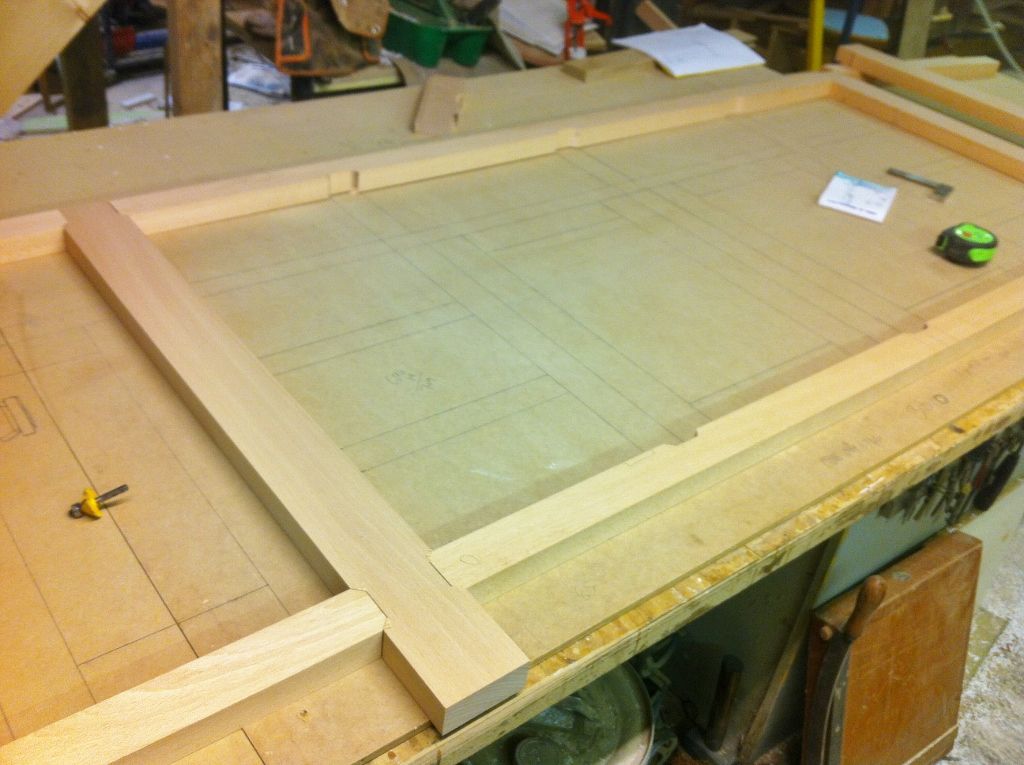
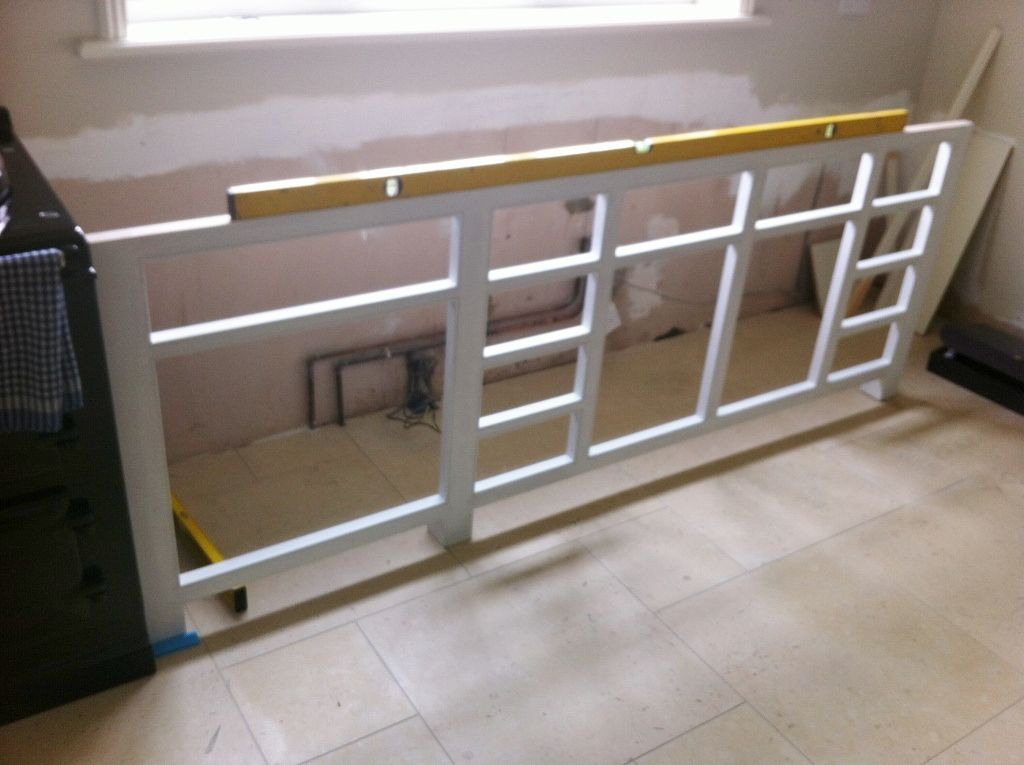
And then add the bits in the middle. This frame is in 1 section about 3 metres long
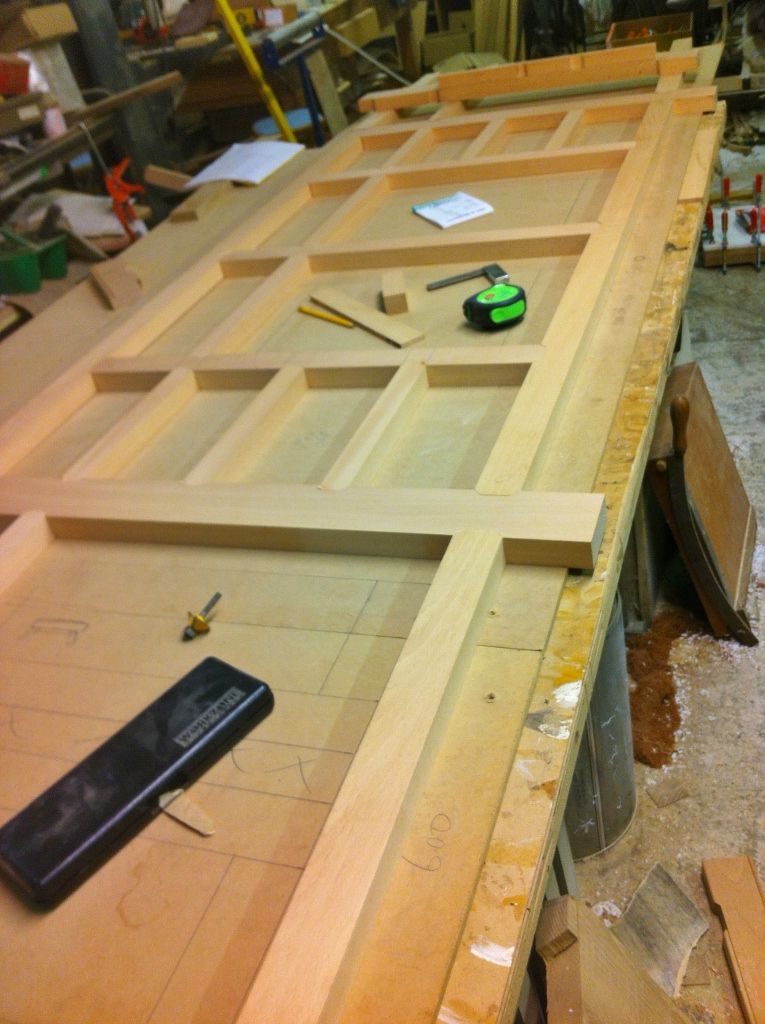
k-45765x1024.jpg


Thanks for looking

cheers

Jon
 
Mr Ed":11ubb8qg said:
Nice work Jon.

How does the CND beech compare to Poplar in price?

Ed

Its more expensive than Poplar but has the benefit of being considerably harder. I think the cnd beech is around £650 to £700 a cubic meter plus the tax in comparison to poplar at about £500 ish

cheers

Jon
 
Nice job Jon, I'll need to look for the supplier of that veneered birch ply.
Have you ever tried doing the notching using a sledge with a carriage for a hand router, this is the method I use and can do a about a dozen rails at a time, plus you can wizz out the middle quickly. I can just slide in stops for different positions of the notch or widths of the bars.
I then have a permanant router set up to do the 45 degrees and another for the bead. For the cost of 3 routers I leave these permanantly set up, rather than having to set everything up for each project.
So if I just need to do one frame it takes 5 minutes rather than all the set up time.

I'd love to get a morso notcher rather than the v type but don't see many about.
 
It would be interesting to see a pic of your notching setup Bob I havent really considered doing it like that as i thought it would mean a new jig for every different width of stock used

cheers

Jon
 
Just one jig with a router slide over the top.
the slide width is about 250mm, say the router base is 150mm it means that using the whole slide would take out 100mm, by making packers I can reduce the width to appropriate widths, my standard bar sizes are 80, 60, and 37.5mm.
The whole sledge is about 1000mm long and I have the slide positioned about mid way, by just putting a stop one end the router would cut a groove about 500mm down the rail, so if I use a stop with a bit of MDF at say 350mm I can use this for a drawer line bar etc etc I have set depth stops for high lines, drawer lines, 2/3/4/drawer packs.
It also means the cutter is not exposed, I don't think I could do it your way due to employees and Hse.
Come down or call in if your passing Jon.
 
Some more progress in between doing some other jobs. Started off by applying the bead to the frame parts. Because i wanted this to be super crisp i used a powerfeed on the router table. I havent got a dedicated feeder for the router table so the table is moved near to one of the spindle moulders so the powerfeed off that can be used. Using the feeder allows a climb cut to be done safely and no chance of tearing the grain. If you click on the blurry picture you should see a video of the operation

Clicky


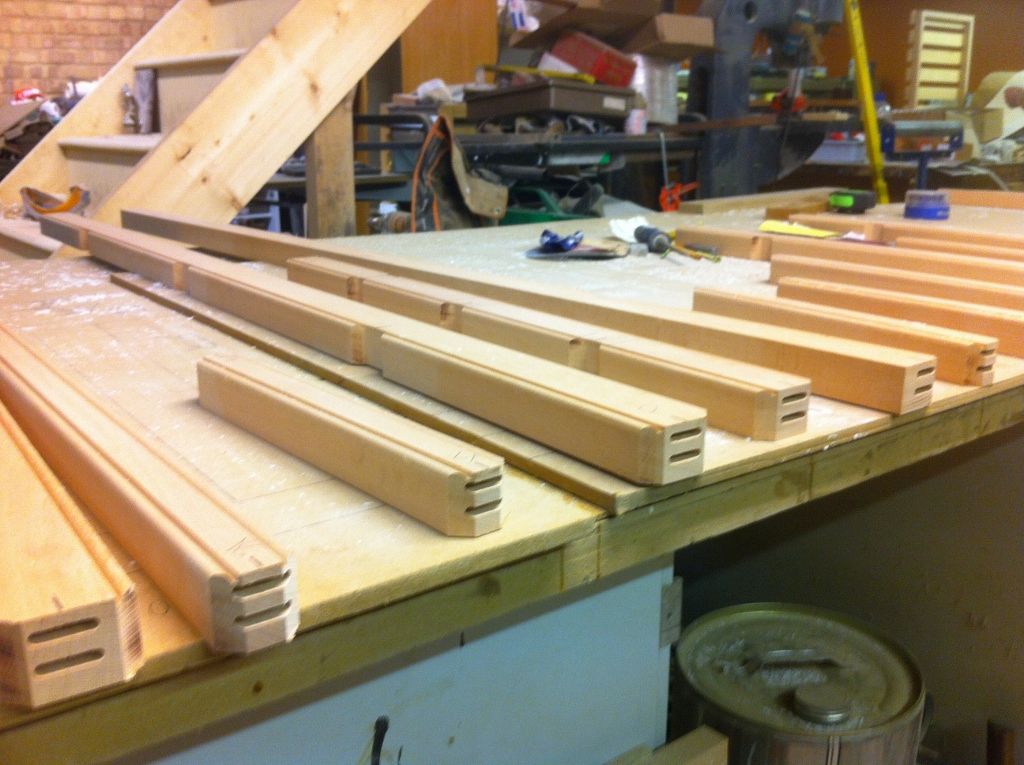
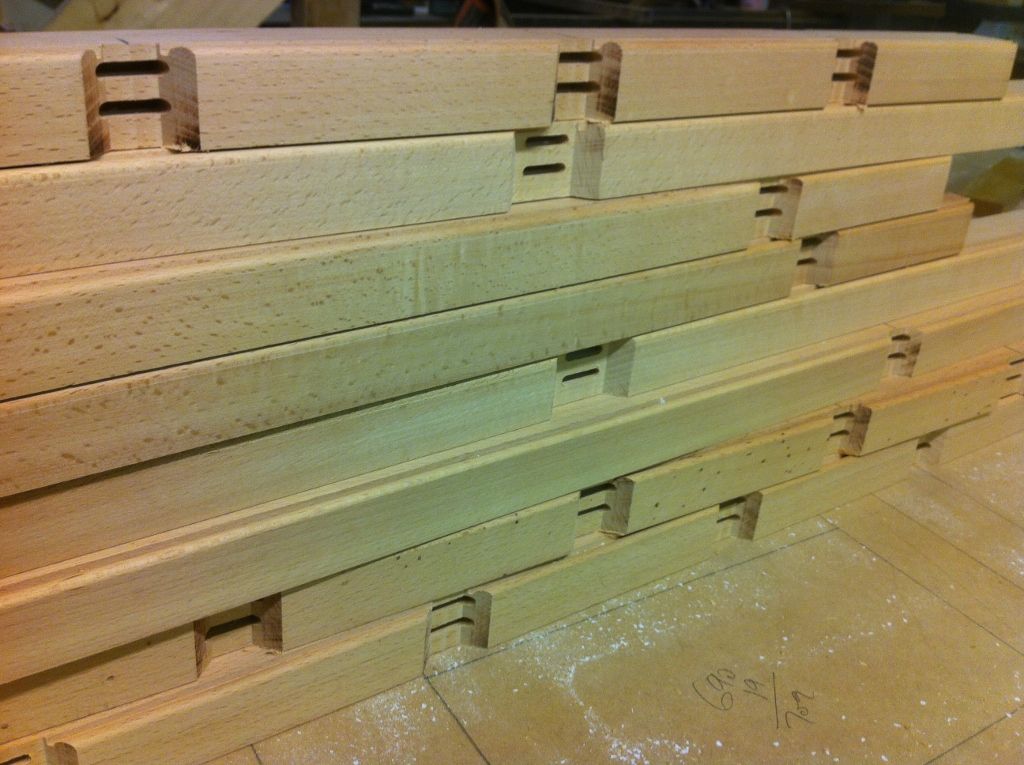
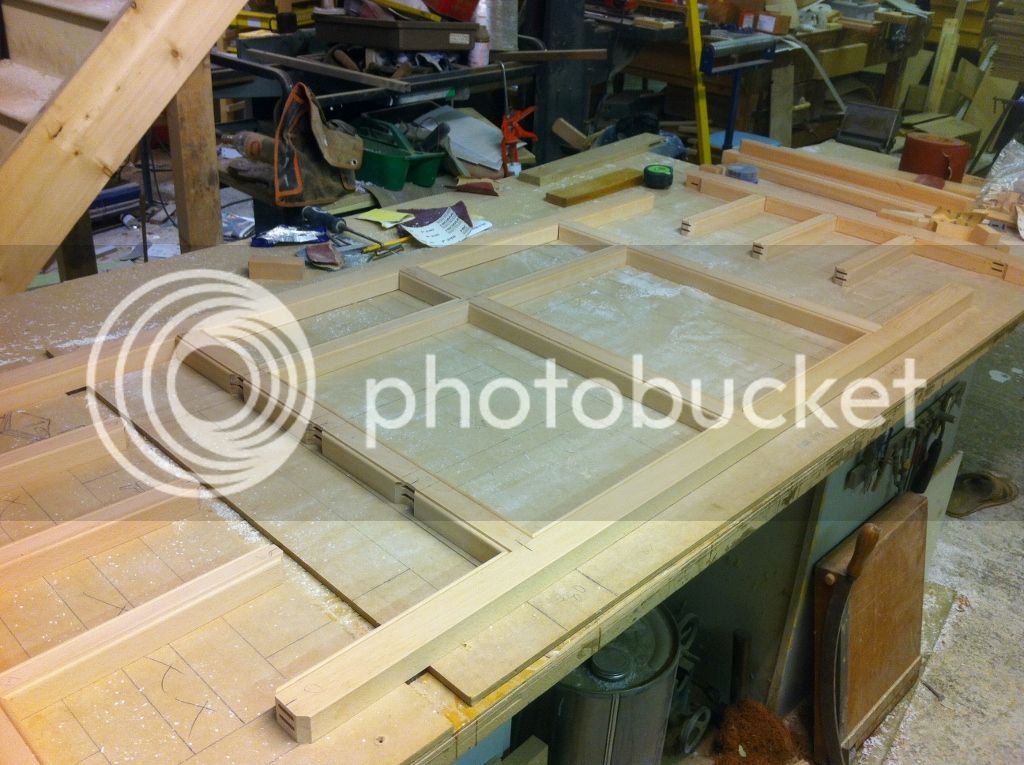
The frames are then dominoed 2 5mm slots in each piece

k-461024x765.jpg


k-471024x765.jpg


The frame is layed out on the bench to check the joints and setup the clamps needed for assembly

k-481024x765.jpg


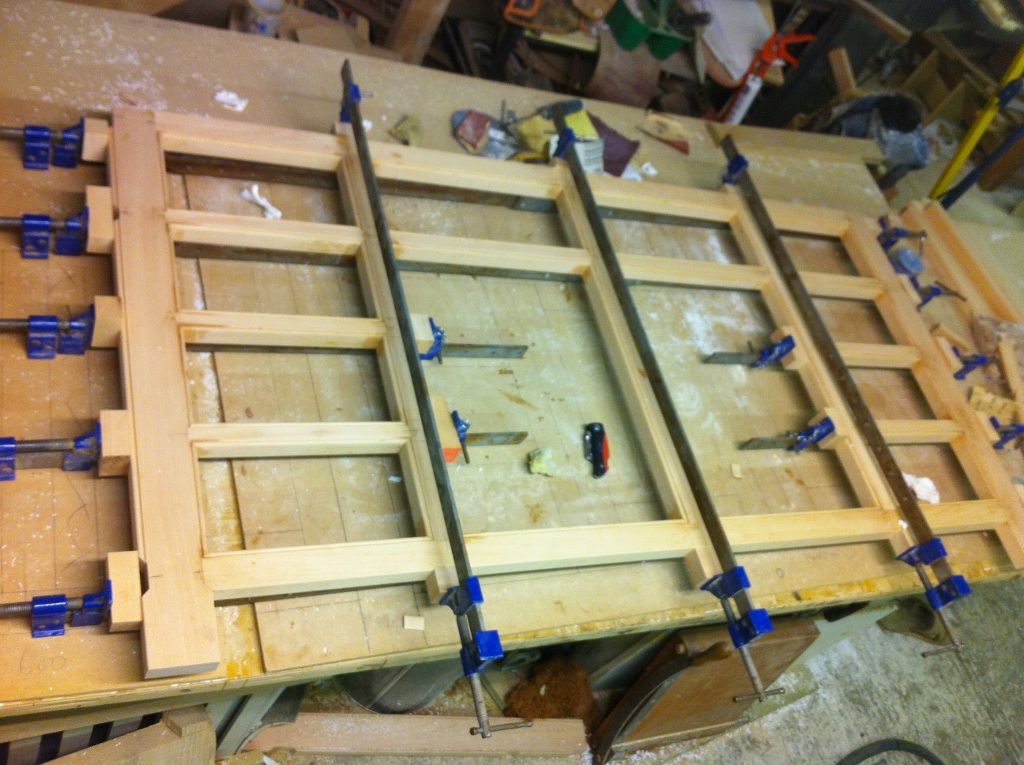
A few clamps are used the long ones are 2 900mm clamps bolted together

k-491024x765.jpg


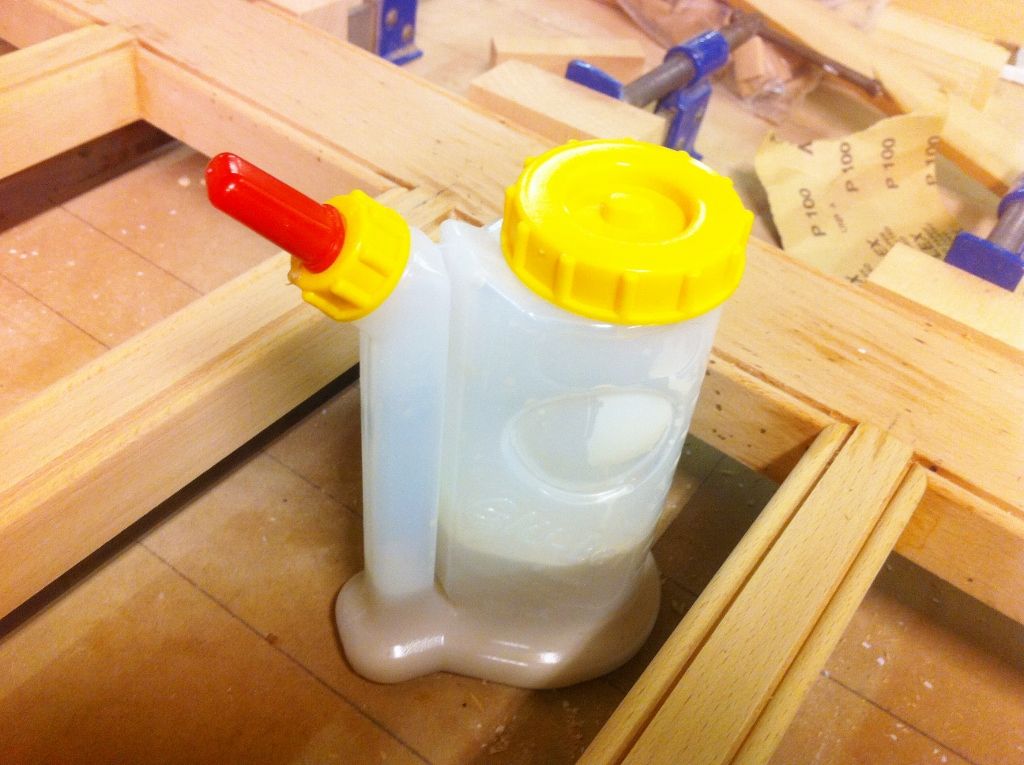
I was really impressed with the gluebot which I tried out for the first time on a complicated glue up. No drips or having to manically shake the bottle to get the glue to come out. The shape of the nozzle makes it good for domino slots as well. You can get them from Intelligent workshop

k-501024x765.jpg


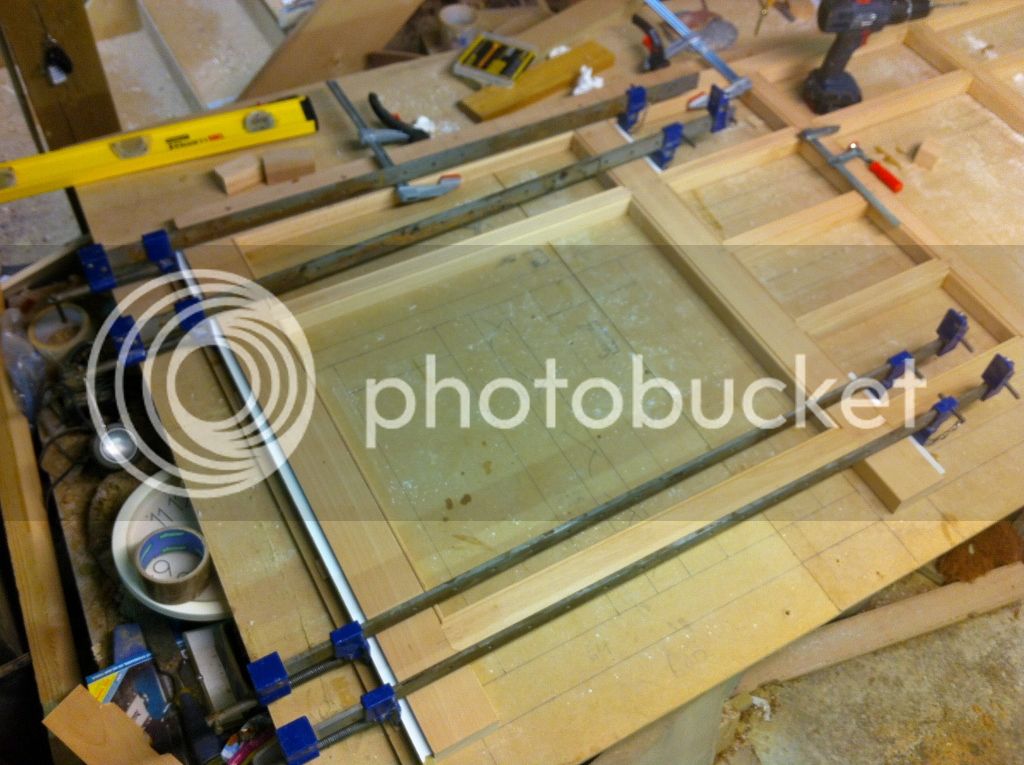
After the glue was cured the other end of the frame could be glued on

k-511024x765.jpg


Been working on the carcases and sized the panels on the panel saw and cut a groove for the back

k-521024x765.jpg


Bit of handwork to clean up the saw tracks and give the groove a consistent depth

k-52765x1024.jpg


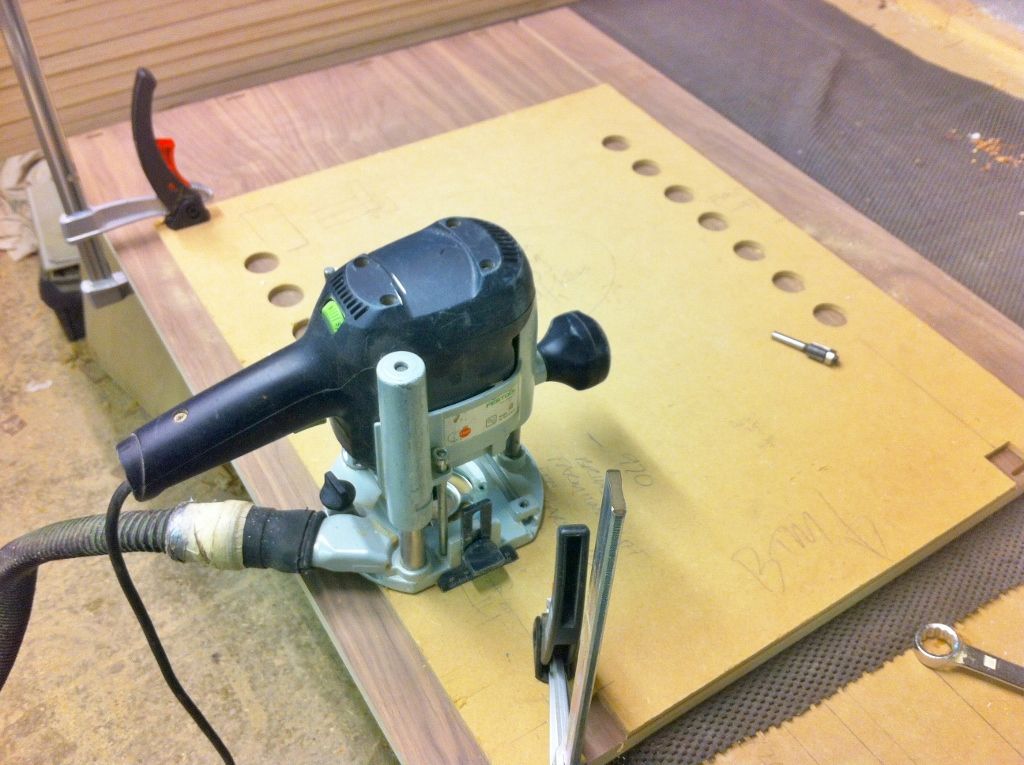
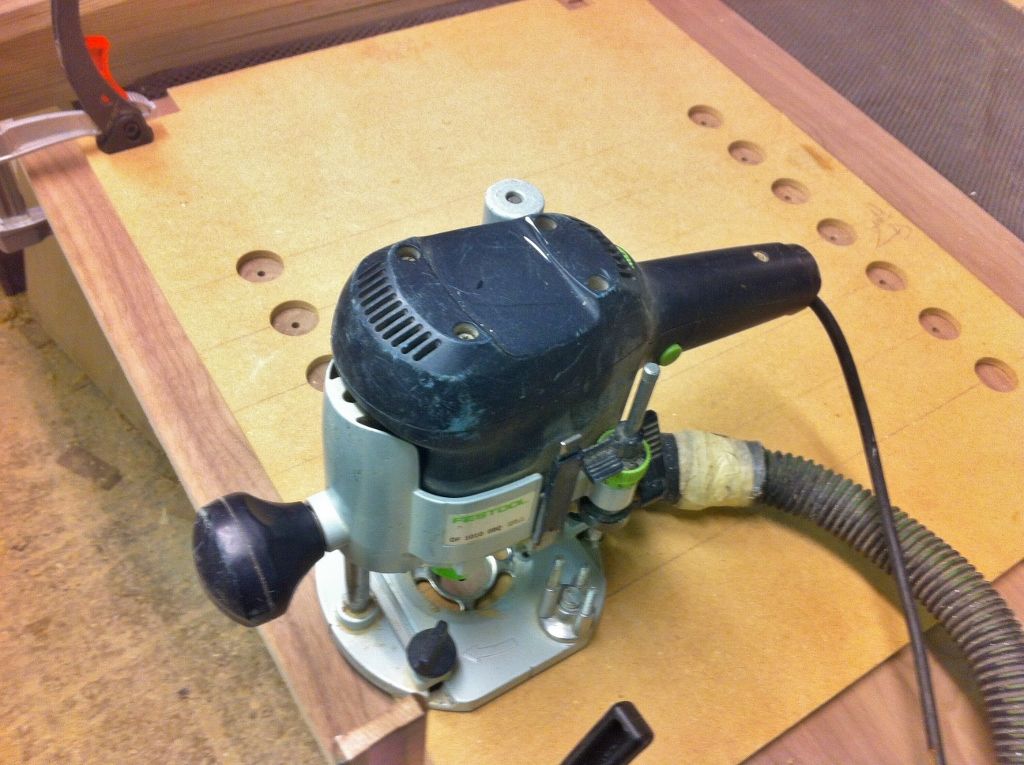
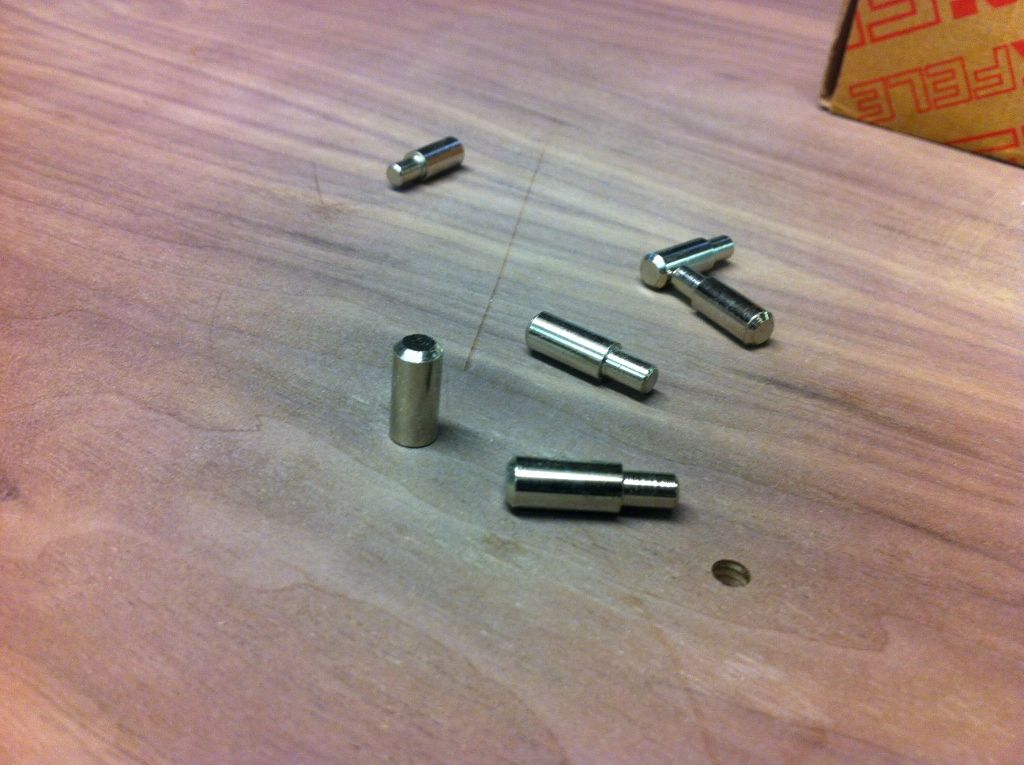
The shelf supports need a 5mm hole so i use the router for this

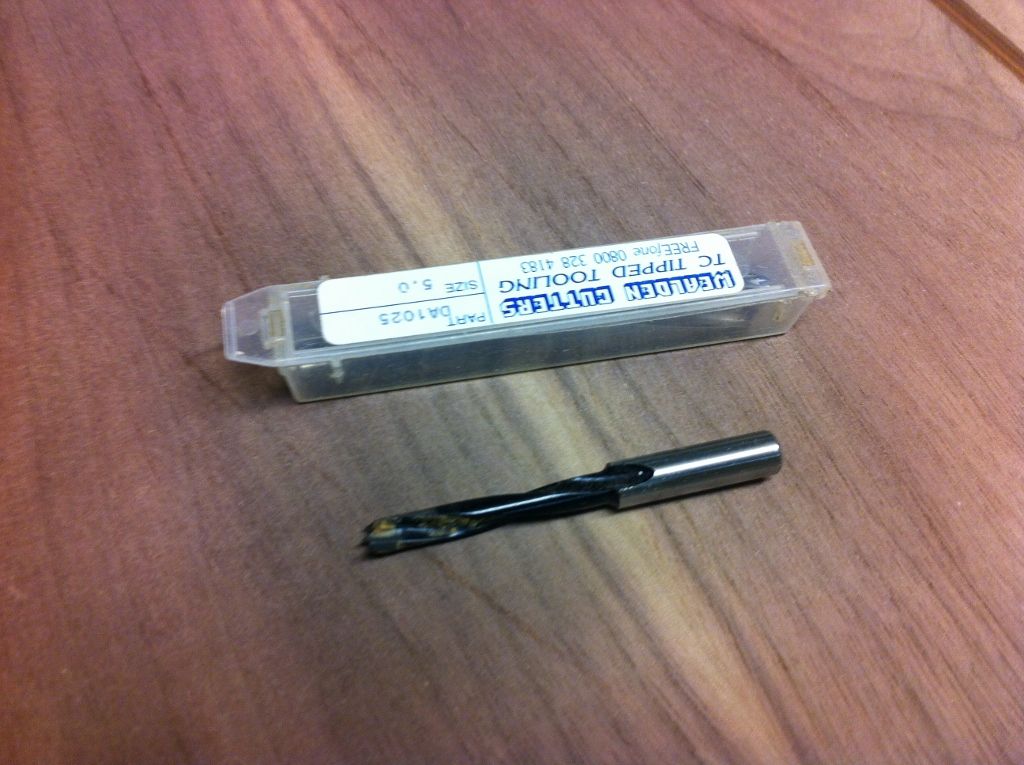
1/4 inch 5mm router drill designed to be used at high speed

k-531024x765.jpg


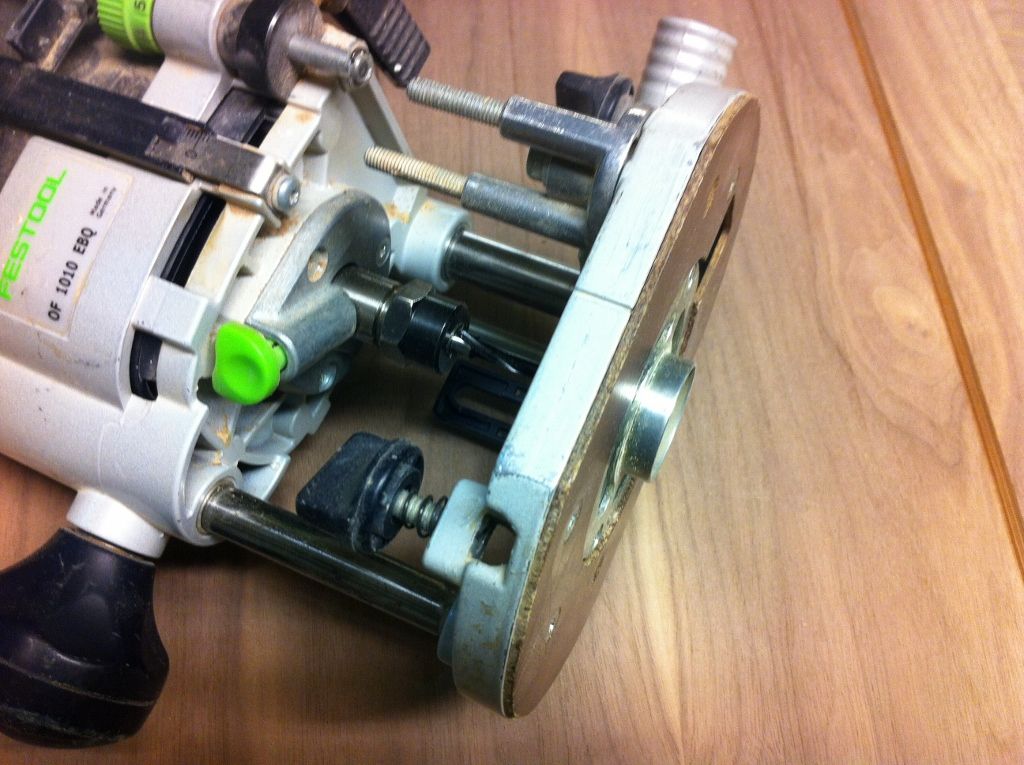
30mm guide bush attached to the router.

k-541024x765.jpg


The jig consists of 6mm mdf with 30mm holes drilled in with a forstner quick and cheap to make on the pillar drill

k-551024x765.jpg


holes drilled

k-571024x765.jpg


k-561024x765.jpg


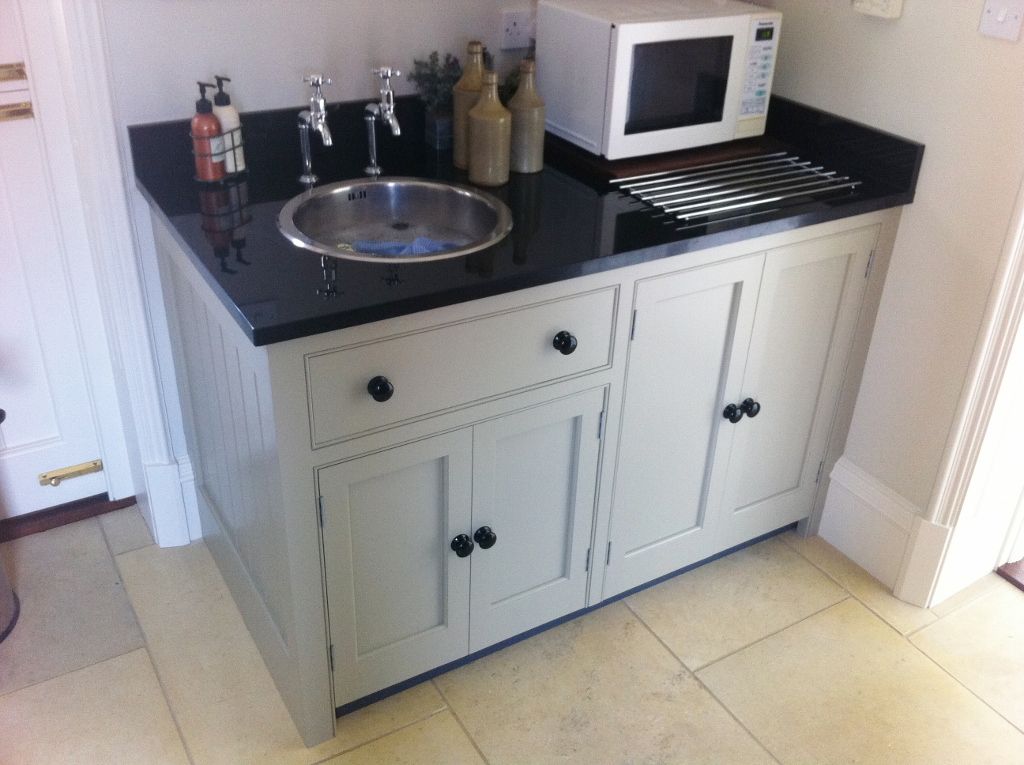
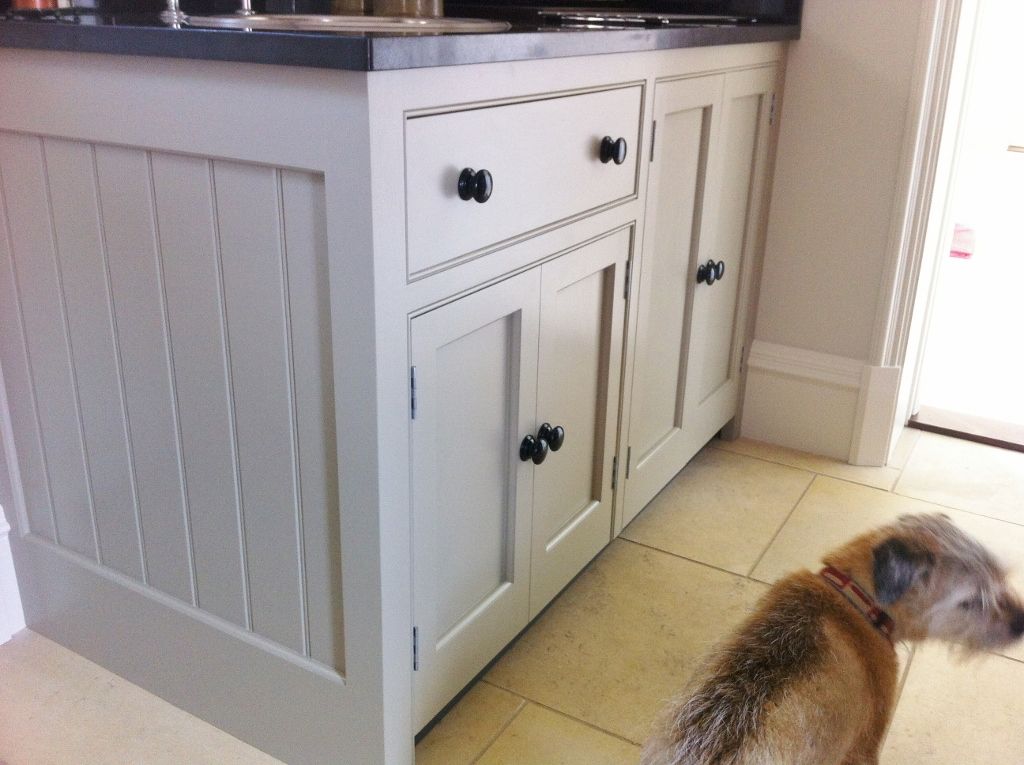
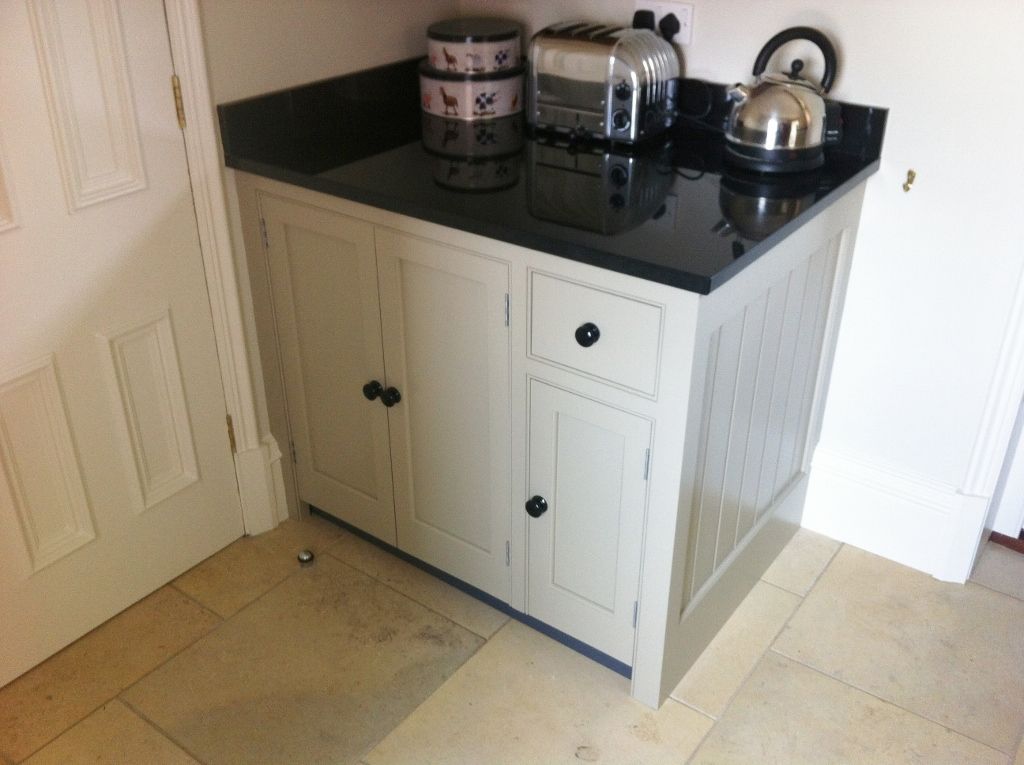
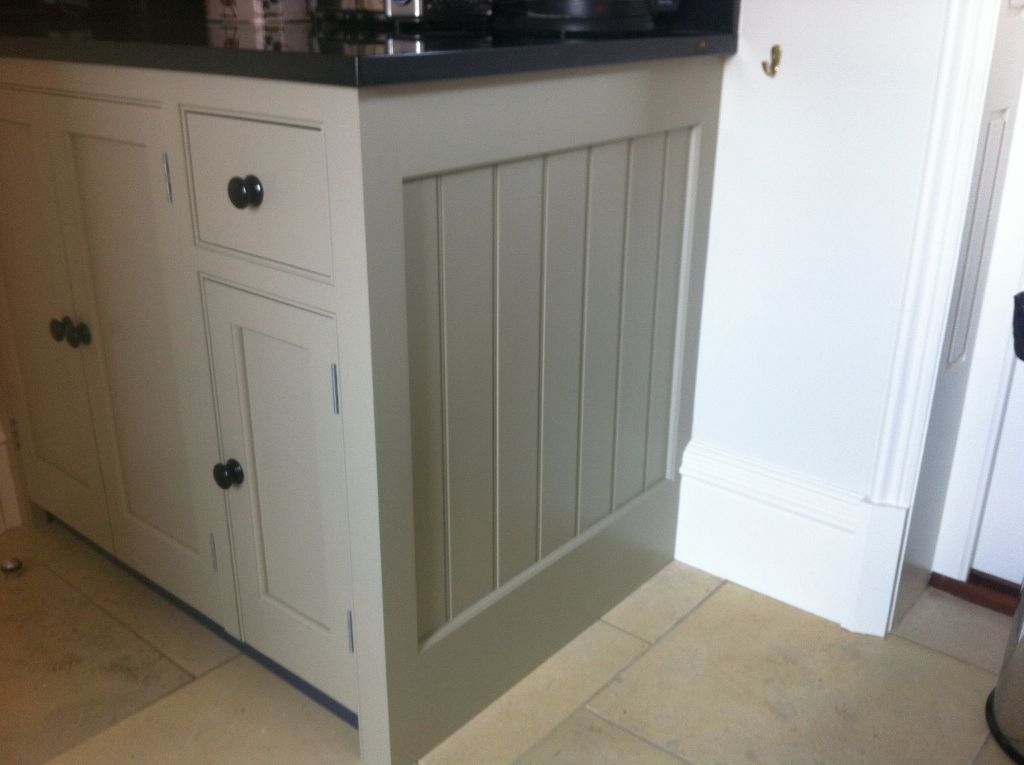
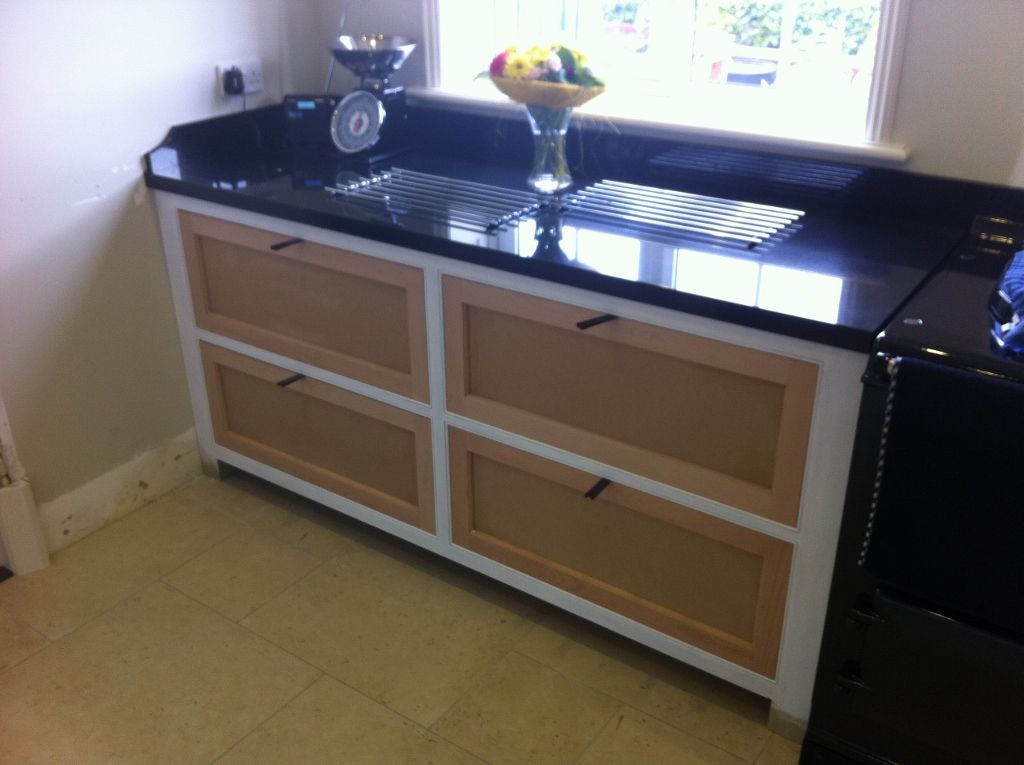
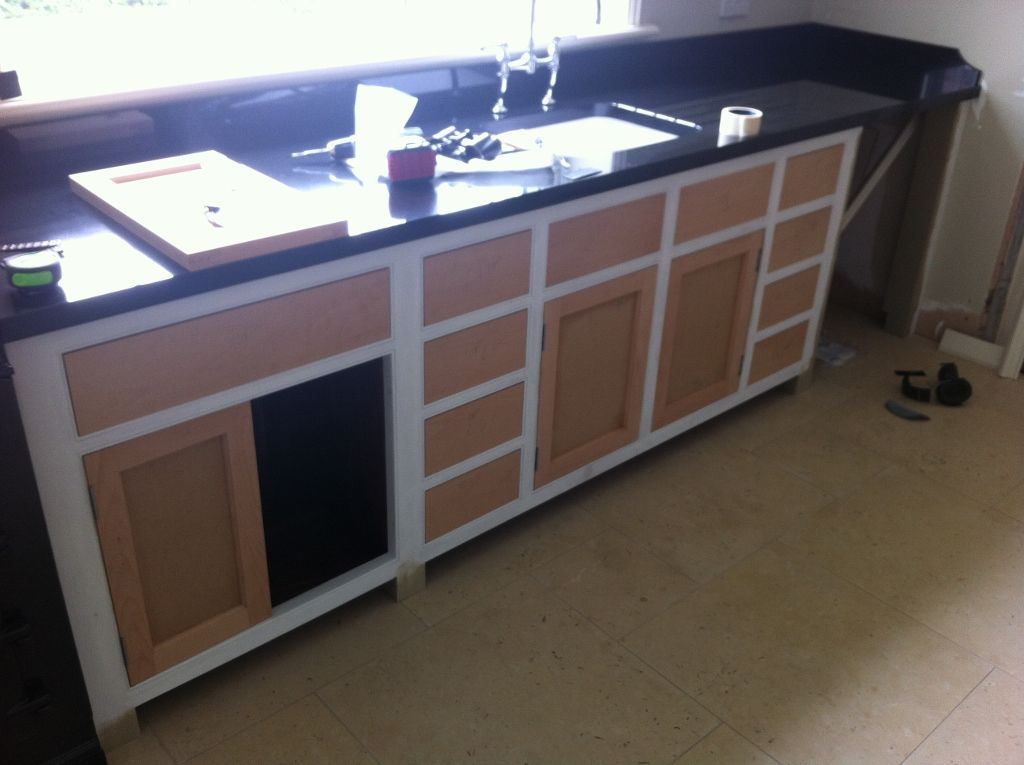
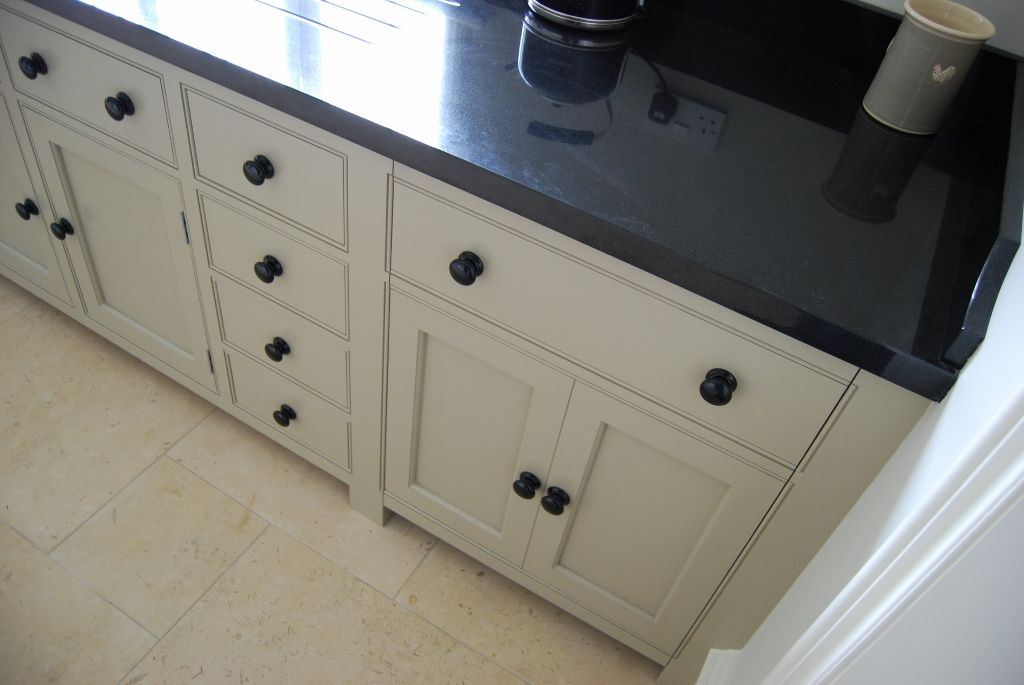
These are some pics of work we have already done on the job which is the utility room There is no bottom frame rail so easy access to the appliances. granite is about 800 deep

k-591024x765.jpg

k-581024x765.jpg

k-601024x765.jpg

k-611024x765.jpg


thanks for looking

cheers

Jon
 
As long as Chappers is interested I'll continue :D

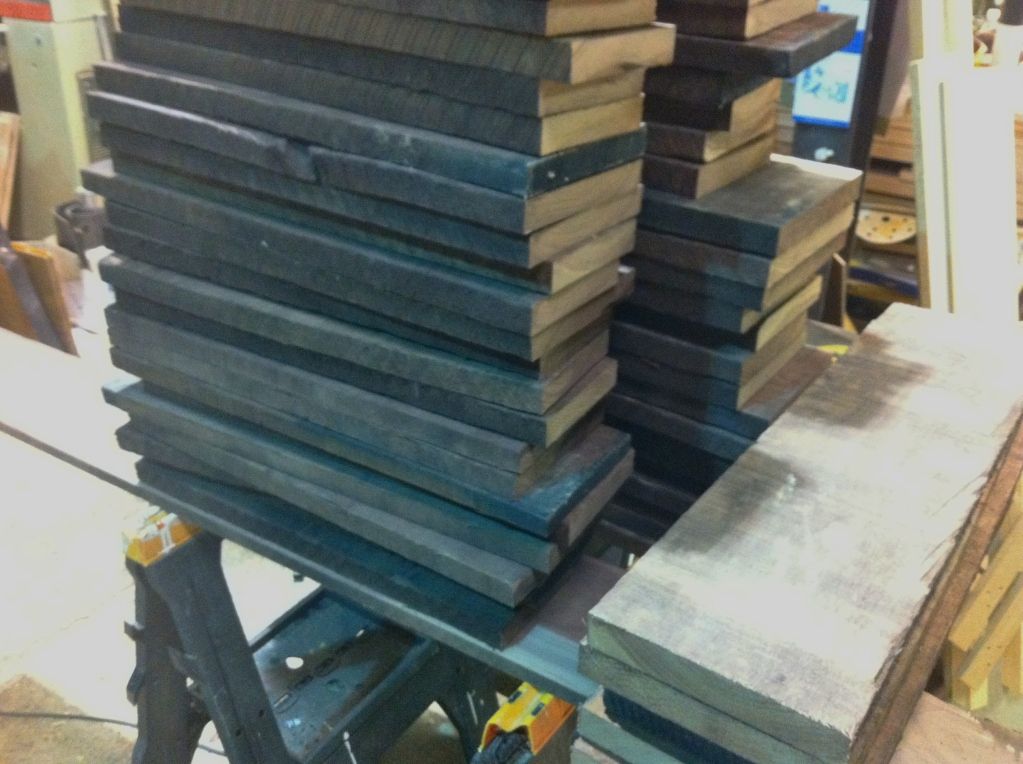
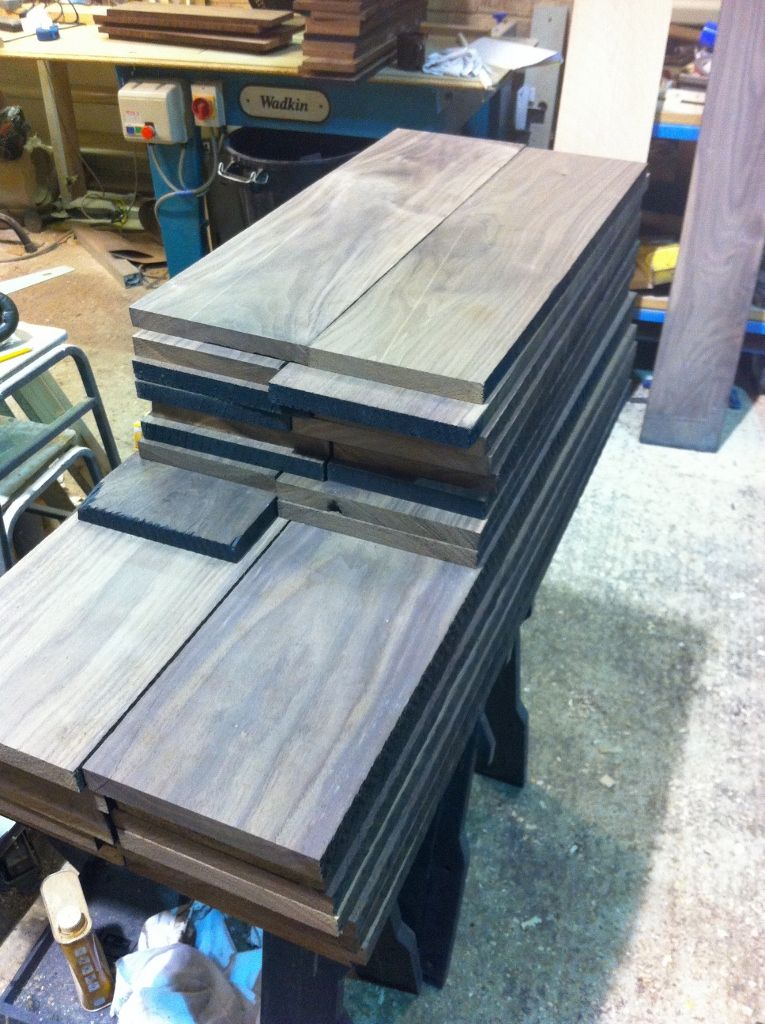
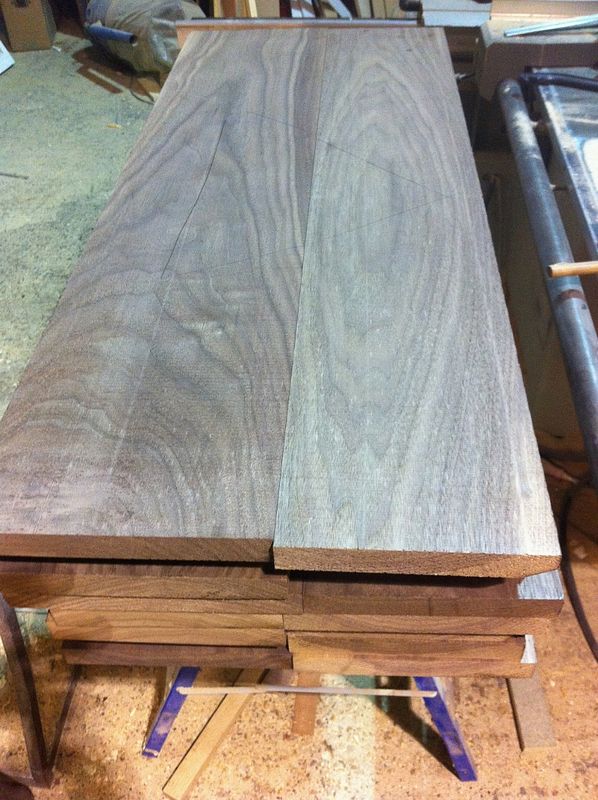
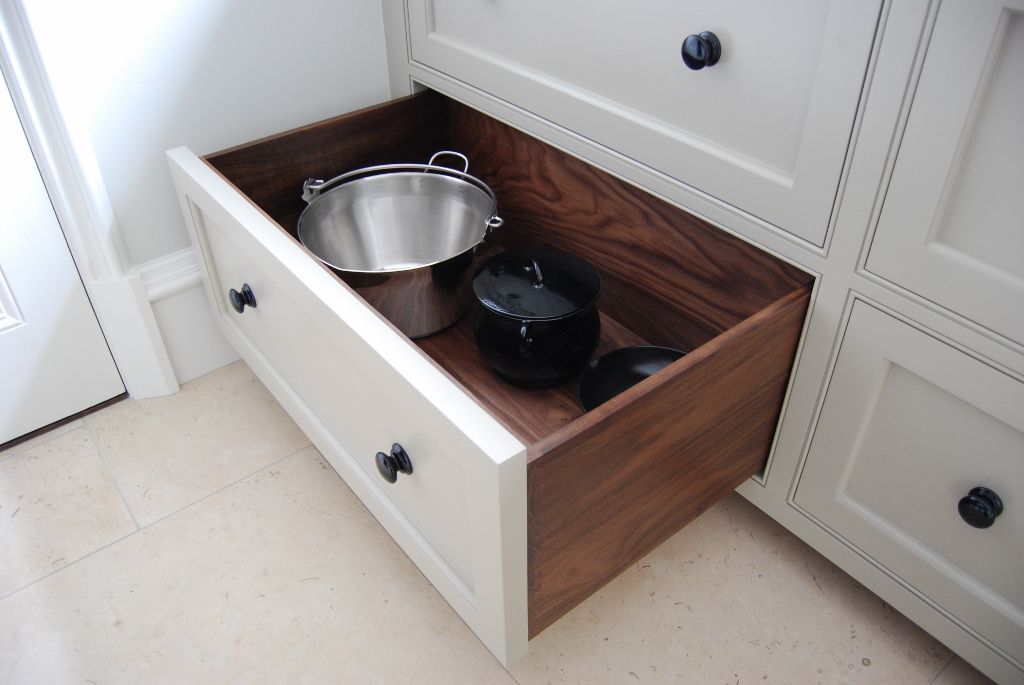
We need to make quite a few drawers from solid walnut so started by cutting it up into smaller bits

k-63.jpg


Planed and Thicknessed

k-64765x1024.jpg


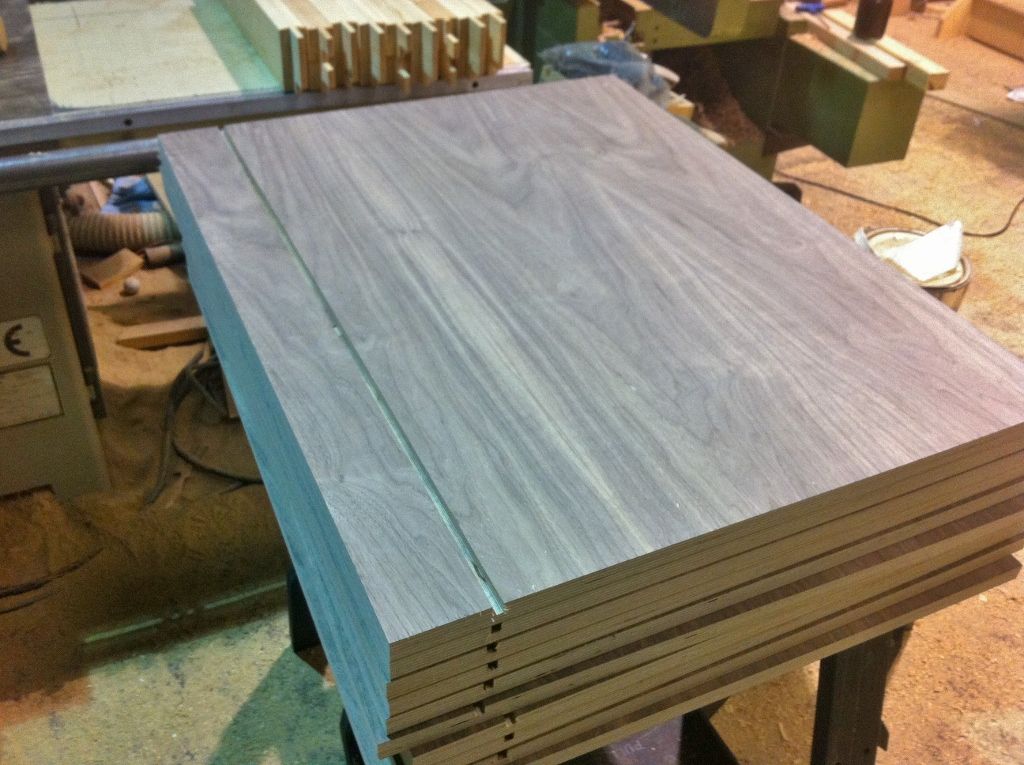
Quite a few of the drawers are 300mm deep pan ones so the walnut needed joining so the boards were matched up and the joints shot on the planer

k-65765x1024.jpg


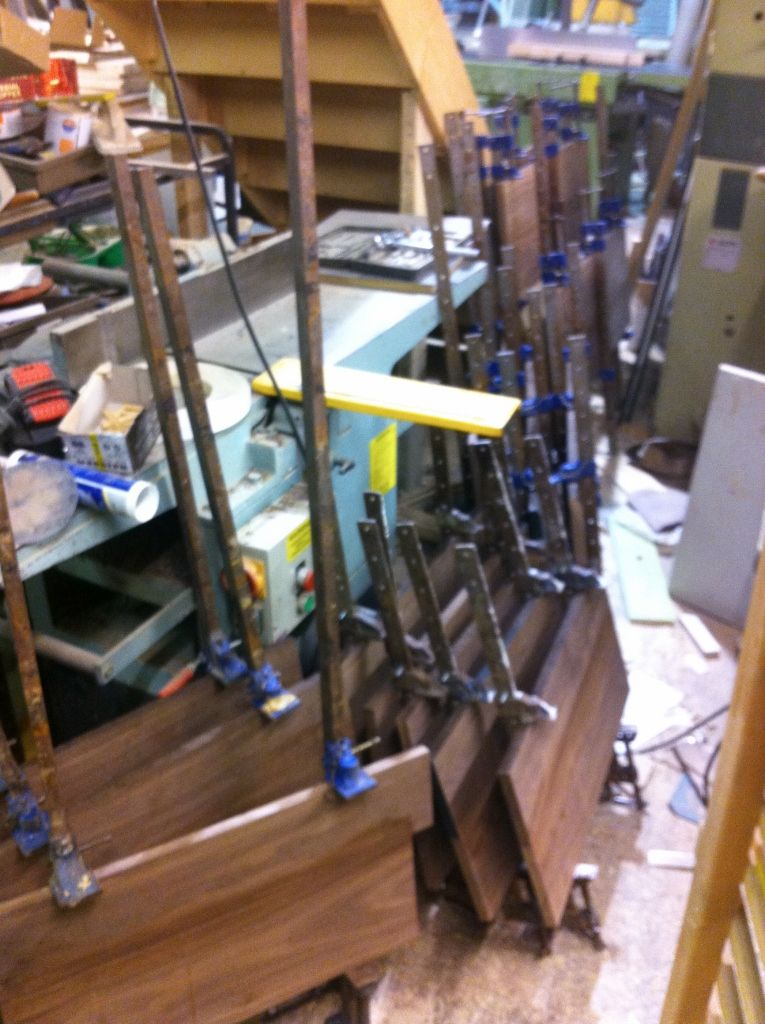
We had a good go at using every sash cramp in the workshop

k-66765x1024.jpg


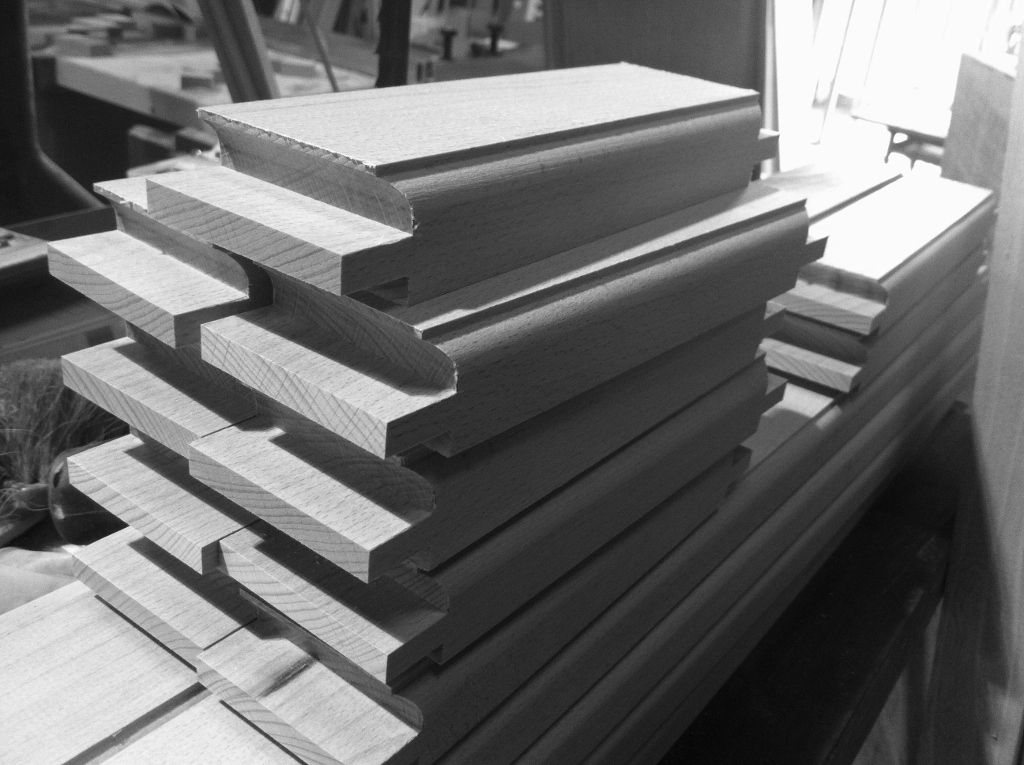
Whilst the glue was drying on the walnut the wood was prepared for the doors. The spec required 31mm thick doors and i had no specific tooling for it to use so it meant setting up 4 machines to do the job.

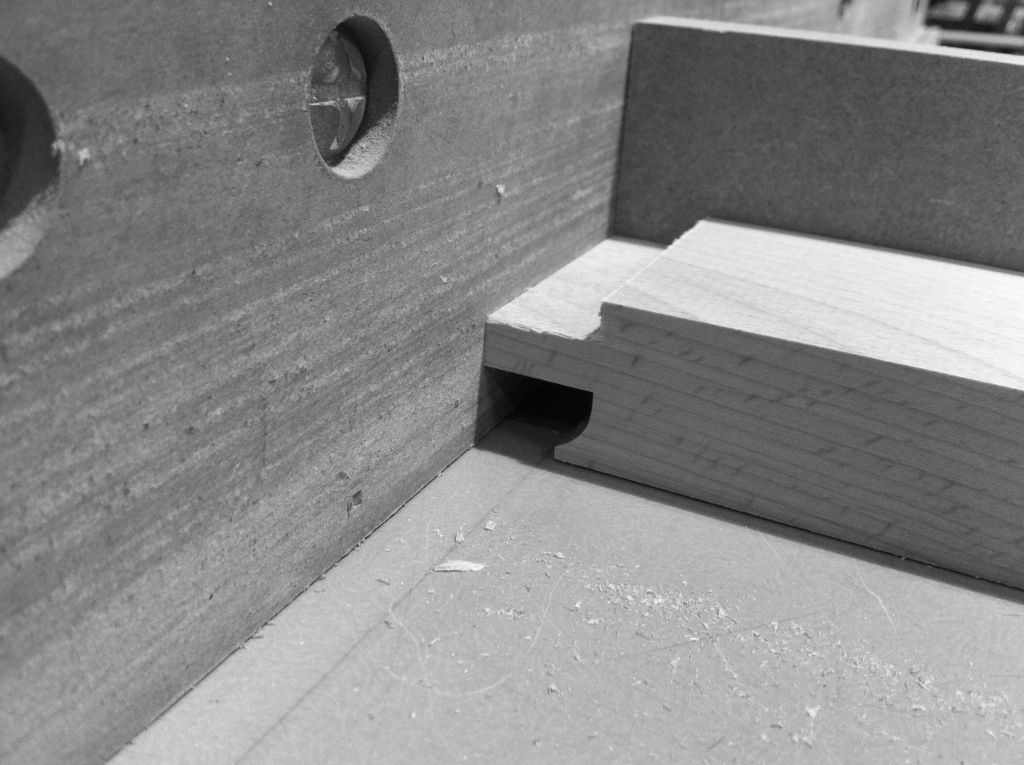
First off the tenons were cut on the tenoner with a stepped shoulder to allow for a scribe cut

k-691024x765.jpg


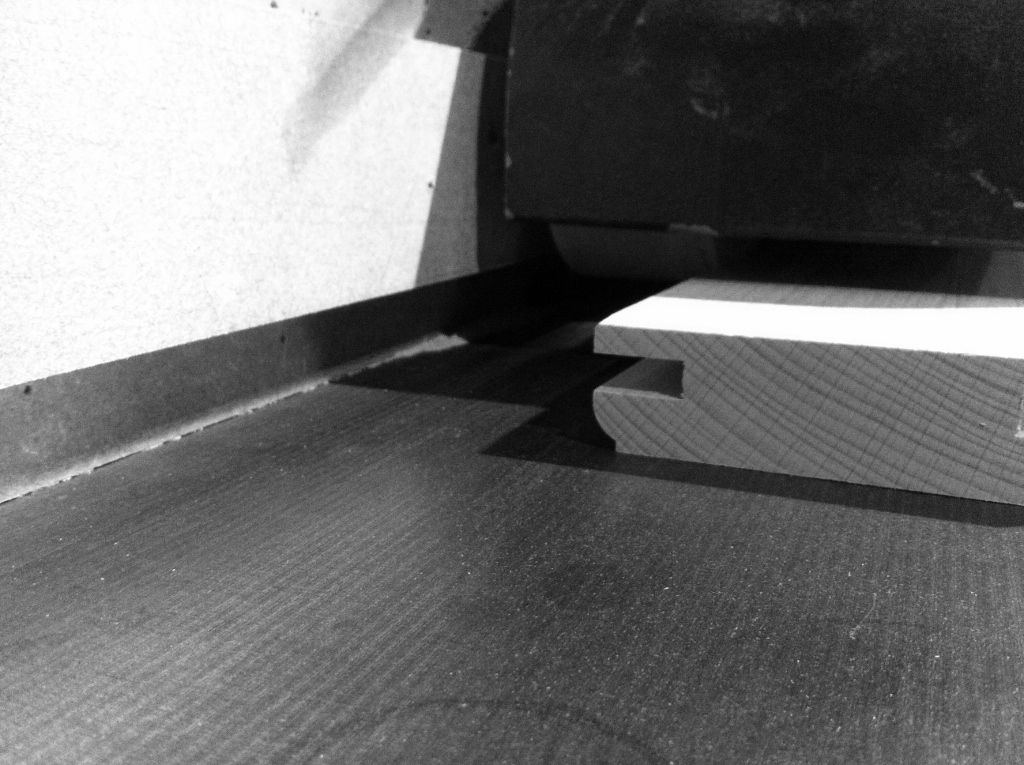
One router table was setup to cut the scribes on the tenons

k-671024x765.jpg

k-681024x765.jpg


Another table was used to put the moulding on

k-701024x765.jpg


Finally the components were grooved out on the spindle

k-711024x765.jpg


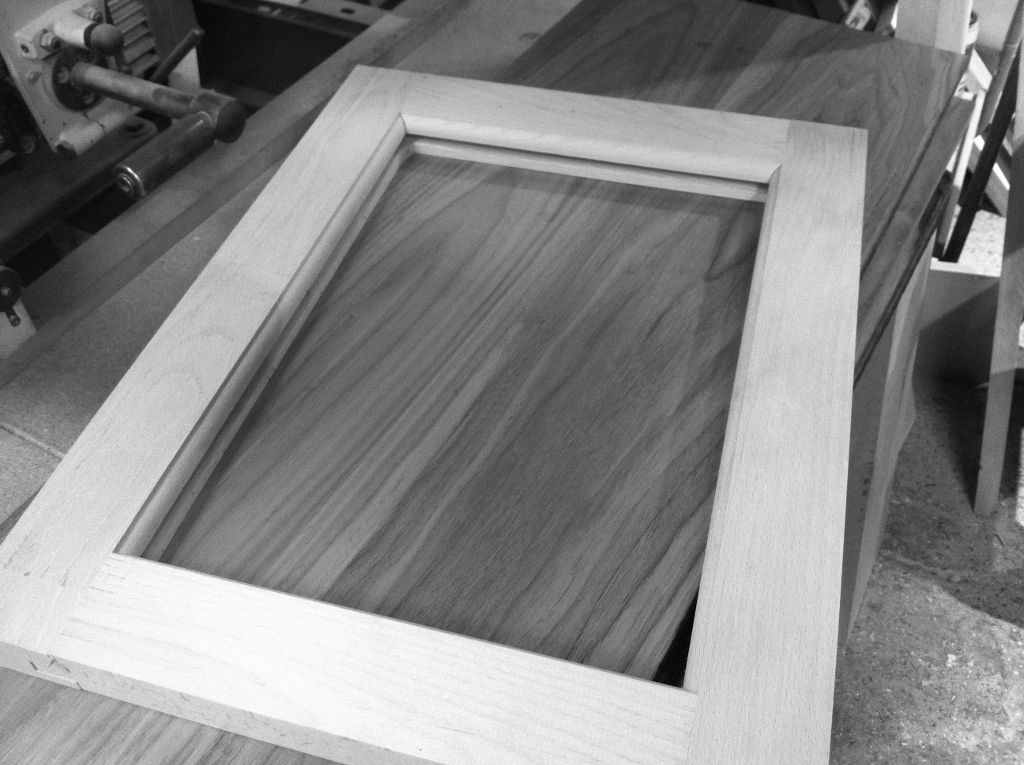
Dry fit of the door. The panel will be 9mm mrmdf

k-731024x765.jpg


Also been spraying the carcase components with A/C Lacquer 20 percent sheen

First coat on

k-741024x765.jpg


The dry top coat

k-751024x765.jpg


Anyone interested there is a vid below of the spraying of the top coat. This isnt meant to be the definitive way of how to do it just how i do it to get really good results. The panel has been flatted with 320g and the surface hoovered to remove the dust. One coat is applied with the grain then another across the grain. Setup is a fuji q4 HVLP turbine.

clicketty click


Thanks for looking

cheers

Jon
 
Great work Jon.

What glue do you generally use - PVA or PU?

Cheers

Karl
 
Karl":ike918dy said:
Great work Jon.

What glue do you generally use - PVA or PU?

Cheers

Karl

Hi Karl for general assembly work I use mainly pva type glues either titlebond 3 or a d4 pva . I will sometimes use PU but find it a bit messy for general assembly work and for laminating will use uf resin.

Cheers

Jon
 
Cheers Jon. I'm the same - PU too messy for day to day use. I've been using Polyten for most purposes - a 10min rapid cure waterproof pva.

Cheers

Karl
 
Been a bit since i updated you so here goes.

Frames are large rather than 1 for each cupboard so the first job is to site the frame and scribe it to the floor so that its level

walnut-861024x765.jpg


The frames are attached to the carcases with dominoes and pocket screws

walnut-871024x765.jpg


The carcases are leveled to the frame and then the 2 biggest carcases are attached first so that they can be pocket screwed down the sides

walnut-881024x765.jpg

walnut-891024x765.jpg


The 2 smaller carcases are attached and the unit slid into place as a whole

walnut-901024x765.jpg


The doors and drawer front had been shot tight in the workshop but we adjusted the fit on site to make sure everything was spot on after the 40mm thick granite had been plonked on top

walnut-911024x765.jpg

walnut-931024x765.jpg


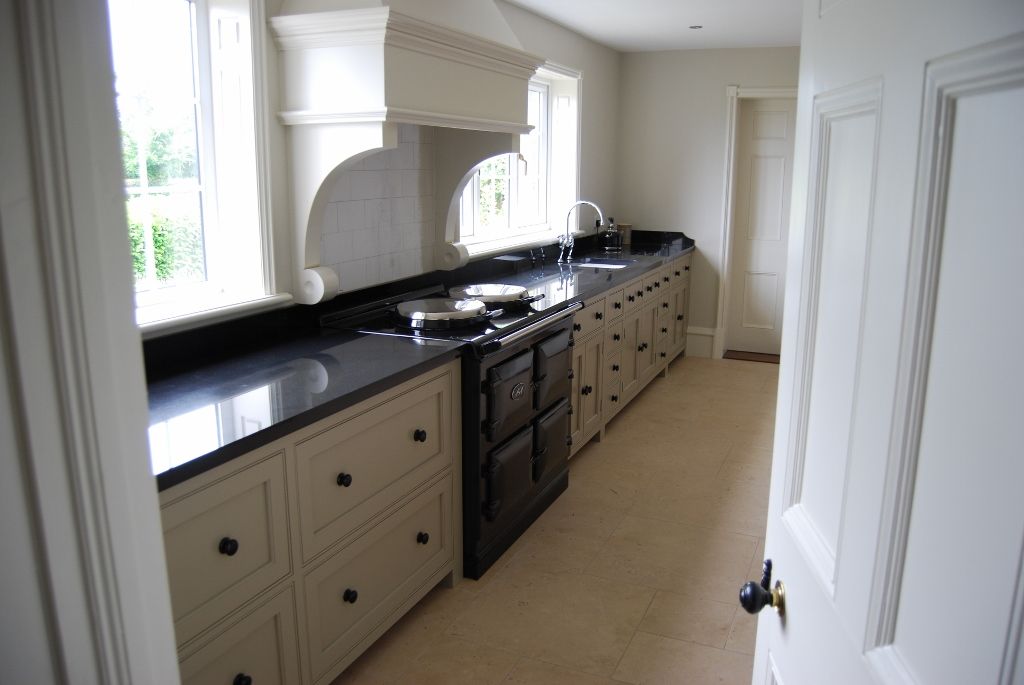
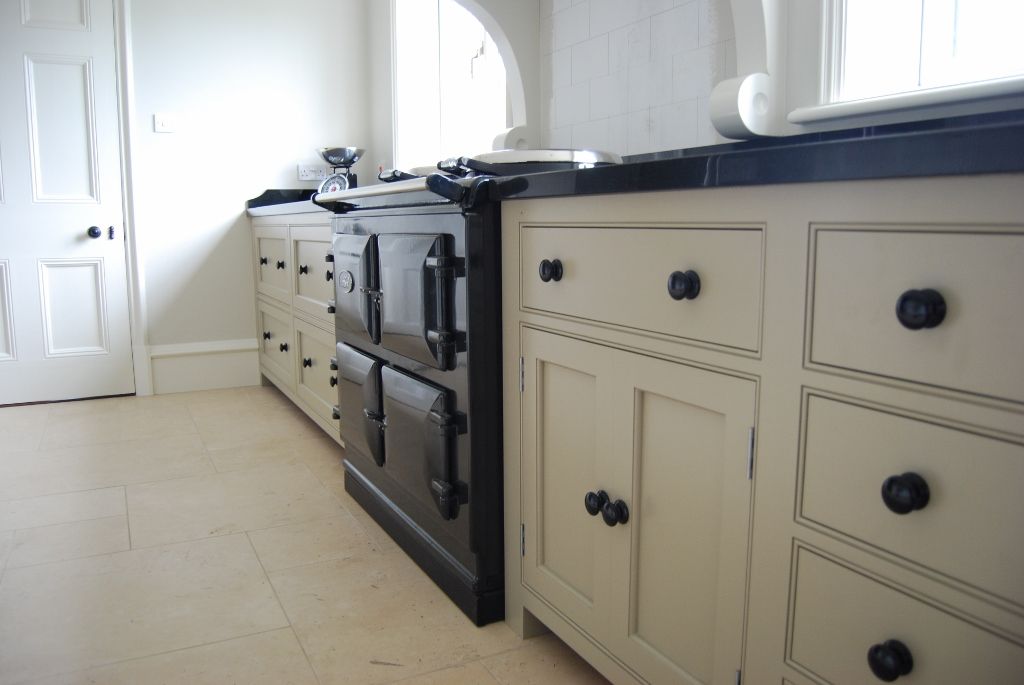
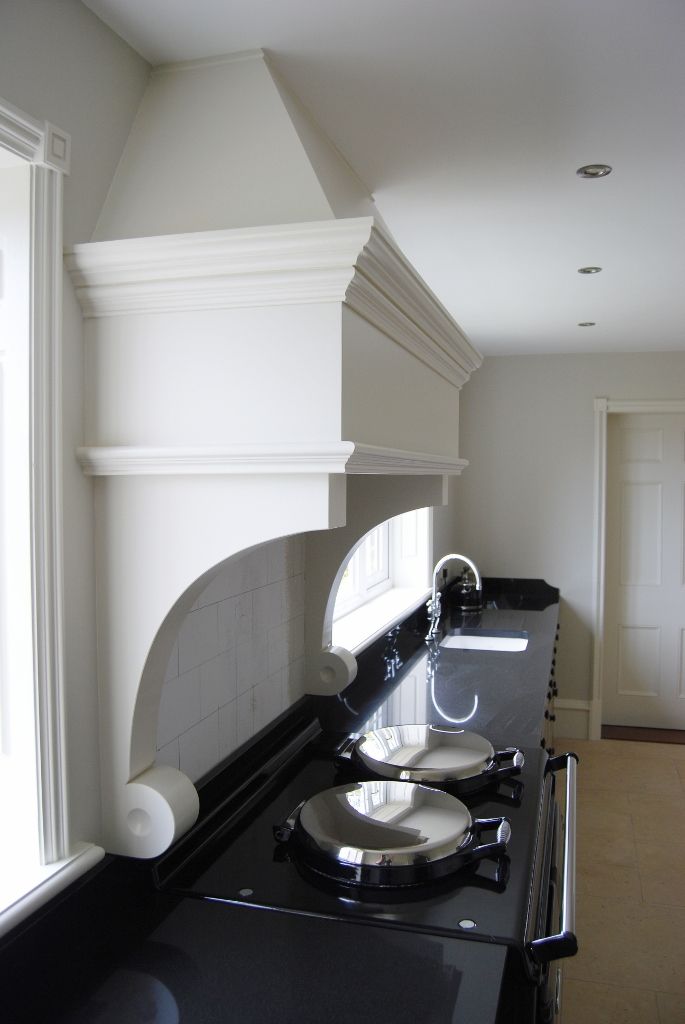
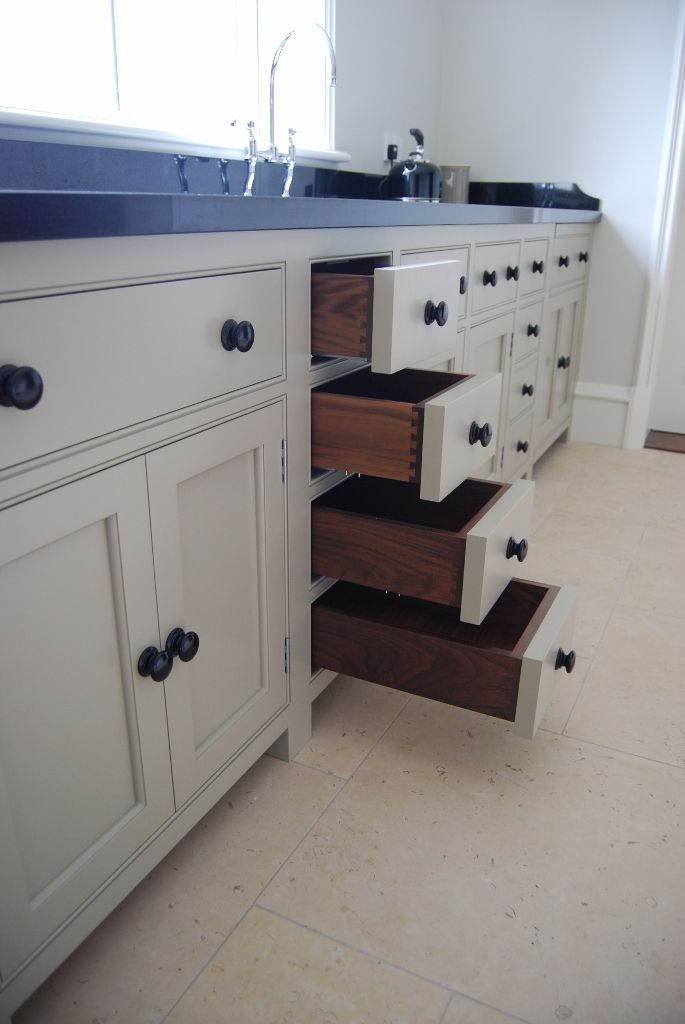
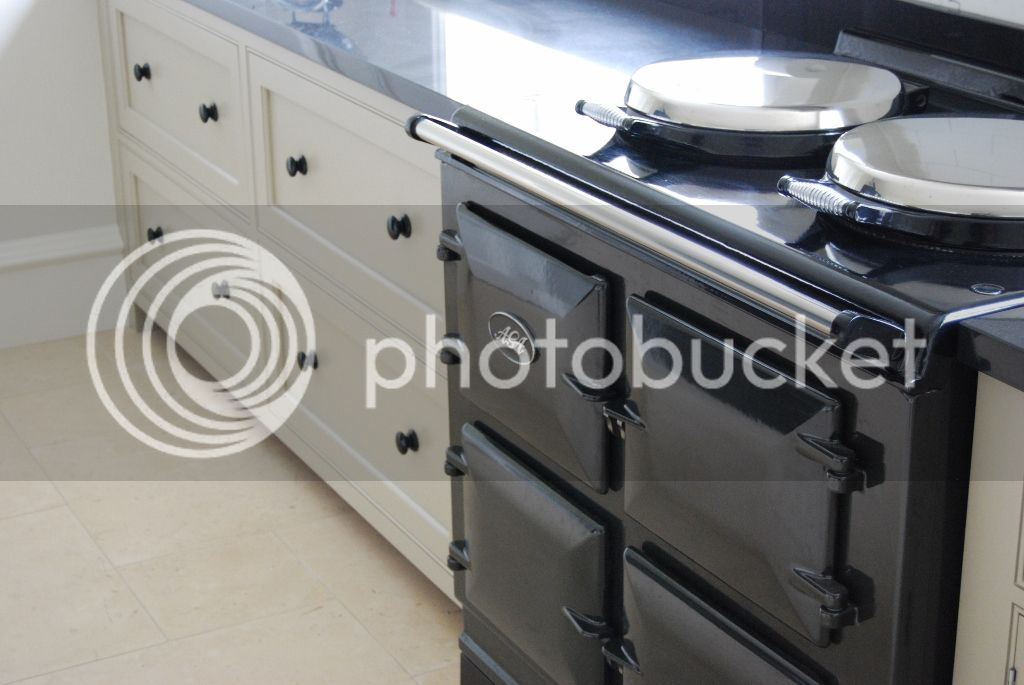
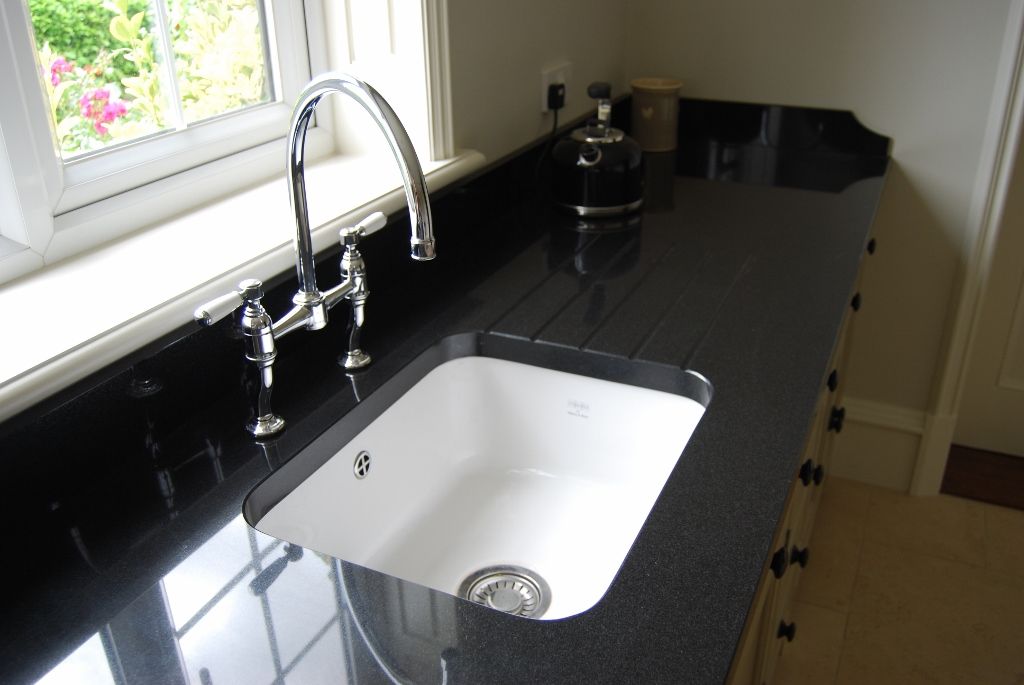
The painter has been in and done his thing main units are painted in F & B light grey and the hood in slipper satin the granite is absolute 40mm thick with 20mm upstands. It took 6 of us to lift the big bit in. Knobs are gloss Black . The drawers solid walnut on dynapro runners

walnut-801024x685.jpg

walnut-831024x685.jpg

wanut-96685x1024.jpg

walnut-84685x1024.jpg

walnut-821024x685.jpg

walnut-981024x685.jpg

walnut-971024x685.jpg

walnut-851024x685.jpg


Thanks for looking still a bit to do on this project a curved island with a walnut top and a walnut unit to go around the fridge

cheers

Jon
 
Lovely work, but why on earth is the customer hiding all that lovely walnut inside a painted cabinet?! Seems arse'bout'face to me...
 
Back
Top