You are using an out of date browser. It may not display this or other websites correctly.
You should upgrade or use an alternative browser.
You should upgrade or use an alternative browser.
Walnut and painted WIP
- Thread starter JonnyD
- Start date

Help Support UKworkshop.co.uk:
This site may earn a commission from merchant affiliate
links, including eBay, Amazon, and others.
Doug B
Shy Tot
Top Drawer JD =D>
Do I get a royalty payment for each Knob :?: :-" :lol:
Cheers.
Doug
Do I get a royalty payment for each Knob :?: :-" :lol:
Cheers.
Doug
Excellent work Jon.
What do you think of the Dynapro runners? I've just ordered some of the Dynamoov, which I believe are the same as the Dynapro but without the rear adjustment facility. And how much did you pay for them?
Cheers
Karl
What do you think of the Dynapro runners? I've just ordered some of the Dynamoov, which I believe are the same as the Dynapro but without the rear adjustment facility. And how much did you pay for them?
Cheers
Karl
JonnyD
Established Member
Thanks for the comments
Customers choice and the customer is always right as long as there willing to pay for it.
I reckon 10 knobs equates to 1 Stella :lol:
I like the dynapros been using them for a few years now . I think they were about £18 ish plus vat for the runners and clips. The 60kilo ones for the big drawers were quite expensive iirc
Cheers
Jon
Setch":2l0xs00g said:Lovely work, but why on earth is the customer hiding all that lovely walnut inside a painted cabinet?! Seems buttocks'bout'face to me...
Customers choice and the customer is always right as long as there willing to pay for it.
Doug B":2l0xs00g said:Top Drawer JD =D>
Do I get a royalty payment for each Knob :?: :-" :lol:
Cheers.
Doug
I reckon 10 knobs equates to 1 Stella :lol:
Karl":2l0xs00g said:Excellent work Jon.
What do you think of the Dynapro runners? I've just ordered some of the Dynamoov, which I believe are the same as the Dynapro but without the rear adjustment facility. And how much did you pay for them?
Cheers
Karl
I like the dynapros been using them for a few years now . I think they were about £18 ish plus vat for the runners and clips. The 60kilo ones for the big drawers were quite expensive iirc
Cheers
Jon
Modernist
Established Member
Just come late to this Jon after hols. Is there any problem with the veneer tape telegraphing through onto adjacent panels doing them in a stack in the vac bag?
JonnyD
Established Member
Modernist":2vgaqubs said:Just come late to this Jon after hols. Is there any problem with the veneer tape telegraphing through onto adjacent panels doing them in a stack in the vac bag?
I've never noticed any problems Brian. The panels that go together in the bag have always been the balance sapele veneers. I imagine the veneer tape is too thin to make it a problem.
Cheers
Jon

£347.50
£359.95
Trend Airshield Pro Full Faceshield, Dust Protector, Battery Powered Air Circulating Mask for Woodworking, AIR/PRO, Black and Grey
KPs Catalogue

£17.99 (£1.80 / count)
£27.44 (£2.74 / count)
3M 8822 Disposable-fine dust mask FFP2 (10-pack)
Amazon.co.uk

£12.50 (£1.25 / count)
£14.45 (£1.44 / count)
JSP M632 FFP3moulded Disposable Dustmask (Box of 10) One Size suitable for Construction, DIY, Industrial, Sanding, dust protection 99 Percent particle filtration Conforms and Complies to EN 149
Amazon.co.uk
JonnyD
Established Member
Time for a bit of an update on this.
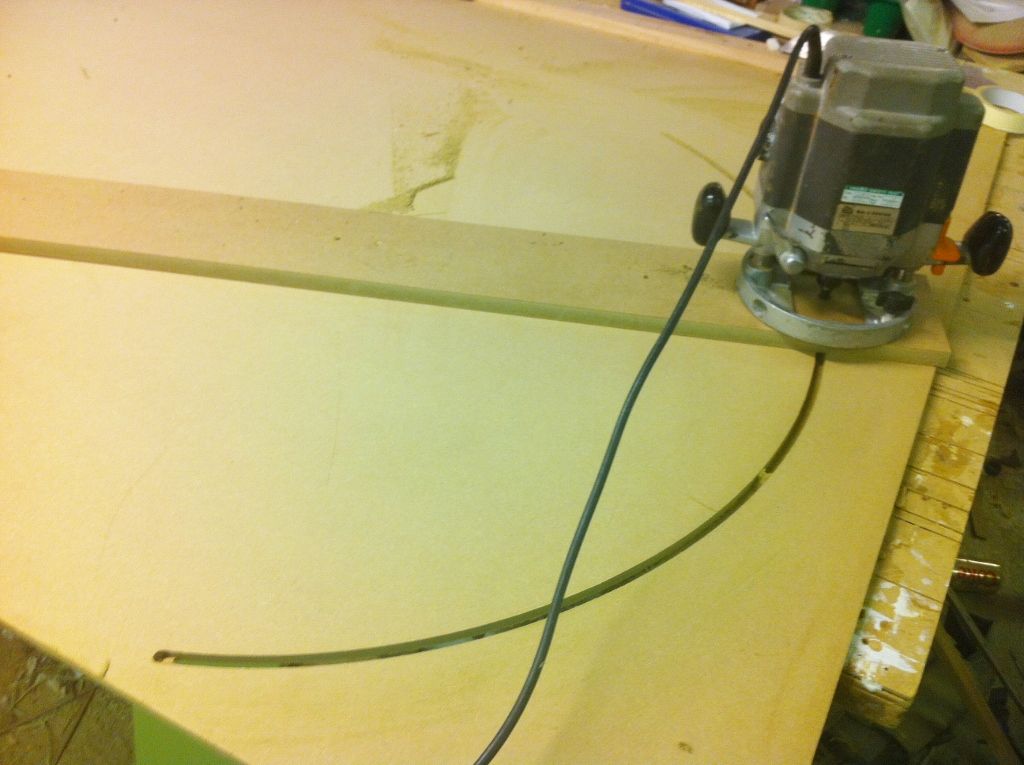
Started off using the router and homemade trammel to cut arcs so templates can be made to make the curved rails for the island unit
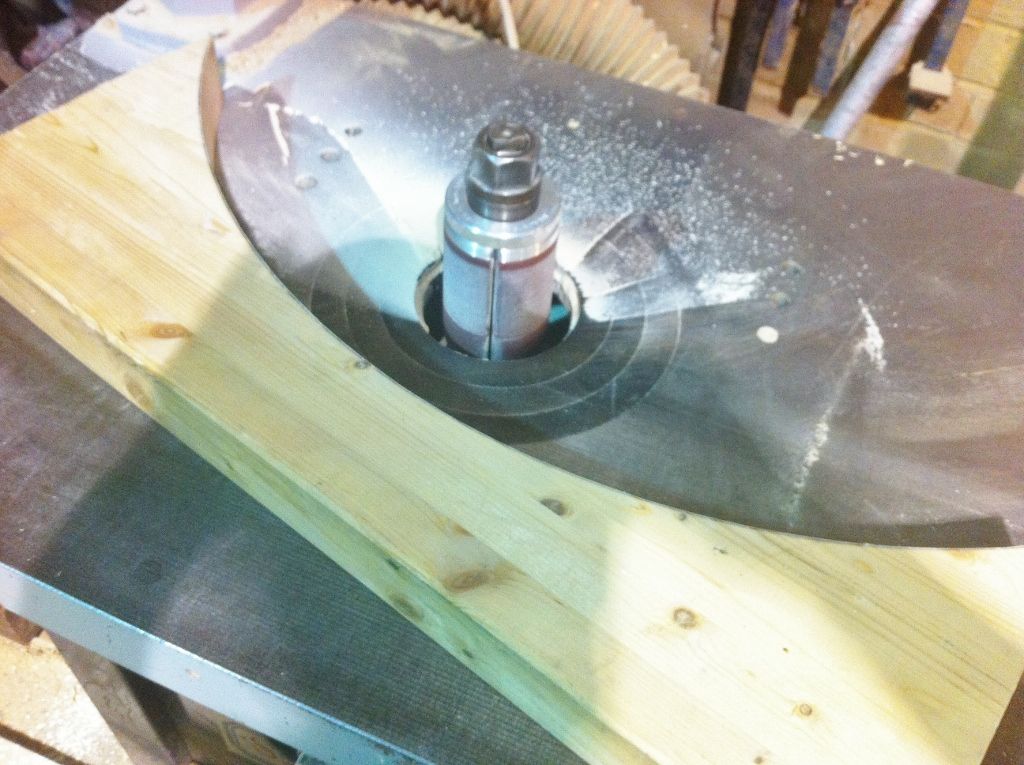
Using the bobbin sander in one of the spindle moulders to help shape parts for the jig
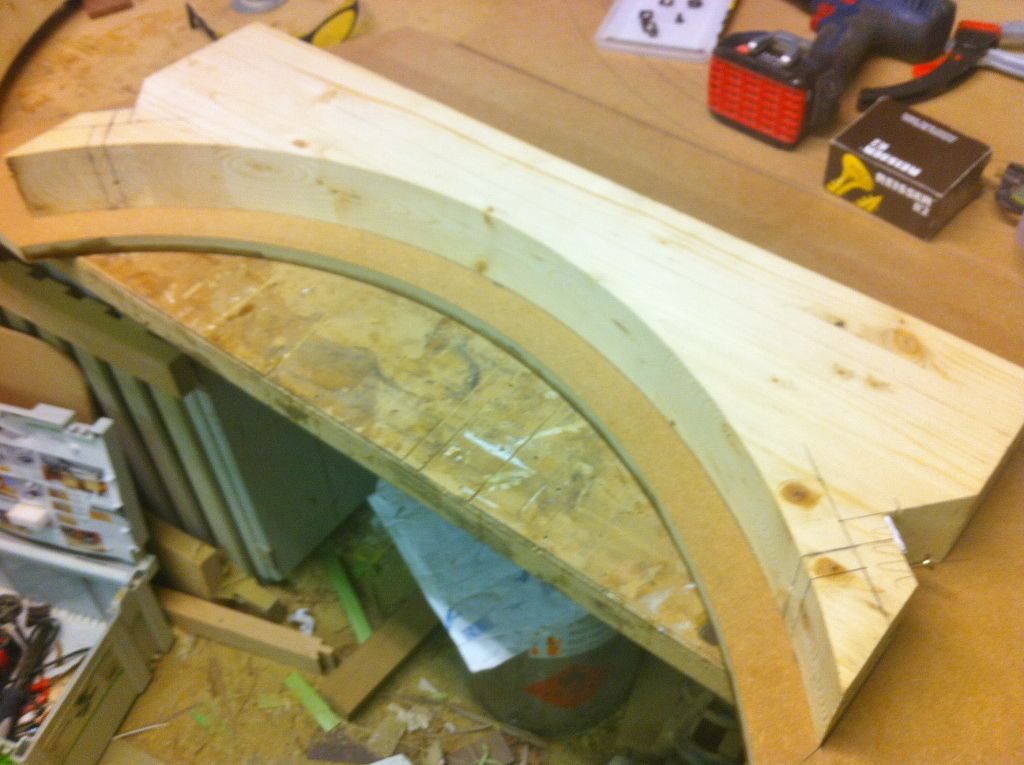
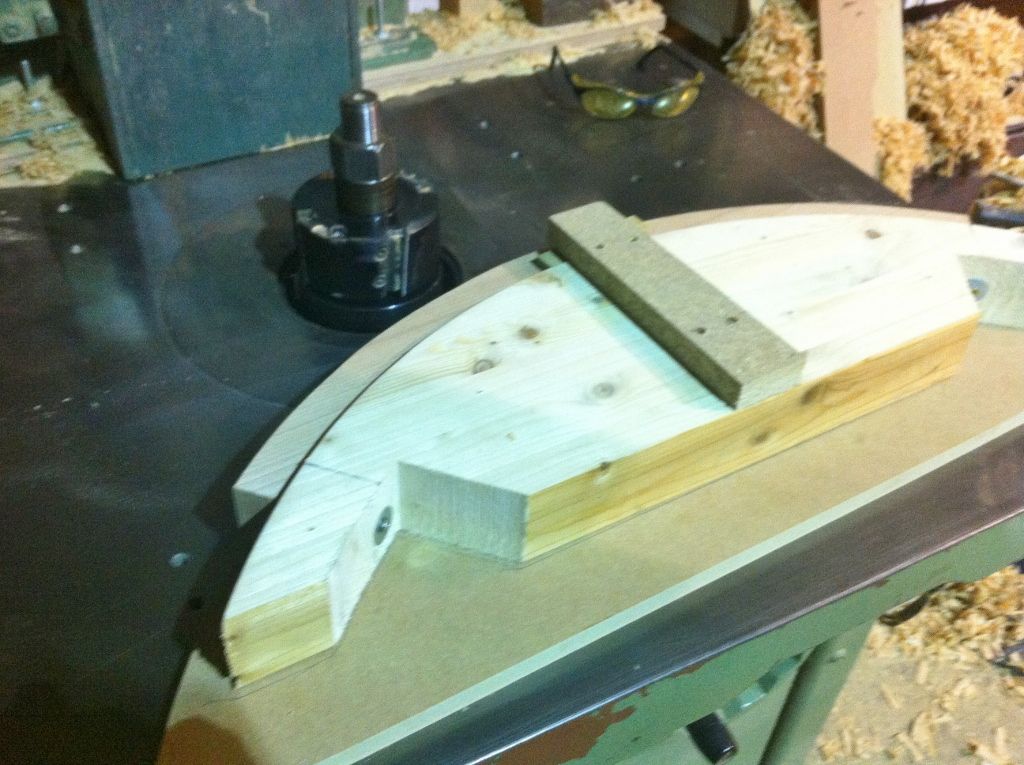
This jig is for the inside face which is machined first. The rails are initially made slightly long so that they can be screwed to the jig
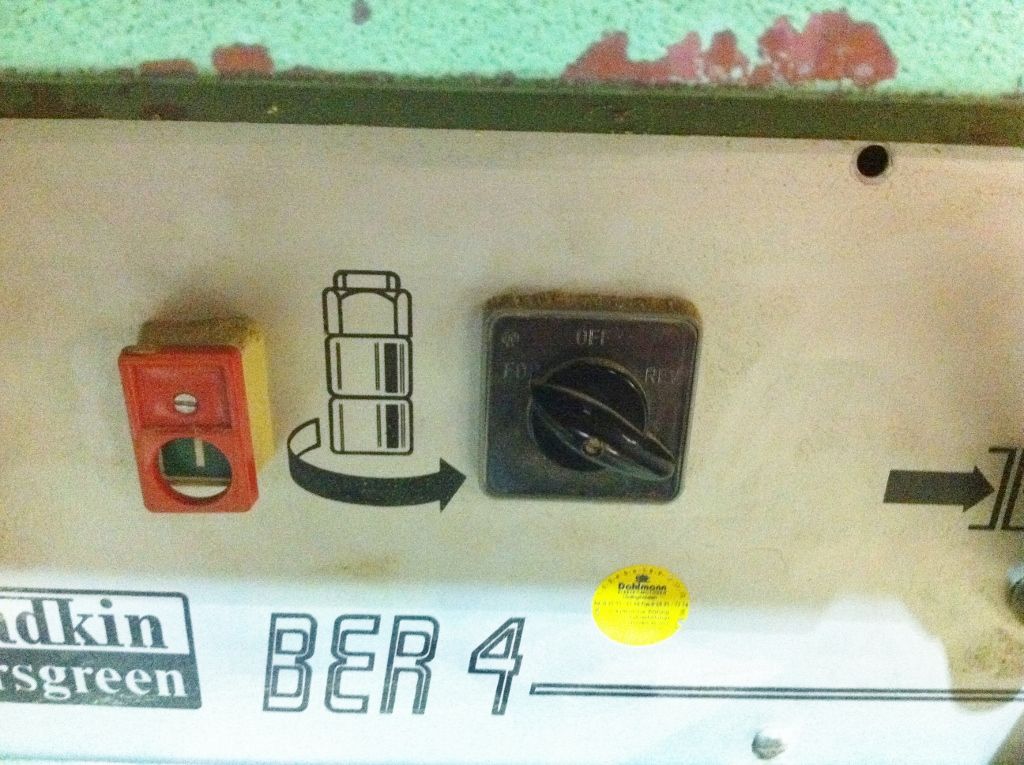
Because of the curve you are machining against the grain for half the cut which can result in some torn grain. To counteract this on the wadkin spindle you can change the rotation of the block easily and by turning the block over you can machine both parts with the grain and avoid tearout. It only takes a few seconds to change the block over.
rail loaded onto the jig
You can see from this video how the machining is done with the block turned over and the rotation reversed
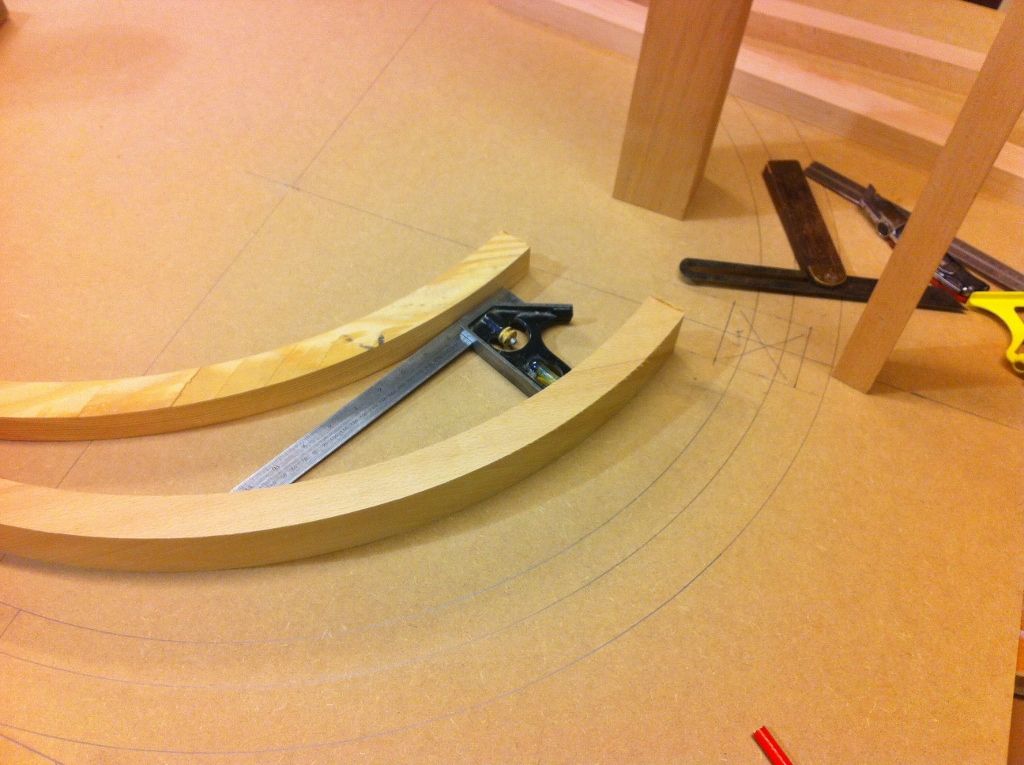
After the rails are made they need cutting to length at the right angle. A full size rod is drawn up on some mdf to guage lengths and angles
A simple jig is made to put on the sliding table to make the cut at the right angle
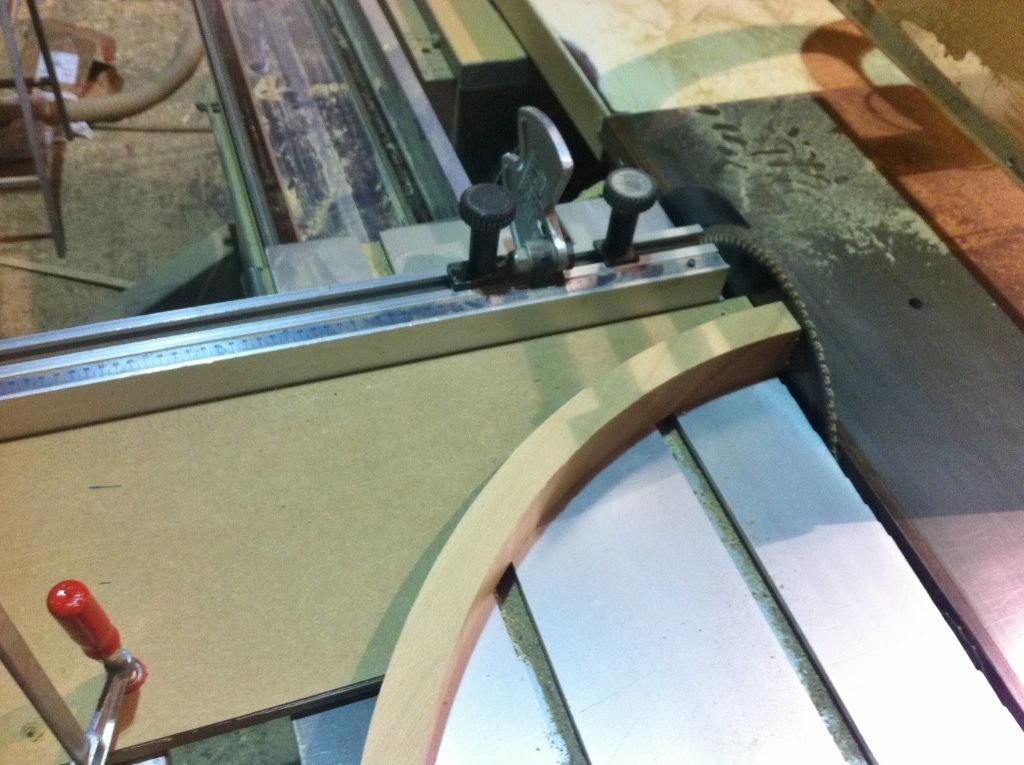
The other end is a slightly different angle so some more stops are placed on the saw
Testing for fit
The mitre on the rail for the beaded frame is done by hand with the router
To domino the curved rails into the sides a piece of packing is added to the domino to allow you the present the tool at the right angle
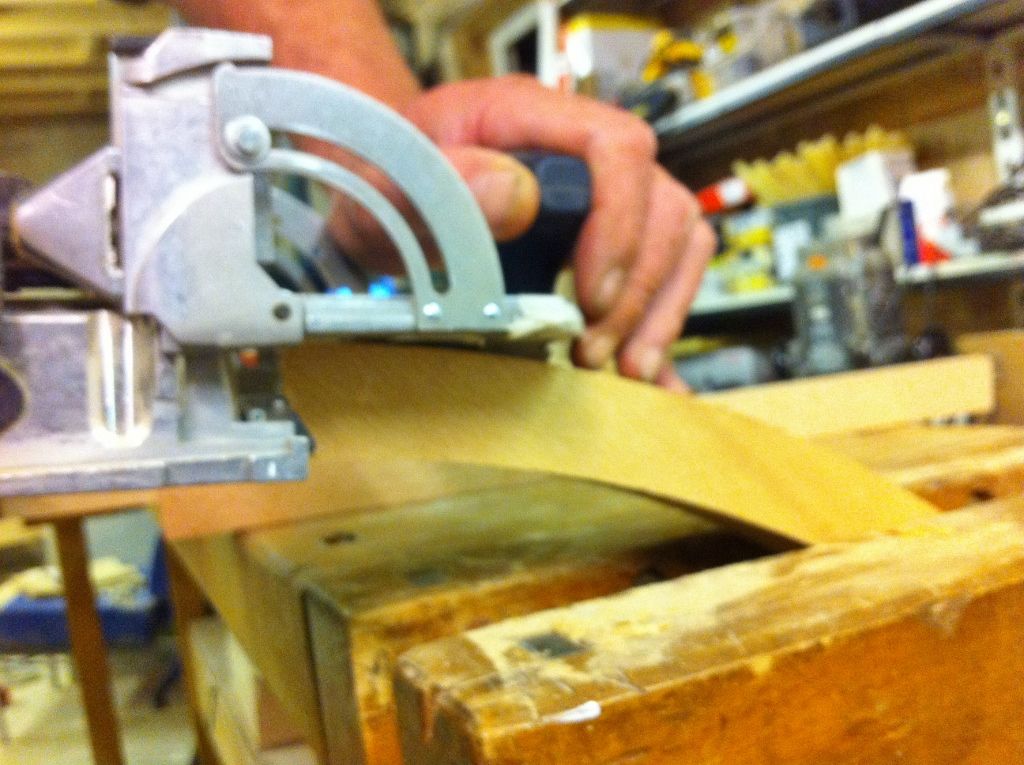
Dry run to see if they fit
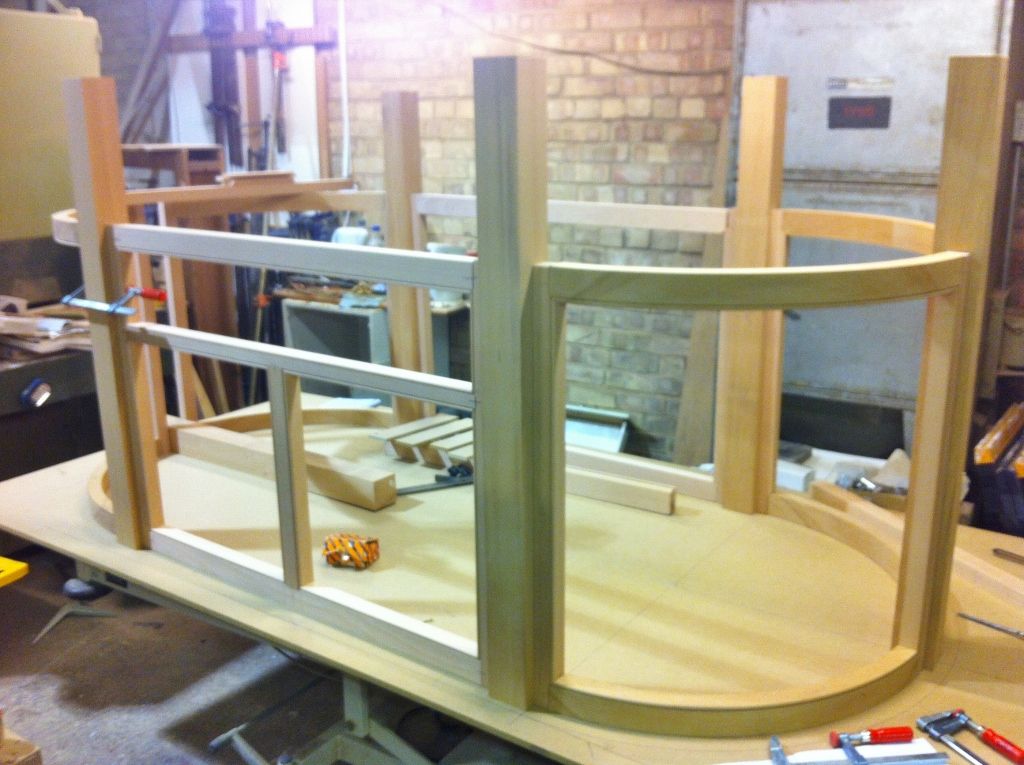
Frames are glued and cleaned up by hand with a bevel up smoother
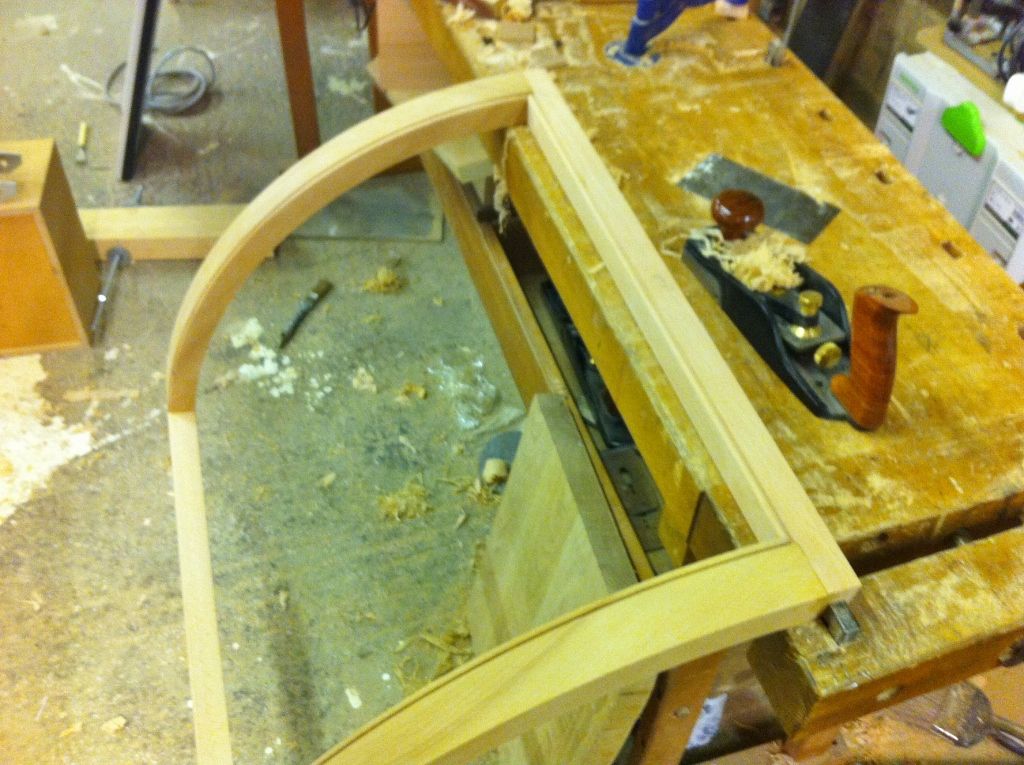
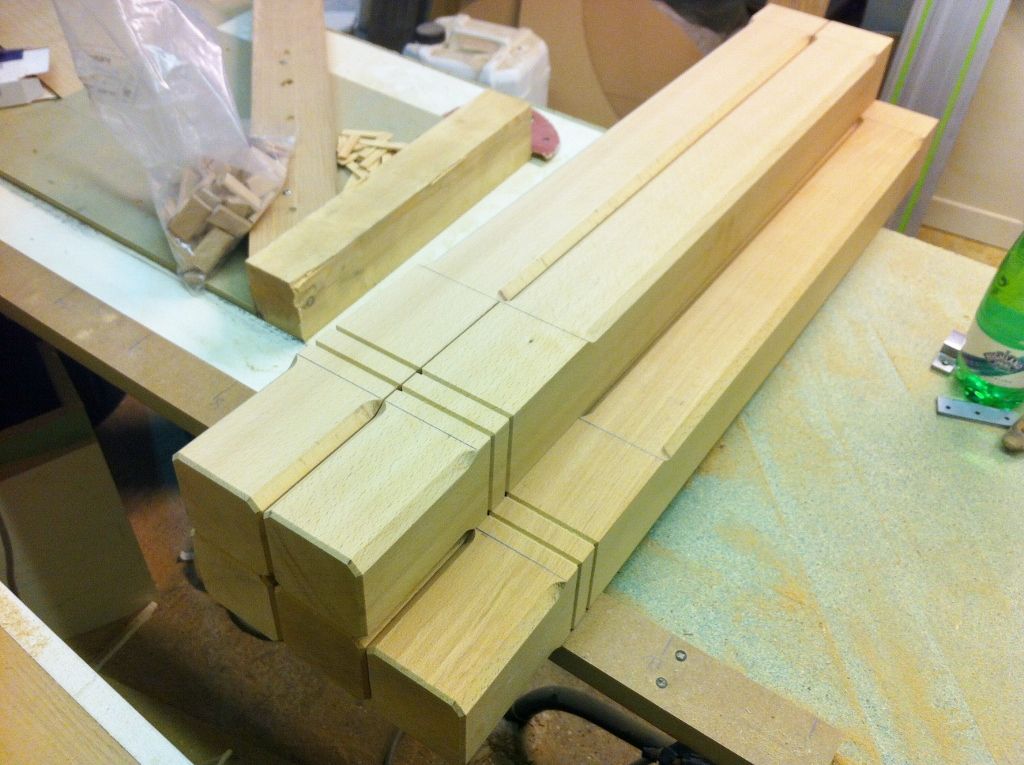
Some detail is put on the legs with a V cutter in the router table
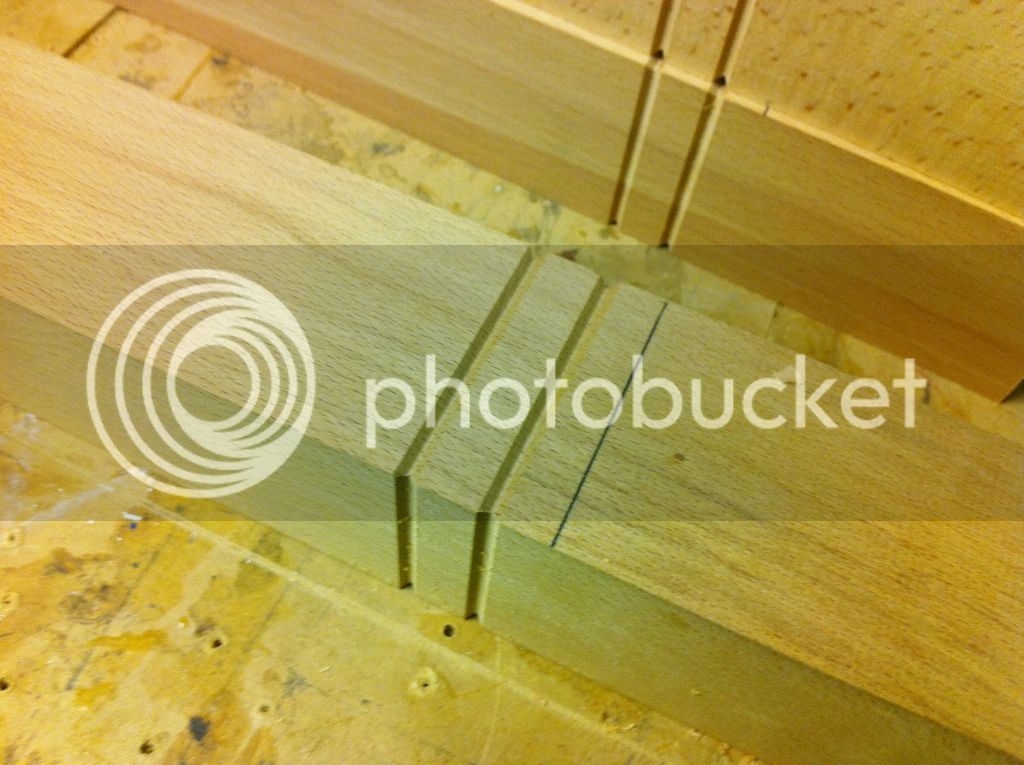
The legs are also stop chamfered done by hand to marks as i couldnt be bothered making a jig or setting up stops on the spindle
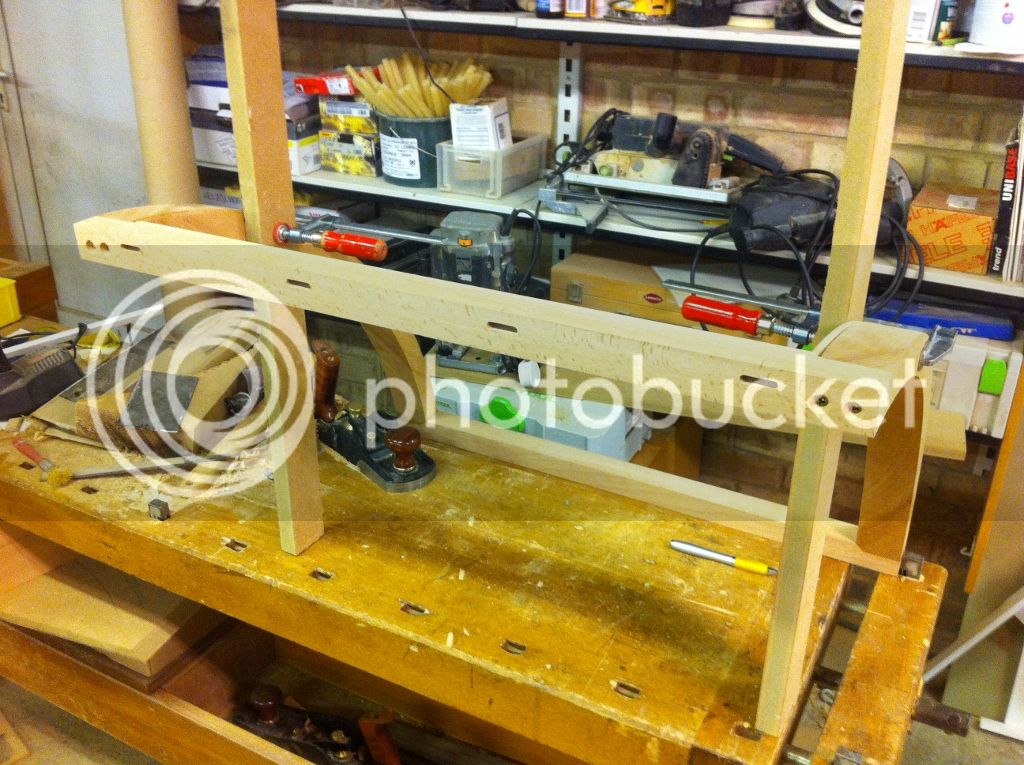
The frames are dominoed onto the legs bit of heath robinson clamping to allow dominoing of the curved frames
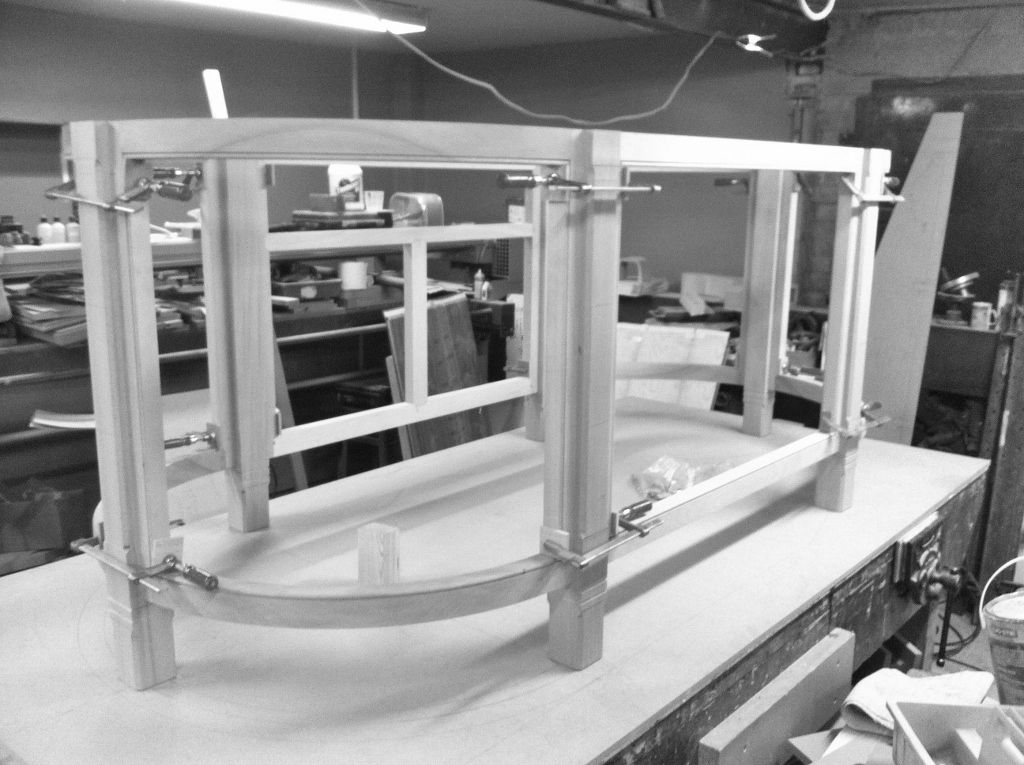
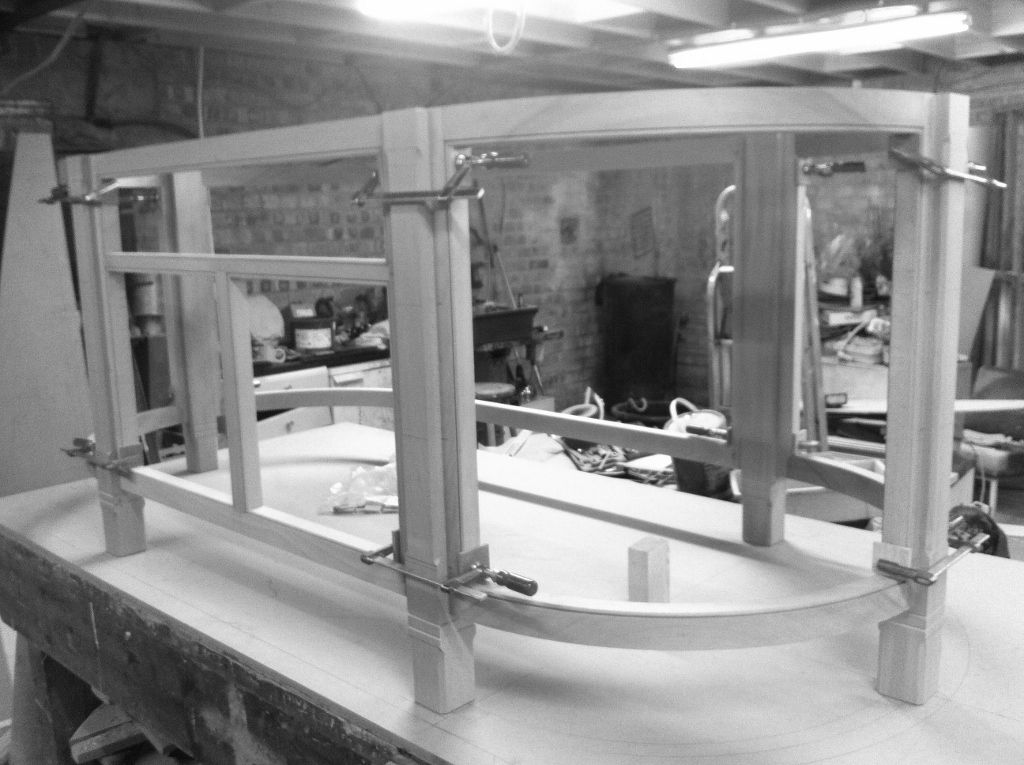
Got the frames and legs together so that the carcases can be sized up
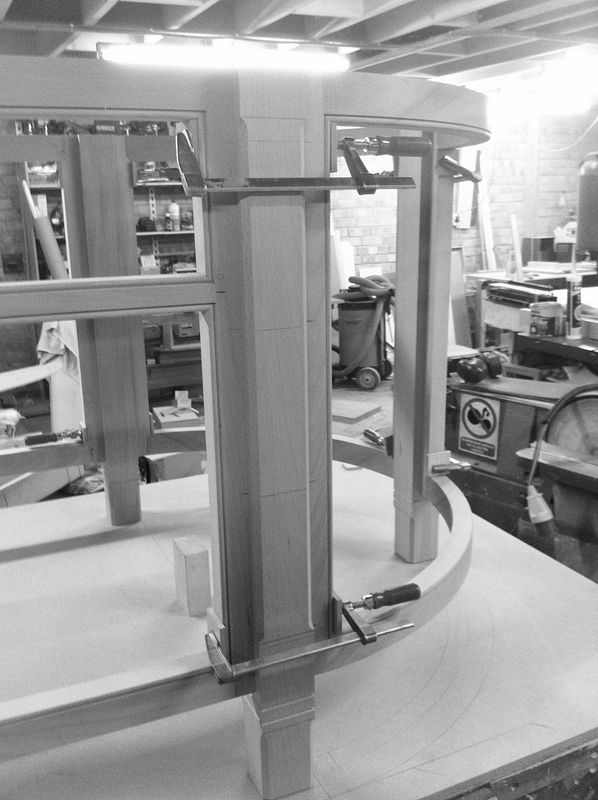
Thanks for looking
Cheers
jOn
Started off using the router and homemade trammel to cut arcs so templates can be made to make the curved rails for the island unit

Using the bobbin sander in one of the spindle moulders to help shape parts for the jig

This jig is for the inside face which is machined first. The rails are initially made slightly long so that they can be screwed to the jig

Because of the curve you are machining against the grain for half the cut which can result in some torn grain. To counteract this on the wadkin spindle you can change the rotation of the block easily and by turning the block over you can machine both parts with the grain and avoid tearout. It only takes a few seconds to change the block over.

rail loaded onto the jig

You can see from this video how the machining is done with the block turned over and the rotation reversed

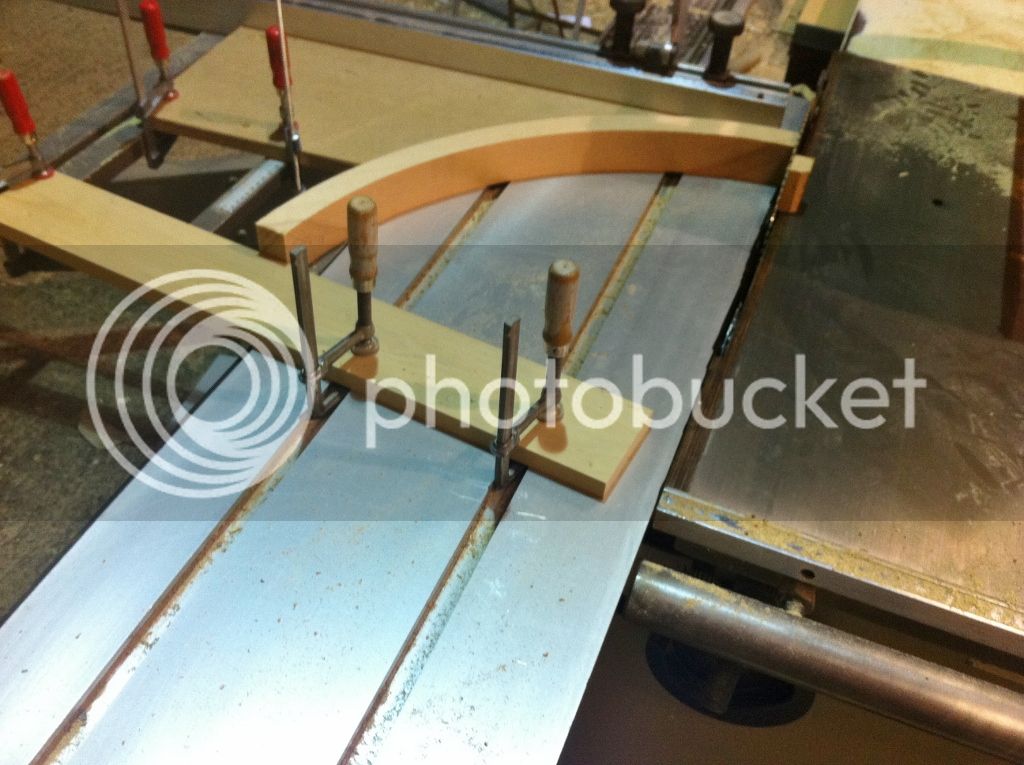
After the rails are made they need cutting to length at the right angle. A full size rod is drawn up on some mdf to guage lengths and angles

A simple jig is made to put on the sliding table to make the cut at the right angle

The other end is a slightly different angle so some more stops are placed on the saw

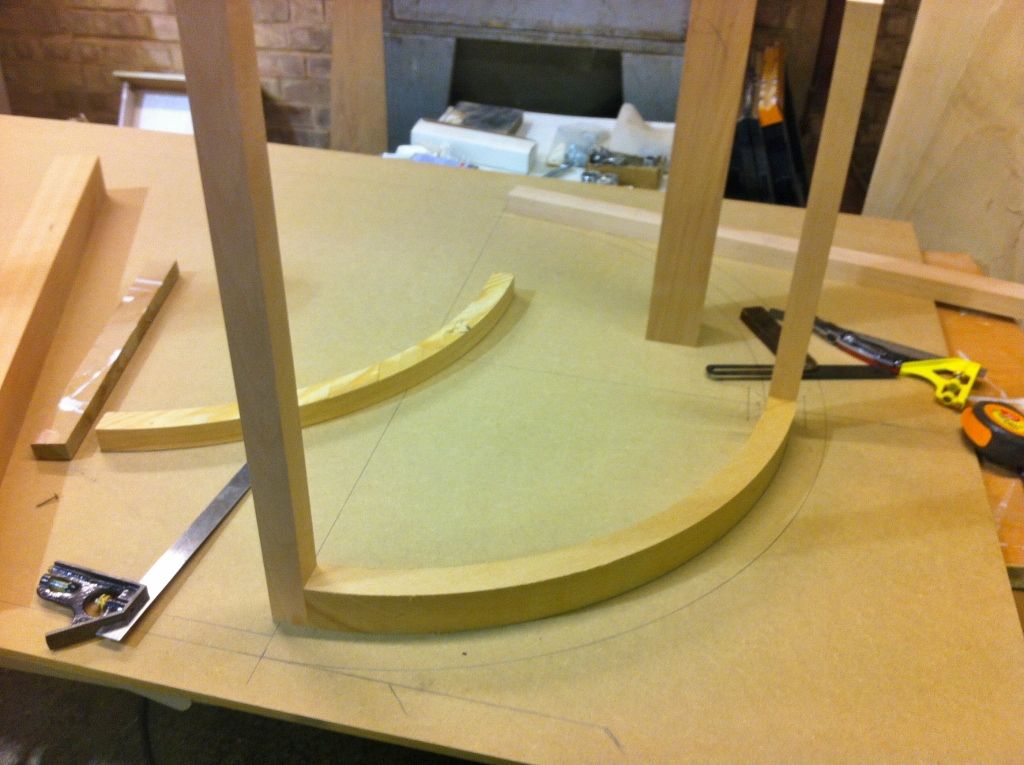
Testing for fit

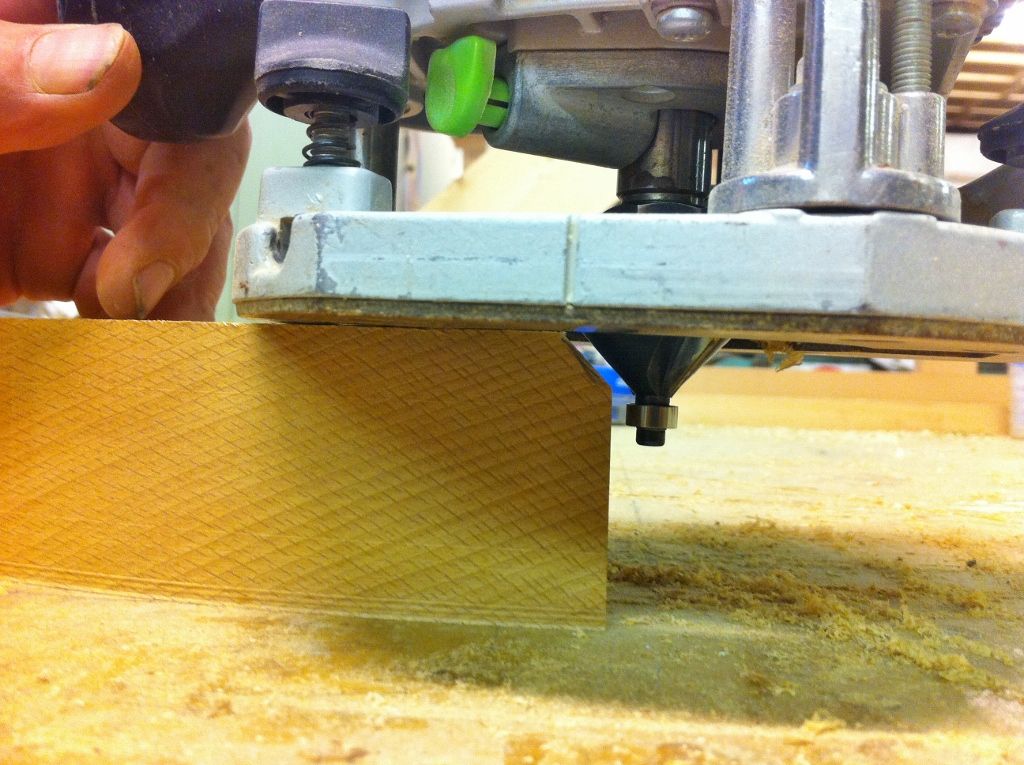
The mitre on the rail for the beaded frame is done by hand with the router

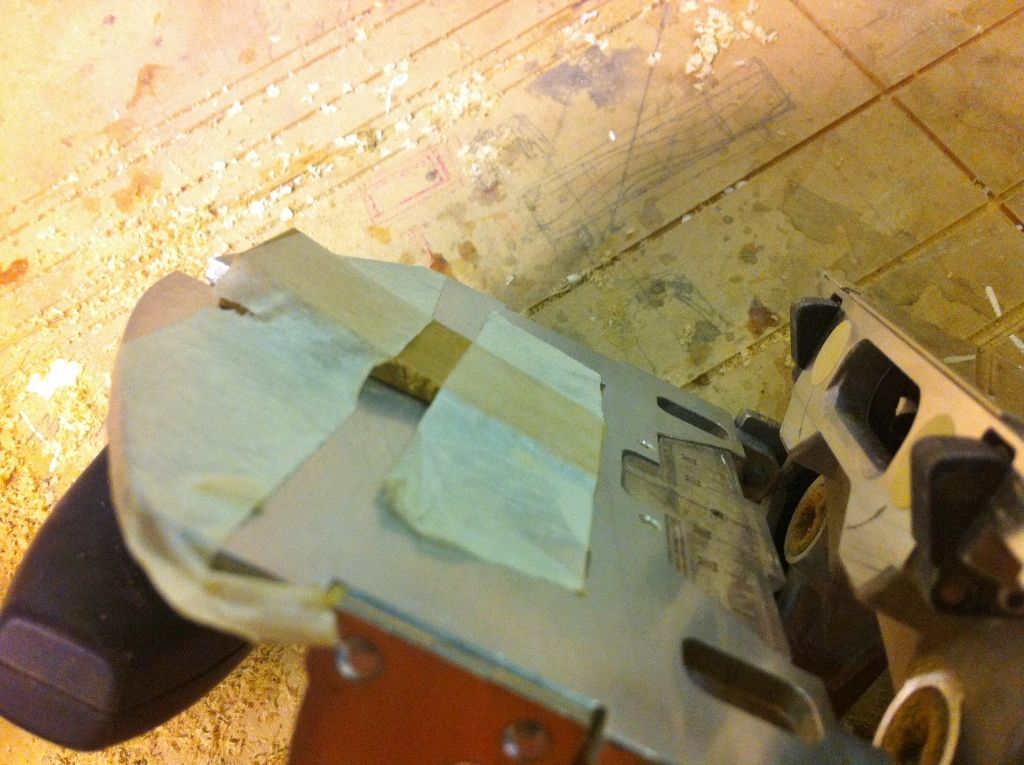
To domino the curved rails into the sides a piece of packing is added to the domino to allow you the present the tool at the right angle


Dry run to see if they fit

Frames are glued and cleaned up by hand with a bevel up smoother

Some detail is put on the legs with a V cutter in the router table

The legs are also stop chamfered done by hand to marks as i couldnt be bothered making a jig or setting up stops on the spindle

The frames are dominoed onto the legs bit of heath robinson clamping to allow dominoing of the curved frames

Got the frames and legs together so that the carcases can be sized up


Thanks for looking
Cheers
jOn
If you carry on like this Jon, you never know, you might one day be able to make a living out of it :lol: :lol:
Modernist
Established Member
Very nice Jon, I'm surprised you haven't got a pair those spindles permanently set up in opposite directions.
Anyway where was the power feed?
Anyway where was the power feed?
JonnyD
Established Member
promhandicam":63tymeh9 said:If you carry on like this Jon, you never know, you might one day be able to make a living out of it :lol: :lol:
I reckon if every job was a curved one I'd be broke they always seem to take longer thn you think
marcros":63tymeh9 said:Sorry, I may have missed this. Were the rails bent or machined out of larger sections?
Your right I didn't mention it. The rails are machined out of the solid
Cheers
Jon
JonnyD
Established Member
Modernist":p2eyglgn said:Very nice Jon, I'm surprised you haven't got a pair those spindles permanently set up in opposite directions.
Anyway where was the power feed?
Too tight a curve for the power feed on this one Brian
Cheers
Jon
Paul Chapman
Established Member
Great stuff, Jon - and you make it look so easy 
Cheers :wink:
Paul
Cheers :wink:
Paul
JonnyD
Established Member
Thanks for the comments its good to know people are interested and following this.
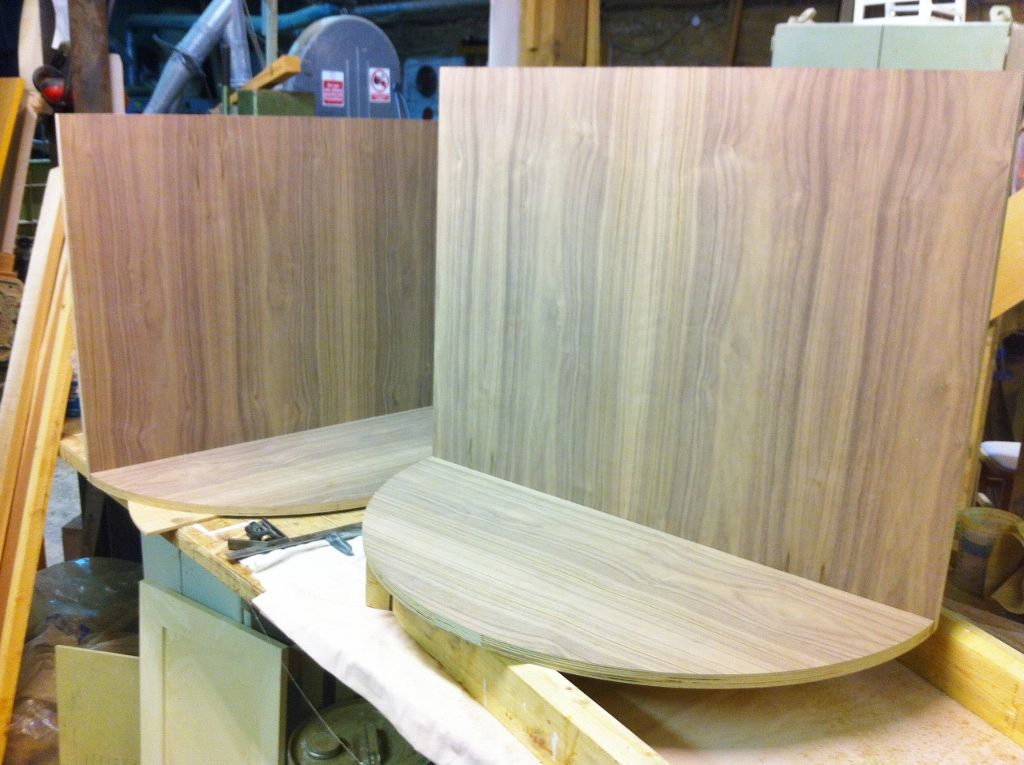
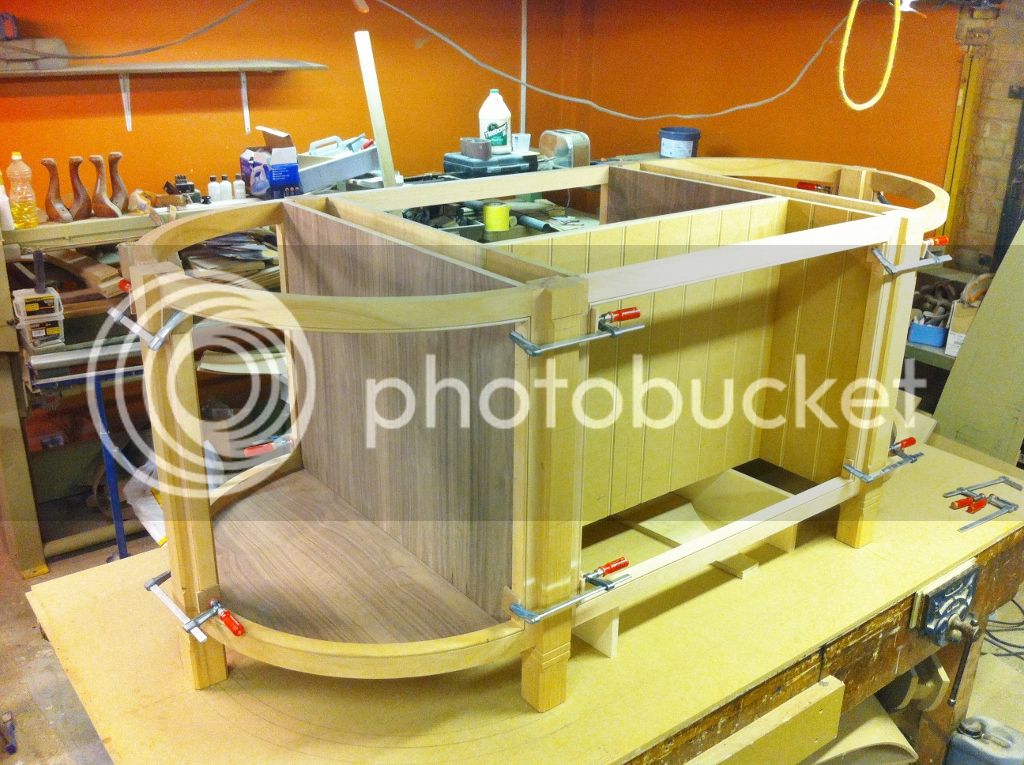
Today i have been sorting out the inner carcases again in walnut on birch ply. The ends are rounded and the two panels are joined together with dominoes
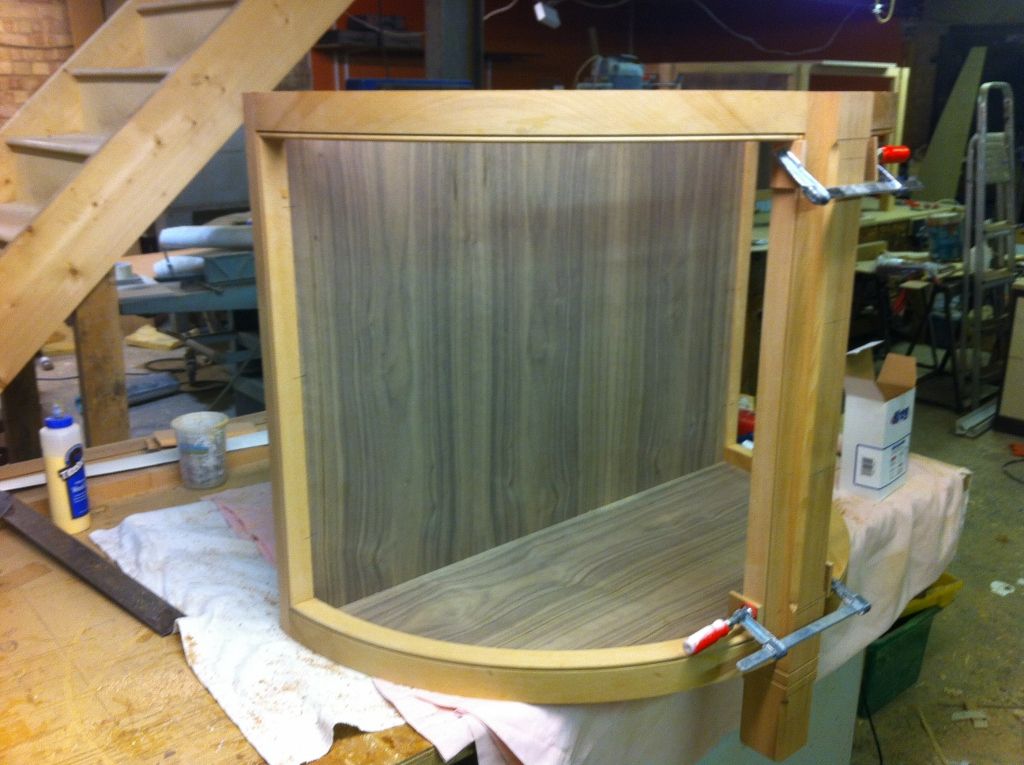
The frames are built around the carcase when its finally assembled the middle leg will be glued up . it would be impossible to assemble and get the dominos in other wise
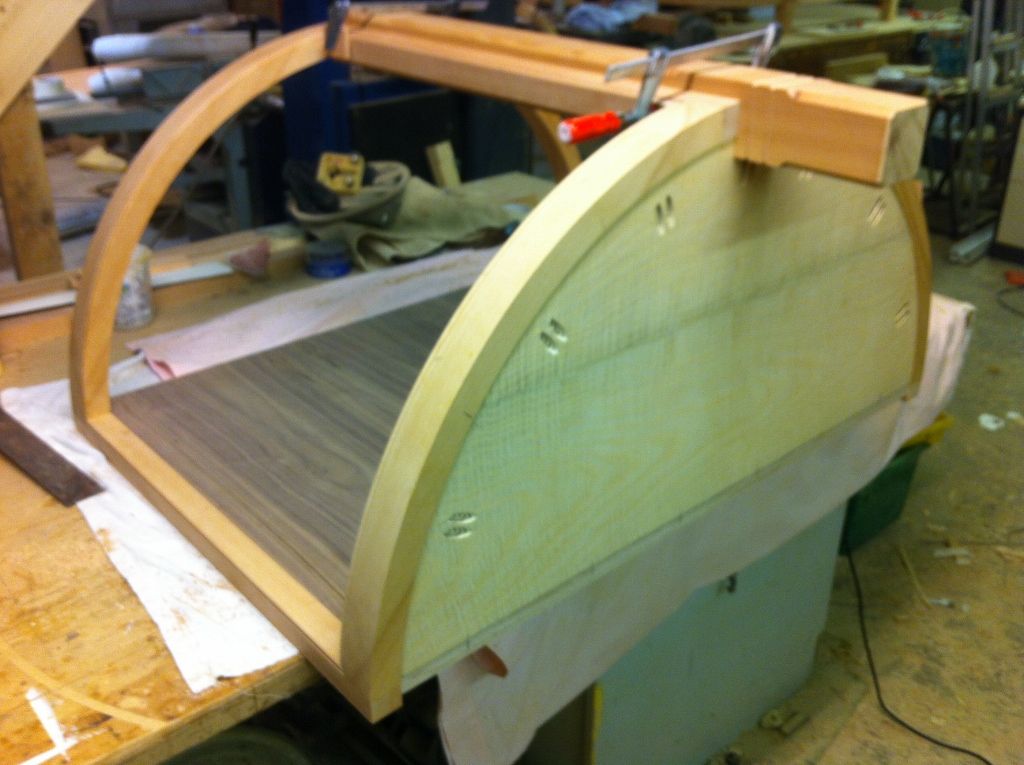
Underneath it is pocket screwed to the carcase i used up some ripple ash veneer here as a balancer as it had stained on the edges a bit
Got everything pretty much together by the end of the day
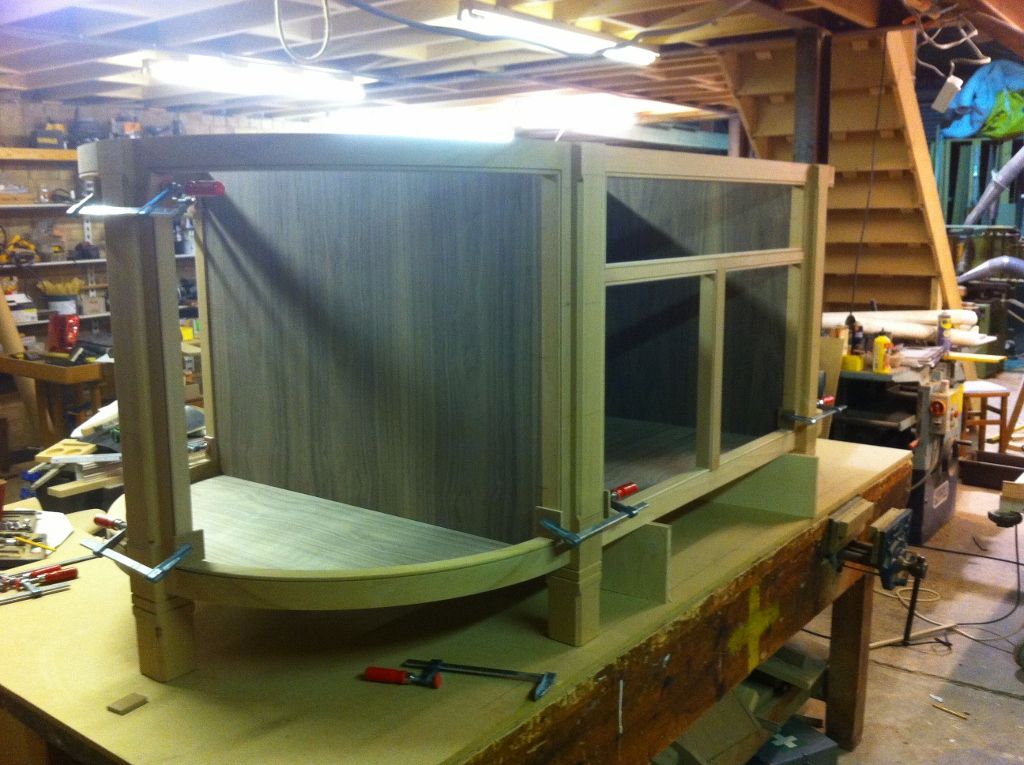
on this side there is bead and butt paneled recess for sitting at and there will be walnut slats on the bottom
Thanks for looking
cheers
Jon
Today i have been sorting out the inner carcases again in walnut on birch ply. The ends are rounded and the two panels are joined together with dominoes

The frames are built around the carcase when its finally assembled the middle leg will be glued up . it would be impossible to assemble and get the dominos in other wise

Underneath it is pocket screwed to the carcase i used up some ripple ash veneer here as a balancer as it had stained on the edges a bit

Got everything pretty much together by the end of the day

on this side there is bead and butt paneled recess for sitting at and there will be walnut slats on the bottom

Thanks for looking
cheers
Jon
Mr Ed
Established Member
Great work Jon.
I know how time consuming it is to do such a detailed WIP, but it's the thing that is most interesting on the forums, so thank you.
Ed
I know how time consuming it is to do such a detailed WIP, but it's the thing that is most interesting on the forums, so thank you.
Ed
mailee
Established Member
Awe inspiring Jon! I am really enjoying this thread. I like the jig for the table saw for cutting the angles.
shim20
Established Member
really is top work this, what a really quality kitchen it will be, its always intresting to see how people go about things, keep up the good work
Doug B
Shy Tot
JonnyD":5li4cib8 said:
You`ve painted the workshop walls orange :?: :shock: :shock: :shock:
Similar threads
- Replies
- 0
- Views
- 474


