motownmartin
Established Member
I wanted to make a Wall Clock out of Oak for the Kitchen.
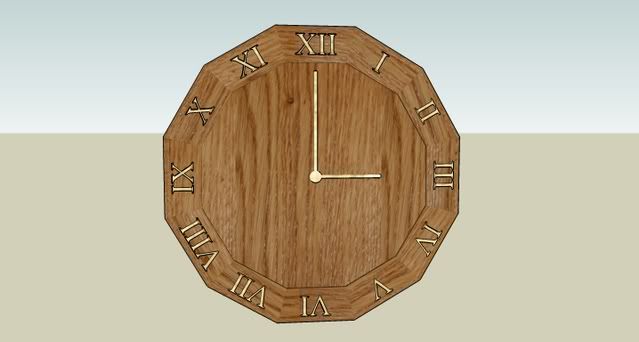
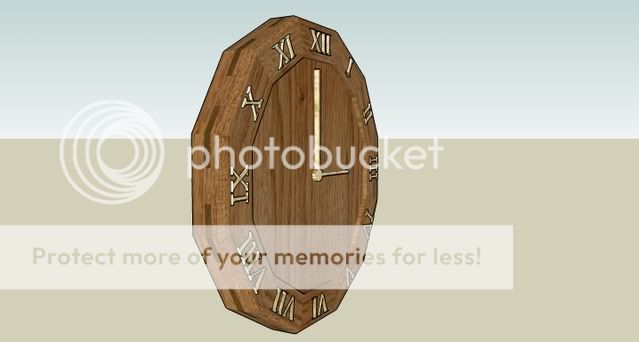
I set about sketching some designs and came up with this
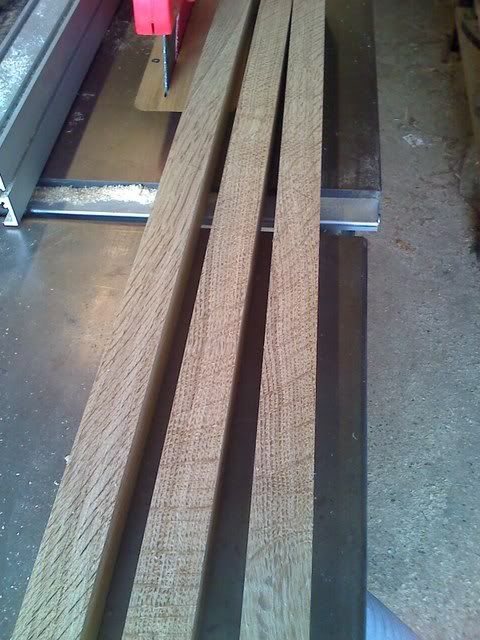
First job was to dimension some stock on the table saw and thicknesser
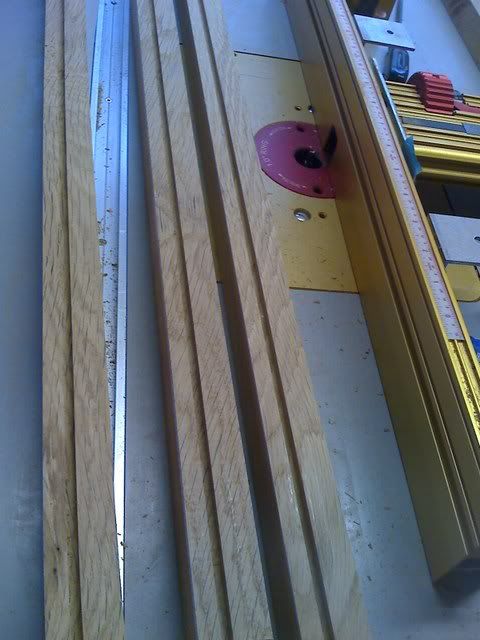
Next I cut a rebate for the face on the Router table, the cutter wasn't ideal as one of the flutes was badly damaged but managed to to it okay in 2 passes.
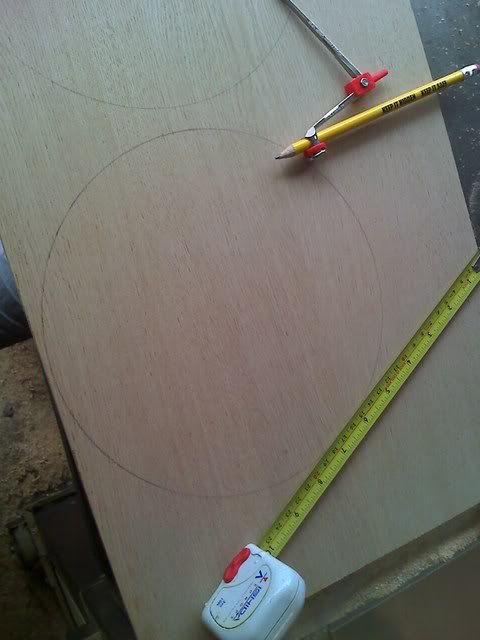
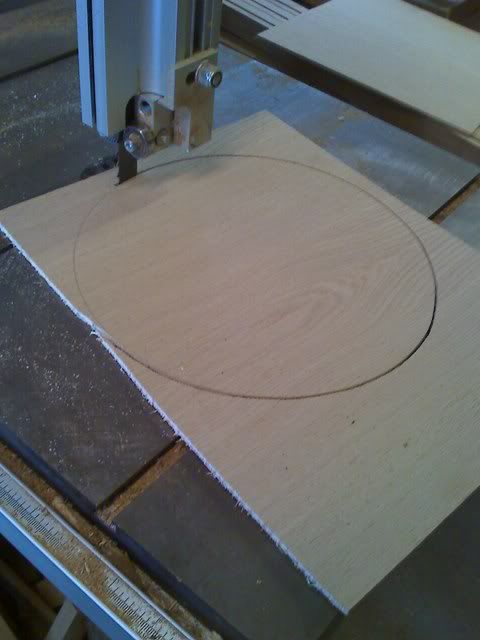
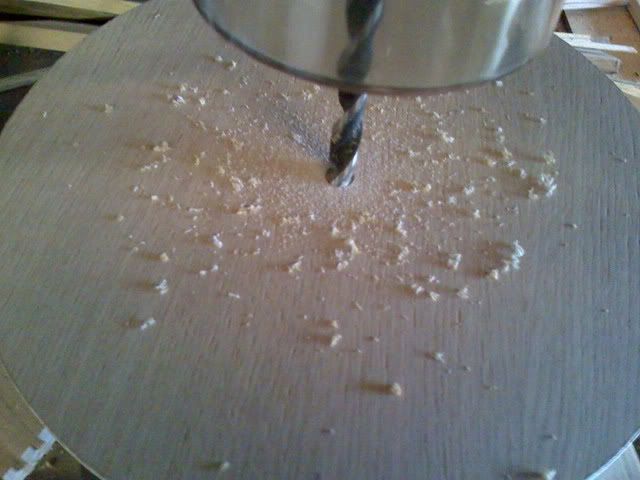
Next I made the clock face, this is made from Oak faced plywood and cut out on the bandsaw the drilled a hole in the centre for the clock movement
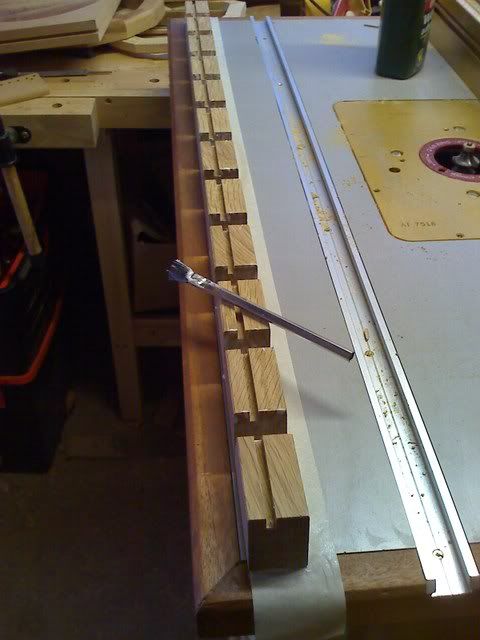
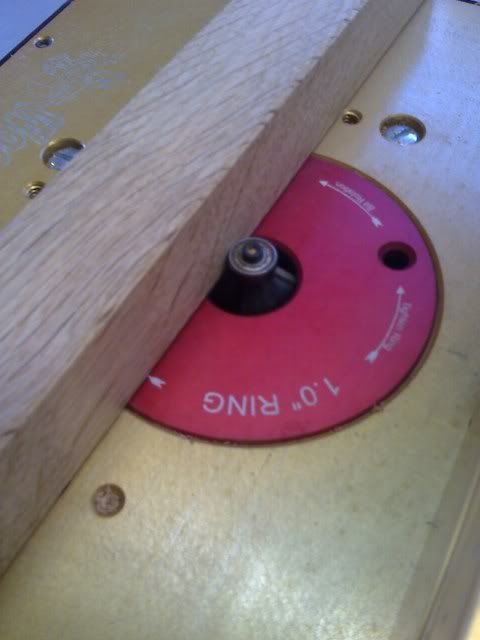
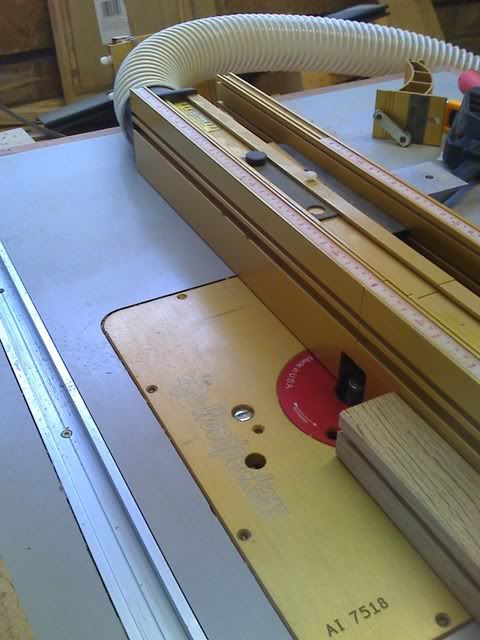
I forgot to chamfer the the edges of the stock, I done this with a bearing guided cutter although there was no need as i used the fence on the router table, I fixed on the split fence as I can attach the dust extraction, this works brilliantly and all the chippings and dust gets removed.
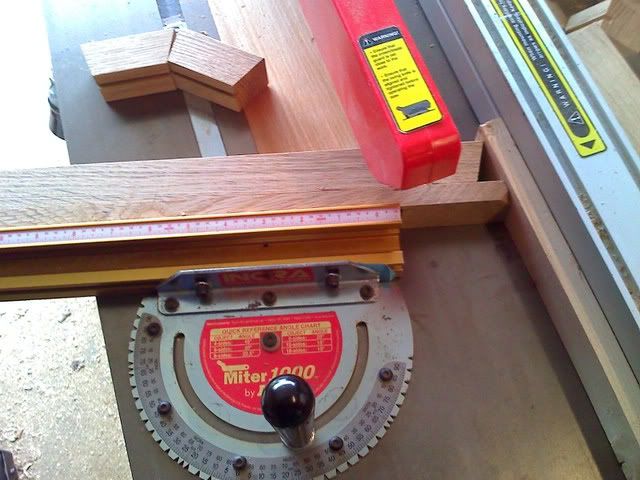
Time to cut the outer segments, there are 12 of these and each cut is 15 degrees, being so many its important to get it spot on, if you are a little bit out it becomes magnified 12 times on the completed frame :shock:
Now to put it together, I used masking tape (damn, I didn't take a photo) anyway all the segments were laid on the masking tape so I could roll it around the plywood face, first I done a dry run just to make sure everything was okay
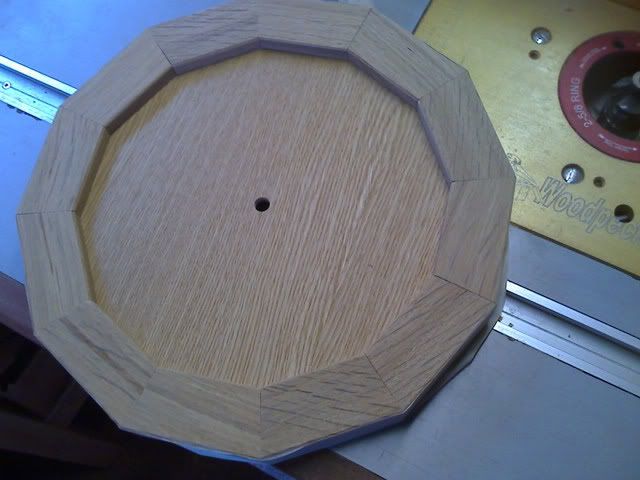
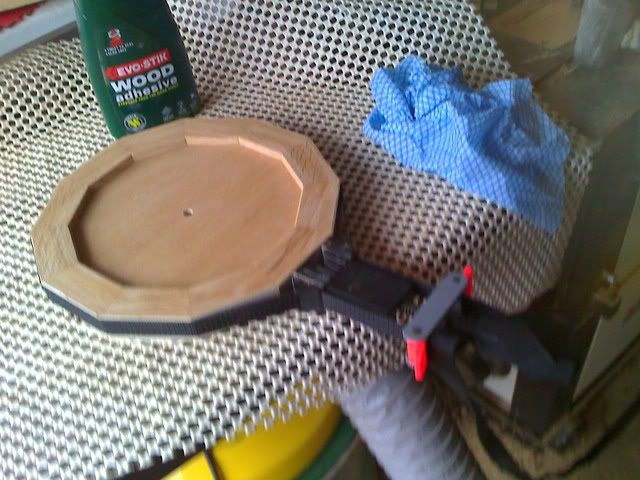
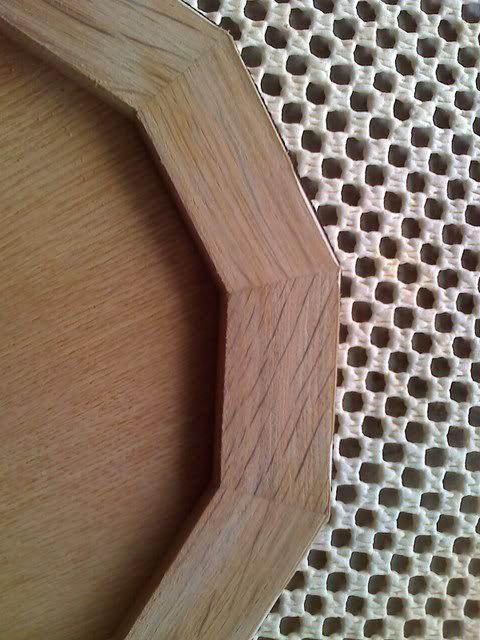
Then the glue up, the mitres look pretty good and it wasn't as difficult as I thought.
So far so good, hopefully some more pics tomorrow.
I set about sketching some designs and came up with this


First job was to dimension some stock on the table saw and thicknesser

Next I cut a rebate for the face on the Router table, the cutter wasn't ideal as one of the flutes was badly damaged but managed to to it okay in 2 passes.

Next I made the clock face, this is made from Oak faced plywood and cut out on the bandsaw the drilled a hole in the centre for the clock movement


I forgot to chamfer the the edges of the stock, I done this with a bearing guided cutter although there was no need as i used the fence on the router table, I fixed on the split fence as I can attach the dust extraction, this works brilliantly and all the chippings and dust gets removed.


Time to cut the outer segments, there are 12 of these and each cut is 15 degrees, being so many its important to get it spot on, if you are a little bit out it becomes magnified 12 times on the completed frame :shock:

Now to put it together, I used masking tape (damn, I didn't take a photo) anyway all the segments were laid on the masking tape so I could roll it around the plywood face, first I done a dry run just to make sure everything was okay

Then the glue up, the mitres look pretty good and it wasn't as difficult as I thought.


So far so good, hopefully some more pics tomorrow.


