Up and running

UKworkshop.co.uk

Help Support UKworkshop.co.uk:

This site may earn a commission from merchant affiliate links, including eBay, Amazon, and others.
jason, without really looking are you sure the motor is not mounted rather like an alternator, and that you can crank it over slightly???

and what do the threaded rods do??

paul :wink:
worryingly looking at what scrit says it's even older than me, and you know how knackered i am :lol:
 
Paul , how the hell would i know how an alternater thingy is mounted :lol:
 
engineer one":pipdxxii said:
jason, without really looking are you sure the motor is not mounted rather like an alternator, and that you can crank it over slightly???

and what do the threaded rods do??
That's what I've already said, more or less. Why not wait until I can post photos of another same-model spindle moulder tomorrow? I'm working on one tomorrow....... The motor is a foot-mounted type and mounts vertically on a plate casting with the pulley at the bottom. The axis it pivots on is vertical but is hidden out of sight behind the motor to the right. Ebery spindle I canrecall using has had an artrangement like this (although bear in mind I've never used something like a Wadkin EQ with the double-rotor motor)

We've already explained what the threaded rods do - both of us....... Although i got there befor Jase :p

engineer one":pipdxxii said:
worryingly looking at what scrit says it's even older than me, and you know how knackered i am :lol:
I have a bandsaw older than myself, a table saw older than I am and quite a few other vintage" pieces of kit - they all work better than I do and in addition less bits have dropped off over the years :roll:

Scrit
 
sorry scrit did not make the connection. :oops:

jason i know that your cello looks like a motor mounted vertically, so consider that as a possibility, as for alternators, no wonder you drive a volvo :lol: :twisted:
paul :wink:
 
Your'e welcome Jason, hope it does the job.

thinks; "I've heard that comment somewhere before , but with irony,just cant remember where."
 
I had to file a little out of the hole to get it to fit but nothing major .
Thanks again Dom :D
DSC00063.jpg
 
Jason

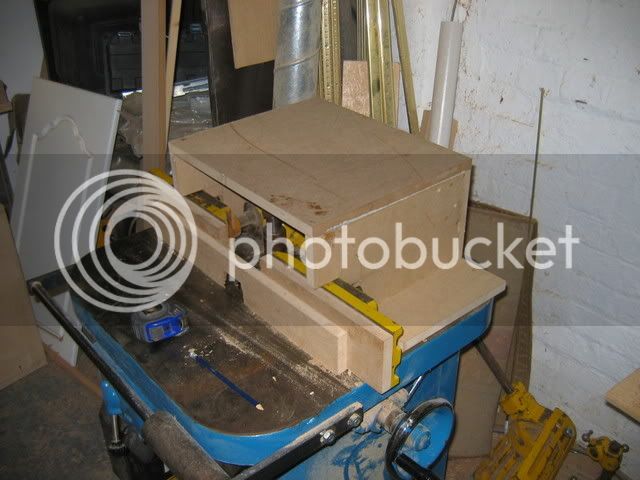
That's a lot better! I went over and "played" with Brad today (perhaps I need to rephrase that :oops: ), and this is one thing we mocked up - bit rough but it was just to try the concept, y'know (top guard for horseshoe fence) - "before" and "after" views:

IMG_1194.jpg


IMG_1202.jpg


This one was made from offcuts of 18mm MDF which make it a bit chunky. I'll do a SU drawing later/tomorrow and post that as well (BTW we also fixed a front piece onto the box which can be seen further down this post). The auxilliary fence plates shown here were incorrect and I replaced them later with the proper ones. The guard currently clamps on using a pair of quick action cramps, but I'm working on it..... :wink: Note the auxilliary fence plate tacked to the front of the wooden fence plates - this is a sacrificial "zero-clearance" fence which helps support the work in straight moulding work.

Brad doesn't yet have a Shaw guard so we made-up the quickest and crudest featherboards you've ever seen, but it did work.....

IMG_1210.jpg


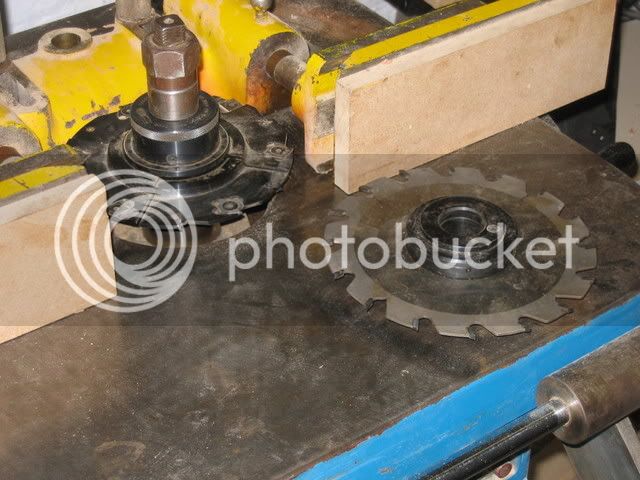
A bit rough and ready, but this was really just a working mock-up. The final item should be a lot swisher. Here we are running a groove, 12mm deep x 6.3mm wide in a single pass at about 1.5 to 2 metres/min feed rate. We used one of my TCT-RT vari-groovers, shown here below with an Omas wobble saw. The wobble saw proved to be too big for the BRS fence so we couldn't try it.

IMG_1203.jpg


The varigroovers are really useful: disposable carbide tips so you don't loose the tool for resharpening and you can dial in 0.25mm increments/decrements in width much quicker than fiddling with shims (but then I'm so convinced I have three different ones ). This one is a 4 to 7.5mm wide groove cutter and it will do up to a 30mm deep groove in one pass - try that with a router.

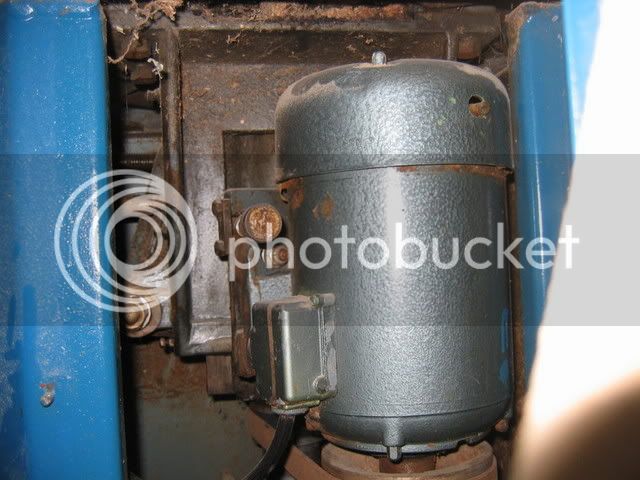
Oh, and as to the question about the belt tensioner, take a look at how your machine would have looked before the new motor was fitted. Can you see the knurled steel knob to the top left of the motor? That's the tension adjuster:

IMG_1192.jpg


IMG_1193.jpg


Later on after I've had me tea I'll post a few piccies of the tooling we were playing around with :lol:

Dcrit
 
Ahhhh you meen the thing i thought was missing it's nut :roll:
DSC00067.jpg

I like that sliding carrage , it looks very simple to have made .
 
Jason

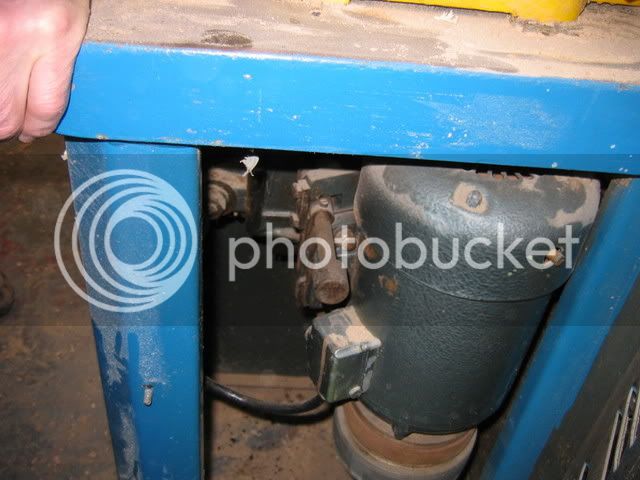
How many bolts are there holding your motor on? There should be four but I can't see any of the two I'd expect to see on that side of the motor. I thought you'd need two bolts on that side holding the motor onto a swing plate AND also the adjuster.

Scrit
 
Scrit , there is two the other side and one just below the pic , thats why i thought there was a nut missing untill i got inside it and found no thread . I called the guy i bought it from today and he said there is something about 10mm that i need to turn to adjust the speed . Im assuming this is the adjuster from your pics .
 
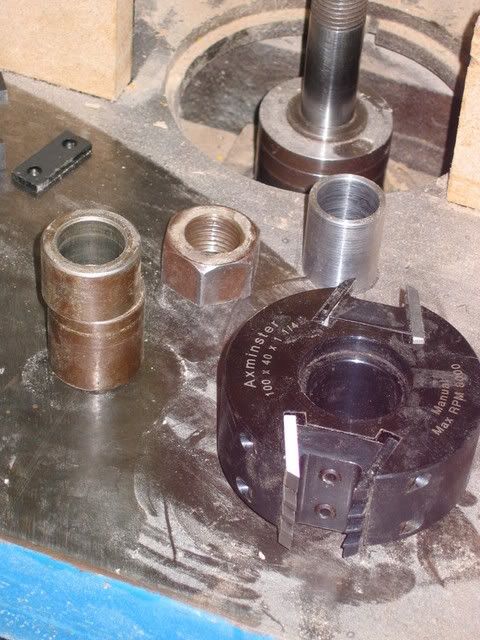
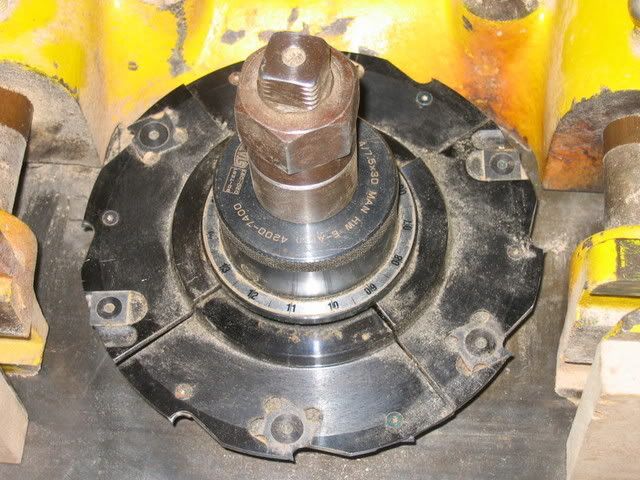
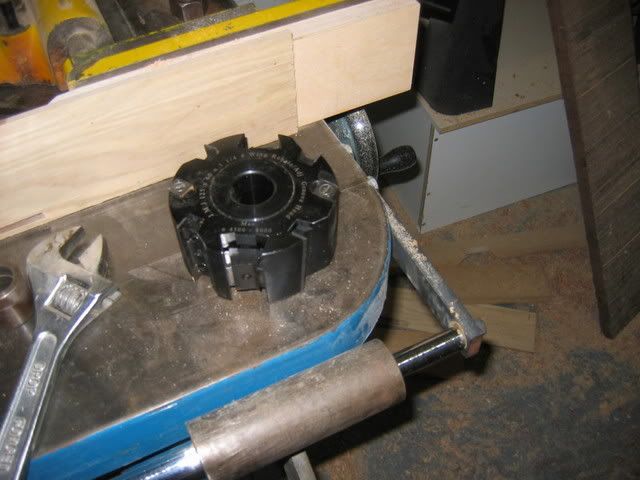
Anyway - tooling. For anyone who's never seen one here's a limiter cutter block set-up with a pair of profile cutters and limiters:

IMG_1197.jpg


The black knives are the limiters. This is one of the smaller blocks with a 100mm cutting circle and 40mm high knives. The knives/limiters are located on two pins and held in place by wedges making it highly unlikely to drop a cutter, even if the screws do come loose. Despite the APTC marked on it it is actually a modern Whitehill block

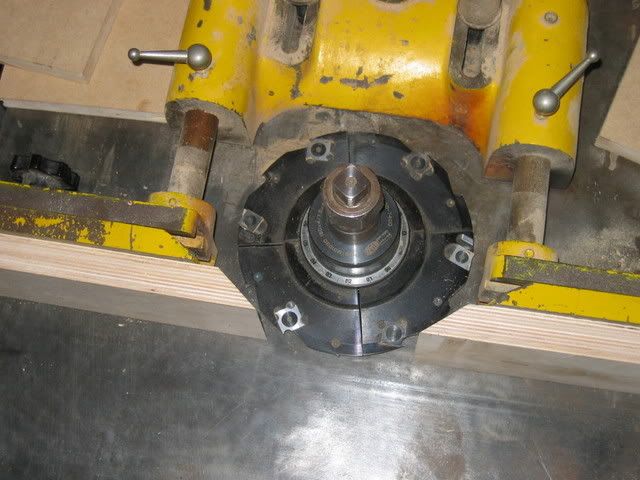
Grooving I do with "dial-a-width" groovers like this Stark one:

IMG_1204.jpg


Rhese have a groove height range a little under 2:1 and make adjustng a groove to the right width really easy - and much quicker than using a shimmed cutter set. In use you'd typically see no more than this amount of projection (through a secrificial fence):

IMG_1209.jpg


The false fence is added to give more support to the workpiece and stop it dropping into a rather large gap between the fence pieces. This is what the gap looks like after fitting modified fence plates (but without the sacrificial fence):

IMG_1208.jpg


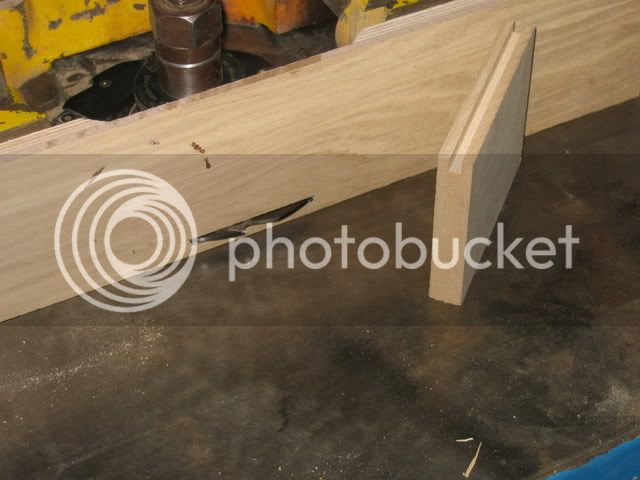
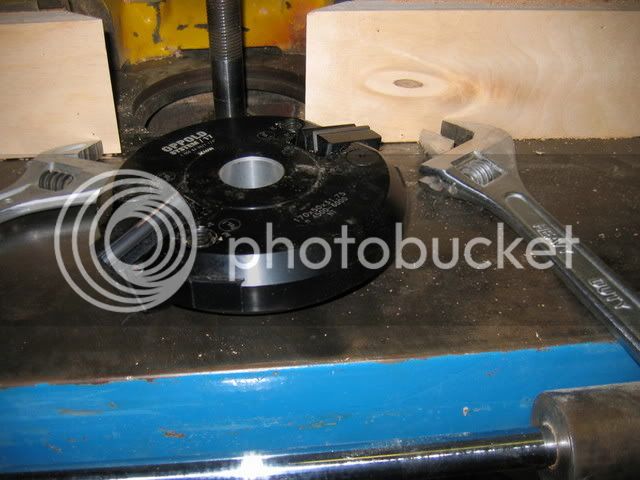
For rebates I tend to use blocks such as this one:

IMG_1211.jpg


A skew-cutter TCT-RT block. This one can additionally hold small profile cutters to add drip grooves, etc. Note the spurs. This cutter was used to work a large rebate in one pass (a wee bit off square because we were using RS stock :oops: ). Much bigger cut than you'd normally achieve with a router in a single pass (sorry about the naff picture quality and thank you Brad for modelling this wonderful piece of modern sculpture):

IMG_1212.jpg


Finally, for a bit of a larf we set-up the vari-angle chamfer block so it thought it was a panel raiser (here shown set-up for working from the underside of the panel - my preferred approach):

IMG_1214.jpg


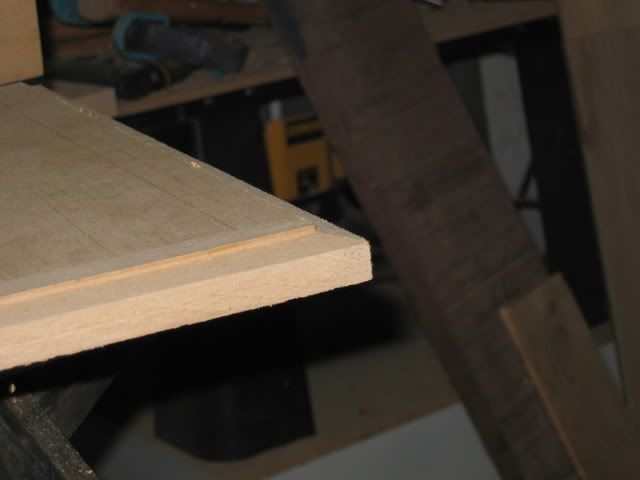
Unfortunately the recess in the top of the machine proved too small to allow me to drop the cutter below the surface, so it was necessary the set it up the work above the panel, a much less safe alternative (better to set-up a false bed so that the workpiece vcan be run above the cutter - as Brad I'nm sure will agree). Here's the (not very good, although it was a 2 minute hurry-it up set-up) sample:

IMG_1215.jpg


And for anyone interested good spindle moul;der tooling doesn't come cheap - this set of four cutters would run you £700 to £900 approximately, with the Vari-Chamfer the most expensive at about £300 + VAT

Thanks to "Brad Naylor" for allowing me to publish these photos taken in his shop, hopefully the stains will come out in the wash :lol: :wink:

Scrit
 
Scrit":216yaiyr said:
I have a bandsaw older than myself, a table saw older than I am and quite a few other vintage" pieces of kit - they all work better than I do and in addition less bits have dropped off over the years :roll:
:D :D :D :D
:D :D :D :D
 
Scrit":hhylaw5e said:
Thanks to "Brad Naylor" for allowing me to publish these photos taken in his shop

Scrit

And many thanks to "Scrit" for taking the time to come down and help me get my spindle moulder set up.

It's been gathering dust ever since I bought it 6 months ago.

Cheers
Brad

PS If you think he chunners on in his posts... you want to meet him in the flesh!!! :lol: :lol: :lol:
 
Brad Naylor":3bfiv2p9 said:
PS If you think he chunners on in his posts... you want to meet him in the flesh!!! :lol: :lol: :lol:
Takes two to tango, y'know :wink:

Scrit
 
Thanks for the pics Scrit and Brad :D How did you fix the false fence to the cast fence , do i need to drill out some fixing holes ?
Brad , before Dom sent me the shaw gaurd i had been talking to Felder uk about it . I can email you the file they sent me if you like .
 
JFC":20ivg0re said:
Thanks for the pics Scrit and Brad :D How did you fix the false fence to the cast fence , do I need to drill out some fixing holes ?
Brad, before Dom sent me the shaw gaurd I had been talking to Felder uk about it.
The plywood fence plates are screwed onto the cast-iron fence plates - Brad's machine had four countersunl holes drilled rthrough from the rear. They need to extend a couple of inches inwards towards the cutterblock with chamfered ends (for clearance), that way you should only hit the plywood rather than the cast-iron when you're plunging through the sacrificial fence.

The finger boards were a temporary measure to try-out the machine, so it won't be a permanent fixture.

Scrit
 
Jason

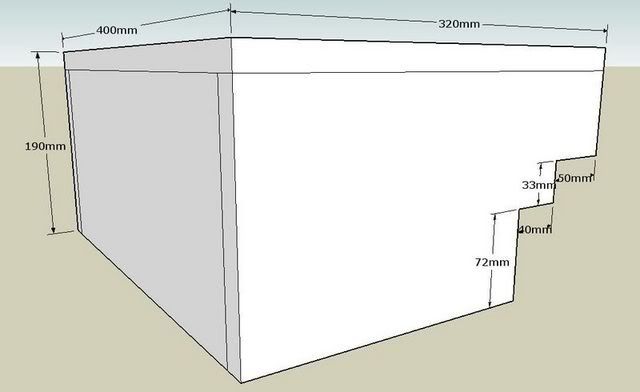
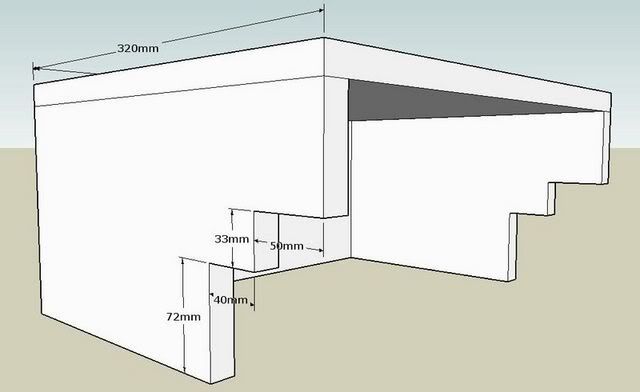
Here's the rough top guard we made-up yesterday from 18mm MDF. The one in the photos is held down by adding two 240mm long x 100mm wide "flanges" to the outside of the box and also has an 18mm front "cover plate" about 90mm deep. The cut-outs allow access to the fence plate adjusters. mkII will have a DX spigot at the back (instead of a cut-out), a hinged top and will feature a proper Shaw guard unless we go mad and fit a power feeder.

MDF is cheap and making it from 18mm stuff nakes it strong enough to mount a Shaw guard

BRSDXHood1.jpg


BRSDXHood2.jpg


Scrit
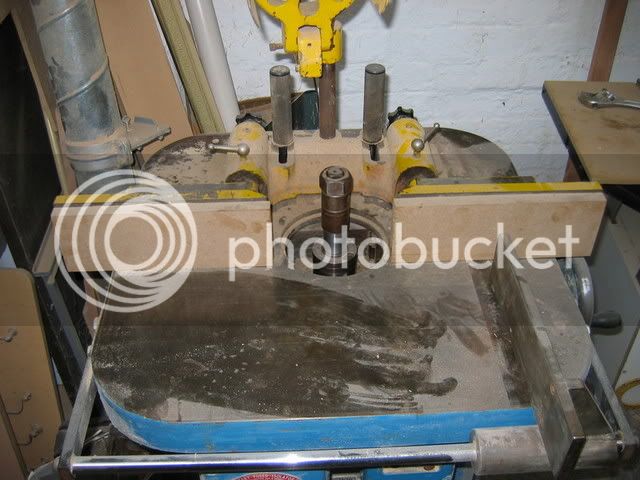
 
Very detailed measurements you've put on there, Scrit.
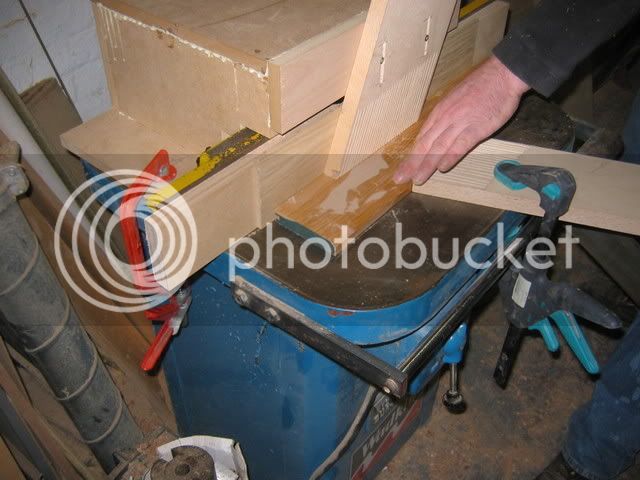
Funny, I don't remember us measuring anything at all - didn't we just mark and hack? :wink:

Cheers
Brad
 

Latest posts

Back
Top