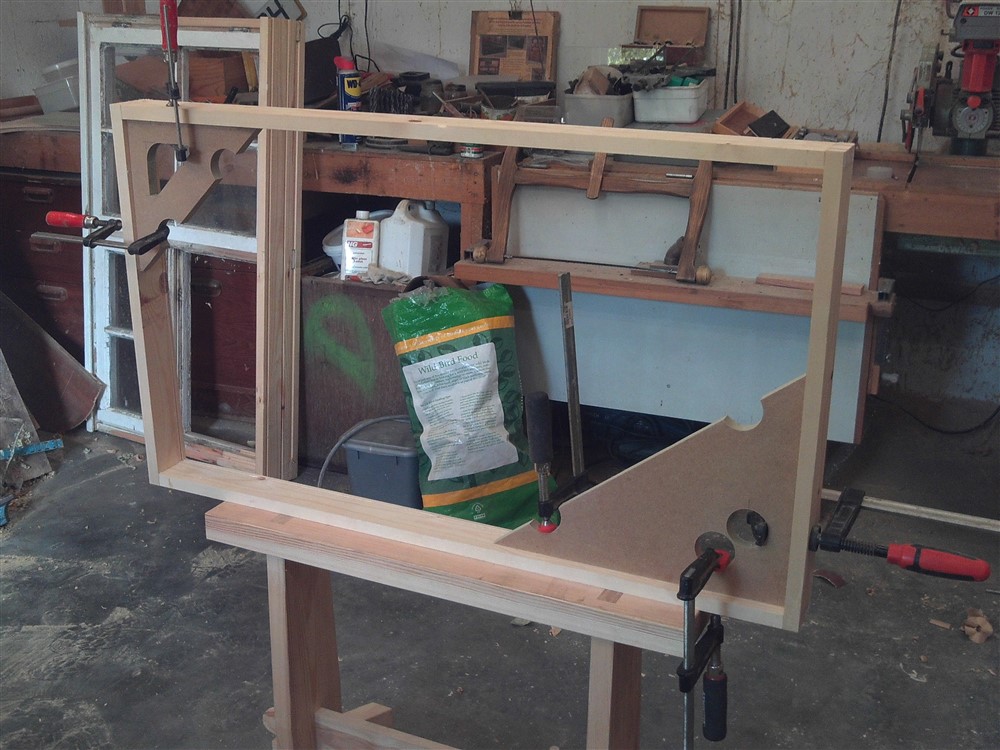
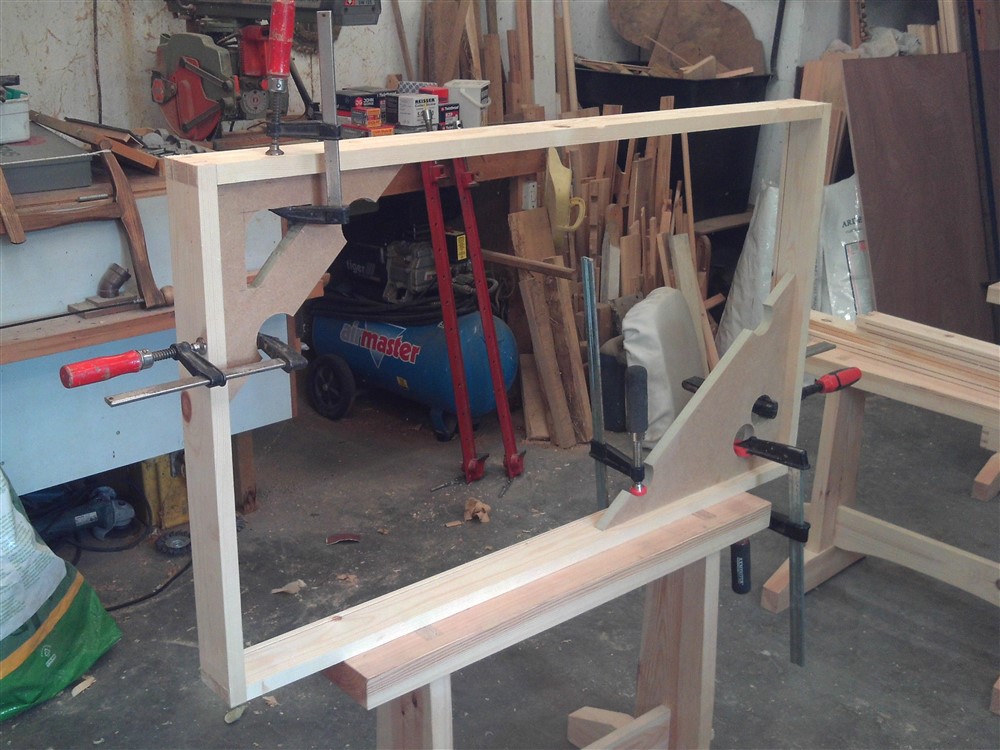
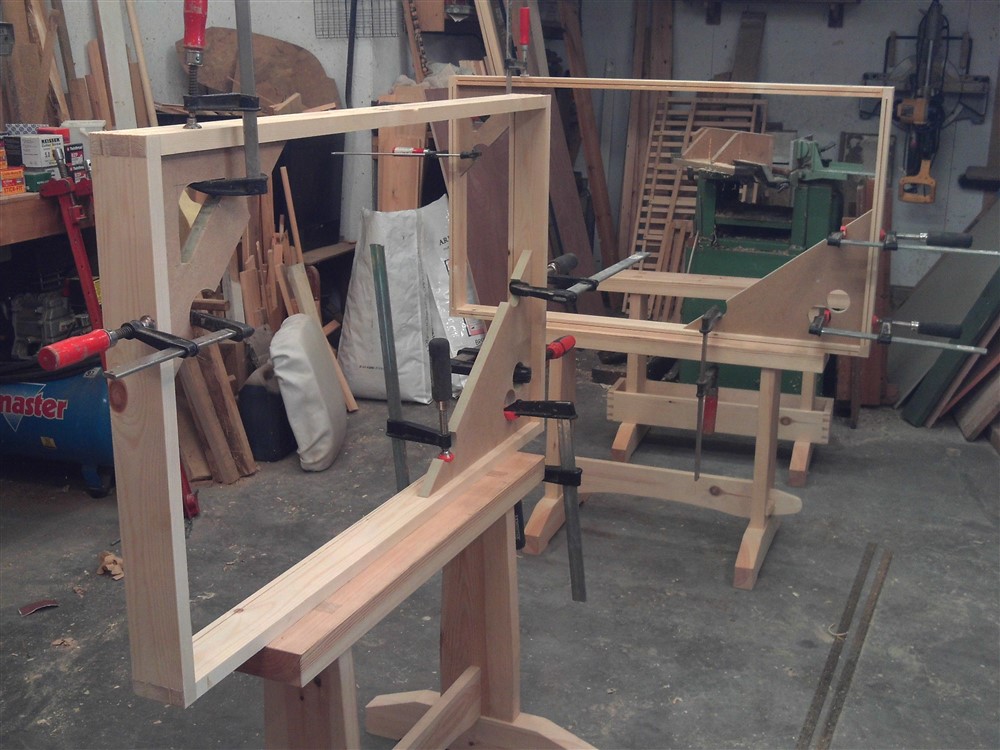
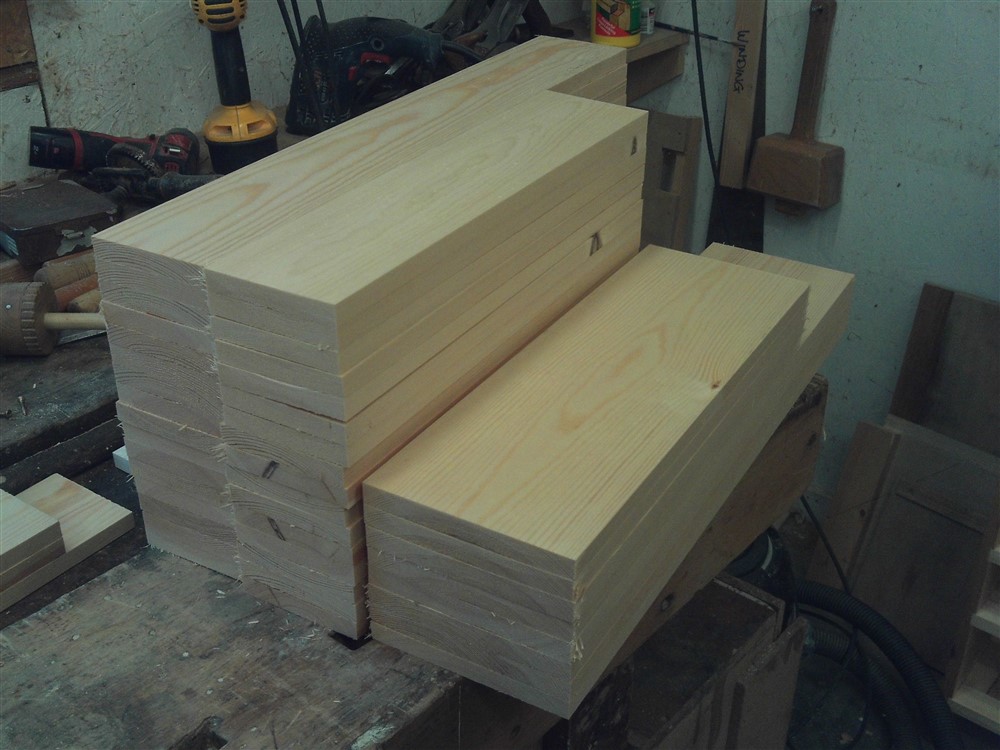
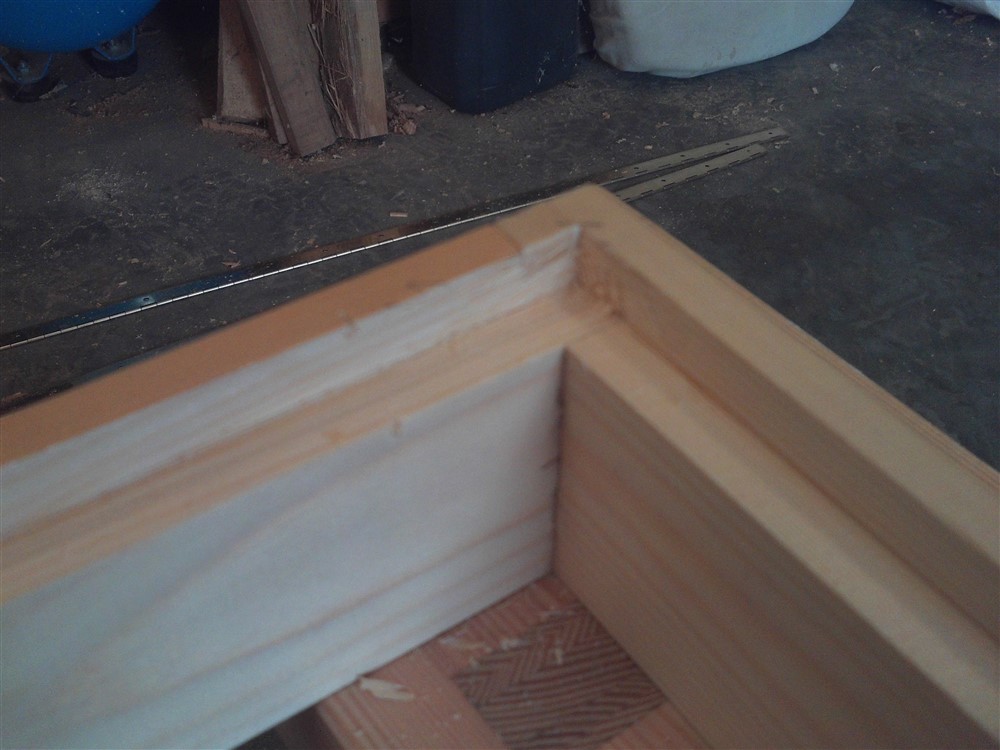
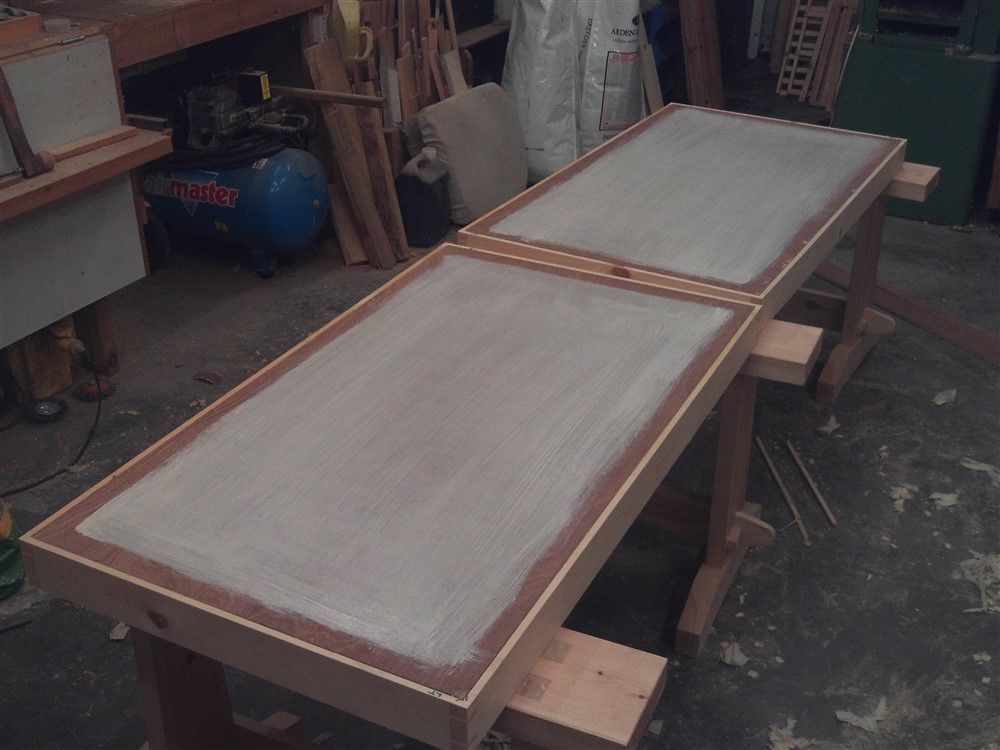
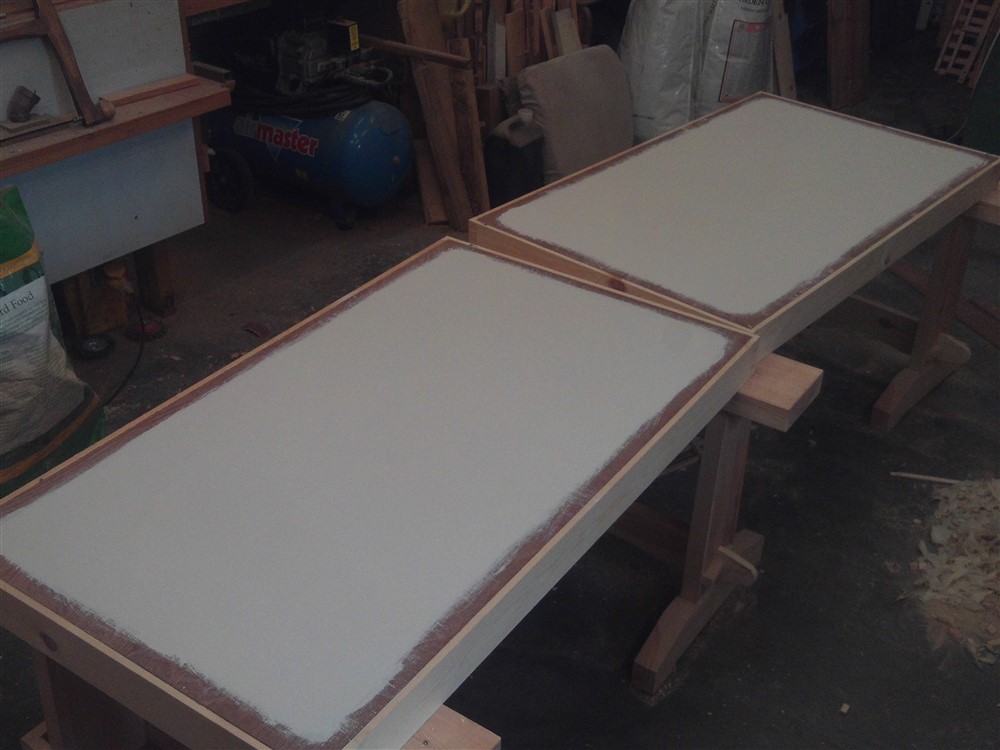
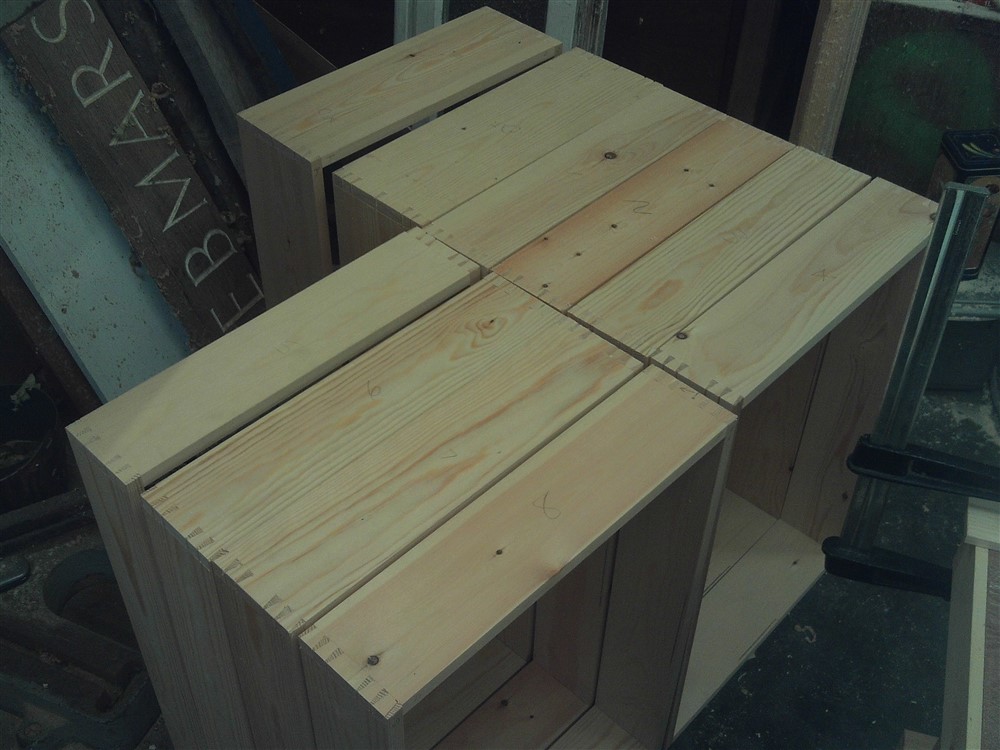
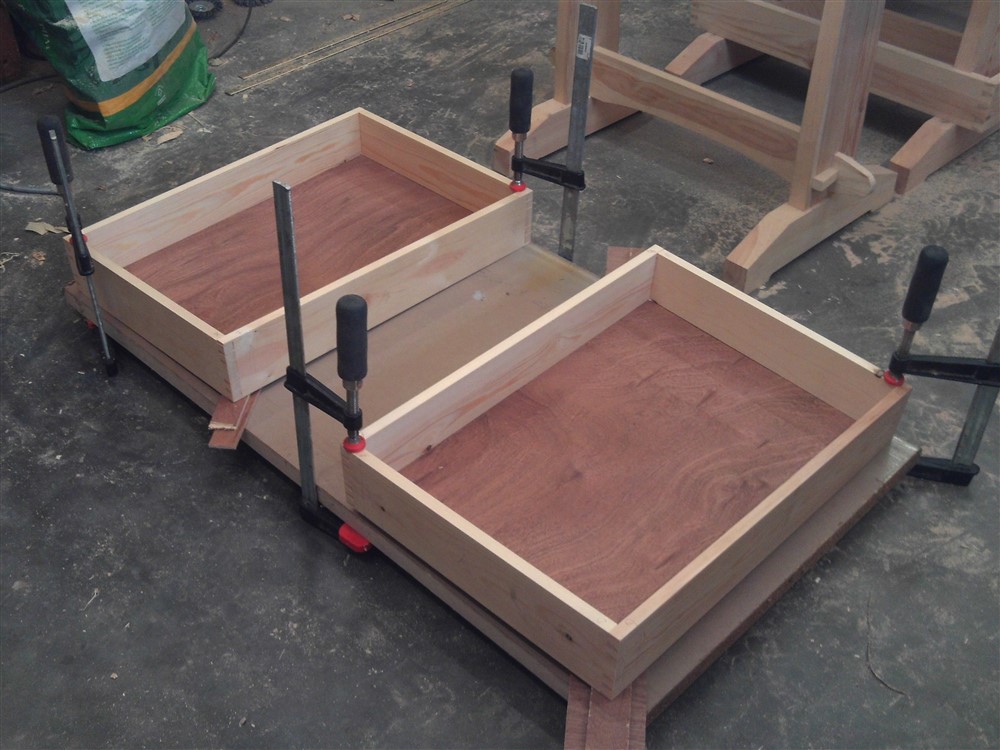
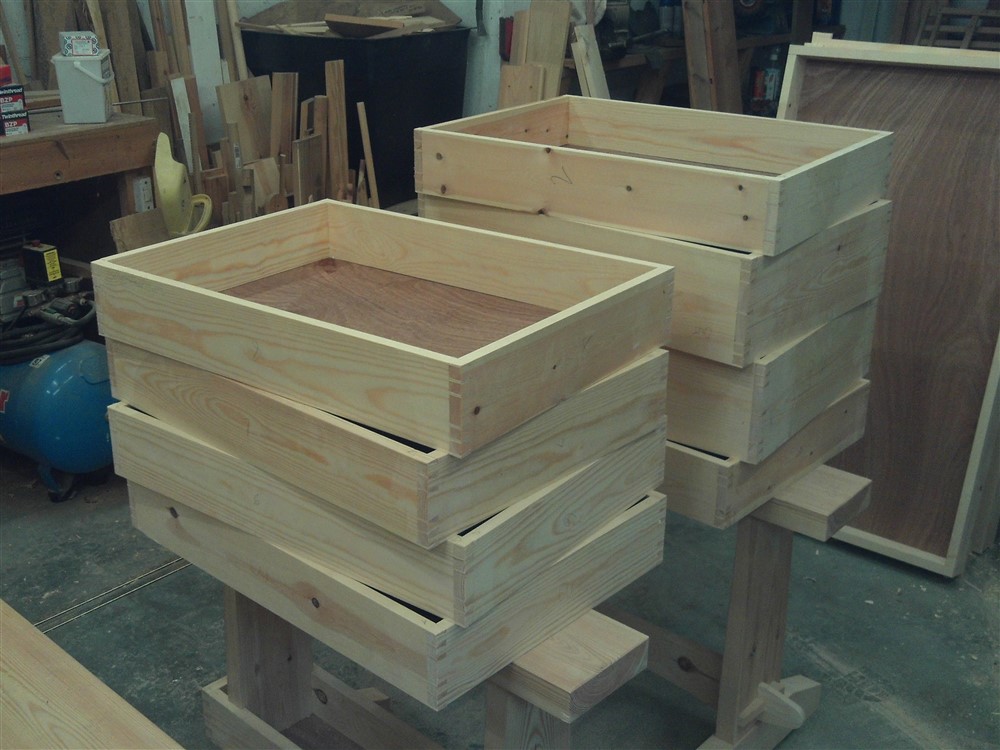
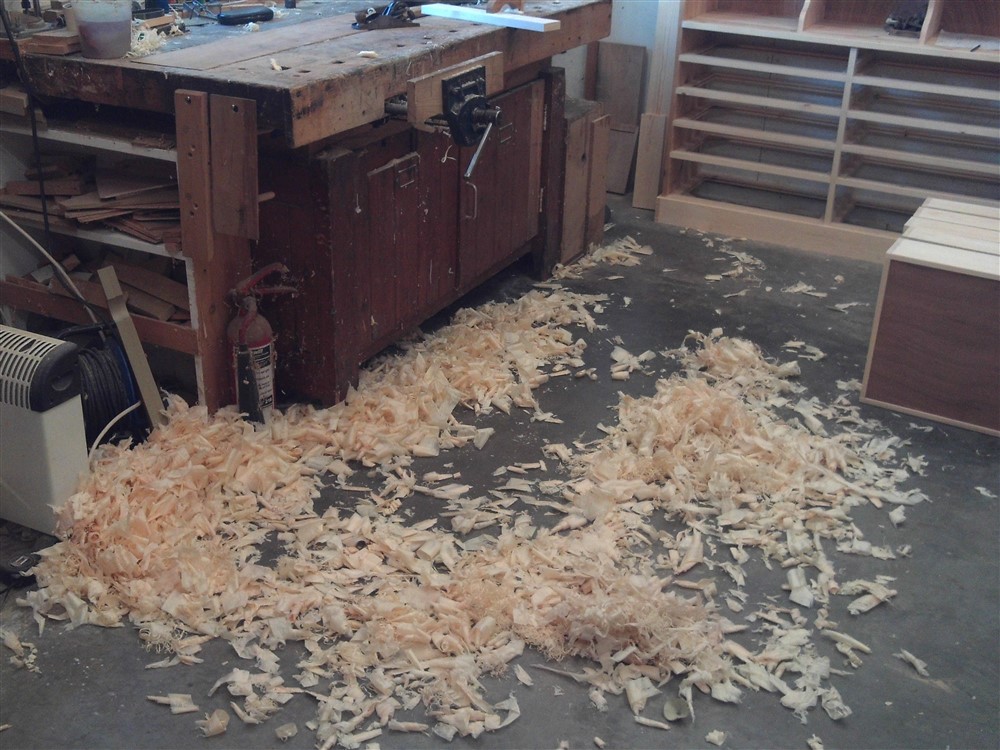
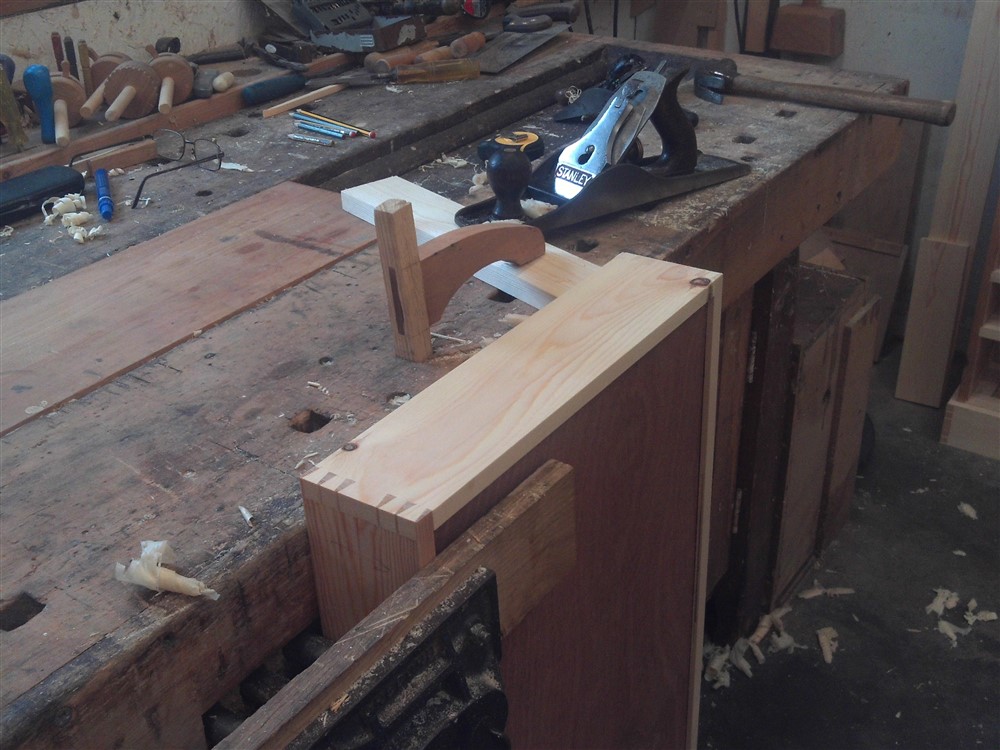
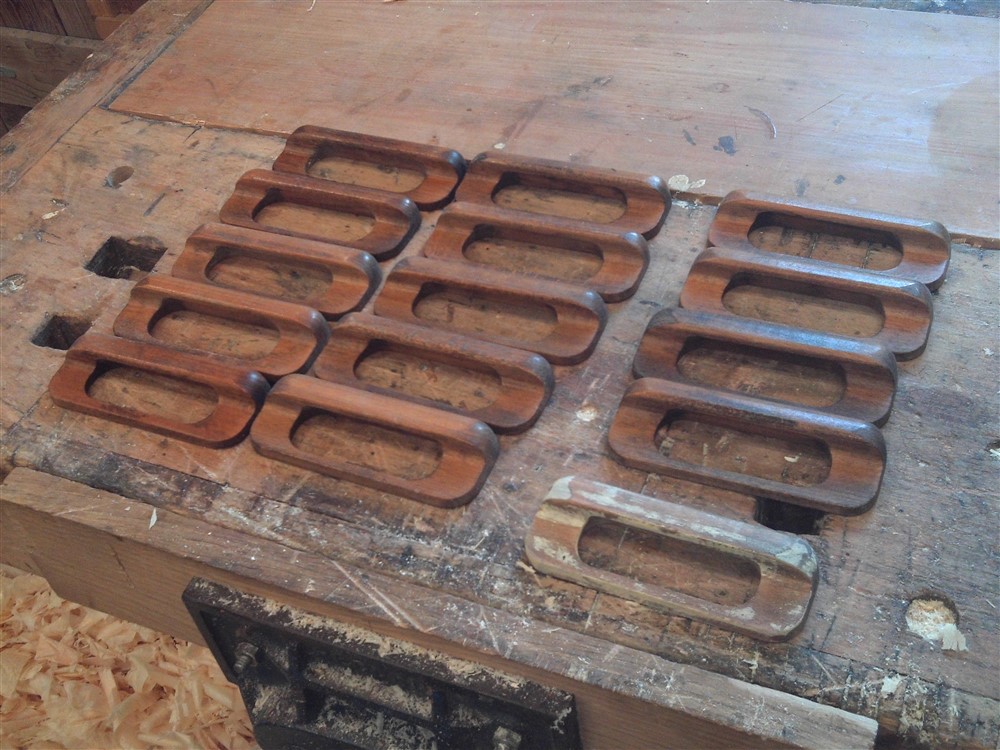
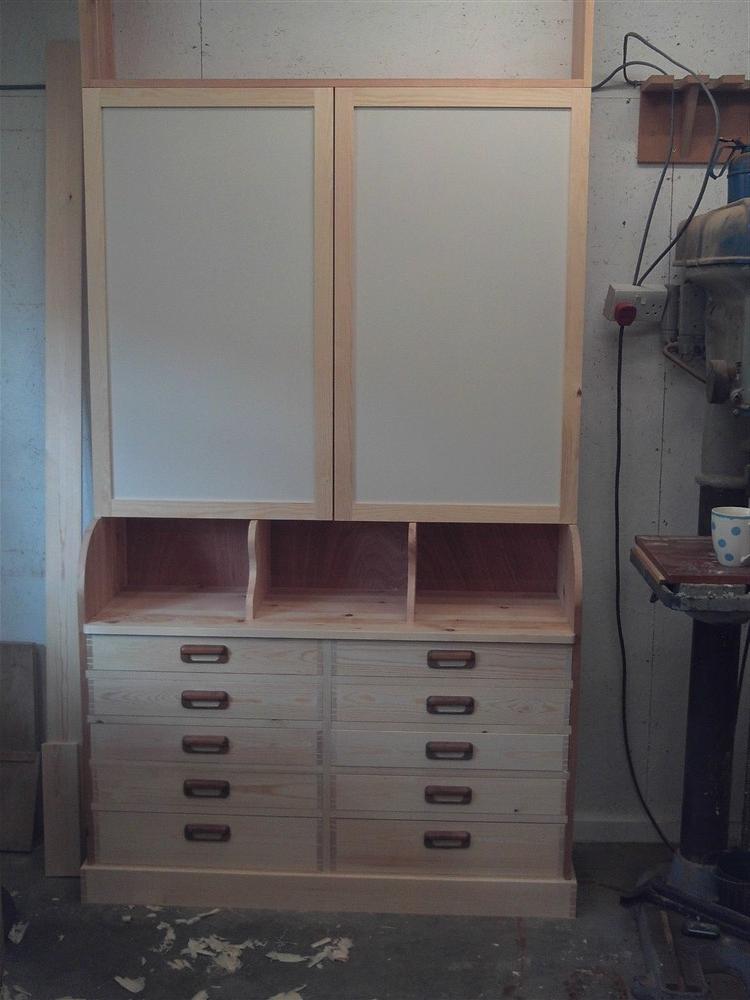
First job today was to clean up the door boxes and offer them up:
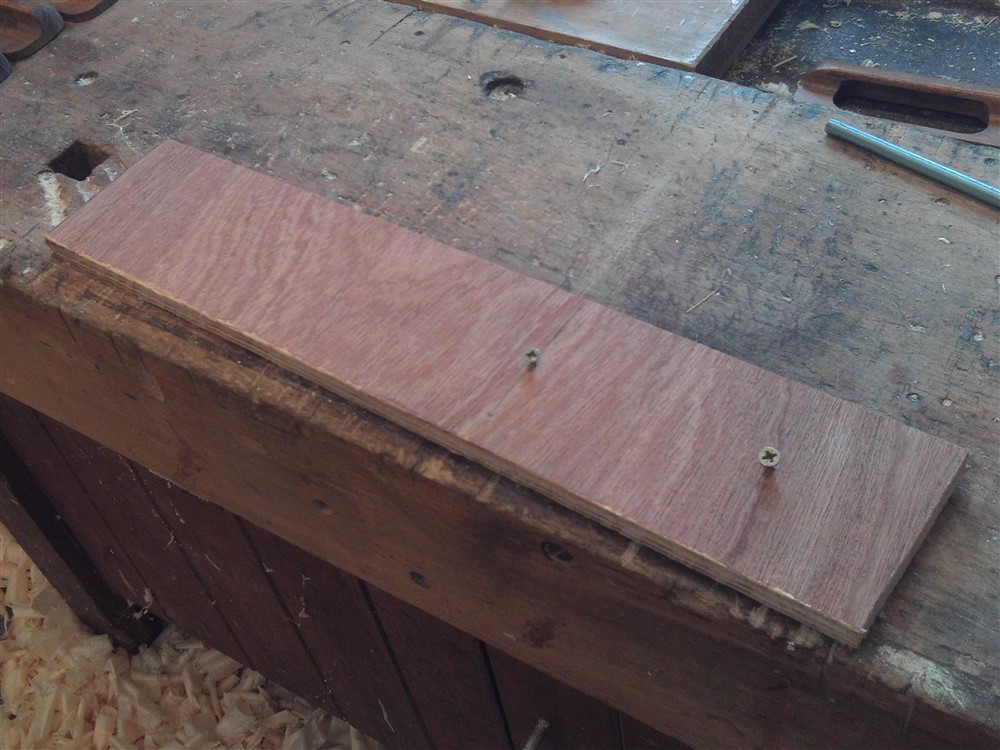
I had previously routed most of a rebate out for some ply:
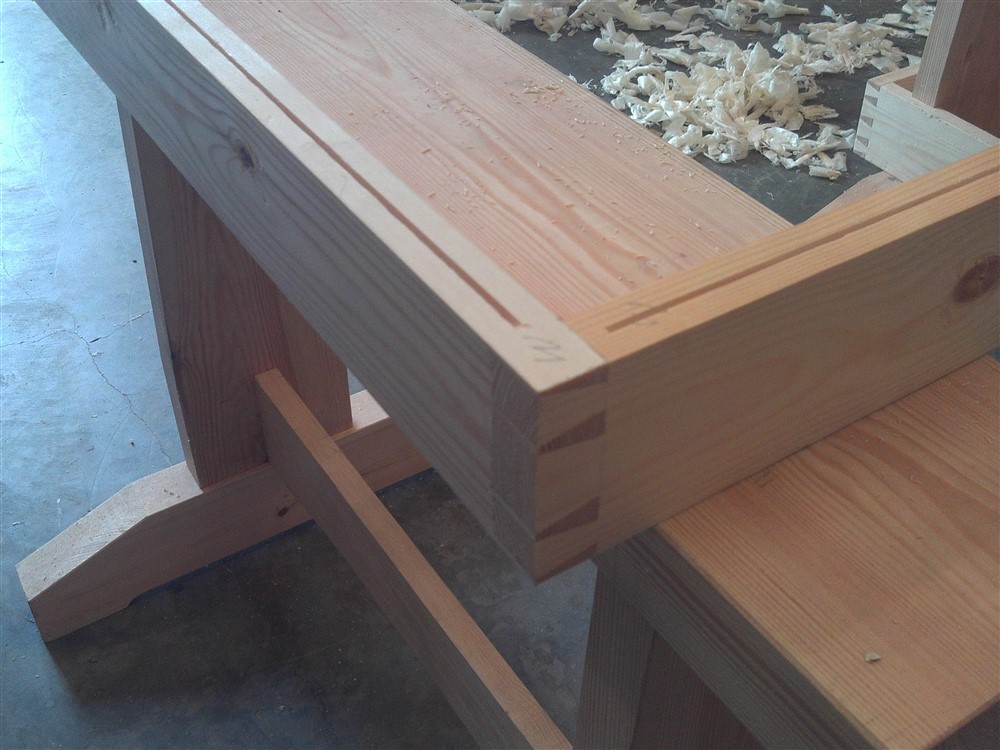
Now that the corners were together I could complete those rebates:
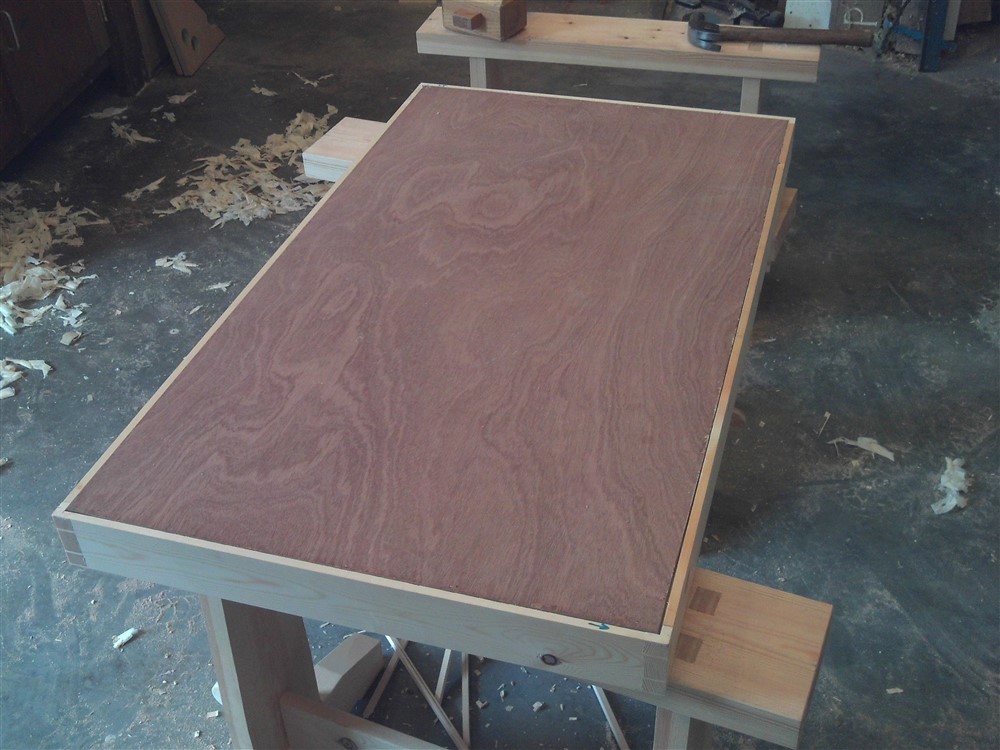
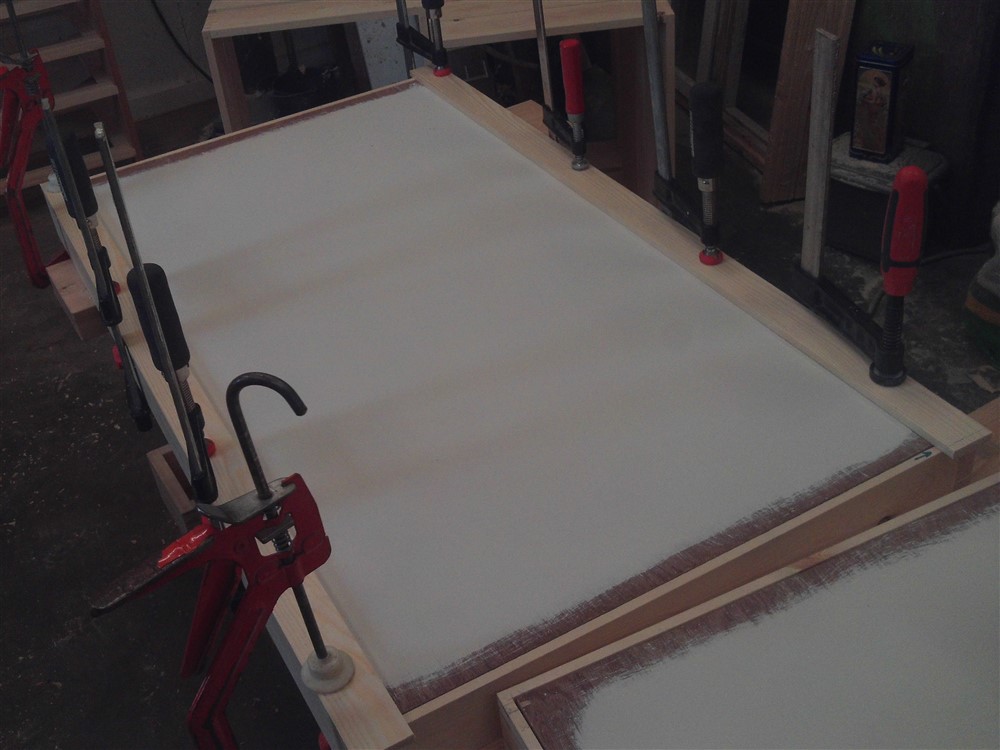
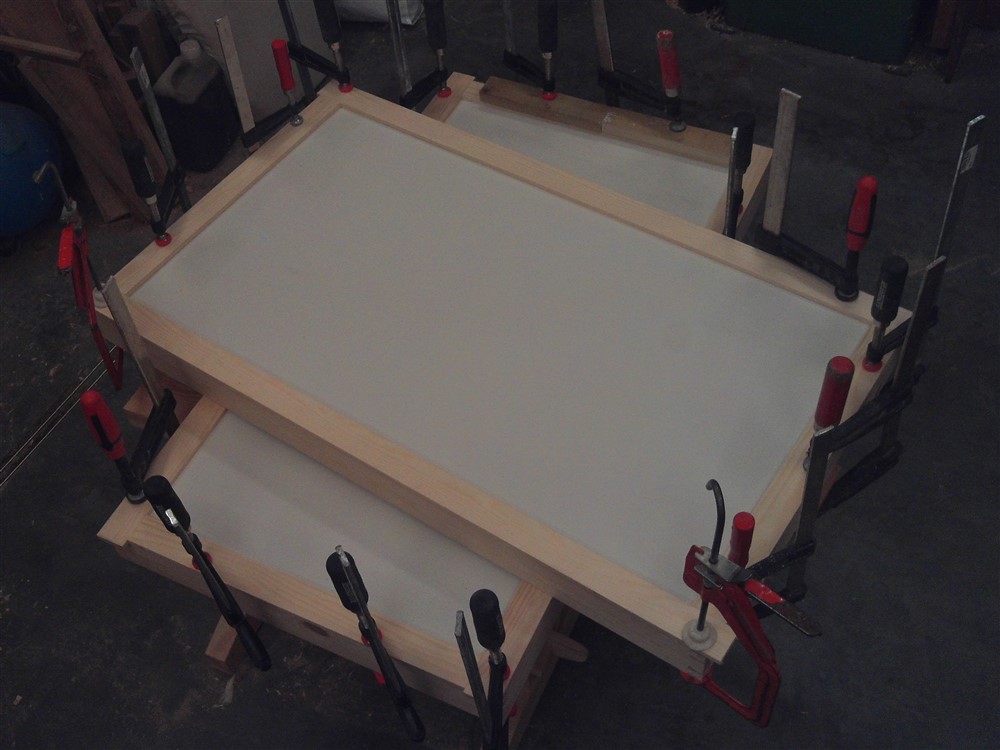
Then glue and pin the ply:
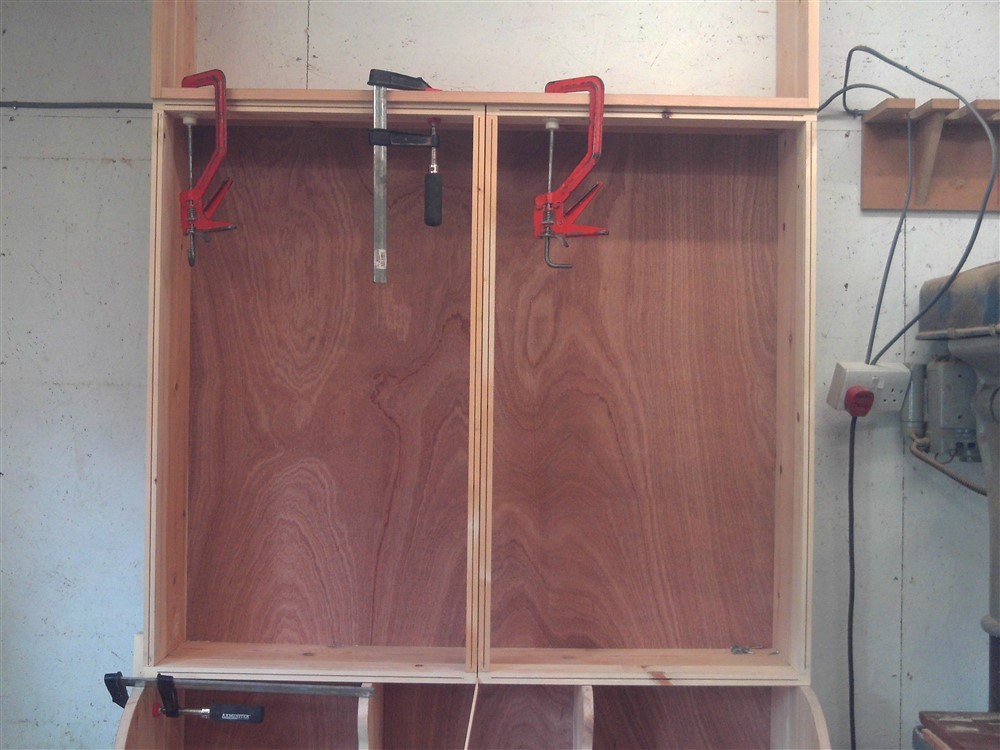
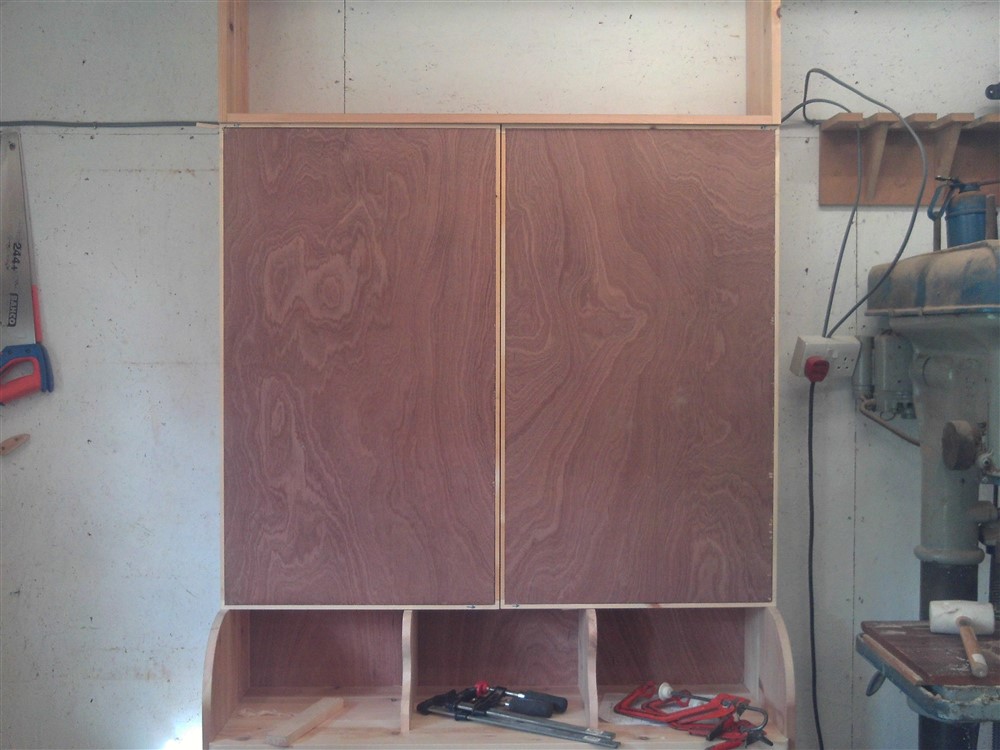
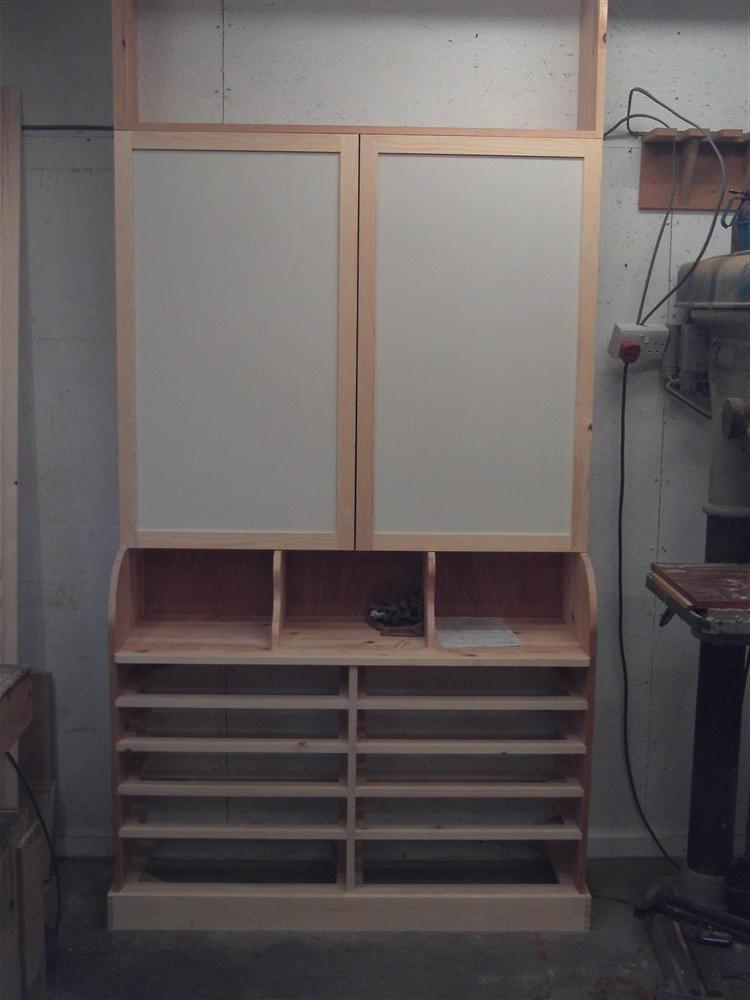
And offer up into place:
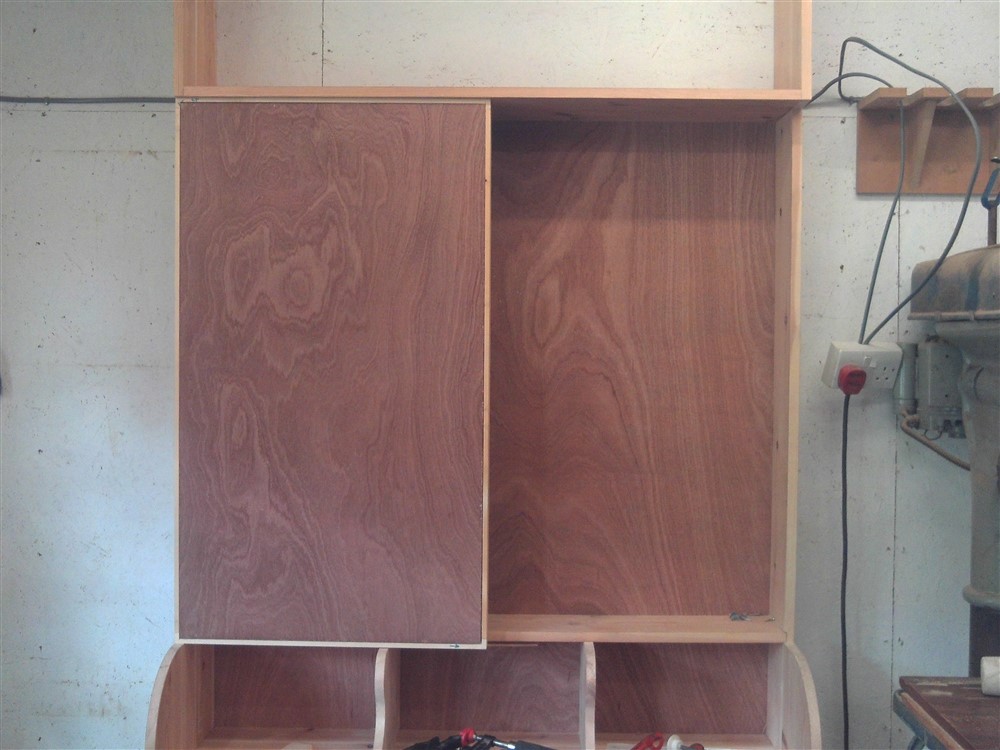
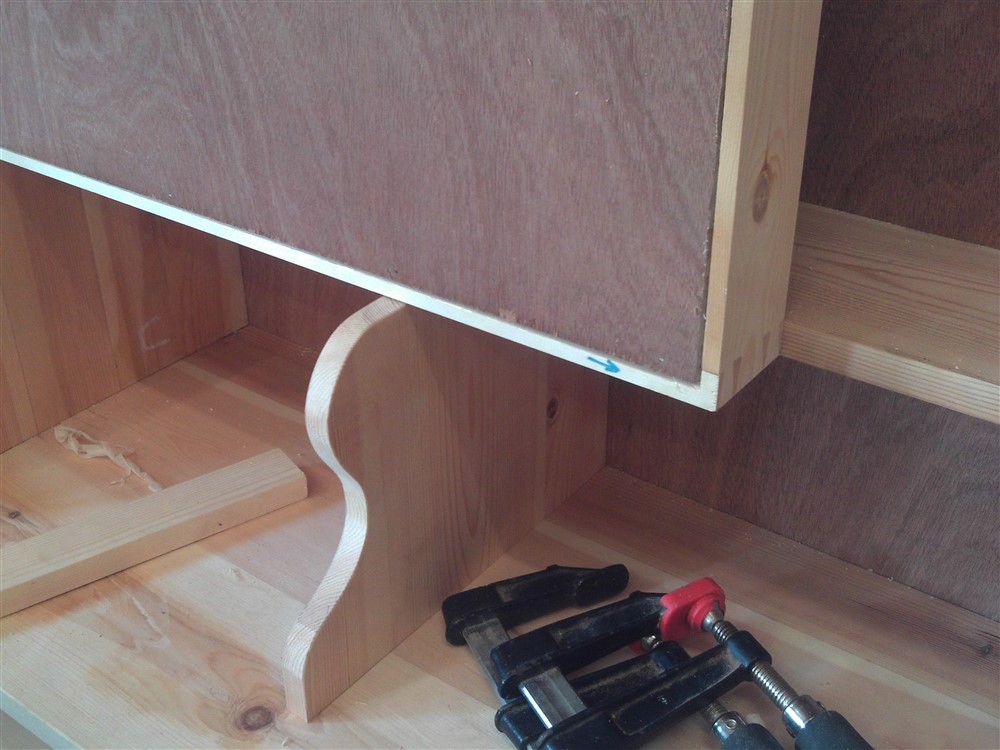
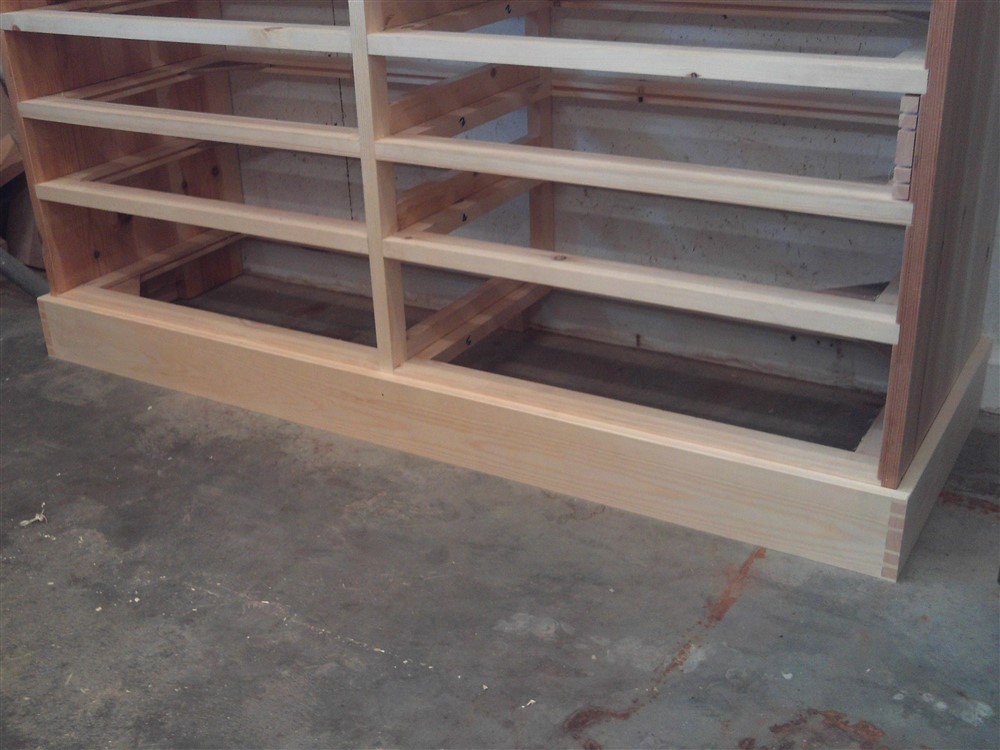
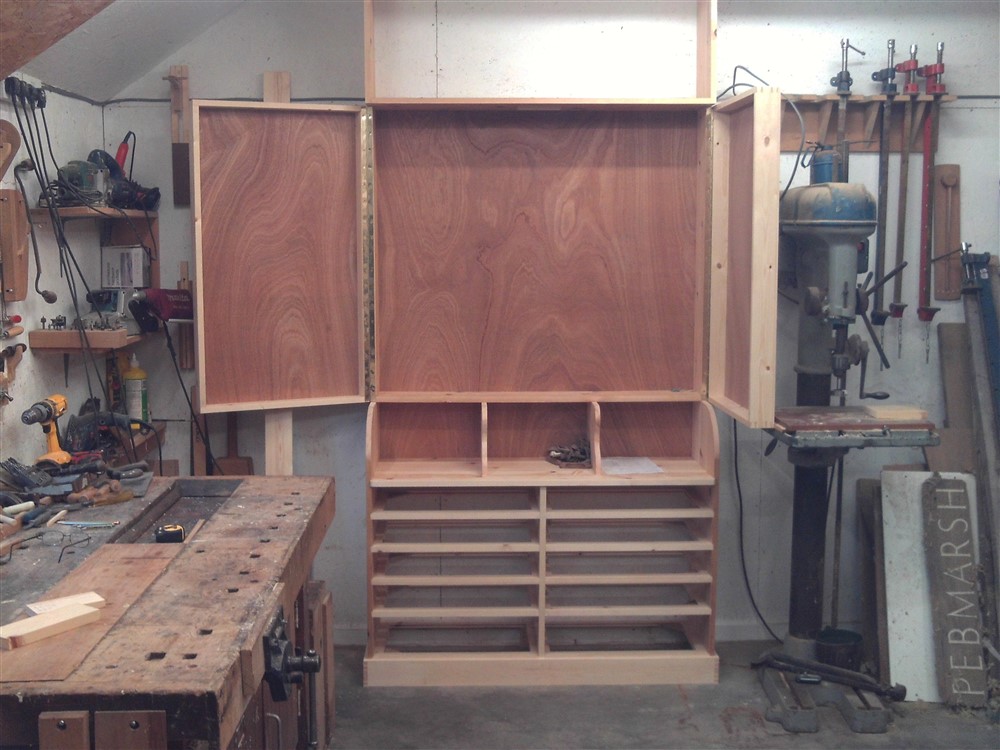
You may remember from a day or two ago where I said the vertical dividers above the "worktop" would form a useful purpose in due course.....well, here it is:
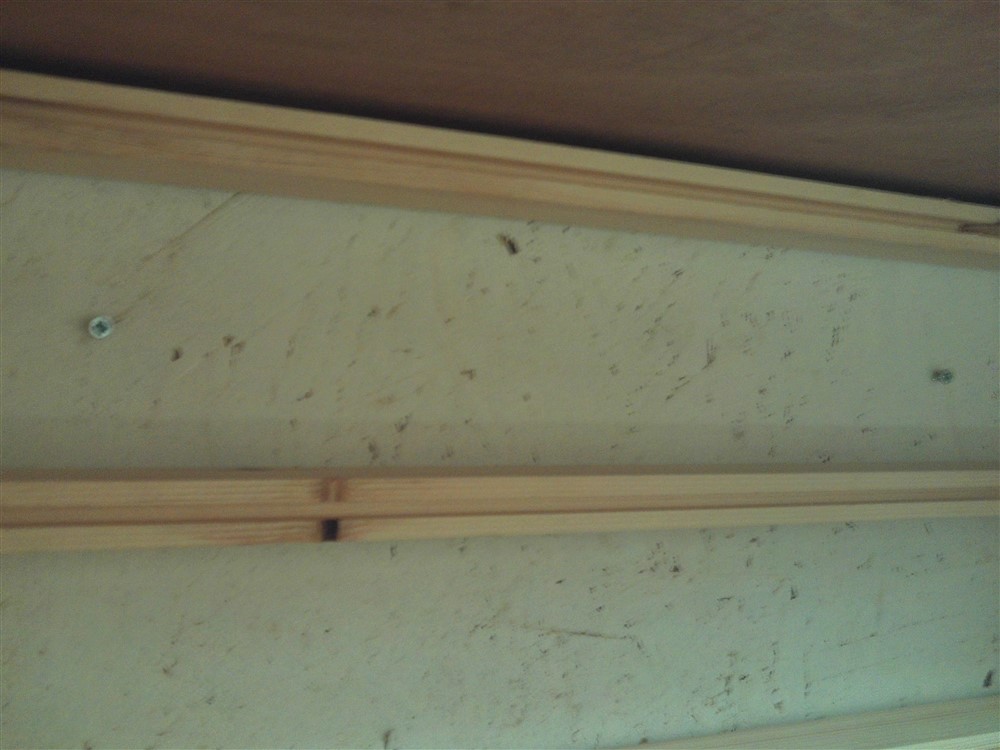
With a little rubbing strip on the underside of the door, these vertical pieces will help take the weight of the door off the hinges somewhat. Otherwise, loaded down with tools over the years there would be a tendency to sag.
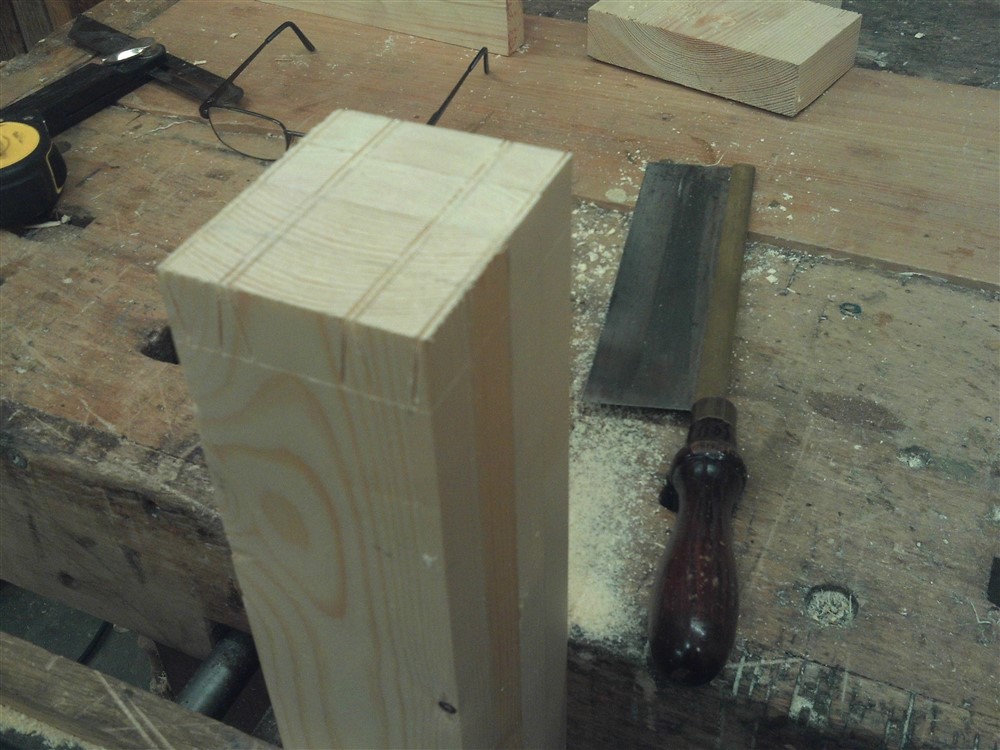
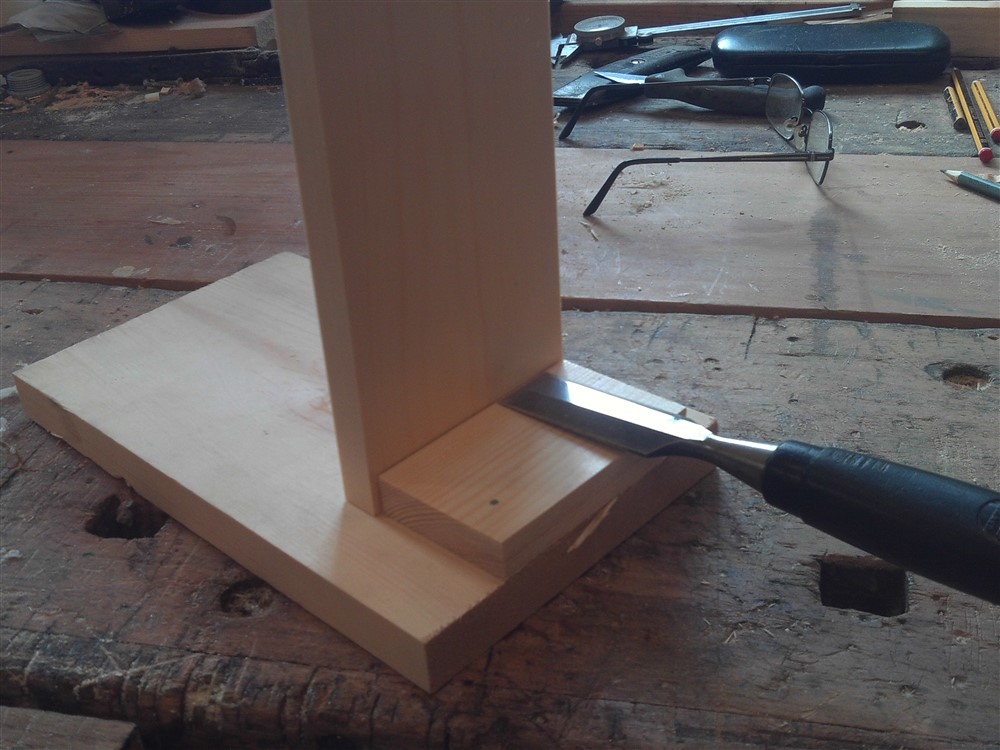
Right, onto dovetails. I started these at about 2.15 this afternoon. Here is an alternative way of marking out the gauge line around the ends of all the boards. As usual with woodworking, there are a dozen ways to skin most cats, and using a chisel to mark the line is extremely quick and clean. An off-cut of the drawer material is pinned to a board to hold everything together, and the board for marking is held against it, vertically. You then just pull the chisel across the scrap cutting a line on the face of the drawer board:
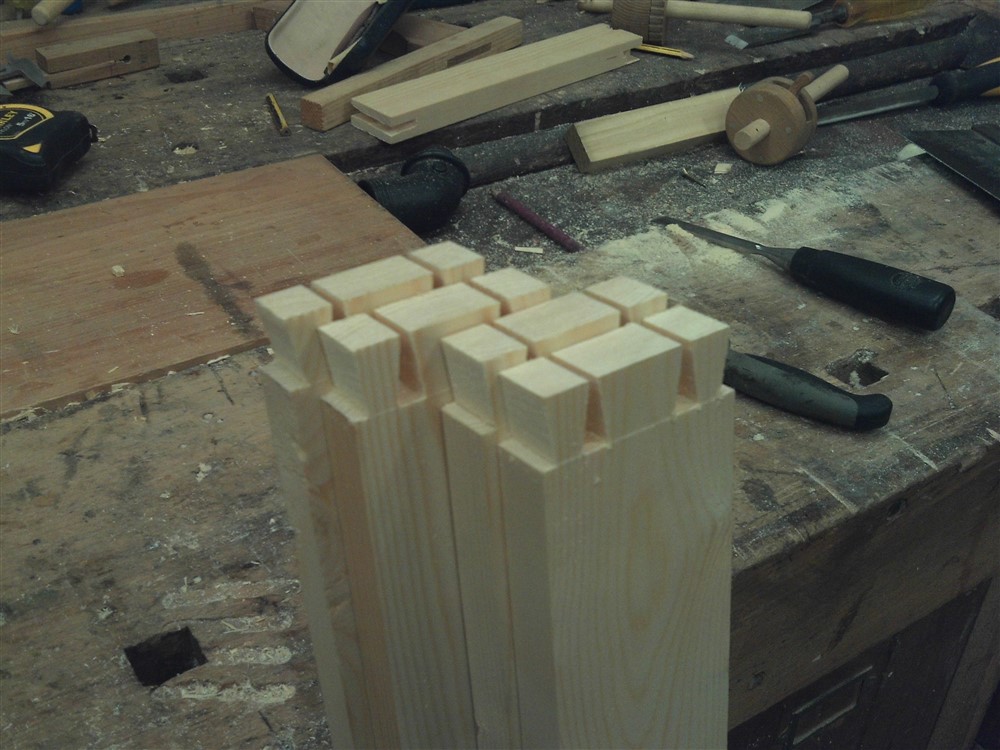
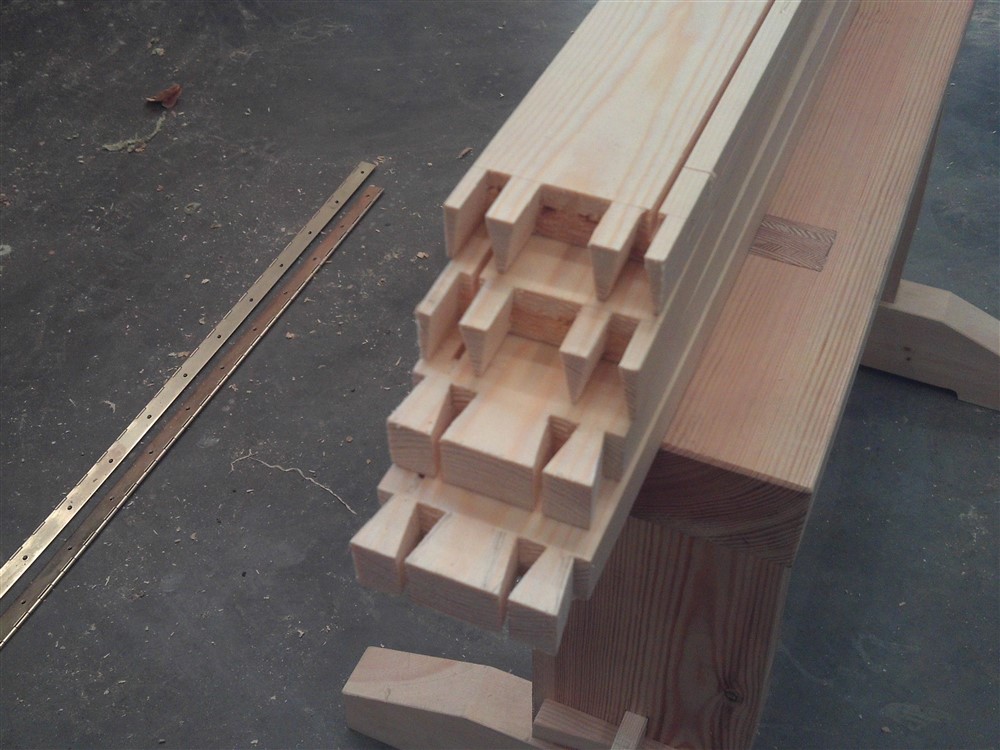
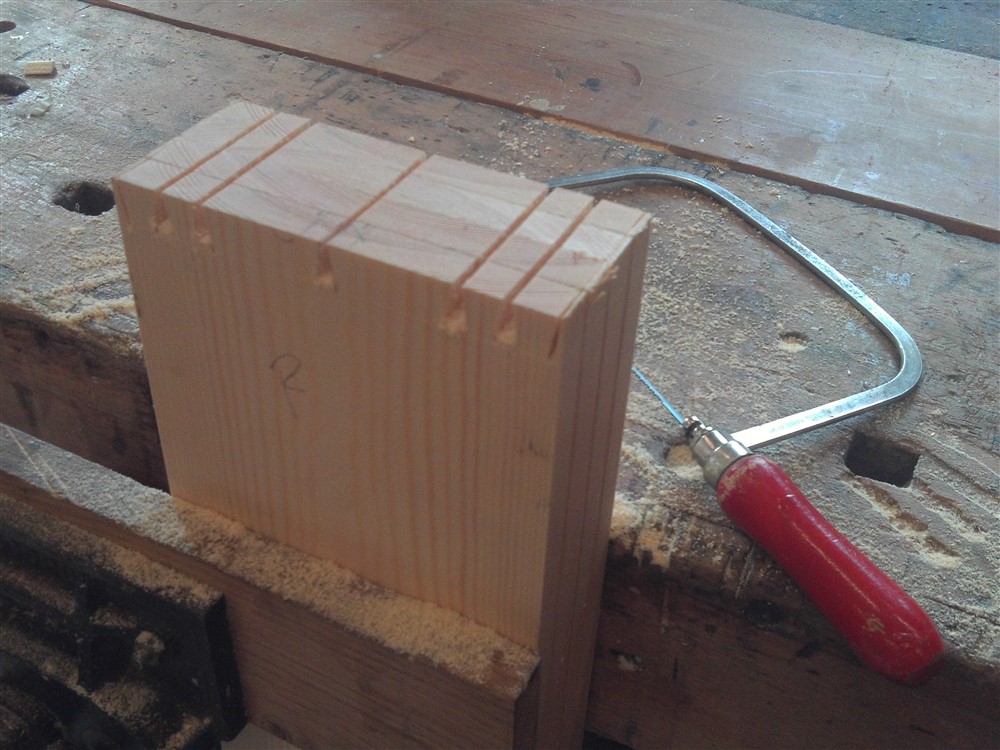
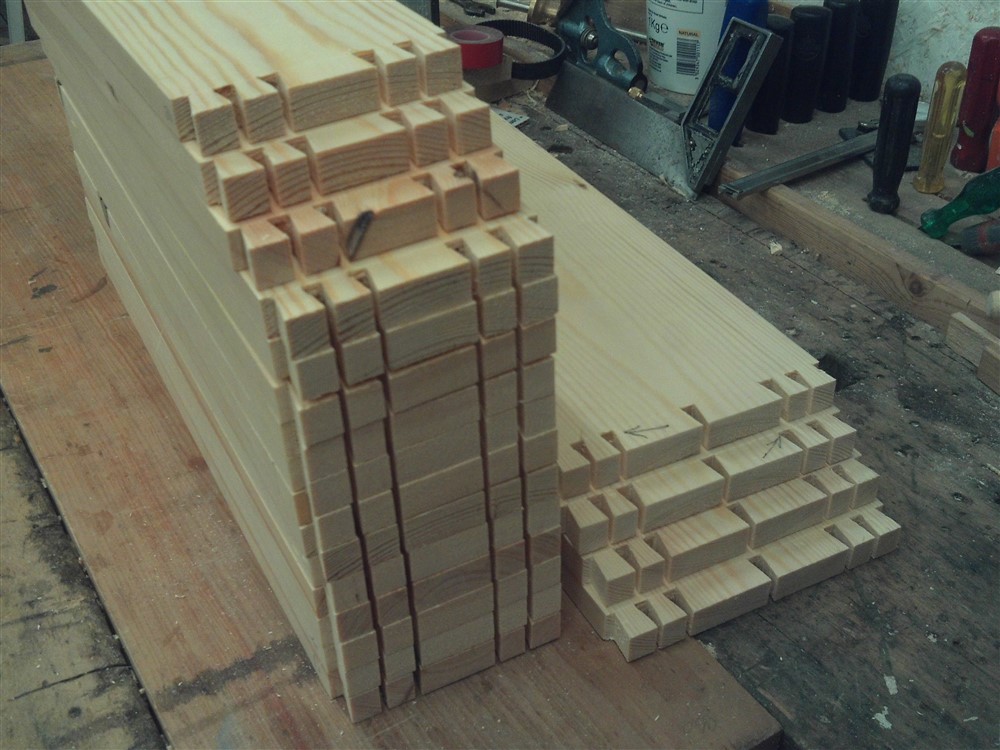
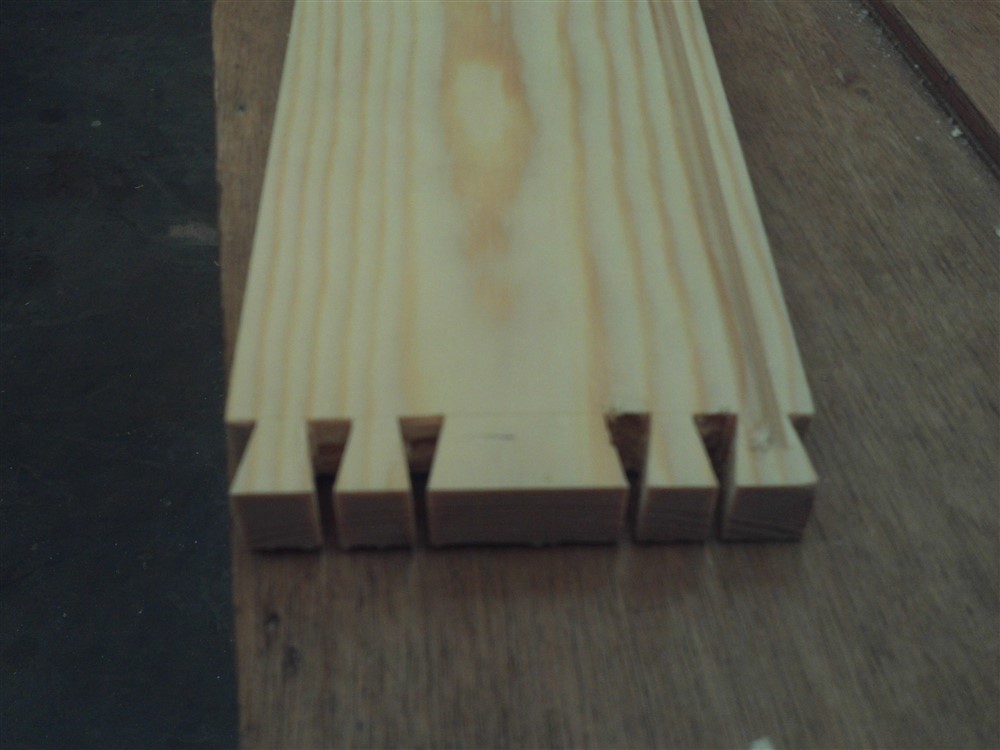
I almost always start with the tail boards (the drawer sides). Using this technique, I only have to mark out once, despite having 20 drawer sides (ie 40 joints) to cut. I marked out the tails on the ends of 4 boards, and cut them:
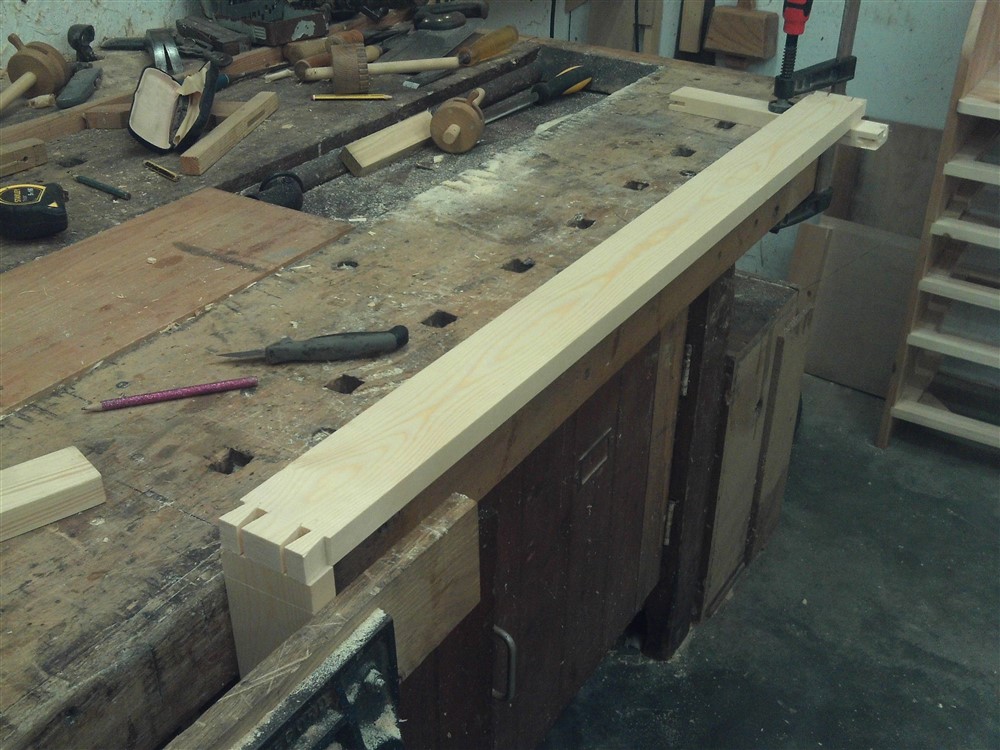
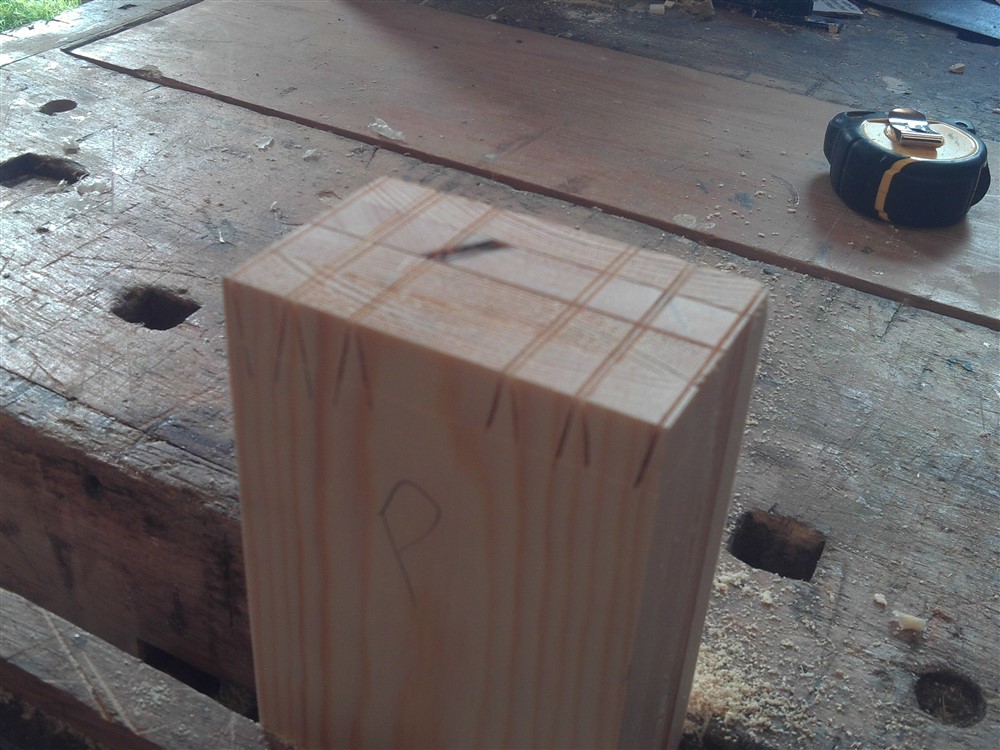
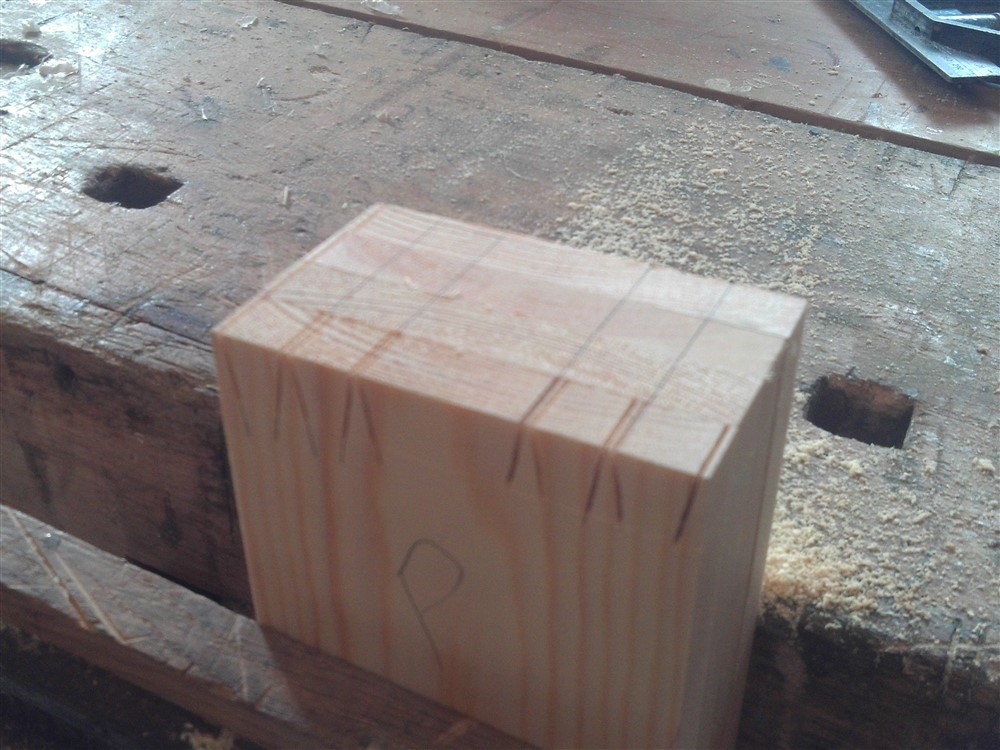
Then, marking one of the boards as "P" (pattern), I take that one off and spin the pile over, before replacing the "P" board at the other end. I mark 2 or 3 right angle lines, but that's all:
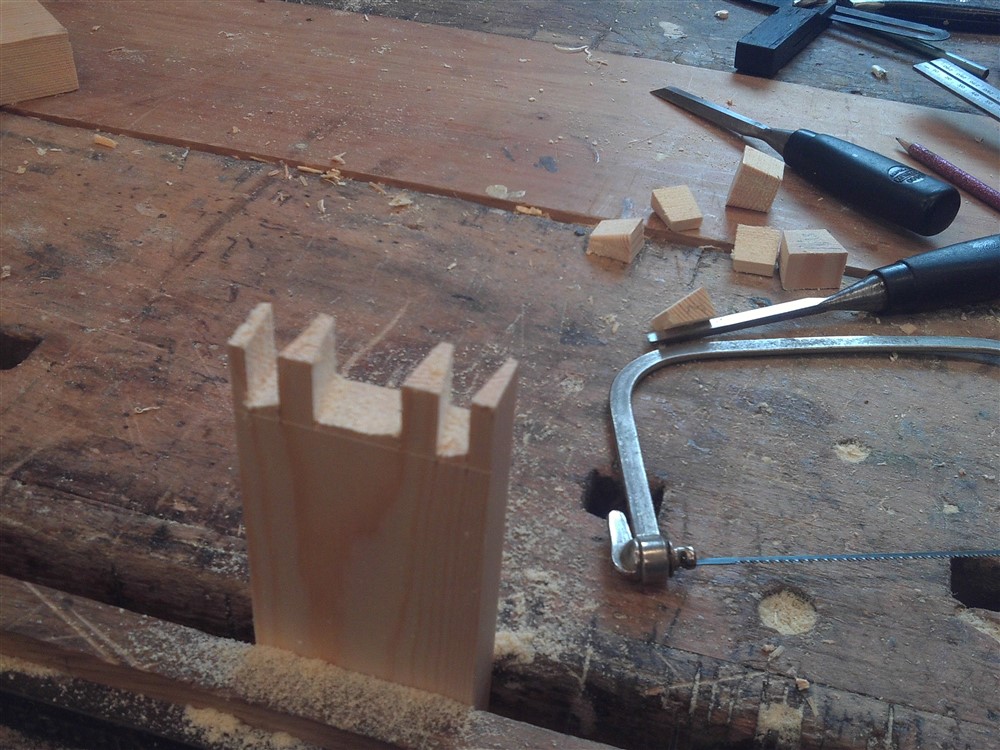
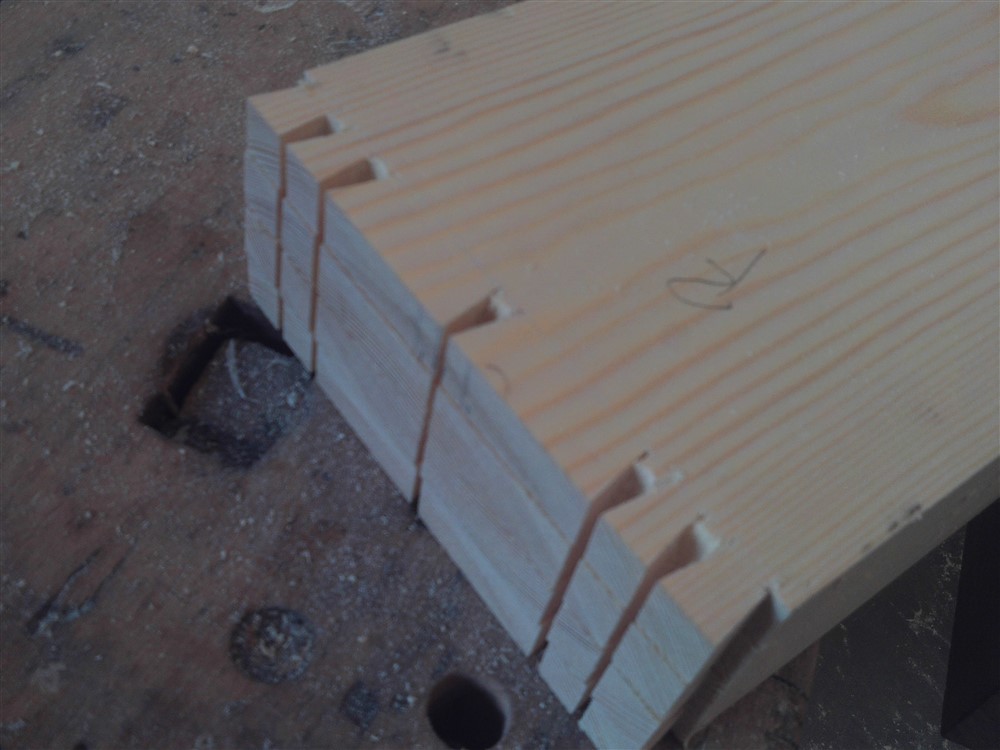
The saw then follows the kerf of the pattern board. Rinse and repeat, cutting 4 boards at a time until you've finished. Then, again with 4 boards, cut out the waste with a coping saw (I'll show later why this is unavoidable):
That saw was in the £1 bargain bin at my local hardware shop about 25 years ago. You don't need anything more than that.
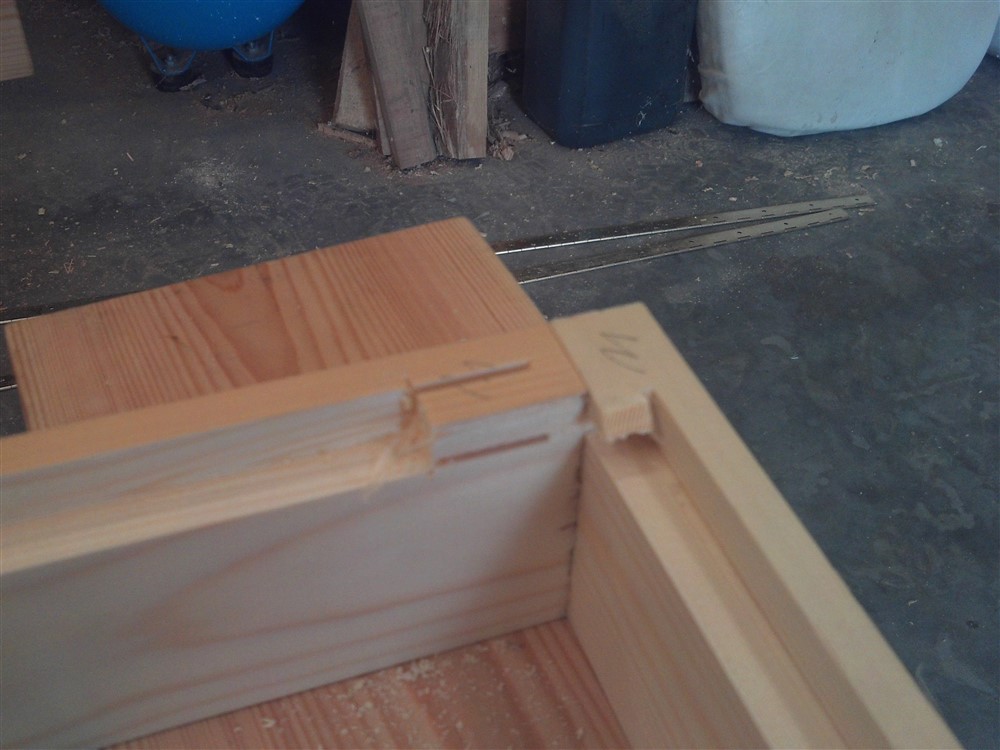
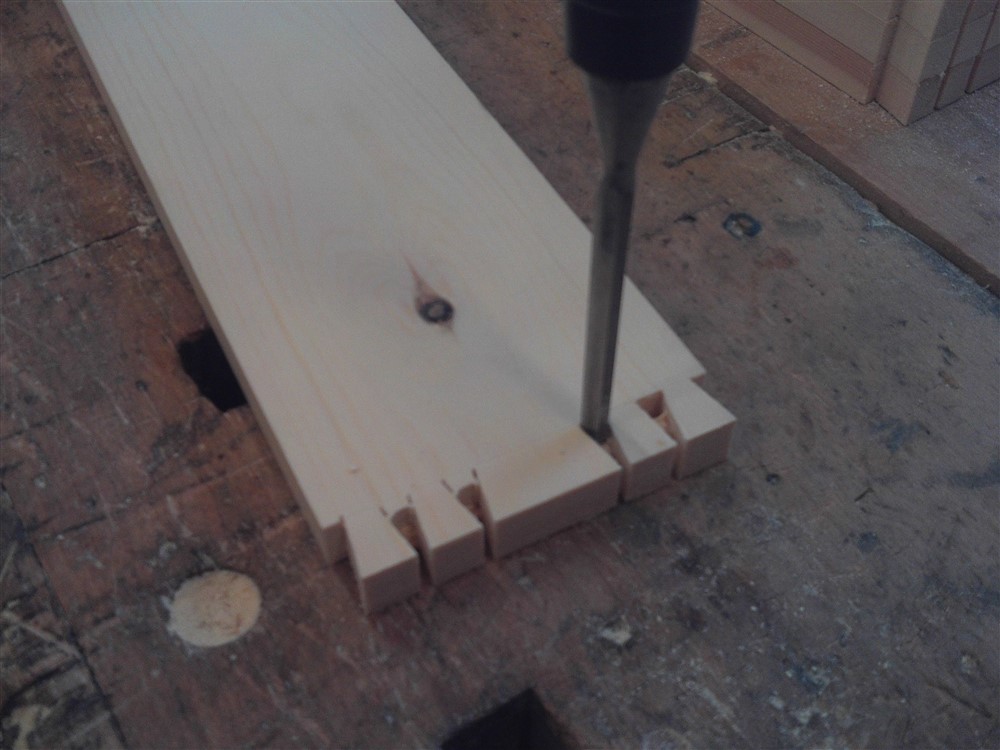
This is why you need to saw the waste away. This is my narrowest chisel (1/4"). I could make a cut about 1mm above the gauge line only because of the width of the pin mortise, and if you tried to chop out waste from there you'd A/ get pushed back into or past the gauge line, and B/ jam all the waste in tightly into the triangle above:
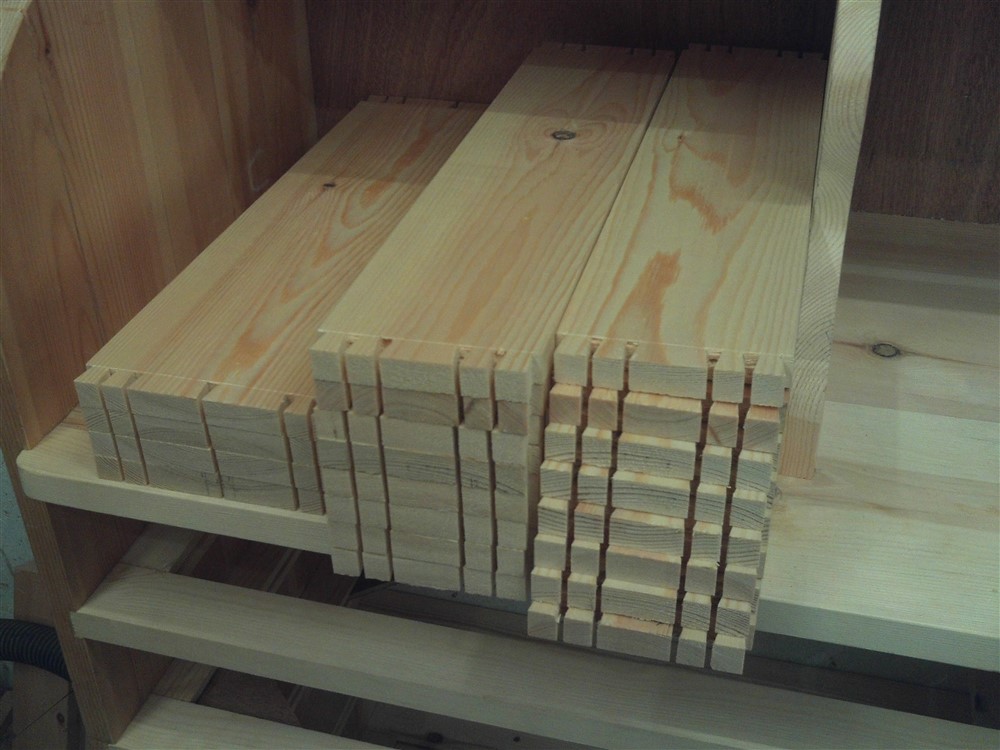
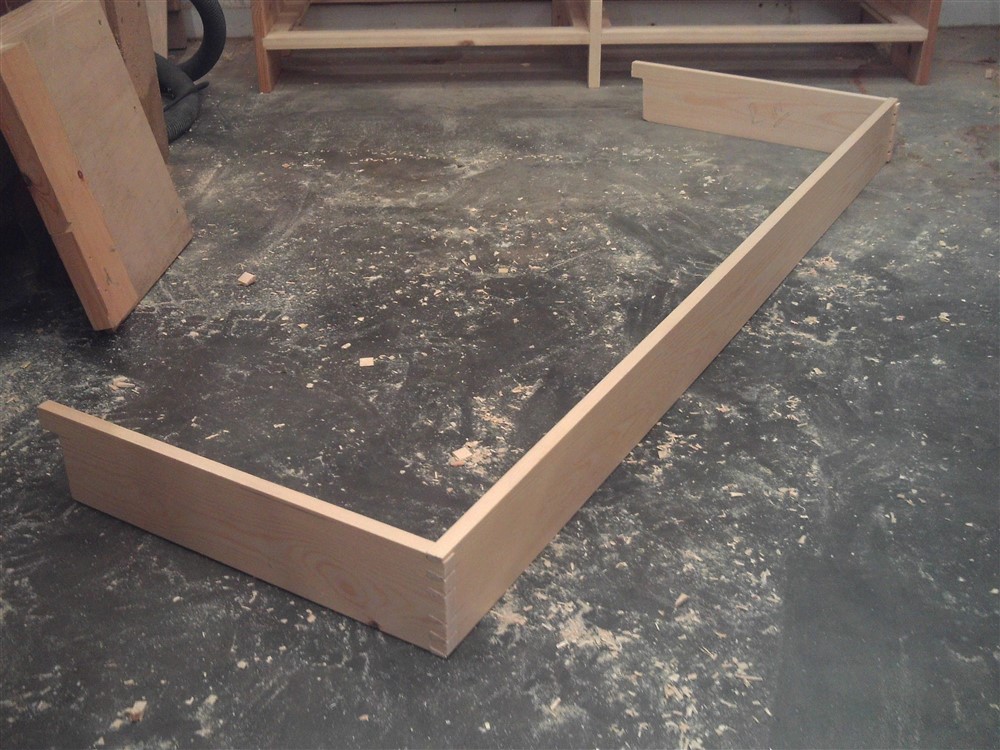
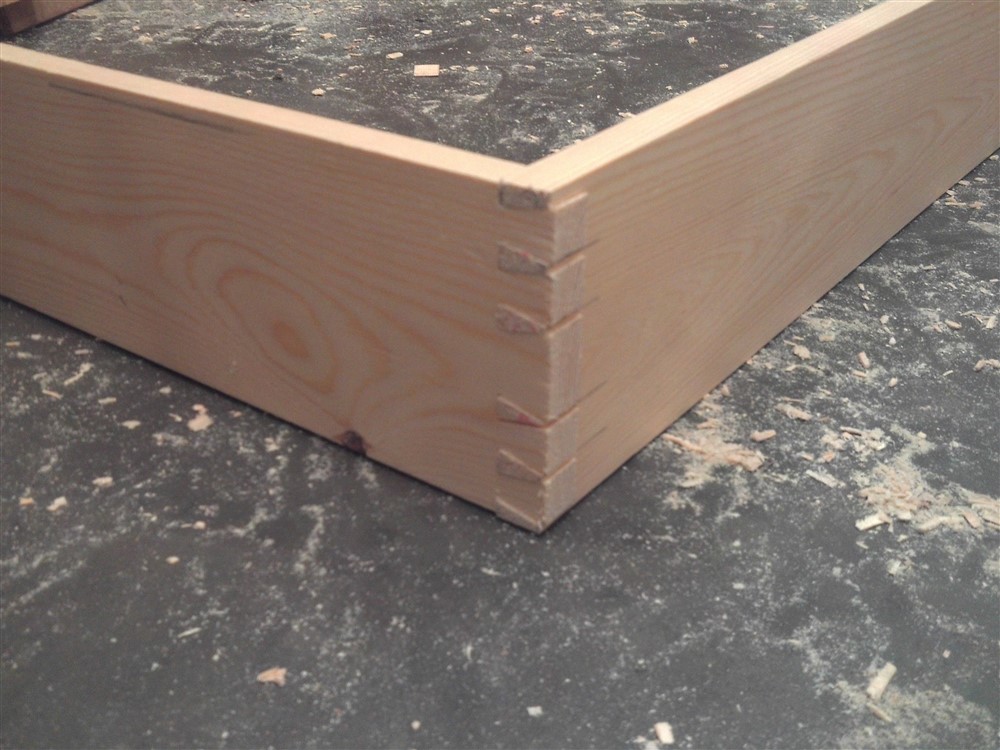
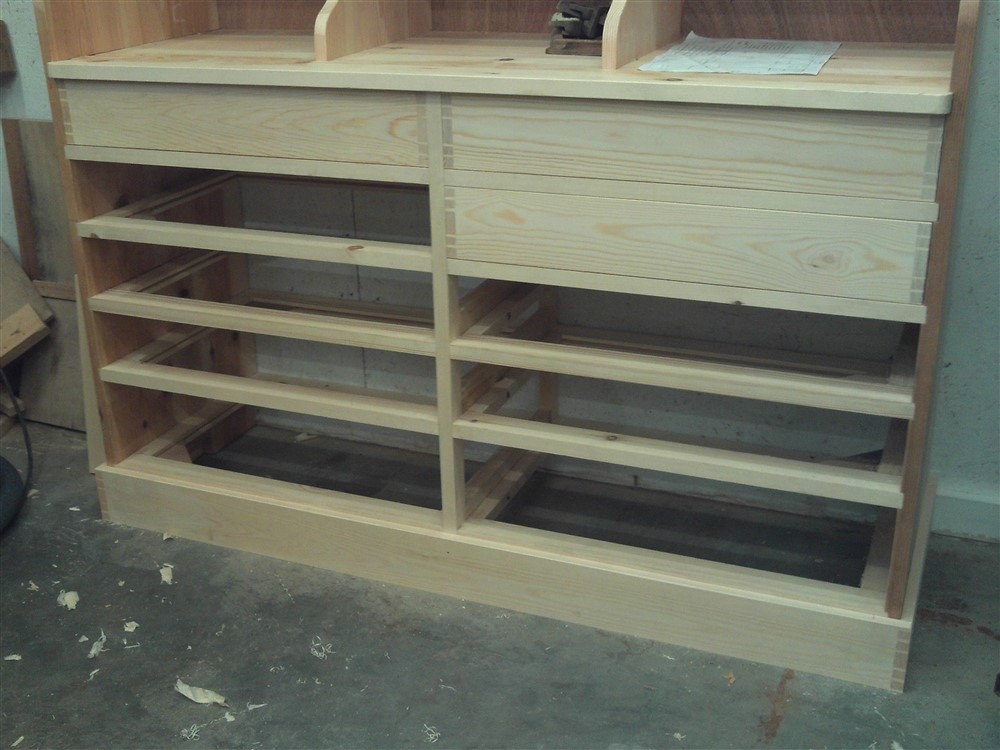
A couple of hours of chiseling (and using a marking knife to clean up into the corners), and I'd done all the tail boards. That was 4 hours work altogether. It's like cycling........if you keep turning the pedals you get there in the end:
 it would make a very nice welsh dresser
