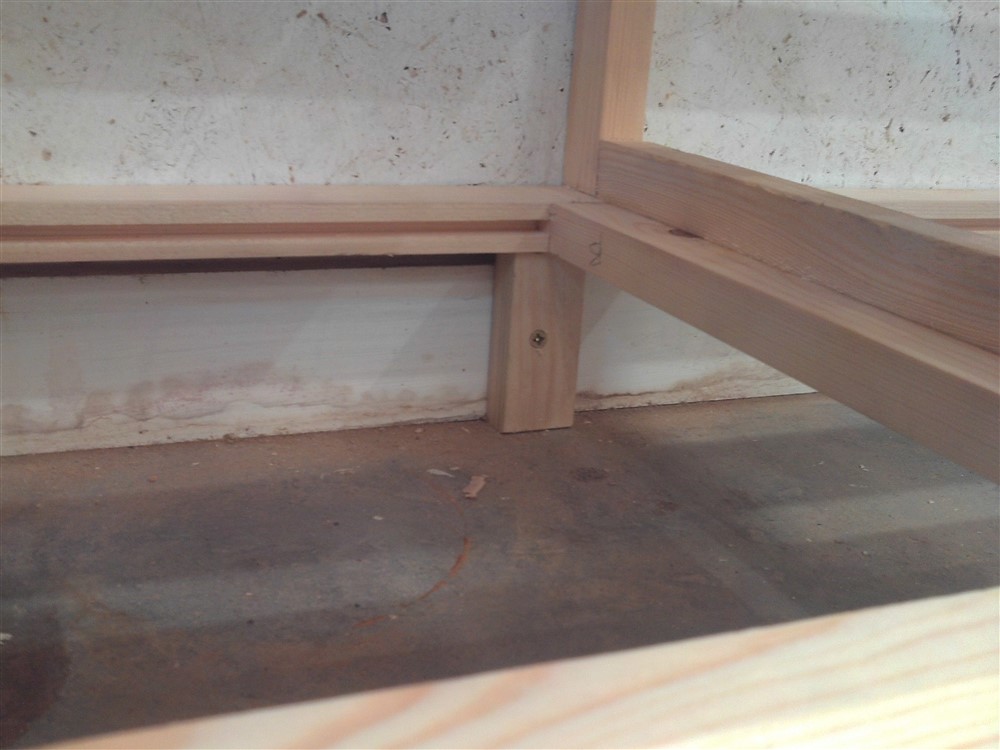
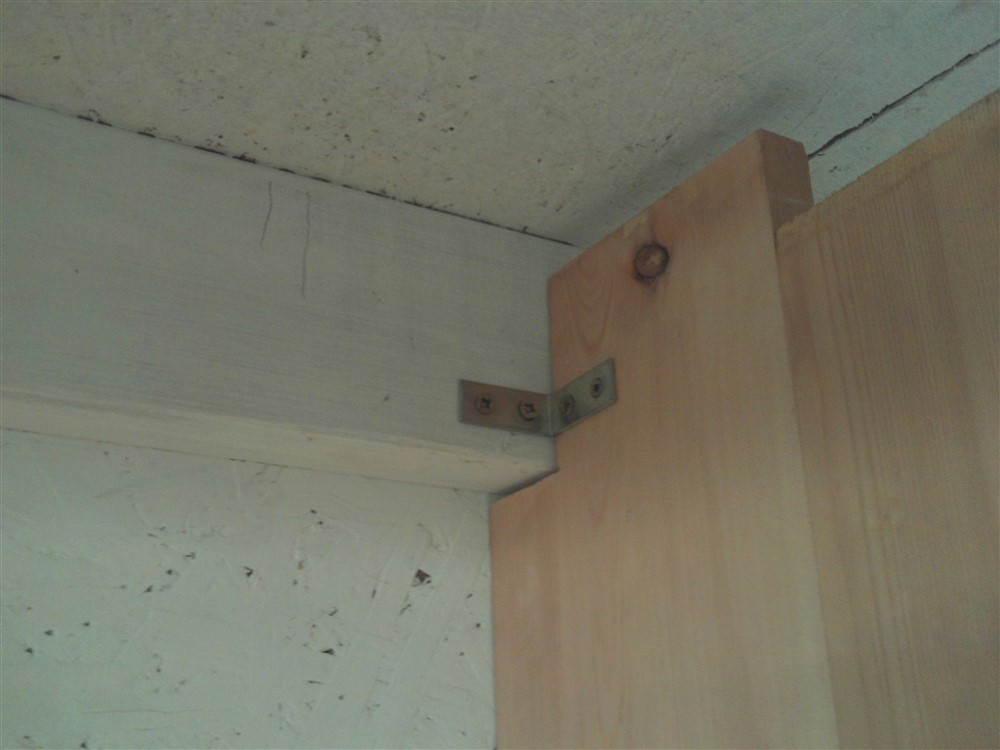
Tool cupboard build (final update)

UKworkshop.co.uk

Help Support UKworkshop.co.uk:

This site may earn a commission from merchant affiliate links, including eBay, Amazon, and others.
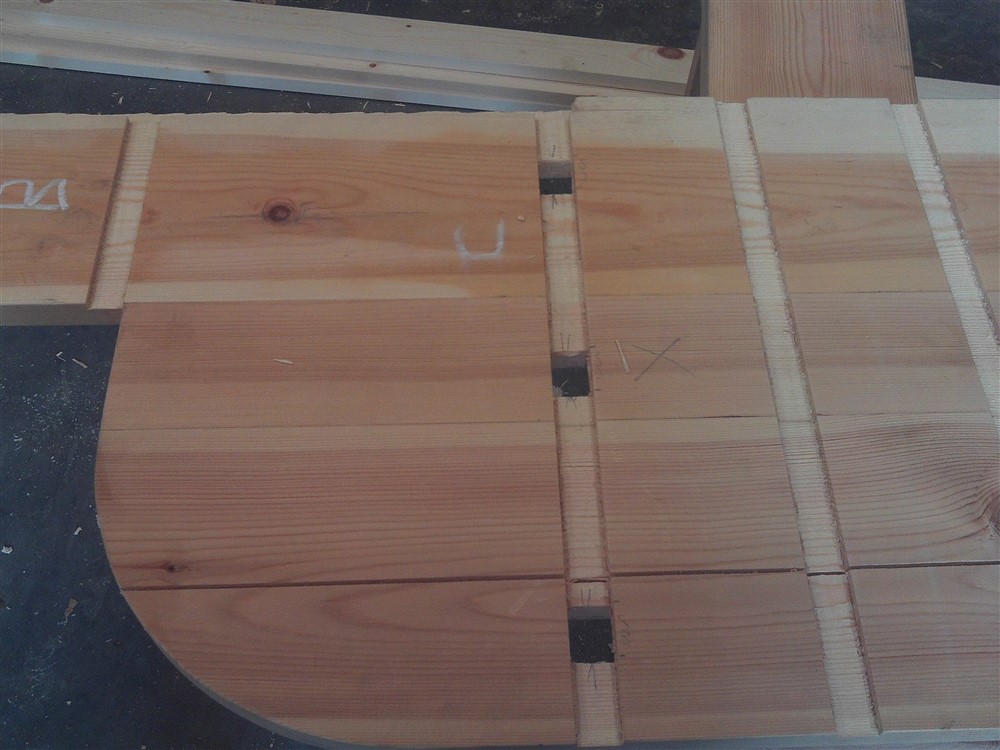
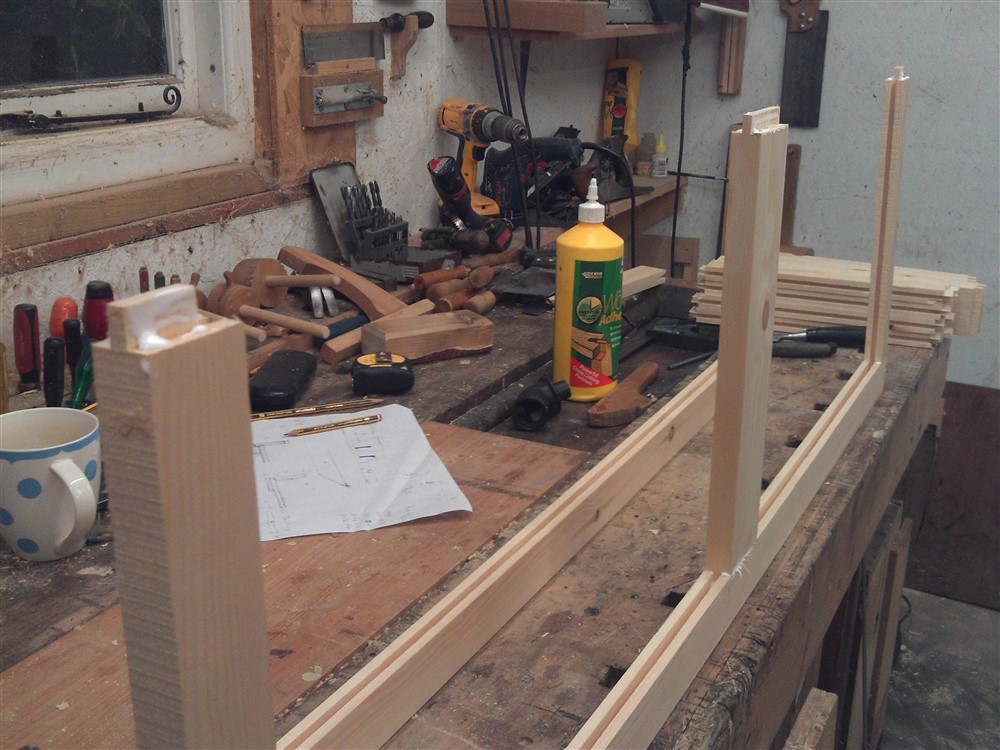
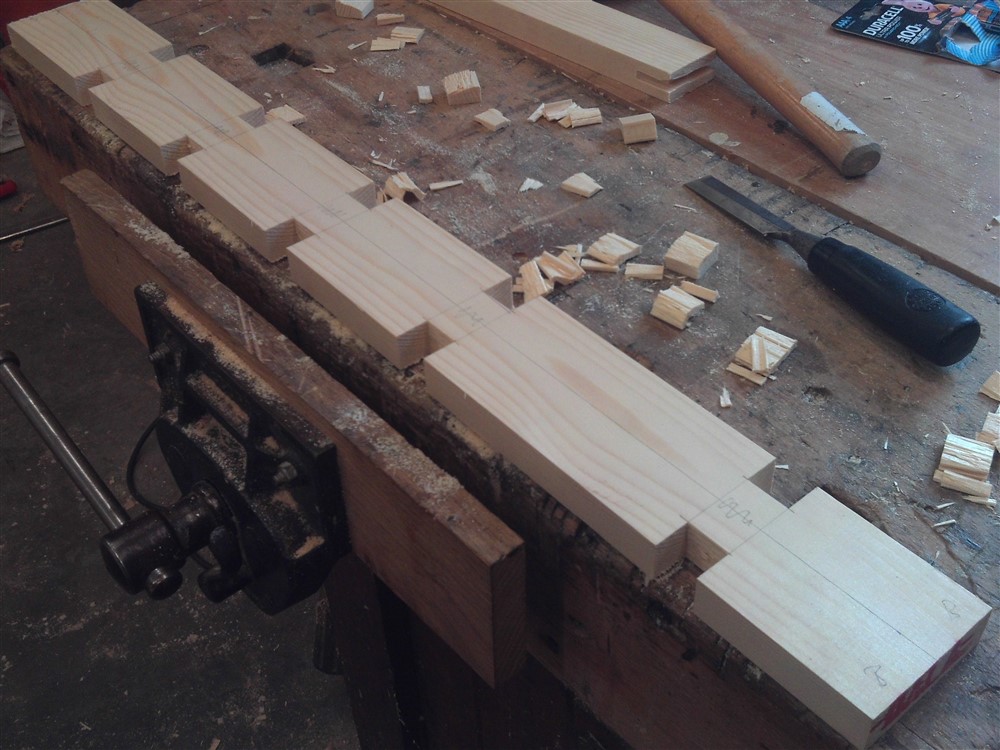
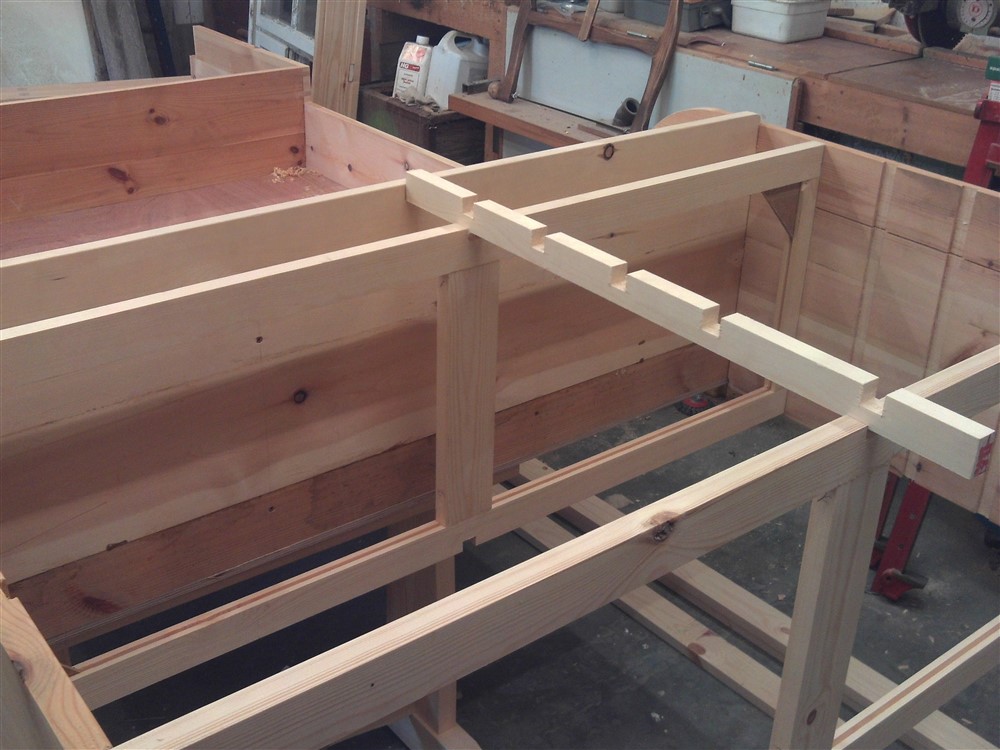
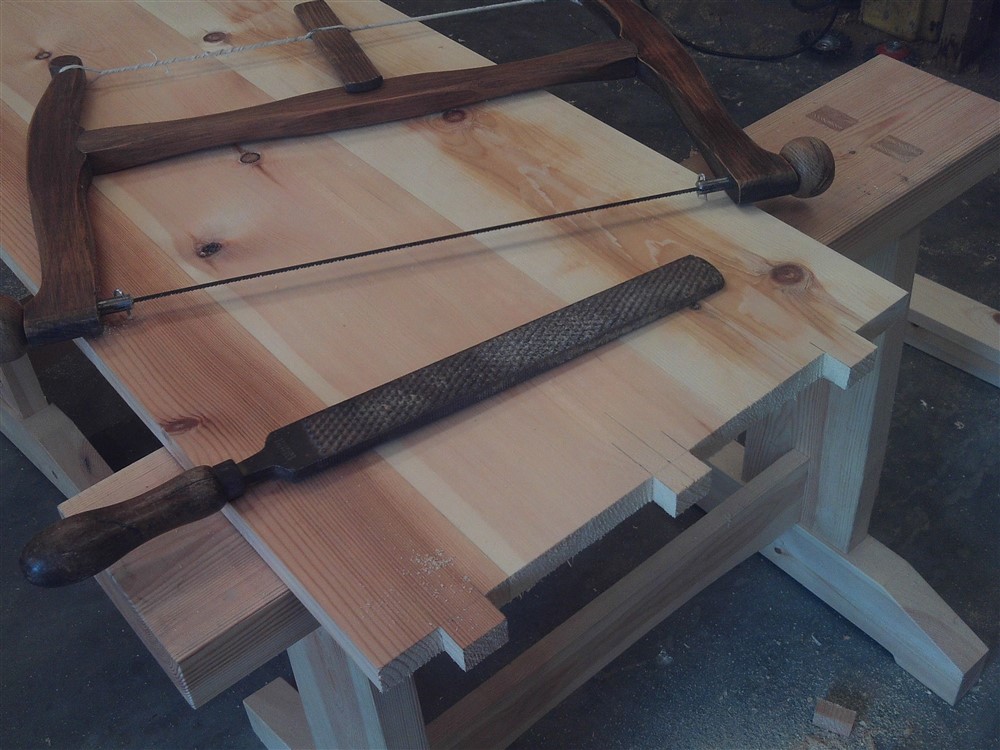
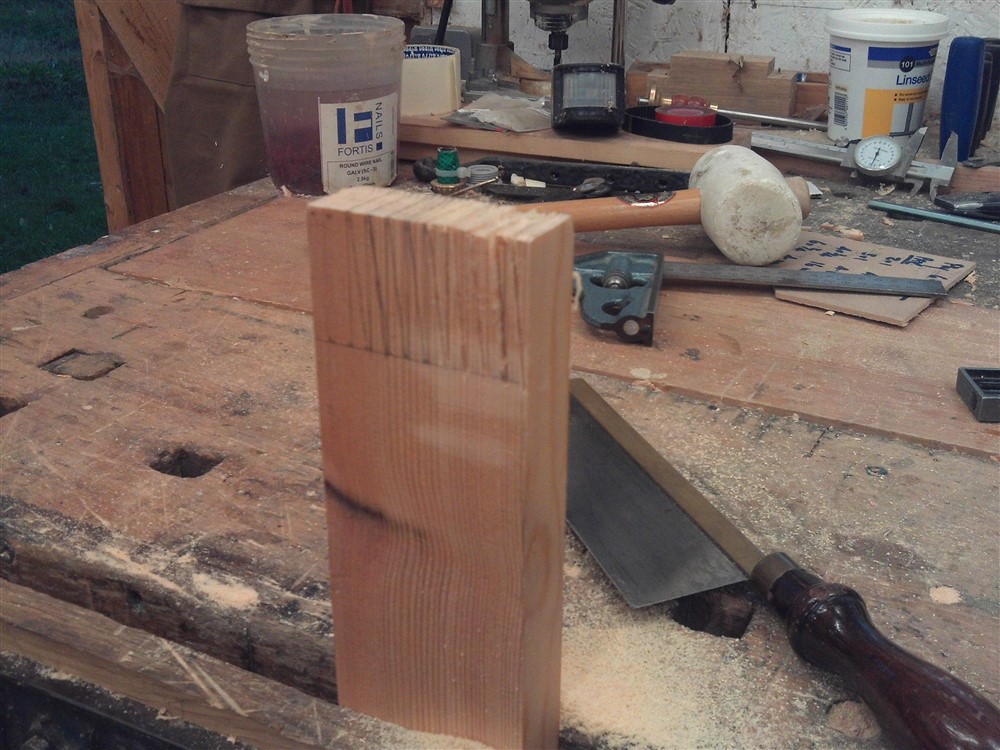
I got a couple of hours on this today, so a little progress to report. Firstly, I de-clamped and cleaned up the "worktop", cut it to length, and then formed the through tenons:
BjxVoDs.jpg


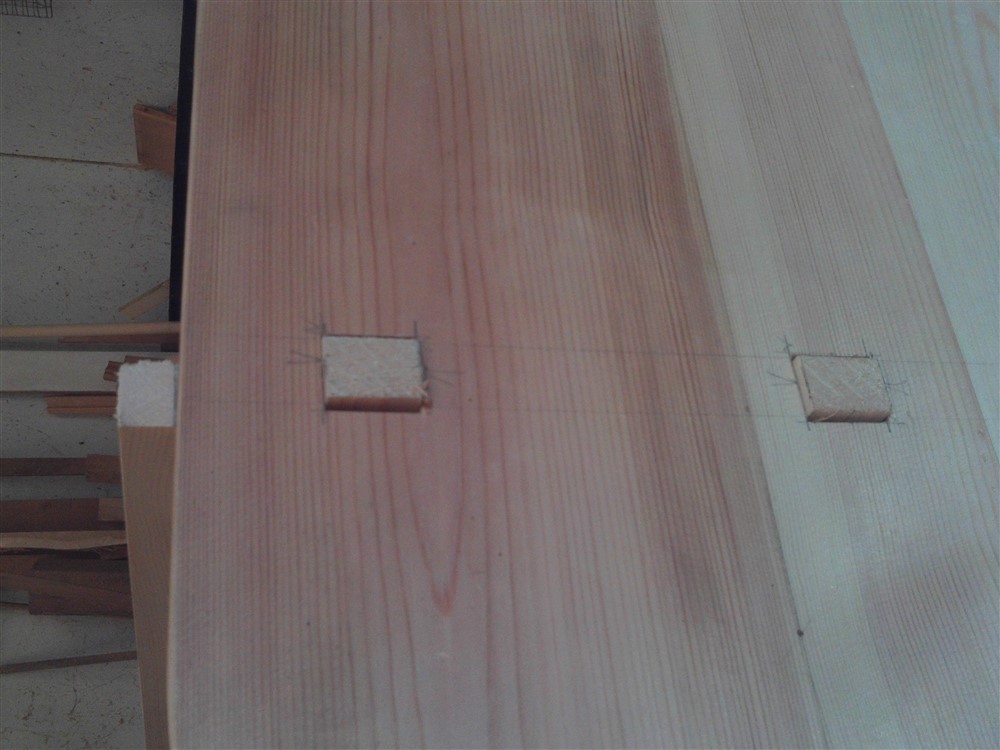
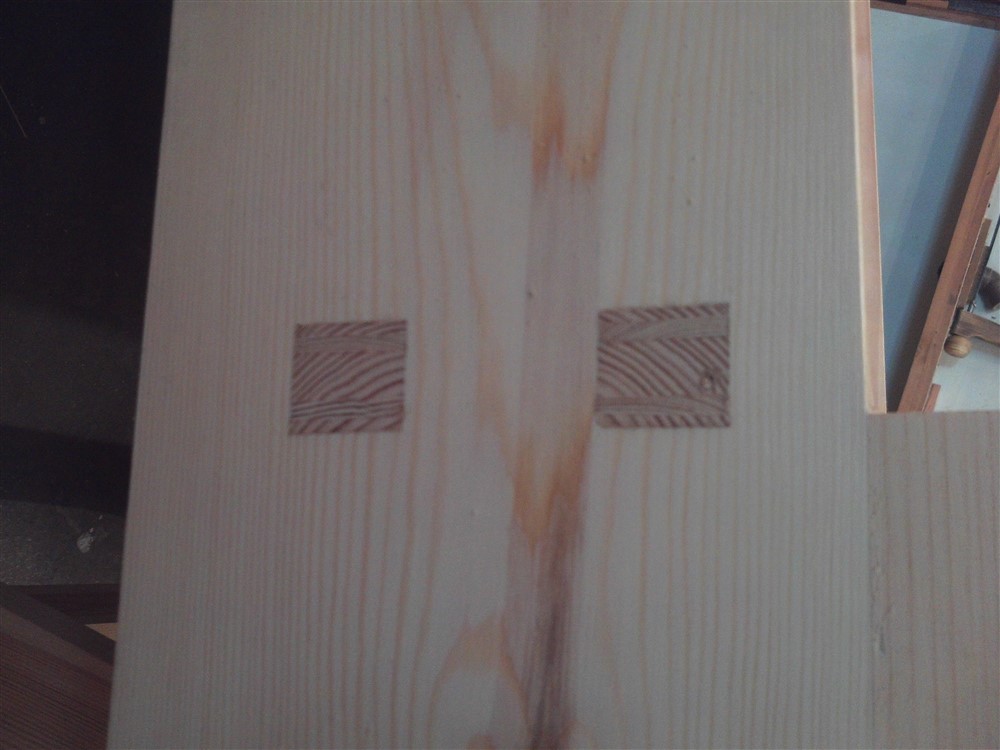
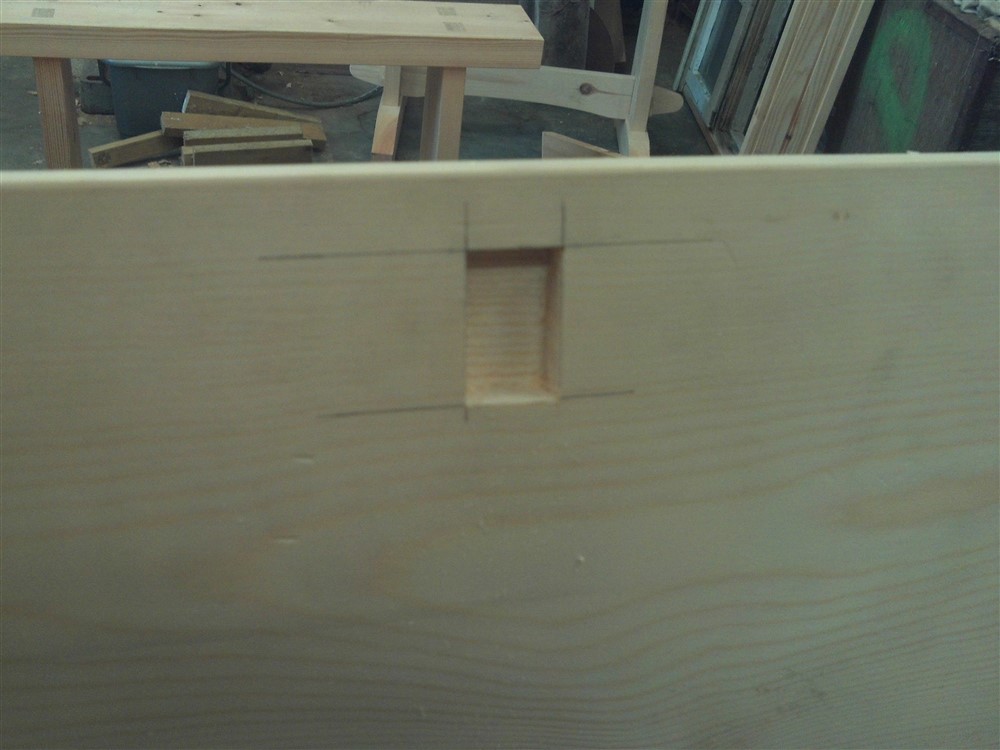
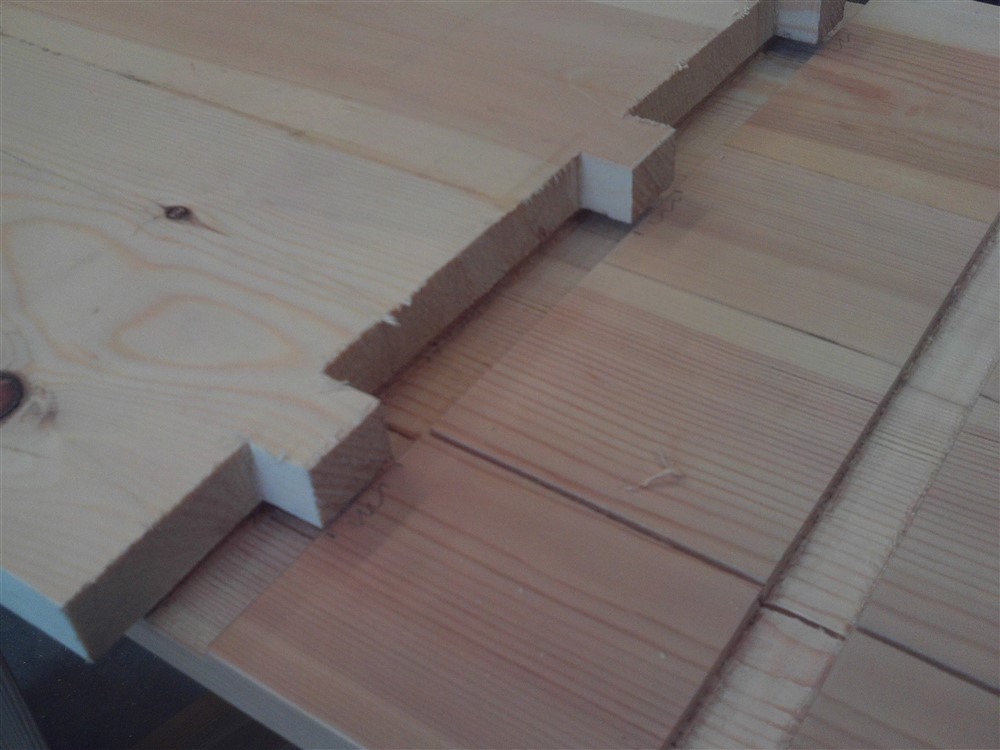
I used these to locate their mortises:
l1Xf11U.jpg


Remember the missing reference edge? I had to put some tape on my square so as to throw the mortise setting out accurately around to the other face via a non-reference edge:
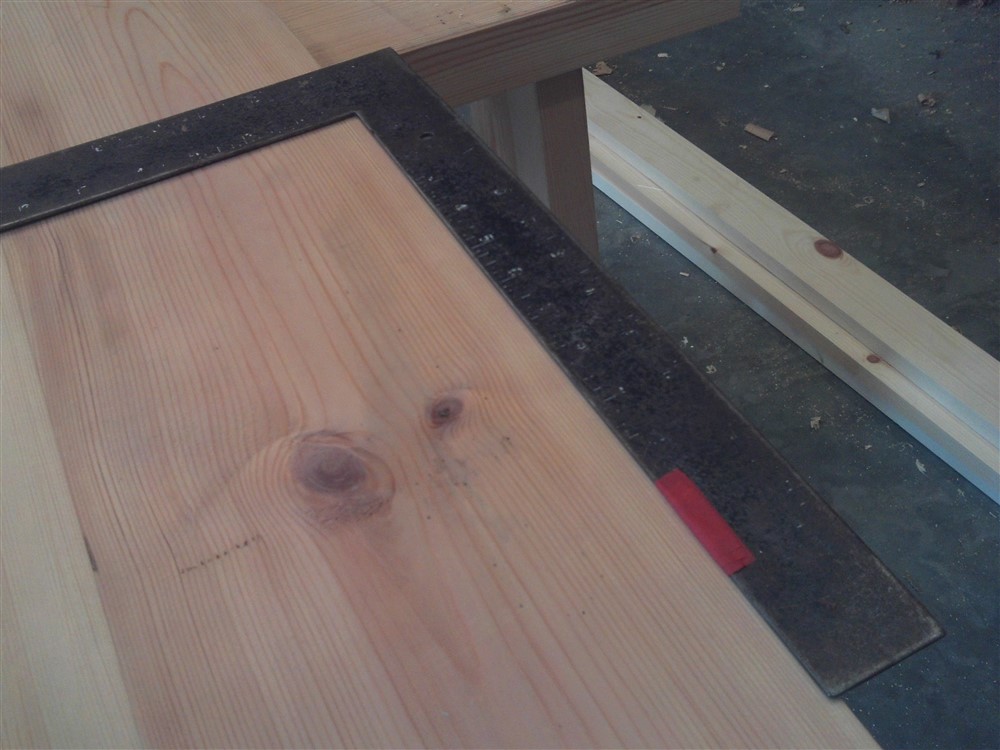
7wceVO8.jpg


Then I chopped out the mortises in the usual way:
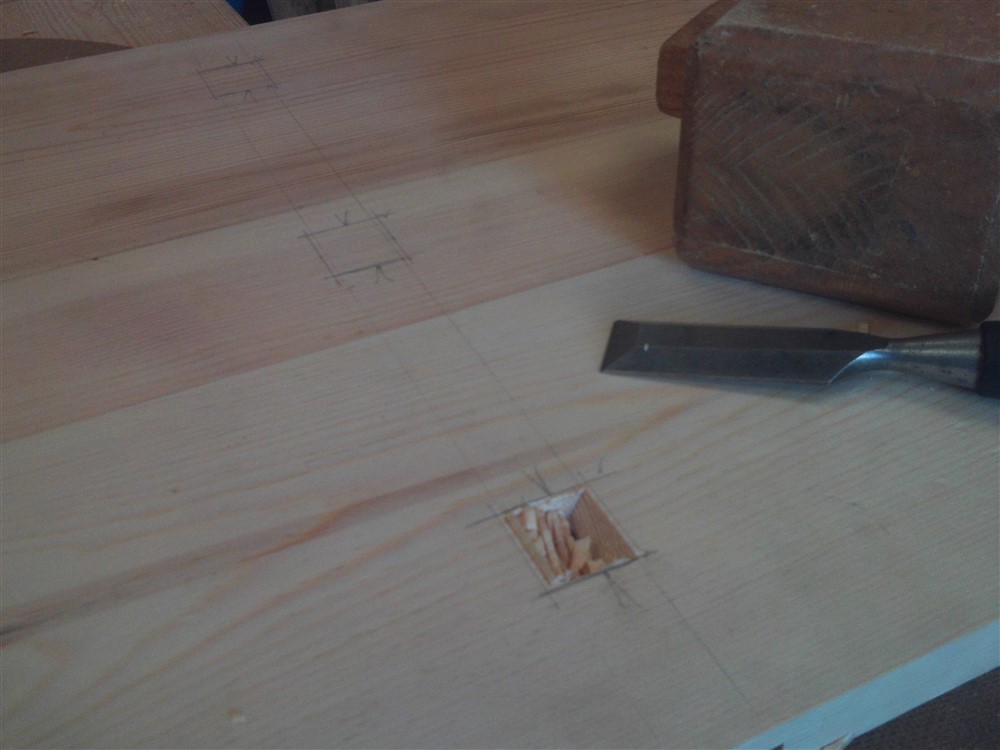
pLxvOki.jpg


vIfkO27.jpg


MBDHmqo.jpg


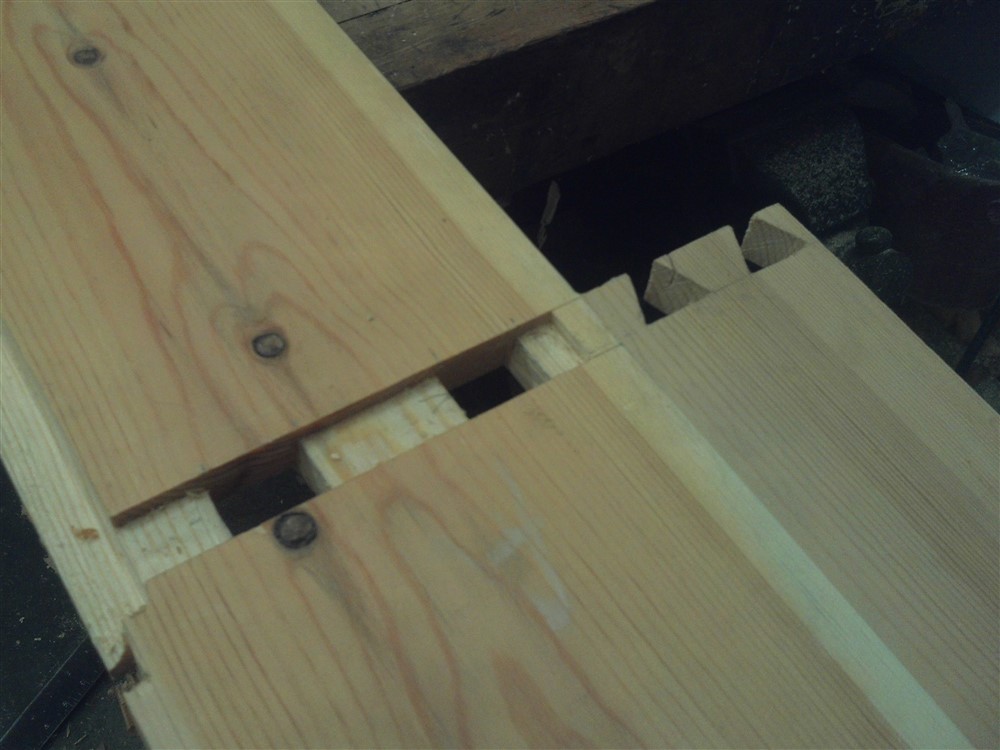
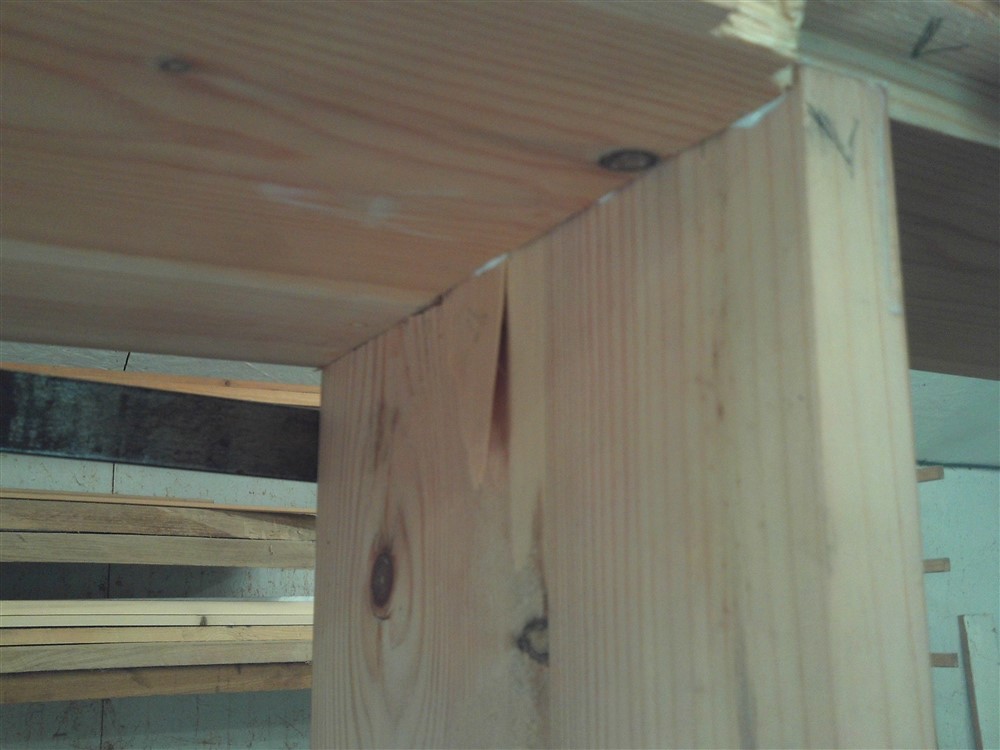
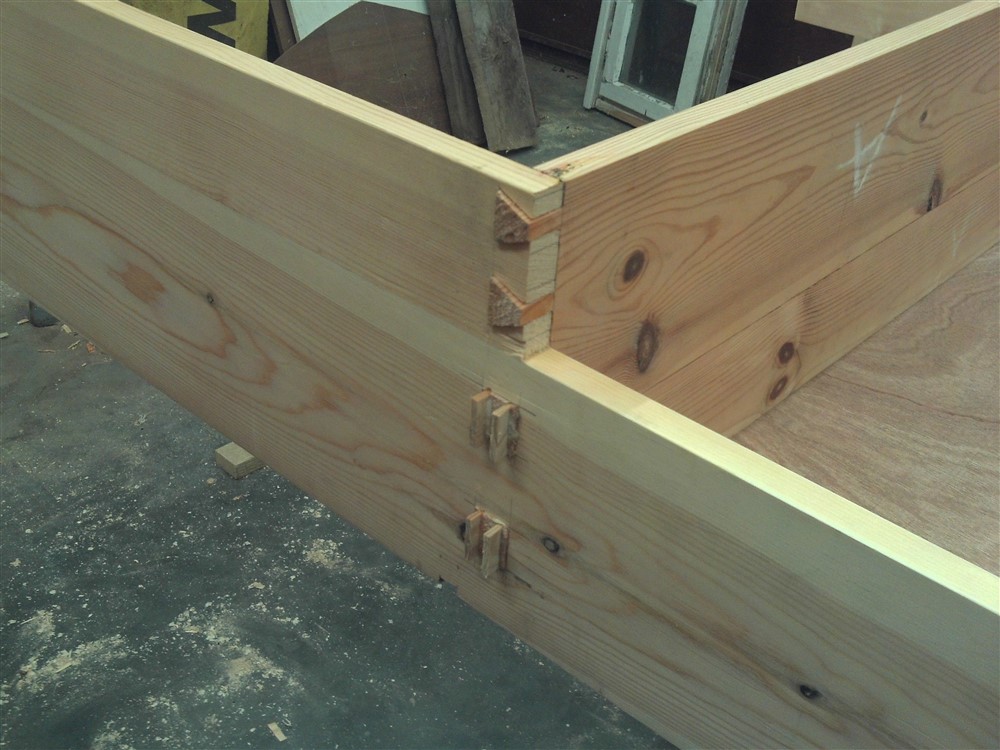
The middle shelf was straight forward, with 2 through mortises, but the upper shelf is partly in a housing, and partly hanging in mid air.....thus requiring a dovetail joint. This produced rather a complicated end-of-board, with 2 through tenons, and two dovetail pins (and I seldom do pins first, but had no choice here). The tape is because the tenon split when I was cutting it out for the wedges:
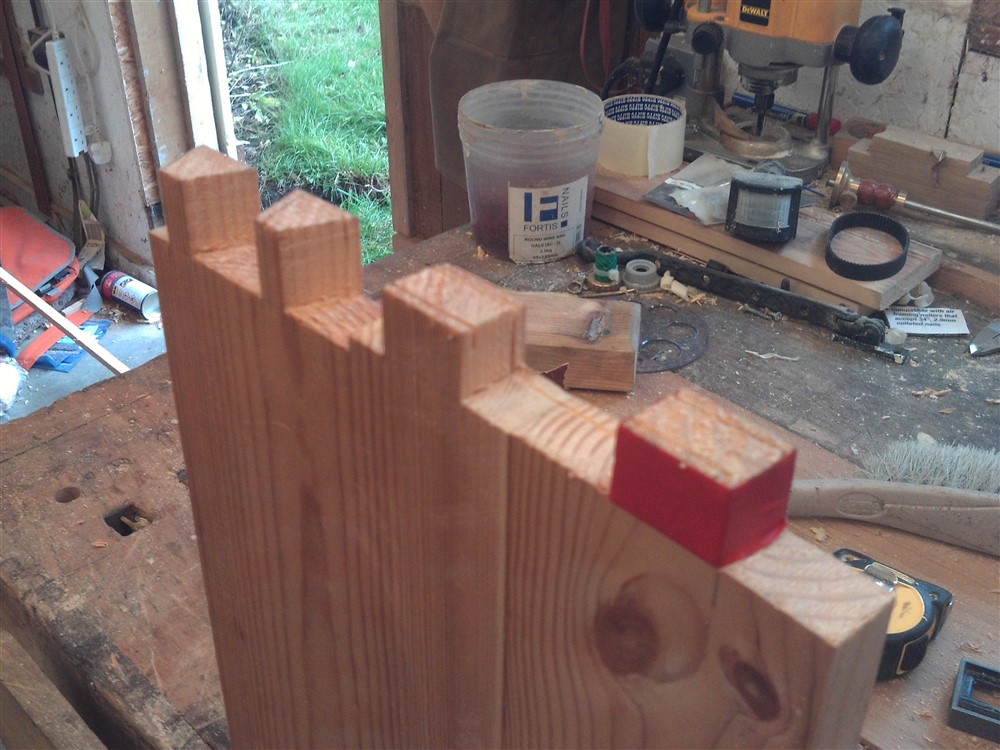
cVqXyEN.jpg


I very nearly cut it out upside down!!!:
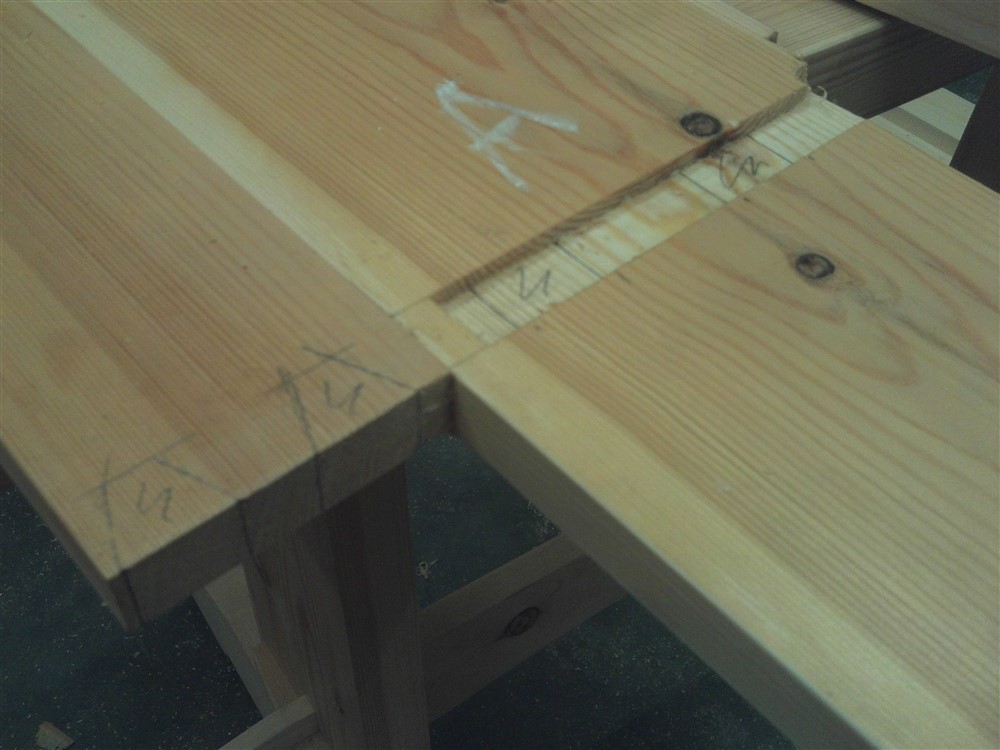
DsT70gc.jpg


But got it right in the end:

pMHNoW1.jpg


o65MXV0.jpg


No time for a glue-up tonight, but I got the wedges ready for tomorrow:
V65Ljr9.jpg


Imdwj9i.jpg


I've dry fitted both sides, so all looks ready to glue this thing together.....
 
Space, as I've said, is a priority in my workshop. Here I am laying out an 8x4 sheet of ply ready for cutting, and I've got room to get all around it:

miXDJ4R.jpg


That's the backing board, which I cut to size ready for the glue-up as a way of squaring everything up. I marked the factory edges. I had planned on a series of movable panels in the open area above the drawers, but changed my mind overnight and decided to put in a couple of fixed partitions. These were set in a housing top and bottom, and this was therefore the start of the glue-up:

gyFuCyy.jpg


These fixed panels will form a really important function, which you'll see in a few days time.

Glue-up these days is a nerve-shredding exercise. I'm sick of it really. I need a cheap readily available glue that doesn't start going off in 10 minutes.....we never used to have this ridiculous problem. Anyway, with two dozens wedges to drive into through tenons, and some quite cupped timber, this was a glue-up from ****:

Kxx579s.jpg


GgV0uyp.jpg


One of the wedges burst through internally:

RWnXSul.jpg


Luckily, that's on the top side of the top shelf, so my repair should be invisible.....or at least, unseen.

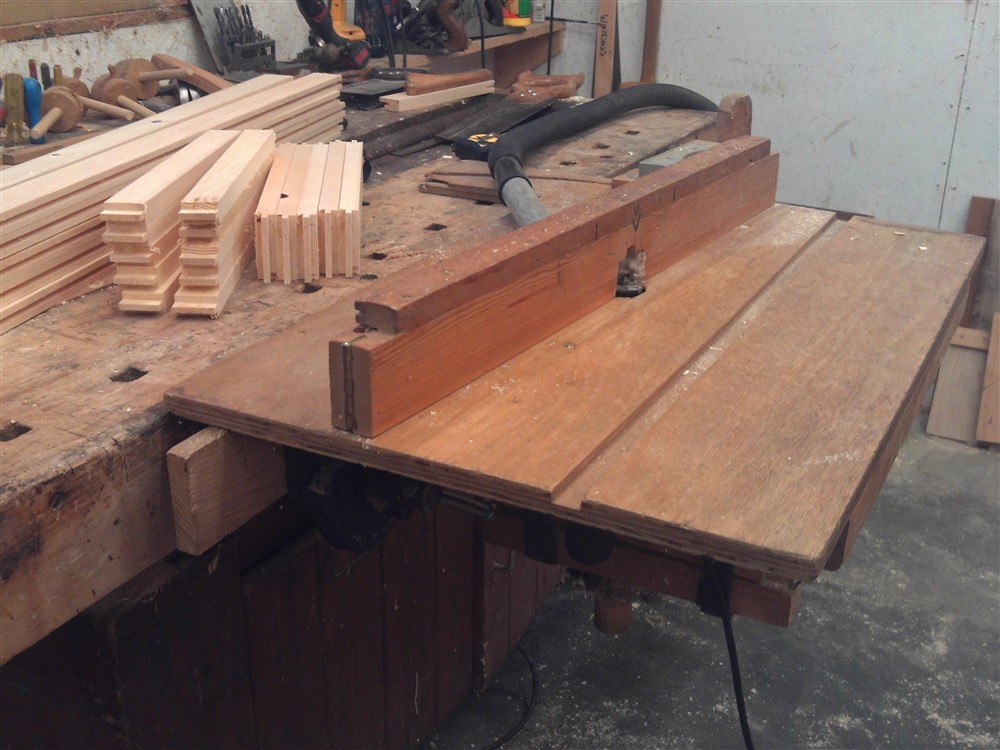
With my main router table out of action (covered in the rubbish I moved from the shelves I am replacing), I had to drag my old one out of retirement:

pXcOb0x.jpg


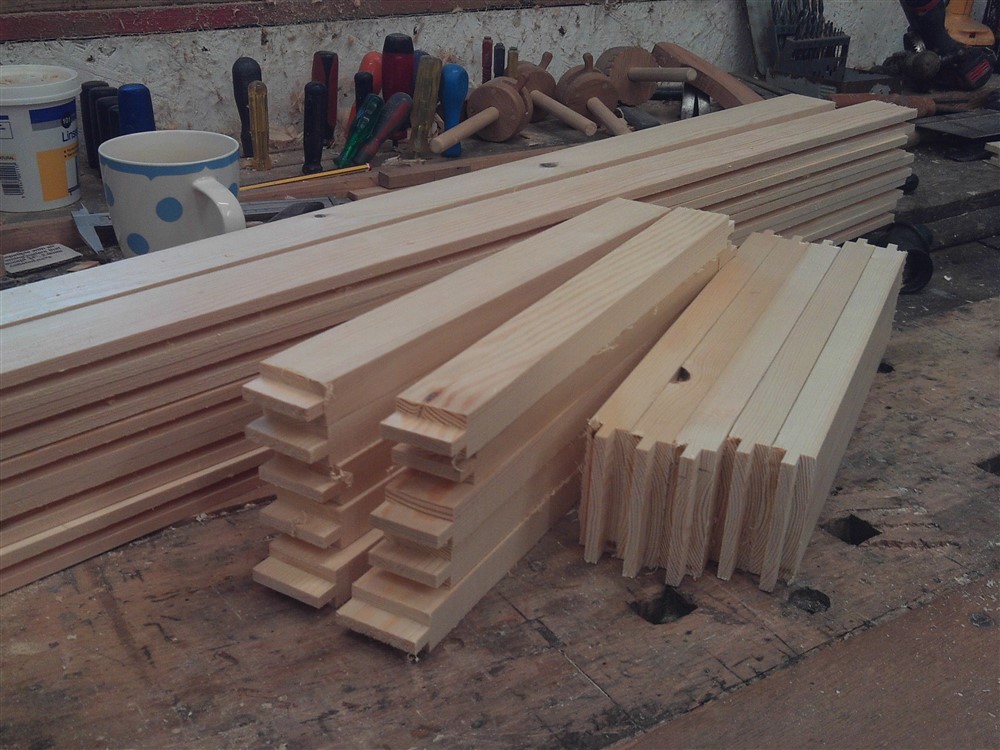
It clamps in the vice (it has a leg if I need it), and has an adjustable lift/ micro-adjuster, so it was a doddle to set up quickly to help with making the drawer support frames:

Fkrl0TC.jpg


w3ODYOA.jpg


4L8UJ8z.jpg


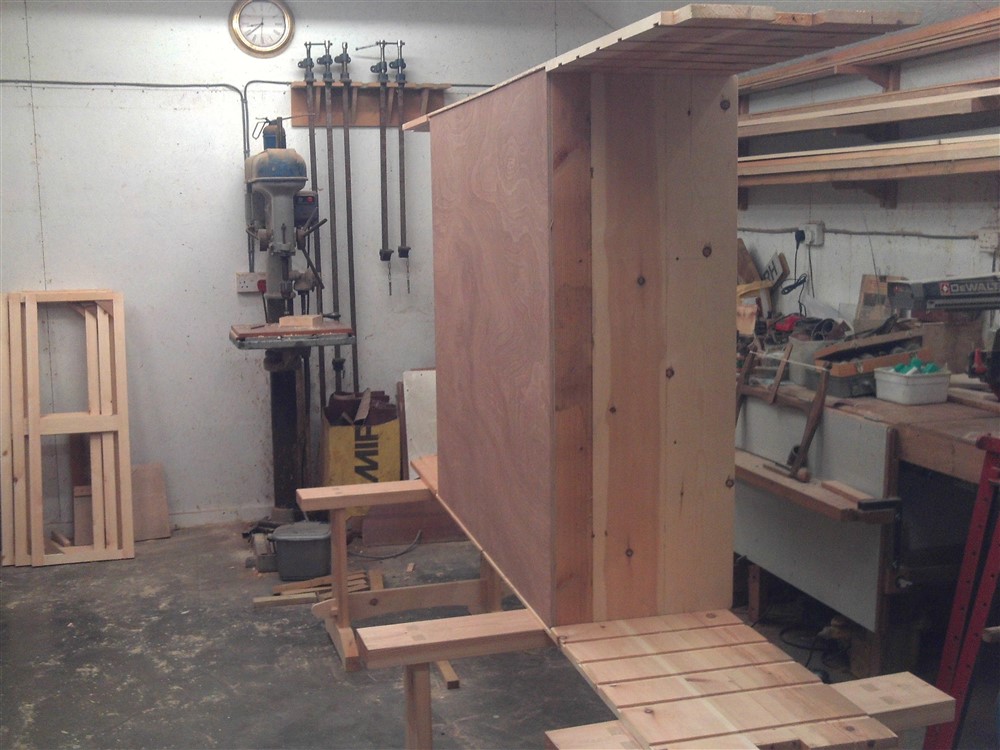
By the time I had made them the carcass was dry, so I de-clamped and pinned on the ply back-board (using, shock horror........a hammer!):

b0nW0A1.jpg


WlVLI0b.jpg


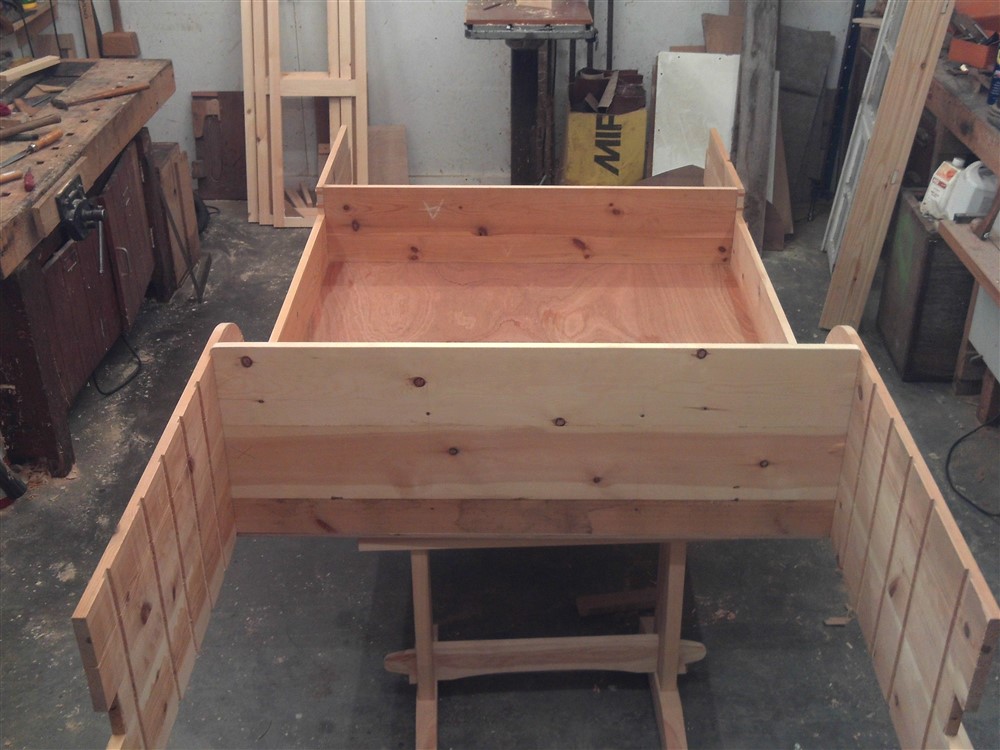
This photo might help understand the complication of the half-housed half-dovetailed corner join:

Sgqk4h1.jpg


I put that down as a useful afternoons work. I doubt I'll get too long on this tomorrow, but maybe I'll be able to clean up the tenons, and fix the drawer supports in place.
 
Looking good, as expected!
For a slower setting glue, have you tried liquid hide glue? Titebond brand is pretty widely available.

It's perfectly strong enough for anything indoors. It cleans up really easily with a damp rag. Glue lines disappear.
And best of all, you get 15-20 minutes open time rather than 5-10.
 
Ever tried Cascamite, Mike? I'm assuming you probably already have because you've been doing this long enough, but you can get very long open times out of it especially in the winter months. The constant mixing isn't always loved though :lol:
 
Trevanion":2nwanbuq said:
Ever tried Cascamite, Mike? I'm assuming you probably already have because you've been doing this long enough, but you can get very long open times out of it especially in the winter months. The constant mixing isn't always loved though :lol:

Yes, many times. The mixing is a nuisance, but minor. It's the shelf life which is more of an issue.
 
MikeG.":23kl1odn said:
It's the shelf life which is more of an issue.

I've also had it turn into rocks before a few times, the best solution I've found is to decant the main bucket into a bunch of used glass coffee jars (Or any kind of jar for that matter, maybe bigger jars would be advantageous because you can get a bigger spoon in there.) and put a bit of cling film over the top and put the lid on and put them away and just keep using the one jar until it's finished, then get another out, etc... The less open-air left in the jar the better.

Bit of a faff but better than letting it turn into big chunks in the bucket and much better than buying the smaller amounts at ridiculous prices.
 
MikeG.":tjv9v0eh said:
AndyT":tjv9v0eh said:
MikeG.":tjv9v0eh said:
I haven't, but I must. Even 15 or 20 minutes doesn't seem enough, though. I'd like half an hour plus.

I've just checked the spec and Titebond actually say 20-30 mins at 70°F (21 °C)

http://www.titebond.com/product/glues/9 ... 7daa20f8ed

I'd love to know what the difference is between "open assembly time" and "total assembly time".

Yes, I wondered that.

I can't say I've ever set a clock on how long a glue up takes, but I reckon you could take the shorter time as how long you can have wet glue on a piece before you assemble the joint. And the longer limit would be how long you've got to pull it up tight with cramps etc and still expect it to move.
 
This all took rather longer than I'd thought. I started by cleaning up all the wedged tenons and dovetails:

OhWjKbO.jpg


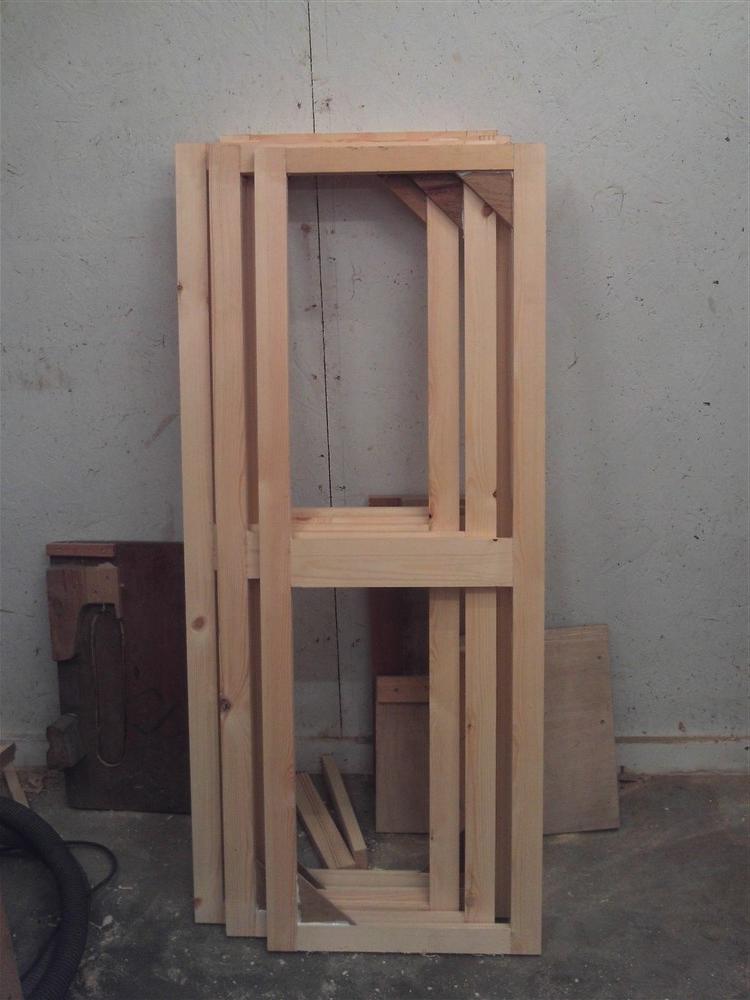
Then moved on to preparing the drawer supports for fitting, starting with the central vertical piece:

ivUQzVa.jpg


JDCHP2o.jpg


I then offered a couple of frames up so that I could locate a mortise under the top to house the end of the vertical member:

DP1zdge.jpg


bSjimCQ.jpg


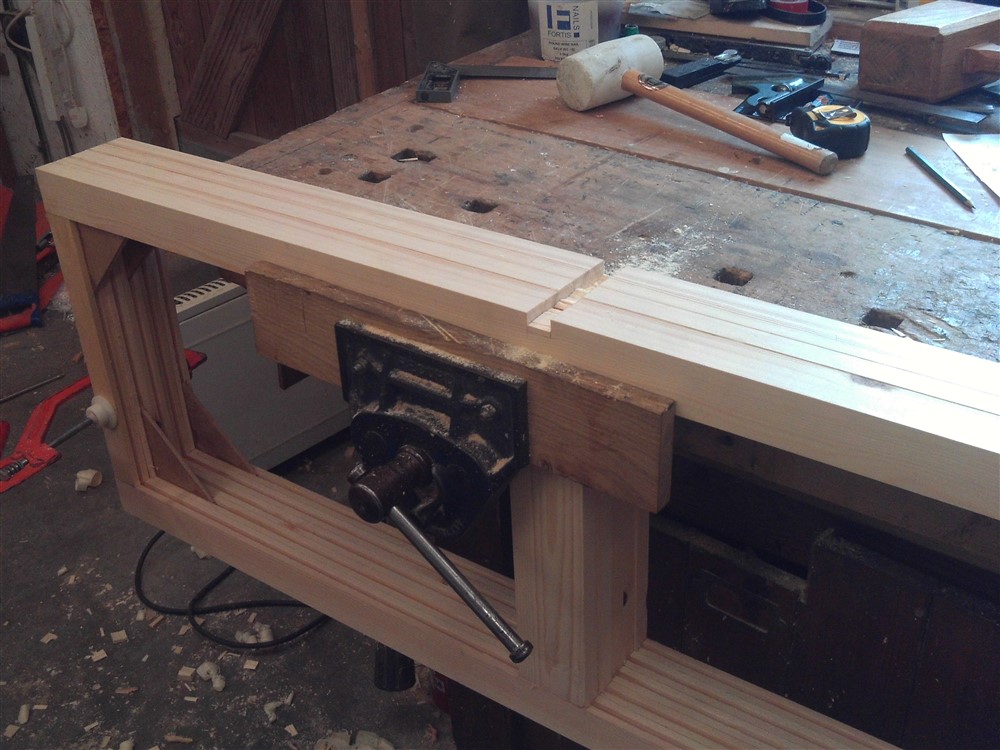
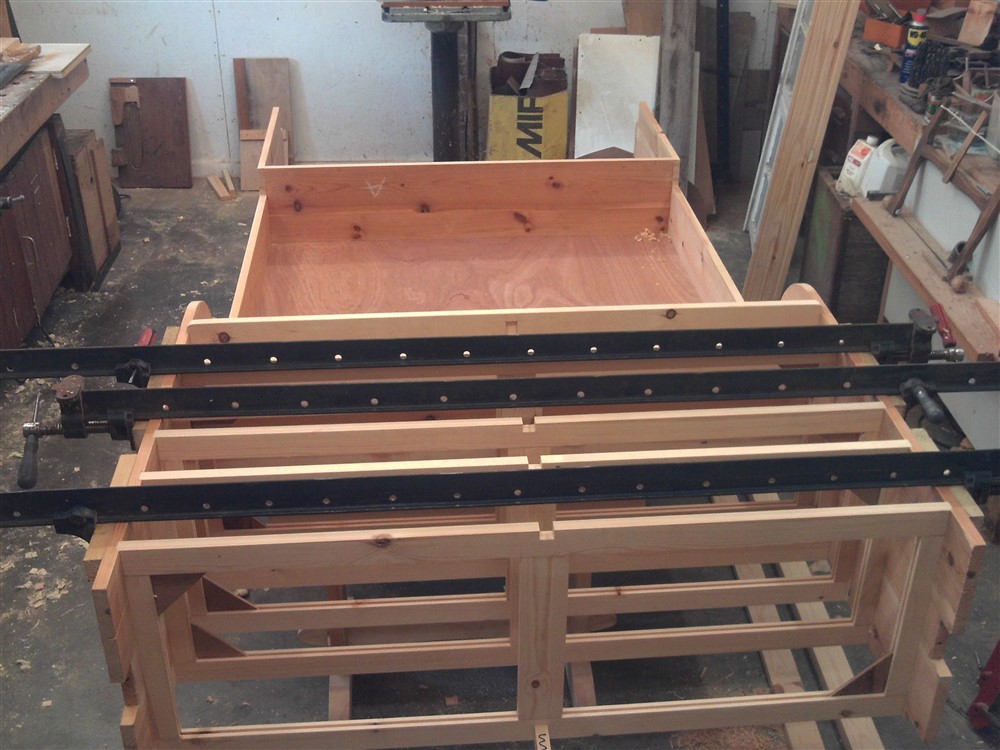
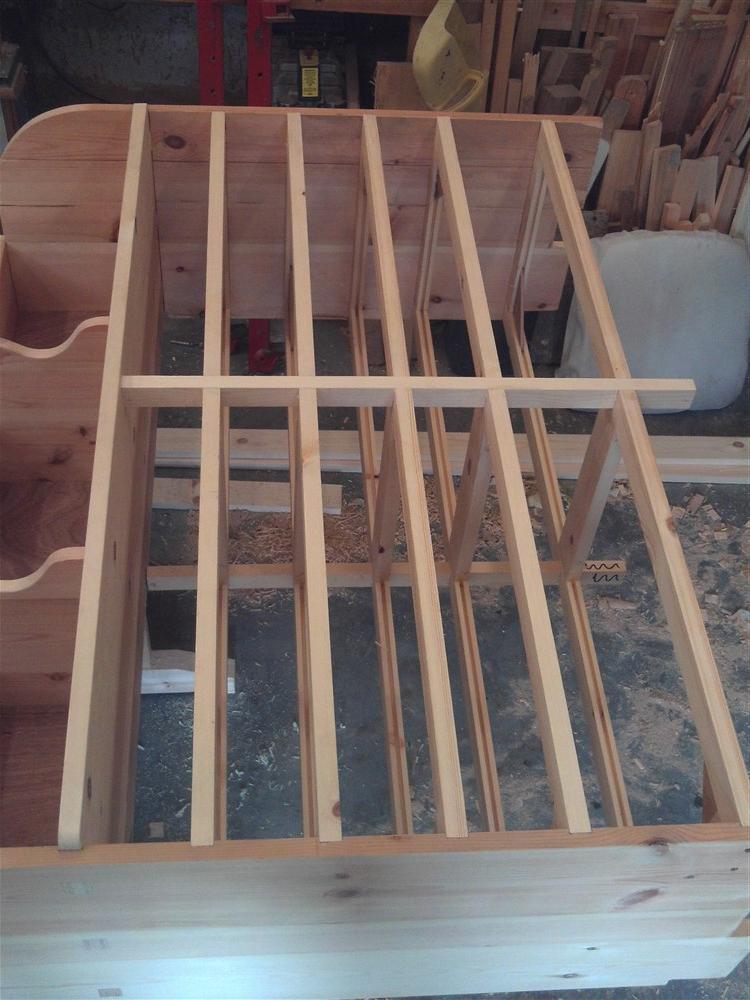
Then I glued in the drawer support frames. It is worth pointing out that I was fighting some pretty fearsome cupping on the outer (front) boards. You can see that I had previously run a relief cut up the middle of each, so these clamps are as much for pulling that in to nearly-flat as holding the frames in place:

chO9E1X.jpg


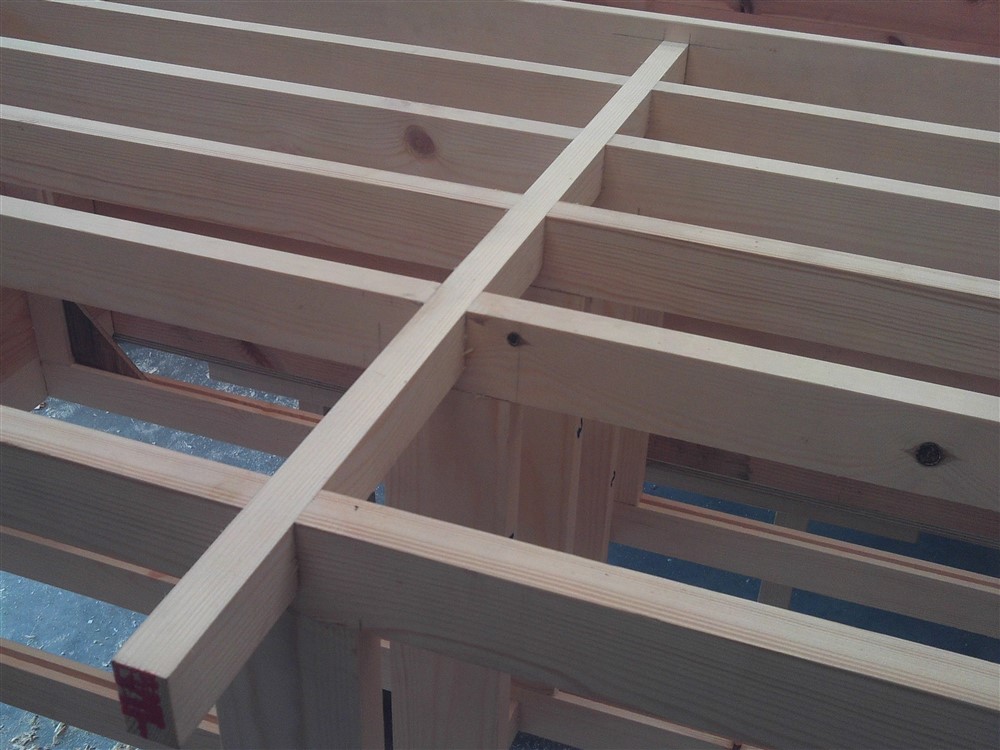
I then glued the central piece in, with each of the half lap joints fitting rather neatly:

uoYEXrb.jpg


gNtUoNV.jpg


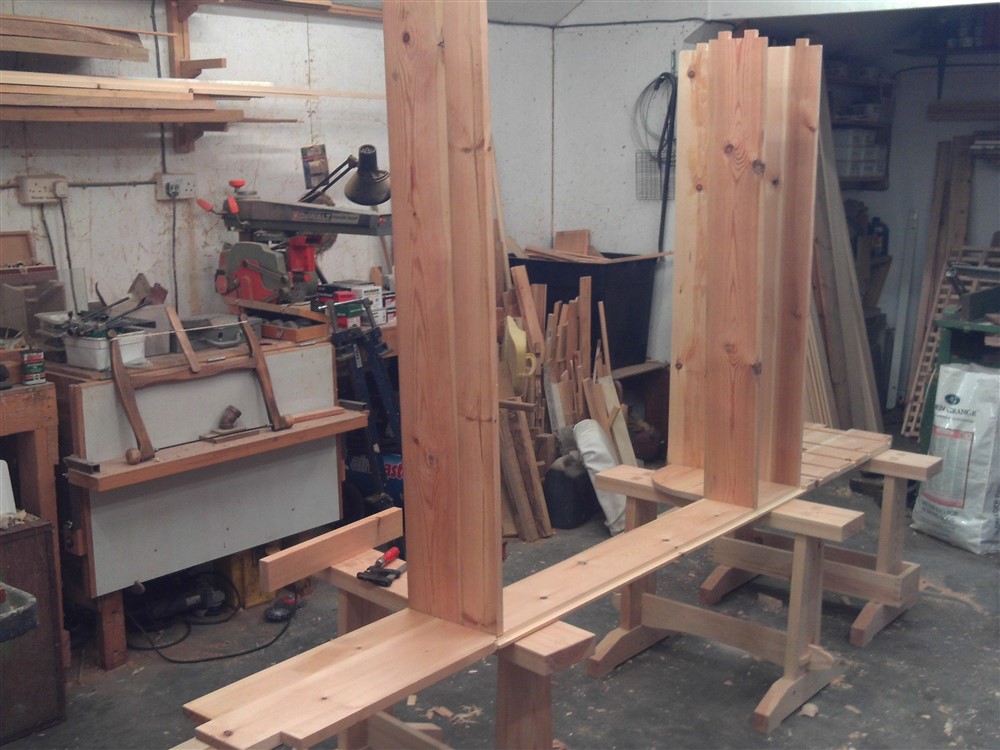
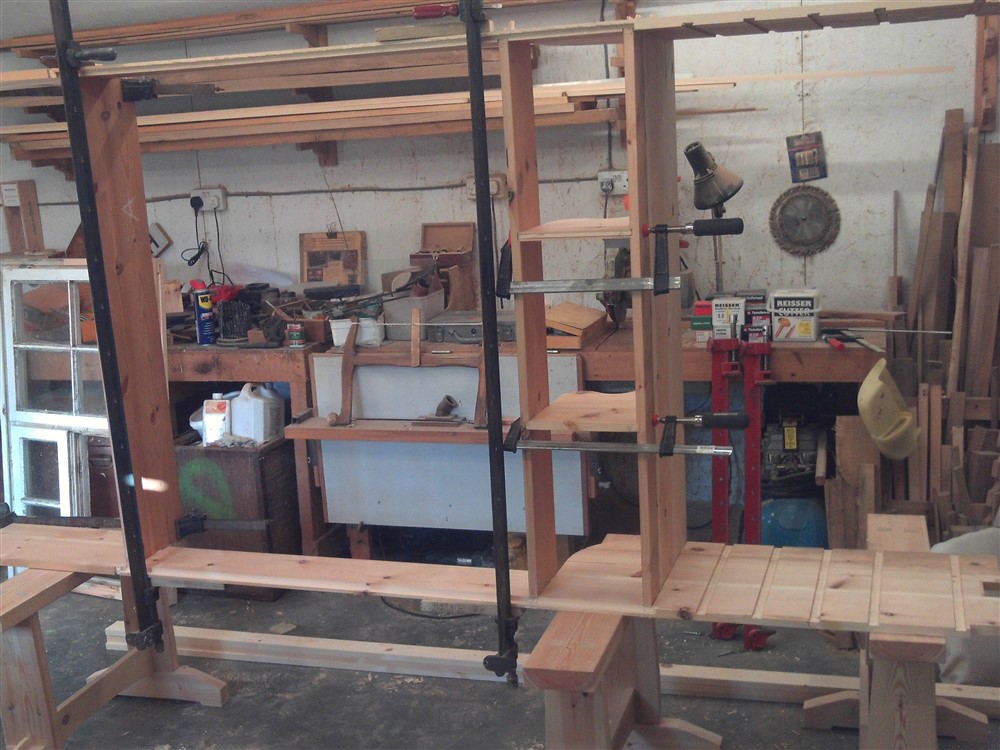
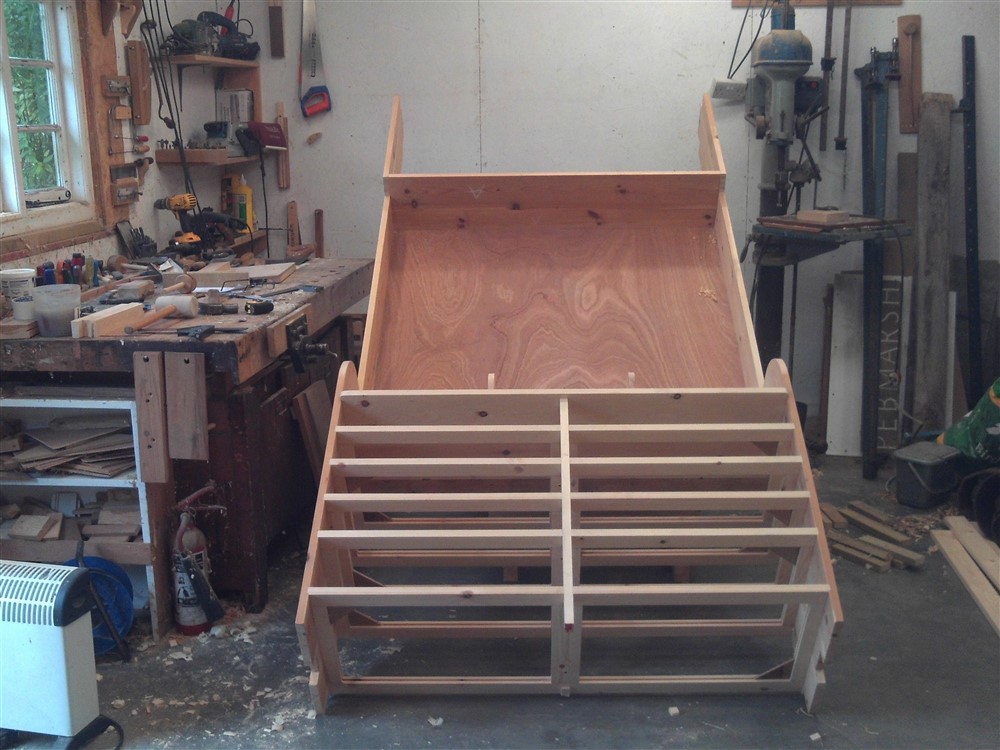
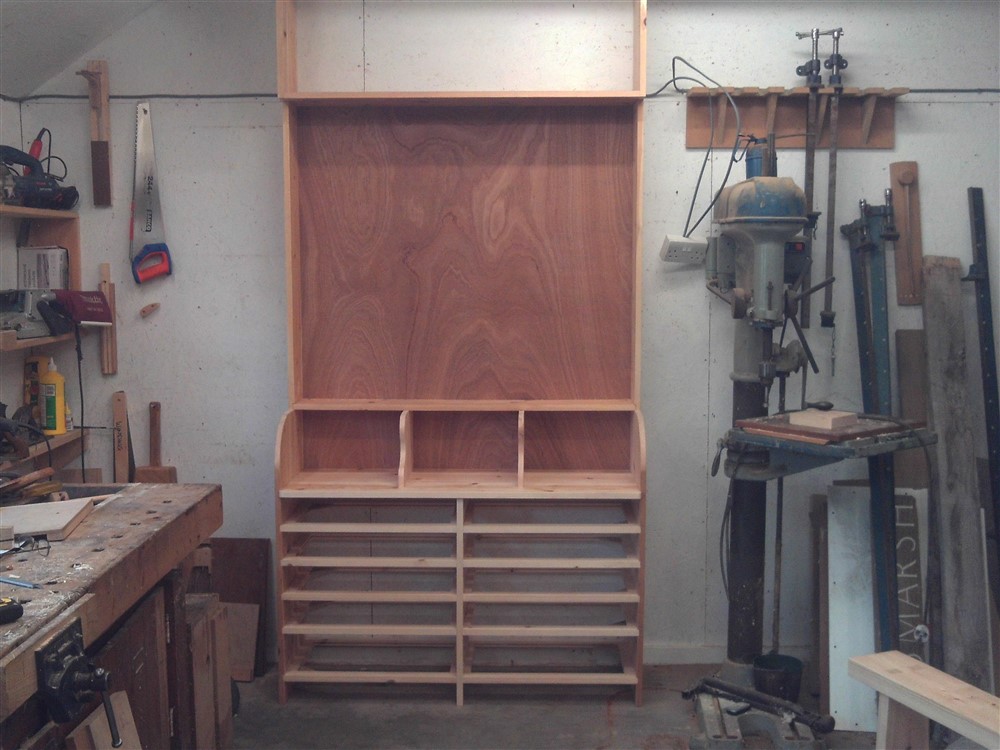
After gluing in some dividers on top of the central drawer runner and clearing a space (shifting that huge pillar drill wasn't easy), I started lifting the carcass into place:

G41NPN5.jpg


bmfQFGX.jpg


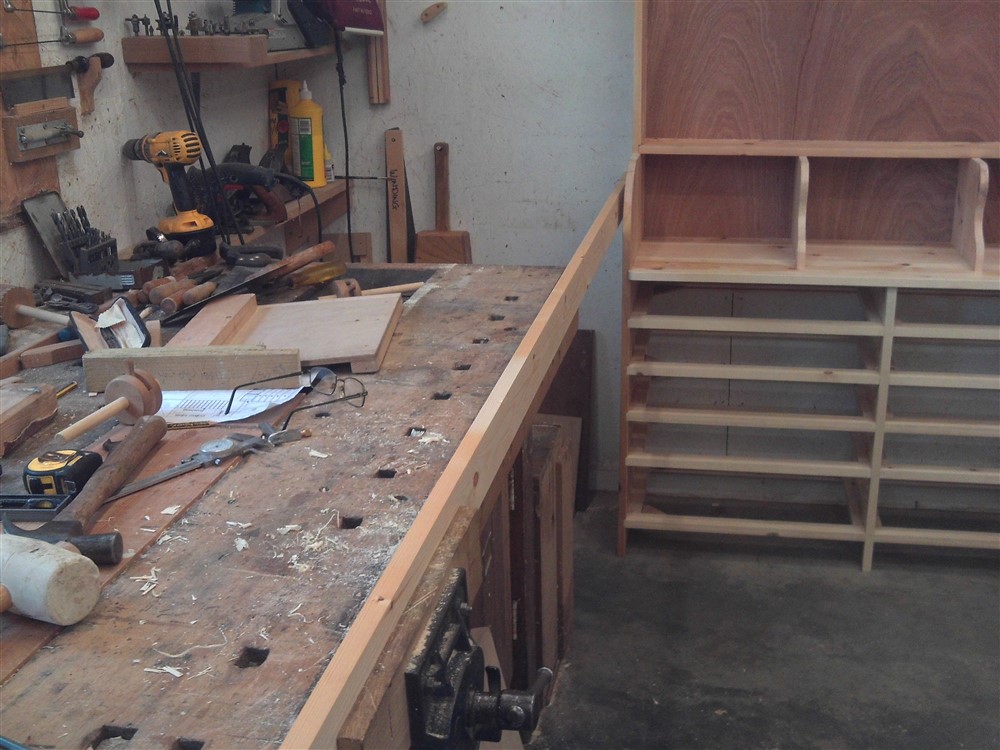
I decided a day or two back to shift this cabinet from its original location by a few inches so that I could work over-long pieces of wood at the bench, unhindered:

M0uQjTt.jpg


I screwed in a quick support under the back of the bottom drawer frame:

LqH0Biq.jpg


.......and bracketed the two vertical members back to the wall (well, joist), at the top:

BAUT6wP.jpg
 
Still should have painted the wall behind it. Not round it. Just behind it. You Madman. Out there just winging it.
 
MikeG.":33d9nvmt said:
I'd love to know what the difference is between "open assembly time" and "total assembly time".

I may be mistaken, but I've always understood it to be the difference between how long you have got to adjust the joint to get the components into the right place, and how long it is before you can sensibly take the clamps off.

So typically I use a PVA. Open time 5 or 10 minutes (I can't remember exactly but it is something like that). Clamping time 30 mins to 2hrs, depending on how harshly you want to handle it. But full bonding strength is not achieved for 24 hours.
 
That's really looking good Mike. Hard to believe that's all recycled, cupped timber. It's come together quickly. Looking forward to the next stages.
 
Stanleymonkey":245xl6k3 said:
.......Hard to believe that's all recycled, cupped timber........

Mostly. There is some new timber in there too. The drawer supports, for instance, are mainly new.
 
Looking really smart Mike. Lots of components to deal with. The best ever ever ever ever ever thing I've done with cascamite is buy some scales. To start with it's a real thick lumpy paste but after adding the remaining water magic happens and the glue turns good. In comparison to titebond 3 I'd say it's not as good for stickyness. Its brittle and under stress the joints fracture but the 'open time' does mean it has its uses. Out of interest have you got some digital scales suitable for weighing grams ?

Again, tidy work that will be awesome when completed.

Sent from my SM-G960F using Tapatalk
 
Thanks Coley.

Yeah, I perhaps should have used Cascamite. My biggest issue with it isn't mixing it, although that's a bit of a faff especially if you underestimate how much you'll need and need to mix up more in the middle of gluing up........no, the biggest issue is shelf life. I can go months between the times I need it, and in that time, the stuff can have gone off on the shelf. Keeping it in a tightly sealed plastic bag helps, but I've still probably chucked more away than I've used over the years.
 
Back
Top