Day 31 and 32
Day 31
So today I was focused on getting the door finished. First job was to get the letter box installed, After some careful measuring out I went about cutting it. After cutting it I realised my jig saw bed was on a slight tilt so had to have a few more minutes to flatten out the opening. I offered up the Letter box and took note of the tight/high spots and went back a trimmed it all down so the letter box opened nicely.
Next up was replacing the weather stripping. I used the original door weather stripping before but it obstructed the sliding bolt so would not locate in the hole that was there for it and I could not make the hole any bigger as it was right on the edge of the frame so for a quick fix I put some thinner weather stripping around the door and removed the one that came with it. However, the fit of the door to the weather stripping was quite loose and I did not like it. My dad popped round and said why don't I just shim the bolt out so it fits on with the correct weather stripping so that is what I did and now works a treat and still looks ok with it shimmed out.
After having the door on for a week I realised the light we have out front needed to be switched to the other side. So after a bit of think I re-run all the wires in the porch to move the light over and so the electrics were in place for all other parts that were going to be fixed. Just waiting for my misses brother to pop round so he can change an MCB over for me and hook a different wire up into the unit (he is an sparky as you may have guessed).
I then patched up some some more holes with some insulation to make sure all the draughts were being cut down and the walls insulated. I then went mad with some expanding foam to make sure all little holes were closed up and with the wind we had on Saturday the change was felt almost instantly. The draughts are really non existent now and it is starting to feel a bit warmer.
With the light beginning to fade I wanted to get one coat of stain on the door as it is a 30min quick dry stain and wanted at least a bit of protection from the elements. With some help from my dad holding the door at the needed angles (battling the wind that was trying to close it) I managed to get the coat on.
I then fitted the weather bar (I had to lop a 45 degree angle off on the opening side so the opening of the door was not obstructed and could open enough). After caulking and fixing it to the door I realised it looked a mess and I should have done the 45 on the other side too so it matched. However, it was too dark by then so I could not take it off so I though I would do it the next day.
Day 32
I went to take the weather strip off and found it was well and truly stuck to the door, bugger is a words that come to mind. Instead of butchering it and trying to get it off and ruining the door in the process I have decided to leave as is and take it as a lesson learned for future reference. Maybe I will come back to it in the future and sort it out if possible.
Today I wanted get the sub floor in and floor insulation. So I laid some plastic down on the slab first to help protect against an moisture and then I measured up the timber to go around the porch and cut and fixed it to the floor with hammer through fixings. I put a couple of cross supports in the floor and levelled the frame up. I then put some insulation down in between the floor battens and then 2 layers of 9mm osb board across the top (I used 9m as my uncle had some laying about so it enable me to save a few quid).
I have noticed that a section has a bit of bounce to the floor so I am going to lift it and add another support under the section and it should sort it all out. Other than that section the floor feels solid under foot and it has warmed the porch up even more.
Next on the list is to make the needed corrections to the floor and screw that all down, then insulation put in the roof, get the window frames made and installed and then get the cladding sized and ordered.
Each stage now shows a bit more progress each time and is starting to look like a finished product which is nice to finally see.
Again by the time I finished work or both days I did not have time to get pic's. But they will come.
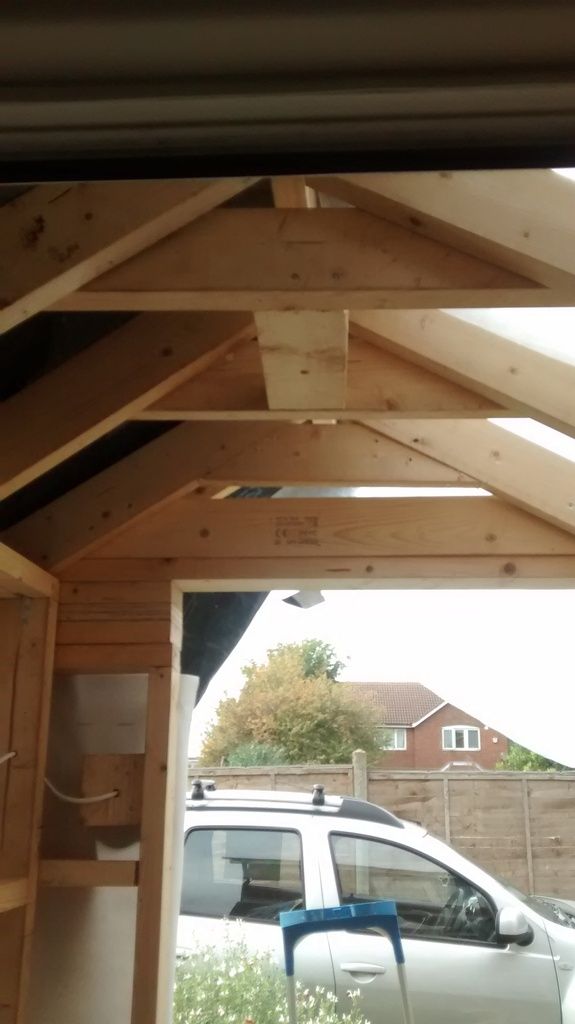
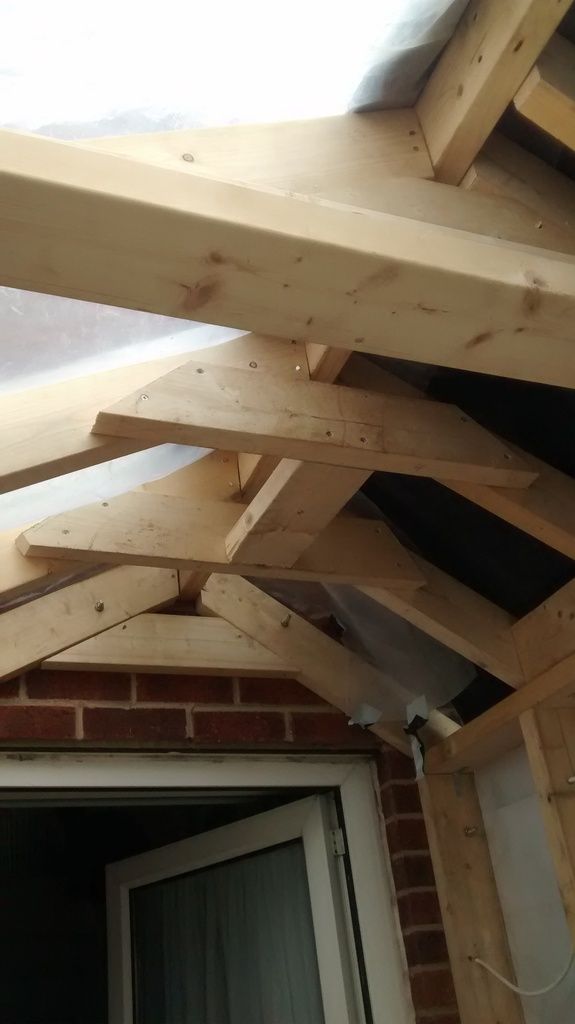
Here are a couple of pics from last weeks work so you can get a bit of an idea of how it is going.
A nice blurry one for you all
a bit clearer and with work in progress holes for the letter box

A shot of the roof with the ridge beam foxed in place
Cheers
Mark


