Timber Porch Build W.I.P

UKworkshop.co.uk

Help Support UKworkshop.co.uk:

This site may earn a commission from merchant affiliate links, including eBay, Amazon, and others.
phil.p":2kyjbcox said:
I'd have thought the Wickes frame was designed for a (1981mm) 6'6" door?

Front door should be a 33"x 78" door, a 30" door is an interior door,
A back door used to be 6'8""x 2'8" but not so much now!
Regards Rodders
 
Day 12

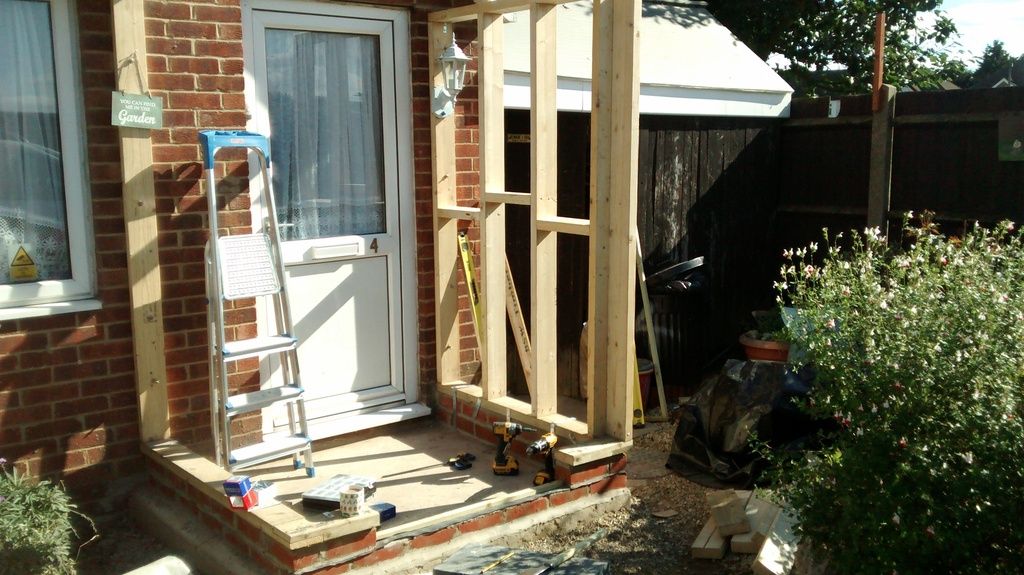
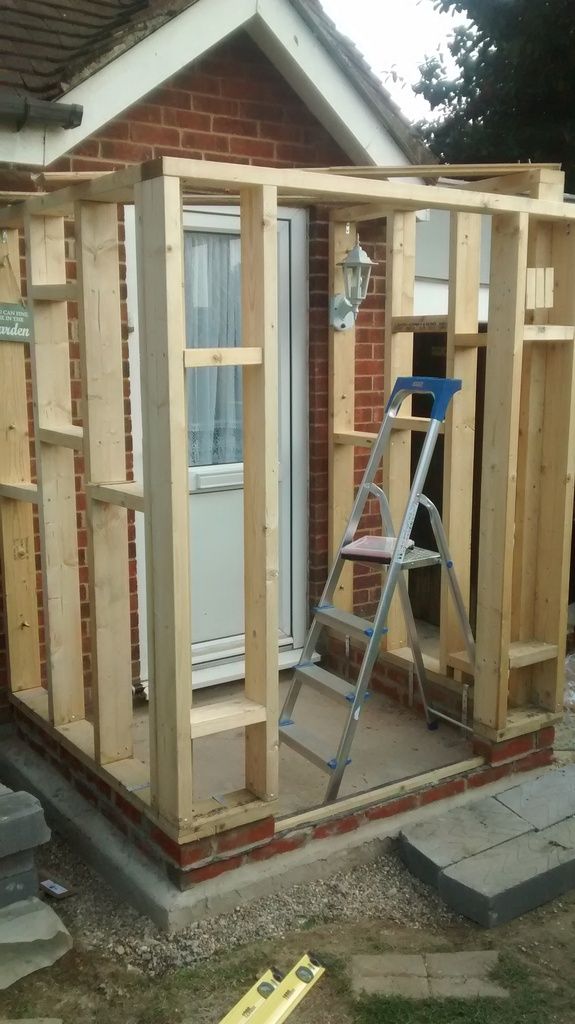
So I had a couple of hours today so started to frame up one of the walls.

I was waiting for the missus nephew to come around to discuss the roof, but he could not get around. But after having a second look I am just going to have to make that left hand side wall a bit shorter as the roof will not fit past the existing roof if I don't. It just means the roof line on the left will be a bit longer than the right and therefore internally the ceiling height will be a bit smaller (should not affect anything really as people don't often linger in a porch to my knowledge haha.)

If I had come to this conclusion earlier in the day I could have really got both sides framed out, but never mind. Should have some more time next weekend so hopefully should have it all framed up (maybe not the roof through).

IMG_20150927_140939896_zpsyack9rda.jpg


Cheers
Mark
 
Day 13

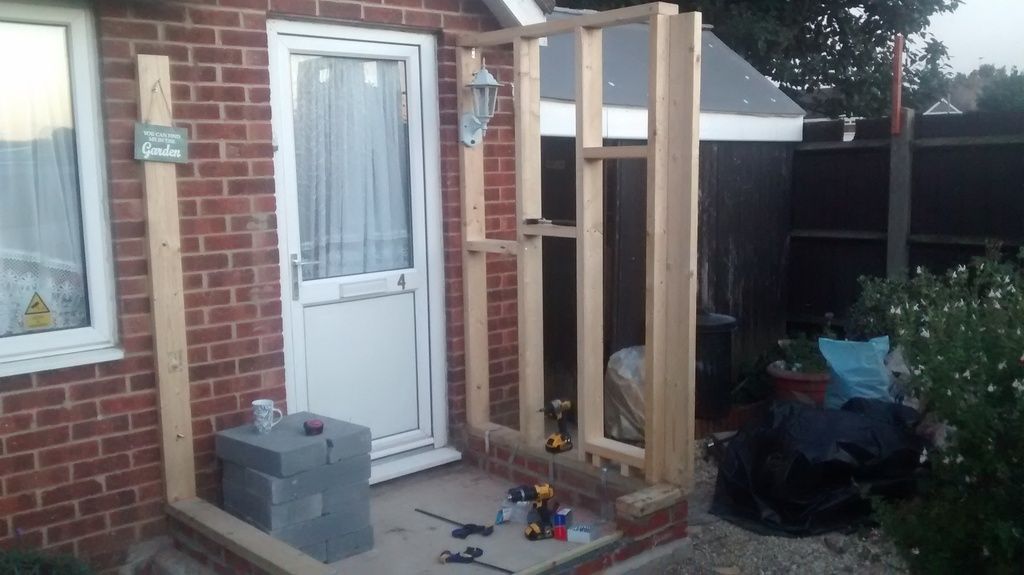
Had an hour yesterday evening so thought I would take the time to correct a slight oversight I had when constructing the initial wall. I put the noggins in and then realised I needed to shift the outer most one up and add one lower down so It can fit the window in

So after a bit of work I had the noggins moved

IMG_20150930_185424921_zpszg3slnnt.jpg


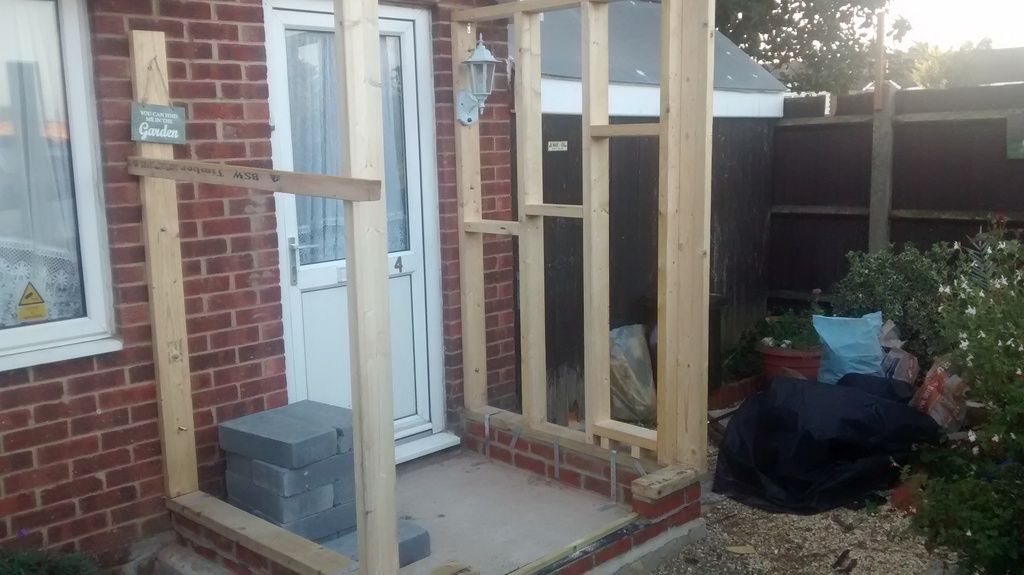
I then went and added the other post for the front of the left wall and fixed that in place so it is square and ready for the wall plate and additional studs
IMG_20151001_074357173_zpseihrktjj.jpg


Mark
 
Day 14

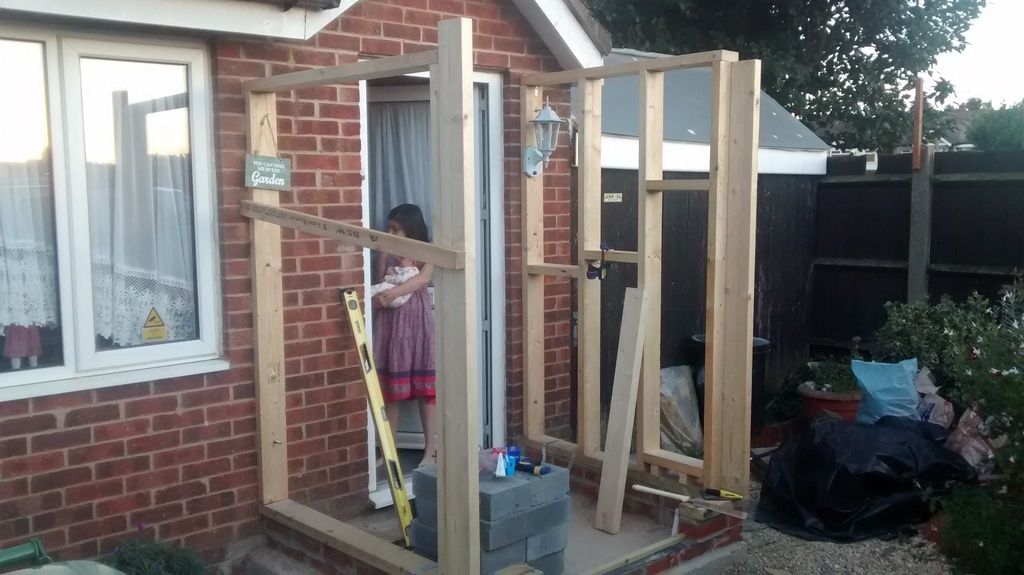
Had an hour today so thought I would get the wall plate on the left hand side and the front stud.

After looking at the picture I am thinking I may have to cut the front timbers down to the smallest height as the roof will not go on as needed as you would have something very weird on the front left side (the existing pitch of the roof above is 8/12 so I want to stick with that so it traces it really, any ideas or should I just cut the front down to map to the height of the left hand side. I will have to have a bit more of a look at it to decide before I do any cuts but I will be able to do the cuts with the timber in place.


You can also make out the step daughter with the new addition in her arms

IMG_20151001_182834256_zpsoca7af20.jpg


Cheers
Mark
 
Hi Mark
I would cut the right side down to match the left. Otherwise, with the existing gable angle above, it's going to look mighty strange. Just saying :)
 
Only trouble if I do that then the roof truss at the wall would intersect the door opening on the top right corner. I am thinking I'll trim the front down then make a template and see how it looks.

If it don't look right then I will have to trim it
 
I think I have a solution, I will take the front down the the height of the left and put the wall plate on so it matches the final height of the left side. Then on the right side put another wall plate up on the front so it matches the hight of the right side.

I am going to have to see what the 8/12 pitch looks with this set up through a template and if it does not look any good I will have a re-think of the style of roof to go for (maybe just differ from what is there and have a left pitch so it just drops down or come up with something else)

Cheers
Mark
 
Day 15 and Day 16

Day 15
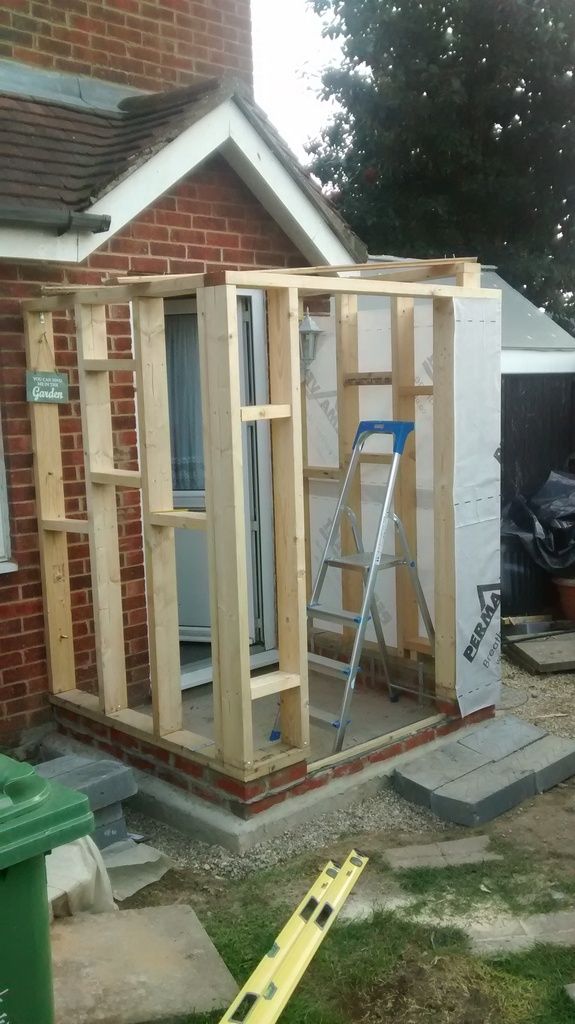
So today I wanted to get the rest of the frame up and plumbed up so it was ready for the house wrap and a tarp over the roof to help protect it from the rain which had been talked about to start today (and it did, glad I covered it)

I cut and installed the needed studs and then the noggins and the opening for the little window I am going to get. With a little bit of help from the misses at holding the frame square I plumbed it up and then put in a couple of battens across the top to keep it in place. Once that was done I cut the front roof plate, studs and noggins and fixed them into place. on the top right I am going to have to do some form of padding to get it to line up with the height on the right roof plate, but I have an idea on how to do this so will get something sorted.

At this point it is ready for the roof to be framed up (once the padding is in place and the door frame heightened to fit the door we want). Looking at it I am not sure if I am going to do what I was for the roof but I will need a think to see what path I should go down and get sign off by SWMBO.

I then started to think about where bits will be placed in the porch (coat hooks,external lights etc) and then added additional support for them so they would be ready for it.

IMG_20151003_135316016_zpslutjlqk7.jpg


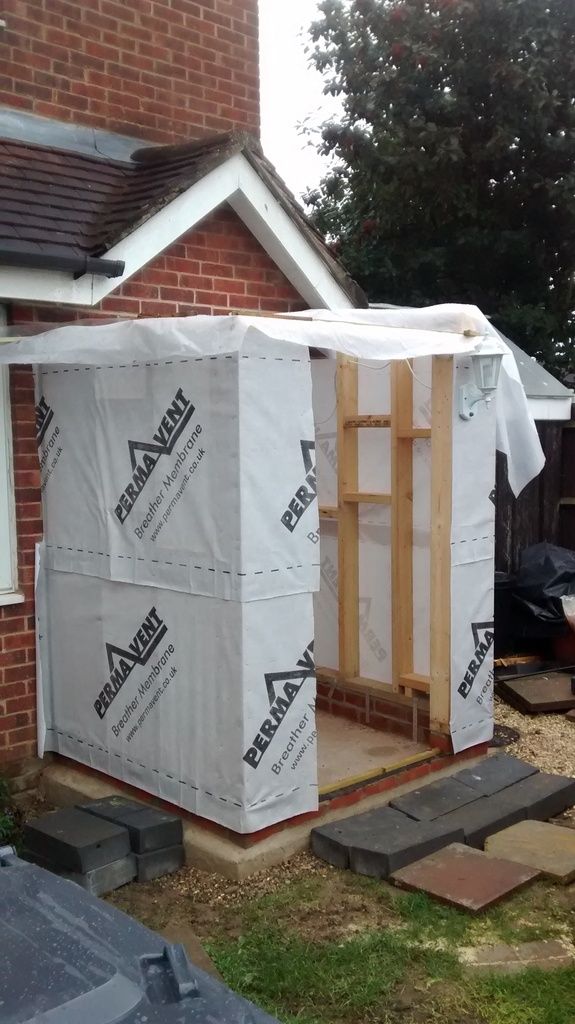
I then put the first couple of bits of house wrap on to get a feel for what it would be like so after 4 hours I had this. At this point I left it as the girls were getting bored so we went out and I installed by sister alarm for her and the girls ate sweets and went to the shops with there great aunties haha
IMG_20151003_141432277_zpsapll3rje.jpg


Day 16

I had 2 hours today so finished off wrapping the porch and then putting on a tarp across the top to protect the innards from the bad weather that was meant to be coming. With that done I can really start to see it coming along and what space we should have inside. I then moved the external light to the front of the porch so it would not be too dark in the evenings when coming up to the house. I have not got a picture but I will put on up this evening when I get back home as long it is not raining.

Cheers
Mark
 
Suggest you go for a couple of windows or it will make the hallway very dark. A bit late but have you spoken to the planning people? They are a bit twitchy about how far out you can go from the building line at the front.
 
Hi Graham,
I have, a couple of windows in place, just leaving the wrap on until I get the frame made for them. so it keeps it drier inside.

Well the planning portal said as long as it is not over 3msq measured externally and as the house is not near a public highway the 2m away from boundary limits do not apply either.

Cheers
Mark
 
markblue777":awncio04 said:
Hi Graham,
I have, a couple of windows in place, just leaving the wrap on until I get the frame made for them. so it keeps it drier inside.

Well the planning portal said as long as it is not over 3msq measured externally and as the house is not near a public highway the 2m away from boundary limits do not apply either.

Cheers
Mark

Good stuff ;-)
 
Day 17 and Day 18

Day 17
So this weekend I wanted to get the door frame opening extended to be able to accept the front door and the roof framing done.

The first job was to get the opening done and that went by without a hitch really so that is now all ready for the door frame.

The next task was to get the roof framing done. So after a fair bit of research and watching you tube videos I done the calculcations for the rafter and all seemed good, until i offered it up. when offering it up
i noticed that it sat about 50mm higher than the ridge beam. After some messing around I got one rafter on each side to fit (i have different pitches on each side of the roof).

Instead of continuing down this trial and error route for cutting rafters (my wallet cant take it) I put a thread up on here for some help and also took to sketchup to design it out there.

A few people responded and gave me some help and I sort of understood what needed to be done, but some calculations for cuts that are meant to map up to my run and rise just would not work for me when it
came to putting it in sketch up.


In the end I managed to get something that worked in sketch up (needed to take into account the HAP (height above plate) with the rise calc) so I was set to try it the next day. In the mean time I went round my sisters and put up some lining paper for her.

Day 18
I only had a couple of hours today so I wanted to get the template I knocked up in sketchup down on some timber and see if it worked in real life.
After mapping it all out I offered it up and it seems to have done the trick (wahooo). So I know have a template to use for one side so I will get the rest cut during the week
so I can use then at the weekend.

I now just need to get a something knocked up on sketchup for the other side of the roof (or look at the maths and see what I need todo to work out how high i need to go to make the step cut).

I will get a photo up of what I have so far tomorrow.

Cheers
Mark
 
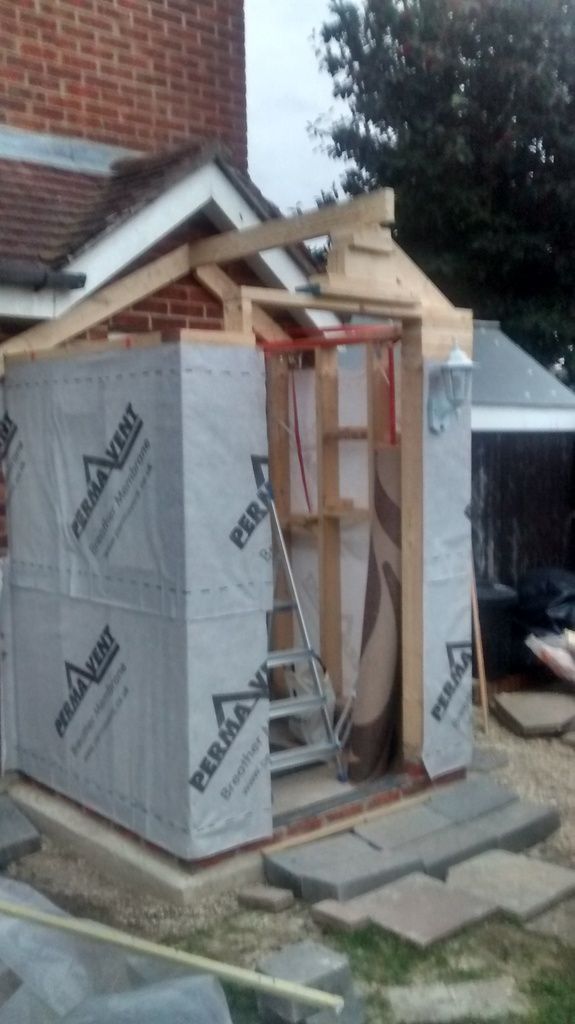
Sorry for the delay in getting this image up. By the time i remembered to take the photo it was to dark.

Anyhow here is a photo with me testing the rafter with the ridge beam being held in place temporally

IMG_20151013_182241302_HDR_zpsbeeacp1c.jpg


Since this photo I added more house wrap to take it up the hole wide of the walls and I have also taped the joints up.
Cheers
Mark
 
Extend the base out to the right so that it goes beyond the door as far as the left side and move the wall over too, then strip the fascia from the existing pike and extend it forward to form the porch roof.
 
What? did you mean to extend the concrete base out to the right? and then extend the existing line for the porch?

If so I cannot do that for 2 reasons. 1st being that the roof is above 3m so it is not permitted development and the 2nd (if this did not exist I would have done planning permission) there is an inspection cover for the sewer there and to move it would have cost a bomb.

Cheers
Mark
 

Latest posts

Back
Top