NEW WIP - Regency Style Wardrobes

UKworkshop.co.uk

Help Support UKworkshop.co.uk:

This site may earn a commission from merchant affiliate links, including eBay, Amazon, and others.

Dodge

Established Member
Joined
15 Oct 2010
Messages
2,636
Reaction score
11
Location
Shelfanger
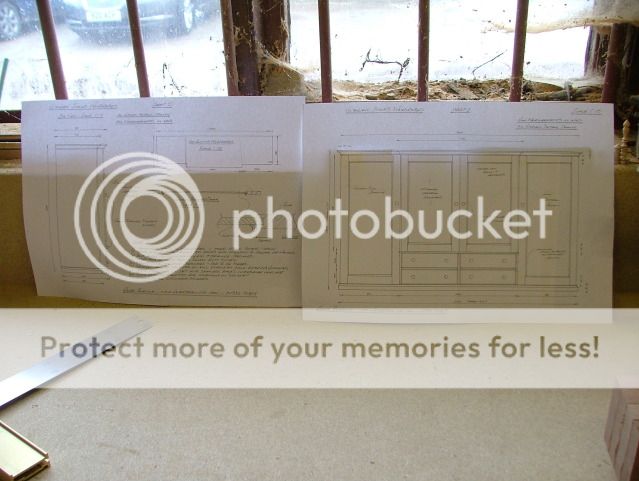
Well as it says I have today started work on a large regency style wardrobe with breakfront, linen press centre and large full height outer robes.

Overall 3200mm wide - made in Sapele.

Would you like me to do my usual WIP??
 
Yes please - I've really enjoyed following your others. It's very generous of you to document them in so much detail - anyone else would be slowed down by stopping to take photos - but you seem to get things finished while I'm still thinking about starting!
 
Another 'yes please'!

A 10 foot long wardrobe, hey? I'll have a guess that you'll be making it in smaller, easily moved parts! Either that, or the client has a very large front door, very wide stairs, and a large and willing staff of furniture-moving muscle-bound grunts!
 
Okey dokes then here goes!

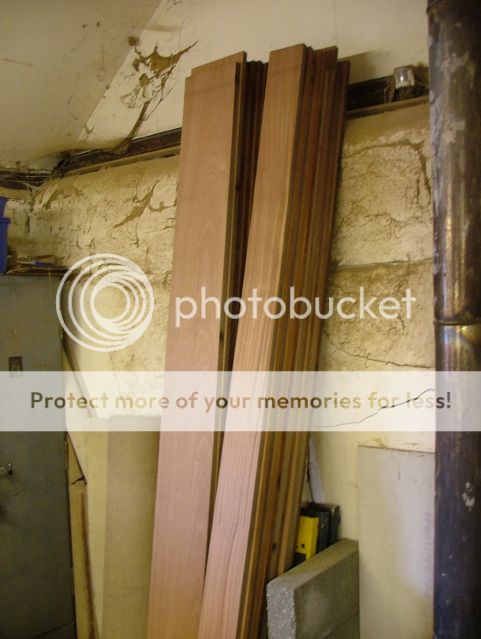
Having obtained about 20 cubic feet of Sapele a few weeks ago from a supplier I use in Snetterton I decided to pre-thickness a large quantity of the 1" sawn stock to save time in the long run.

The widths of the boards varied from 150mm up to 450mm wide so I sorted them into the varying widths, leaving the widest of the boards to use last

DSCF5192.jpg


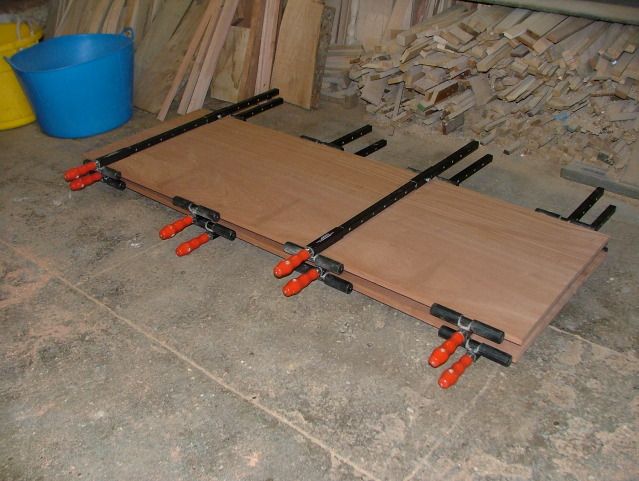
I started by try jointing up the boards for the two outer sides and having been biscuited they were glued up and left in the cramps when I left this afternoon to allow the glue to fully cure - Titebond original used as usual

DSCF5194.jpg


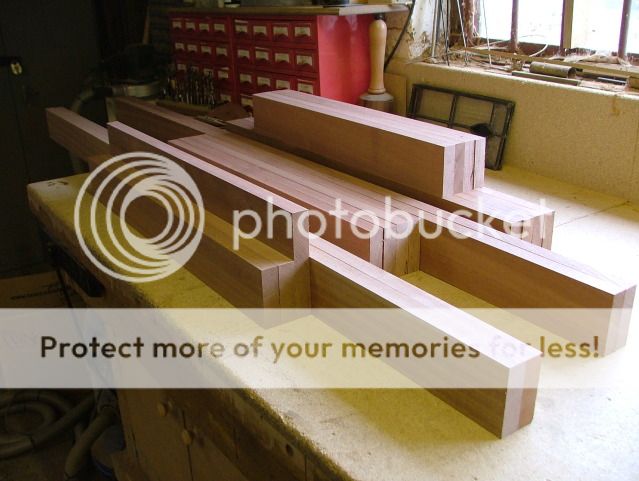
With the large boards made I started on the components for the upper and lower frames which were easily cut having already been thicknessed

DSCF5197.jpg


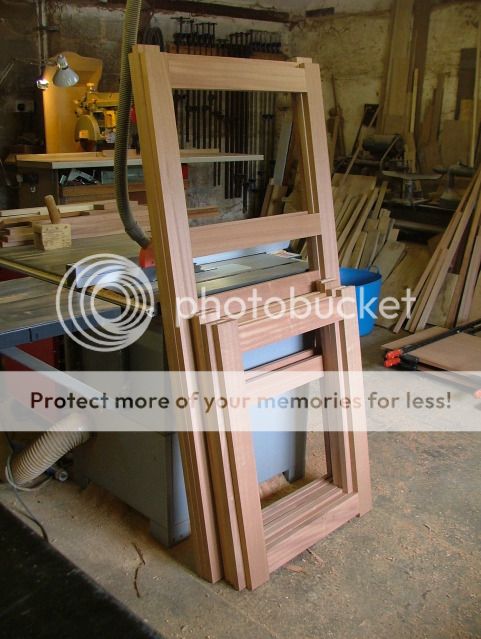
The frames for the tops and bottoms will be rebated for ply panels to be fitted into after construction as this will have to be made in component form as in my usual style this one again has to go up a spiral stair case in an old Norfolk Cottage. Where normally I would look to pre-rebate the components and then cut off-set shouldered mortice and tenons I decided to simply M & T the frames and retro cut the rebates with a router after they are glued up.

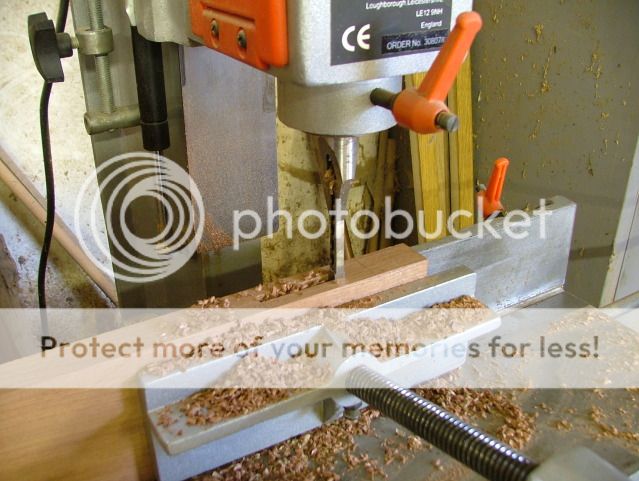
Cutting the mortices

DSCF5204.jpg


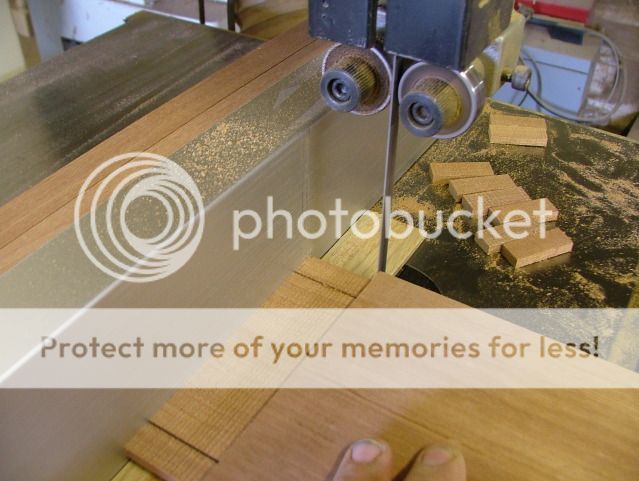
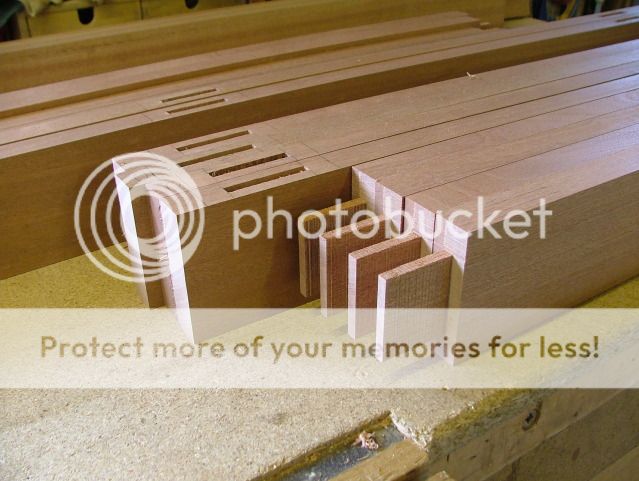
Removing the haunches from the tenons on the bandsaw - note the piece of waste plywood under the tenon to prevent the off cut from dropping at an angle between the fence and blade pushing the blade out and into the shoulder of the tenon.

DSCF5207.jpg


With the waste removed a clean up with a chisel was needed to even the shoulder from the bandsaw cuts

DSCF5208.jpg


Before I chamfered the ends of the tenons with a chisel and plane - I do this for two reasons,not only does it make assembly easier but also overcomes the uneven edges in the bottom of the mortice hole left by the hollow chisel bit

DSCF5210.jpg


The eagle eyed amongst you may spotted the chisel in the background that I am using - Its one of Rob Lee's Veritas chisels which I am currently using to formally review - I have got to say they are very nice! - Full review to follow

So when I left today the main frames were cry assembled and a good start made

DSCF5212.jpg


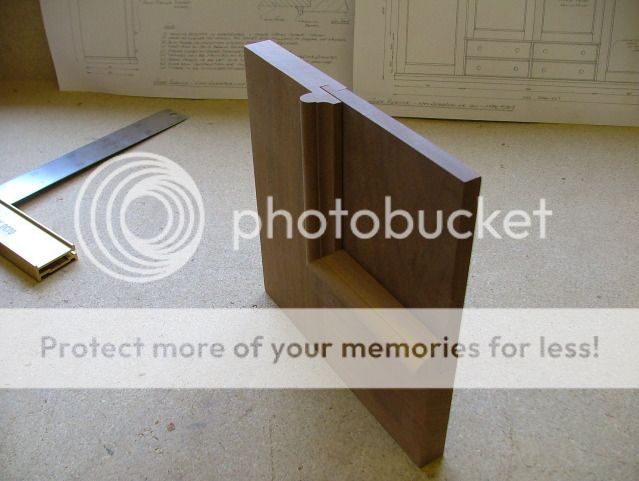
The basic construction of the carcasing is relatively straight forward but the doors will be a little more unusual with the traditional wide rails and stiles, with flat panels and raised edge beading - the photos below show the samples that were made for the client prior to the commission being confirmed.

DSCF5198.jpg


DSCF5199.jpg


DSCF5202.jpg


Doubt I will get much done tomorrow as off to the Midlands to pick up a new toy for the workshop but will update again on Thursday
 
phil.p":nmzkvt6y said:
Can someone tell me how to get the pictures? - all I get is a red cross and "image"
Thanks, Phil.

I think Photobucket is having a bit of a funny turn. There have been some problems on the web in the last few days.
 
Phill sometimes if your not logged into the forum It wont display the pics. For me anyway.
Rog, you make it look so easy.
 
JonnyD":urh3pbzc said:
Any reason why you dont haunch your tenons or is it just to save time?
cheers

Jon

On these frames there is no groove for a square haunch to fill, and a sloping haunch will add no significant strength to a tenon of this size and therefore cut them all back to the shoulder.

HTH

Rog
 
Count me in to another interesting and informative WIP.

(I have been out of my ws four days, the wife wanted two carpets replaced and one was in my playroom, I cannot find places to put all my toys back)
 
Count me in to another interesting and informative WIP.

(I have been out of my ws four days, the wife wanted two carpets replaced and one was in my playroom, I cannot find places to put all my toys back)
 
Roger

Another interesting feature from you.

Your time doing these is very much appreciated, I really learn a lot.

One thing I do take from all of your postings is that I must be more organised and methodical, that I believe will reduce my sometime stupid errors.

Thanks

Mick
 
A question regarding the doors. What part of the door is the raised beading fitted too ? The rails and smiles or the panel. Am assuming that only it's fitted to one.
 
Dodge":r8lfgue6 said:
JonnyD":r8lfgue6 said:
Any reason why you dont haunch your tenons or is it just to save time?

cheers

Jon

On these frames there is no groove for a square haunch to fill, and a sloping haunch will add no significant strength to a tenon of this size and therefore cut them all back to the shoulder.

HTH

Rog

Rog

Just a query but I was taught that haunches were needed to help prevent the rails cupping i.e. if the rail does cup then there is a possibility that the shoulder of the tenon my become slightly proud of the face on one side and slightly below the face on the other as part of the glue line will be end grain

In similar mortice and tenons where the stile is narrow (especially in sash construction) you left as much meat in the stile as you could and cut into the back of the tenon to achieve the same outcome, this was called a franking.

Purely an observation as opposed to a criticism as I consider you the be an excellent craftsman and eagerly follow your WIP's
 
Yes you are correct but all these frames will be concealed and in most places held into housings later in the construction which will prevent the possibility of the distortion you mention.

If these were the M & Ts on the dooor frames that would be a different matter where square haunched will be used.

Rog
 

Latest posts

Back
Top