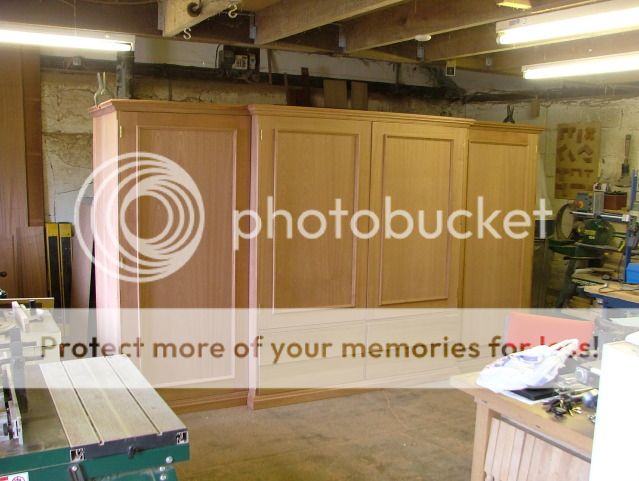
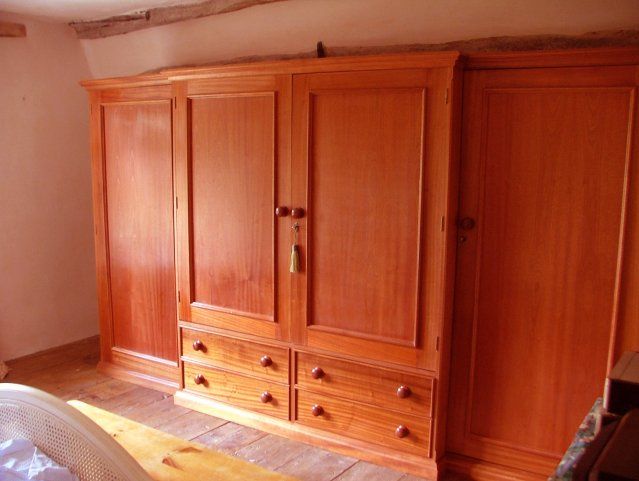
NEW WIP - Regency Style Wardrobes

UKworkshop.co.uk

Help Support UKworkshop.co.uk:

This site may earn a commission from merchant affiliate links, including eBay, Amazon, and others.
Well cracked on today with the doors, got the stiles morticed and the door frames assembled
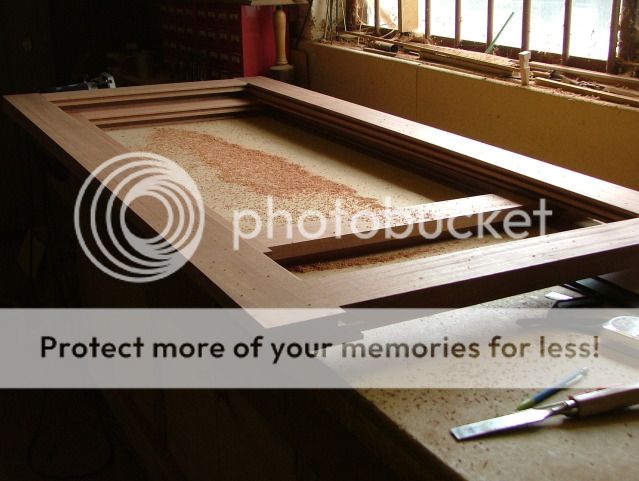
DSCF5264.jpg


Inner edges were rounded over with the router
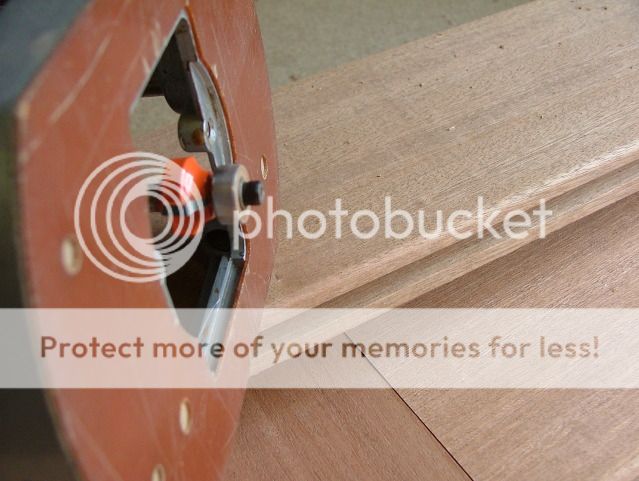
DSCF5265.jpg


Prior to cutting the panels to size and getting the doors glued up.

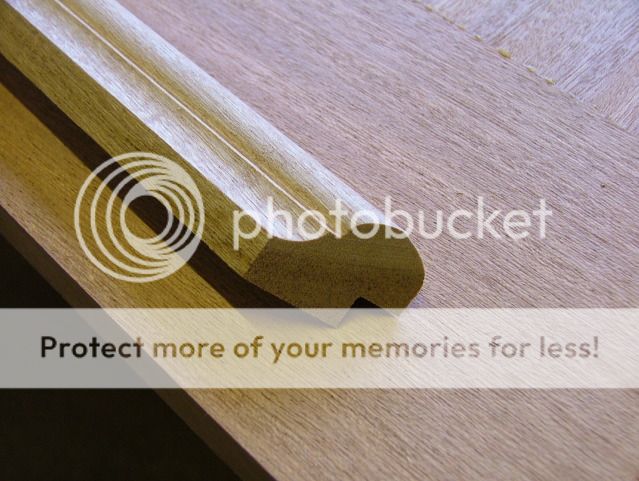
The inner mouldings were then prepared in suitable lengths on the router table and the ends mitred to fit into the frames

DSCF5273.jpg


DSCF5271.jpg


Will get the moulding glued into place tomorrow and hopefully get the doors hinged and then it will be time to start on the drawers
 
Traditional Brass Butt hinges, doors cut into the carcase not surface mounted.
 
Hi Rog

I'm really enjoying this wip. You are so resourceful in the way you are dealing with the challenges of getting this large piece of furniture up a spiral stairs. No doubt this will be another lovely piece.

Could you please clarify or take some photos of what you mean by "doors cut into the carcase not surface mounted"? I thought butt hinges always had to be let into the door and the frame or have I missed something again?
 
Hi Charley, the term "cut in" refers to the door being mounted within the carcase framing rather than just being surfaced mounted on Blum type hinges.

You are correct the butt hinges will then be let into the door stile and the carcase of the wardrobe.

HTH
 
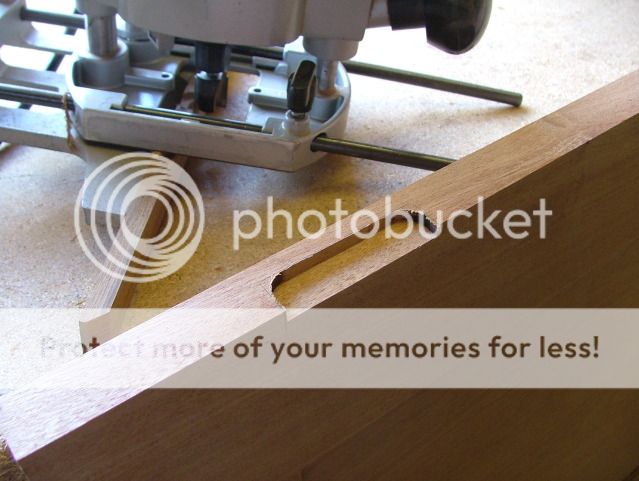
Well I started today by cutting the doors in and then got them hinged. Started by cutting the hinge housings in the door stiles with a router, I know I could have made a jig but find it just as easy to do freehand with the fence

DSCF5281.jpg


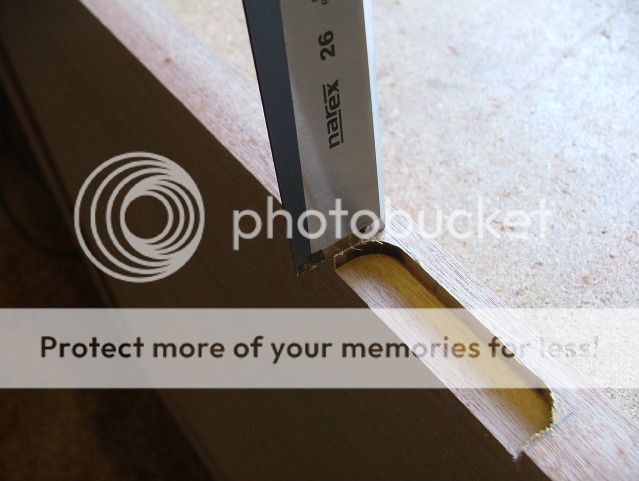
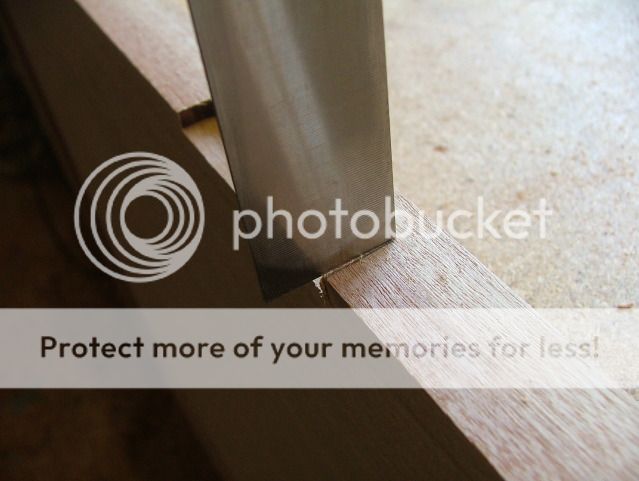
Then knocking out the rounded corners with a chisel

DSCF5282.jpg


DSCF5283.jpg


I decided to use 2 1/2" solid drawn brass butts which may appear a little large but there is quite a bit of weight in the doors but once they have had a brush of Tourmaline/Antiquing fluid and the sapele has been polished revealing its darker colour they will blend in ok

DSCF5288.jpg


DSCF5289.jpg


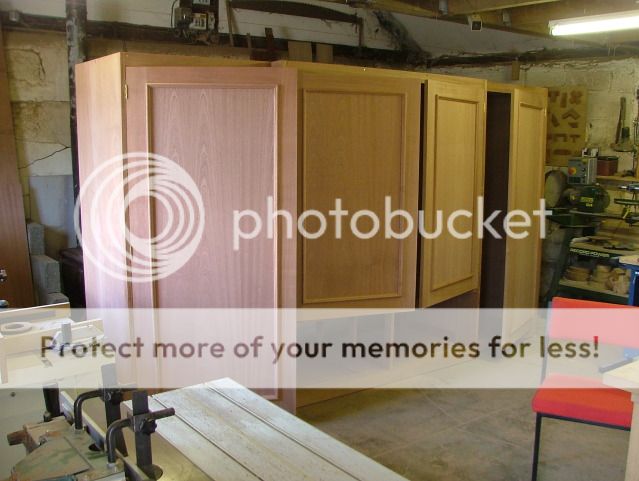
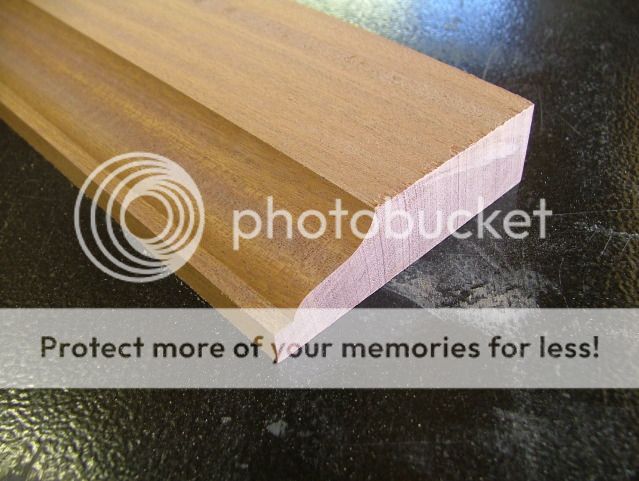
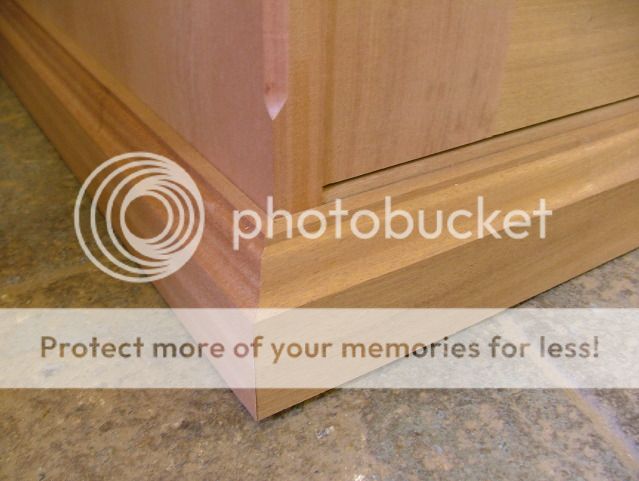
With the doors hung I then machined the timber ready for the plynth and having put it through the spindle moulder I got the mouldings cut and temporarily fixed to the carcase

DSCF5295.jpg


DSCF5293.jpg


I started on the cornice but will get this finished tomorrow - all in all not a bad day
 
Dodge":2ao7mzj2 said:
Hi Charley, the term "cut in" refers to the door being mounted within the carcase framing rather than just being surfaced mounted on Blum type hinges. HTH
Interesting Roger. I don't think I've ever heard that term before. Inset or overlay (doors or drawers) are the terms I'm familiar with. I guess I'll have to add "cut in" to my list of, to me, unusual terms for the style, ha, ha. Slainte.
 
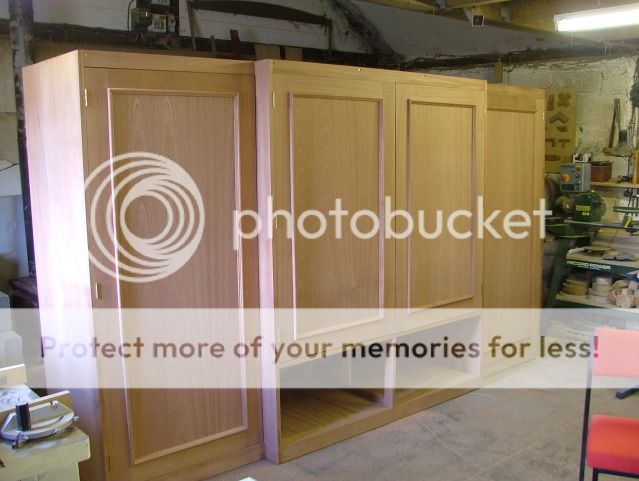
Well Friday the 13th - The World and his wife decided to call into the workshop today and progress was slower than wanted but still managedto get the cornice made

DSCF5404.jpg


and fitted it with dowel bolts for easy removal and refitting at the customers property

As I thought I wouldn't get the drawers finished just got the drawer components cut ready for jointing on the woodrat on Monday but it is nearly there now - Just got all the finishing to do

DSCF5396.jpg
 
mailee":1cj0vpl3 said:
It is really taking shape now Rog. Can't wait to see it with the finish on. One question, what are dowel bolts?

Dowell Bolts are woodscrew thread on one end - both thread on the other enabling you to screw the wood thread in as a permanent hold then use a nut or wing nut on the bolt section allowing easy removal and refitting

http://image.made-in-china.com/2f0j00Me ... -Screw.jpg

Dowell screws are similar but have the woodscrew thread on either end

HTH
 
Looks good roger. Do you ever have any problems doing big pieces like this with alignment of doors due to wonky floors etc?

cheers
Jon
 
JonnyD":26ogmwe6 said:
Looks good roger. Do you ever have any problems doing big pieces like this with alignment of doors due to wonky floors etc?
cheers

Jon

In a word YES! The old properties round here are a nightmare, I tend to mount in the workshop and then make the necessary adjustments when installed - can usually level up ok with wooden wedges etc though
 
Well firstly apologies folks for not continuing the WIP fully this time, but got rather busy at the end of July, especially knowing I was off on holiday at the beginning of August for a couple of weeks.

Anyway, these wardrobes should have been delivered prior to us going on hols but my clients suddenly decided to go to Barbados for 3 weeks which meant that I wasn't actually able to deliver until today.

But Jon, I think you talked it up as I had a bloody nightmare with the uneven floor in this old property but left the wardrobes with very happy customer a couple of hours ago

Dscf5508.jpg


Anyway I now have a nice clear workshop again ready for the next project - and note to self - next time you get asked to make a large wardrobe make sure it doesnt have to go up a bloomin spiral staircase!!!!!!
 
This was another tremendous project.
Your WIPs are the best.
They are full of useful ways to get jobs moving on and inspire me to attempt bigger projects.
Thanks again.

Gerard
 
They look very nice in place Rog. I can see why the customer was very happy. I am amazed that you got it up a spiral staircase, it's bad enough taking flat packs up a normal staircase. :eek: You have certainly earned your break mate. :wink:
 
Back
Top