MooreToolsPlease
Established Member
- Joined
- 17 Sep 2006
- Messages
- 366
- Reaction score
- 0
Hi Sean,
I thought that post waould be very confusing, asking myself now why i wrote it instead of doing a couple of sketches!
Anyways, here they are.
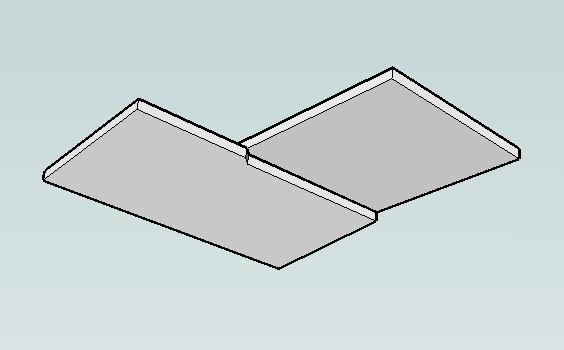
In this joint the right hand board that will receive the male joint needs to be cut from underneath. This is laid ontop of the female joint.
The female joint is cut first so that where the walls may be out of square this can be compensated for with the male joint.

Mark the top board directly from the board underneath.
when you come to route the joint, mark back 8.5mm from the lines and thats where the inside of your guide pin will be.

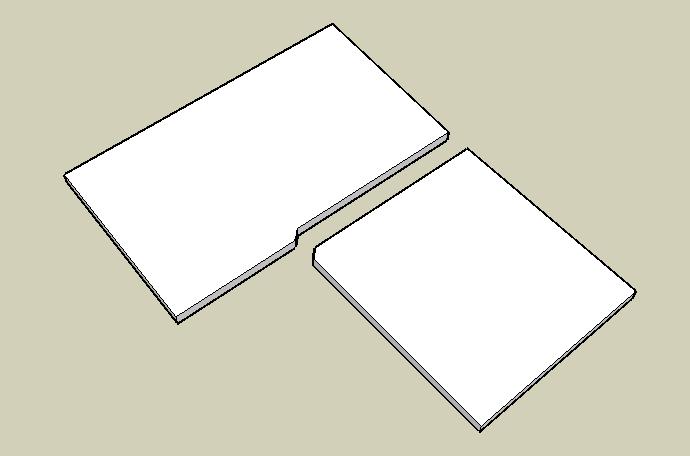
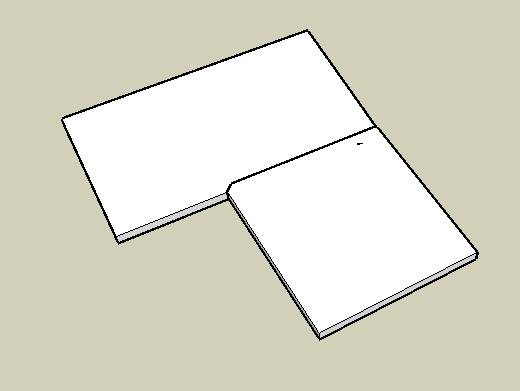
This is how the joint will look after cutting, and finally here it is in place.

I hope the images make it clearer the method I was trying to tell.[/img]
I thought that post waould be very confusing, asking myself now why i wrote it instead of doing a couple of sketches!
Anyways, here they are.
In this joint the right hand board that will receive the male joint needs to be cut from underneath. This is laid ontop of the female joint.
The female joint is cut first so that where the walls may be out of square this can be compensated for with the male joint.

Mark the top board directly from the board underneath.
when you come to route the joint, mark back 8.5mm from the lines and thats where the inside of your guide pin will be.

This is how the joint will look after cutting, and finally here it is in place.

I hope the images make it clearer the method I was trying to tell.[/img]


