Hattori-Hanzo
Established Member
Another small update.
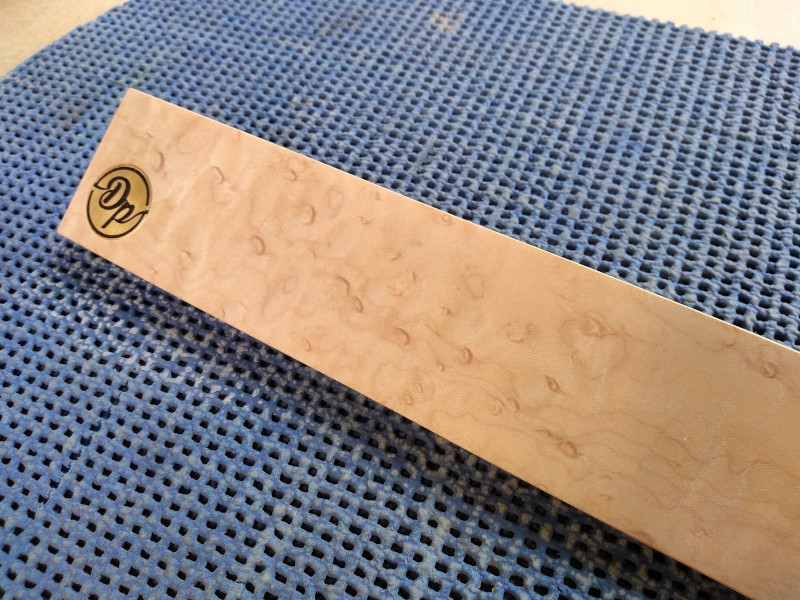
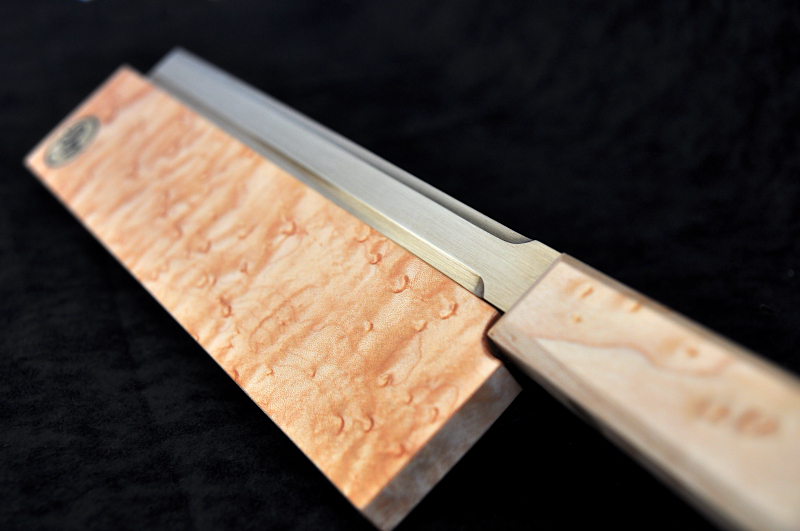
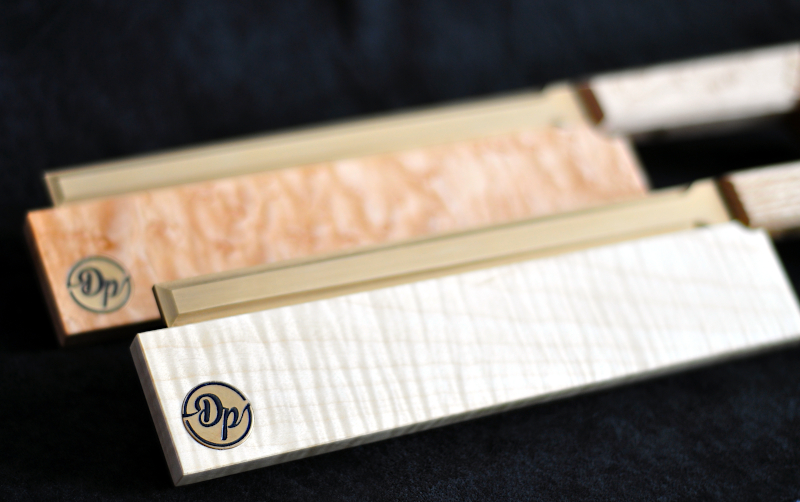
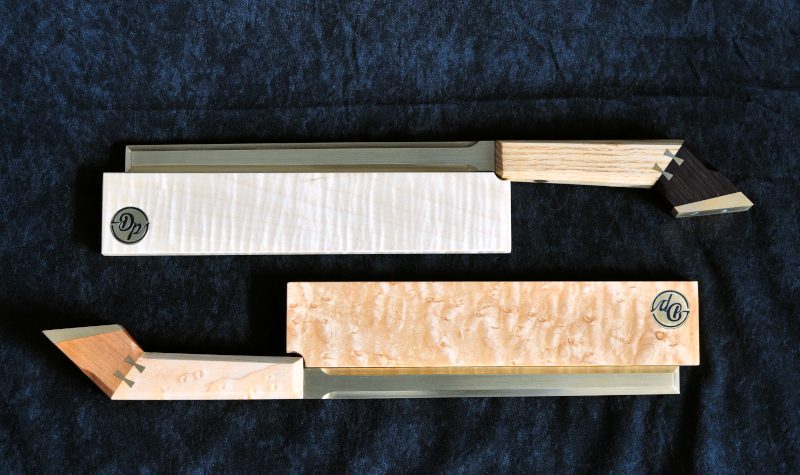
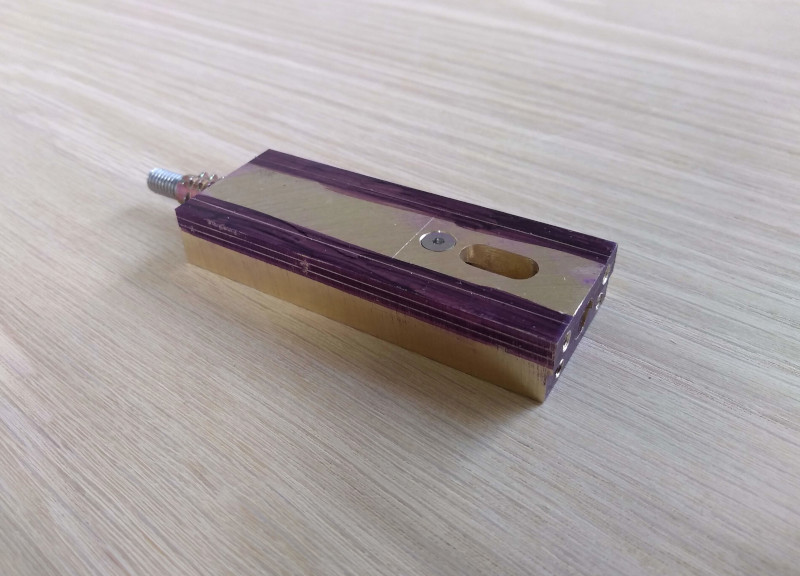
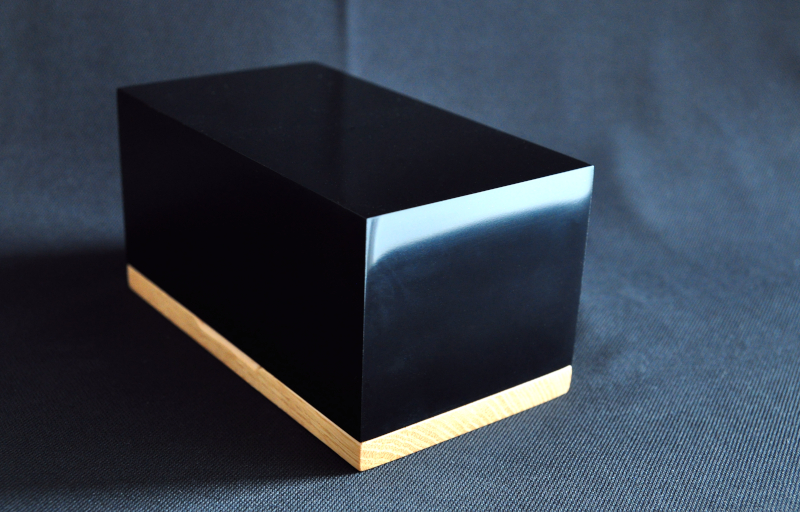
Now the sheath cases are dry and cleaned up I started to work on the veneers.
I cut Thin strips for the edges of the sheath and larger pieces for the front and back.
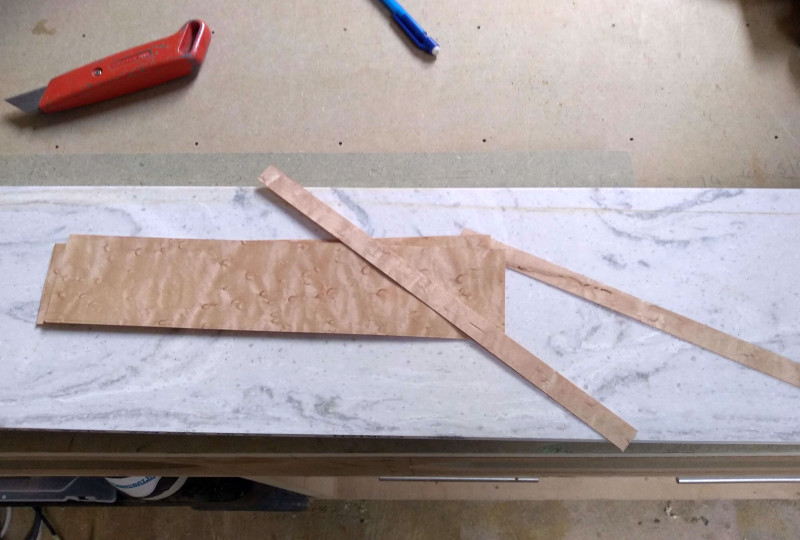
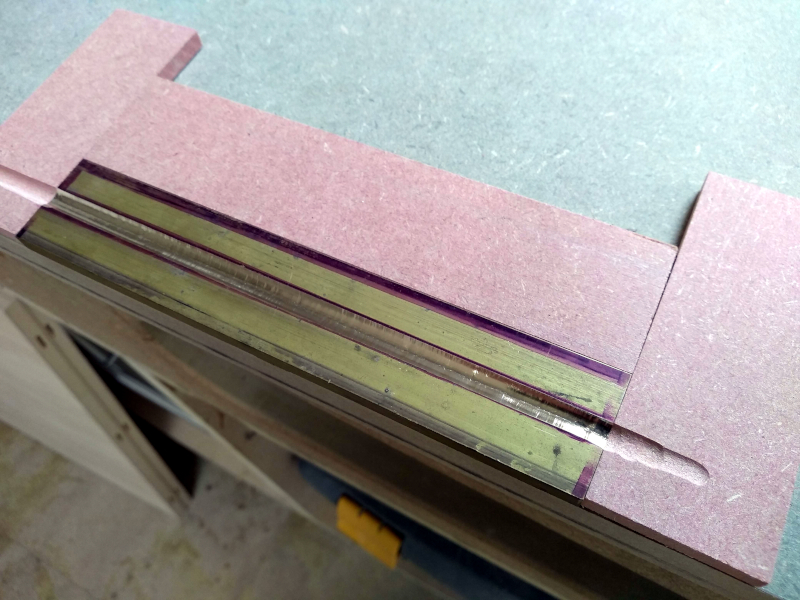
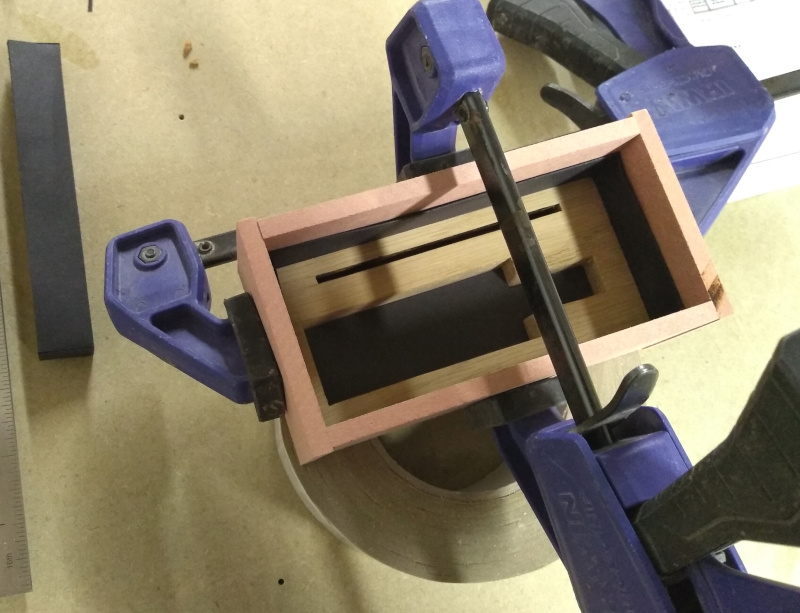
I carefully spread pva glue onto the edge veneers and used a flat surface to cramp against to ensure the veneers laid flat.
Careful application avoids unnecessary glue squeeze out.
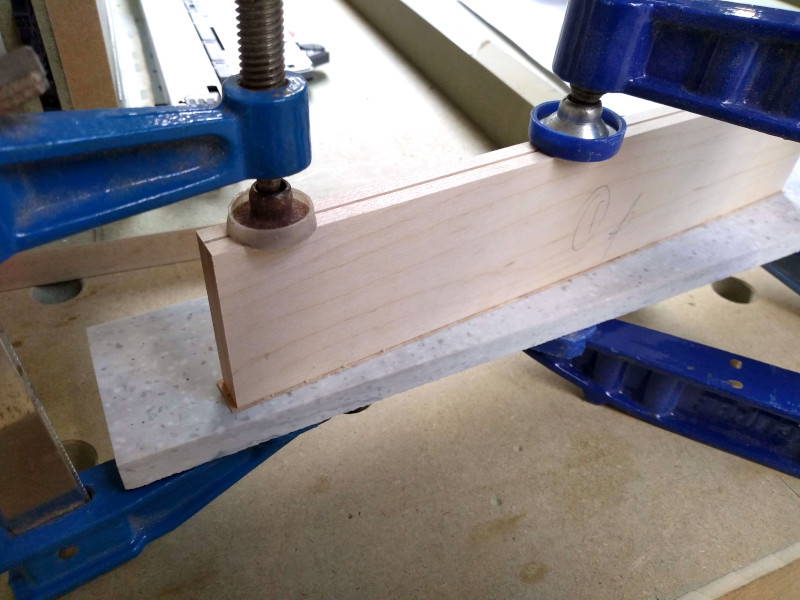
I repeated the same process for the ends of the sheath.
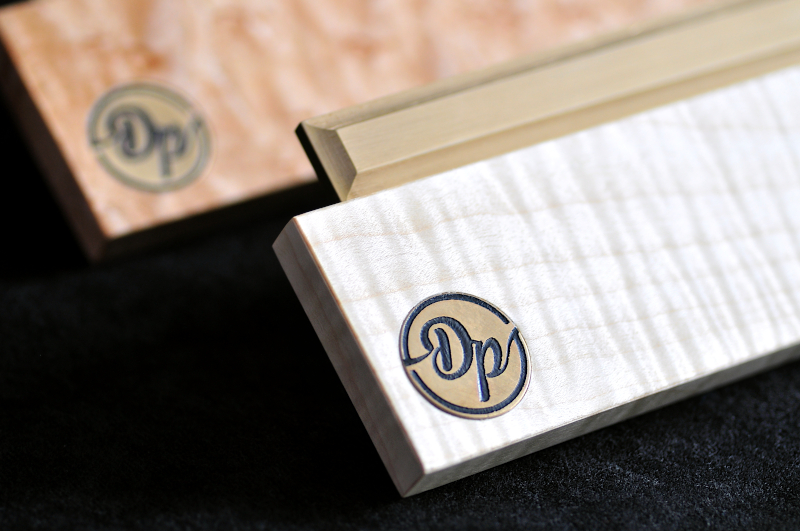
Once the glue had dried I planed any over hanging veneer flush with the sheaths surface and proceeded to glue the front and back veneers in place one at a time.
I use a piece of foam matting to ensure even pressure on the veneer and to compensate for any inconsistencies in flatness on the sheath body.
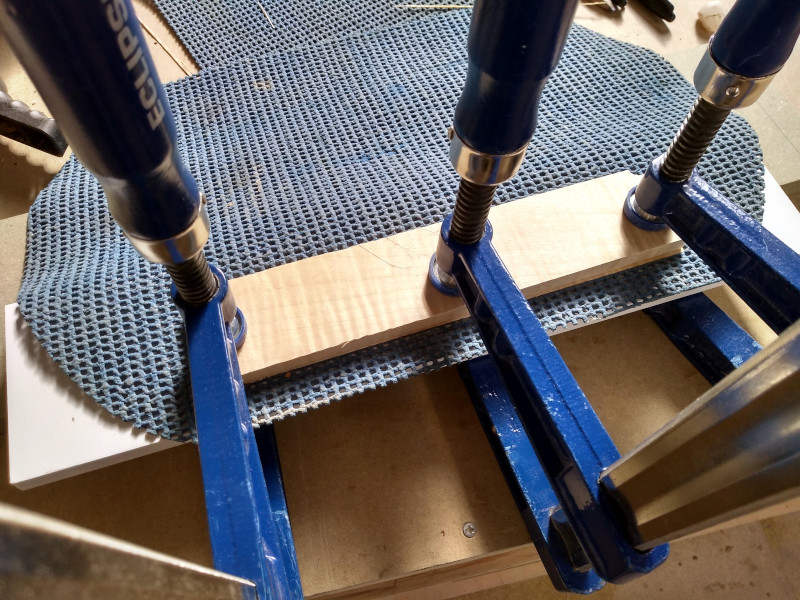
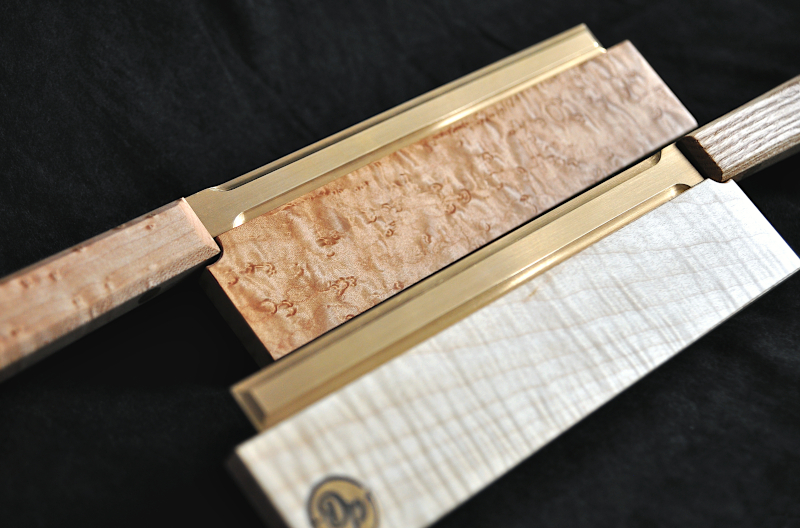
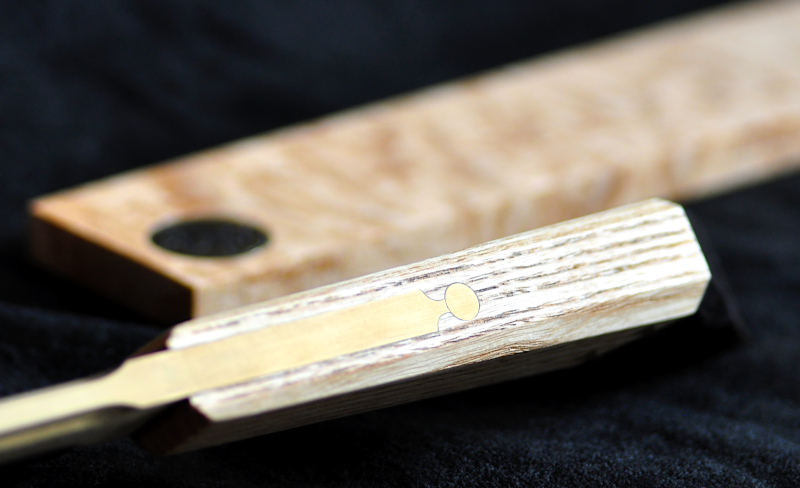
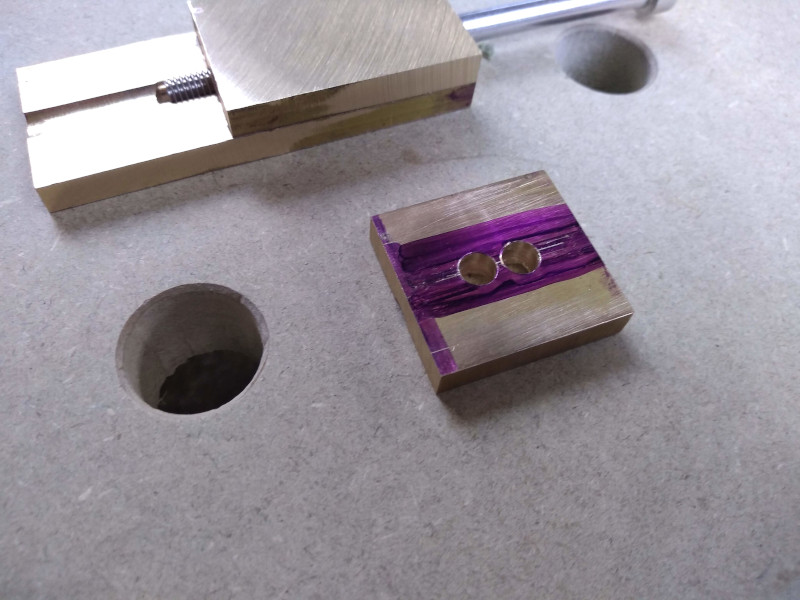
I repeated the process for the figured sycamore veneers but in my haste I had forgotten I needed to cut a relief in the back of the sheaths so the saw blade can be fully inserted.
Annoyed!
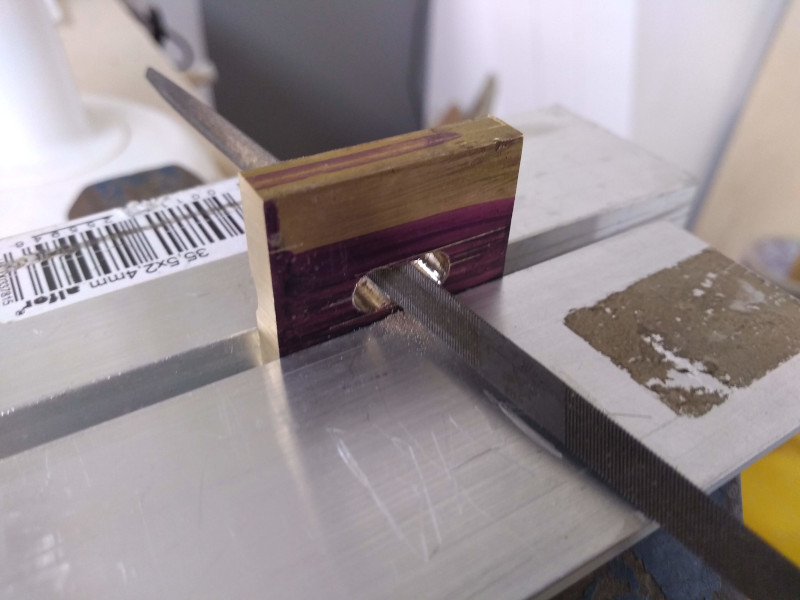
I cut and filed the relief notch then soaked some strips of veneer in boiling water before wrapping them round a similar sized piece of dowel.
Soaking and pre-shaping the veneer is critical as it would likely crack/split if applied dry.
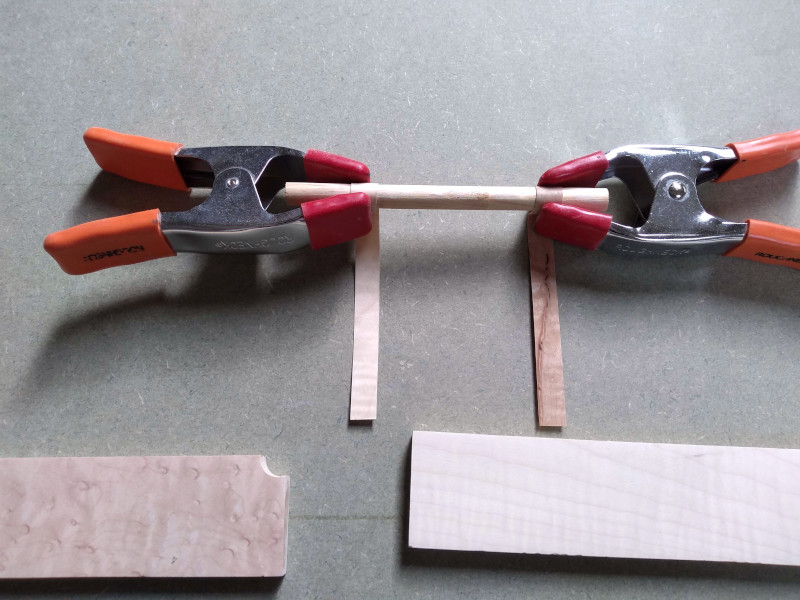
Once the veneer was slightly dryer I glued it in place.
Not the end of the world but ideally I'd liked to have had all edges glued in place before the front and back veneers are applied, this hides any joins on the face of the piece being veneered.
I'm hoping I should be able to blend these small bits in when I come to sand up the sheaths.
Now the sheath cases are dry and cleaned up I started to work on the veneers.
I cut Thin strips for the edges of the sheath and larger pieces for the front and back.

I carefully spread pva glue onto the edge veneers and used a flat surface to cramp against to ensure the veneers laid flat.
Careful application avoids unnecessary glue squeeze out.

I repeated the same process for the ends of the sheath.
Once the glue had dried I planed any over hanging veneer flush with the sheaths surface and proceeded to glue the front and back veneers in place one at a time.
I use a piece of foam matting to ensure even pressure on the veneer and to compensate for any inconsistencies in flatness on the sheath body.

I repeated the process for the figured sycamore veneers but in my haste I had forgotten I needed to cut a relief in the back of the sheaths so the saw blade can be fully inserted.
Annoyed!
I cut and filed the relief notch then soaked some strips of veneer in boiling water before wrapping them round a similar sized piece of dowel.
Soaking and pre-shaping the veneer is critical as it would likely crack/split if applied dry.

Once the veneer was slightly dryer I glued it in place.
Not the end of the world but ideally I'd liked to have had all edges glued in place before the front and back veneers are applied, this hides any joins on the face of the piece being veneered.
I'm hoping I should be able to blend these small bits in when I come to sand up the sheaths.


