Sorry I've not been back to this thread for a while. I've had lots of work to do, and not enough workshop time, nor time to post a write-up here. Anyway where were we? Ah yes......coving......
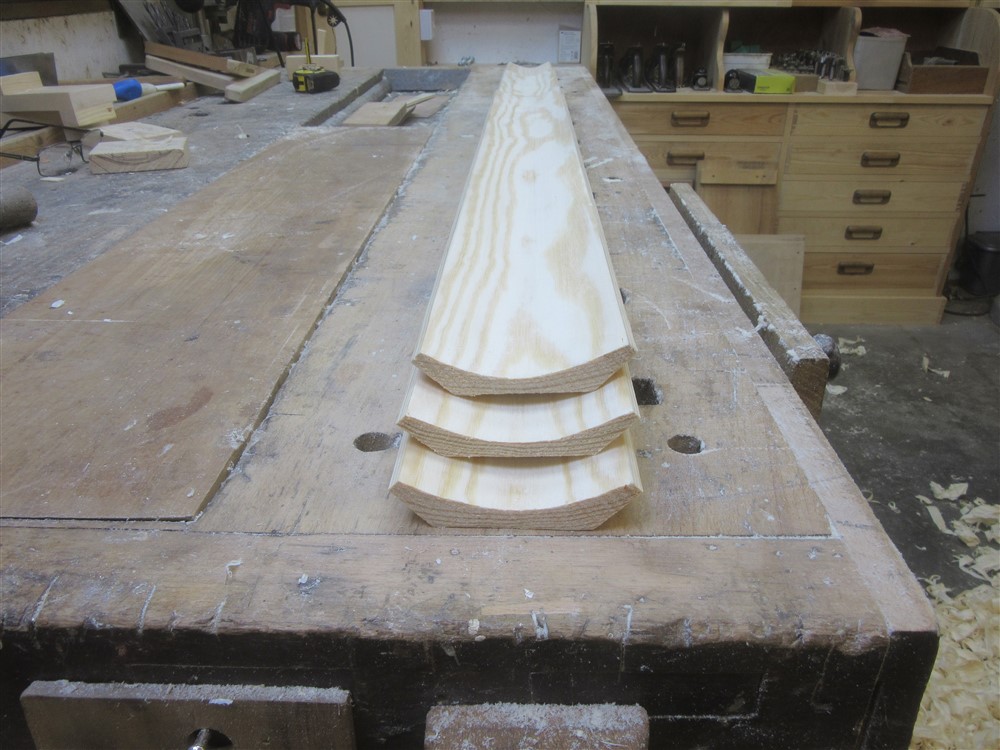
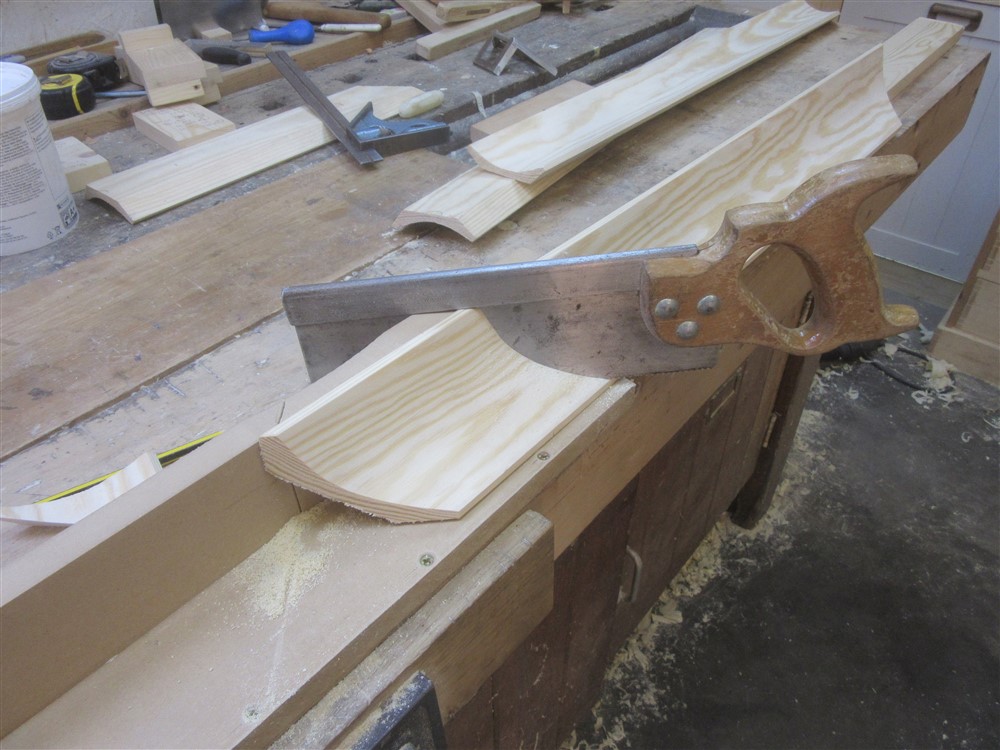
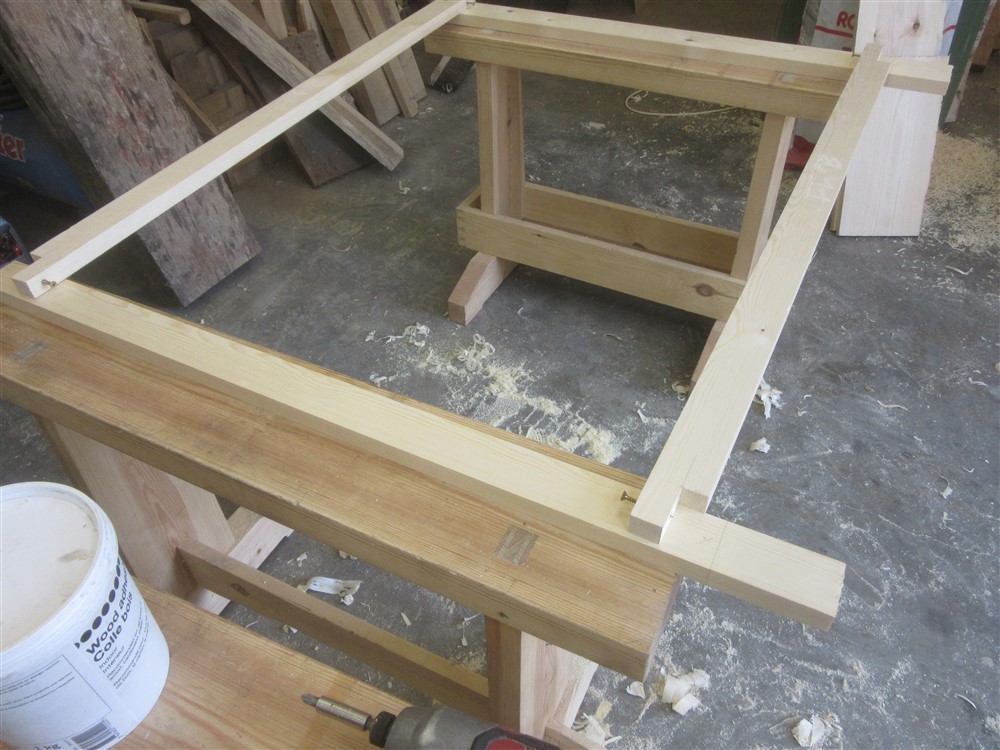
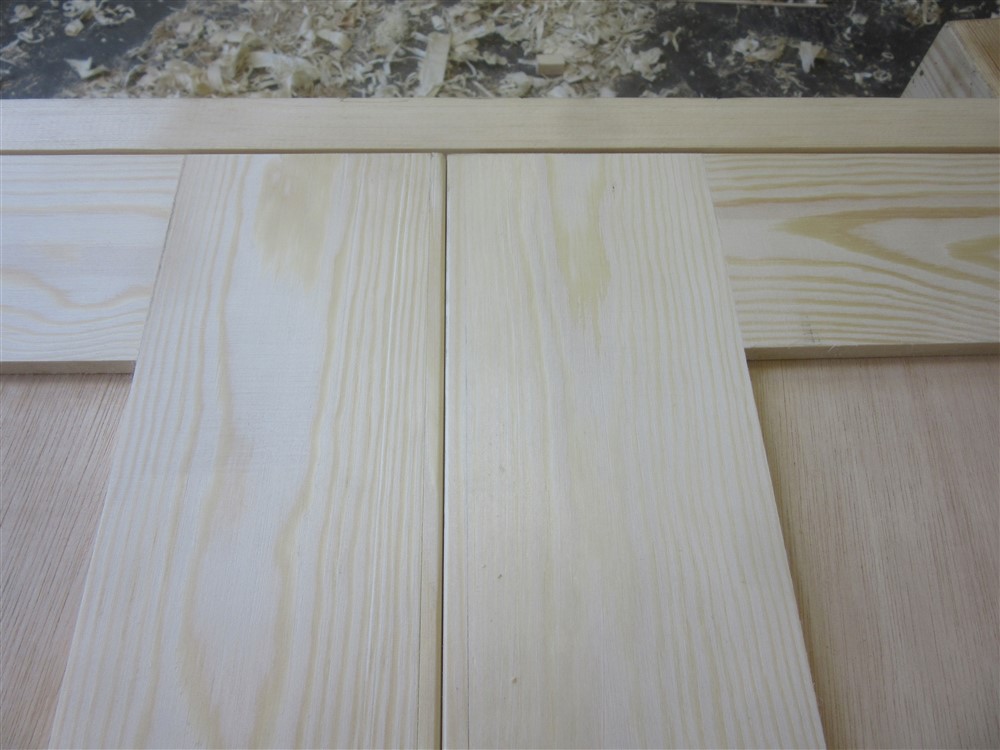
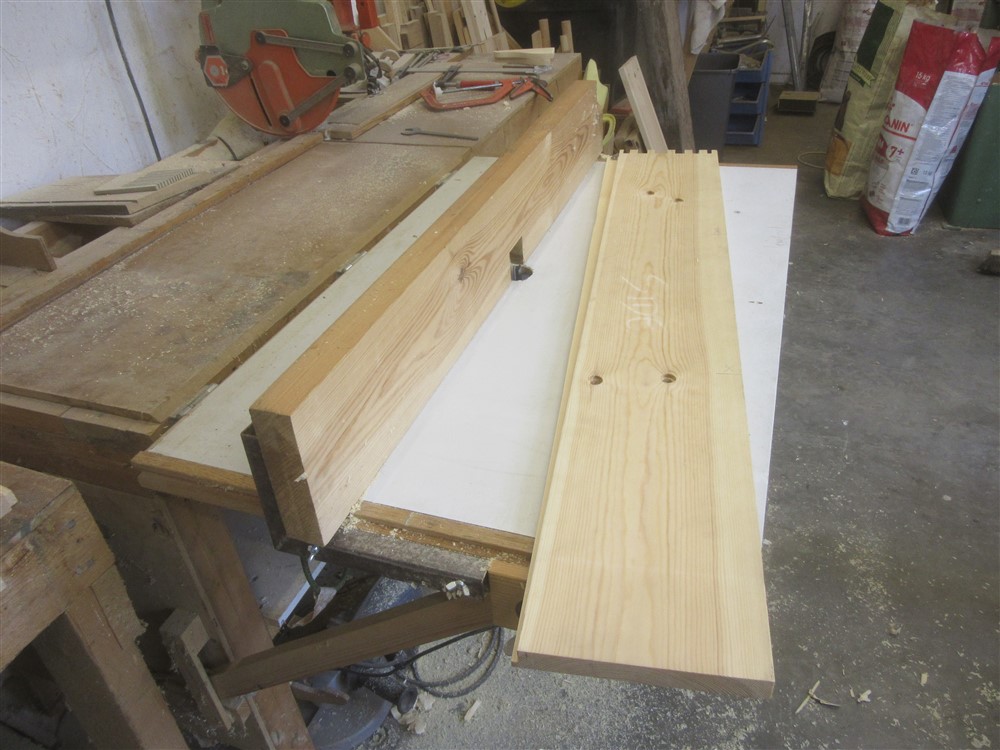
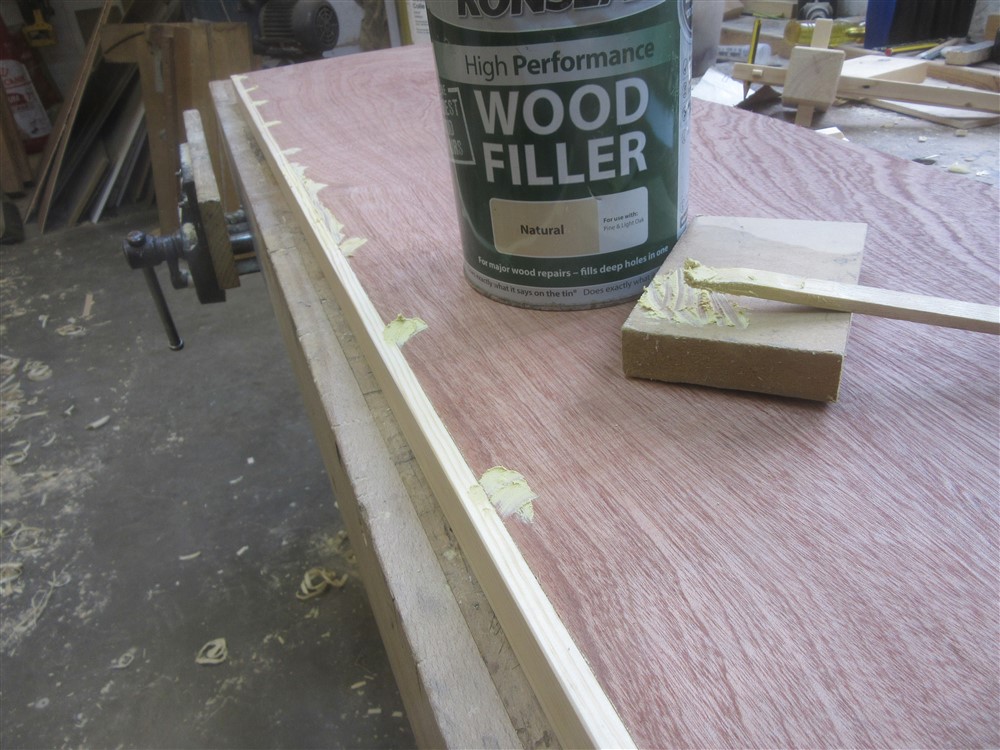
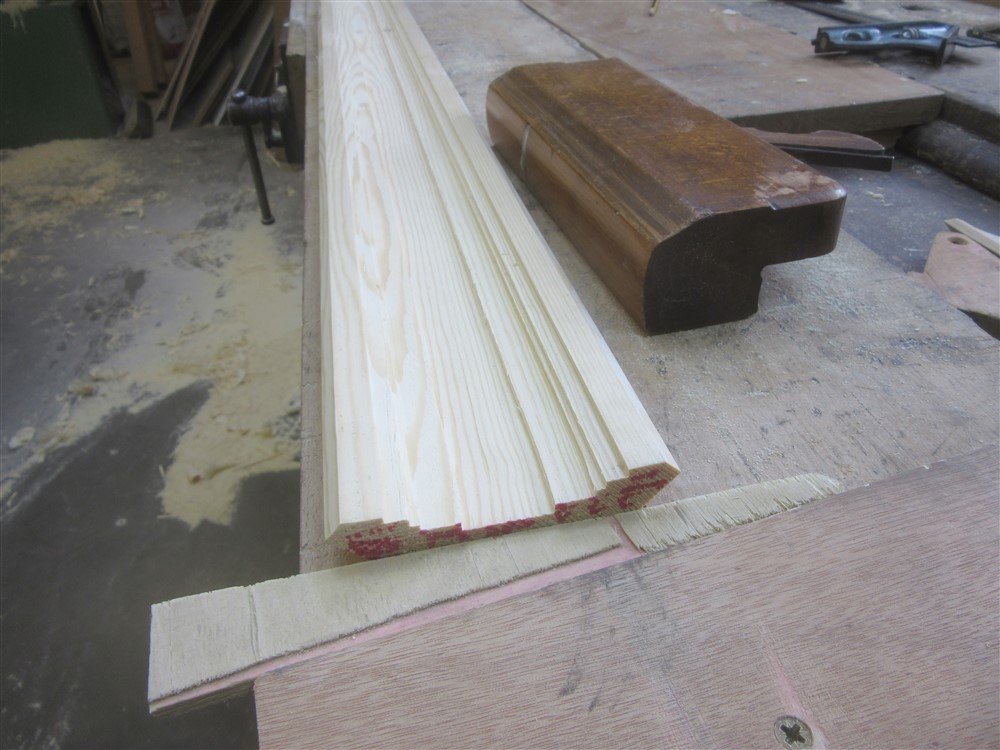
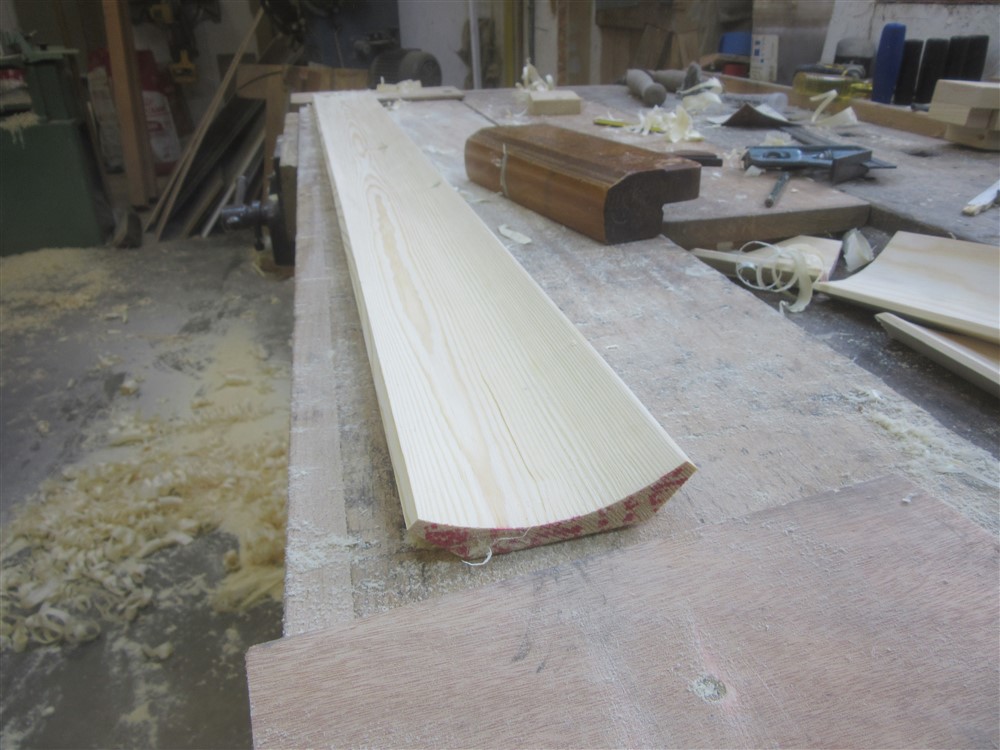
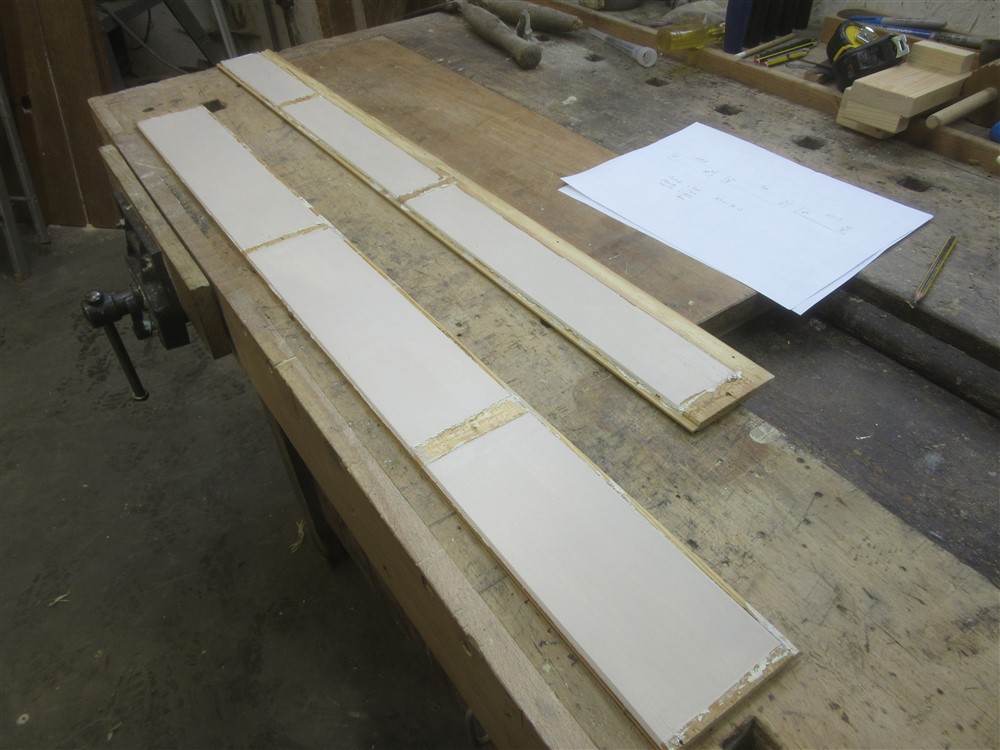
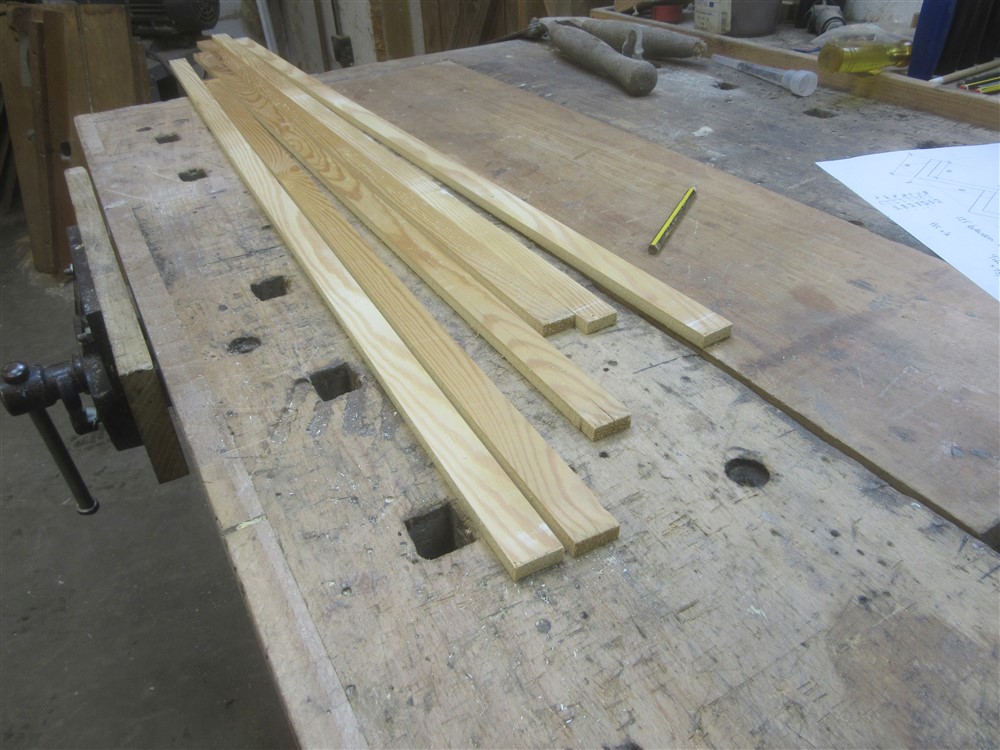
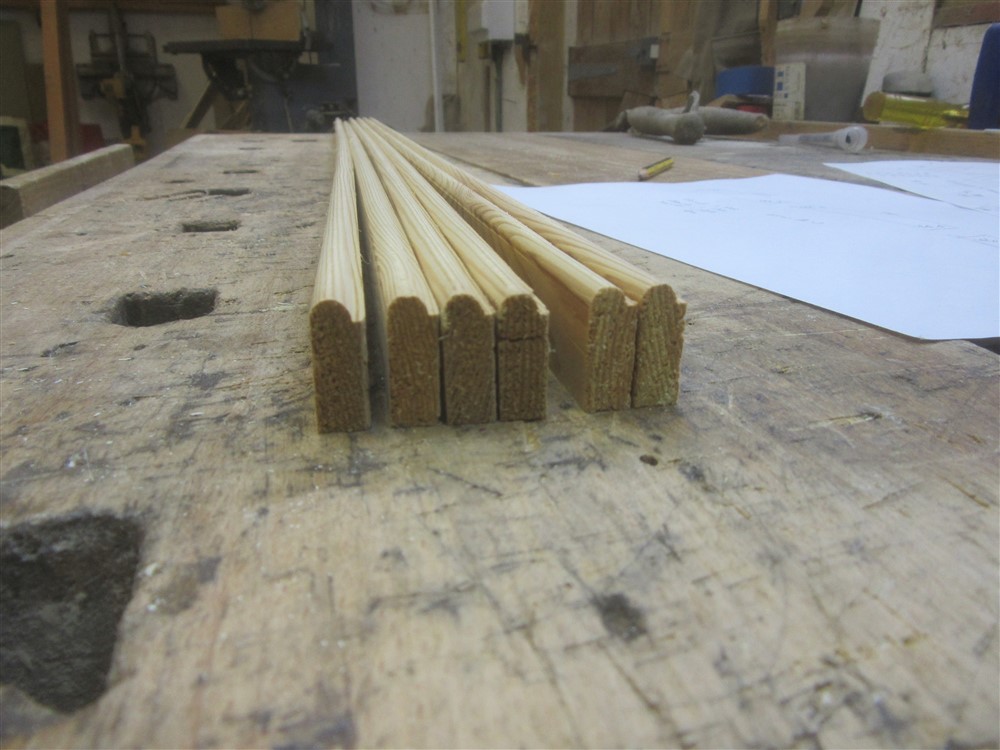
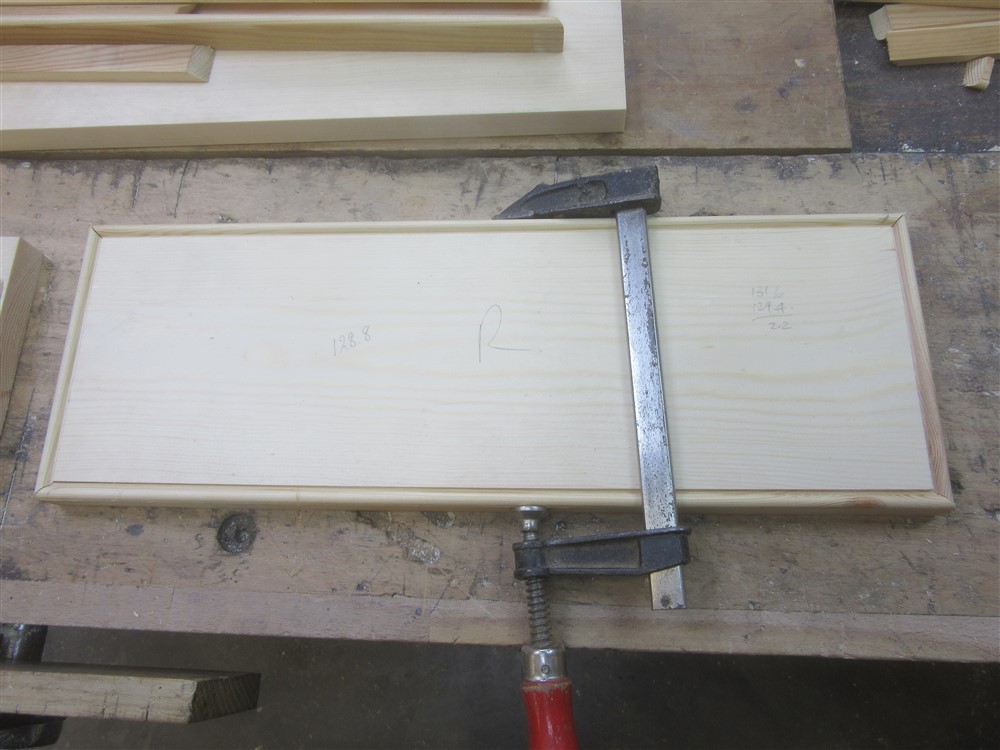
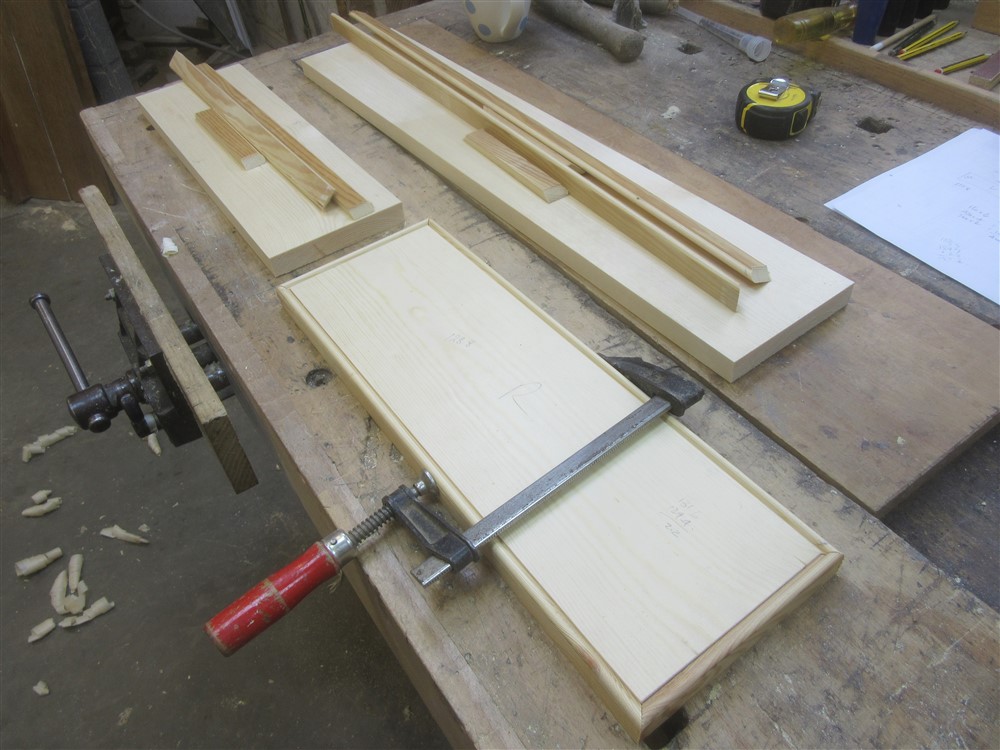
I'd made these:
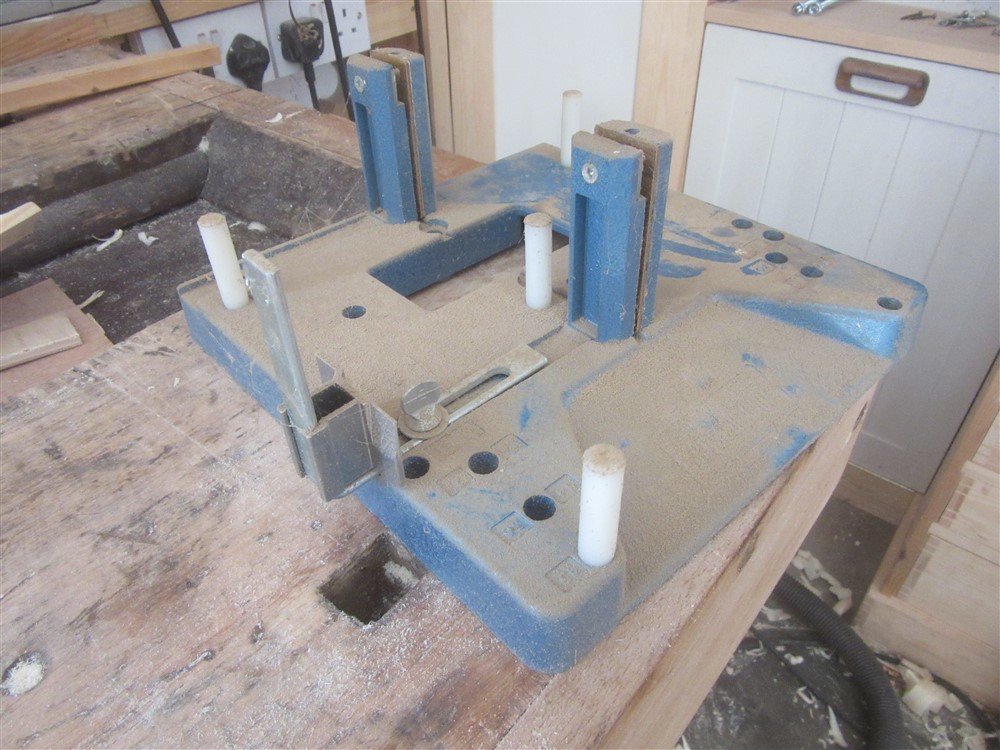
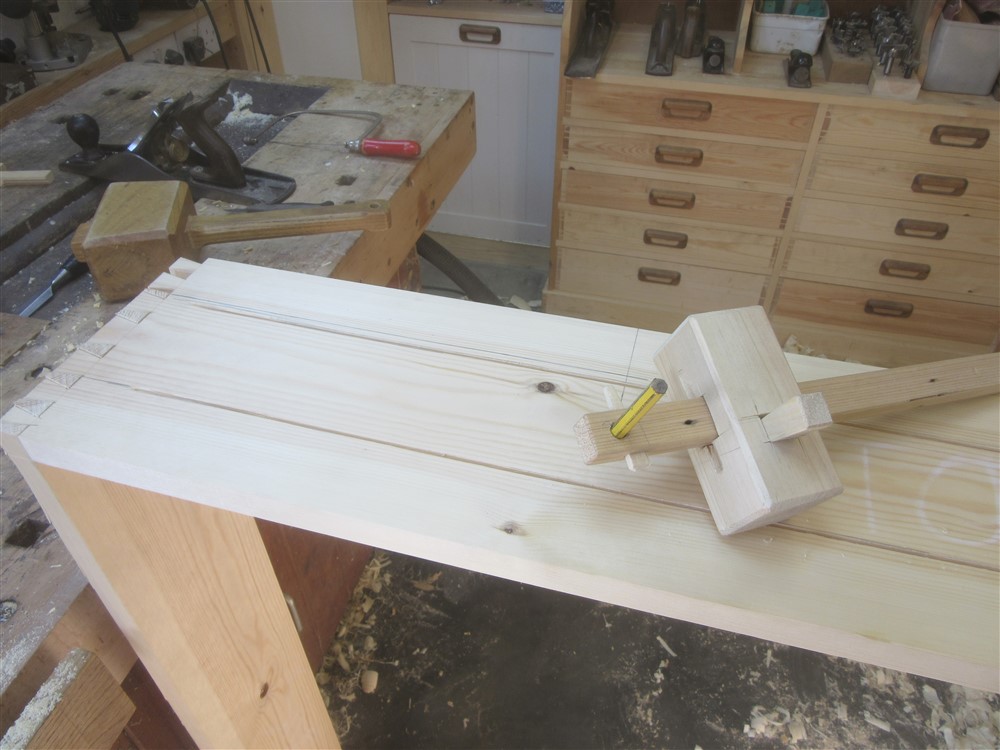
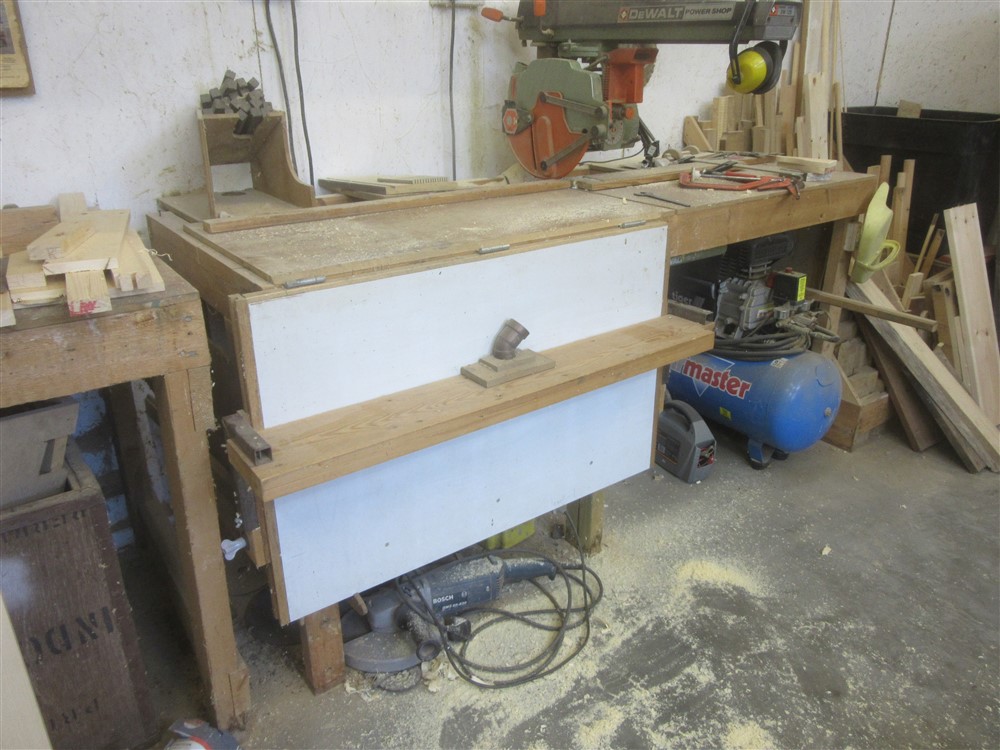
I'd anticipated using this thing for doing the mitres, which I've never yet used:
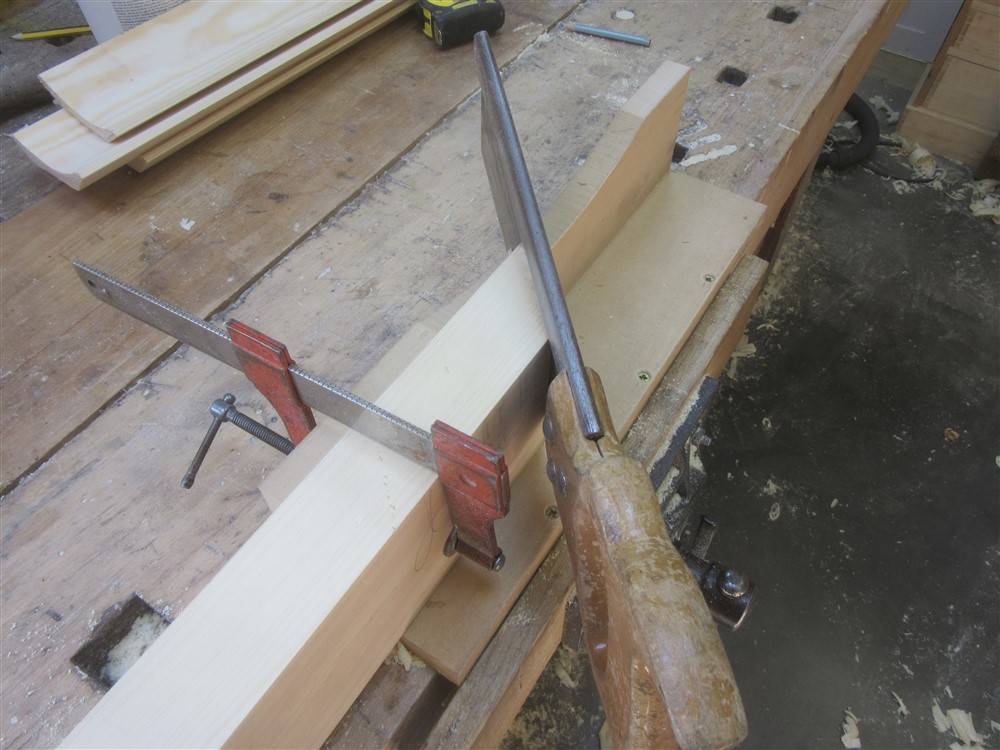
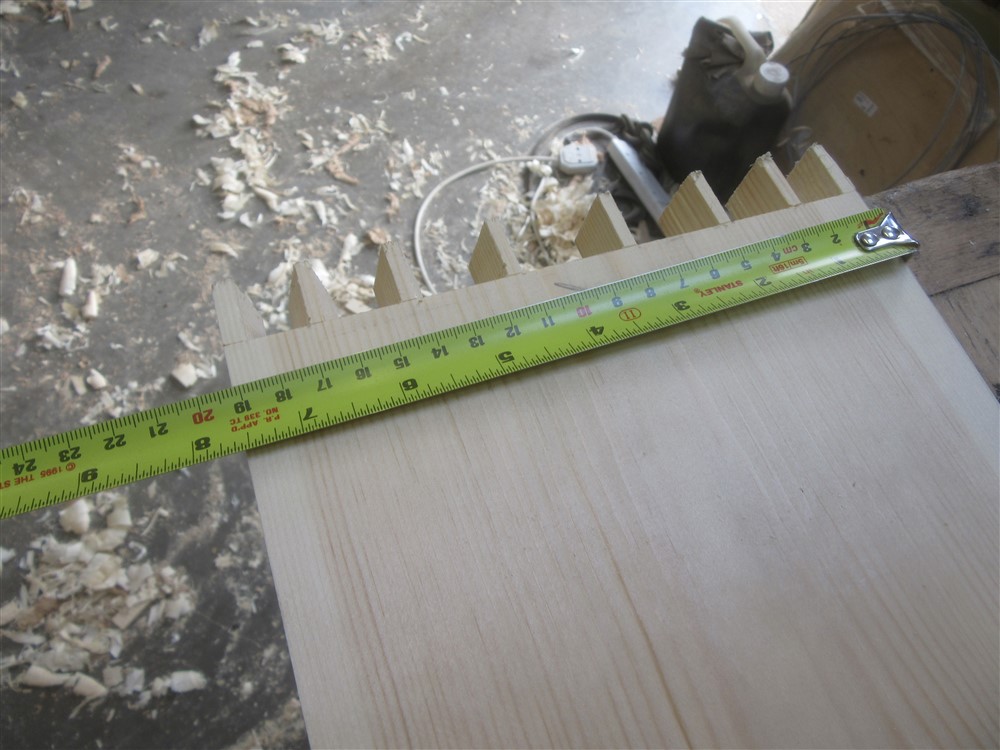
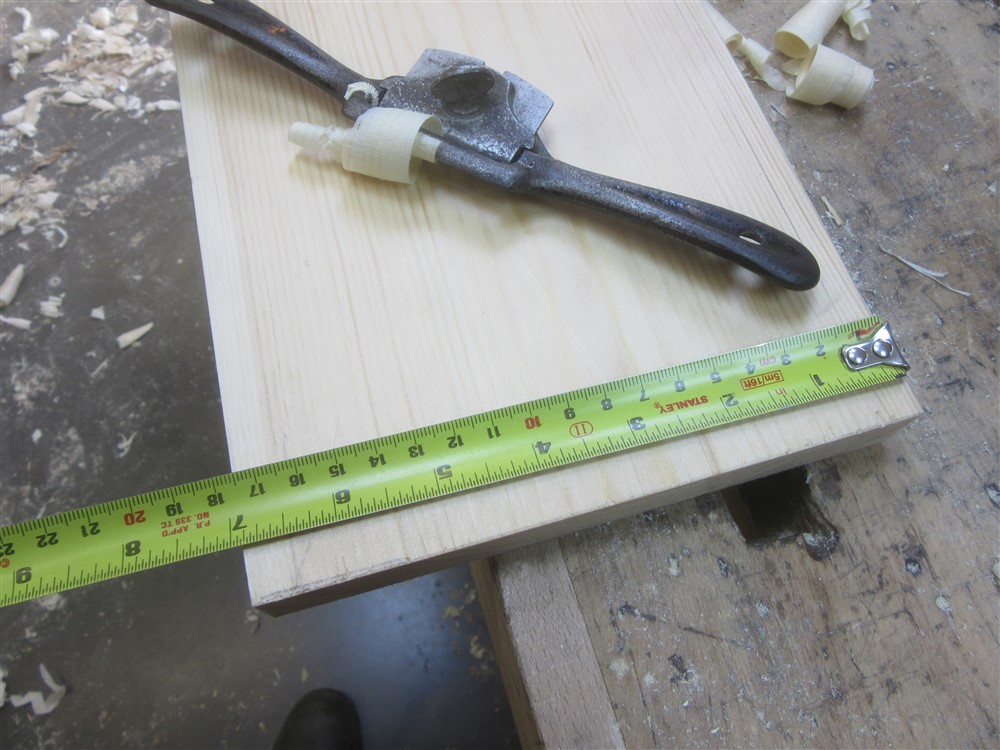
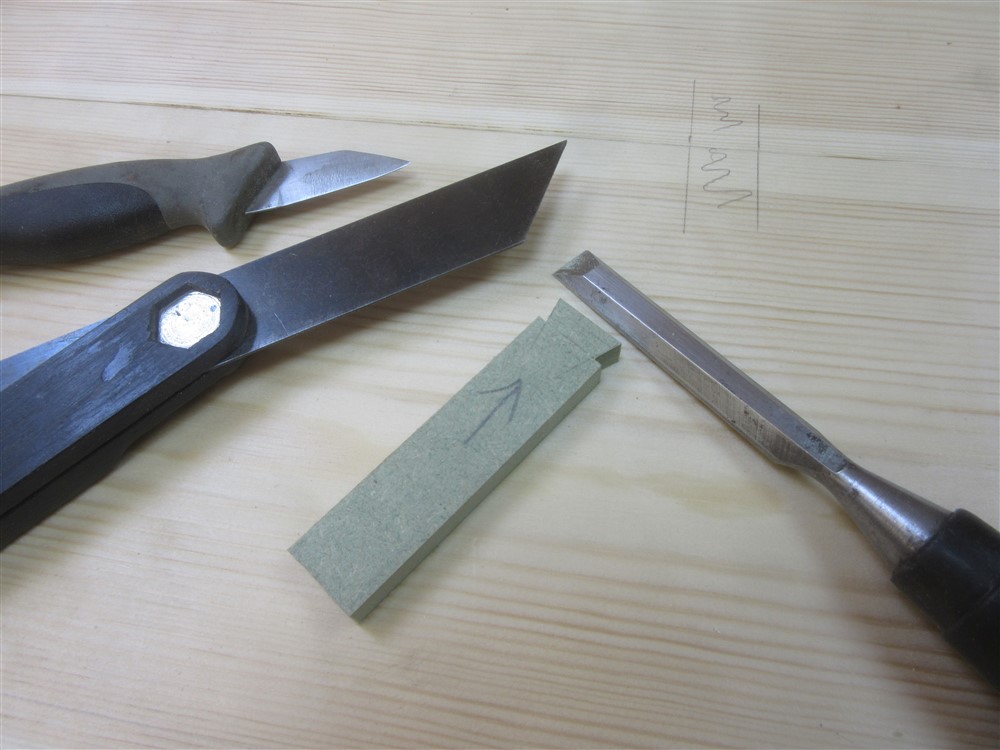
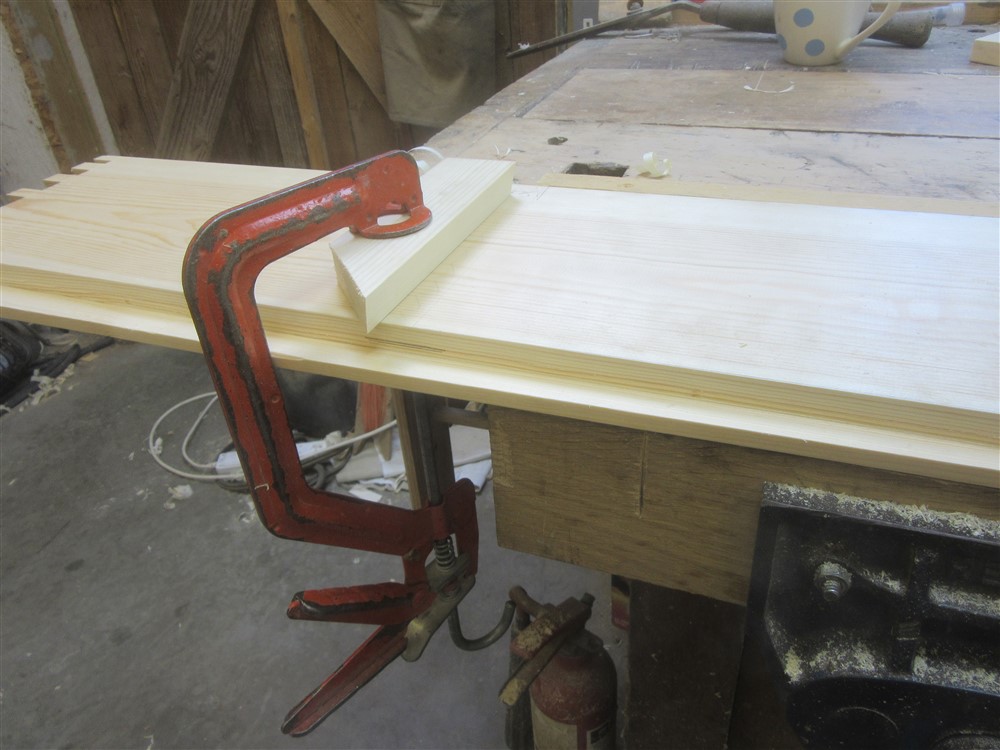
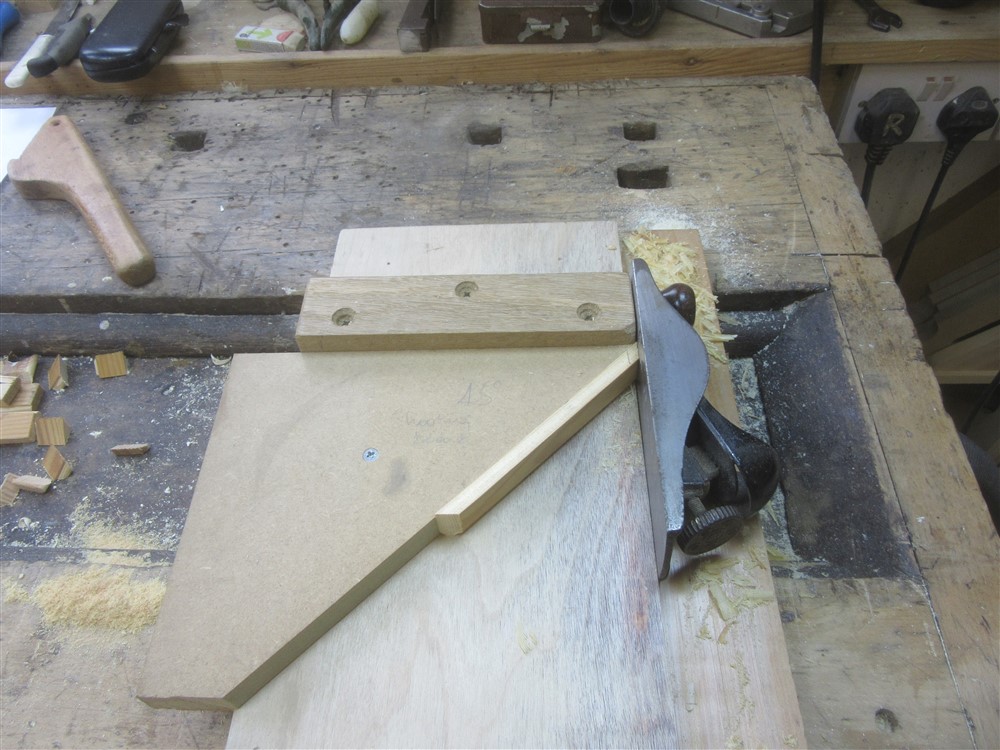
Unfortunately, the maximum size it fits is about half an inch smaller than the coving I'd made. Right, so I needed to make my own mitre guide:
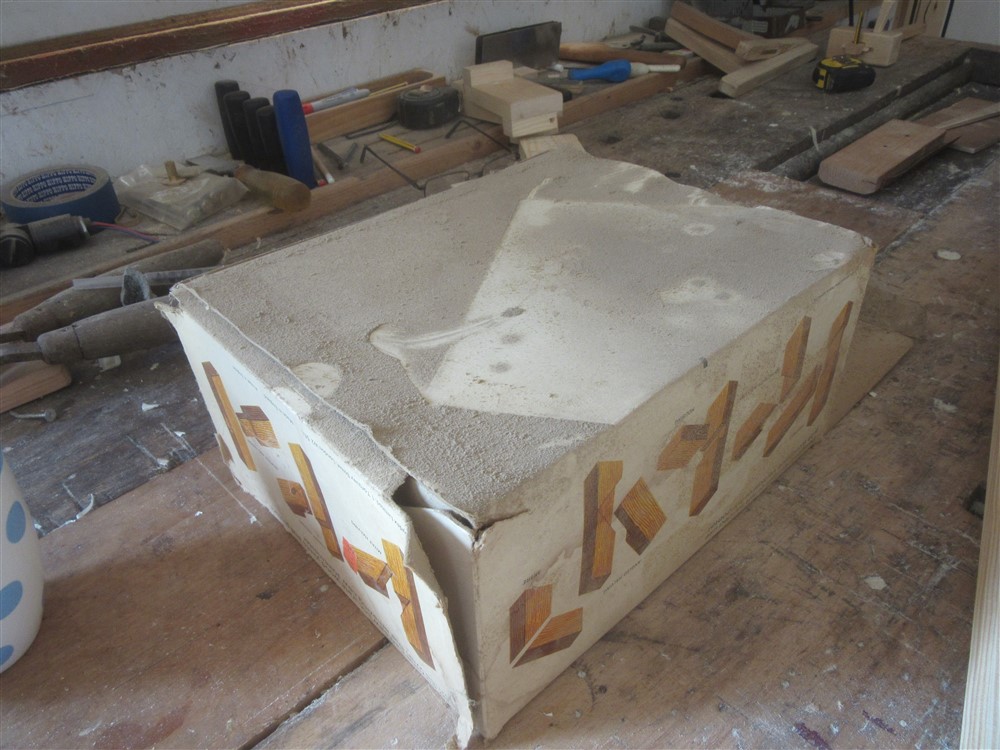
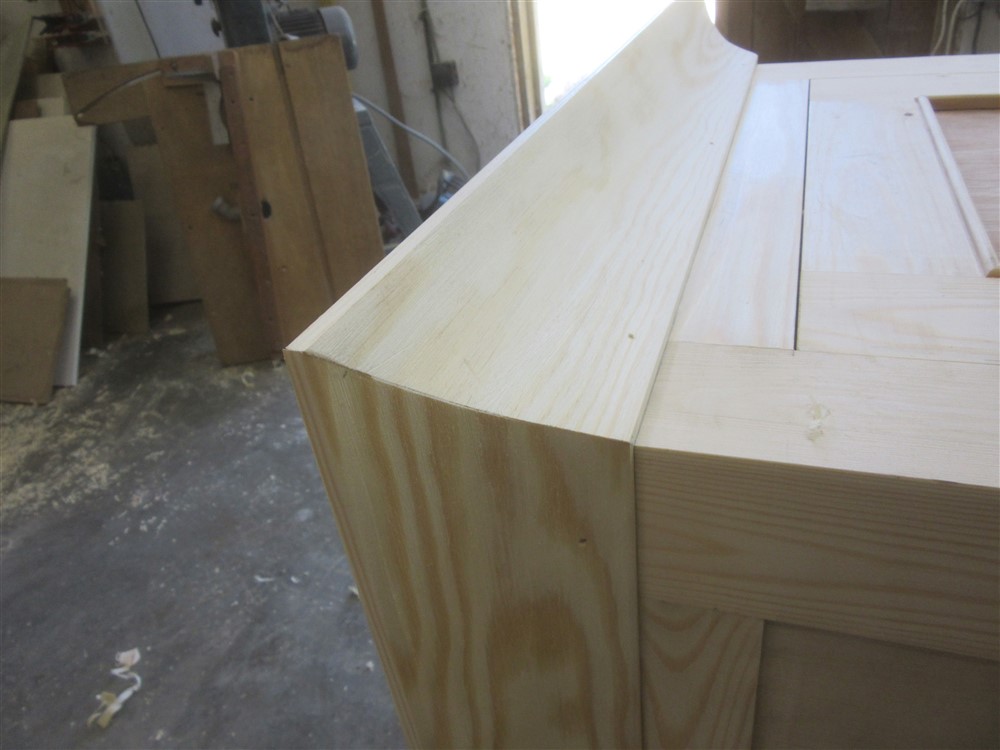
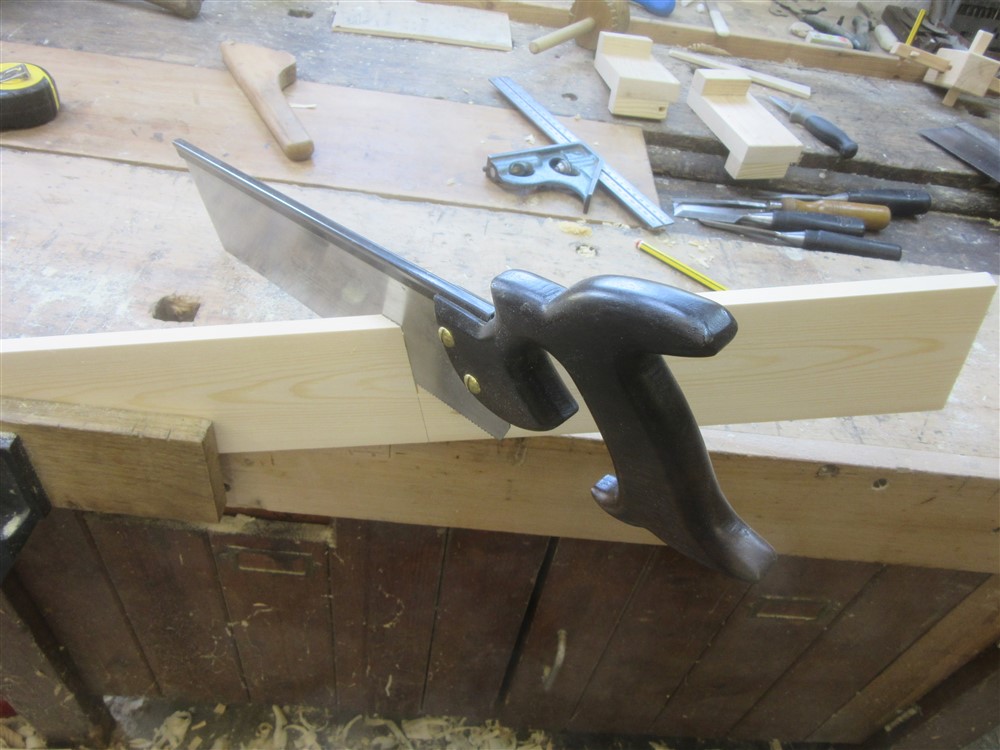
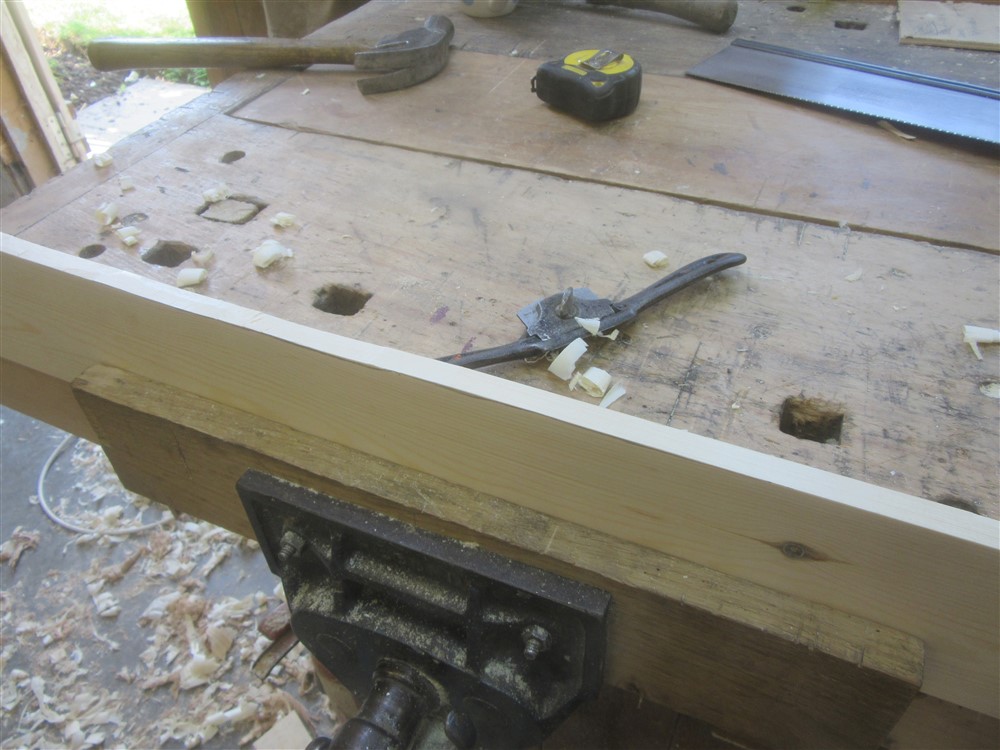
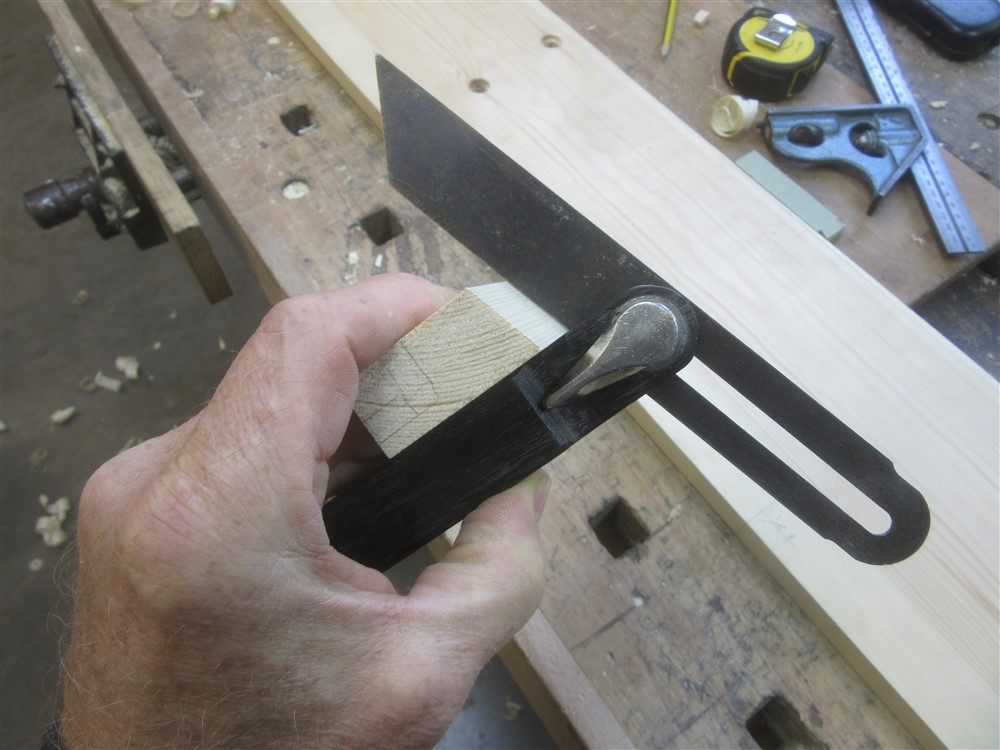
That involved cutting an accurate 45 degree piece first, but if I can remember I've got it, that will make a useful chisel guide for mitred dovetailing. I then just cut the mitres in the orthodox way:
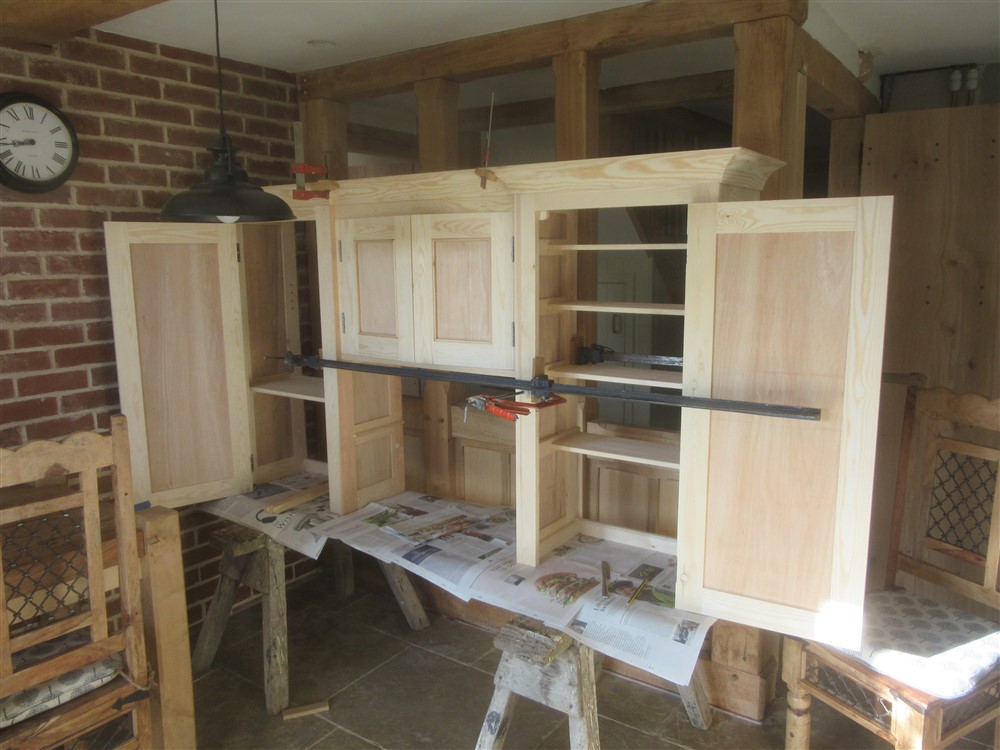
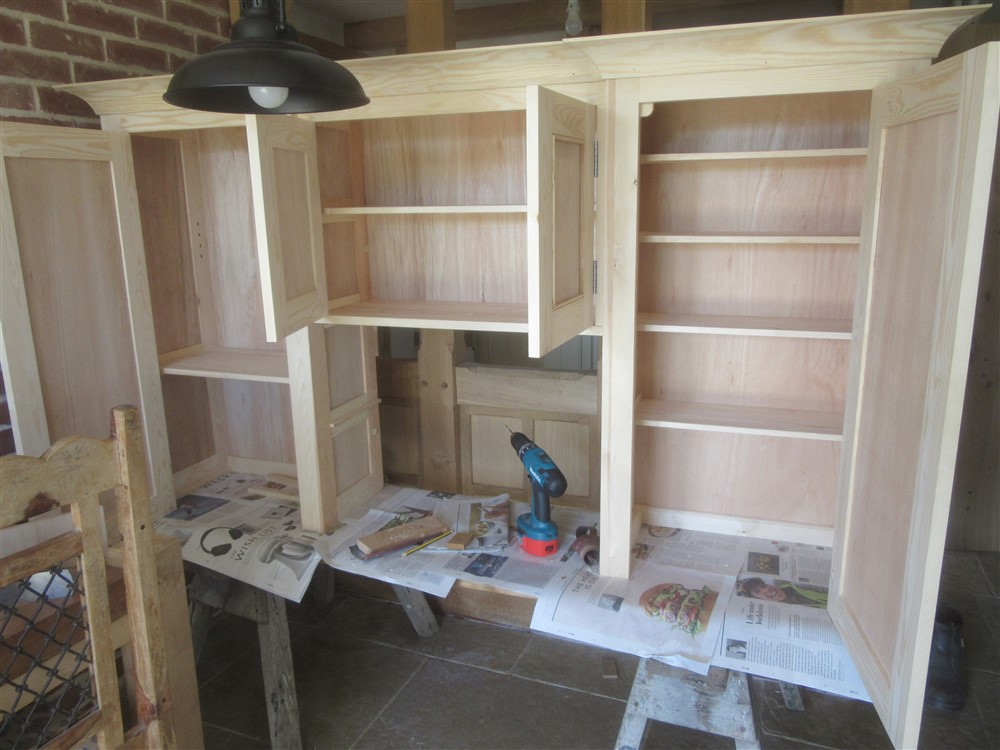
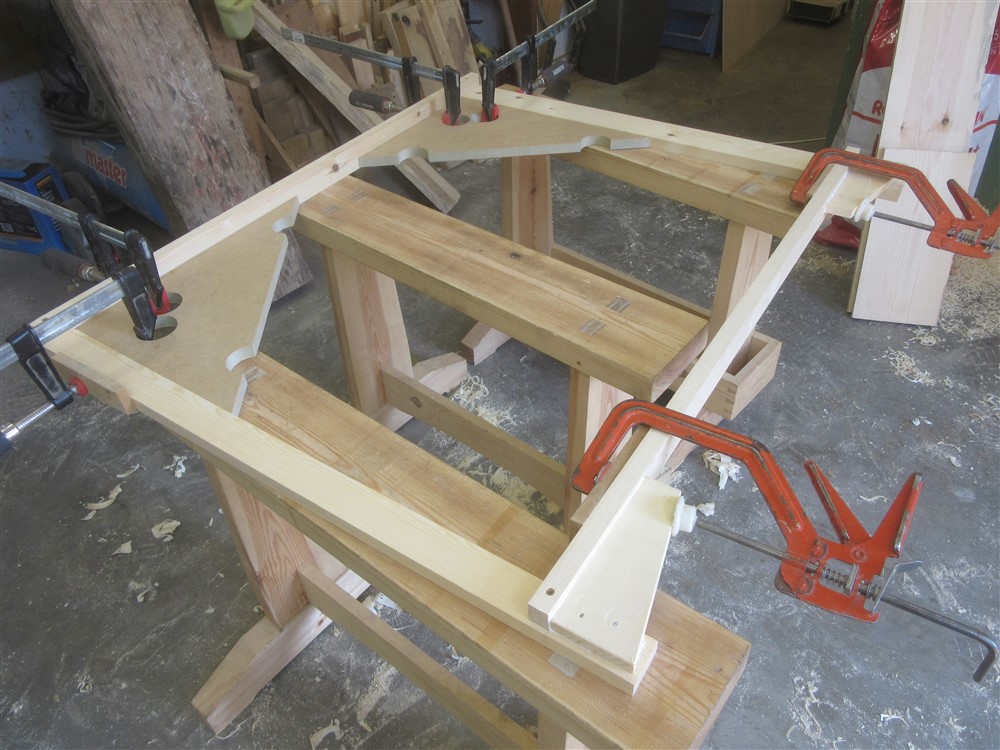
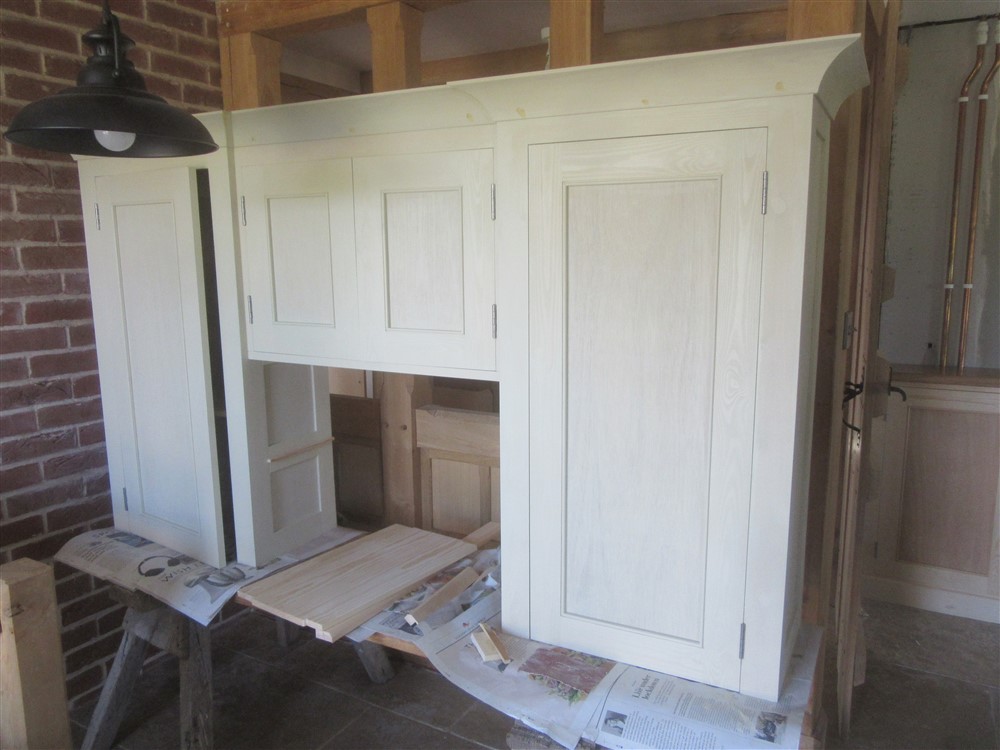
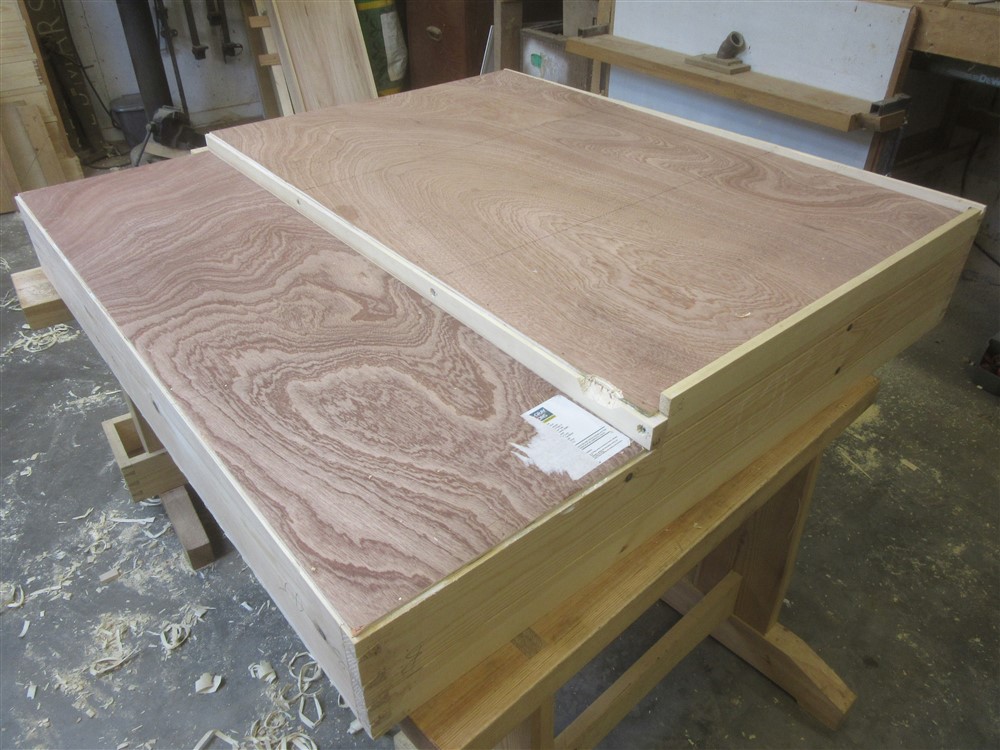
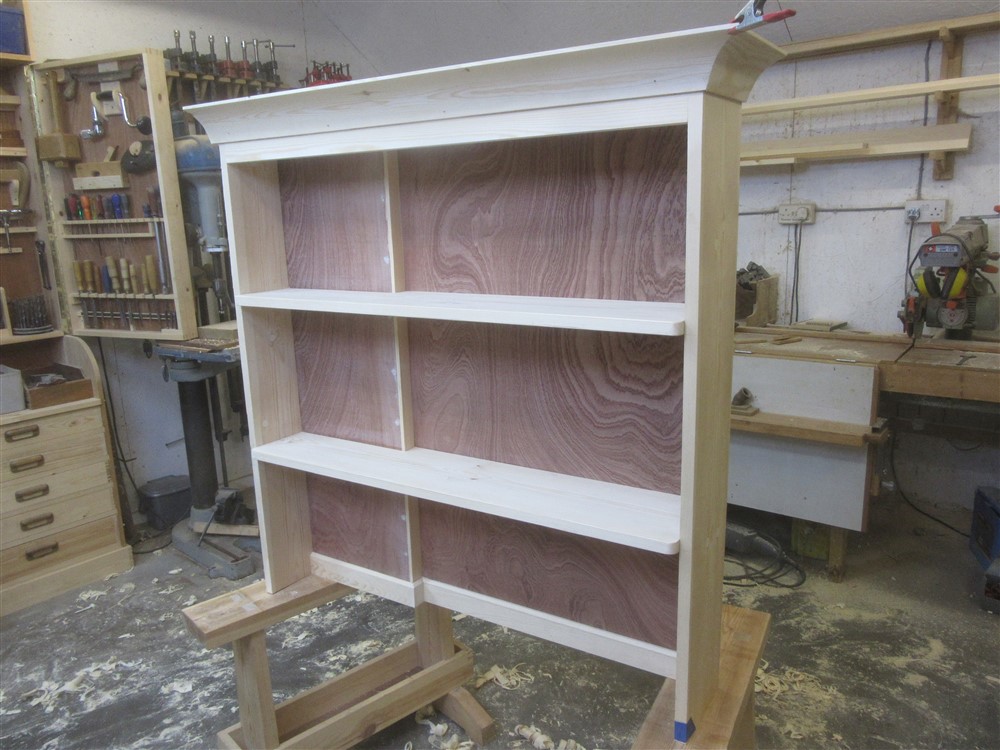
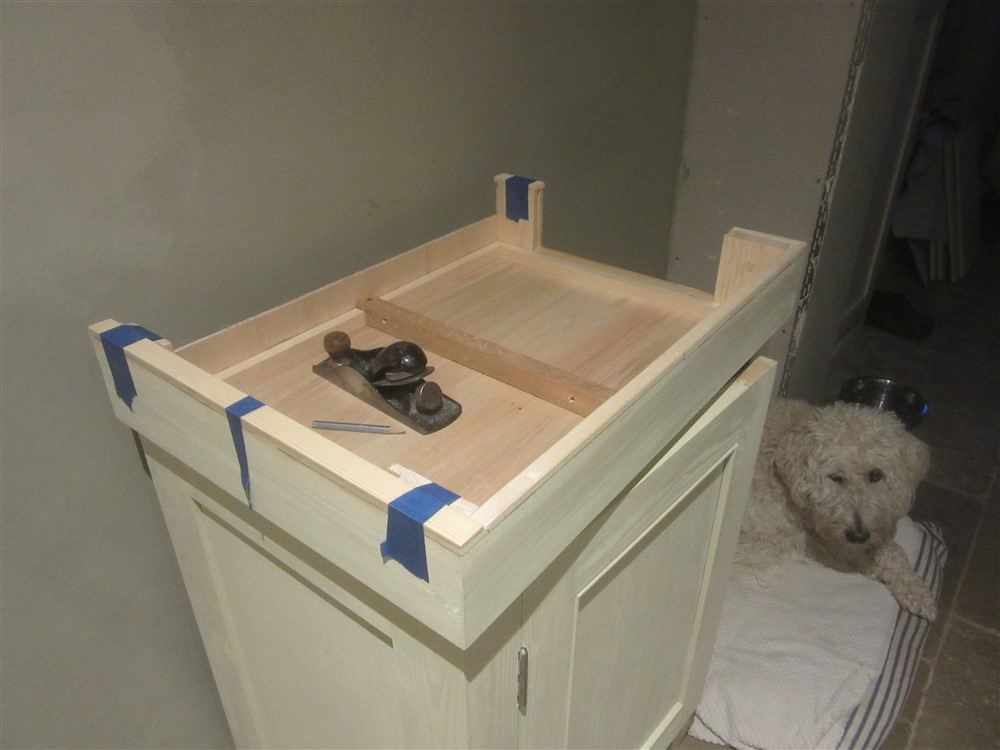
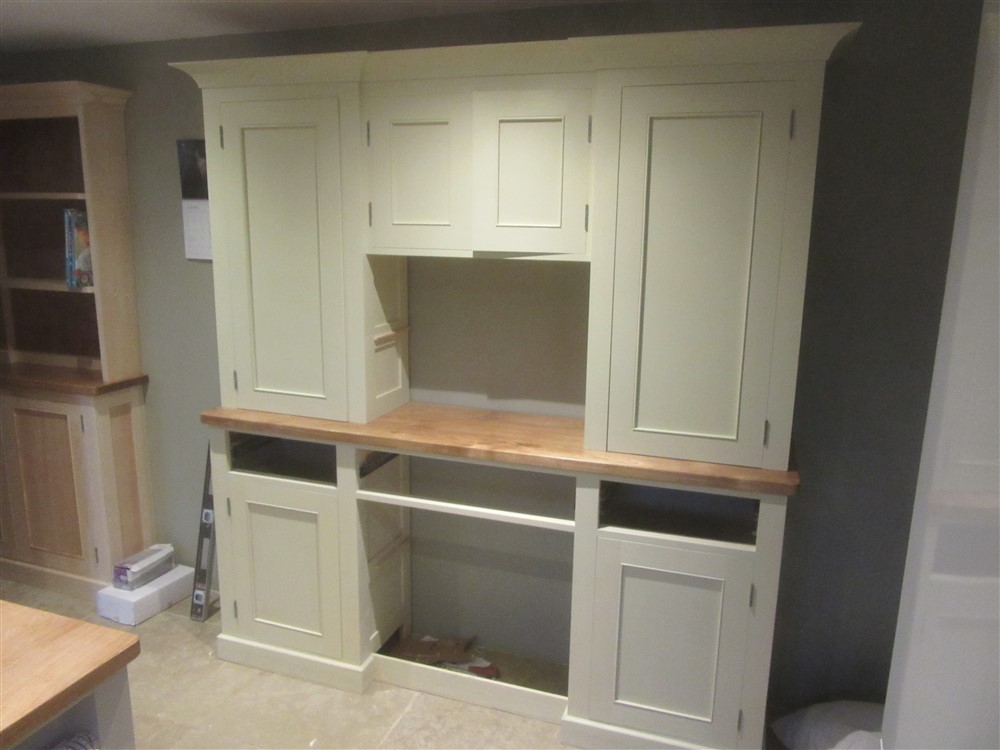
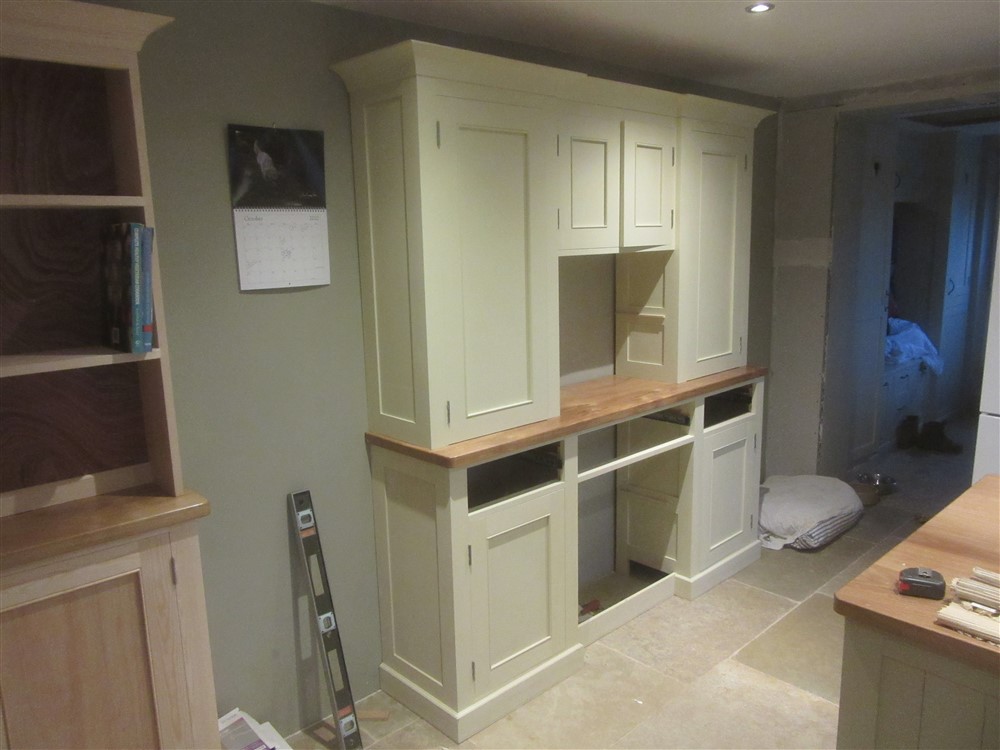
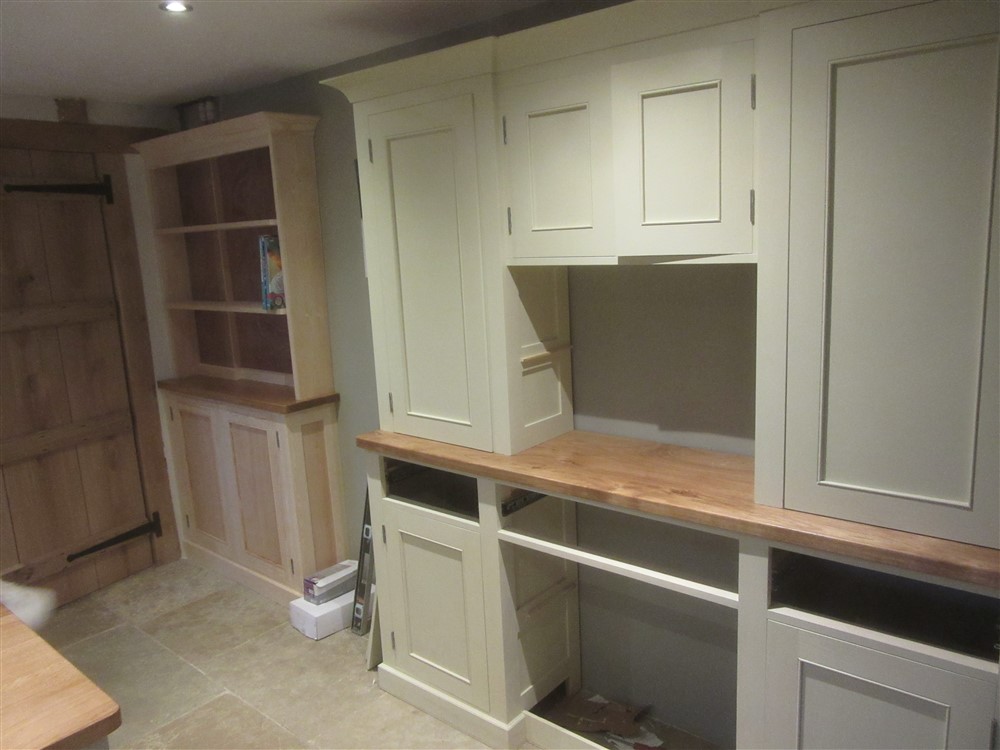
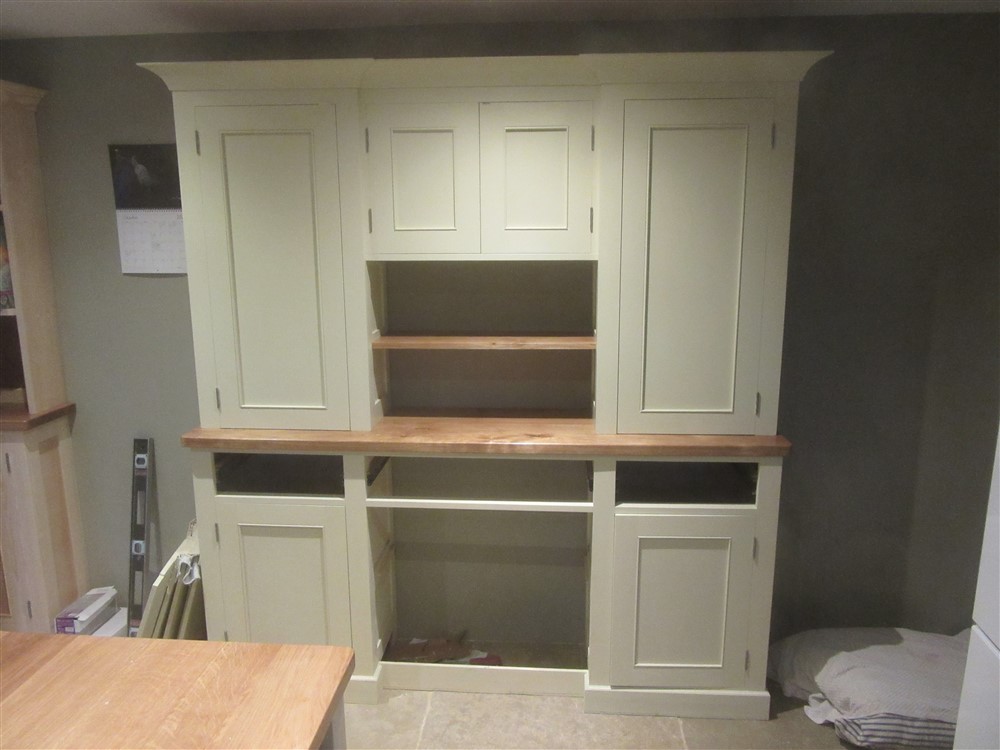
Time to take everything in, and glue it all together. I brought some horses in and put the oak worktop on top of them with some newspaper over it, then put everything together on top of that:
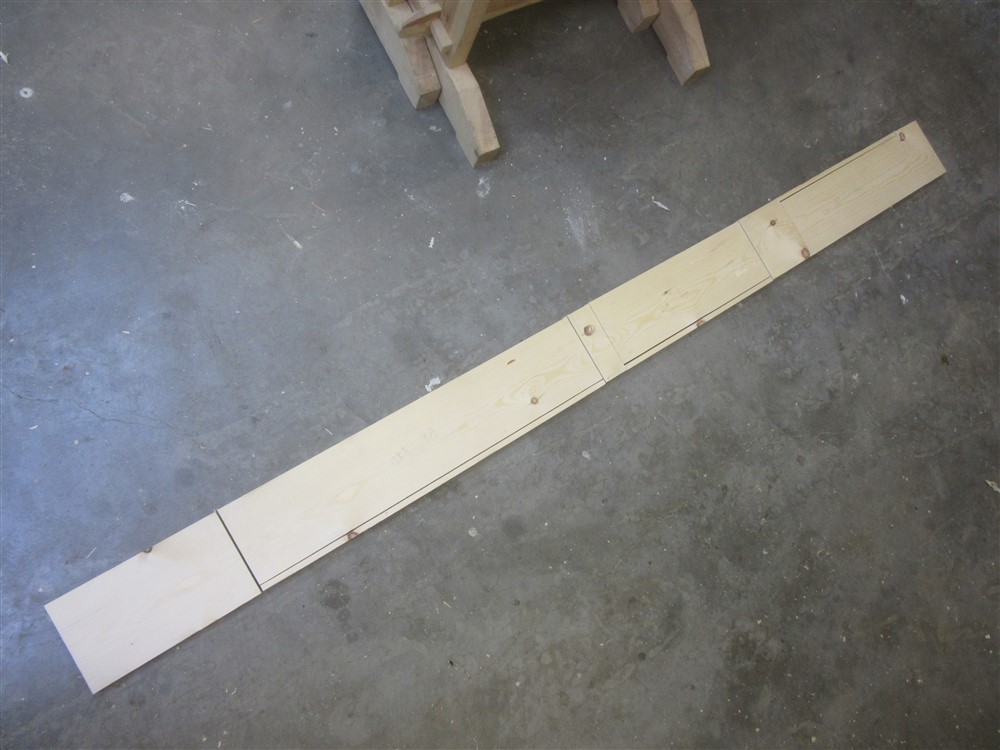
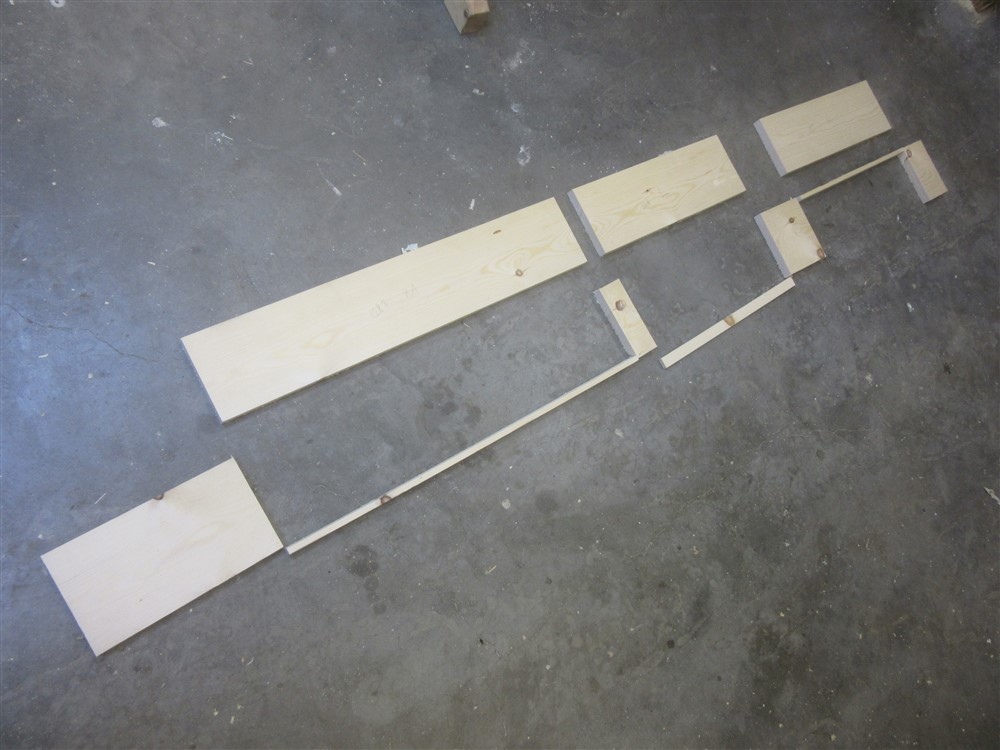
Note the little kick in the coving, where the middle cupboard is set back. That was something of a giggle to get right. The best one of the four I cut for the left hand infill piece had a crack running through it, so it broke in half.
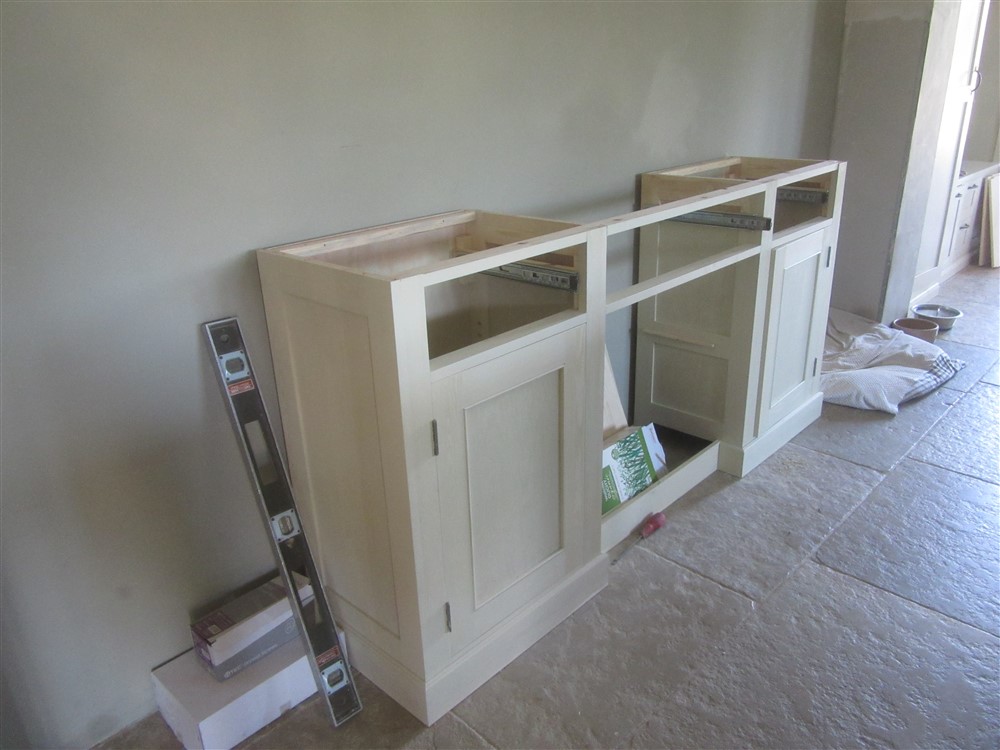
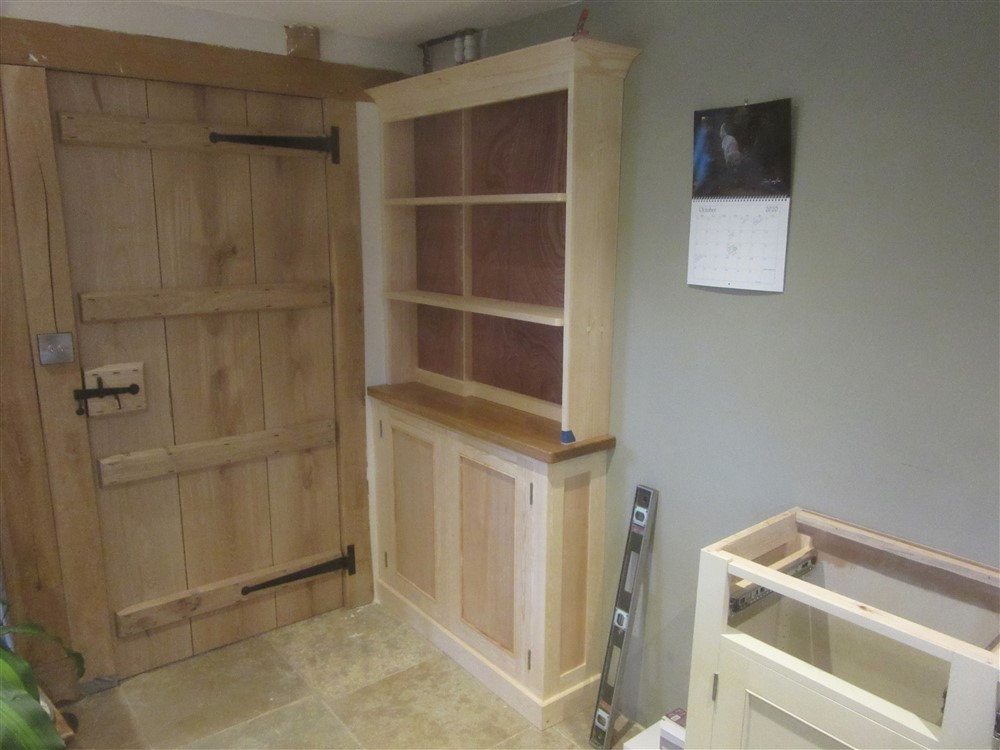
Here's my answer to the problem of fixing the top half of the dresser to the base unit worktop:
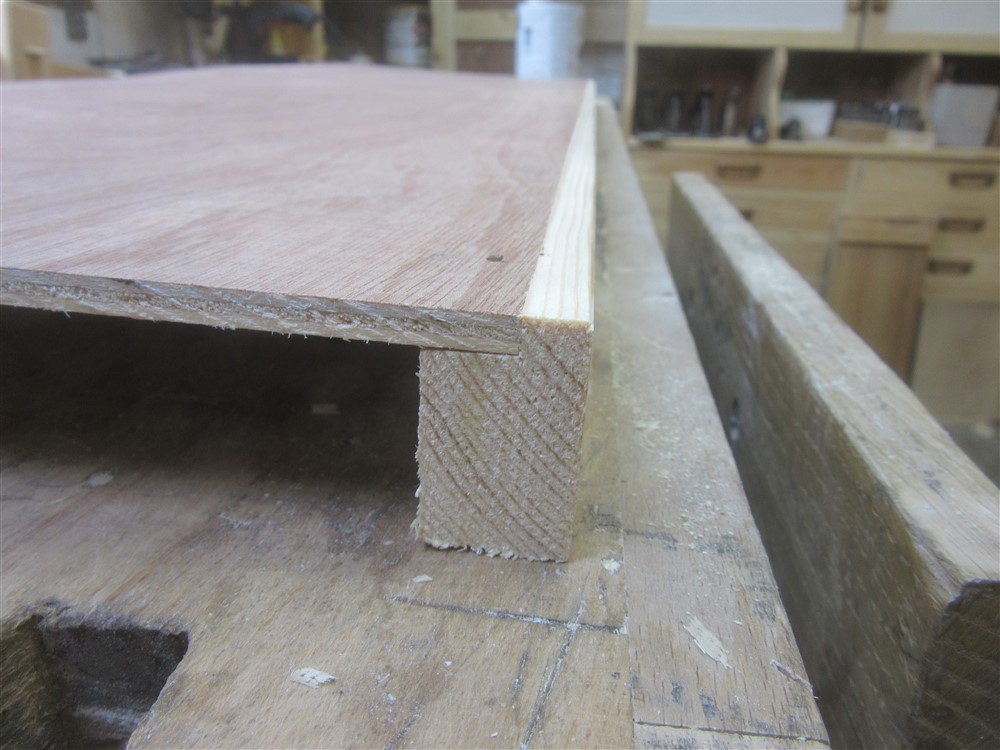
Yep, I'm just going to screw it in place and slip a cover piece over the batten.
-
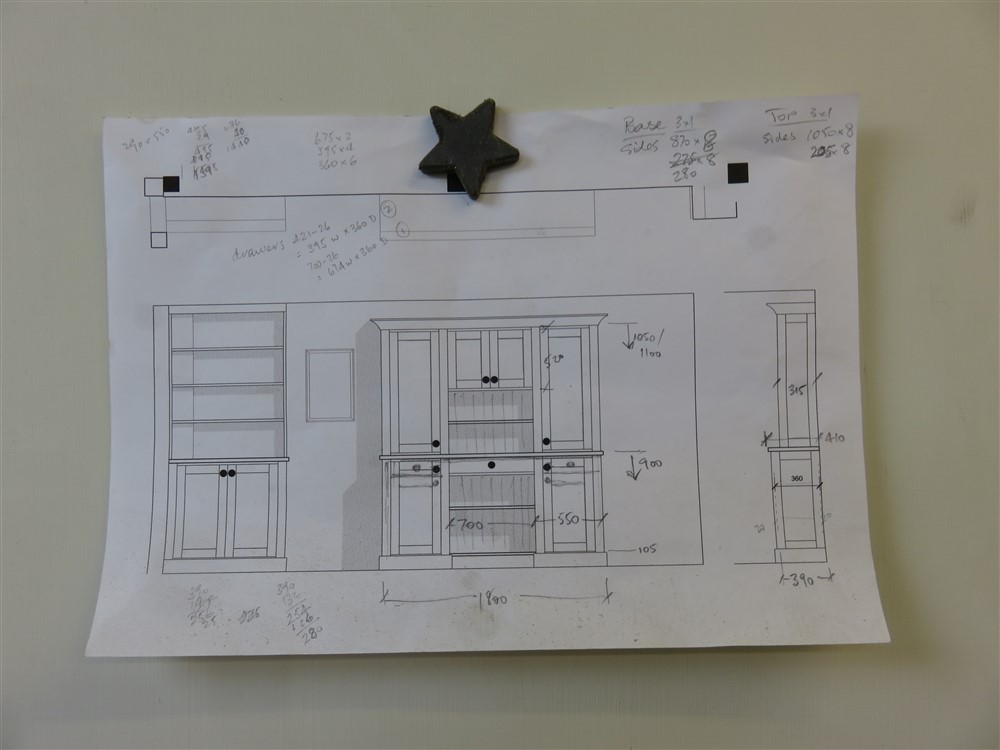
Remember this drawing?
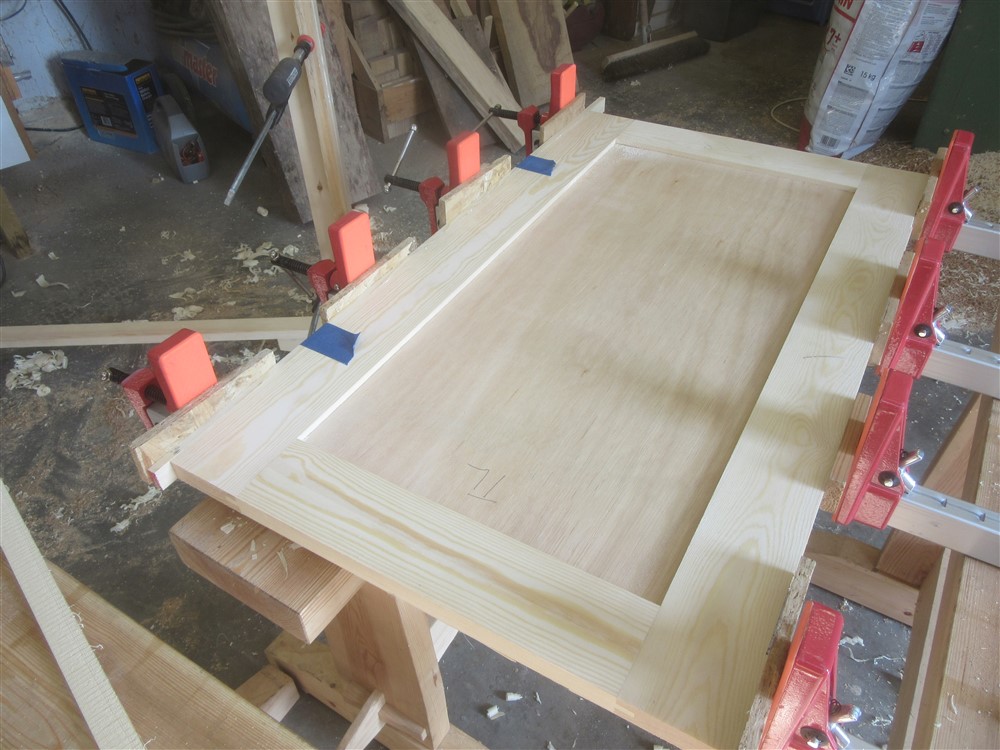
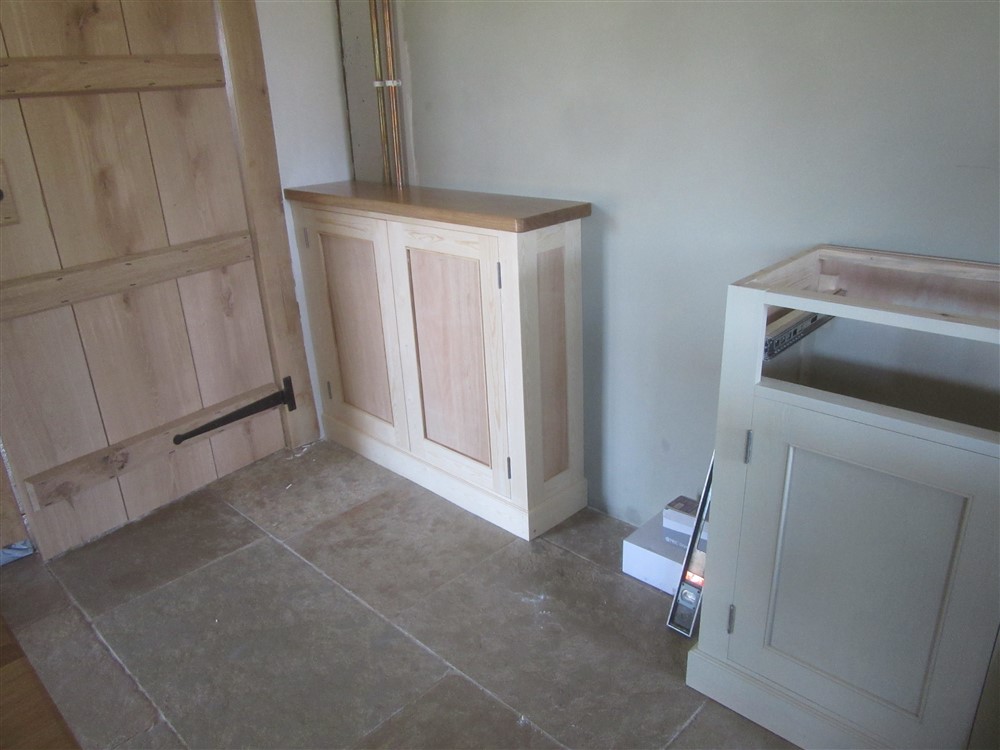
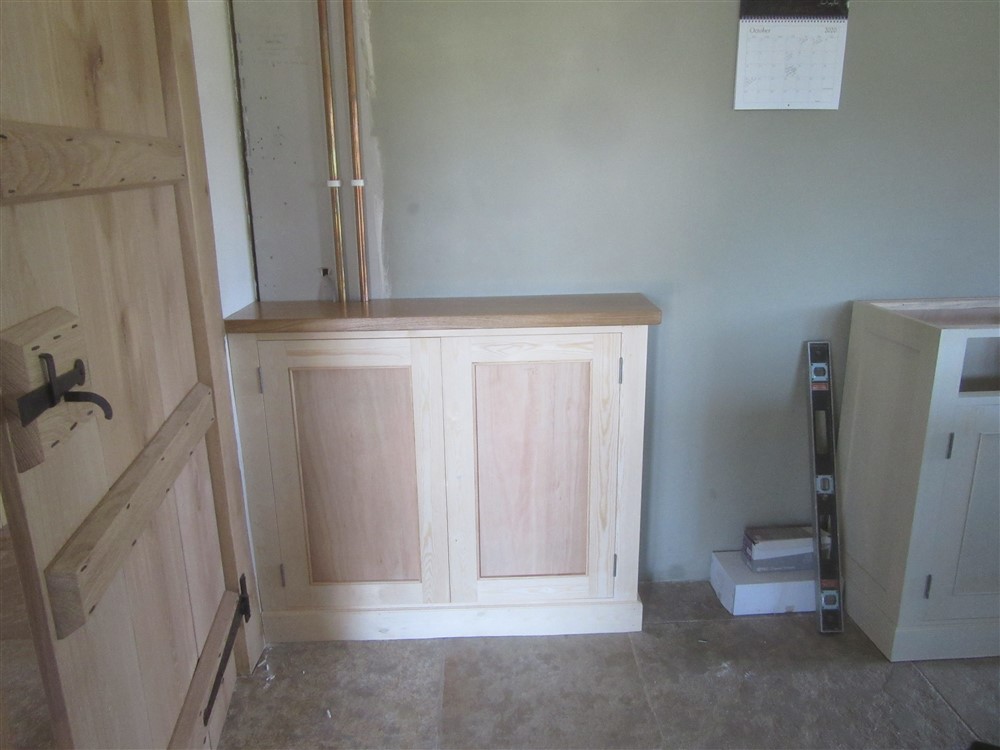
Well, there's a second piece of furniture in there, on the left. It's job is to hide the underfloor heating manifold and the flow and return pipes. Whilst my wife started the painting of the dresser I thought I may as well carry on and build that thing, as I had all the wood. I started with a simple side panel, and glued it up:
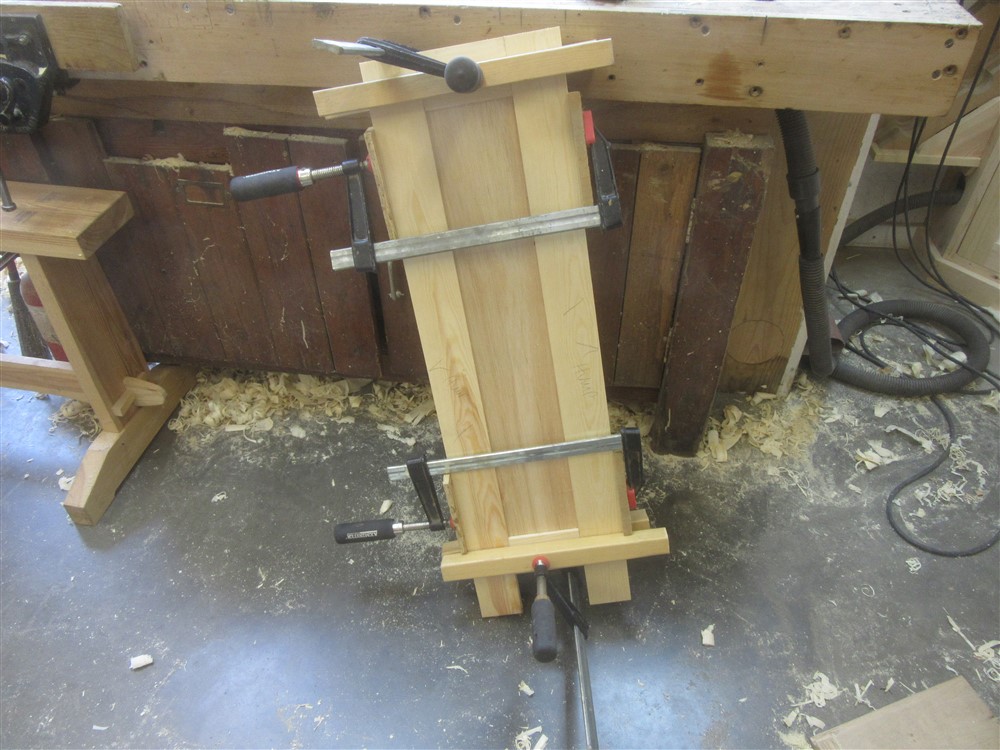
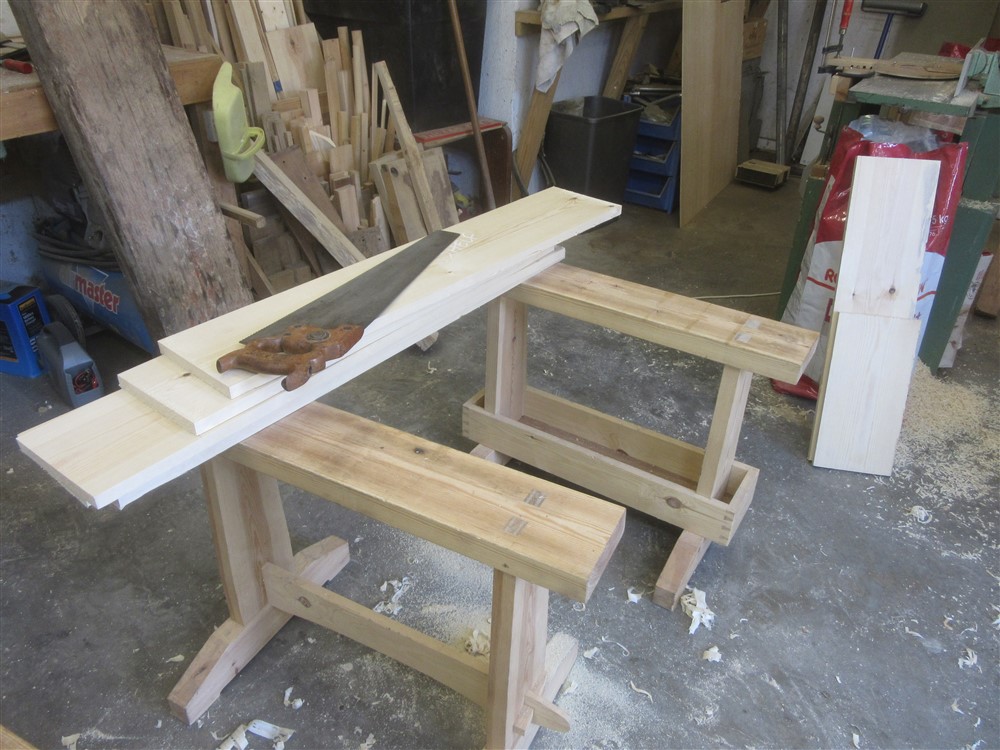
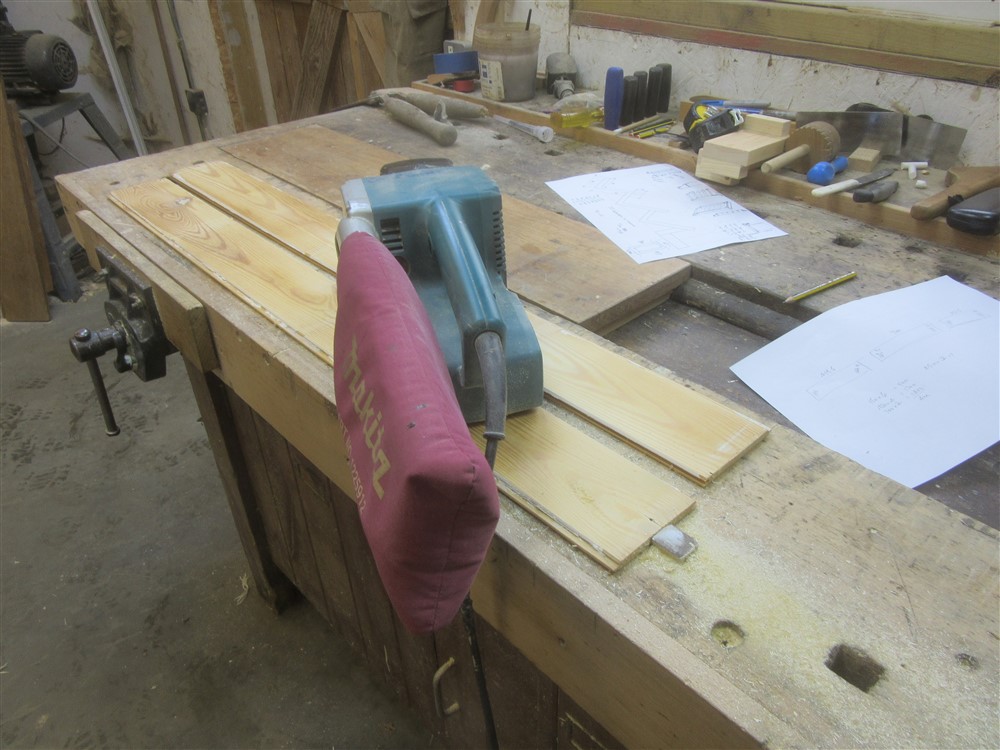
I also sliced up the wood for the shelves, just to get it out of the way:
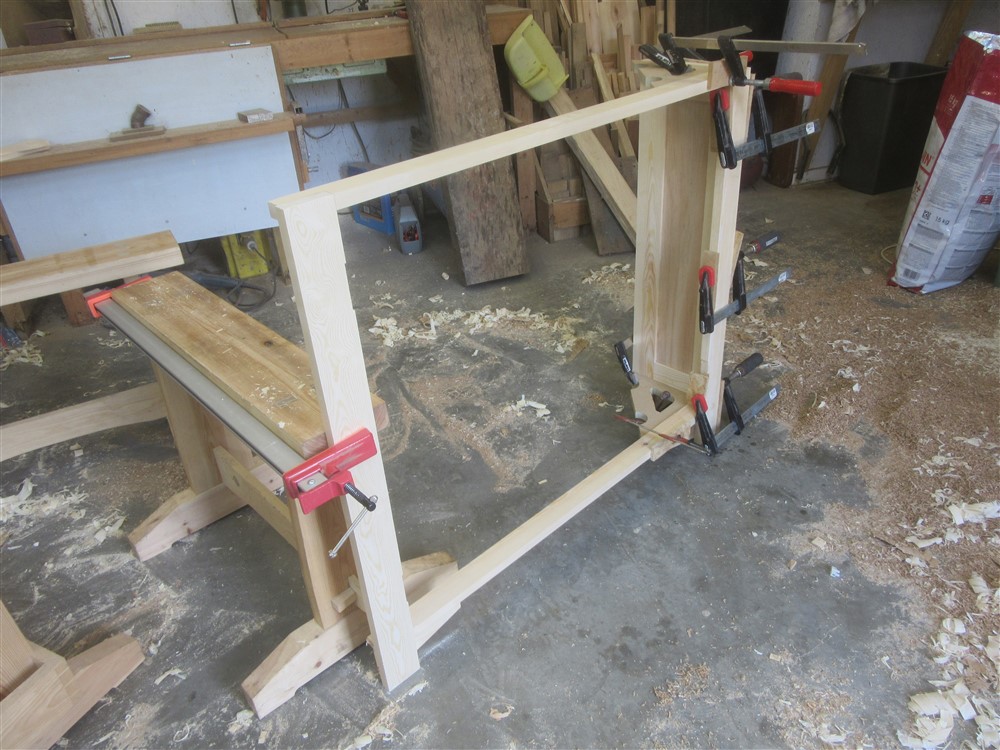
I had also started on the face frame:
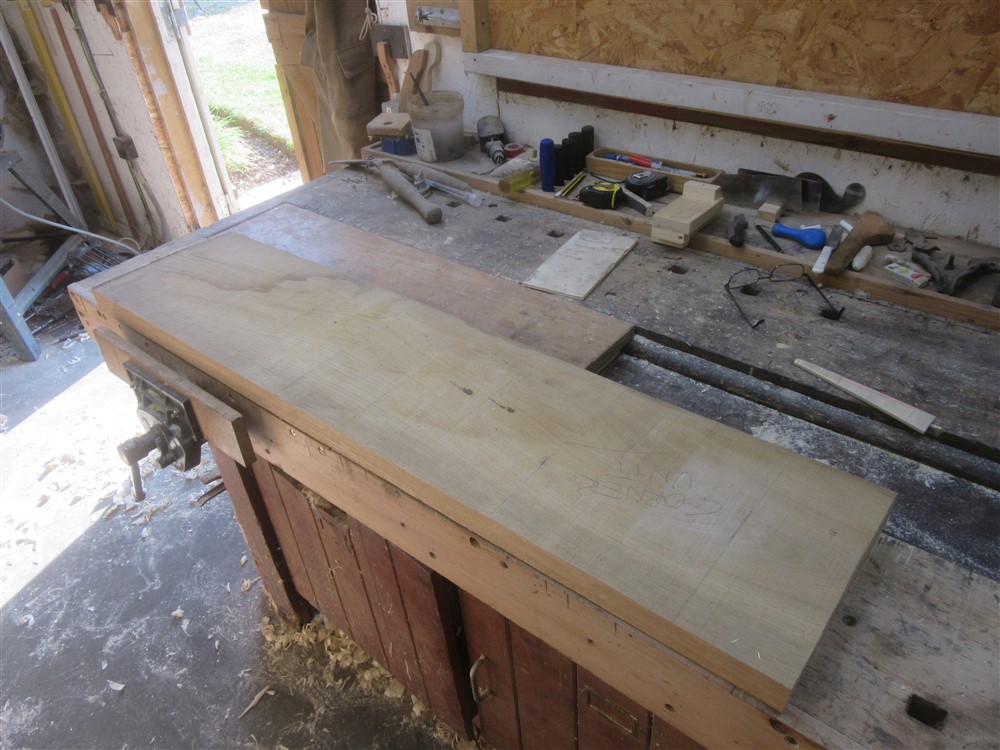
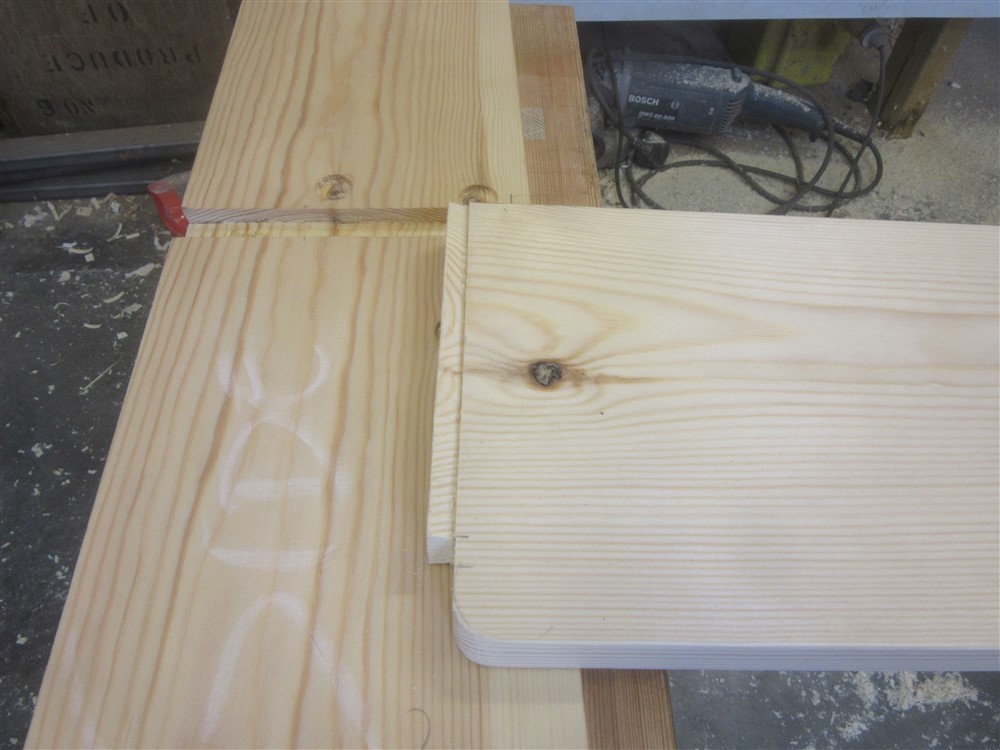
Whilst that was in clamps, I grabbed the piece of oak I'd set aside for the worktop:
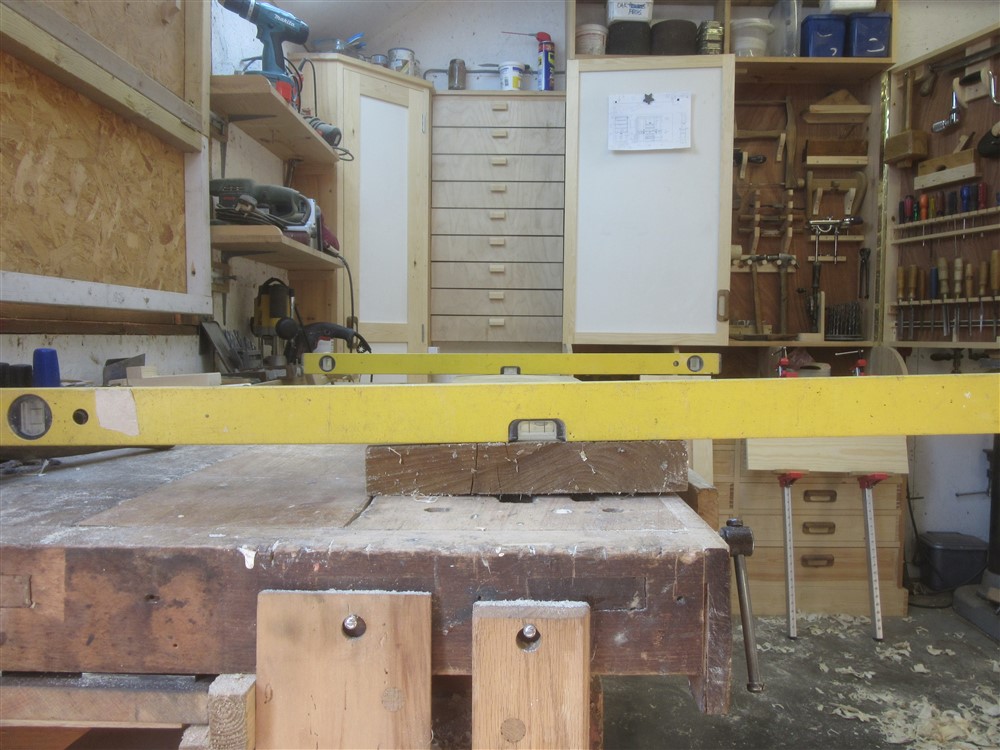
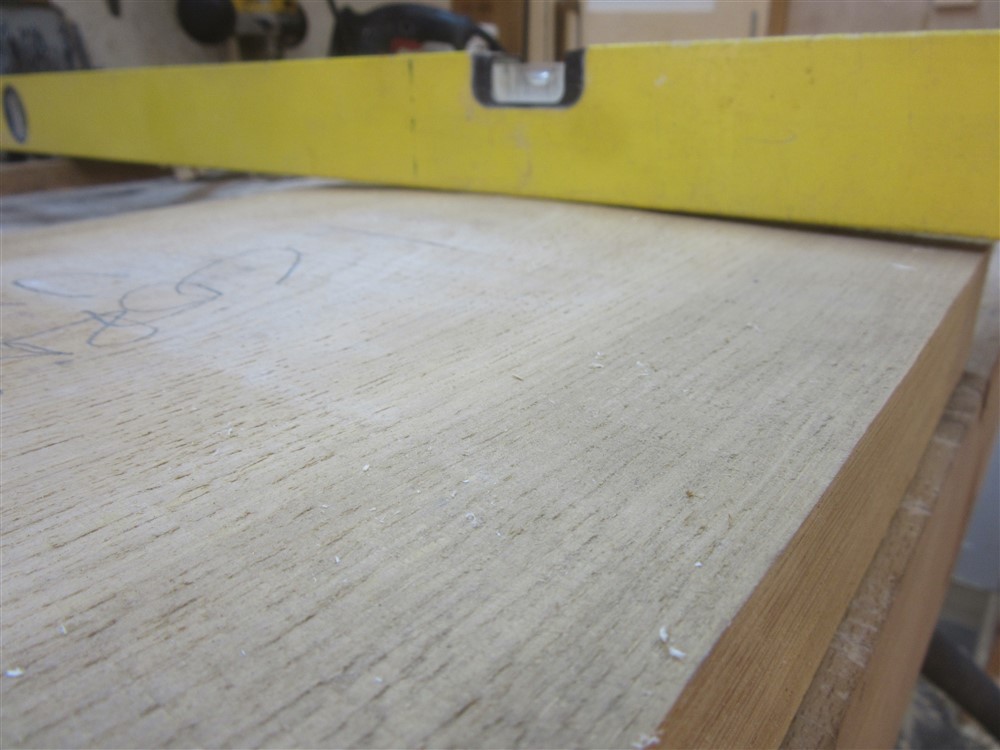
Not only was it in wind:
......but it was also badly cupped:
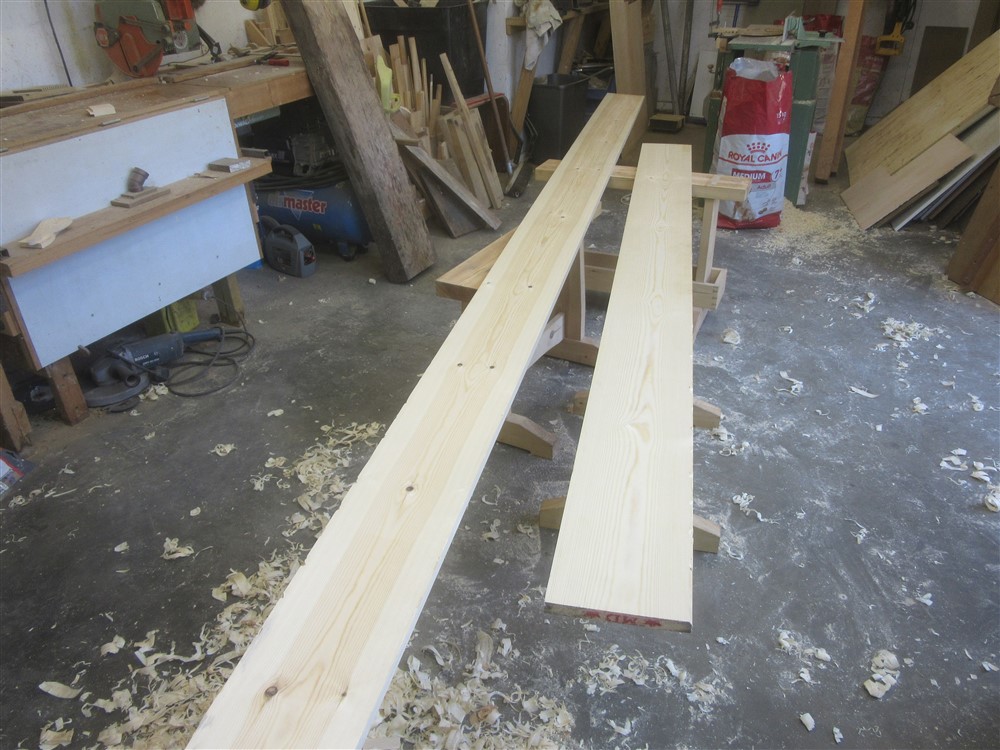
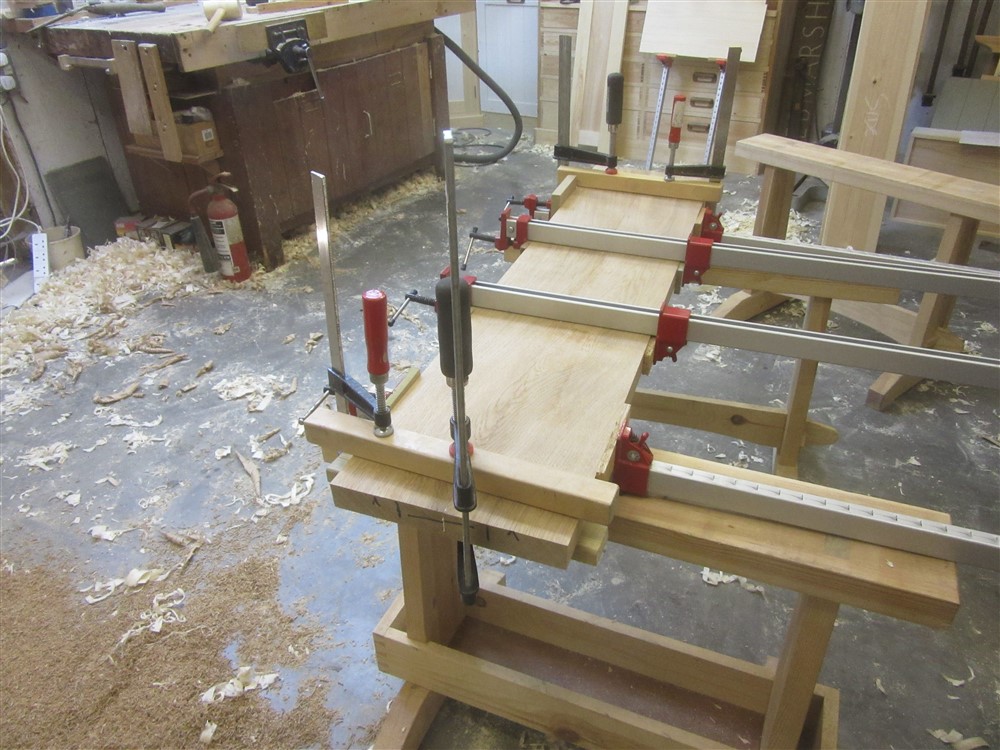
So I ripped it lengthways, planed up the separate boards, then glued it back together again:
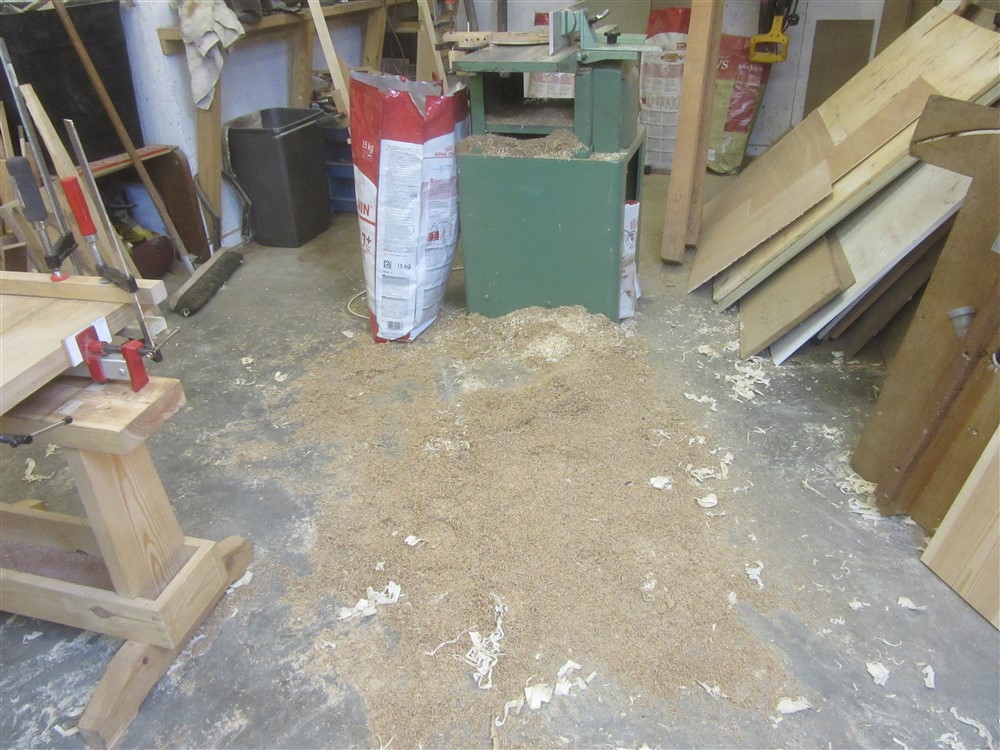
I used the PT, and my normal chip extraction system:
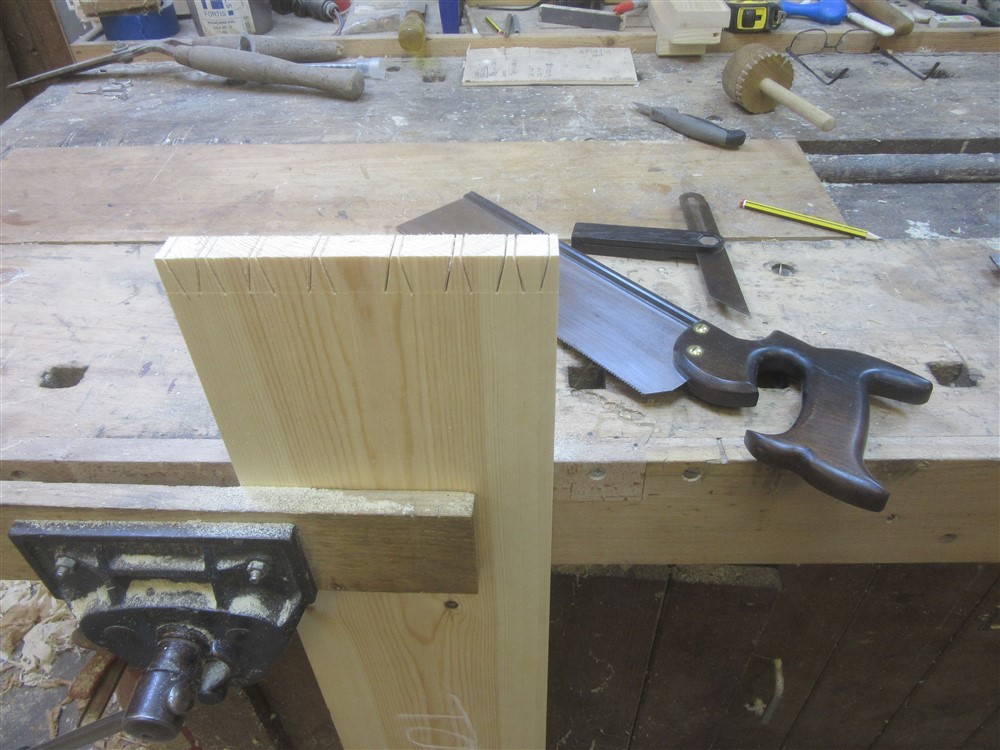
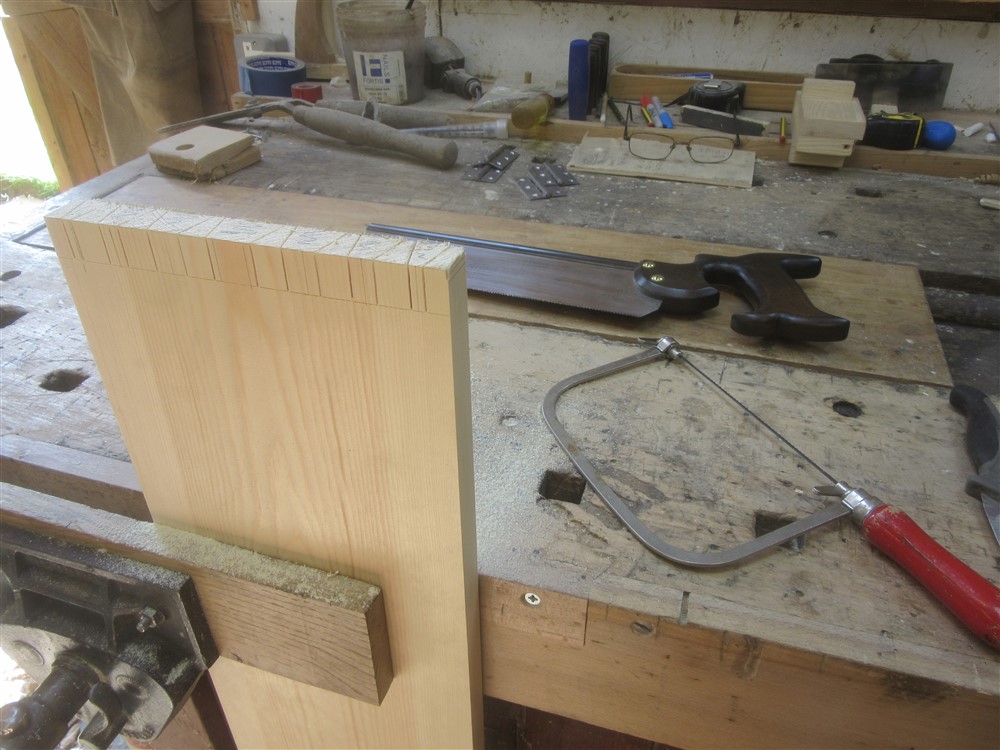
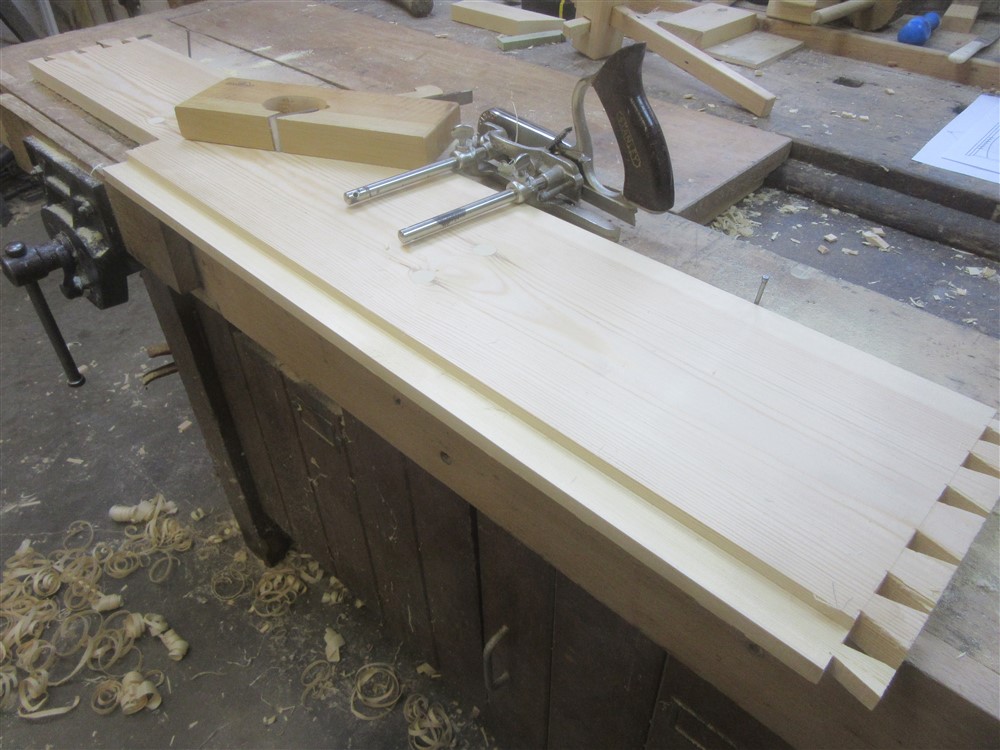
Whilst that was drying I started on the tailboard for the bookshelves that sit on the top:
That was Saturday.
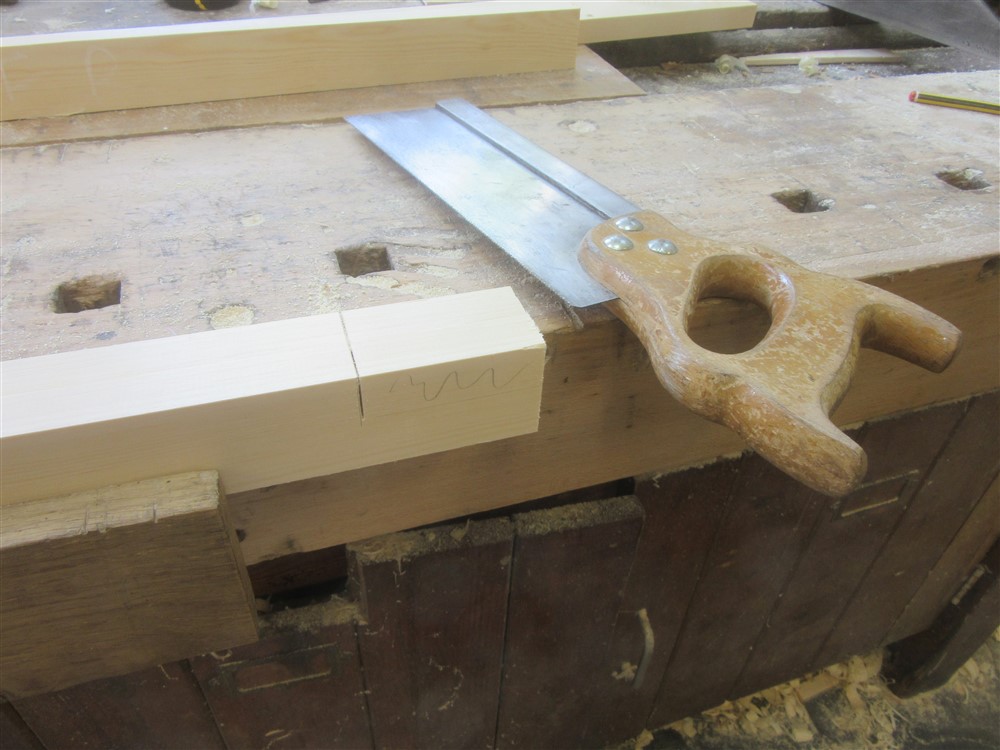
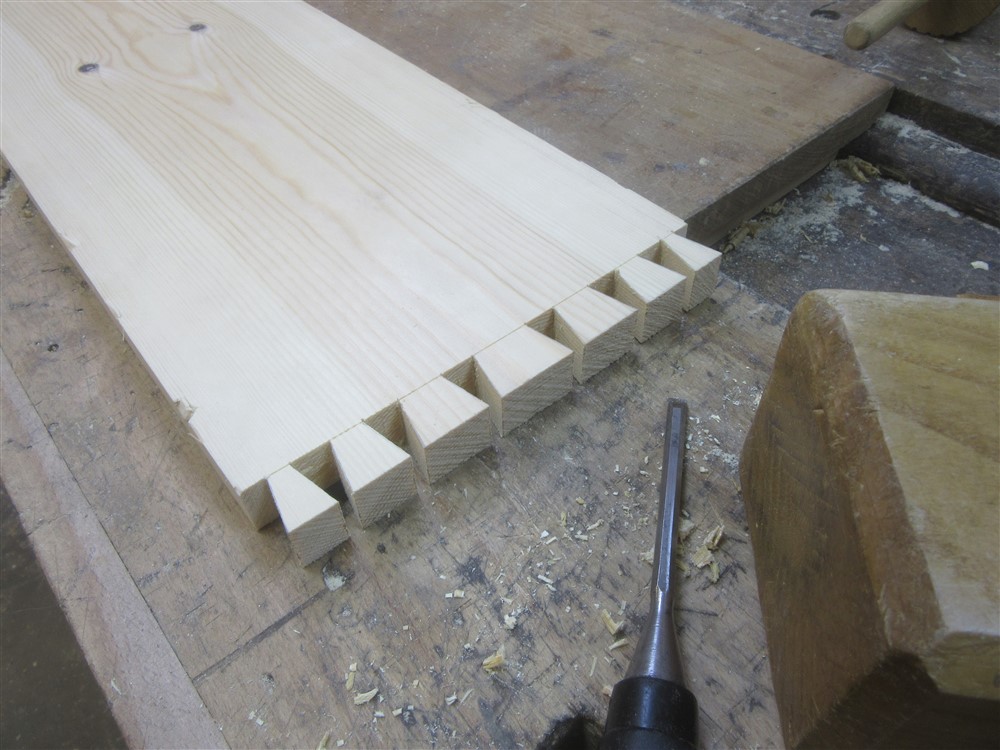
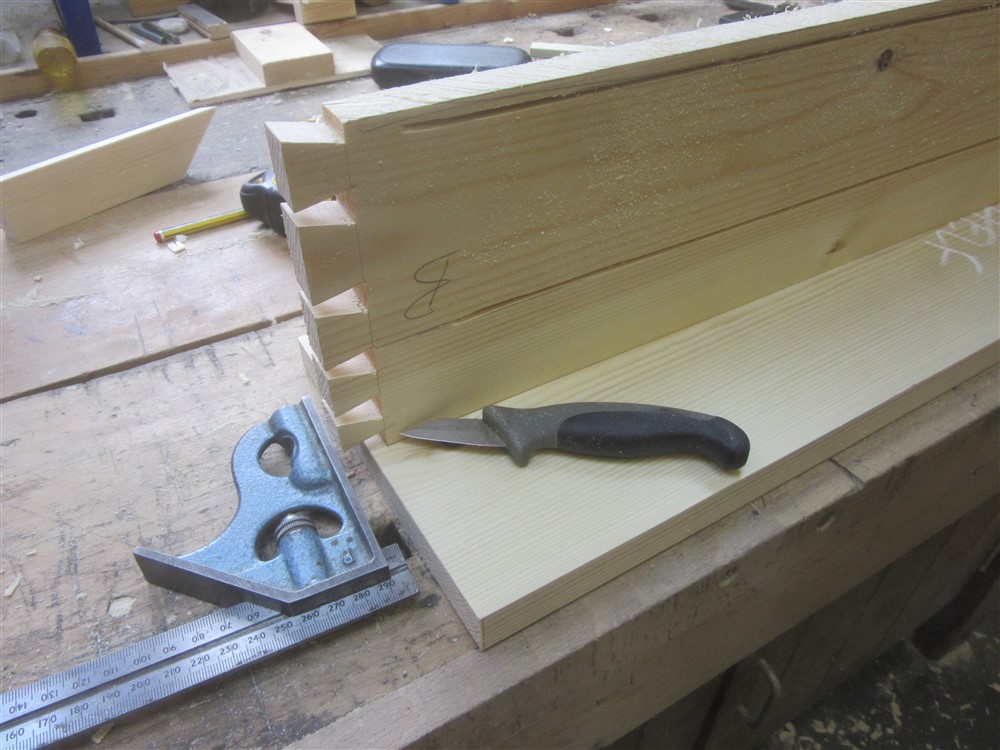
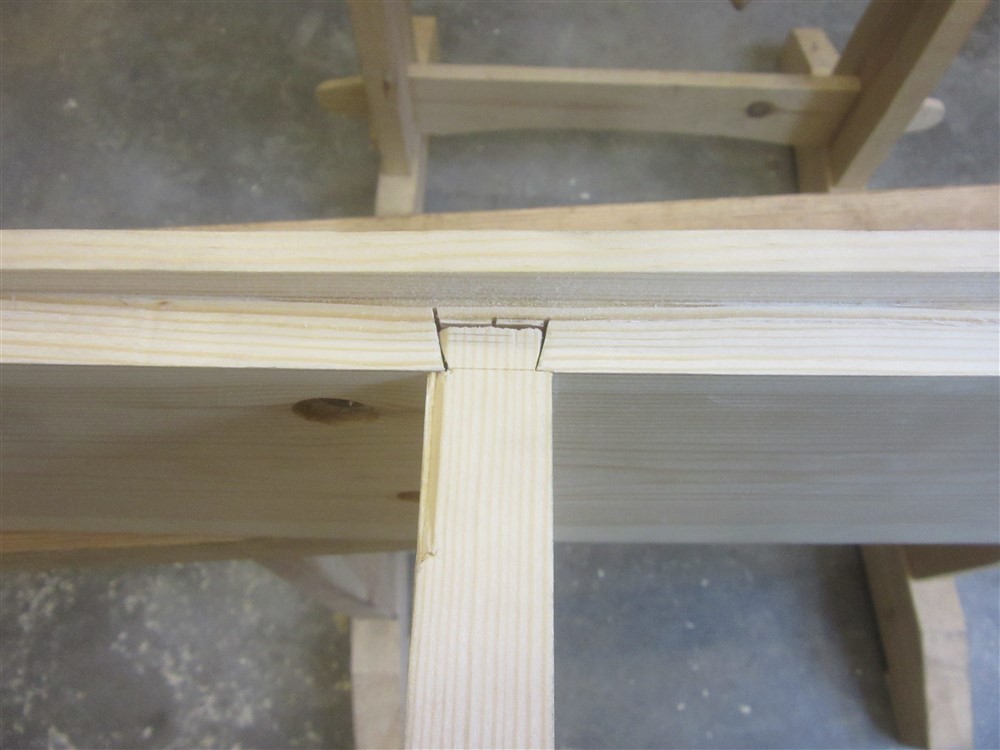
I de-clamped everything on Sunday morning. I always love that job first thing in the morning. The I chiseled the dovetails:
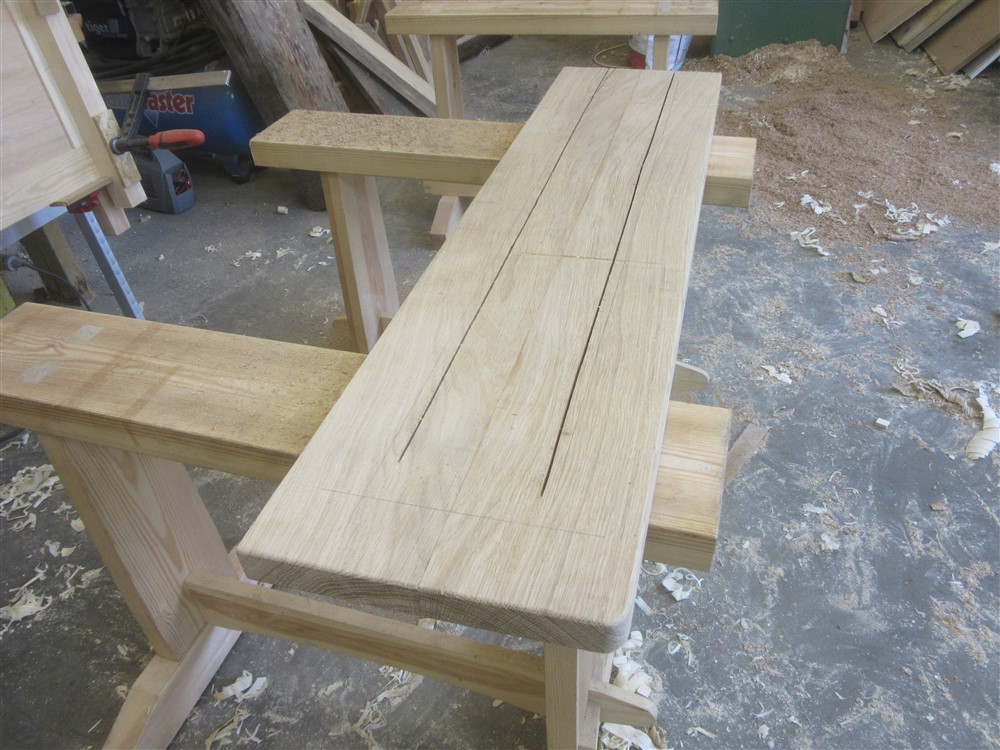
After finishing the preparation of the oak board, which had re-joined nicely, I ripped two relief cuts along most of its length. This unit is going to suffer from being over the manifold. It will get hot and dry, and I expect shrinkage. To help mitigate any cupping, relief cuts like this do an excellent job:
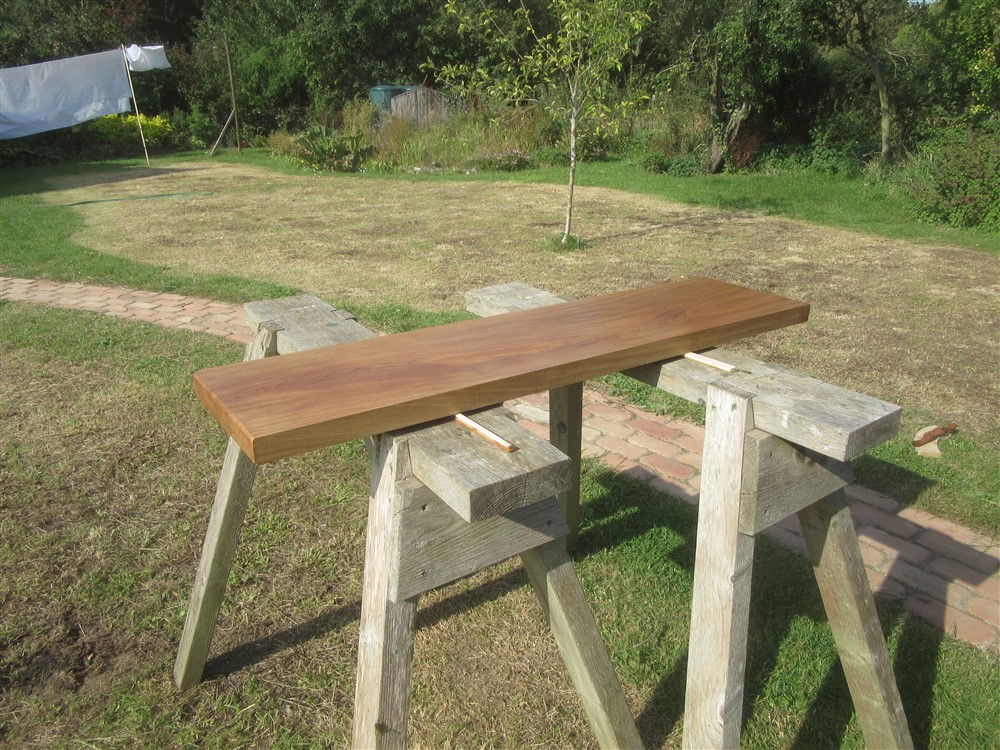
I slapped on the first coat of wiping varnish/ oil mixture, and left it outside to dry:
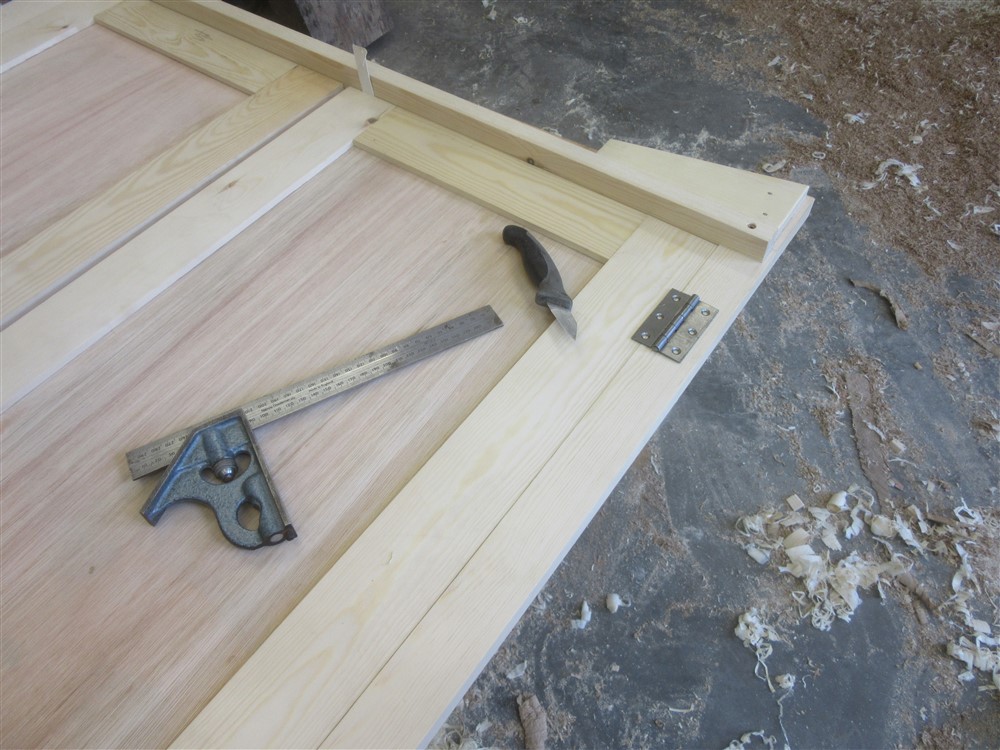
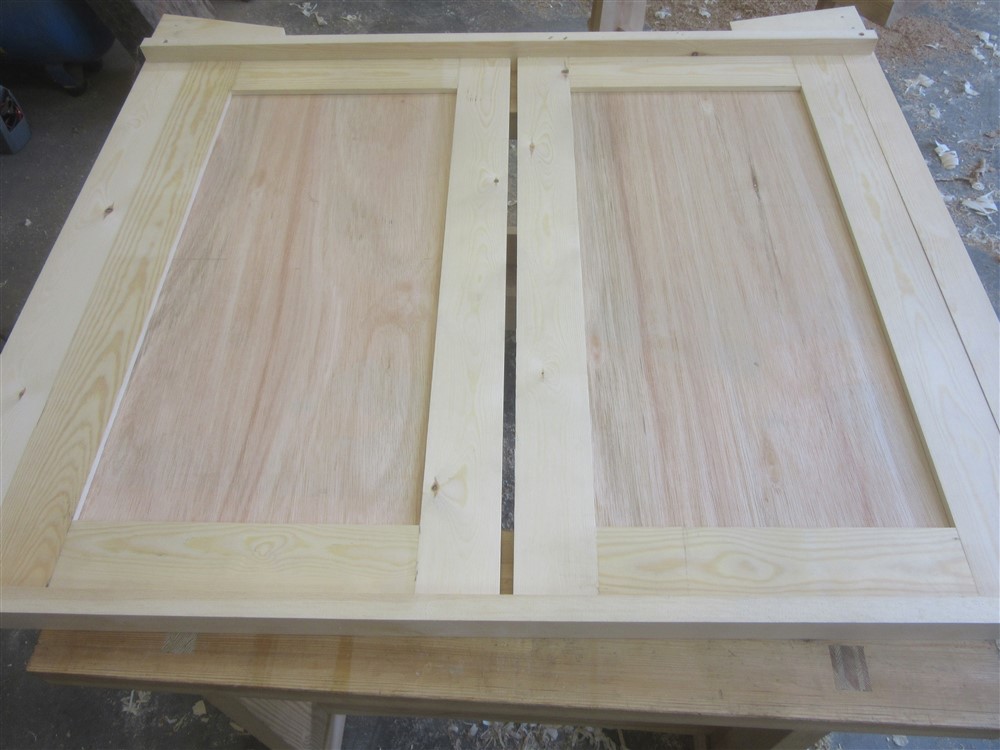
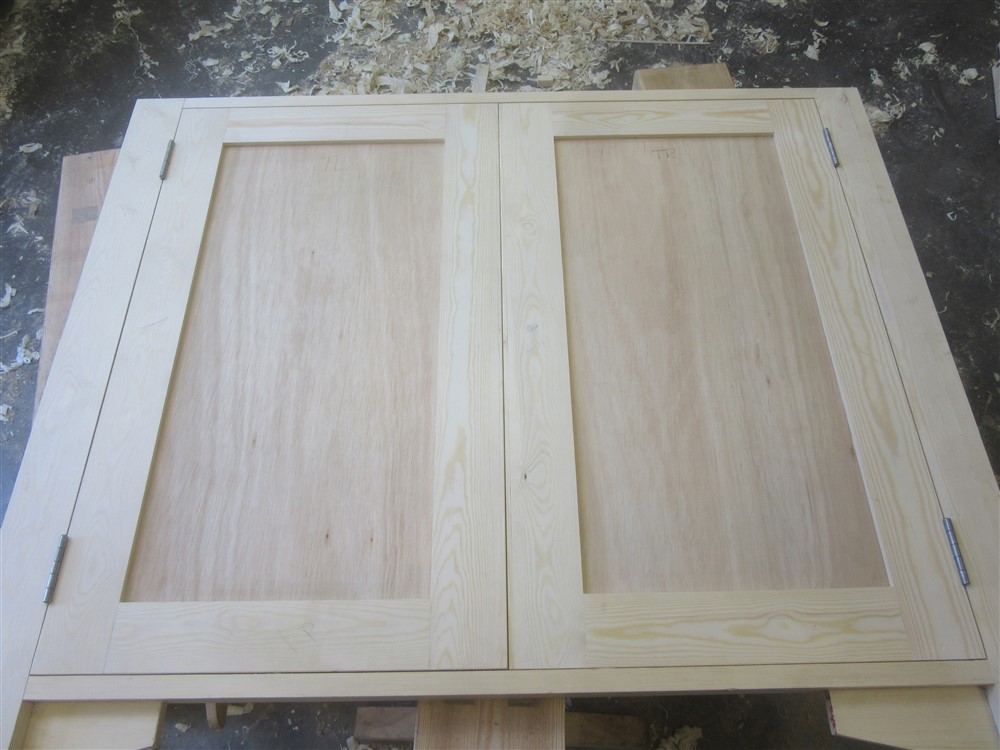
Ooooh, I made some doors on Saturday, too. I must have forgotten to take any photos. Anyway, here I am able to set out the hinge locations prior to fitting them into the door edges, because everything is still flat:
But look at this monumental cock-up! Clearly something had gone wrong with my back-of-an-off-cut measurement, calcs, and cutting list:
Having chopped out for the hinges I could now glue the unit together:
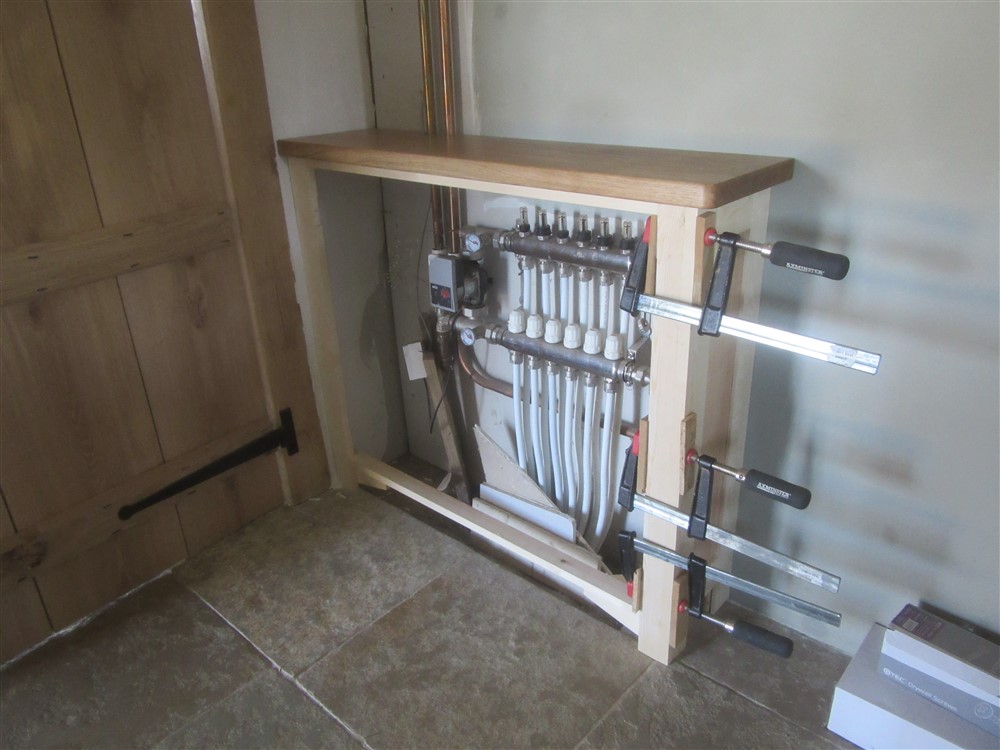
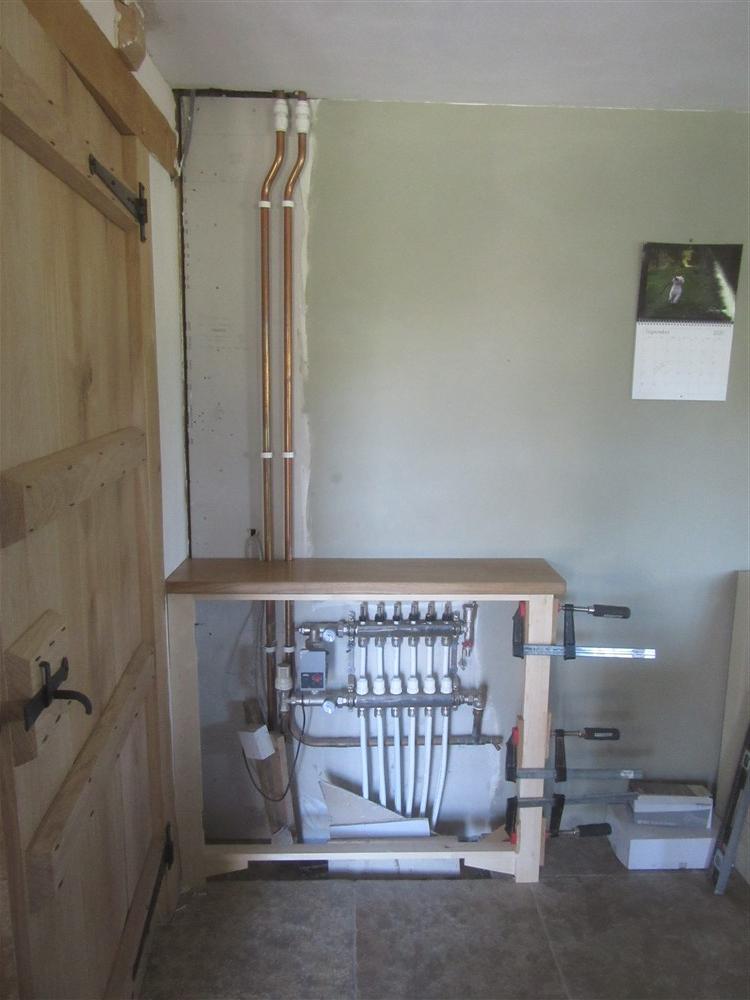
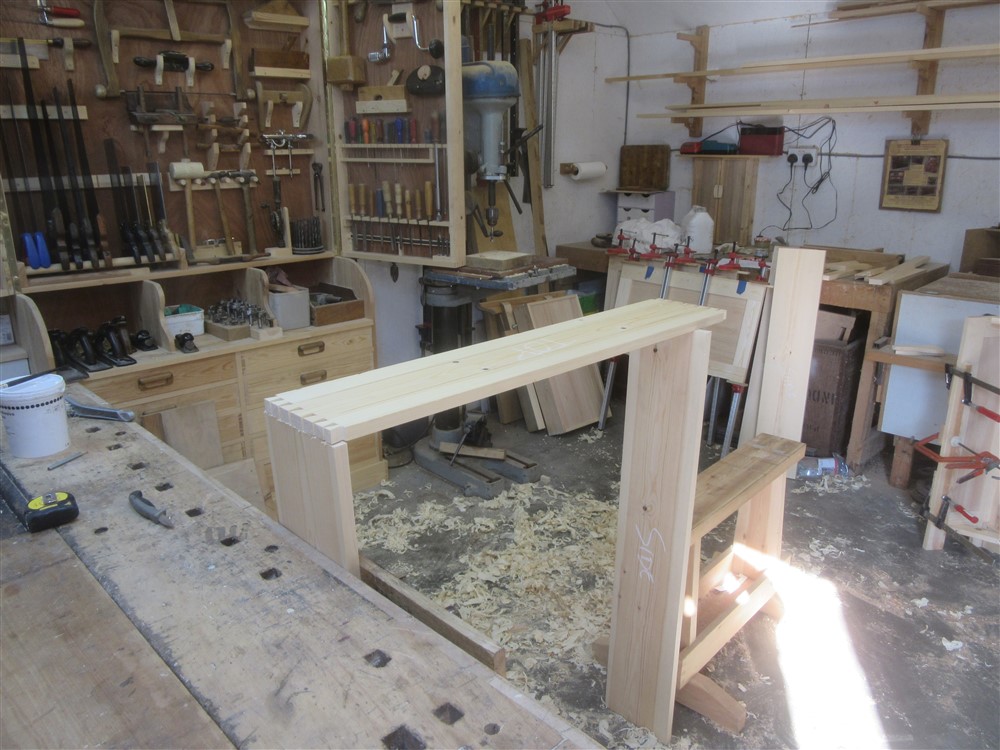
Whilst it was still in clamps I offered it up in its location so as to check for clearances, and to scribe to the 300 year old (and decidedly wonky) wall:
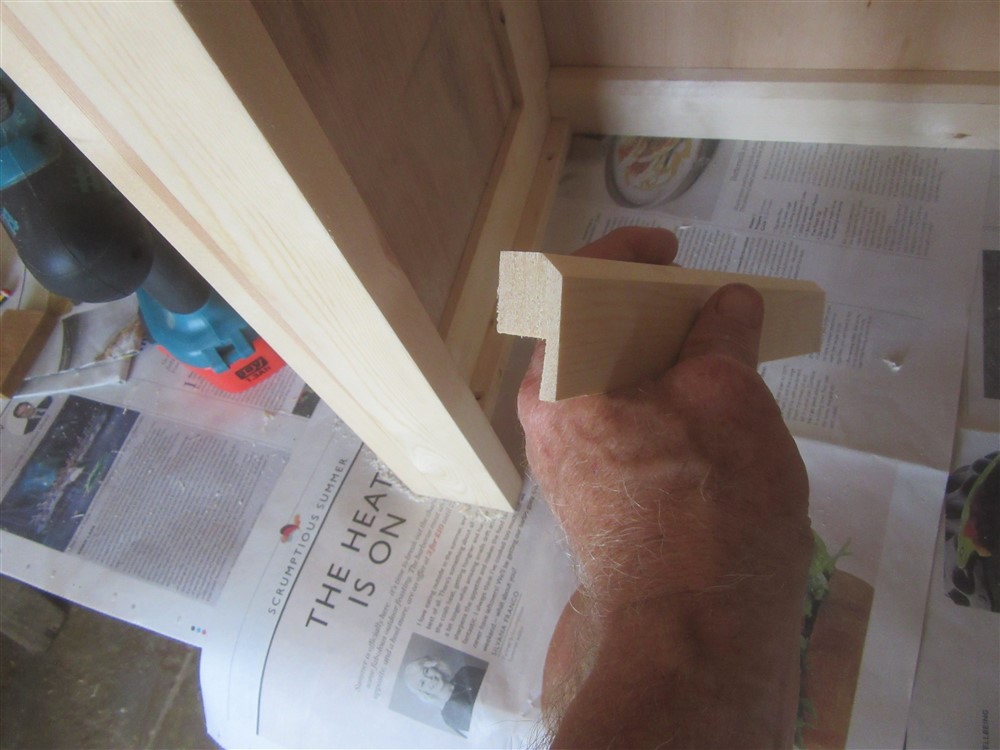
I ripped a strip 6 or 7mm wide and glued it to the leading edge of each of the doors:
Whilst was waiting for glue to go off, I carried on with the shelves:
Time for a bike ride, and that was Sunday in the workshop done........
This afternoon I grabbed a couple of hours on this. I started by cleaning up the widened doors, and planing them to fit:
I made them really tight fitting because I expect substantial shrinkage:
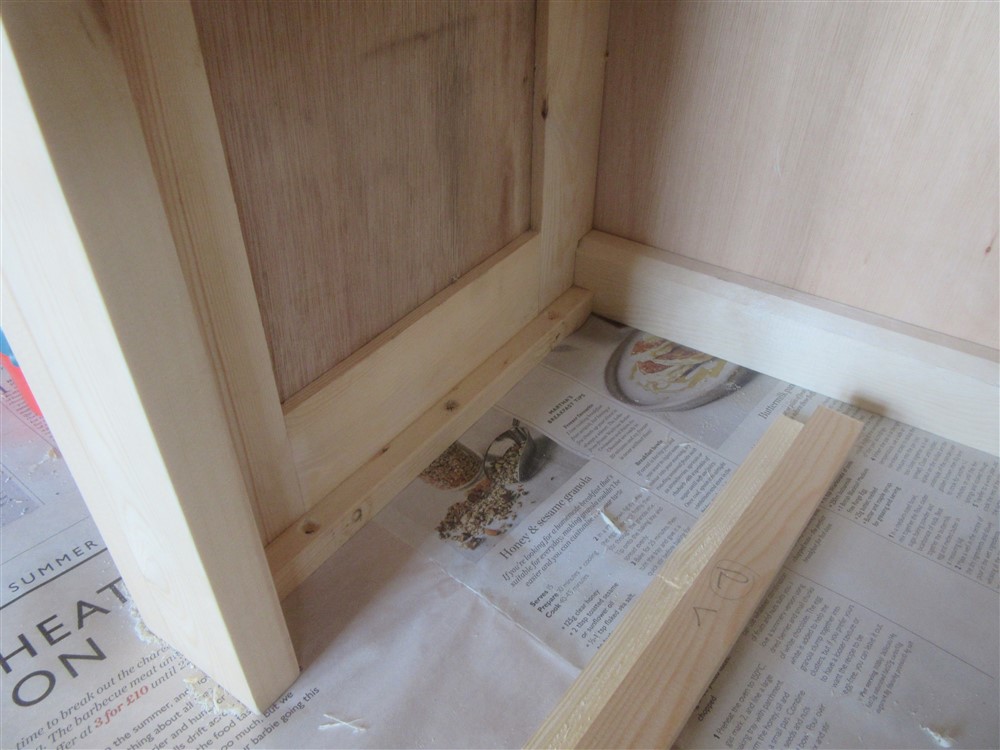
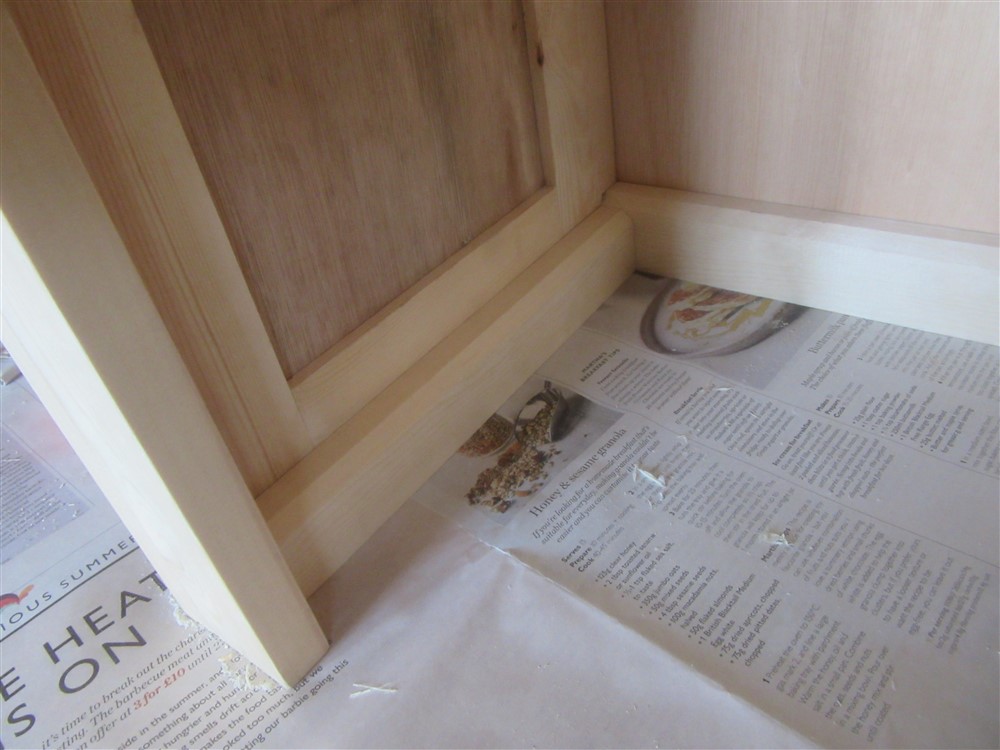
I cut up some 95 x 19 for skirting boards:
After running the moulding on the router table, I scribed it to the stone floor, which was surprisingly un-flat:
I screwed the unit to the wall, and pinned and glued the skirting. I also mitred in the little bead on the door panels:
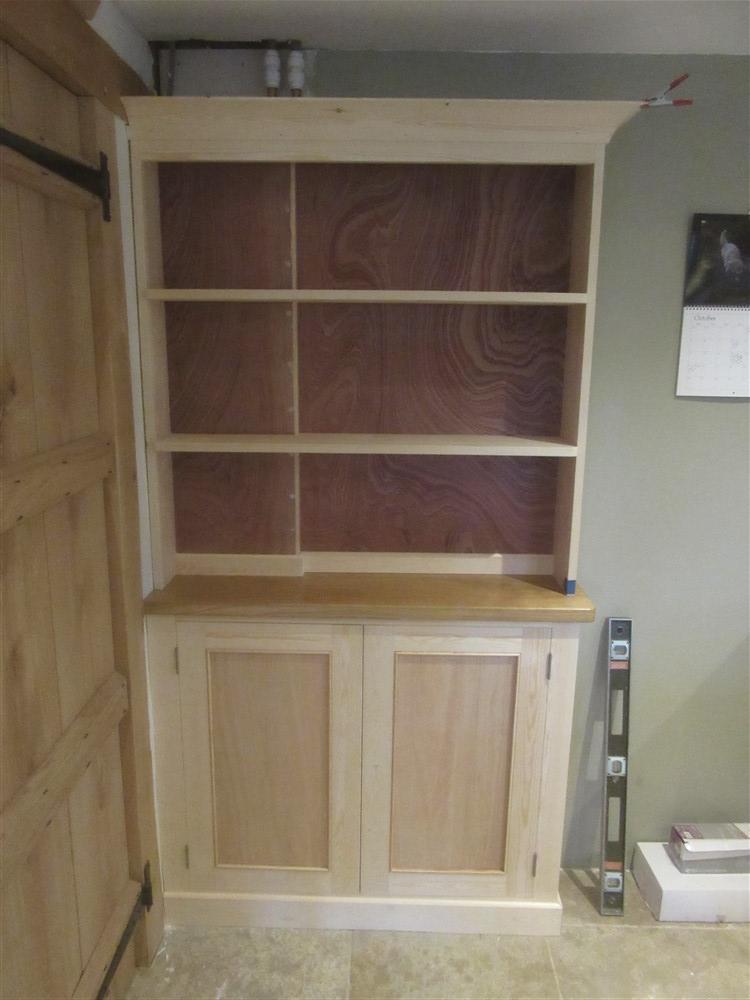
The first coat of paint took 3 hours on each half of the dresser. I claim no credit for that:
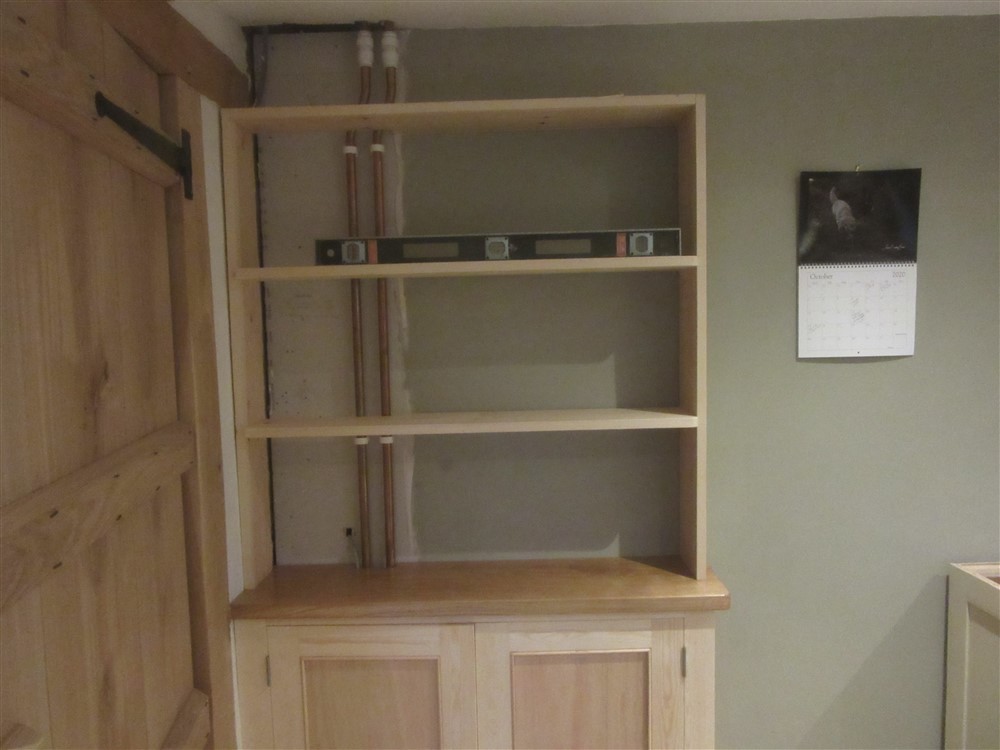
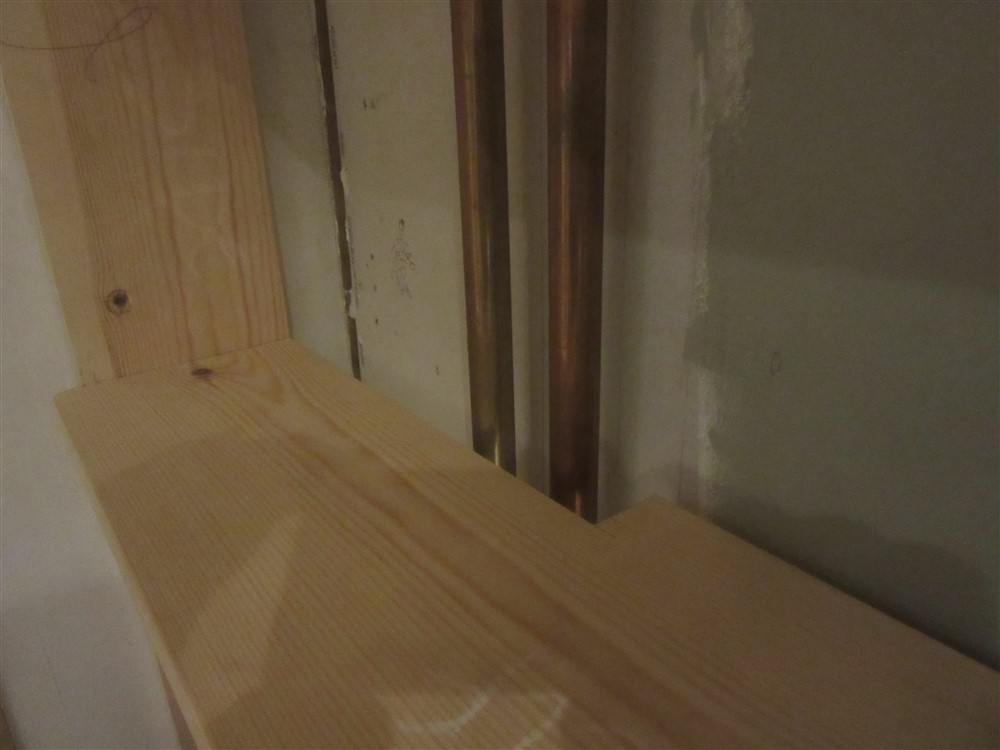
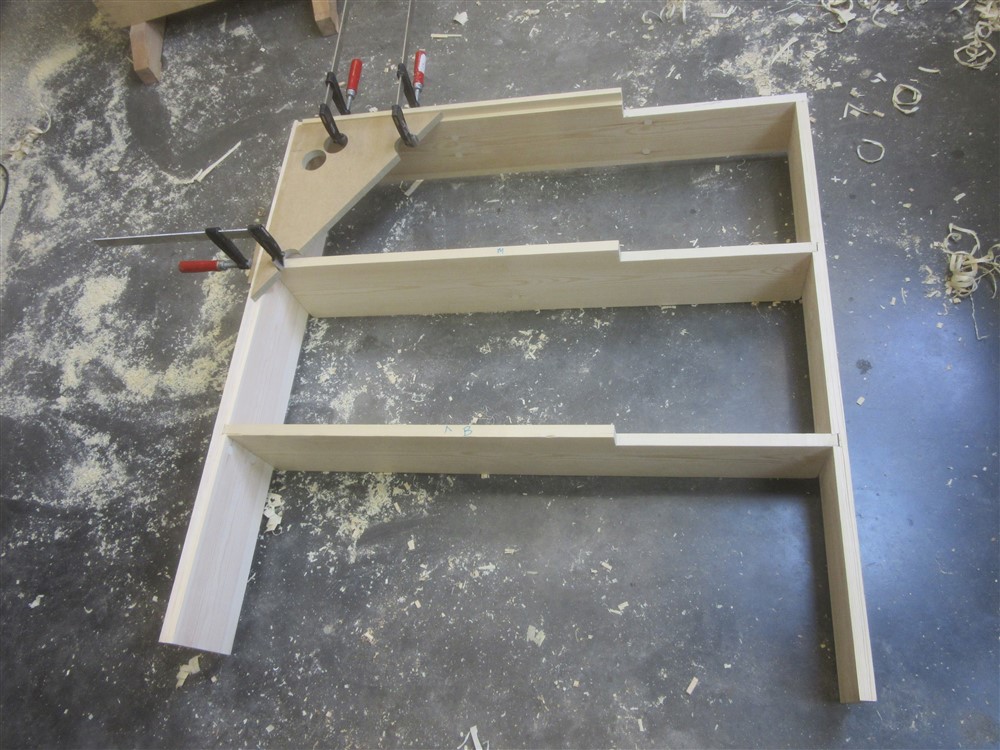
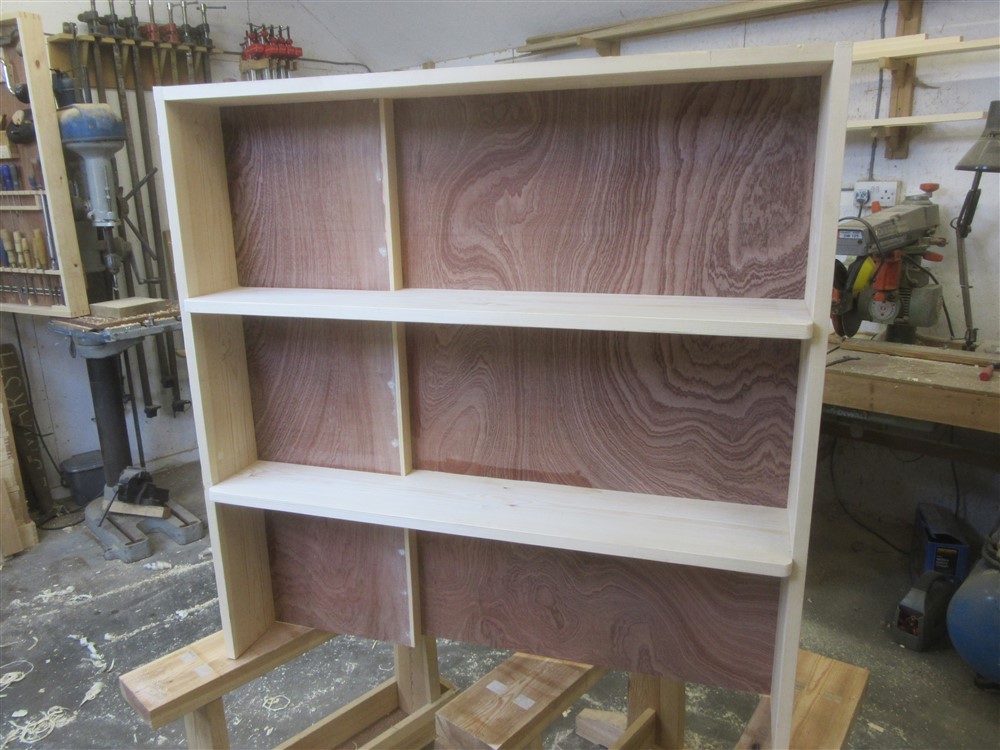
Finally, I marked up the top and sides of the bookshelves to avoid the pipes:
I scribed the RHS vertical to the wall. This is how much the wall is out of vertical:
Twenty mm over 1050. Oh well, that's what you get with old timber framed houses.
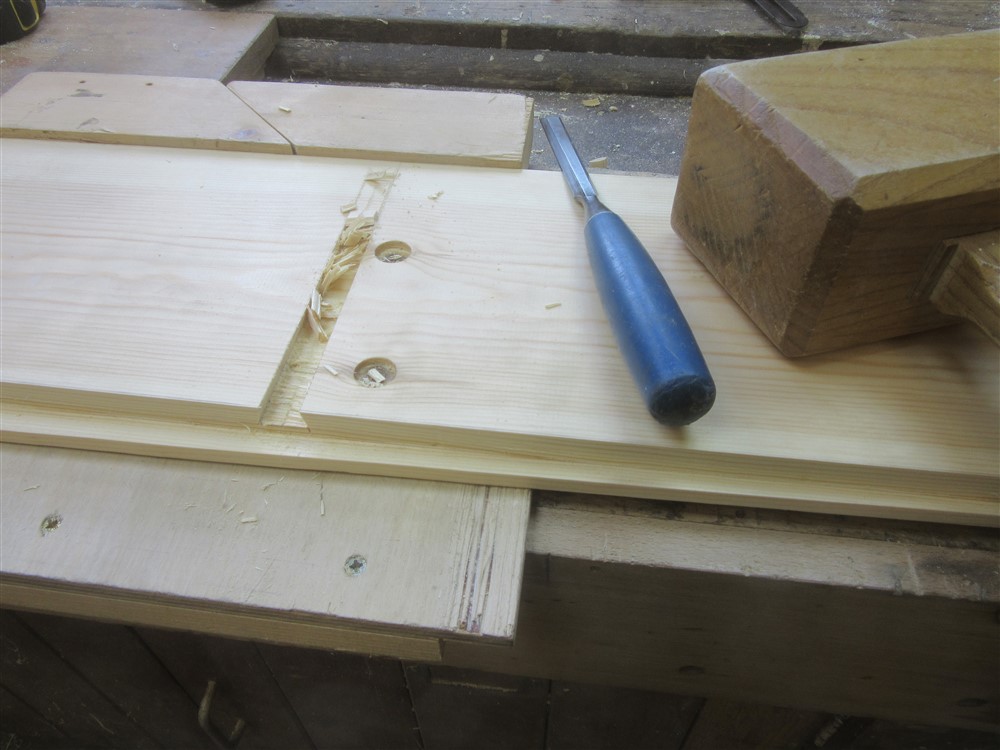
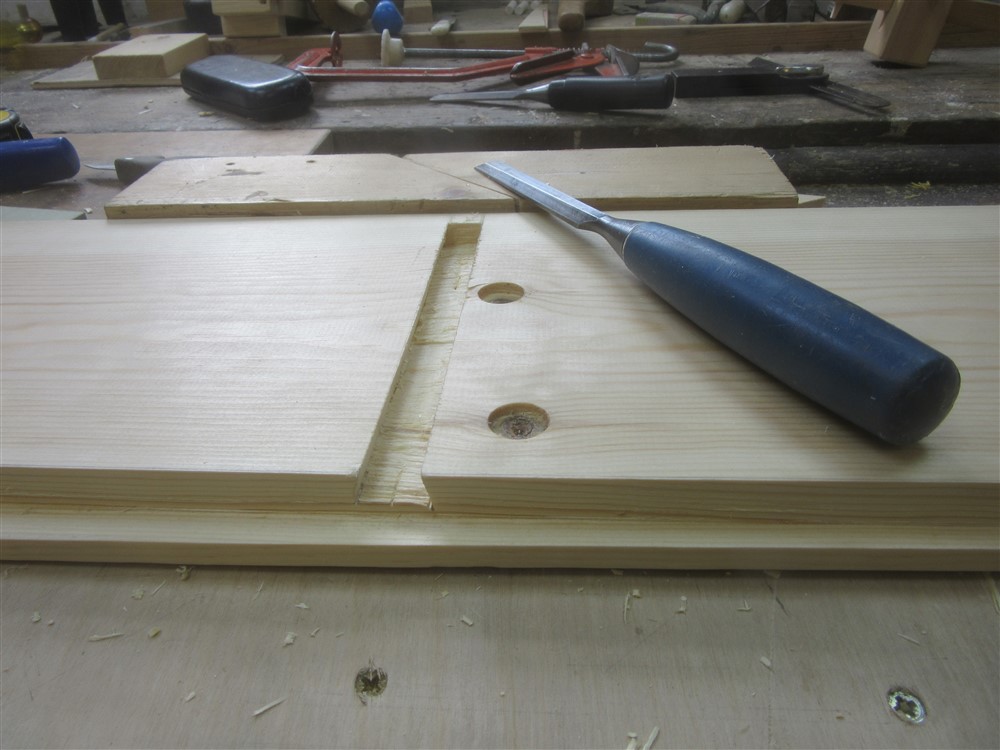
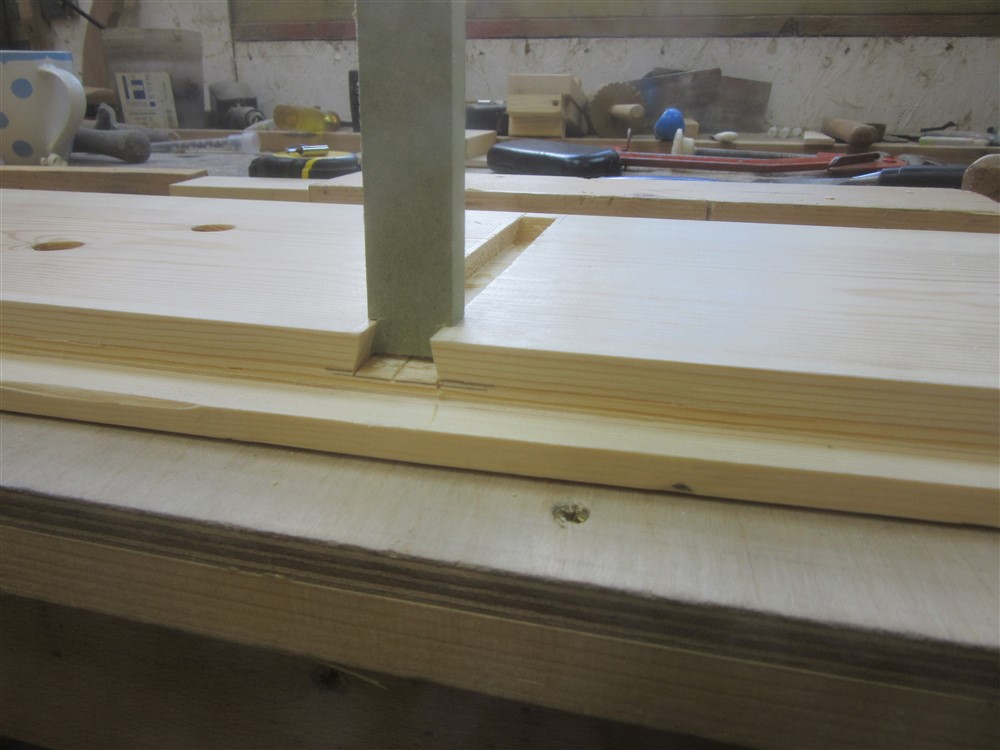
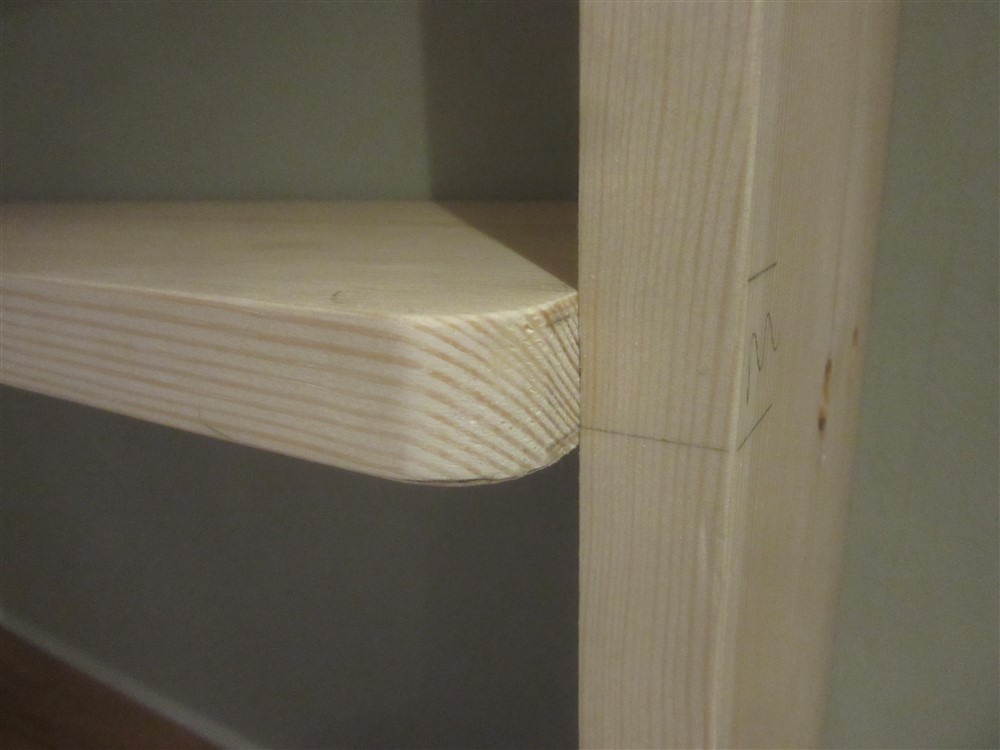
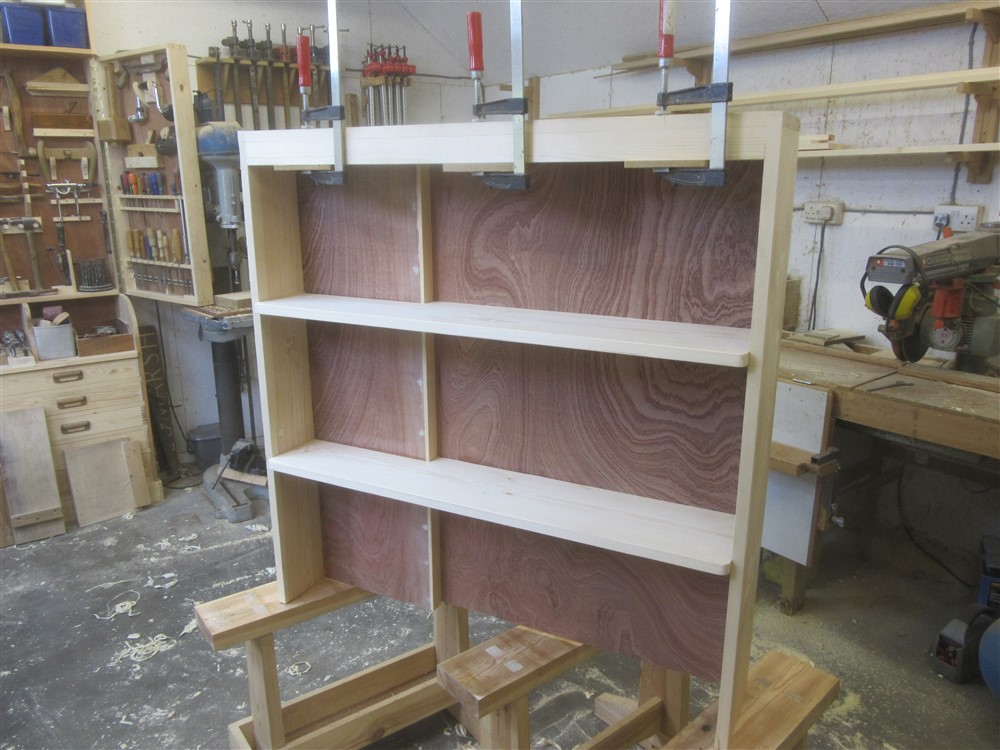
I marked up for the shelf locations (cook-book sized spacings), and made a quick template for a sliding dovetail:
That's it for now. I shan't get back to this until the weekend.


