Kitchen dresser

UKworkshop.co.uk

Help Support UKworkshop.co.uk:

This site may earn a commission from merchant affiliate links, including eBay, Amazon, and others.
Status
Not open for further replies.
Warning......lots of photos. :) Maybe a few piccies will distract us from forum navel-gazing.

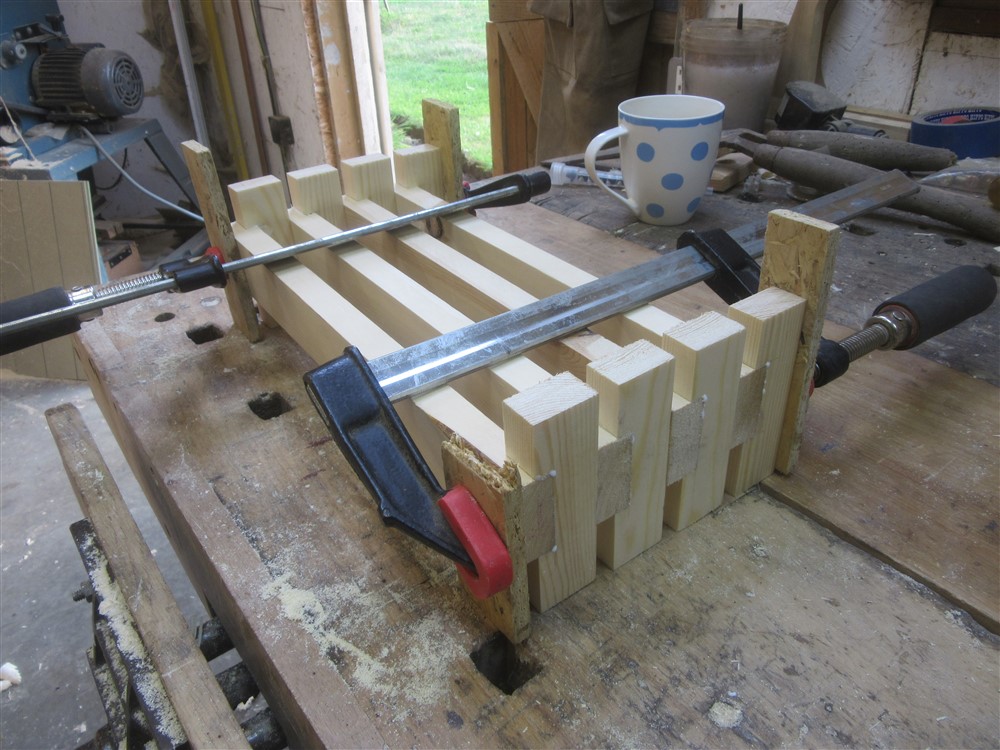
My next task was to make the shelf supports for the floating middle oak shelf. I'm not great at working with small bits of wood, and workholding is one of the reason. This time, it was workholding-by-pins:
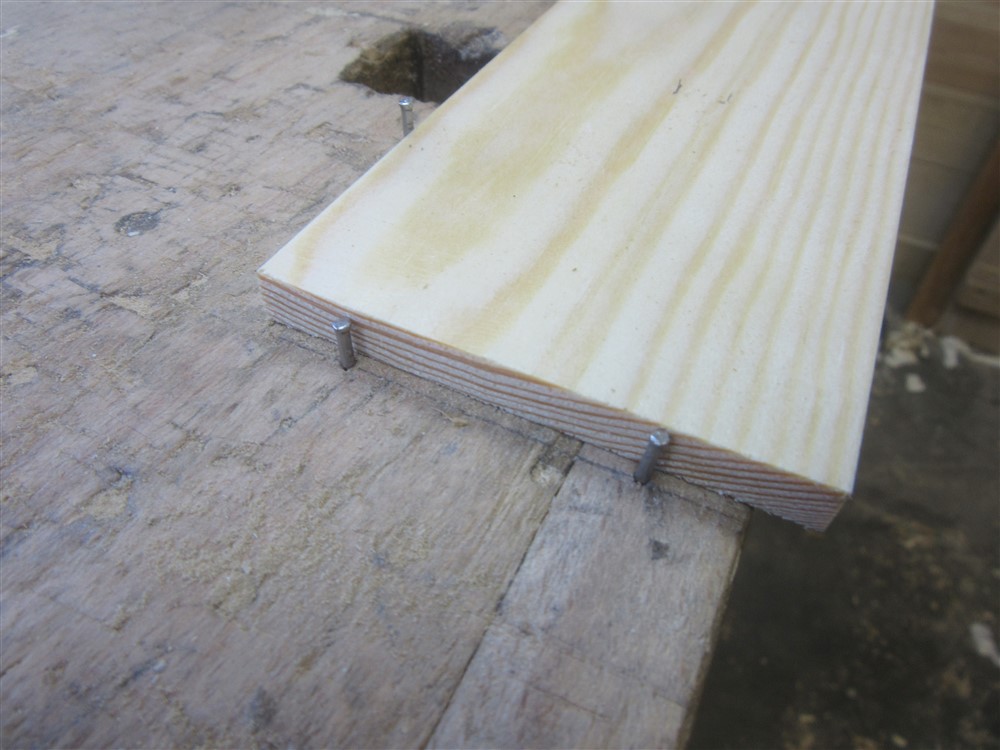
cbdEfhm.jpg


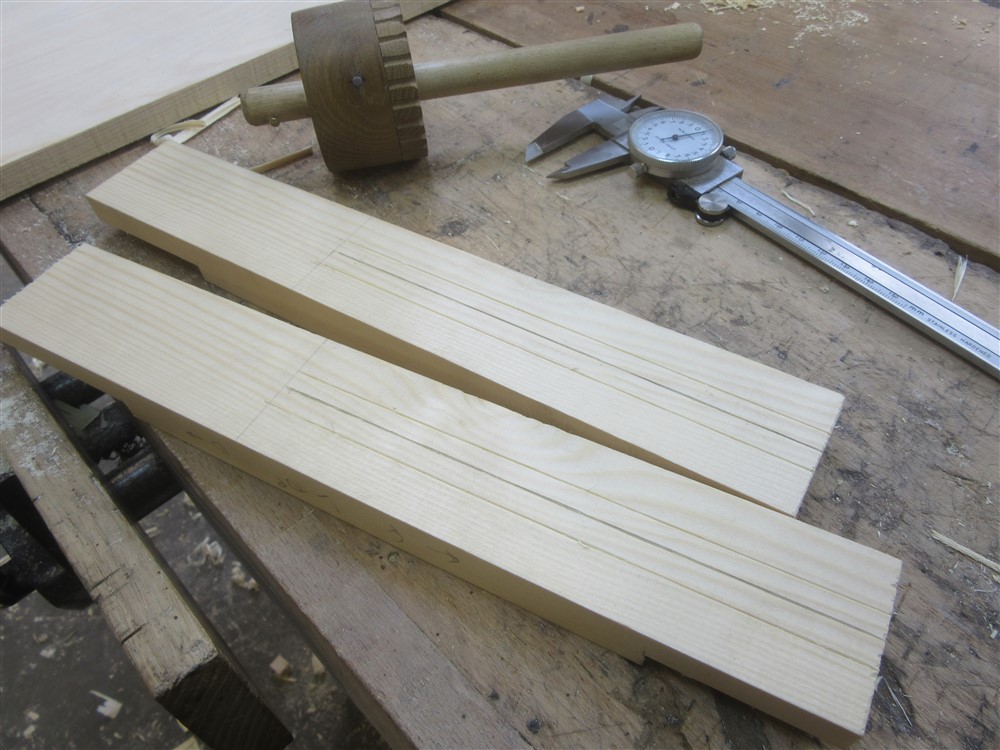
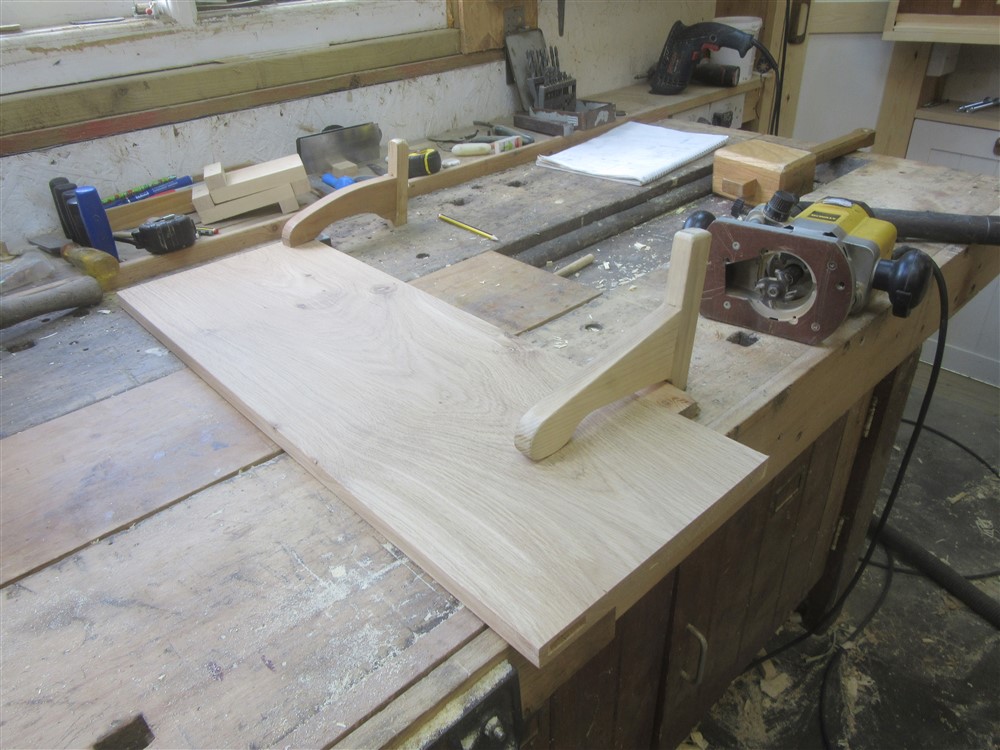
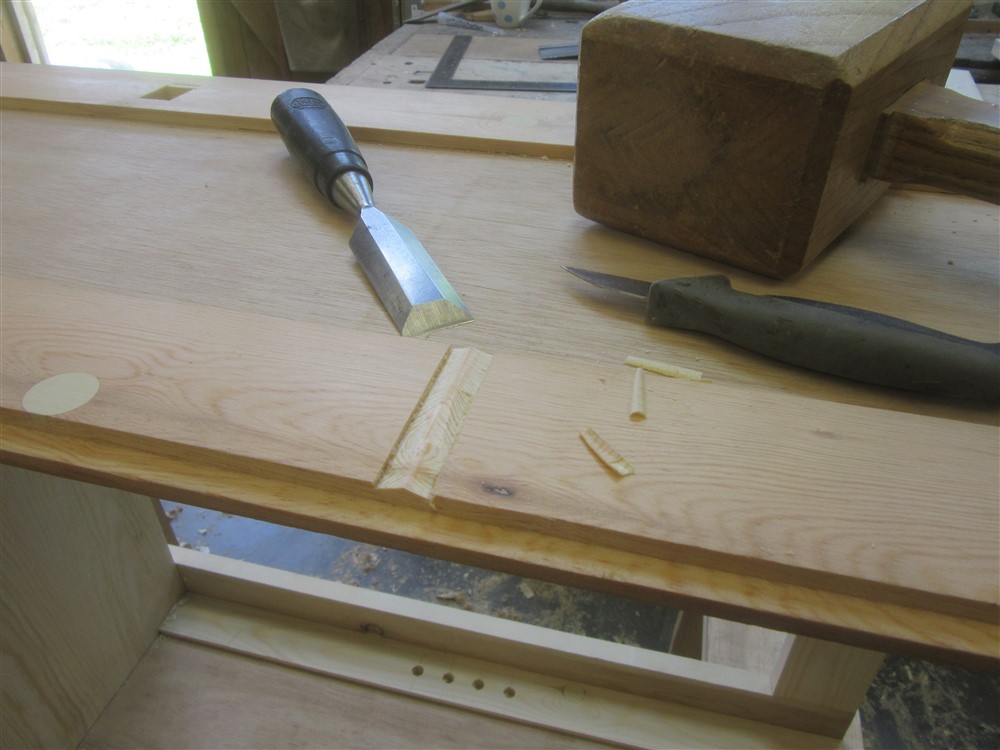
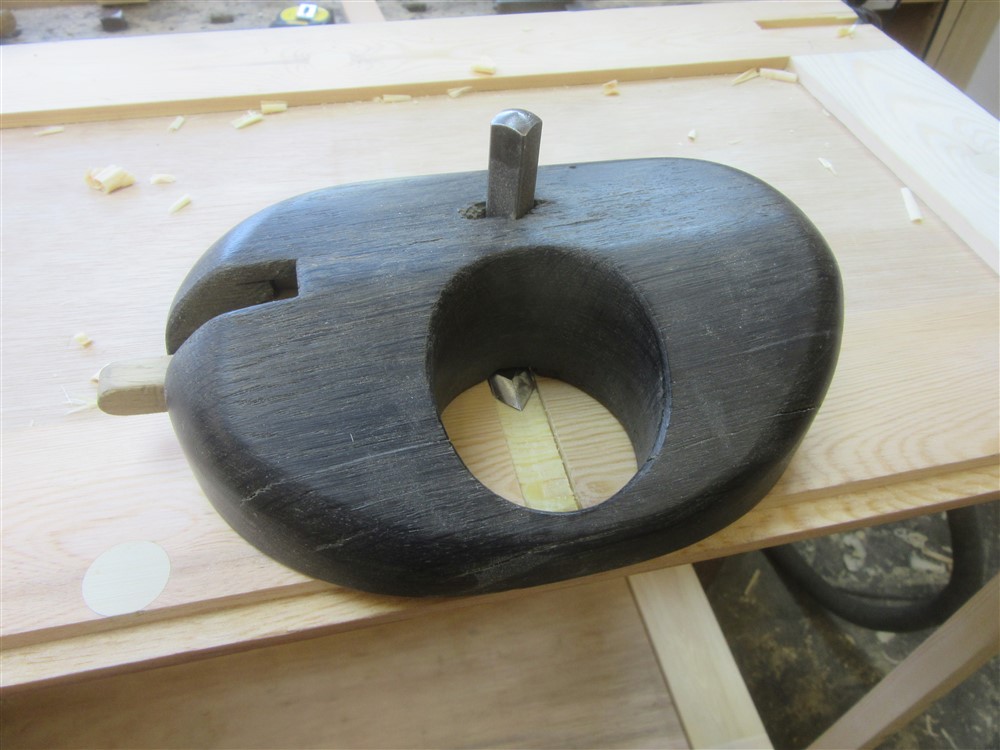
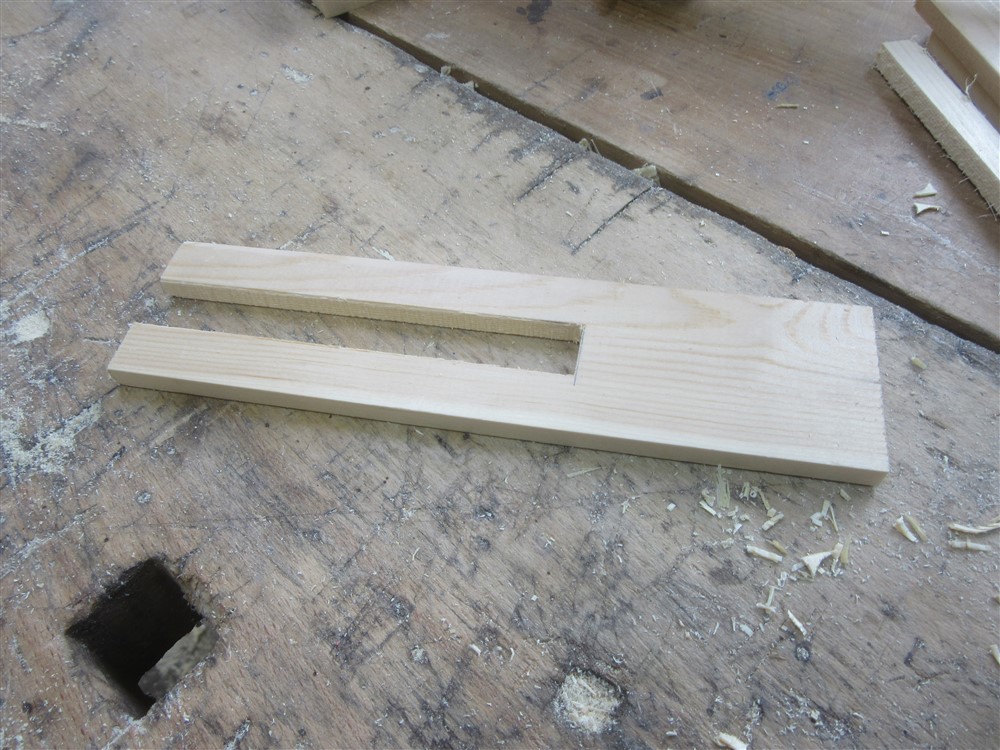
Then I ploughed as much of a stopped groove as I could before I reverted to chisels. Fortuitously, the imperial width of my plane cutter was just a smidgeon less than the metric width of a winged cutter for my router:
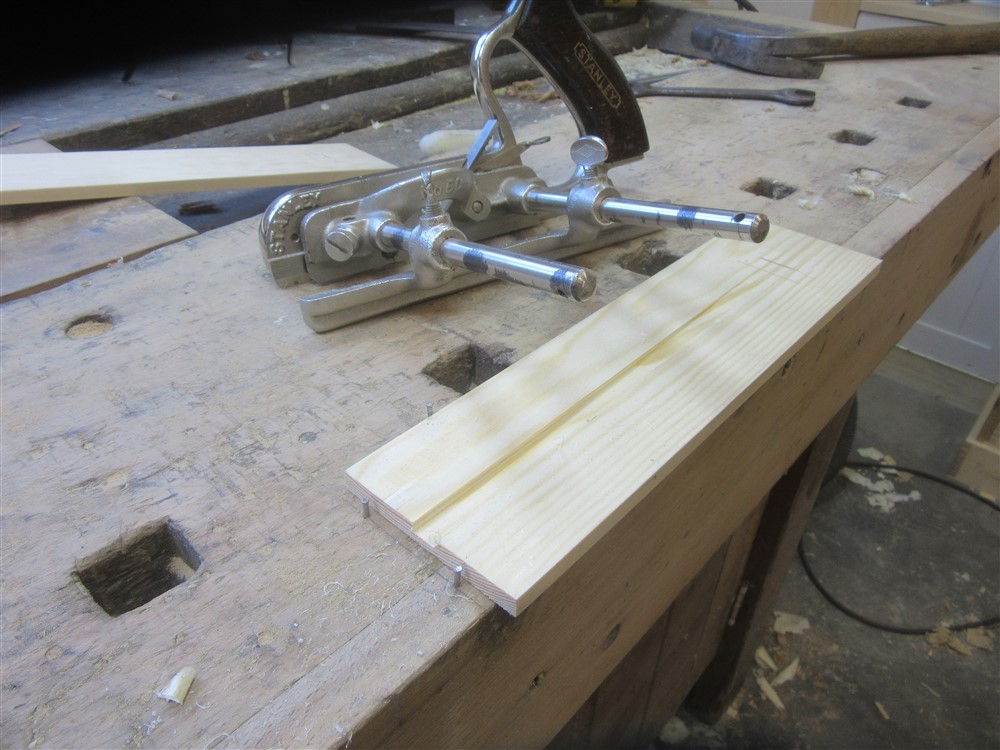
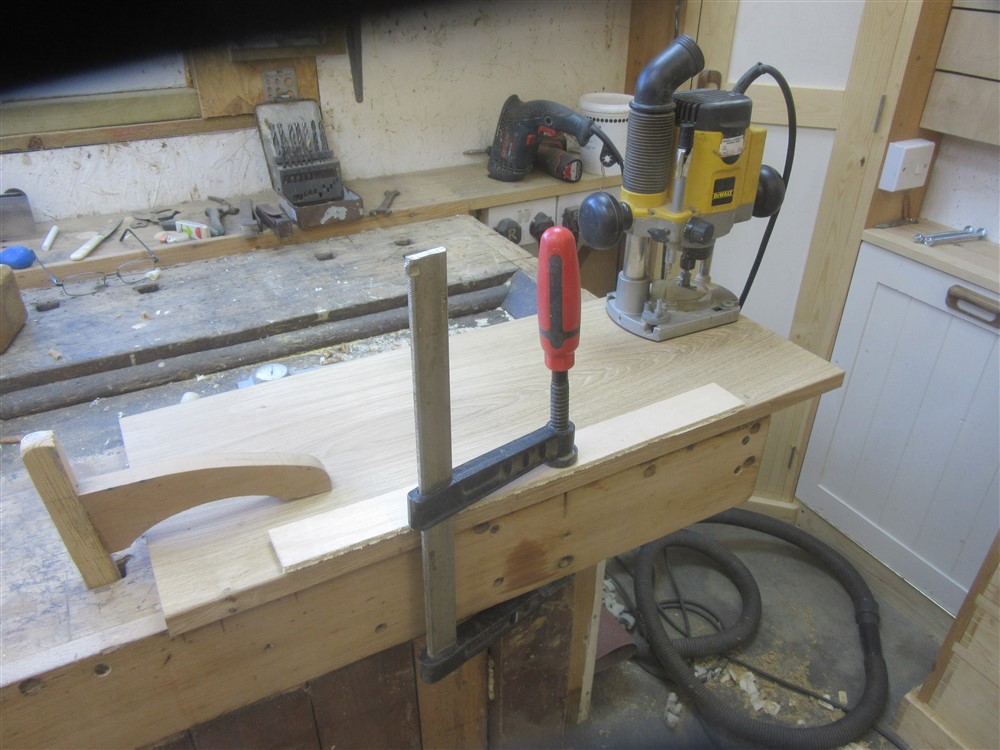
itztmBV.jpg


Zc81oCc.jpg


fLfarmq.jpg


Apologies for the camera. It has a droopy eyelid. My wife has purloined the better one.

I planed up some narrow stuff for a tight fit in the ploughed groove, glued them up, and moved on to other things:
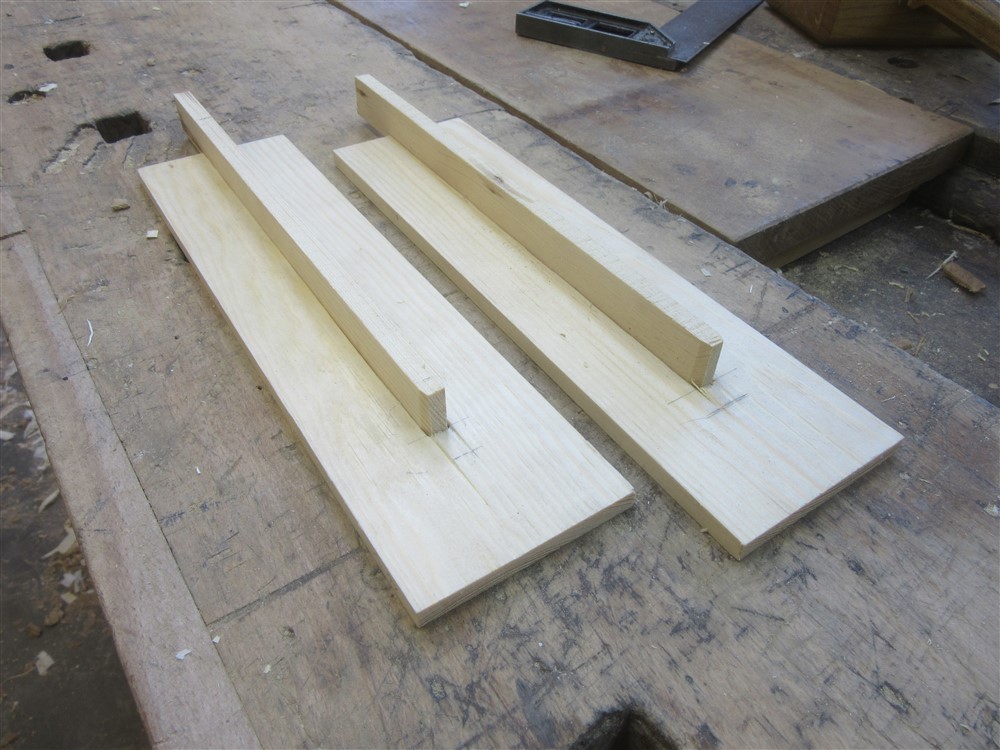
cdnPEYr.jpg


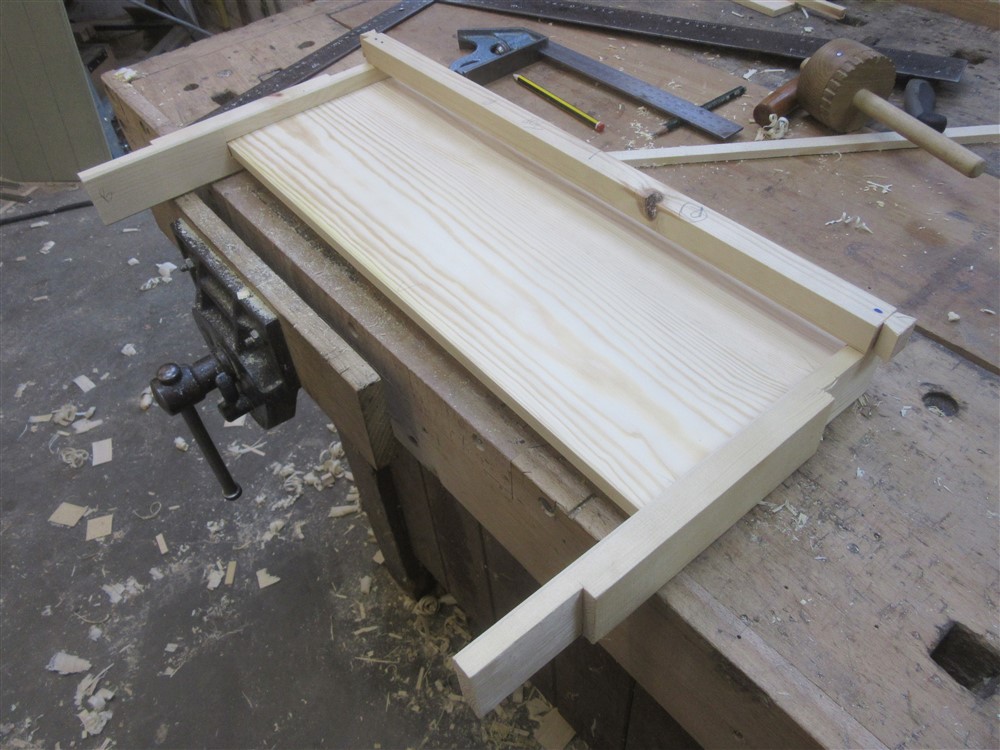
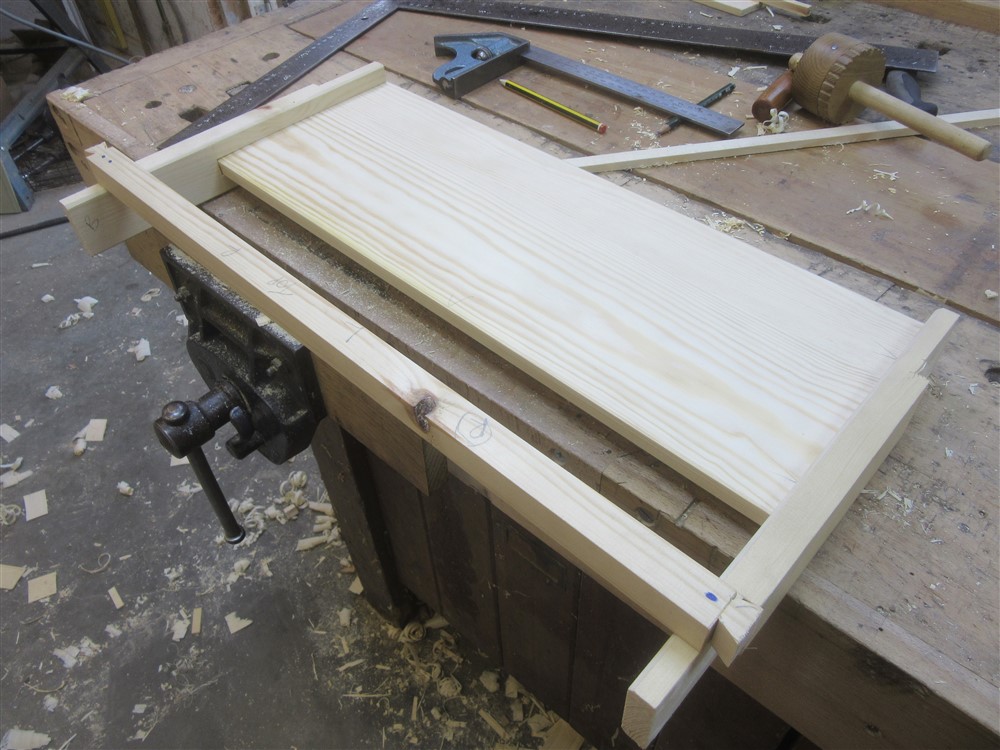
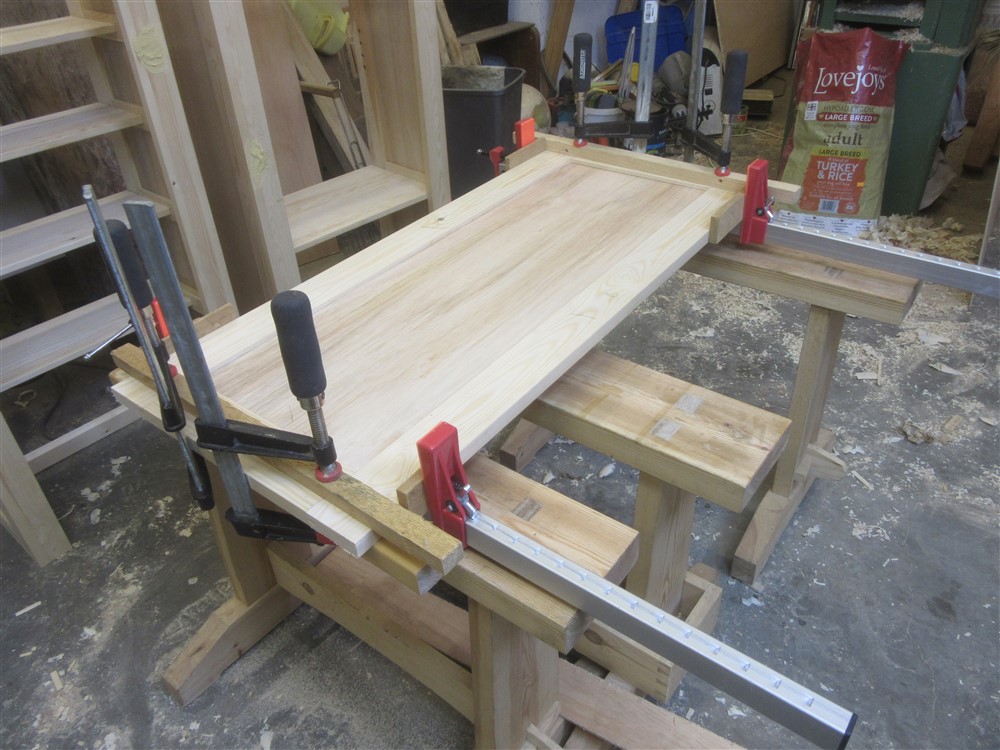
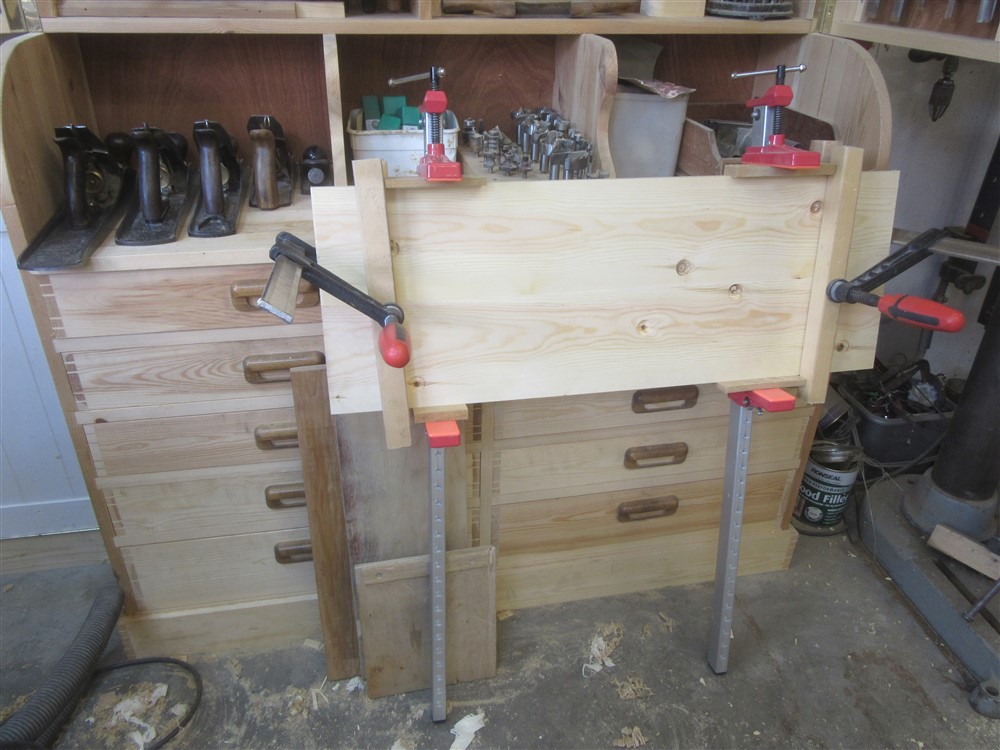
I quickly edge joined a pair of 145x20s to form the lower shelf of the small middle upper cupboard:
S6TvCOd.jpg


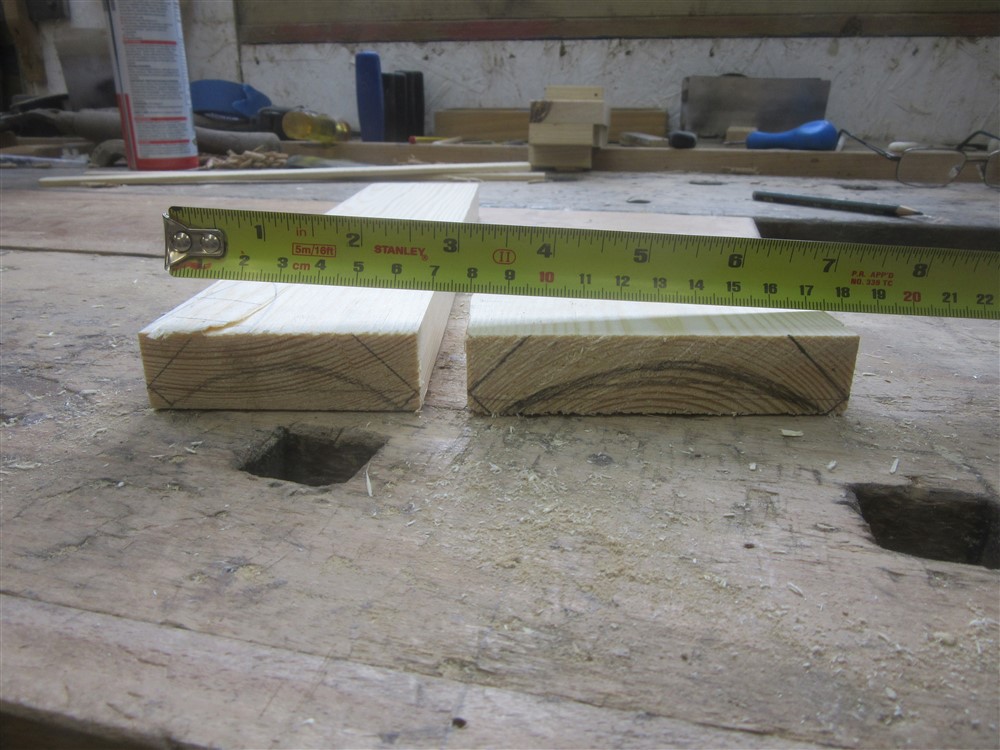
Randomly, I got distracted by the coving for a few minutes. I couldn't quite decide on whether to make it ex 3" or ex 4". In the end, I plumped for the bigger one.......but that's for another day:
lvTxnzp.jpg


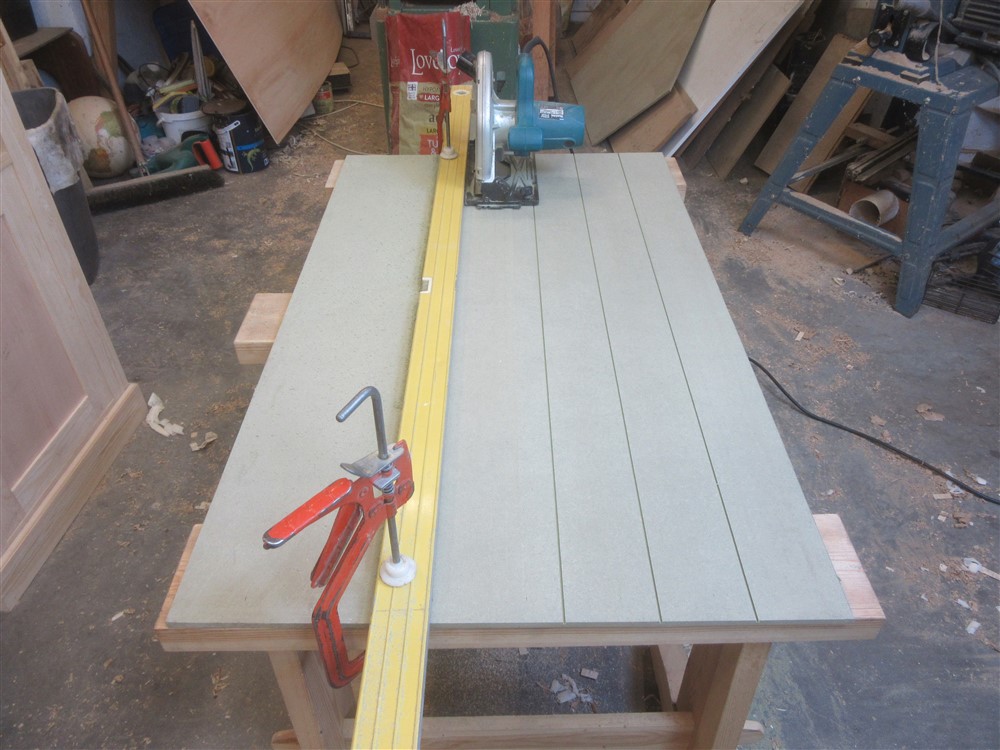
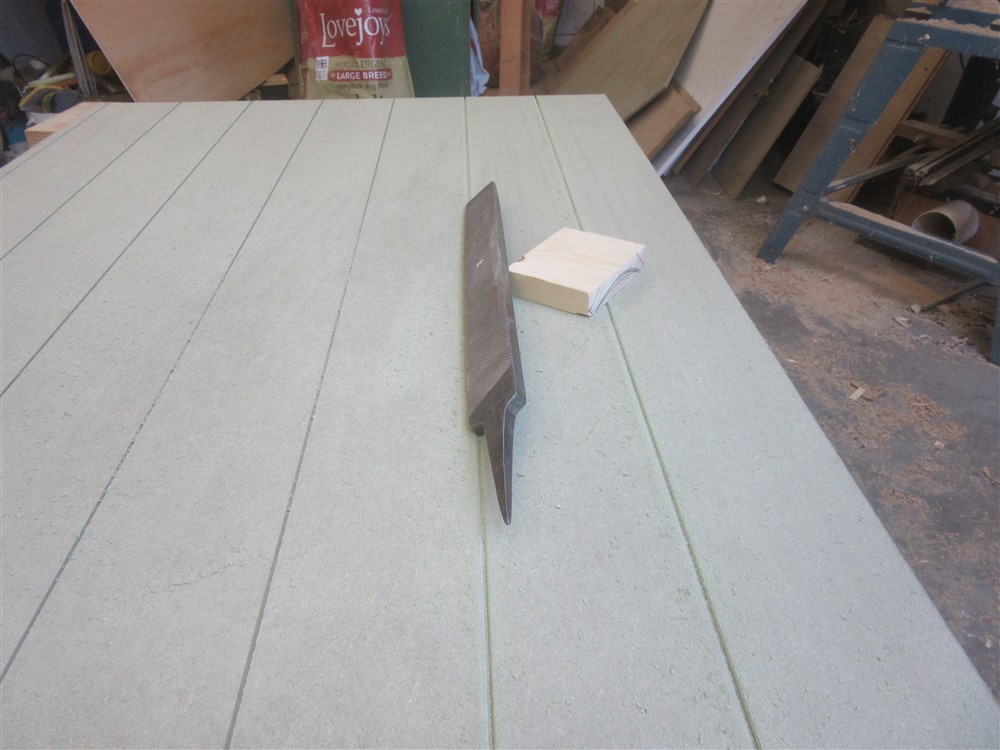
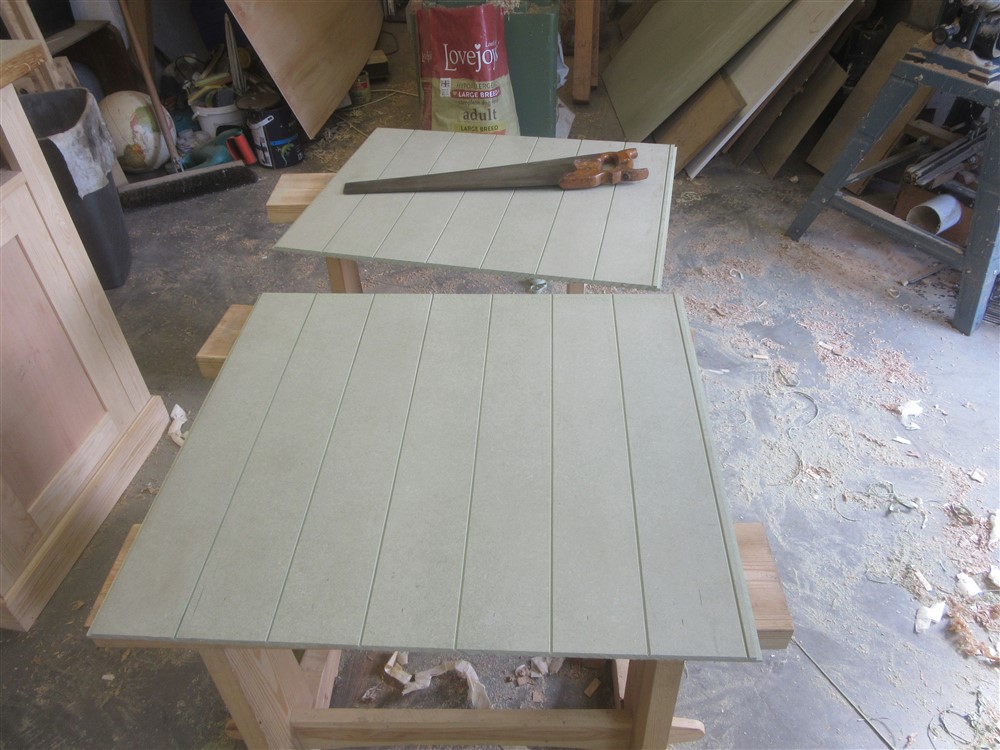
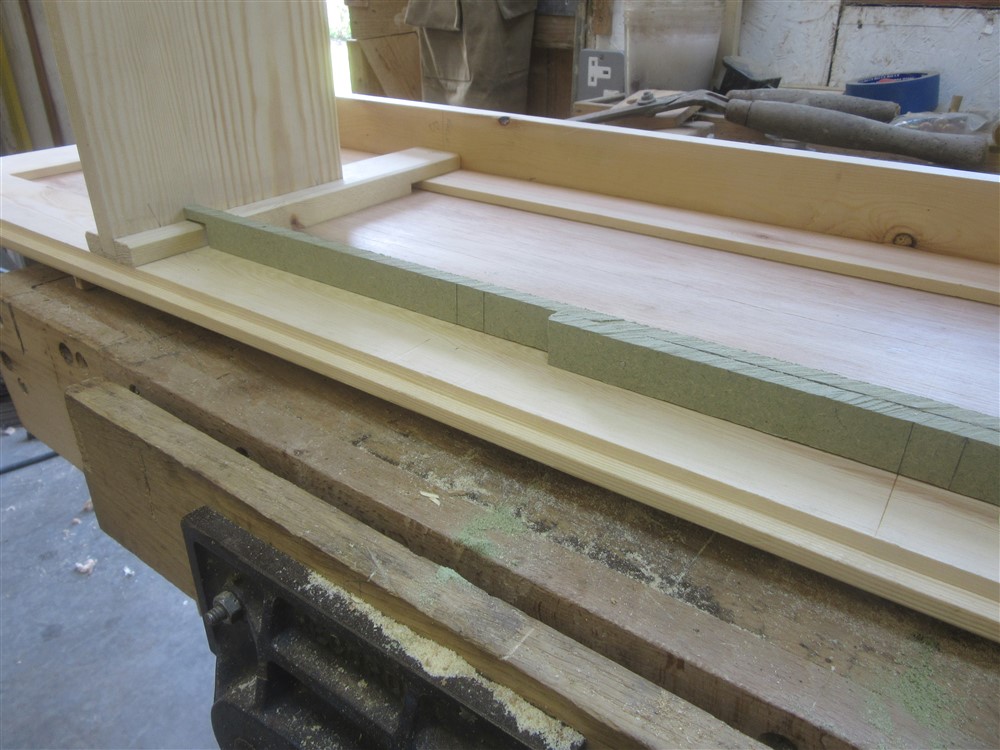
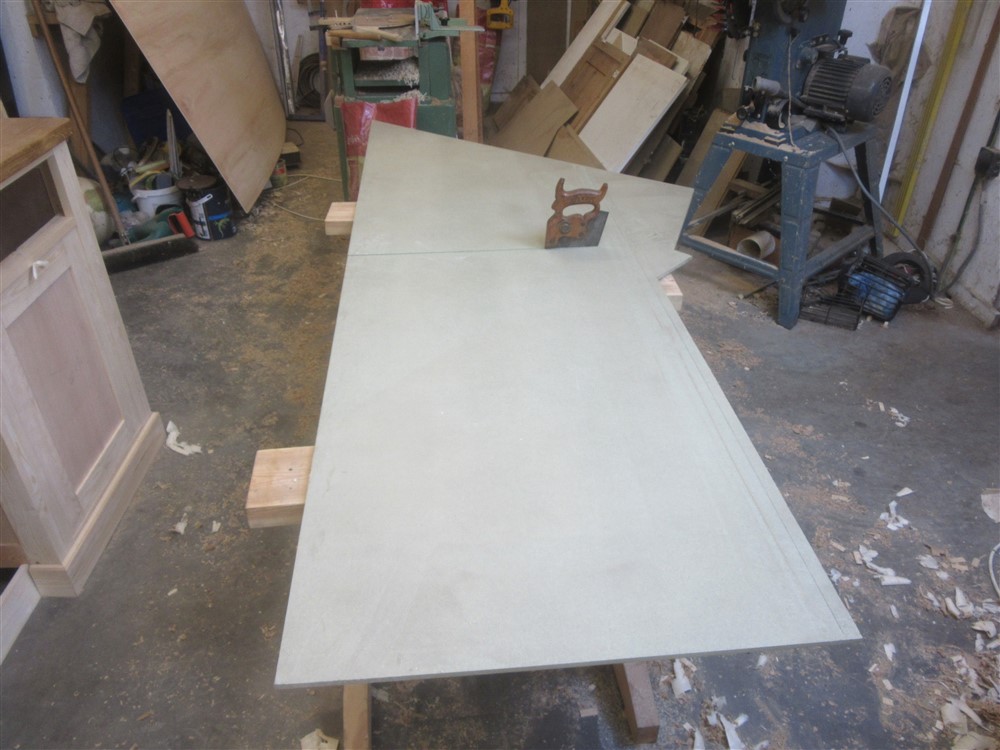
MDF......my favourite. It does have its uses, though:
CgMEtbz.jpg


QCHl7fM.jpg


b13mGSS.jpg


fAX2LeR.jpg


That will be a backing board for the open shelf sections of the dresser.

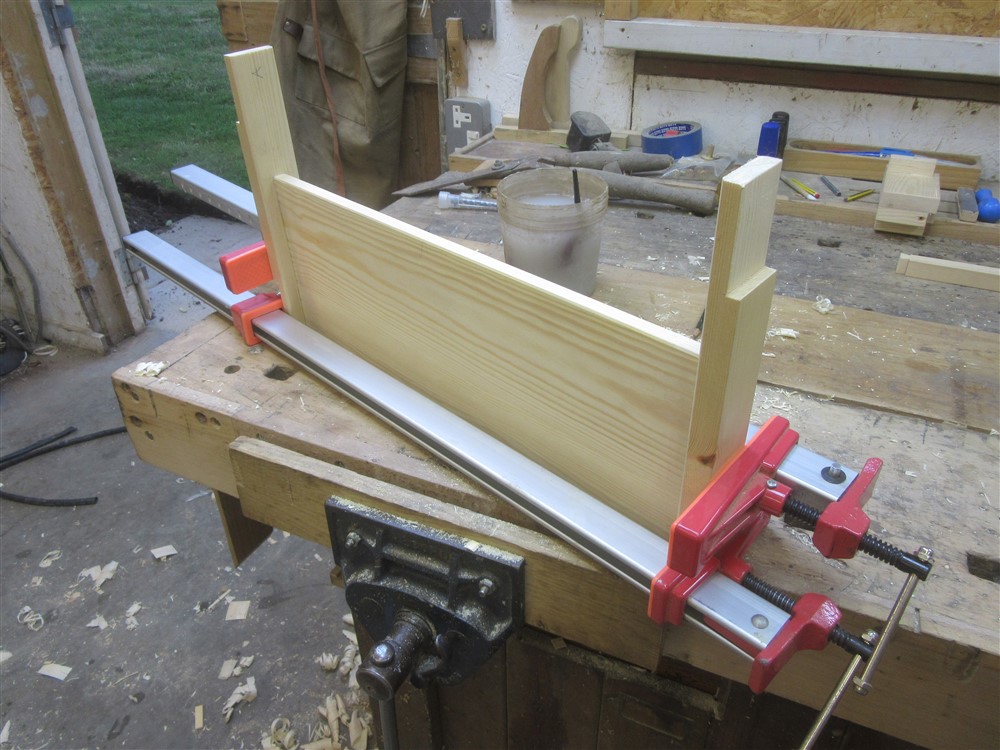
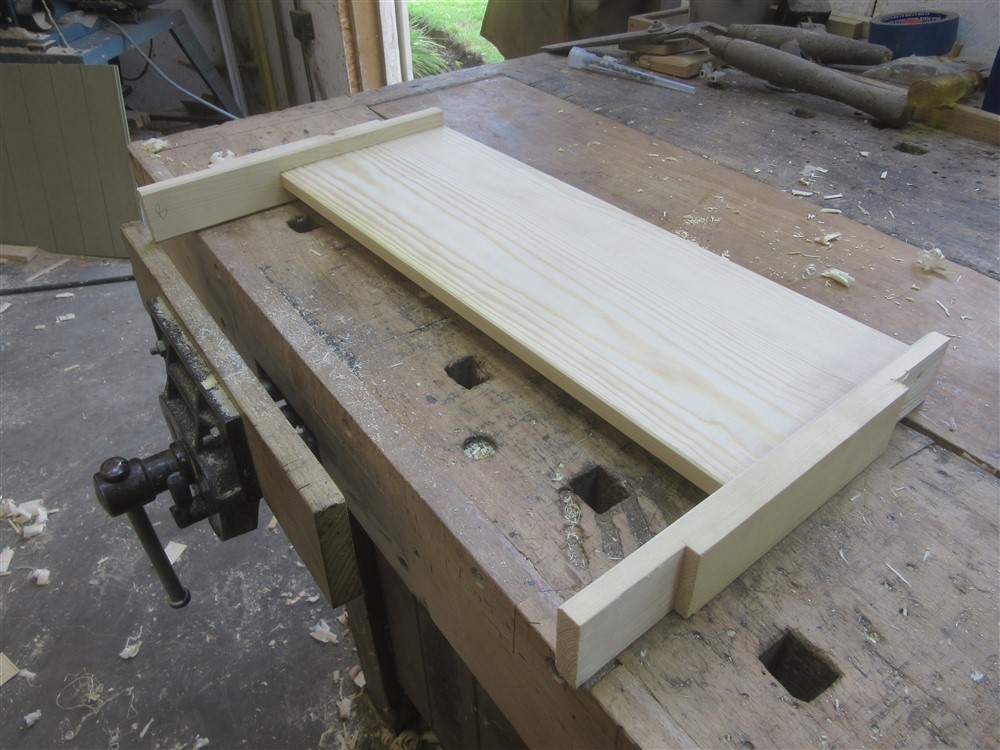
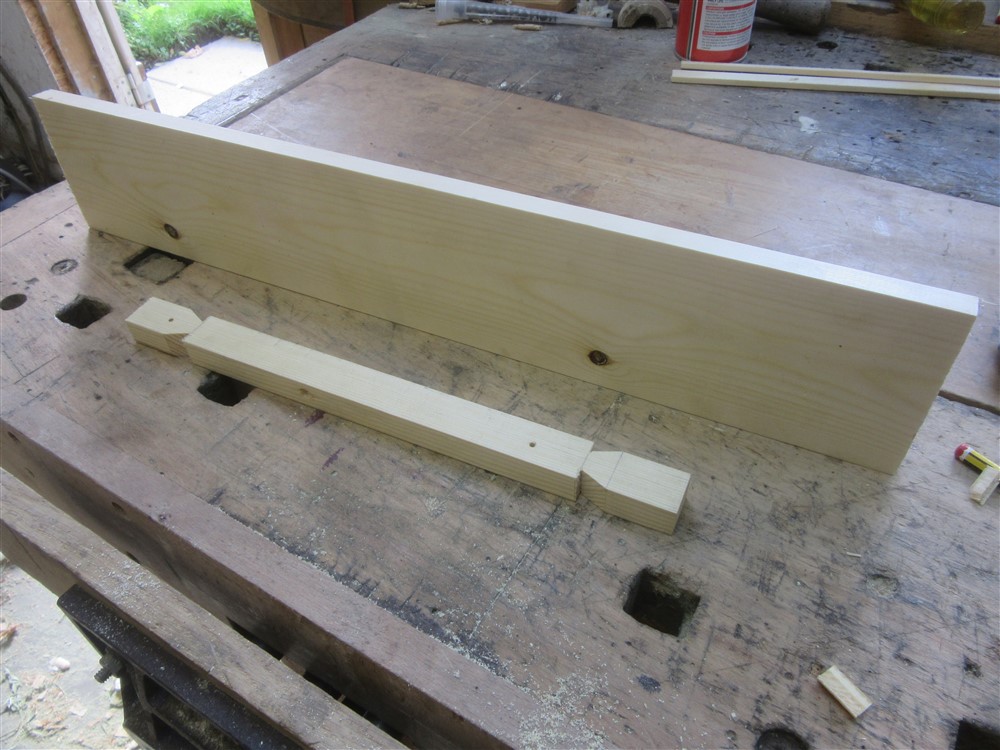
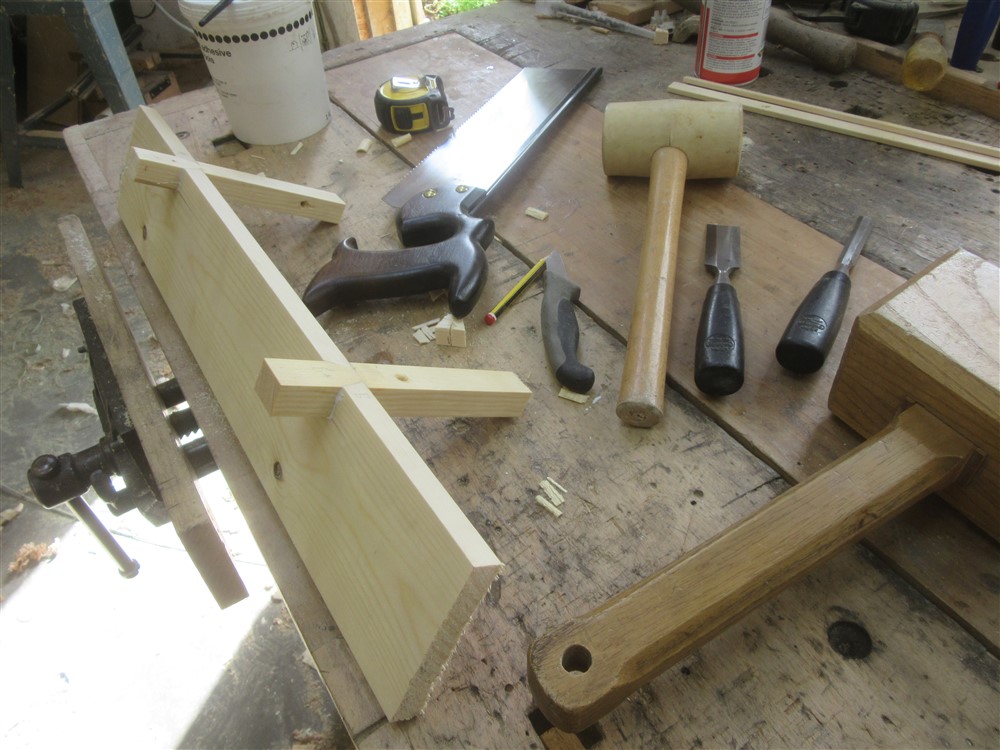
Right......two minute dovetails. No marking whatsoever for the tails, other than the shoulders. A quick saw cut, then a bash with a mallet on a randomly sloped chisel, and I have a pair of tails:
6T0wrHm.jpg


Offer those up to the board edge, mark with a knife, saw, chisel, glue.....
f7iRL8f.jpg


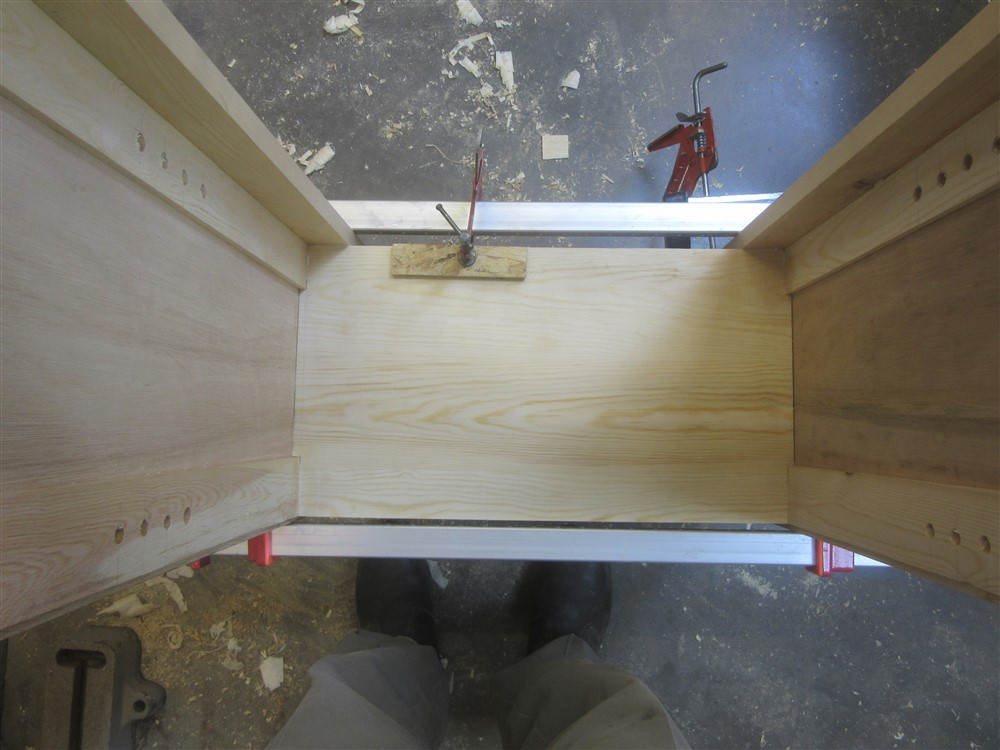
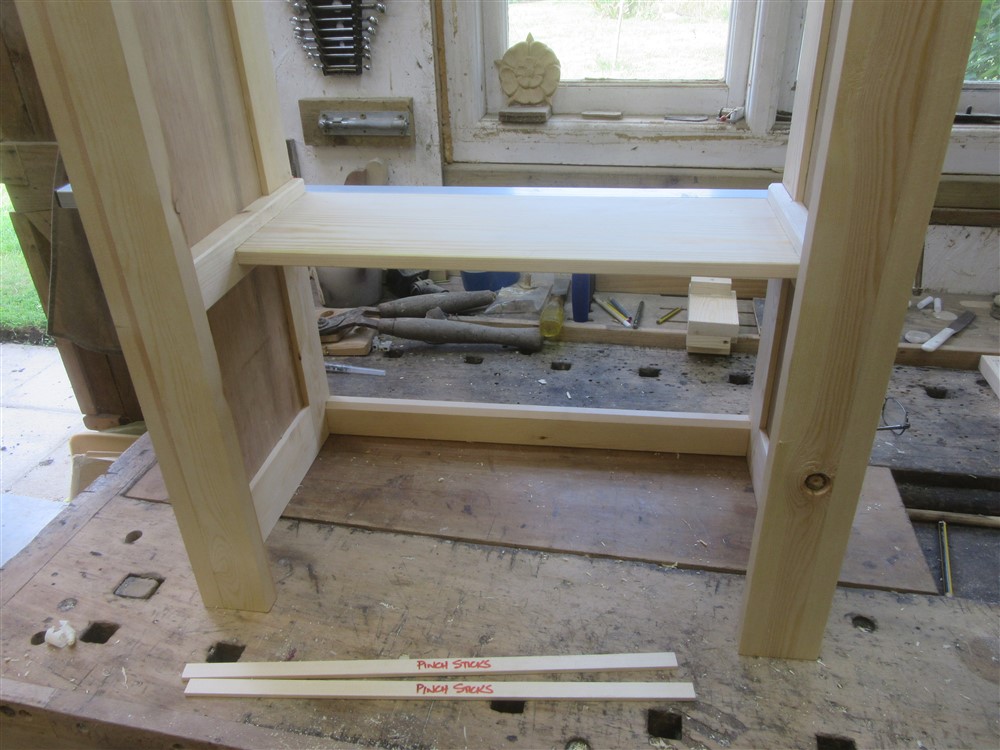
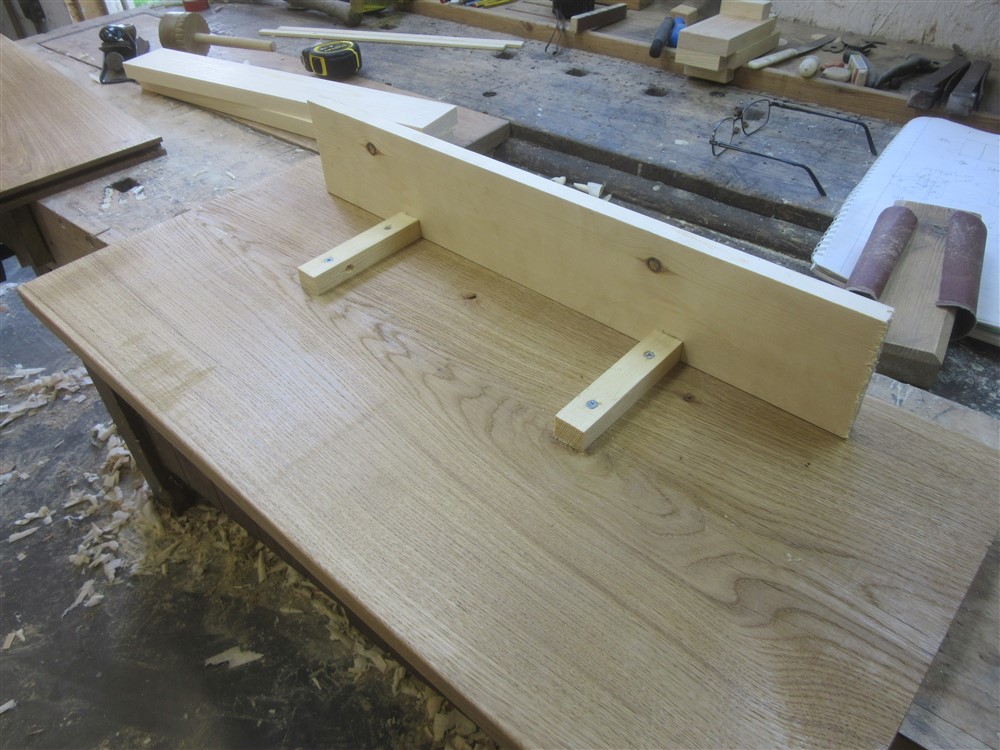
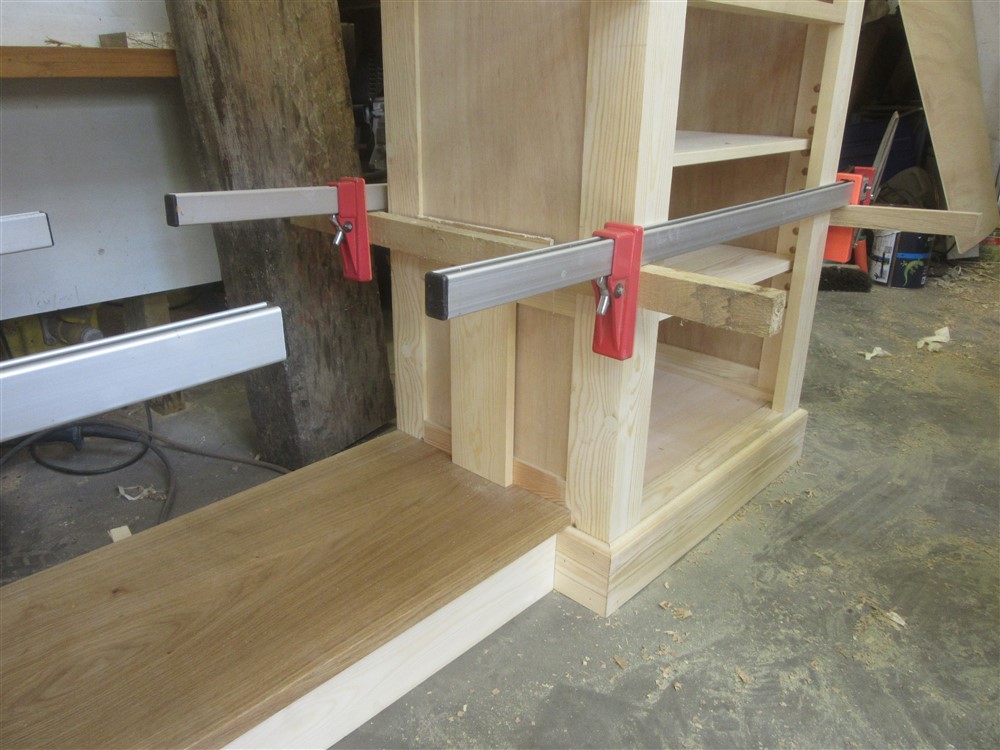
Once that dried it was screwed under the bottom oak shelf because I needed it to sit in place whilst I located the shelf supports for the shelf above it:
4NYPGVN.jpg


8WEy0yW.jpg


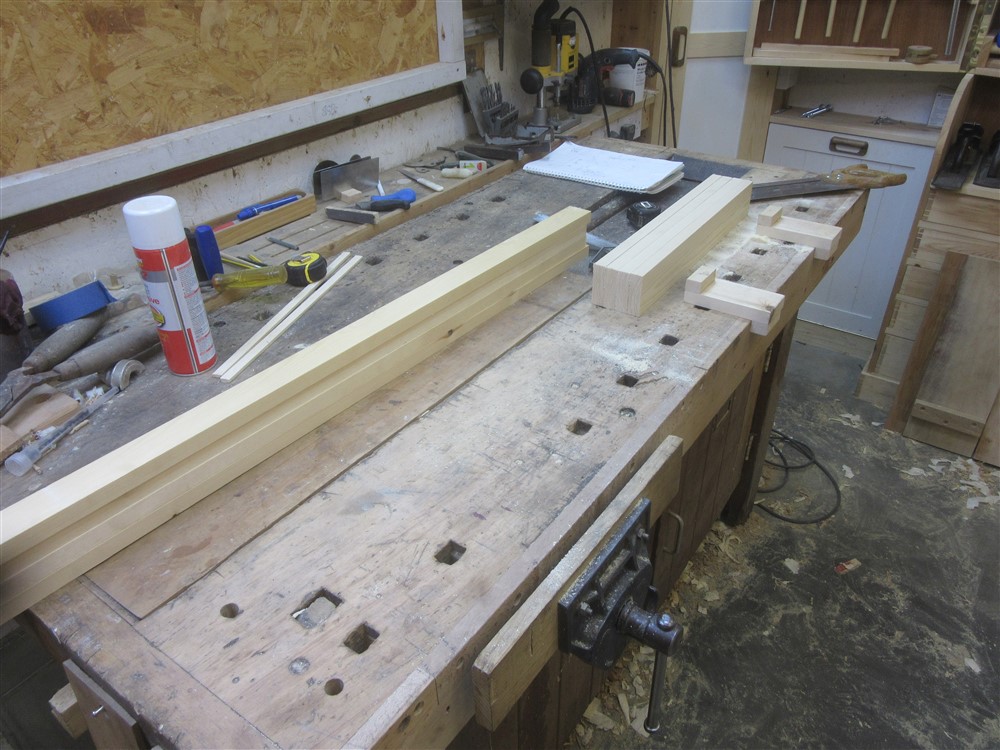
I needed to glue up the face side pieces of the upper cupboards overnight, otherwise I'd be struggling for something to do the following day. So late in the evening I cut them out, and made twice as many of the short pieces as I needed. Ooops:
kX9xY2r.jpg


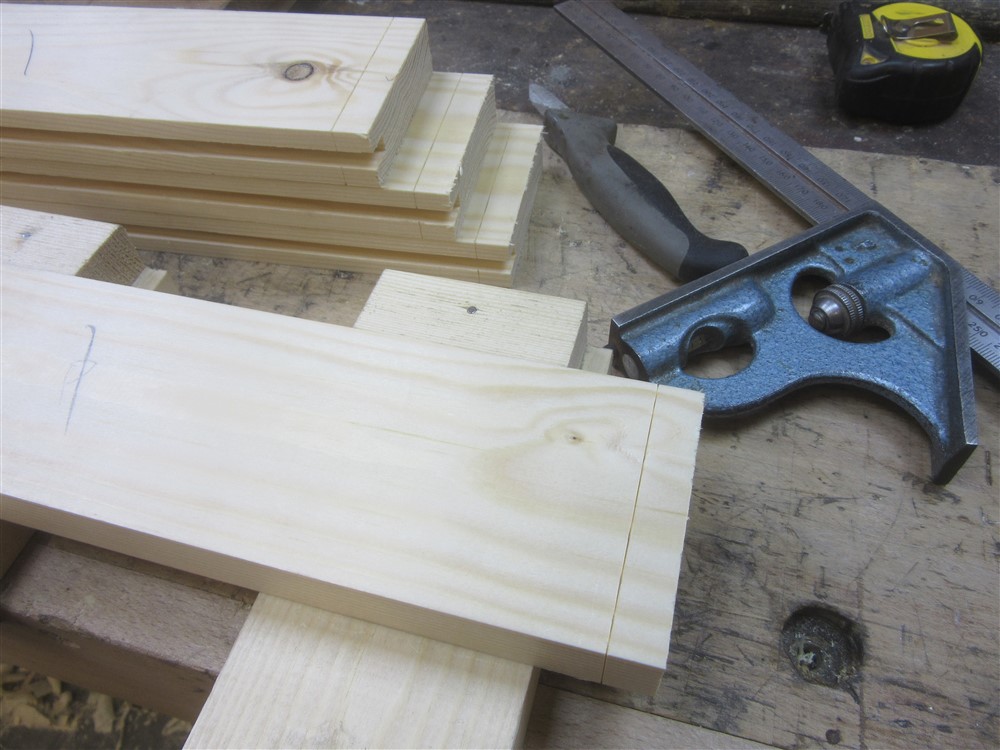
These were going to be joined by a bridle joint. I didn't have time for the whole joint, but needed the female side doing. Now, I reckon the bridle joint is the most demanding joint of the lot. Dovetails have a reputation, but they're a doddle in reality. Bridle joints, though, are a proper test of your skills. The first job, setting out, is relatively straightforward:
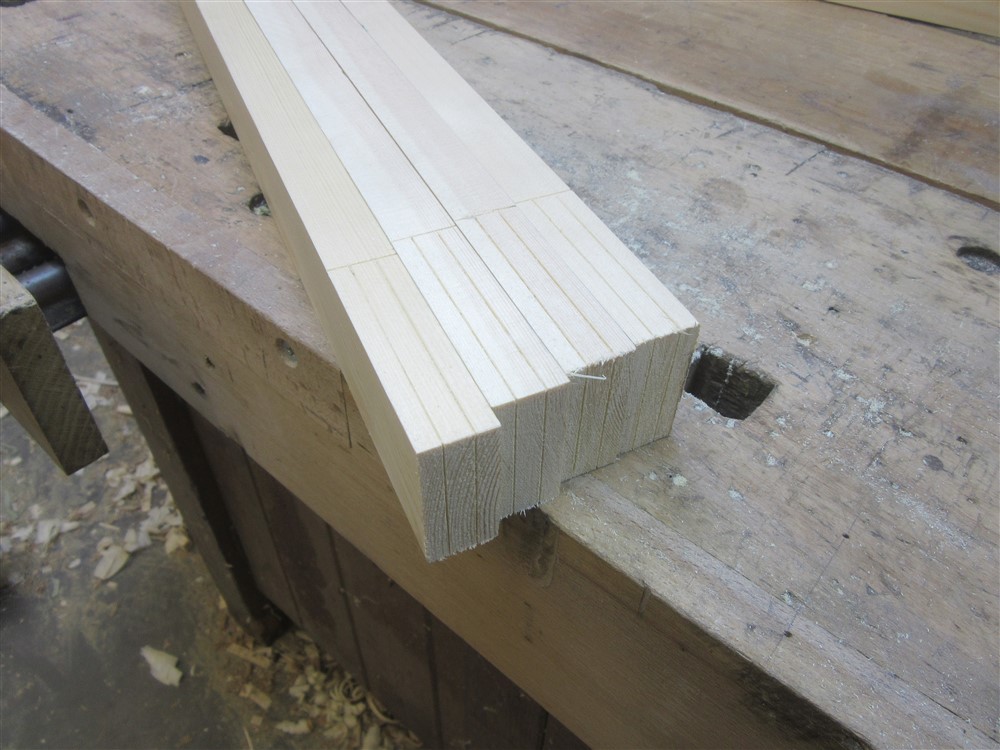
50Hmav6.jpg


As is drilling through the bottom of the joint:
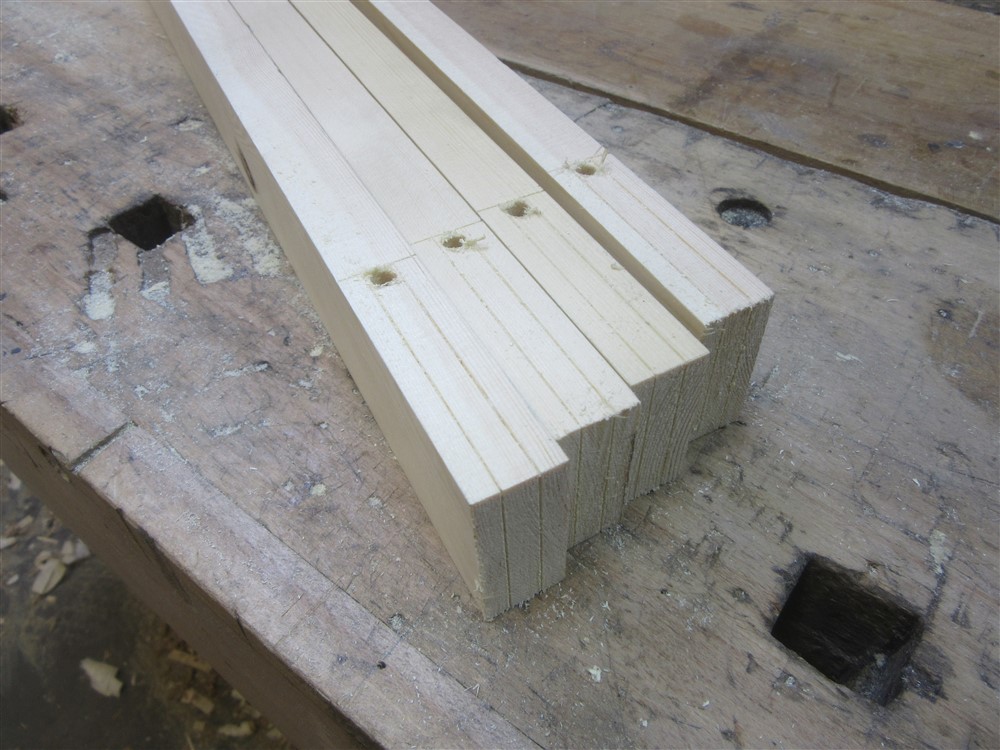
SU1CJ67.jpg


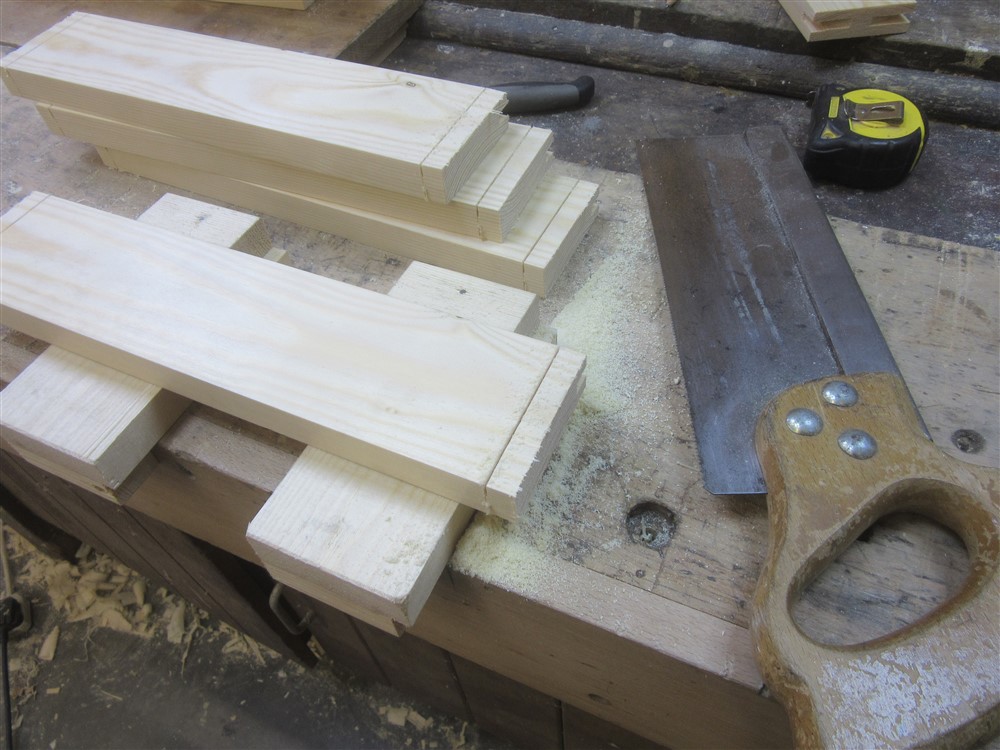
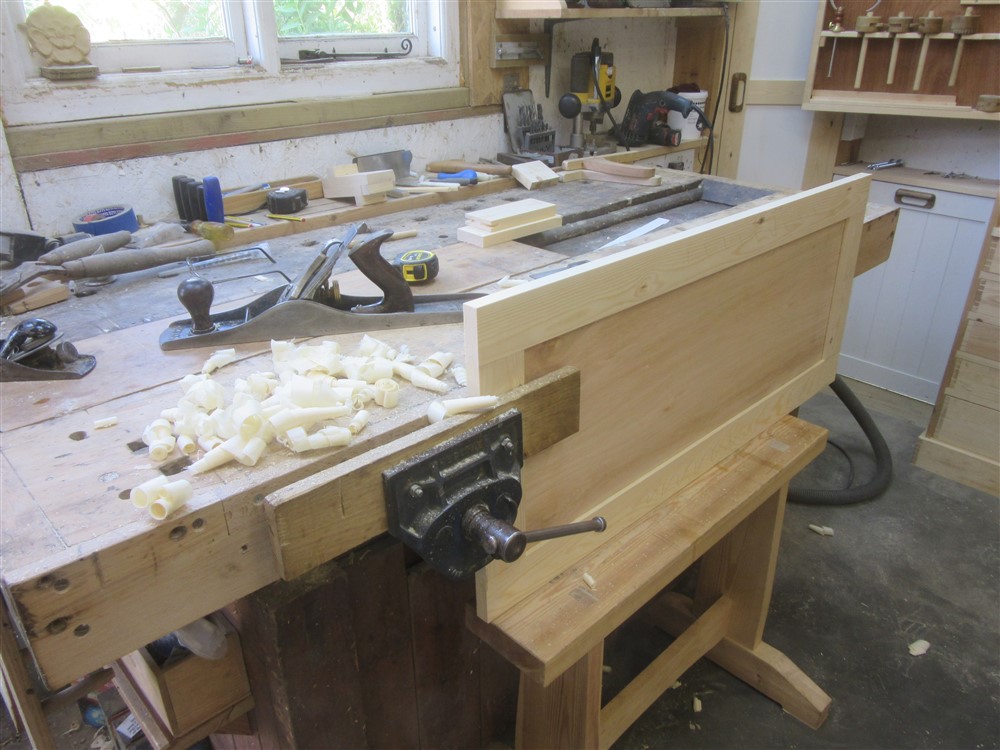
Cutting out the female joint, though, is a good test. I have an 11 TPI rip-filed tenon saw which is just ideal for the job.......and I always slope the workpiece in the vice as shown so that I can see both lines at once. Turn it over in the middle of each cut:
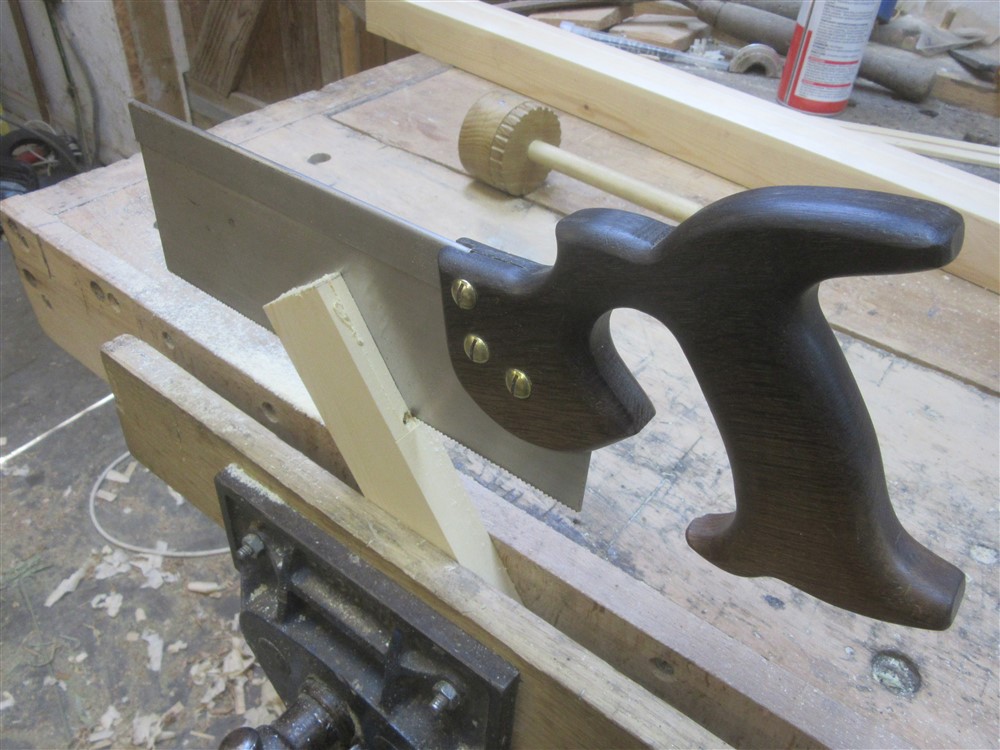
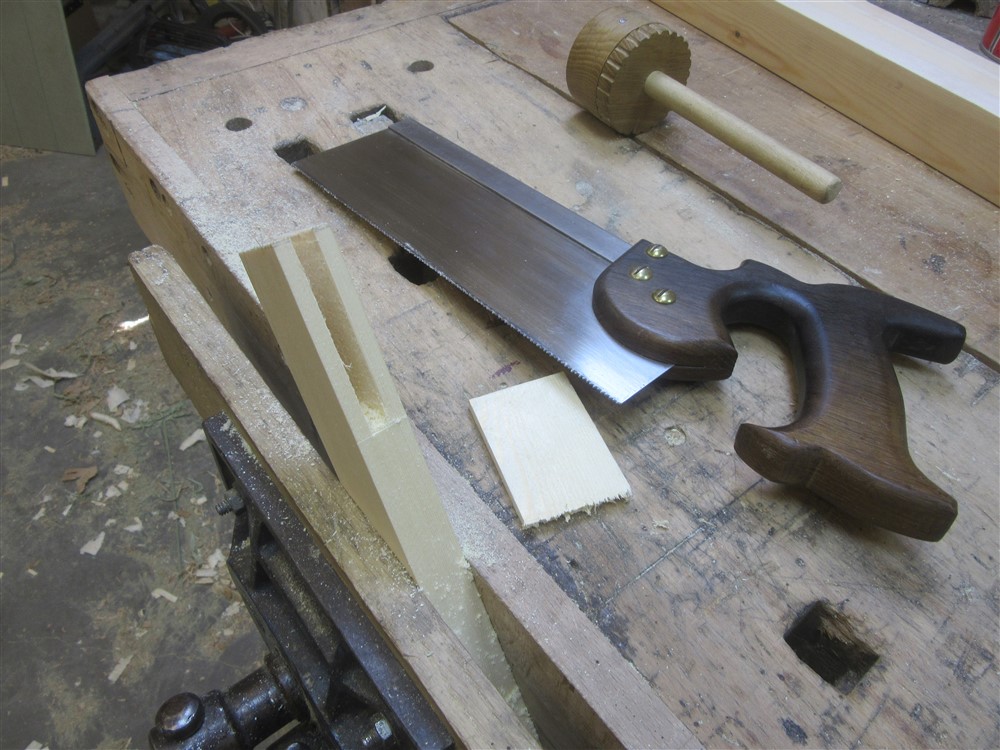
jmiaRY0.jpg


1VbDV5B.jpg


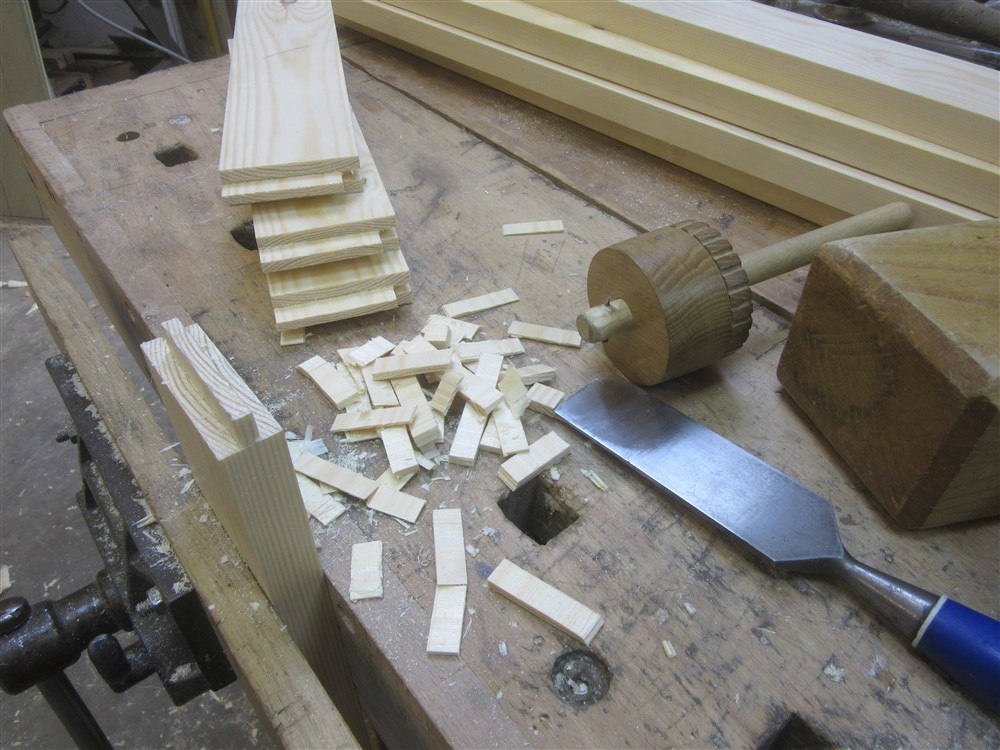
There's no cleaning up with a chisel. If you get the sawing right it is so much easier than faffing around inside a narrow slot where you can't really see what you are doing. A quick chisel out of the bottom of the joint (I don't aim for level here, I dip in the middle deliberately):
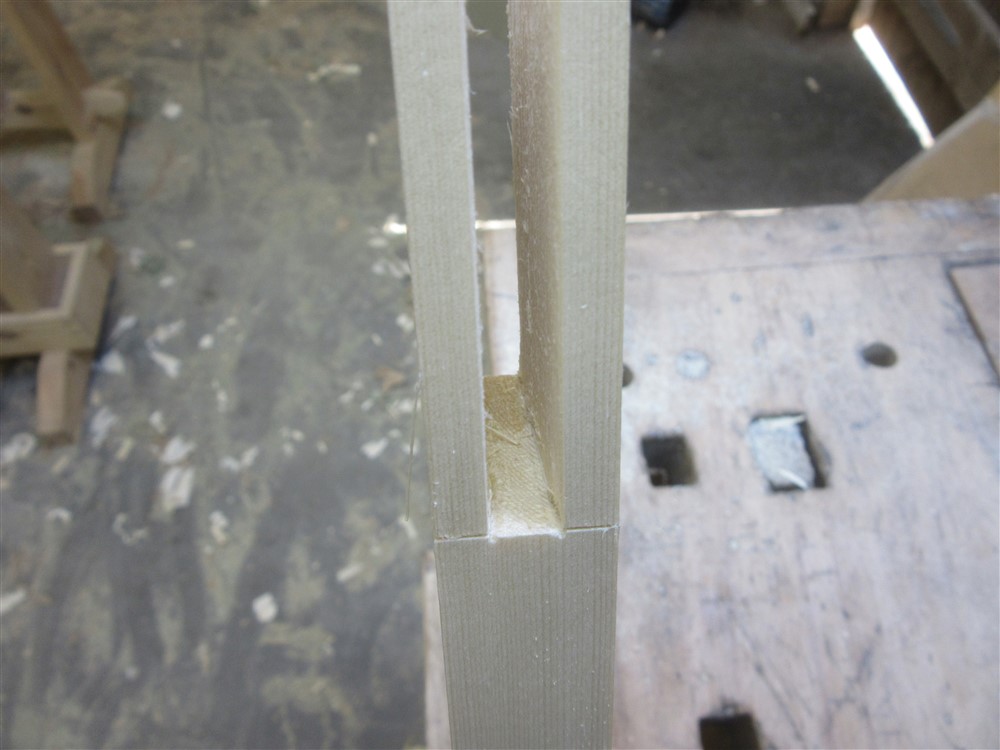
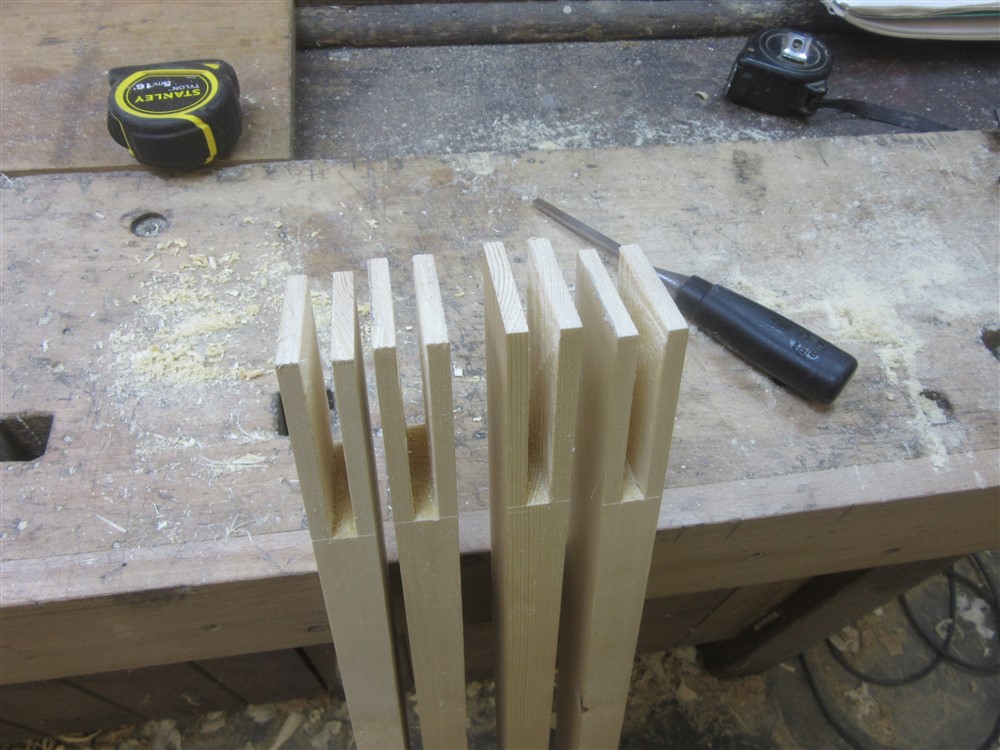
urm7oZl.jpg


N5aDwe1.jpg


Done! Just time to drill out the knots for filling tomorrow:
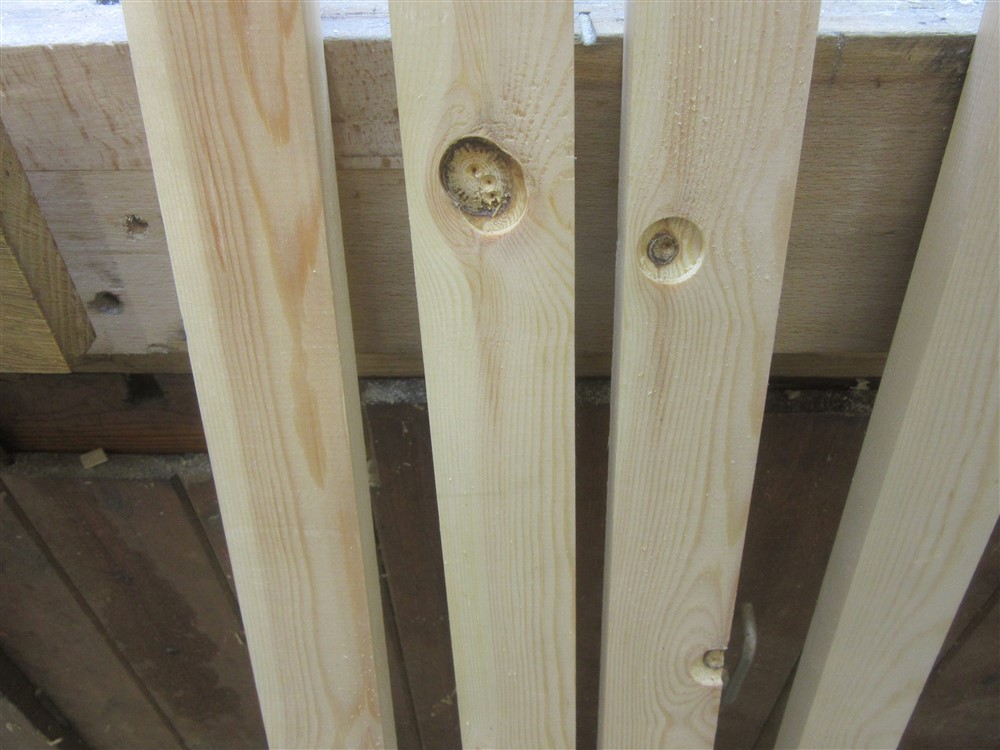
DpqRHrI.jpg


.....then time for a glue up. That was Saturday done and dusted. I'd hoped to have achieved a bit more, but I had to go to the woodyard for some bits and pieces, and my back forced me to go for a sit-down every hour or so. If Saturday was a day of under achievement, Sunday was even more disappointing.

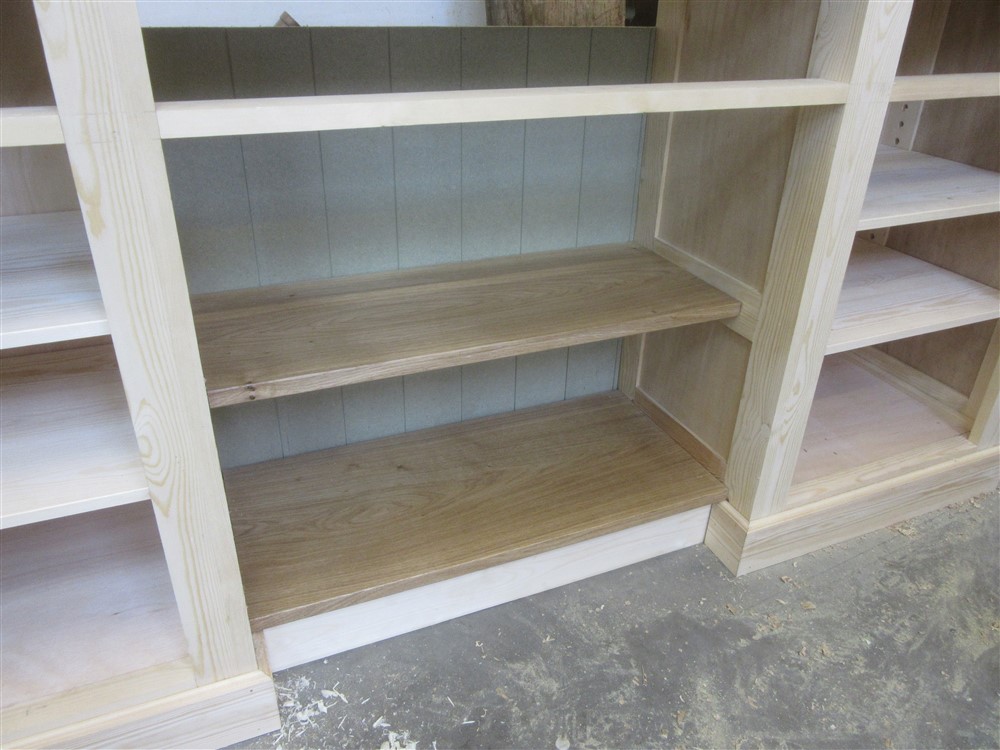
It started off nicely, though, with the shelf supports working really well once they were de-clamped:
Ua1YH2T.jpg


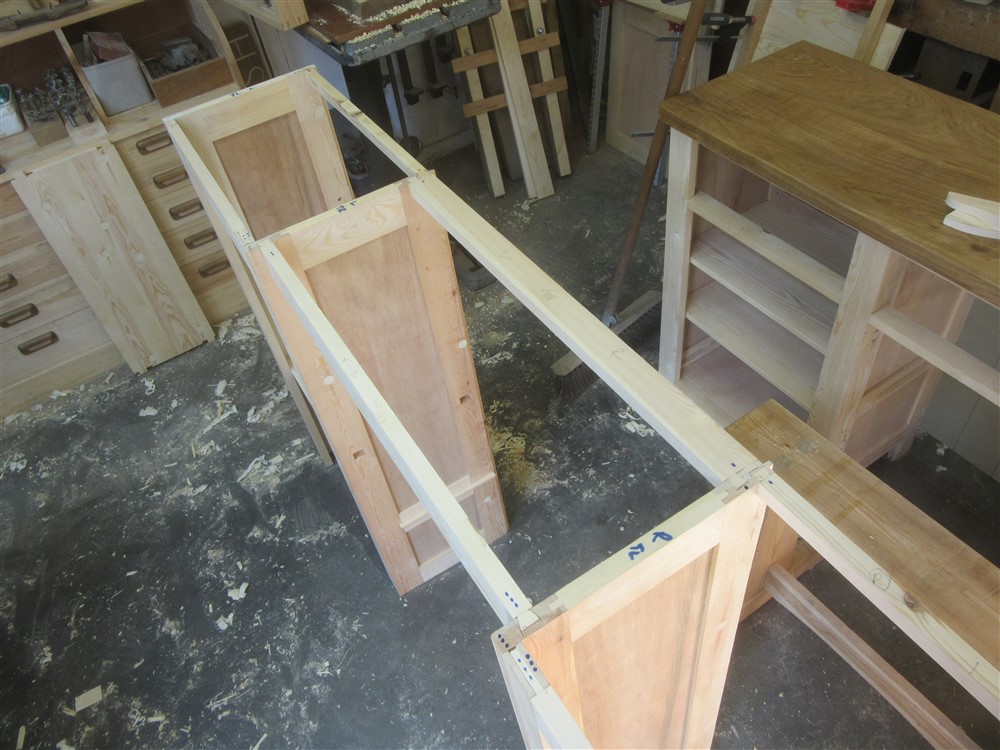
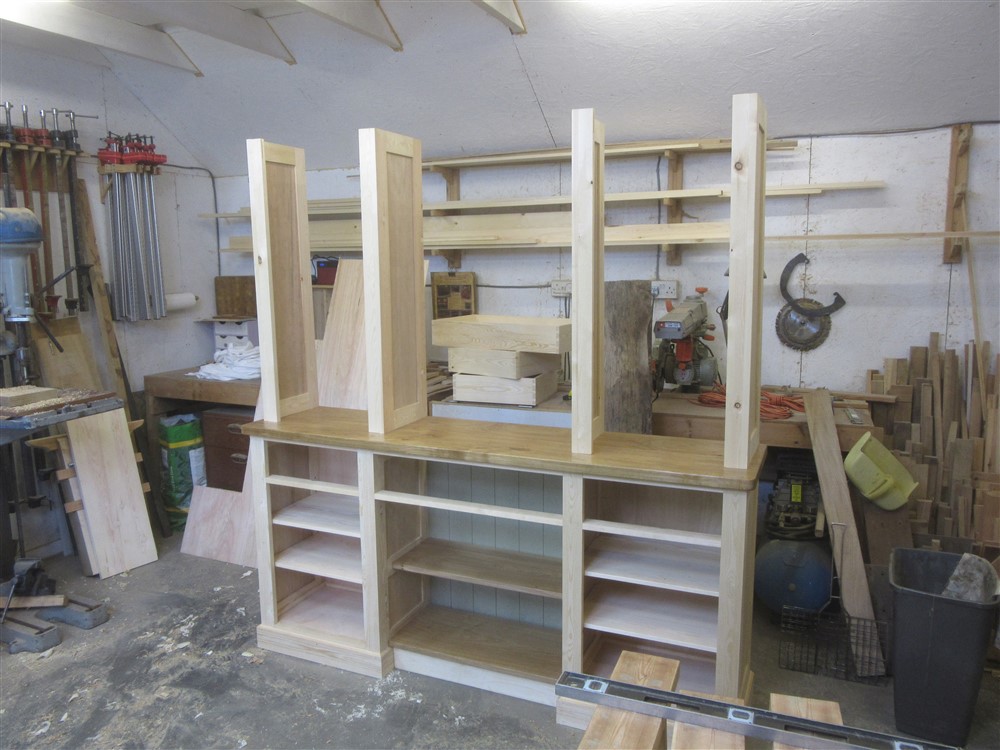
I cleaned up the glue joints to the cheek pieces of the upper cabinets, and set them in place on the worktop:
khIzr0E.jpg


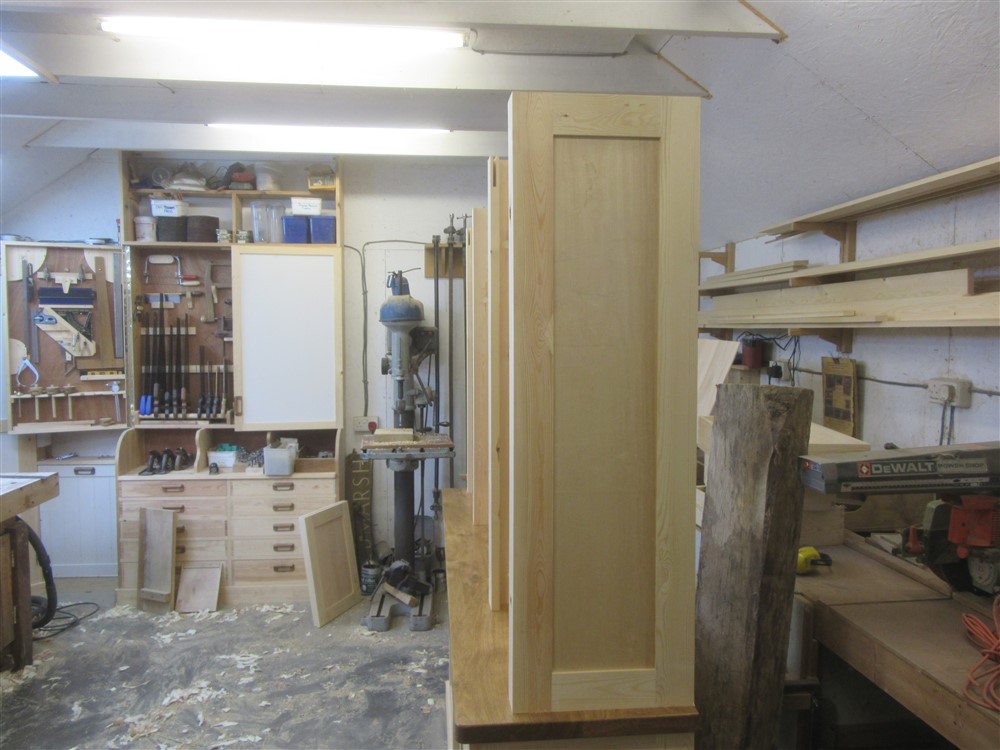
The main reason for this was to mark up the bottoms for cleaning up, and to do any adjustments necessary to make sure everything lined up properly. There was lots of sighting along the line of the front edges:
NNJYf2a.jpg


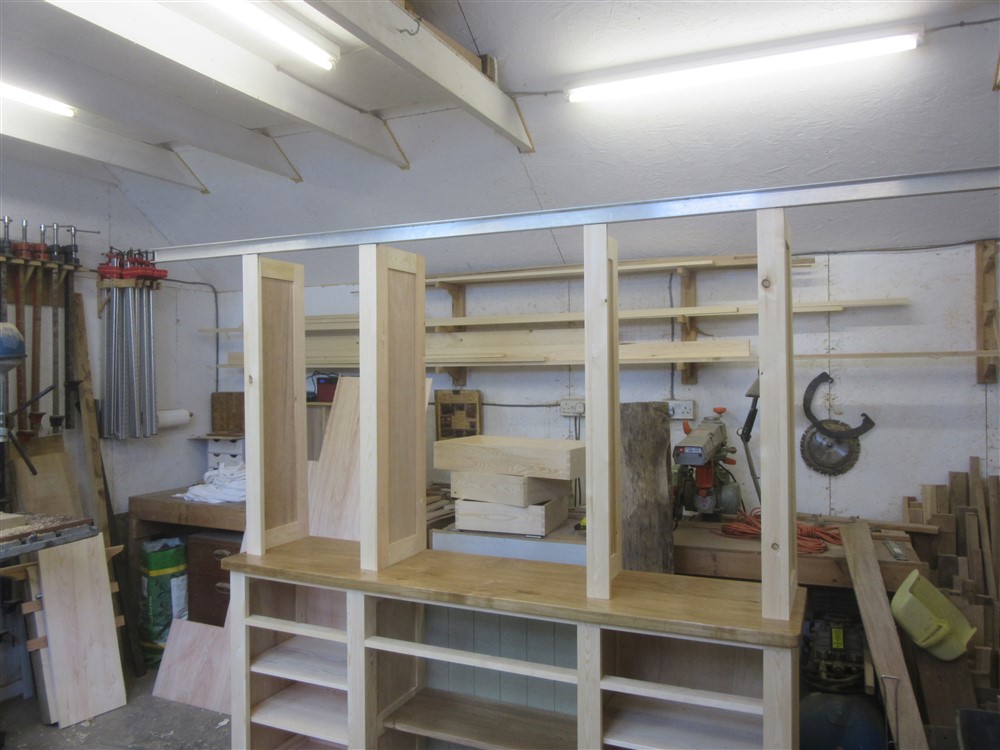
Then a straight-edge across the top for a final truing, which I abandoned in favour of doing it when the boxes were complete:
yM133qz.jpg


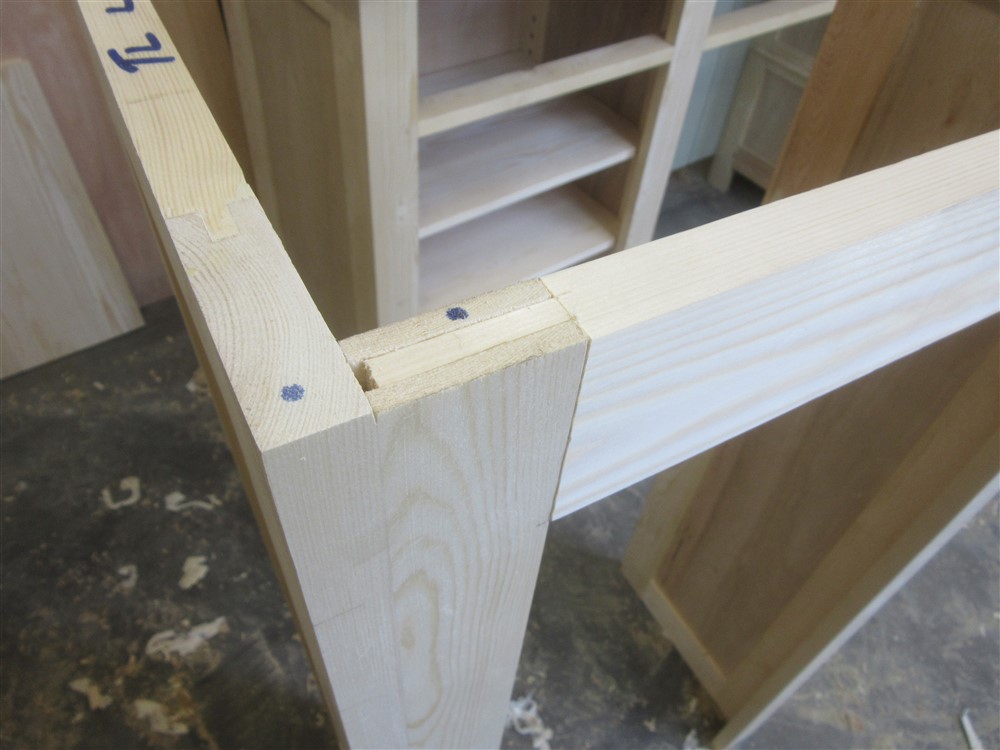
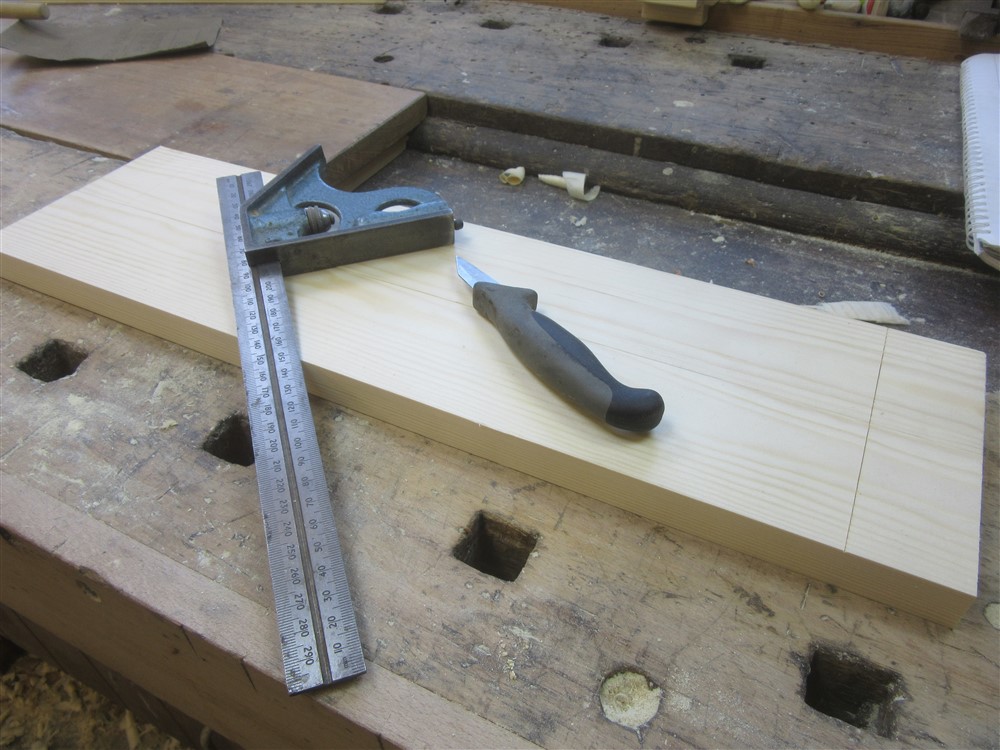
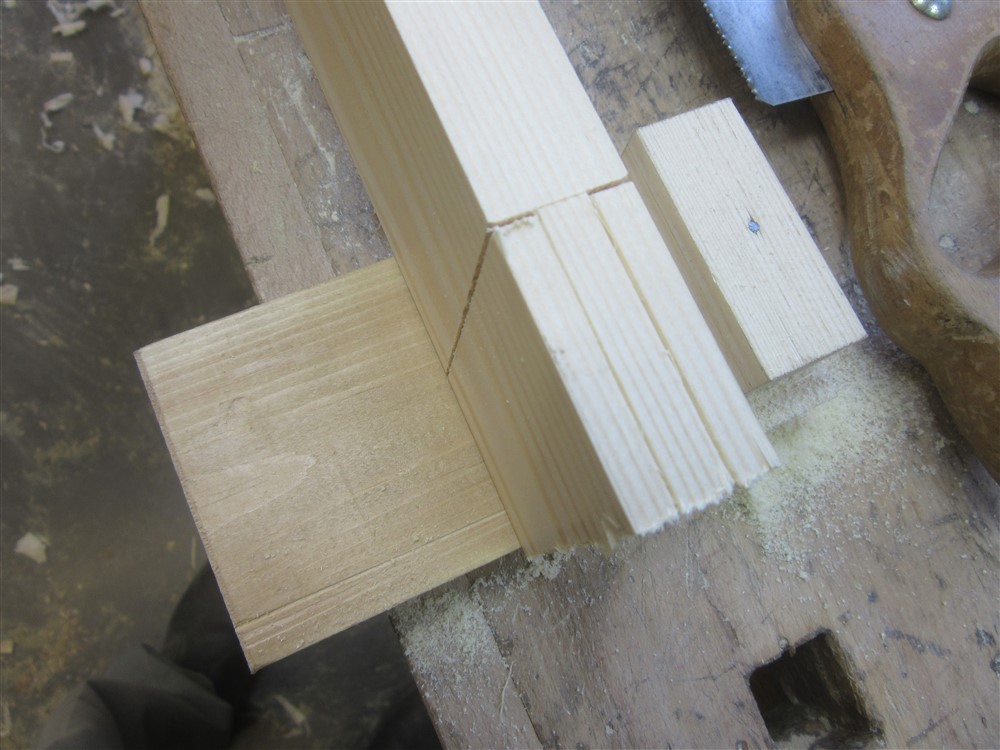
I then turned to the male parts of the bridle joints:
Knc9aCu.jpg


Accuracy is critical. I cut the shoulders first:
k8q9qIs.jpg


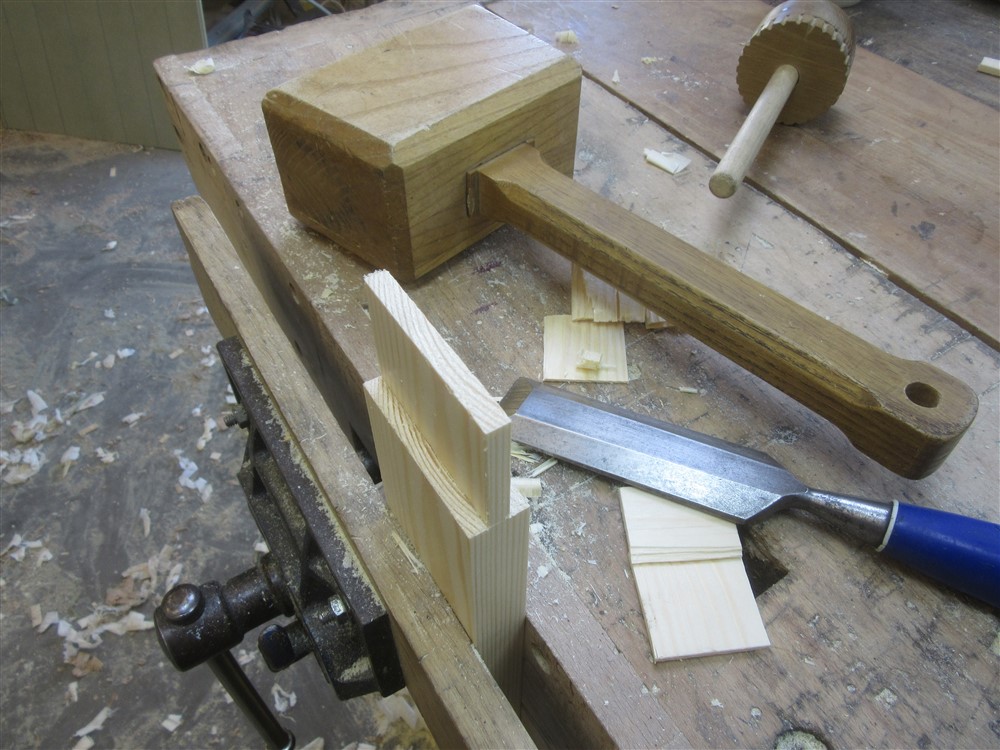
Then chisel off the waste. A good reason to choose nice straight grained material:
2tDGZEe.jpg


YvIgrDb.jpg


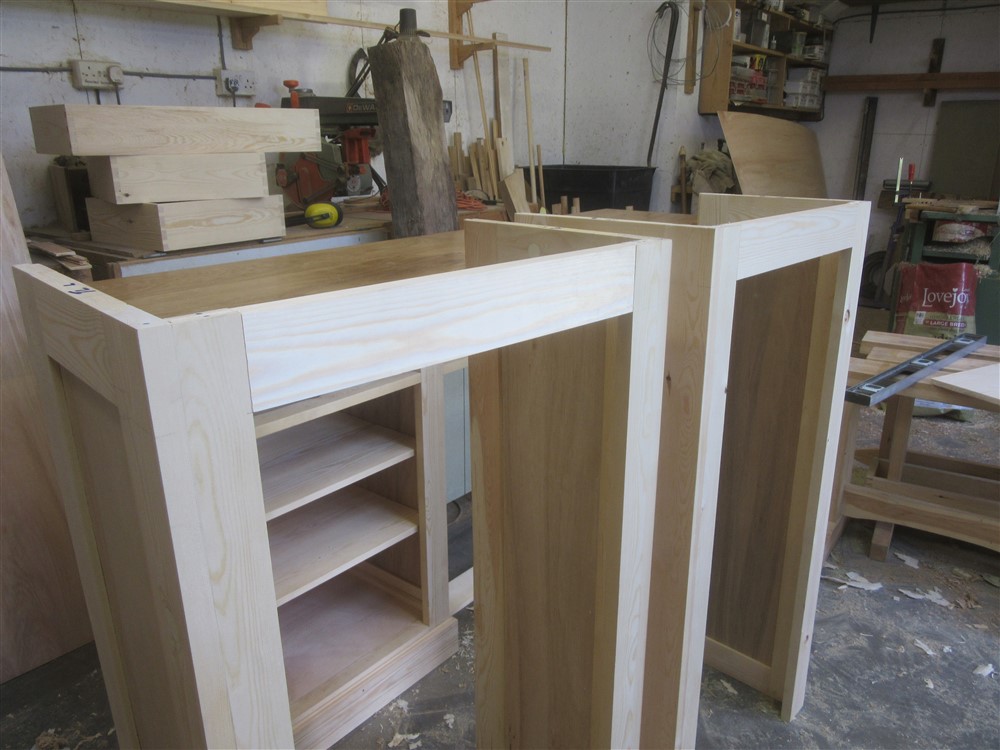
It fits. Three of the 4 were OK, one..........hmmm...........shall we say "adequate"?
JOKETyr.jpg


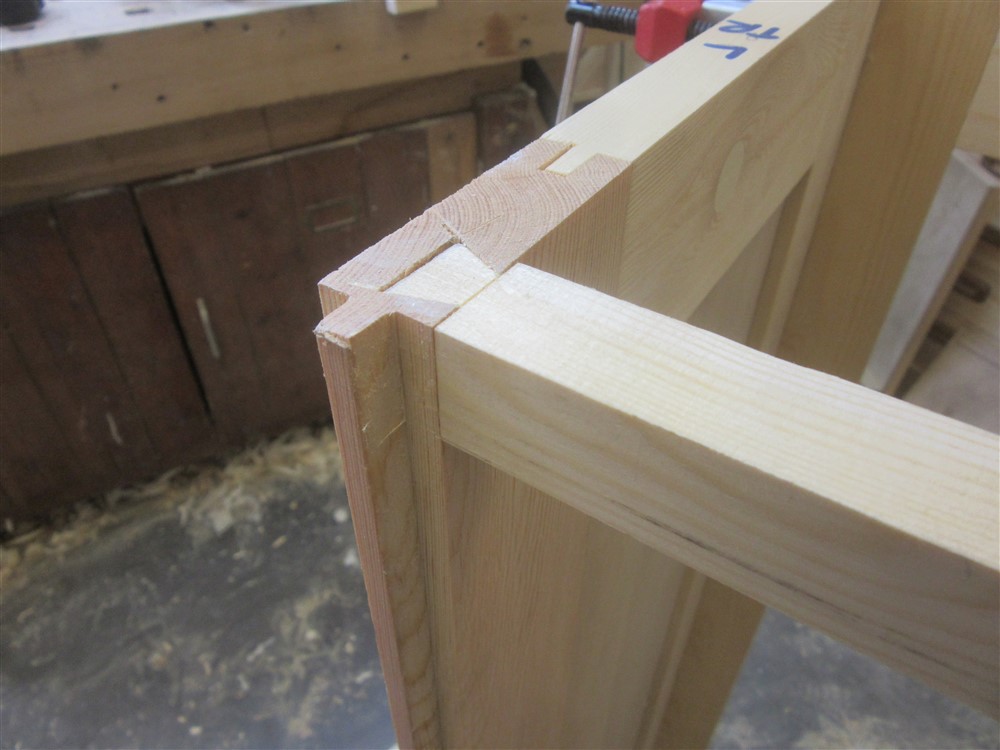
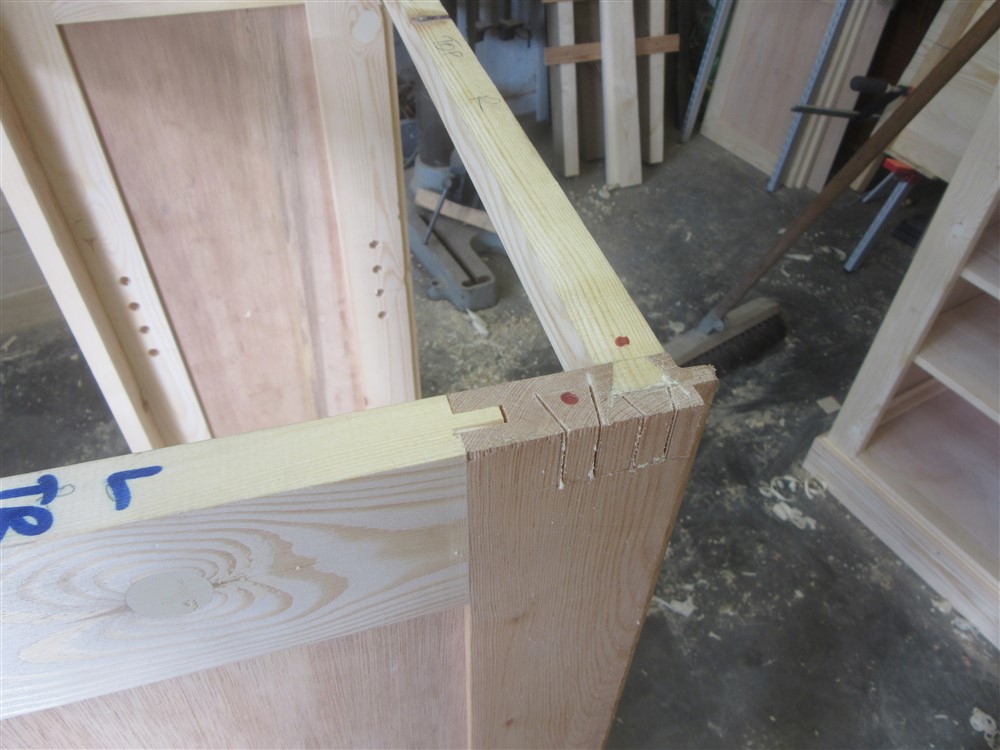
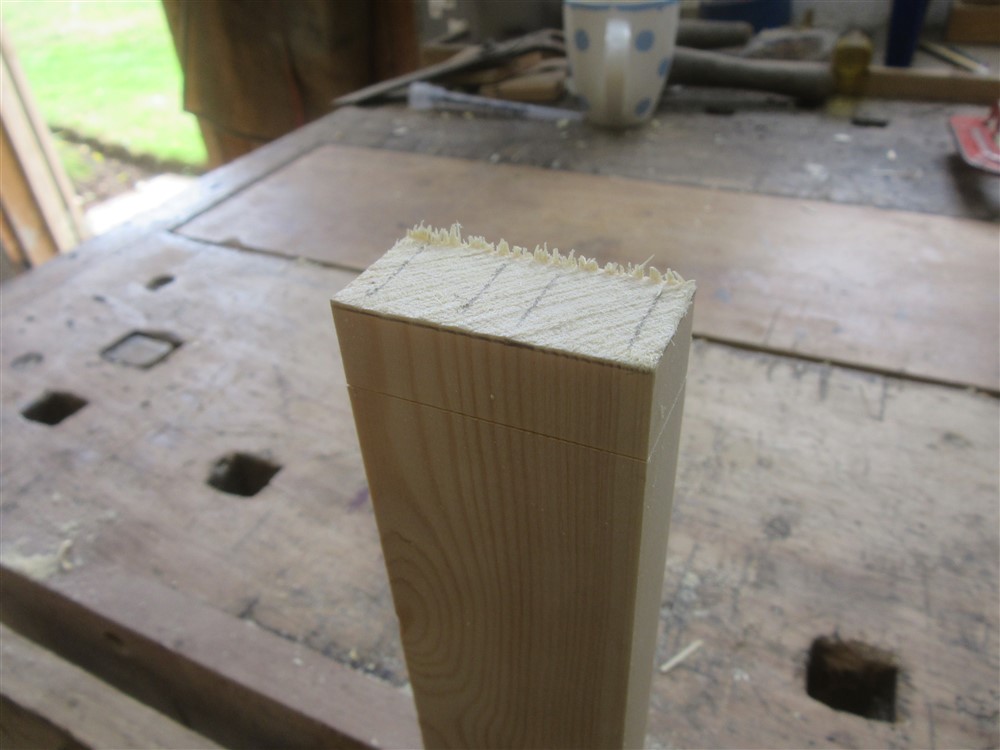
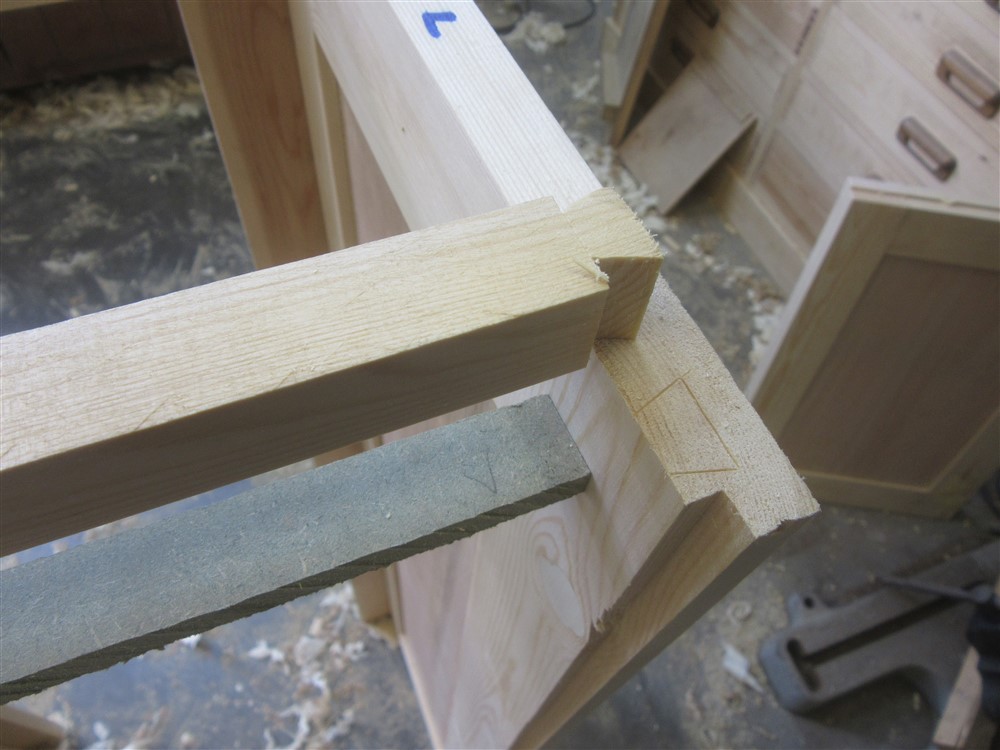
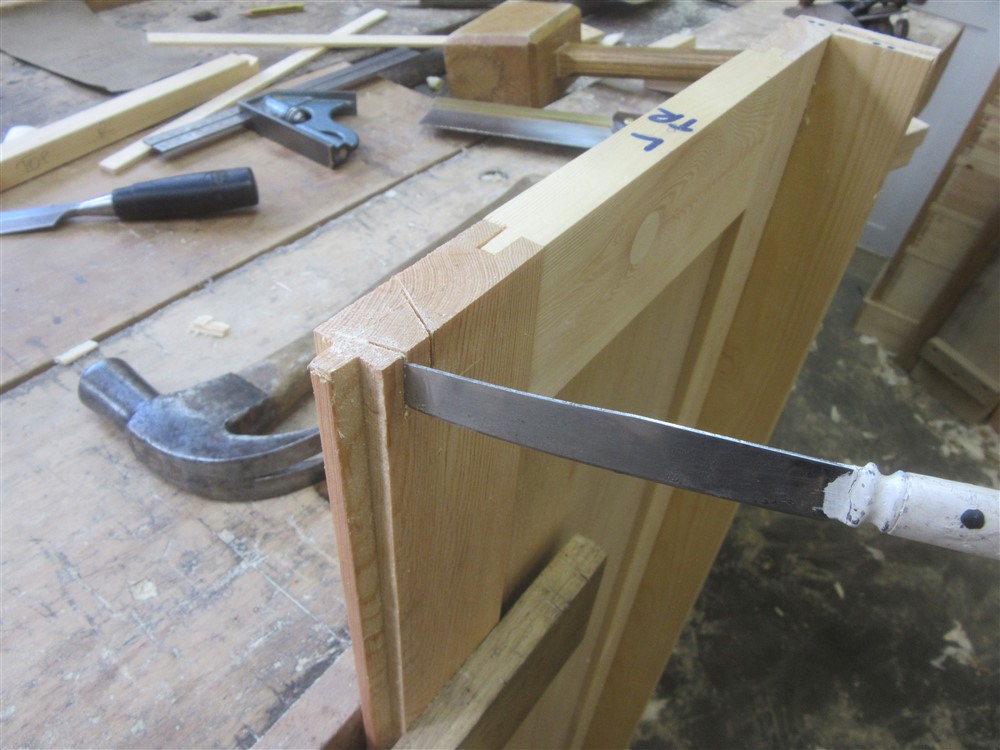
On to the back edge of the top of each box. Again, a really quick un-marked tail, with the line of the shoulders being the only critical issue:
ZdvsCnj.jpg


CA7sf1X.jpg


e3wcaVs.jpg


vs82393.jpg


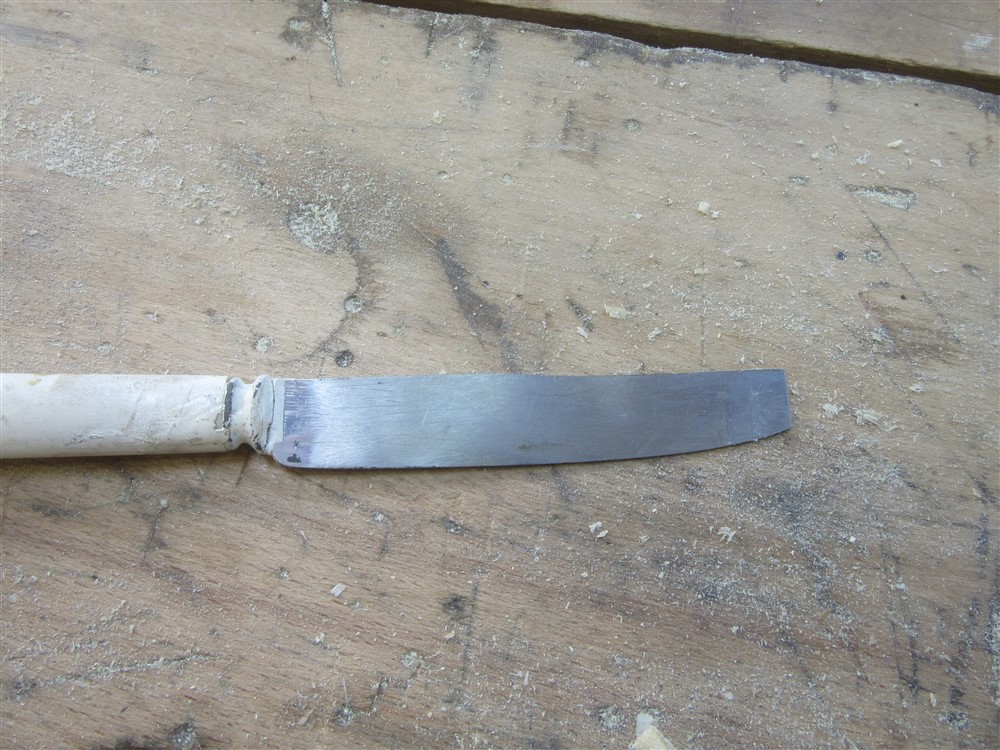
Veritas probably sell a kerf-extender for £50. I cut the end off an old knife.

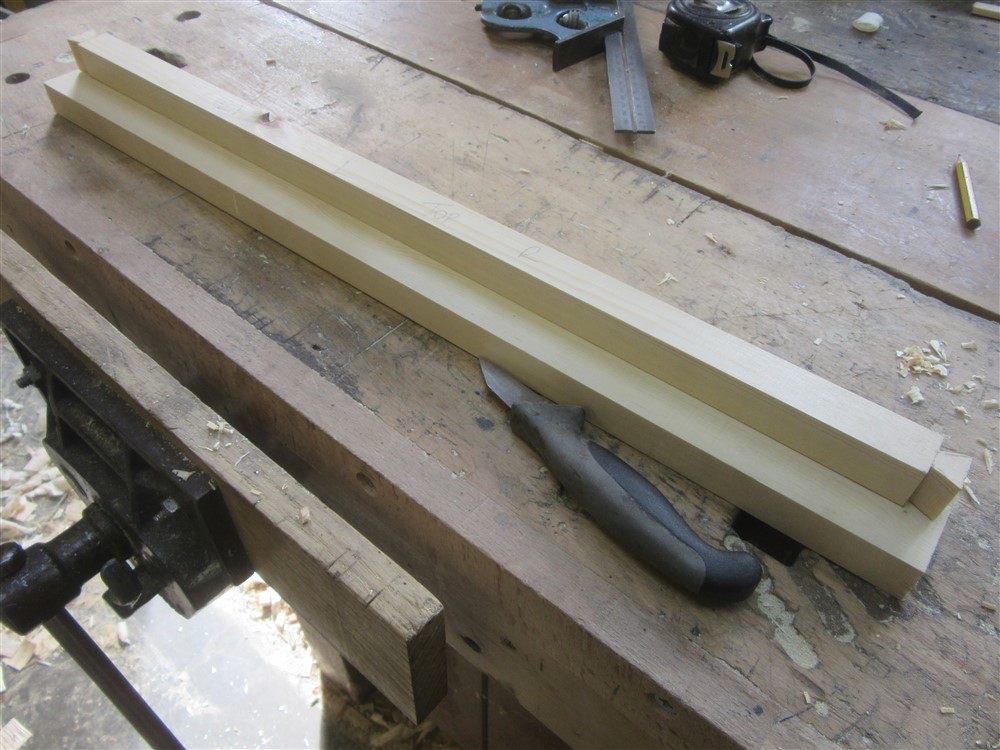
Having made the top back piece, I transferred the shoulder locations to the piece for the bottom:
1CI6sdr.jpg


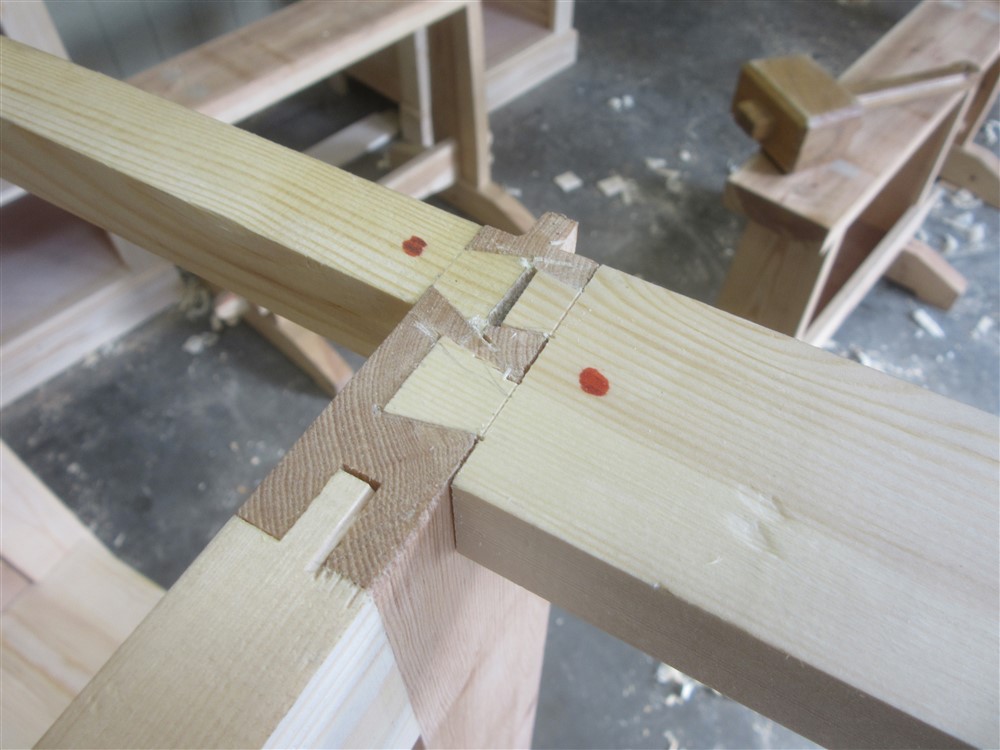
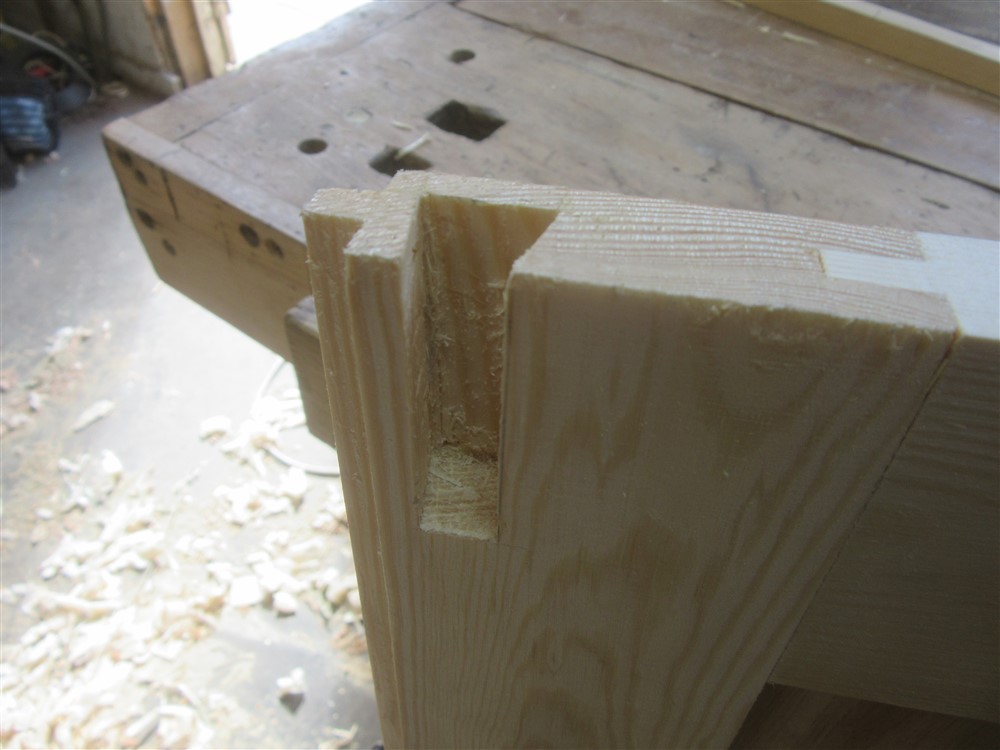
...then after making random tails again, marked up the cheek pieces and hacked away the stuff I didn't need:
E804cKs.jpg


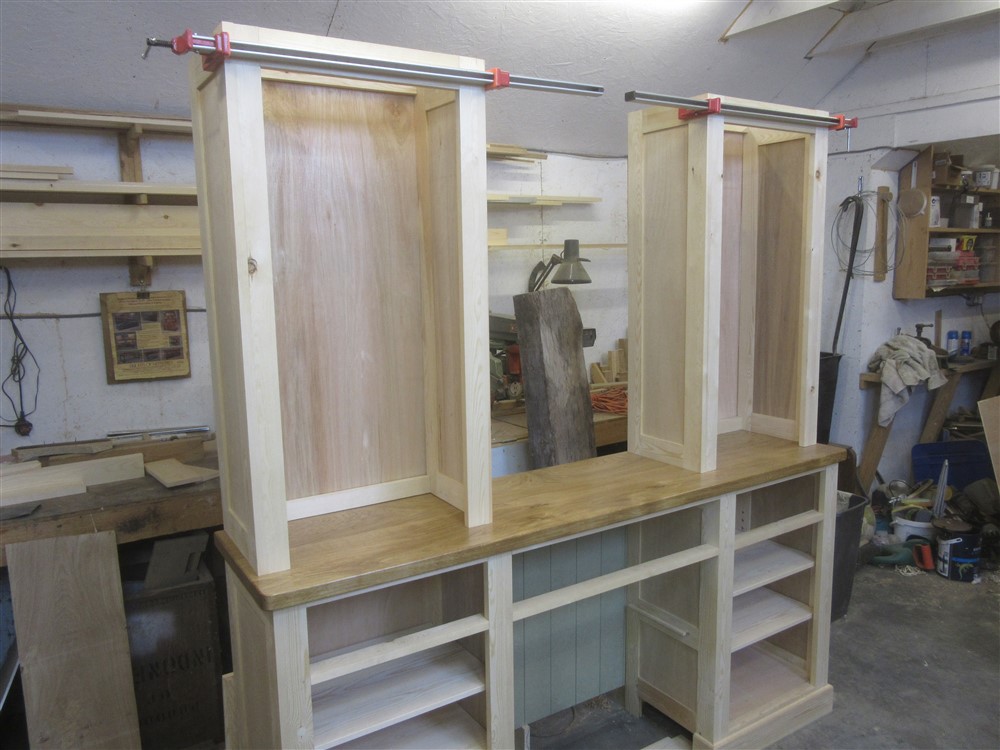
It all hangs together OK, but there is a mystery twist in the left hand unit which I'll have to look at next time I get out to the workshop:
2FJmGAp.jpg
 
Looking good Mike. I can't quite figure out what your first 2 minute dovetails contraption was for though?
 
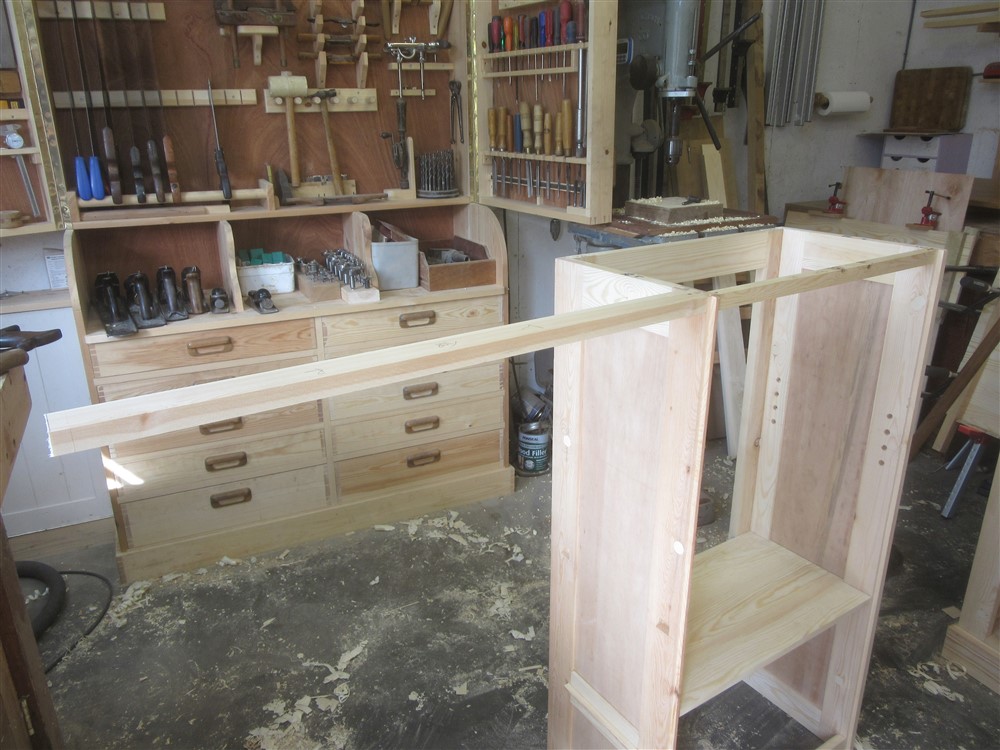
The top piece of wood at the back......holding the back edges of the cupboard the right distance apart, and to fix the back board onto.
 
Hell Mike you don’t hang about do you! That’s a really nice project with some really nice clean pine, a very satisfying sort of a job. Difficult to tell from the photos but it looks as if, particularly on the oak when you’re glueing planks together you haven’t reversed them so that the cups and bridges (as I call them) are opposite, to mitigate cupping. Whether you did or didn’t that’s a really nice oak top you have there.
Bottoms in the cupboards? Yes normally, I think of it as being two separate pieces of furniture that just happen to be stood on top of each other. Ian
 
...... That’s a really nice project with some really nice clean pine, a very satisfying sort of a job.

Thanks. Yes I struck lucky with a fresh delivery of stock at the Builder's Merchant, so most of the stuff is pretty straight.

Difficult to tell from the photos but it looks as if, particularly on the oak when you’re glueing planks together you haven’t reversed them so that the cups and bridges (as I call them) are opposite, to mitigate cupping.

The smaller shelves in oak were a single board "cut & shut", so there wasn't any point reversing the grain. The big worktop I did, but the grain is fairly wild and so whilst it looks right at one end it looks wrong at the other. As for the pine I think I've done it for all the shelves. Not impossible I've missed one, though.

Bottoms in the cupboards? Yes normally, I think of it as being two separate pieces of furniture that just happen to be stood on top of each other.

I tossed a coin, and it came down in favour of showing the oak. I then asked the other half of the design team, who agreed with the coin. So I've got some awkward little details to sort out.
 
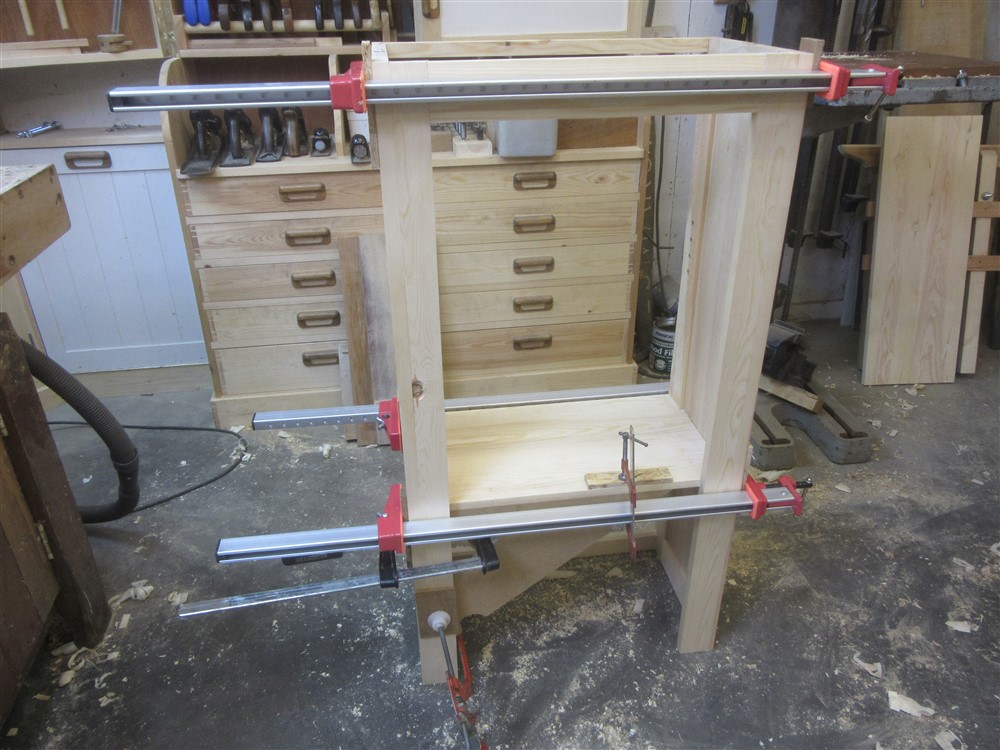
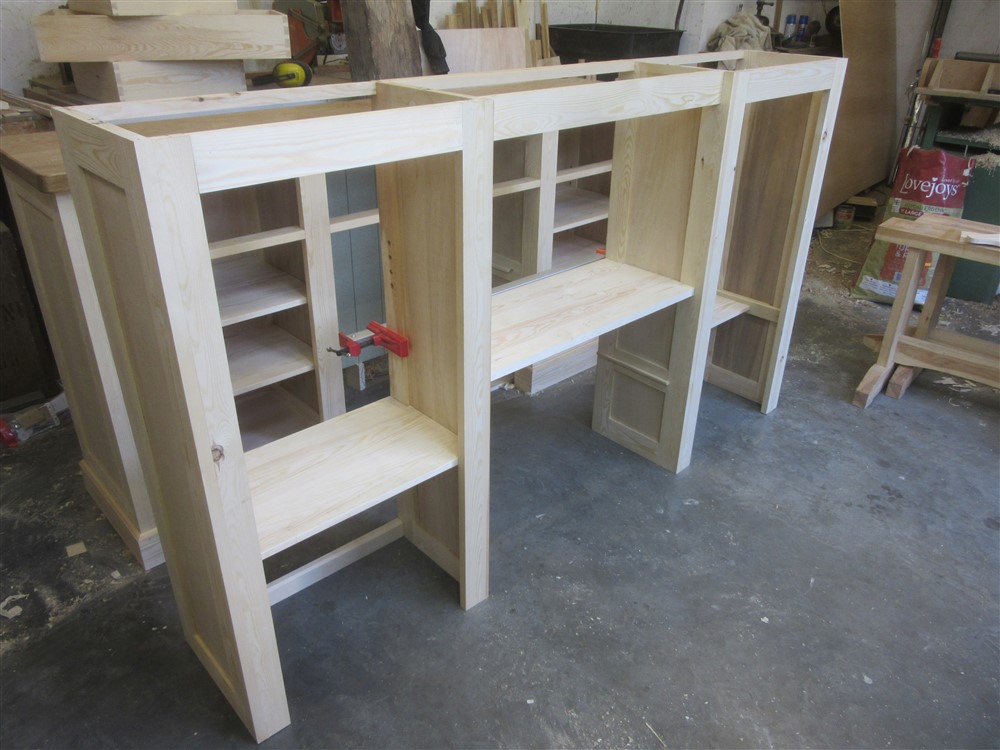
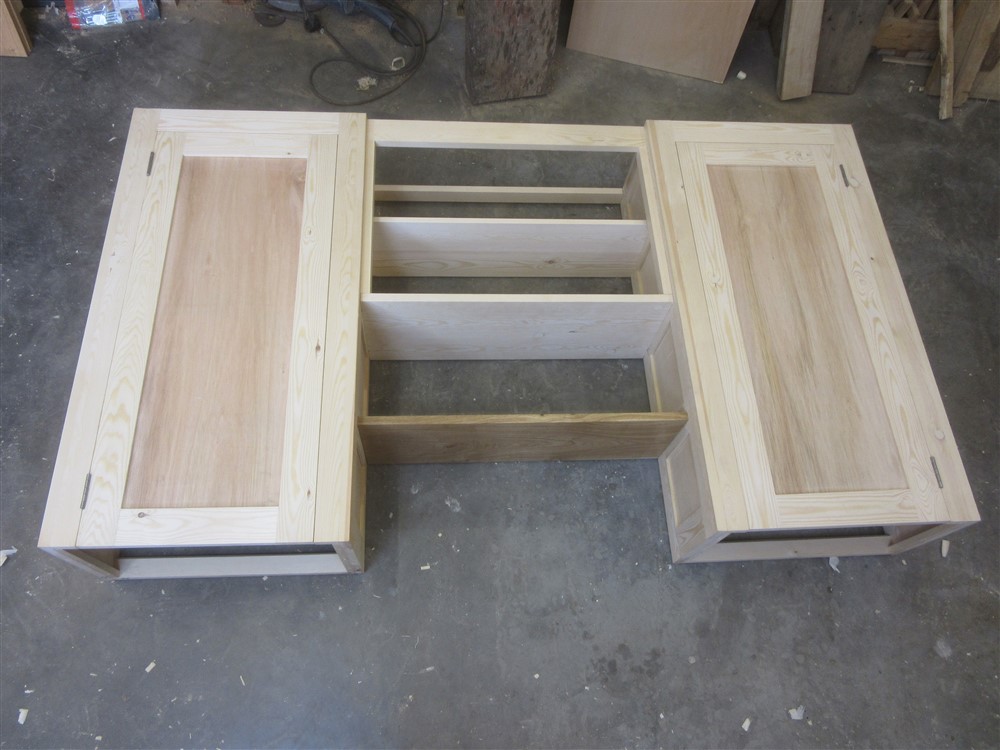
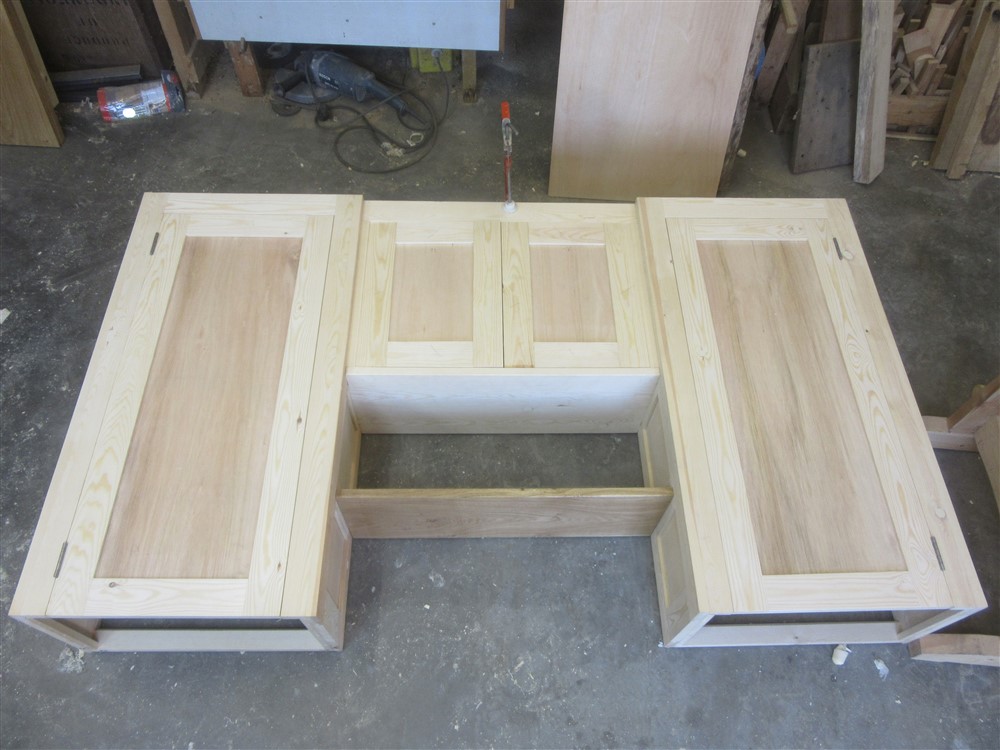
I had 4 or 5 hours at this during the week, and then a good solid weekend in the workshop, so I've made reasonable progress. We left it at a dry fit of the two upper cupboards.......

Having the upper cupboards in place enabled me to work out the locations and shapes of the shelves and frame members which will join them. I started with the bottom shelf:

ZBhZoqg.jpg


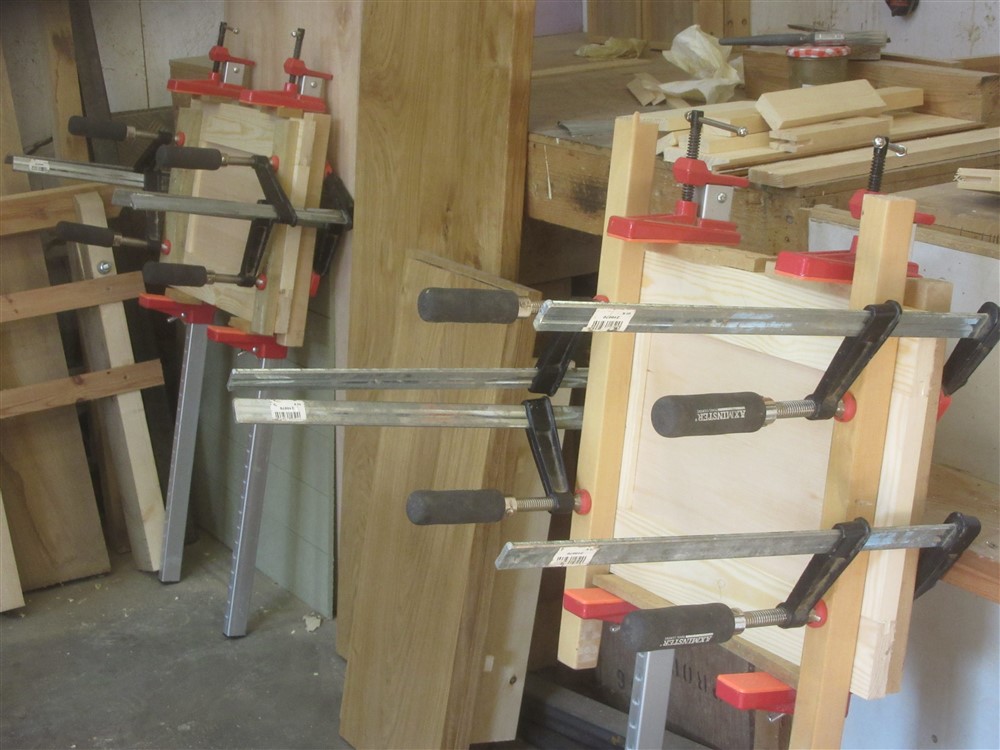
I took everything apart and started preparing for the glue up. There are subtle differences between the two cupboards, in that the right hand one will have a shallow shelf unit/ rack thingy mounted on the door, so the shelves in the cupboard can't be full depth. This has structural implications. No such issues with the left hand cupboard, where the solid bottom shelf squares everything up and stiffens it, so I glued that one up easily:

uIVozew.jpg


0FqPEEf.jpg


Note the clamping square.

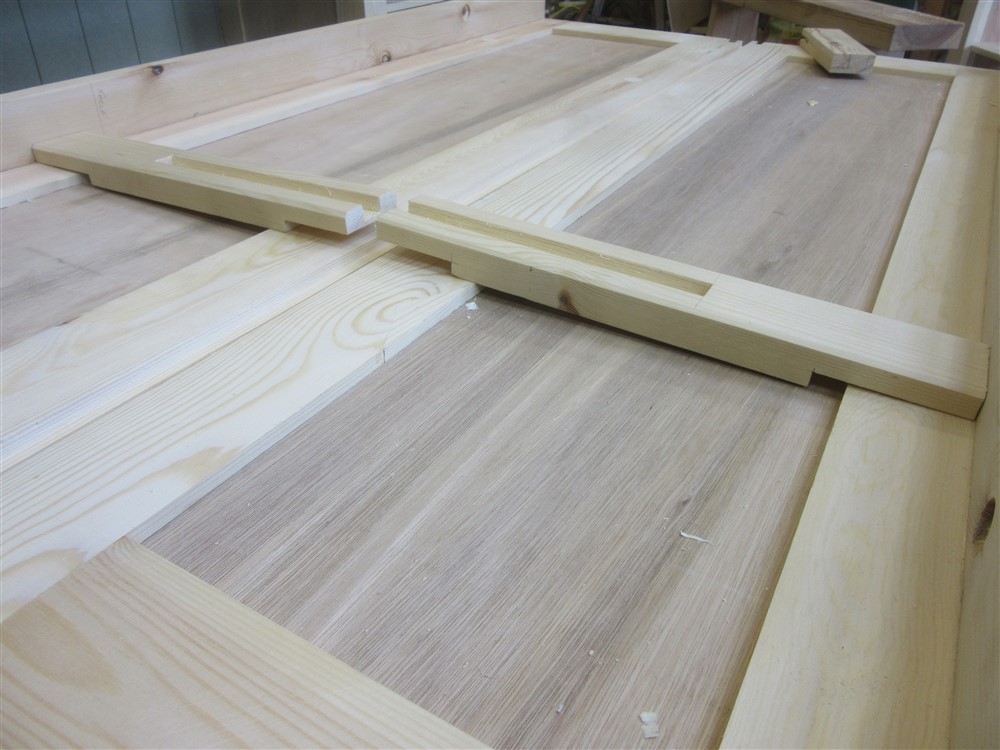
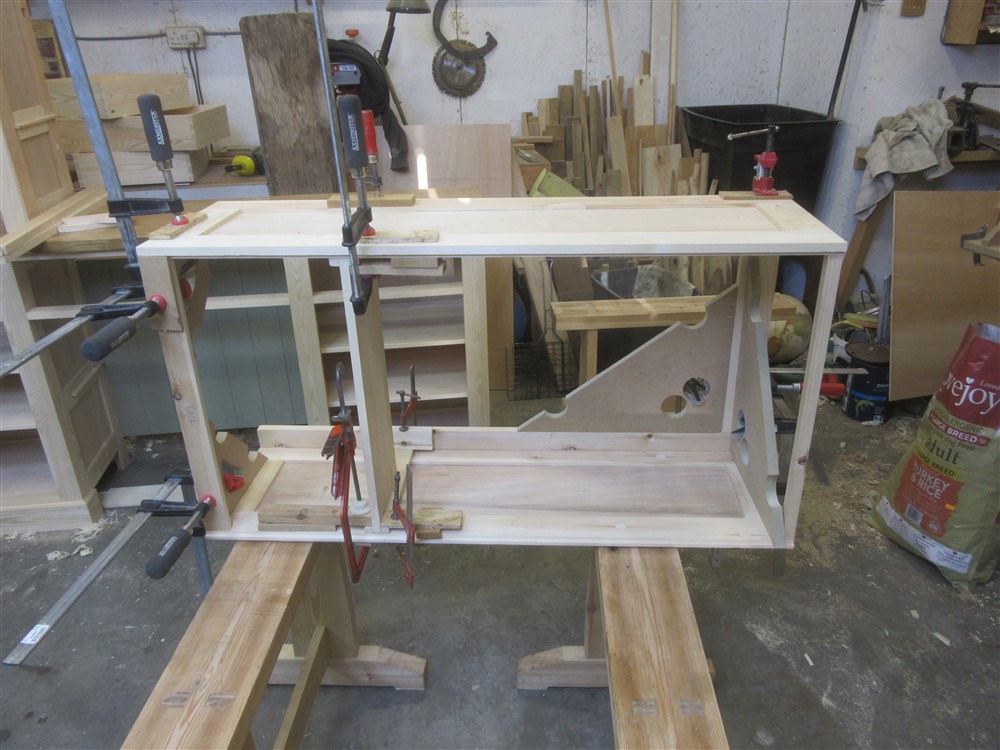
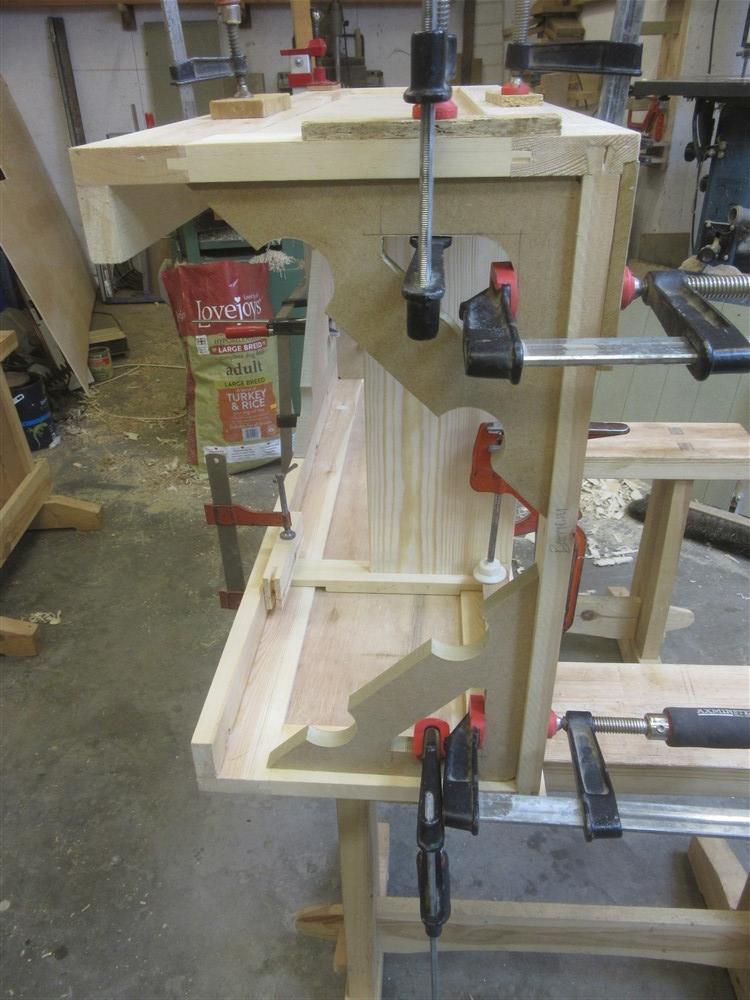
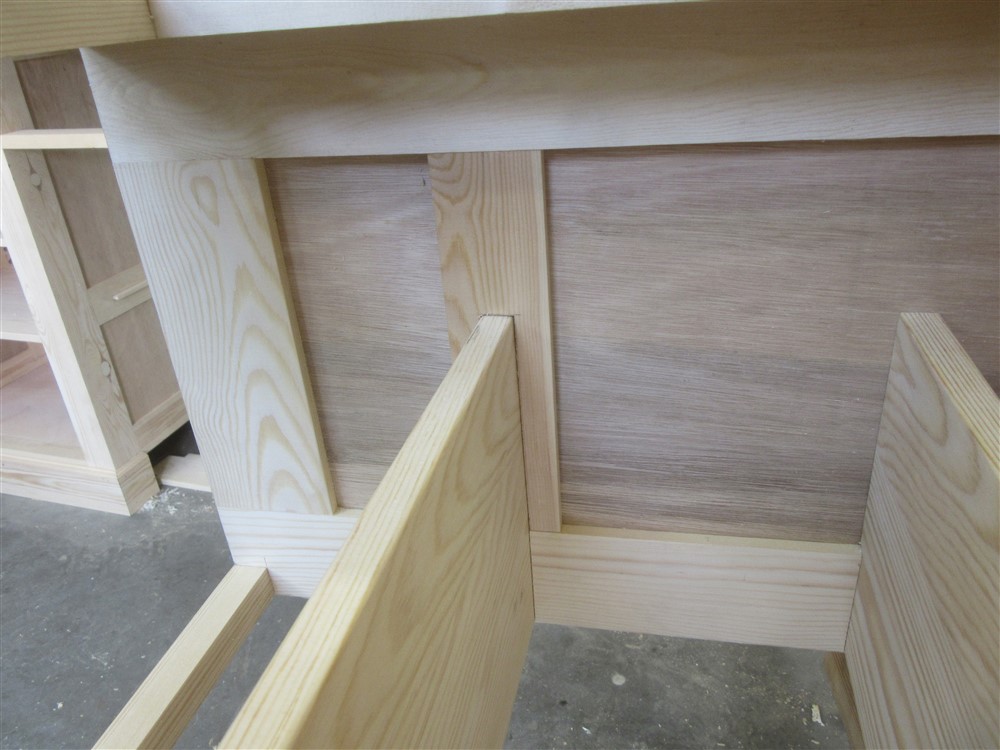
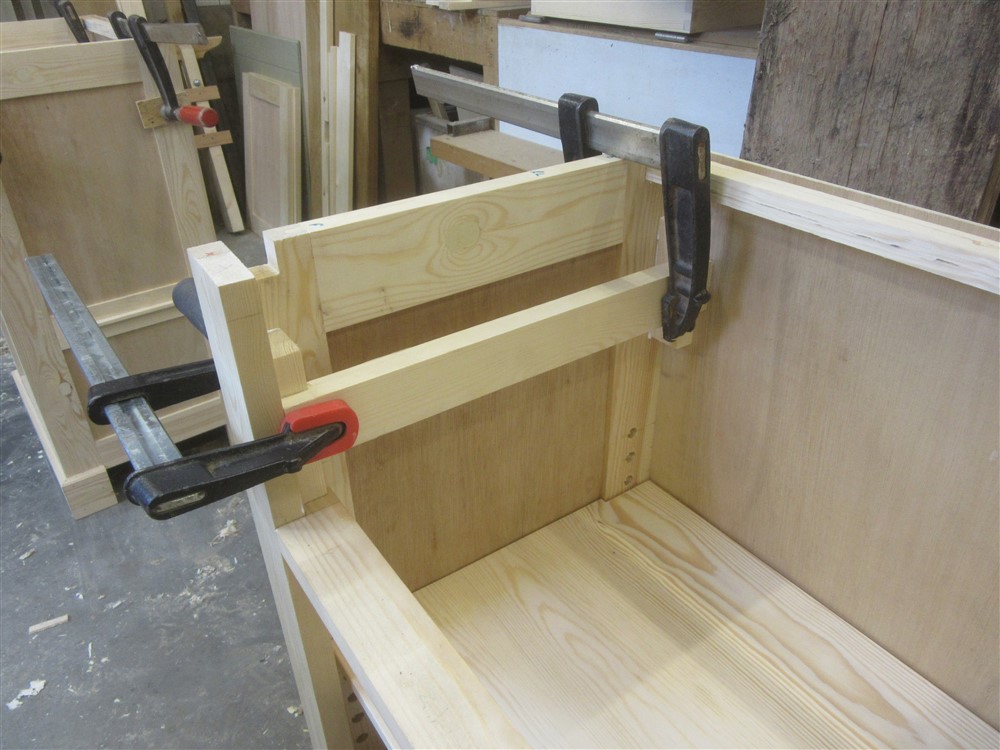
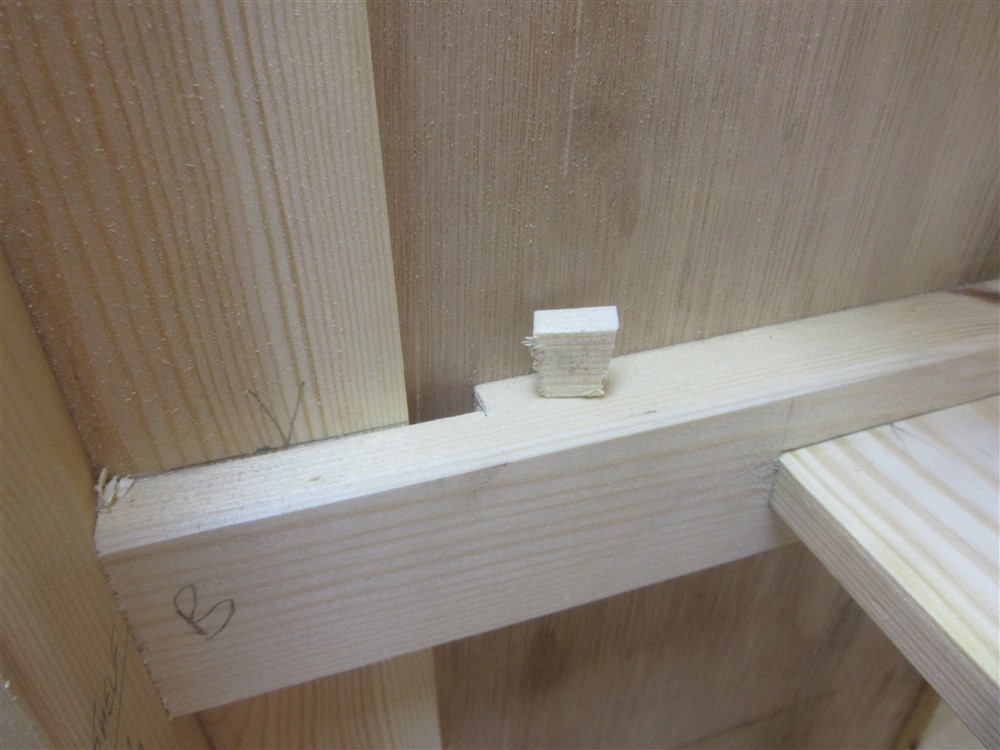
Right, ready for a stupid little **** up? The half-depth bottom shelf of the right hand cupboard still need to stiffen the carcass up, so I came up with the idea of some strong shelf supports firmly jointed and glued to the shelf, extending out to the front of the cupboard:

YGP8zll.jpg


1YFno1Z.jpg


jR0KDdT.jpg


Unfortunately, I marked them up the wrong way around:

p3MCj8A.jpg


Doh!!!

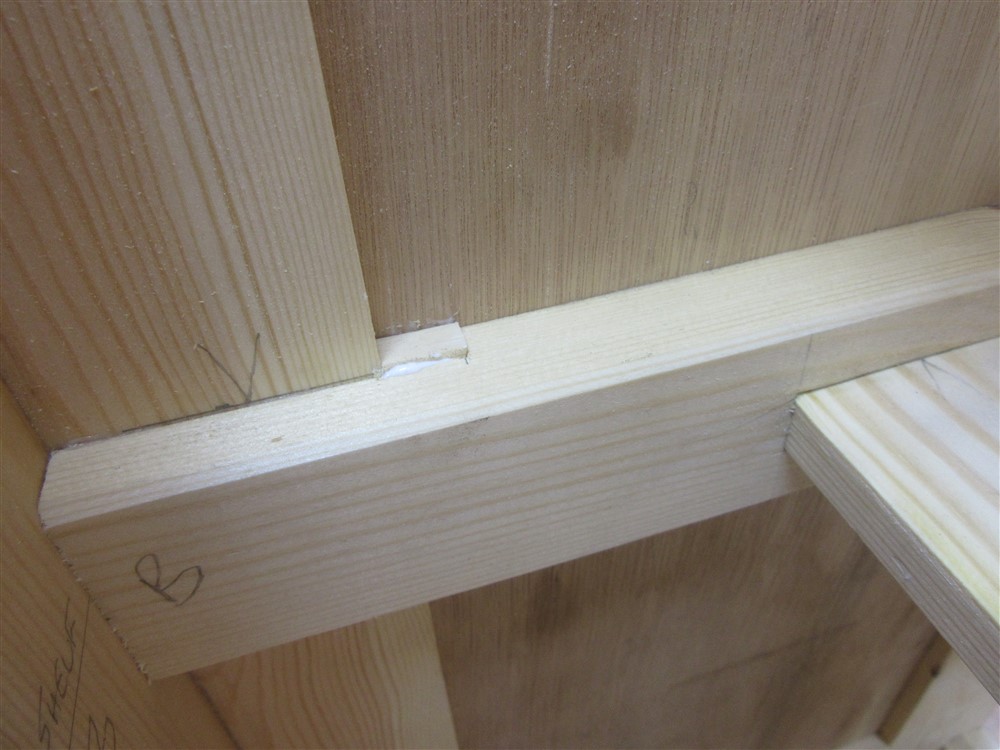
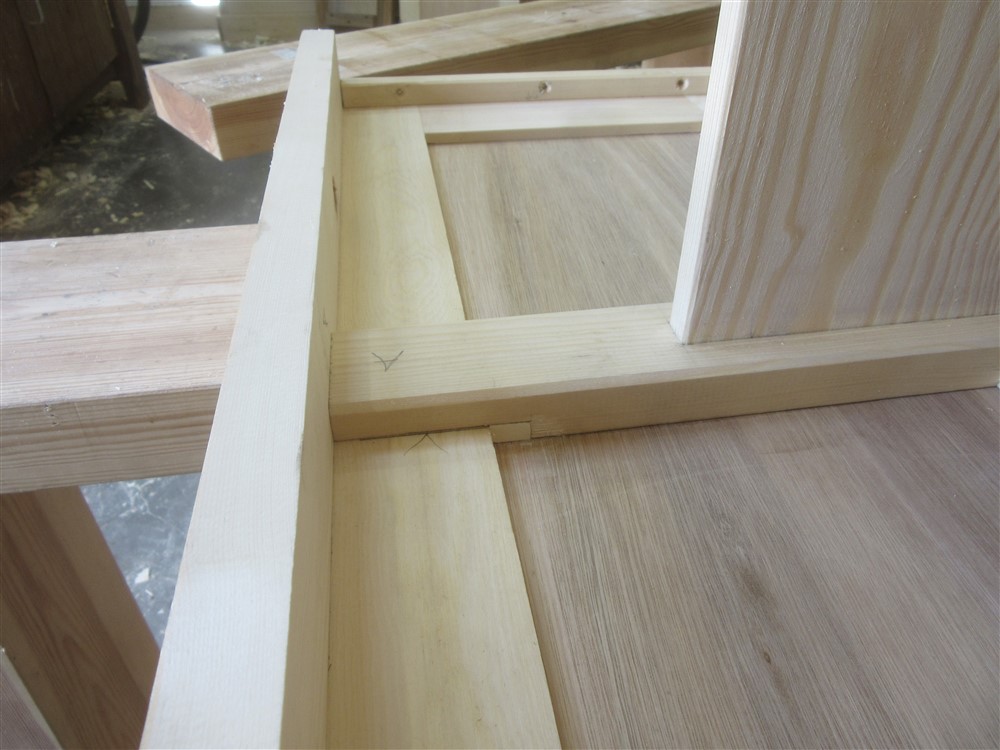
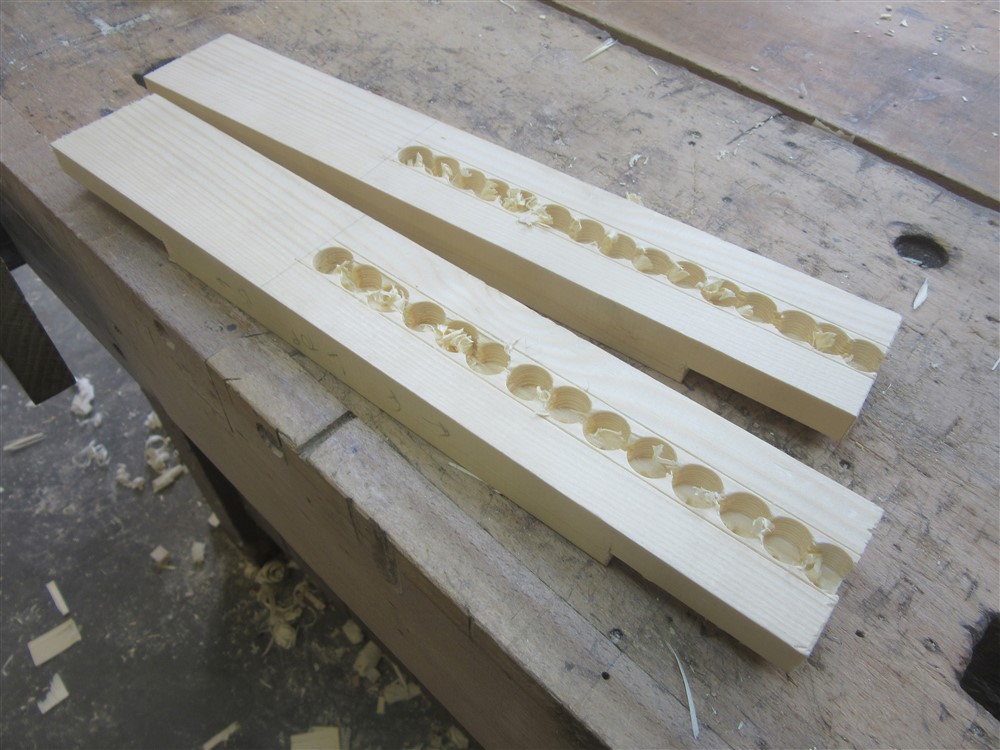
I adjusted, but that left a little hole to be dealt with later. Using one of the top frame members to check that the "legs" of the arrangement were parallel, I glued it up:
0K1vFzP.jpg


ikRq5r4.jpg


vwZz9A9.jpg


UHgdaS8.jpg


8tNRWX0.jpg


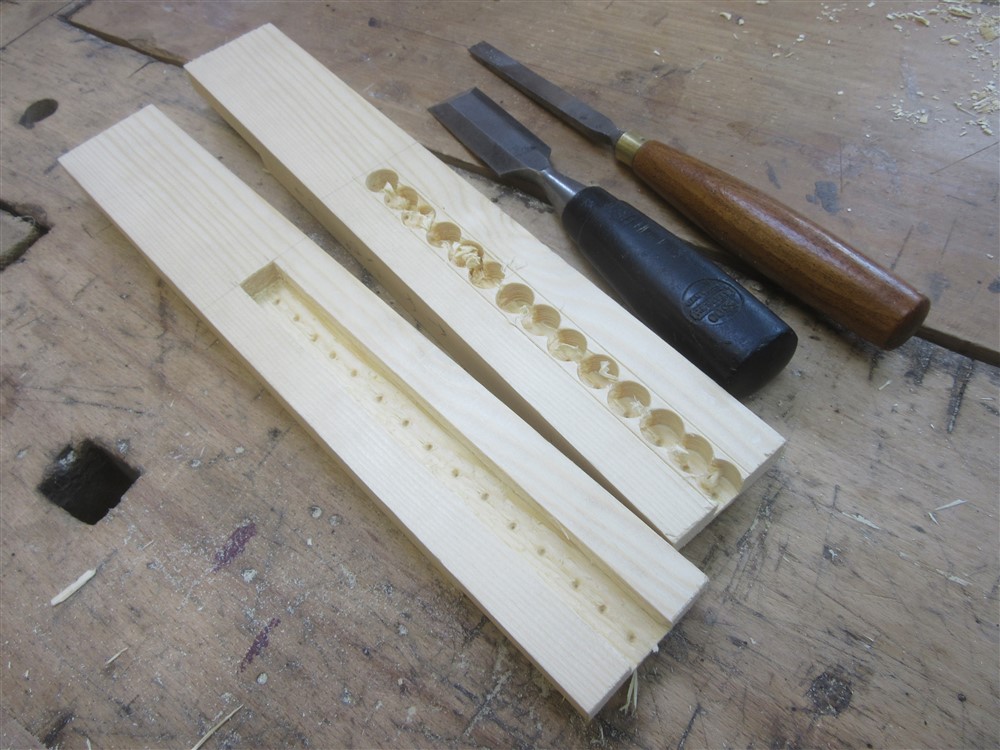
I'm making this piece of furniture up as I go, and I hadn't really thought the next junction through. This is the top back corner where the left hand unit meets the infill piece. If I build in "boxes", like pros do, and most here, this detail wouldn't arise. Anyway, it's getting a bit crowded:
s2dMGxE.jpg


9zXxkqn.jpg


But it's strong:

nAVfCIa.jpg


This is all the marking up I did for the dovetails:

6FNQhOg.jpg


The front and back pieces dovetailed into place. The front dovetail is 70mm deep:

B58YC7S.jpg


Next, I glued up the awkward right hand cupboard with its odd bottom shelf:

lIHXtEn.jpg


n2SIpgh.jpg


2ApHoks.jpg


The following day it was time for a dry fit:

UndCNJd.jpg


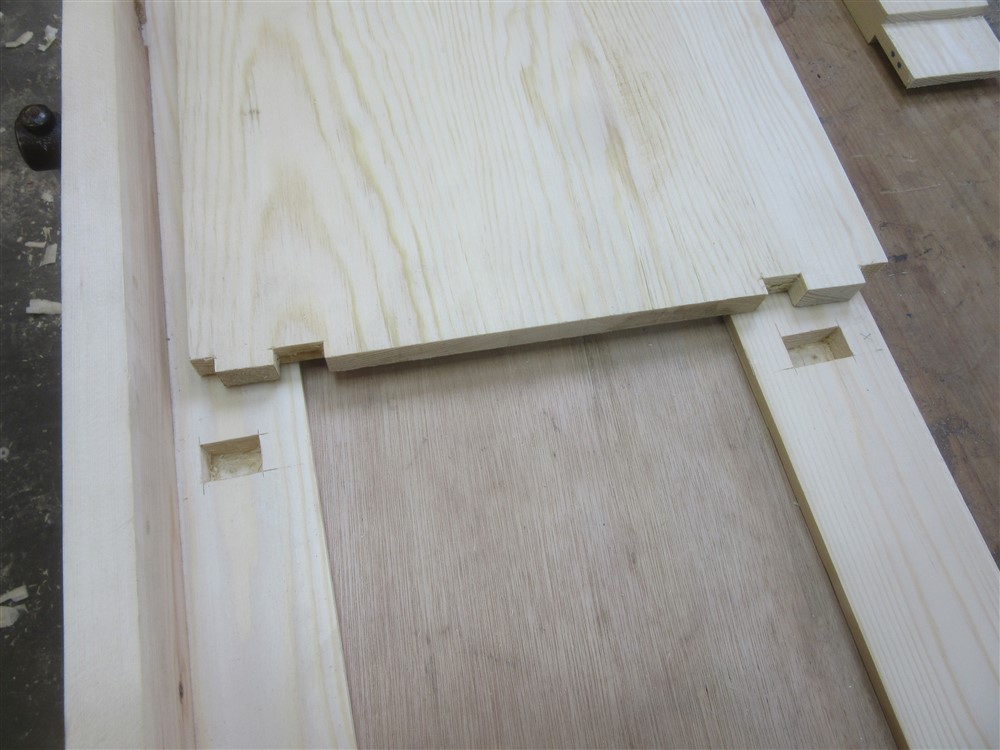
This enabled me to measure for the open oak shelf which is below the central upper cupboards, and then to run the grooves in the shelf ends as per the previous lower shelf:

V6xVZR5.jpg


I then did a whole lot of chiseling for the fixed shelves in the right hand cupboard:

B1fDHWz.jpg


ur71Jo7.jpg


Shelf positions were marked on a rod (I guess you'd call it that), and transferred all around the cabinet:

FECVjf9.jpg


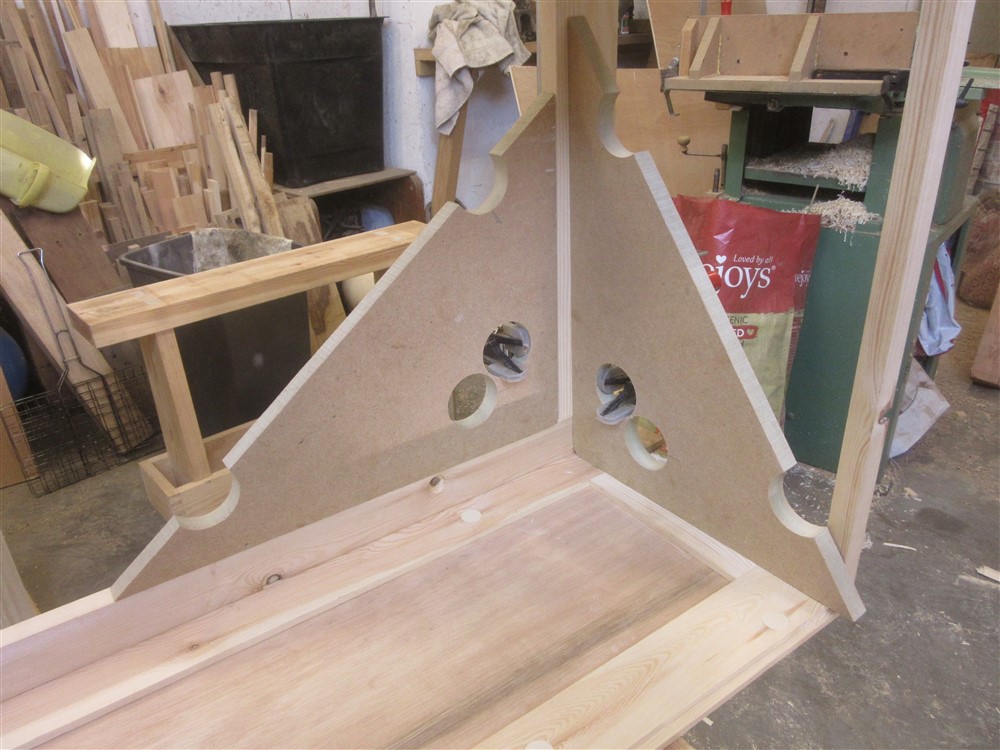
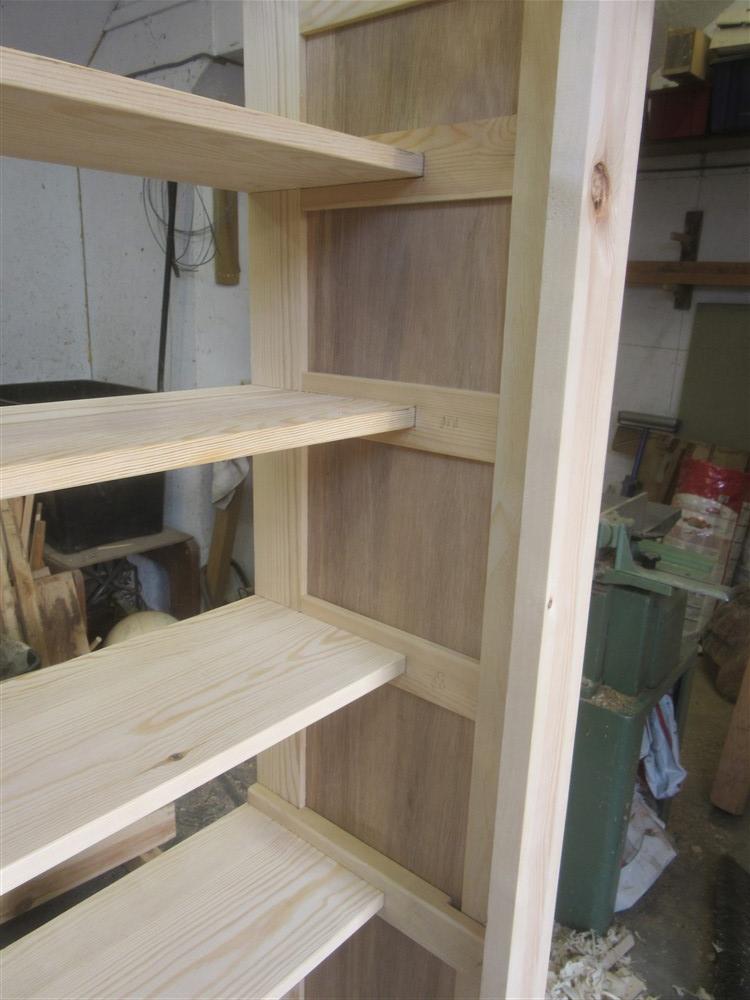
With thin ply panels, and the shelves not reaching the frame at the front, I needed a shelf support to hold them. This, Baldrick, was my cunning plan:

weYgCzw.jpg


KkujiFs.jpg


GoX7h1G.jpg


izB3LWd.jpg


I think that's both of the main upper cupboards finished for the time being. Time to move on to other things. I made some little shelf supports:

EZRarAJ.jpg


Back to the lower units, and the drawers needed fitting. I made up some pieces which will hold the drawer runners:

XQhdpLa.jpg


ZvDPhD2.jpg


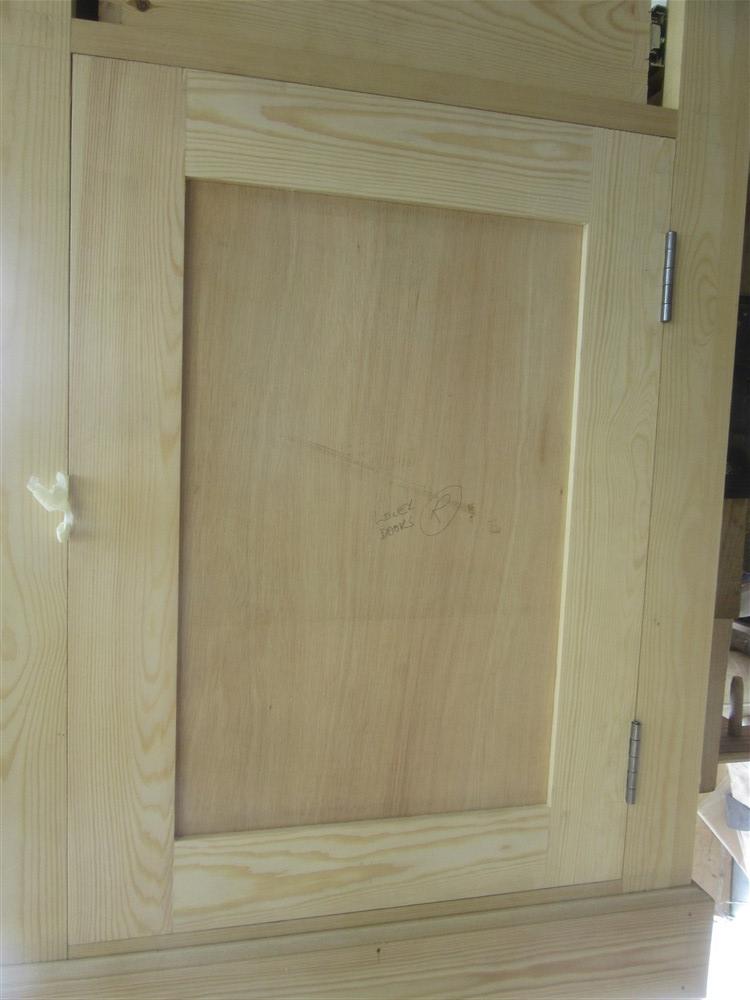
Then I hung the doors:

KlGGFDp.jpg


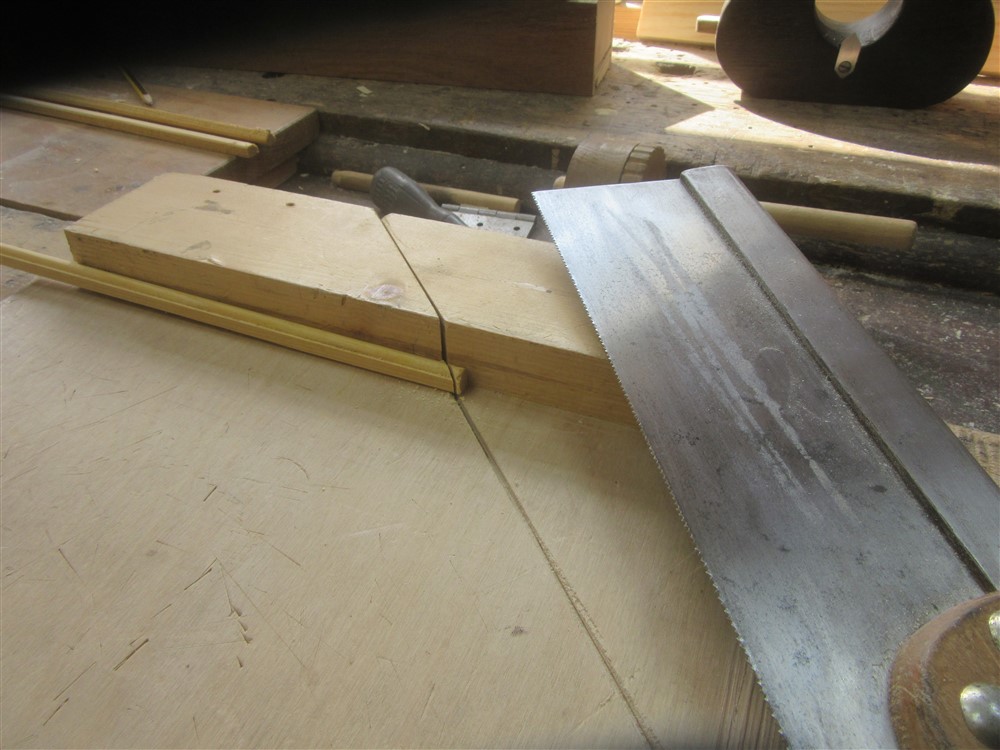
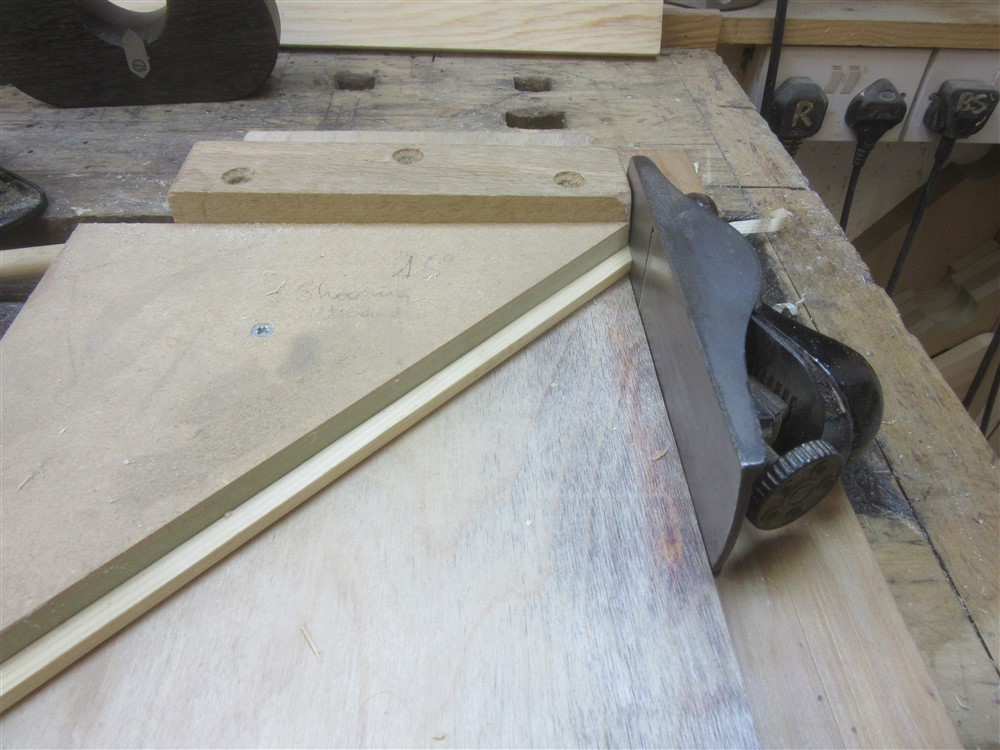
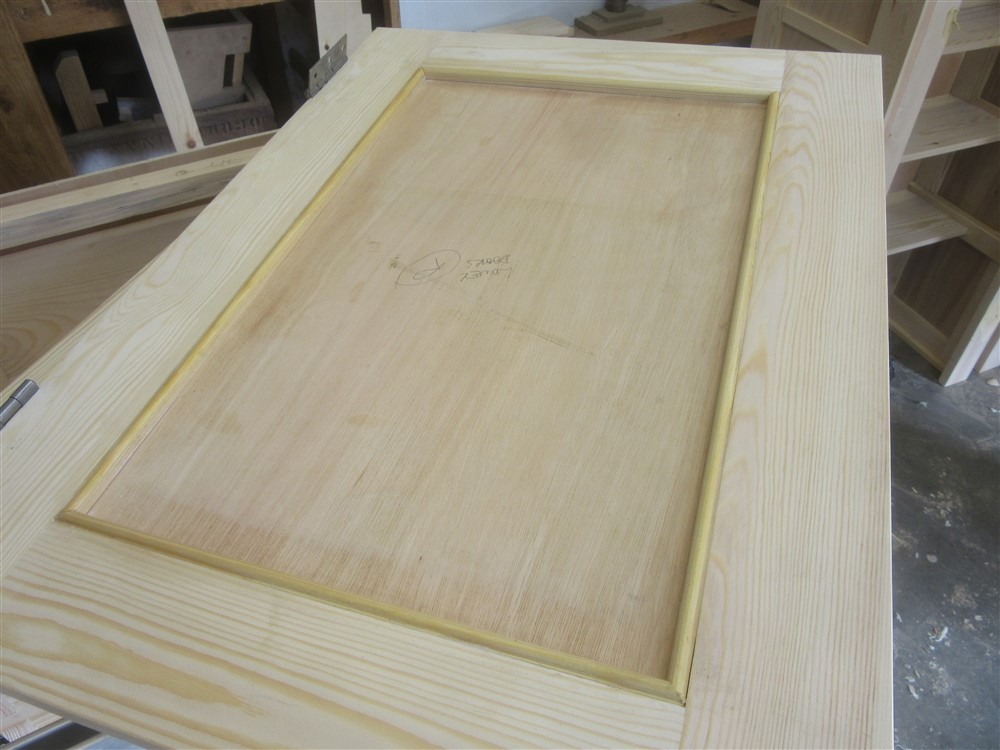
Finally, for the time being, I did a little moulding for the door panels. I had this left over from when I built the kitchen:

MLgnBC9.jpg


KOZLffw.jpg


vUImUEg.jpg


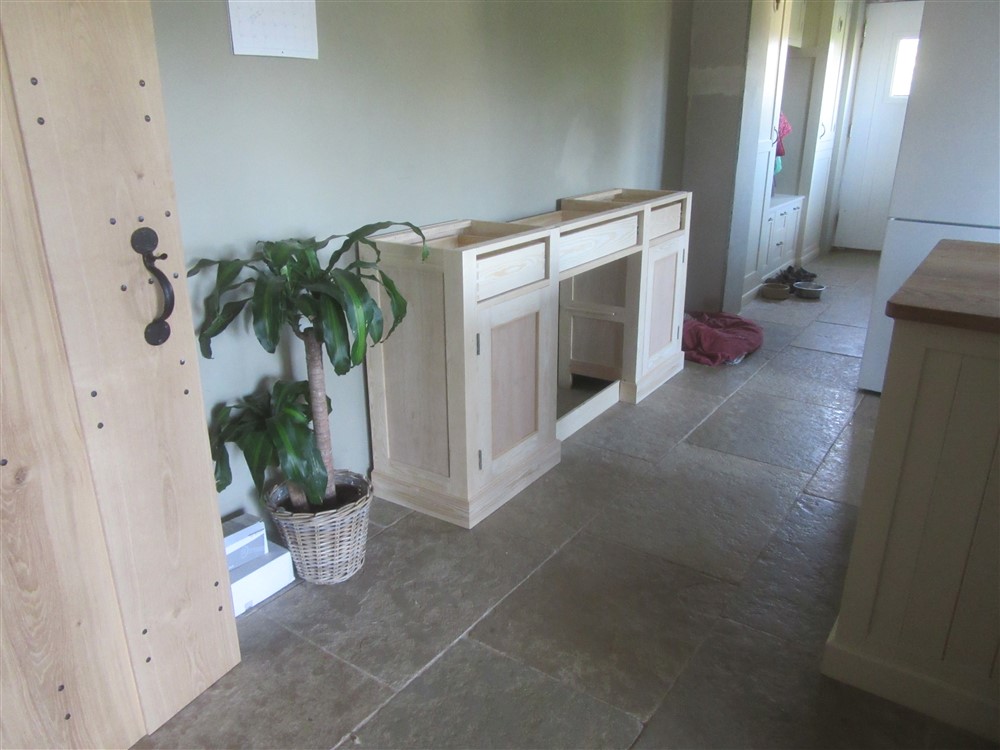
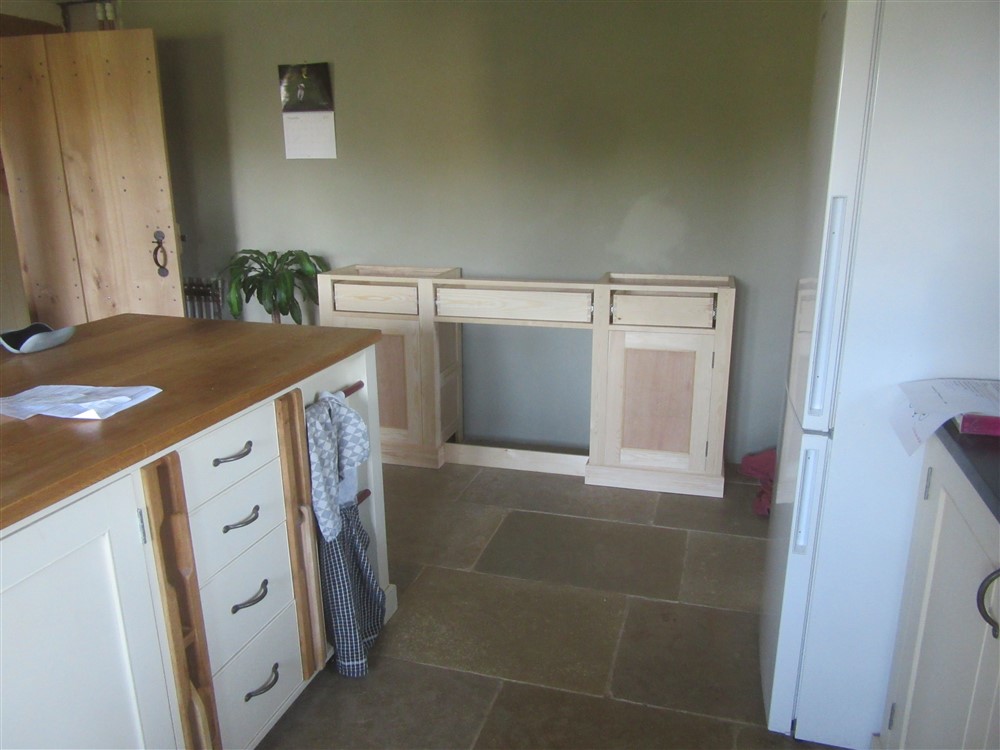
I could then bring the lower half of the dresser inside, in individual pieces:

BoC0iGZ.jpg


yj0dWcx.jpg


Back in the workshop, where I was left with a bit more space and only the upper units. Remember the stupid little balls up? Well, time to fix that:

um3YBUR.jpg


jxn2MOH.jpg


1jwPLoi.jpg


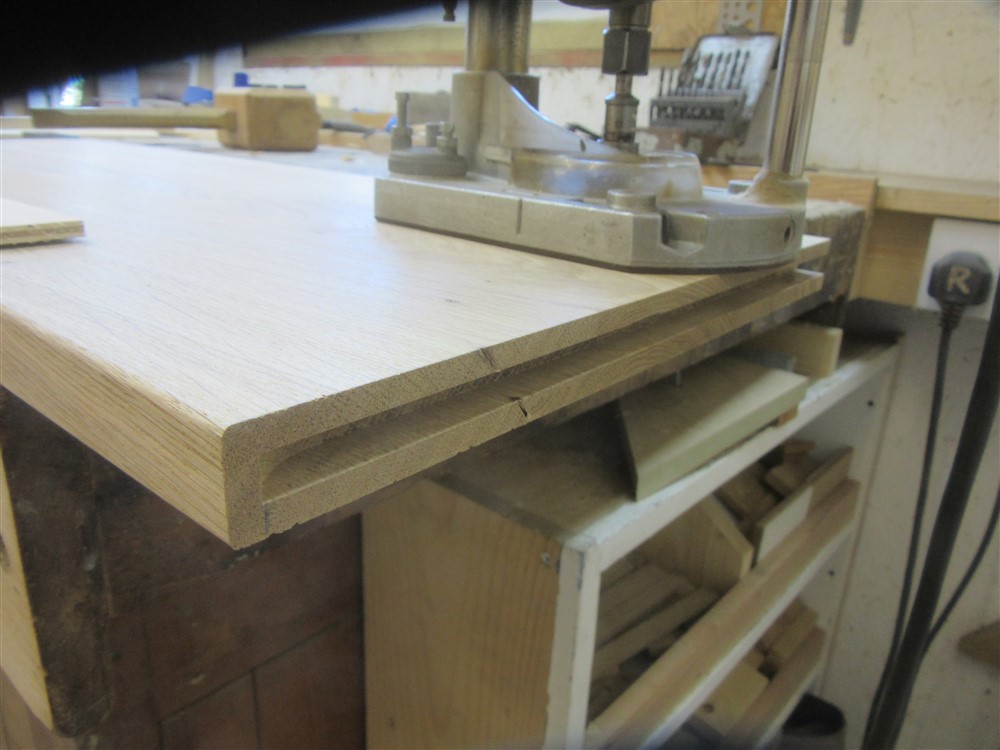
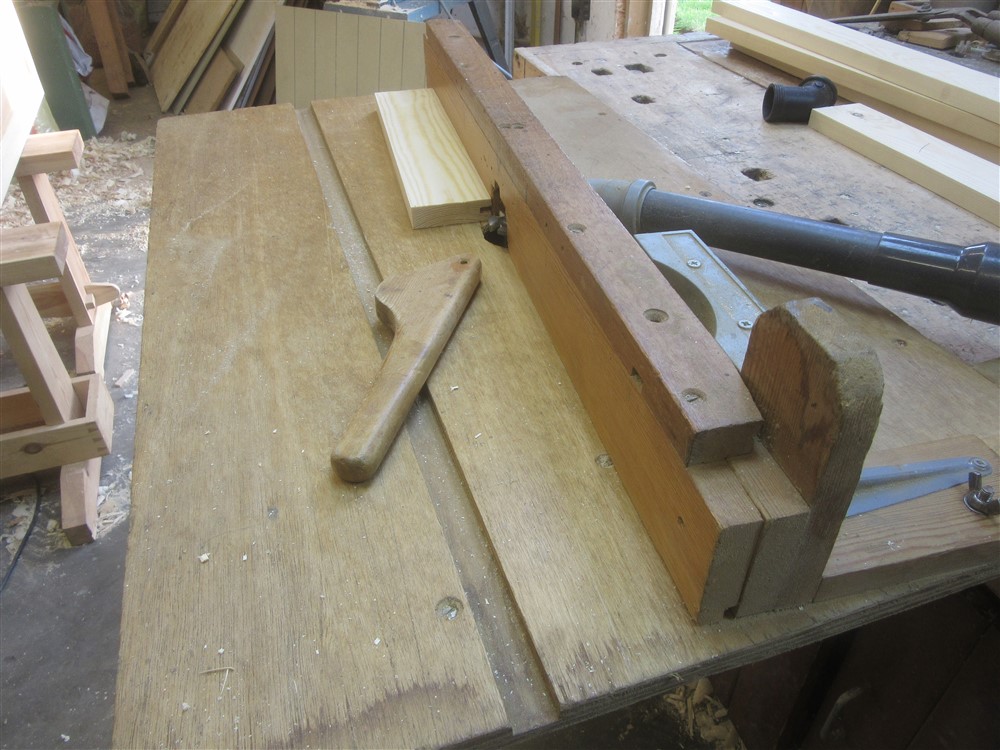
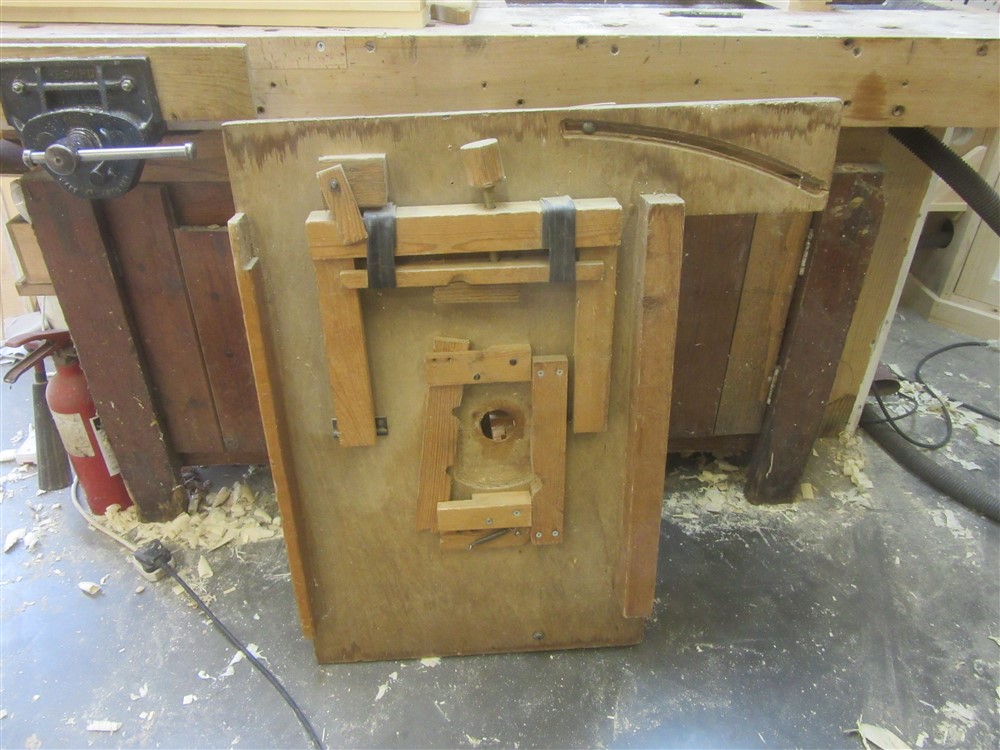
Time to make the upper doors. Here is my smaller router table, which just clamps in the vice.....set up for grooving out for the ply paneling:

iQDBiOk.jpg


IMdCw1B.jpg


xyWtfXx.jpg


I cut the tongues/ tenons by hand:

TfWq7P1.jpg


sPClvRw.jpg


d7TkFJX.jpg


PB3jSqI.jpg


After they were dry, this is my set up for planing them to fit:

nClorSo.jpg


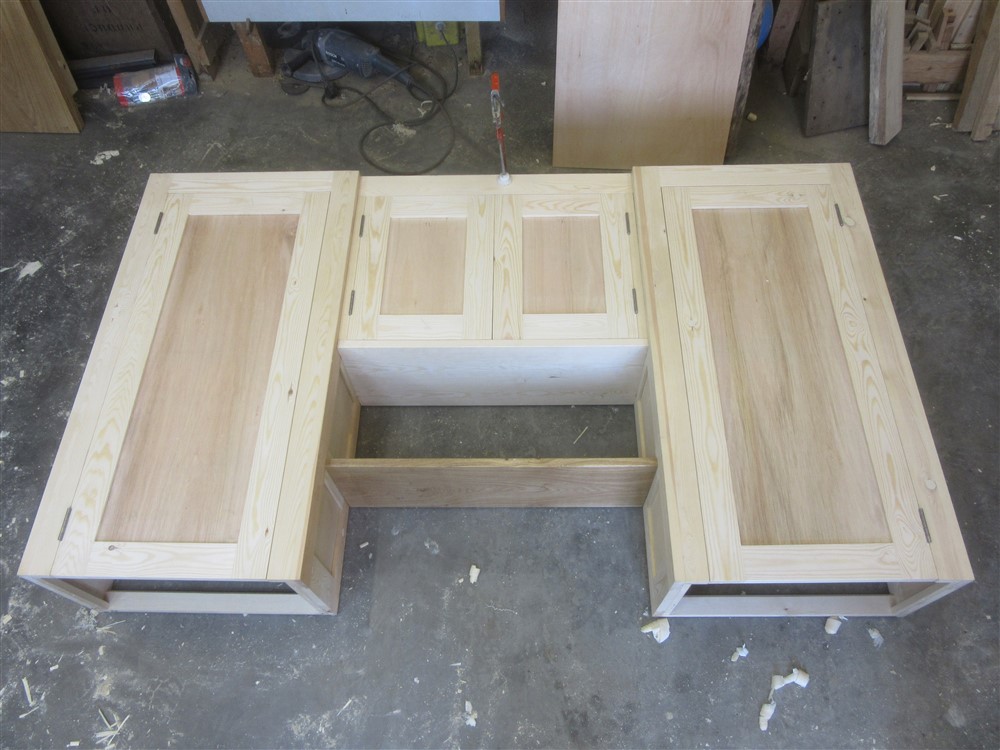
And here they are hung:

GDZ2C0a.jpg


Same process for the little upper doors:

rt4pgej.jpg


CSDCd16.jpg


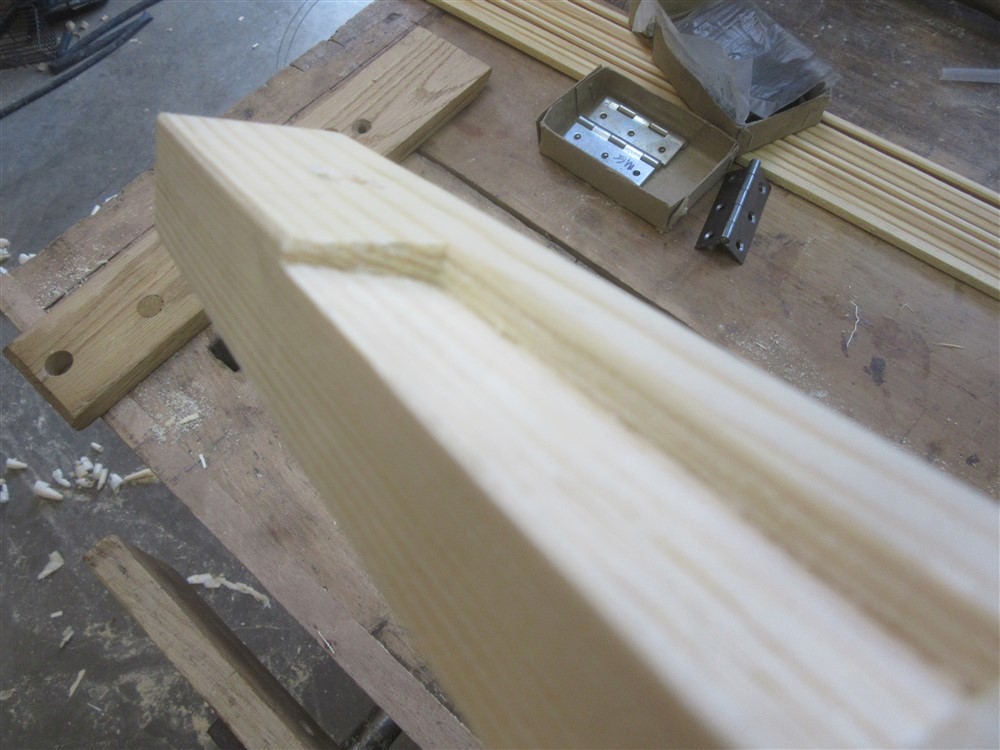
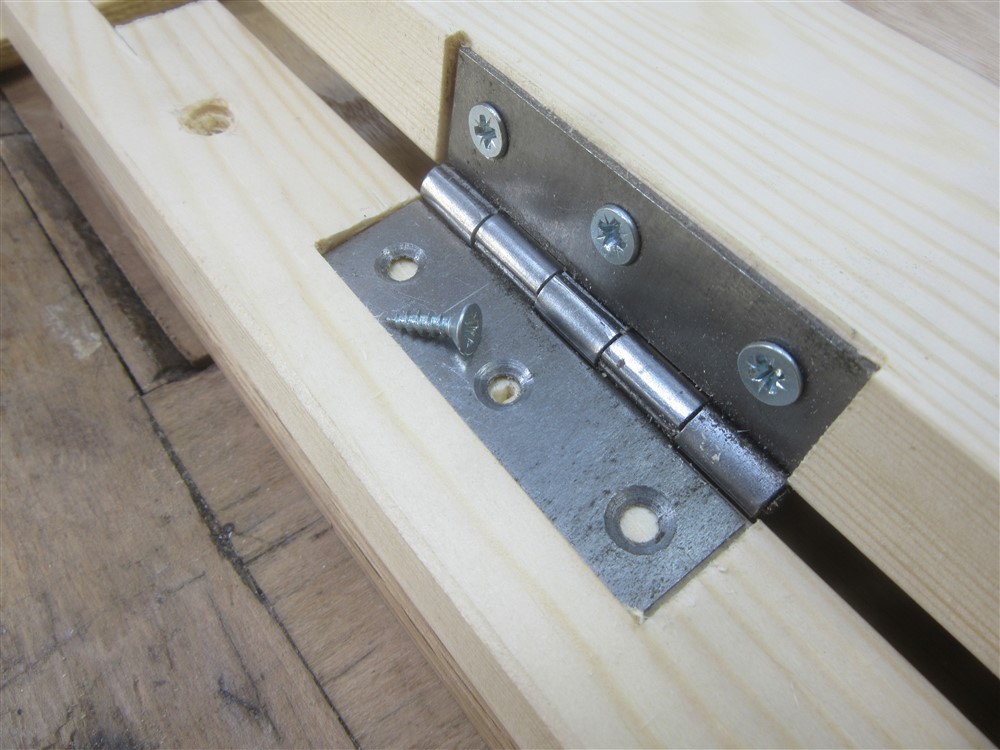
Just a little diversion. When I house out for butt hinges, I usually slope back the leaf which is on the fixed surface (ie the frame). This allows plenty of room for protruding screw heads:

Py4h8DM.jpg


And when I fit the door to the frame, I only use a tiny screw initially, in case I have to move things around at all. It's far easier dealing with a tiny hole in the wrong place than with a big one:

bFahJw3.jpg


oN9mQ25.jpg


I've just got the door moulding to do, and then make and fit the coving, then these units can go into the house for assembly and painting. Don't forget, the two main cupboards are glued, but the smaller middle cupboards are only just dry fitted, meaning I can carry stuff into the house in manageable chunks. Lots of damn mitre-ing in my immediate future, and lots of painting in my wife's! :)
 
Wow Mike, that really is an object lesson in how you work, I really am impressed both with the way that you have laid this out for us and of course your workmanship, those doors fitted beautifully. I know what you mean about making it up as you go along, terrific fun, as my son always says, five steps ahead Dad. I know just how much time it took to write this and load up all the photos. Thank you very much indeed. Ian
 
For a man with a bad back you're setting a blistering pace!

👏

A little anecdote. When I listen to professional cabinet makers talking about other professional cabinet makers, the highest praise is generally reserved for two characteristics. One is the ingenuity of their jigs, the second is how fast they work. There's hardly ever a comment about how neat their dovetails are or how tidy their sunburst veneers are, those things are just taken for granted, but speed is the real prize. Indeed, if ever there's a comment about the complexity or skill of another craftsman's work then someone will always ask, "but how quick are they?".

It's generally understood that speed (while still being accurate) is what ultimately puts food on the table.

When I trained as a furniture maker we had to make each apprentice piece twice. The first time was to learn the skills required, but the second version was always done against the clock, to demonstrate that you could produce first quality work at a commercial pace. On the evidence of this piece I think you'd make the grade!

Much appreciated, custard.

My back is a little better now, so I can't use that as an excuse quite so much any more.

I don't think I'm particularly fast, and I often choose hand tools rather than machining just for the pleasure...so I could be a bit quicker if I wanted. What I don't do, though, is waste time between tasks. I aim for glue-ups at specific times that won't hold me up (often last thing at night so that I can de-clamp in the morning and just get on). I often have 2 or 3 different strands of work running at once so that when one thing is in clamps I've got other stuff I can get on with. Finally, I do believe that workshop space is an important part of efficiency. I have the luxury of being able to have the thing standing dry-fitted, and yet being able to cut up a sheet of ply on horses in the space available in front of it. Not many hobbyists have this luxury, I'm well aware.
 
Last edited:
you're unbelievably fast mike, this is a very impressive build, out of interest how did you fill in the knot holes? is it filled with wood or something else? you certaintly know how to use your time efficiently! I'd like to see a thread about how you made that router table, I am getting sick of cutting grooves by hand and can see how it would save a lot of time, any tips on making something similar? cheers.
 
Much appreciated, custard.

I have the luxury of being able to have the thing standing dry-fitted, and yet being able to cut up a sheet of ply on horse in the space available in front of it. Not many hobbyists have this luxury, I'm well aware.

I agree. The building I took as my workshop when we moved here was formerly a racing pigeon loft. It is long and comparatively narrow. Having now had somewhat larger temporary workshops this past year much nearer the house, the luxury of not having to move things out of the way all the time will be hard to give up. I might build a workshop soon. Or move!
 
out of interest how did you fill in the knot holes?

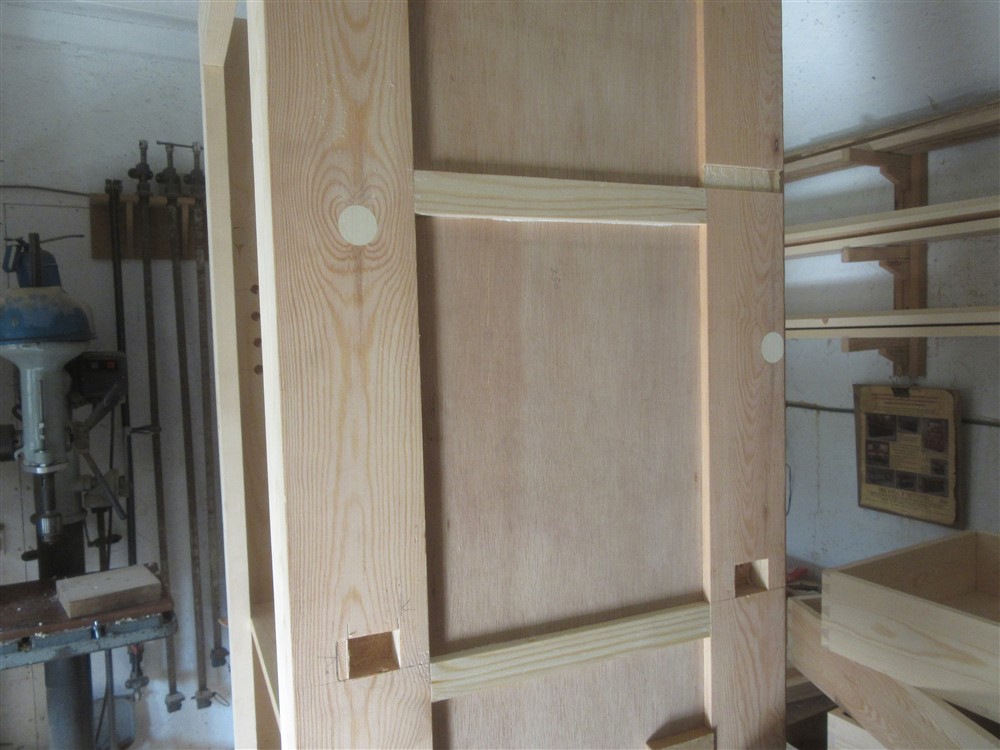
I just drill out with a forstner bit to 3 or 4mm deep and fill with the standard 2-part wood filler (you know the stuff, like car body repair filler). It's ready for sanding off in half an hour or so. This is a more successful approach than knotting compound, in my experience, for painted furniture. There are a couple of Dutchmen in there where knots have occurred at an edge.

I'd like to see a thread about how you made that router table, I am getting sick of cutting grooves by hand and can see how it would save a lot of time.....

Well, I guess I could. The health and safety fiends would be all over it, though, but I've a thick skin. I love cutting grooves by hand, but a dodgy back means you keep the amount of planing down to a minimum if you can.
 
I have a bad back as well thesedays, it's on and off, can certainly relate to it, so have been thinking of taking a more hybrid approach, it would be appreciated but I know you are a busy man.
 
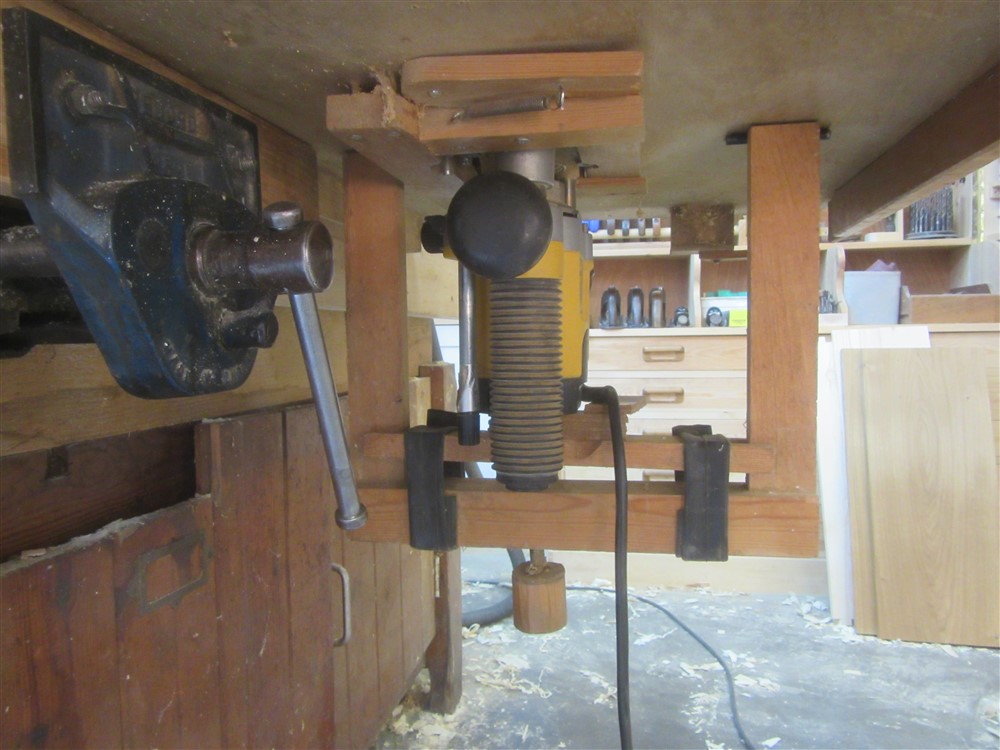
That is bicycle inner tube used as a spring, is it not? I only ask because not having a router lift is driving me slightly insane, and I hardly ever use the router. Because I have to use the router freehand, too, I haven't taken the spring out, so adjusting the router height in the table means endless bouncing up and down, too high, too low, again too high. Must copy your ingenious design...
 
Yep, the inner tubes just keep everything a bit more controllable. Obviously, you could just use springs.
 
I hadn’t spotted that, brilliant, I shall nick it as well I hope you don’t mind. Like you I have a big beast of a router under my table ( it’s all it’s fit for) and as the trainee neophyte said, a sod to adjust. Ian
 
Status
Not open for further replies.
Back
Top