MikeG.
Established Member
Warning......lots of photos.  Maybe a few piccies will distract us from forum navel-gazing.
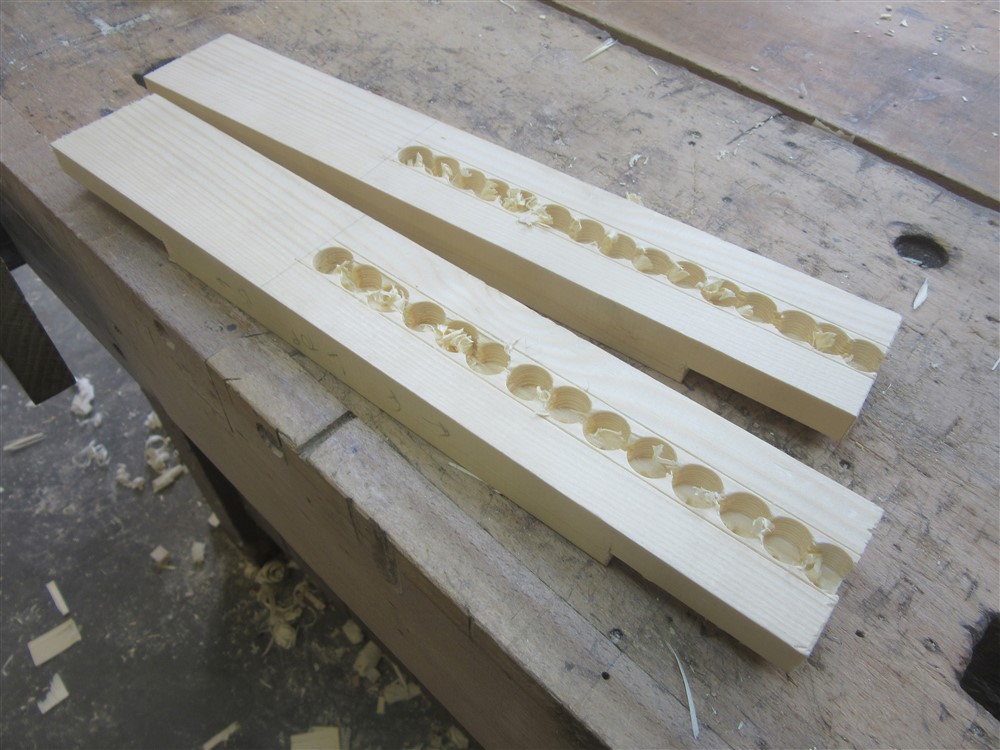
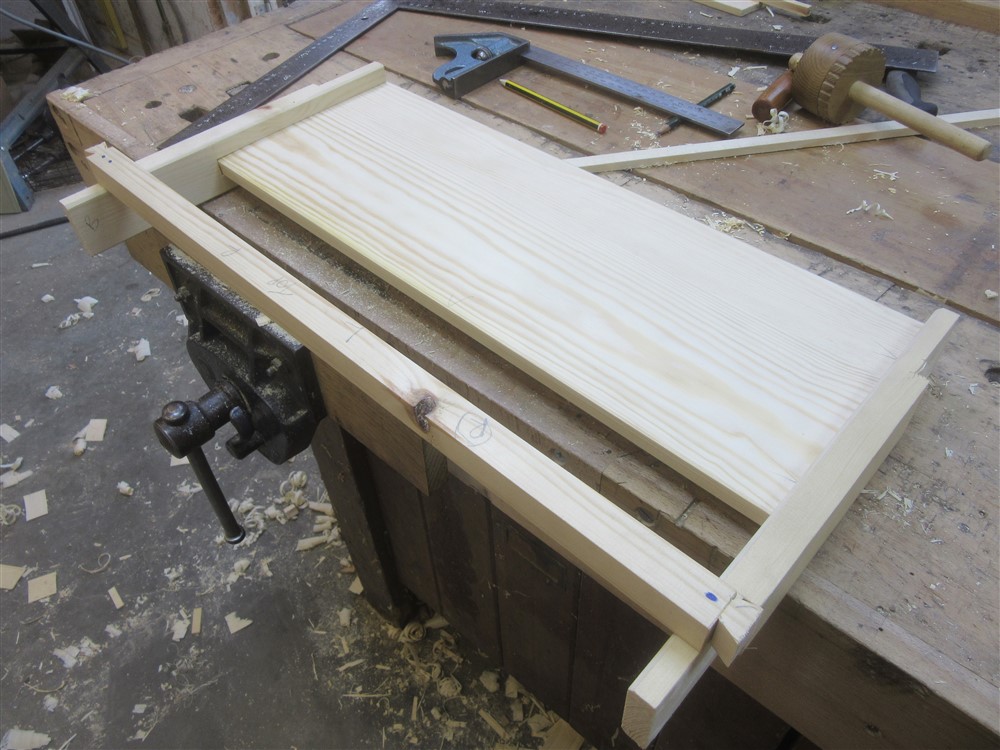
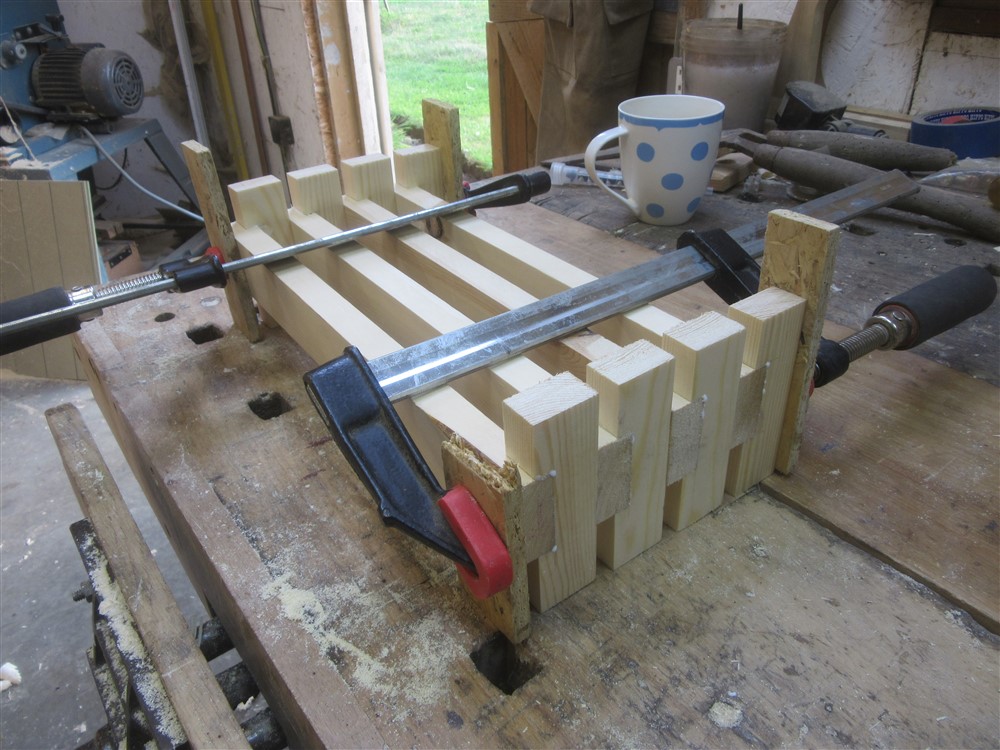
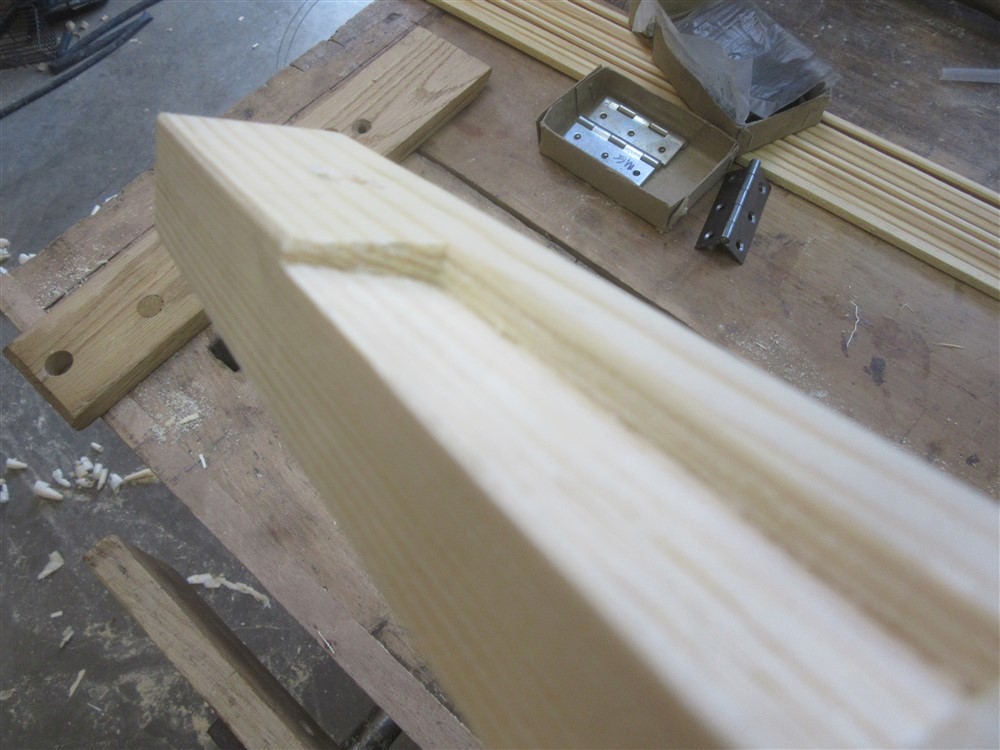
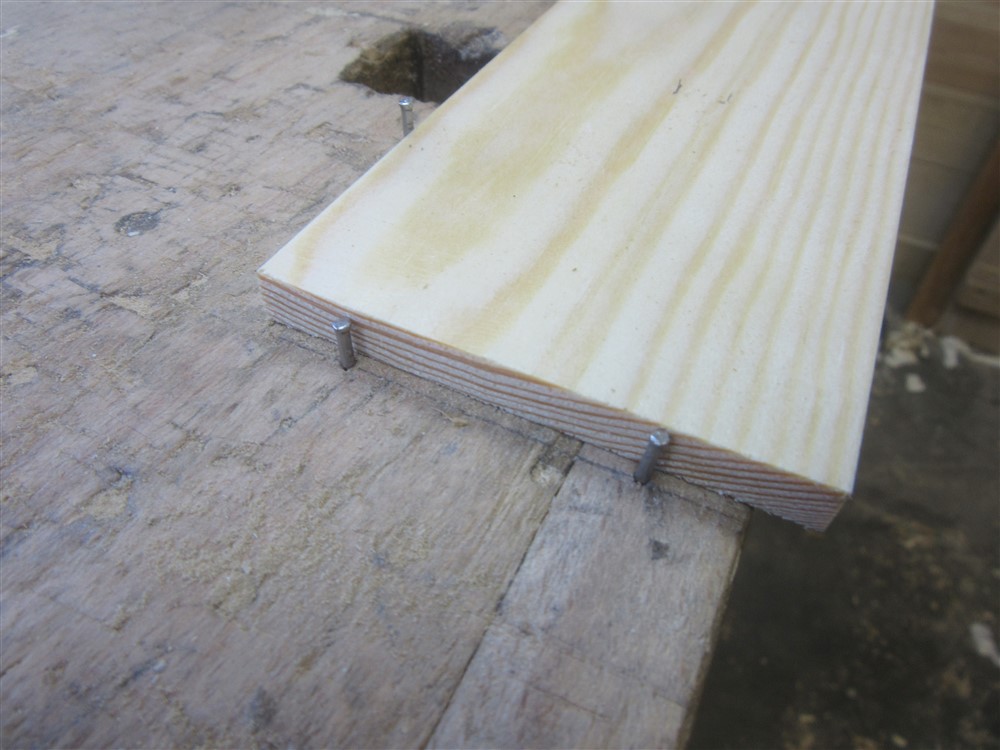
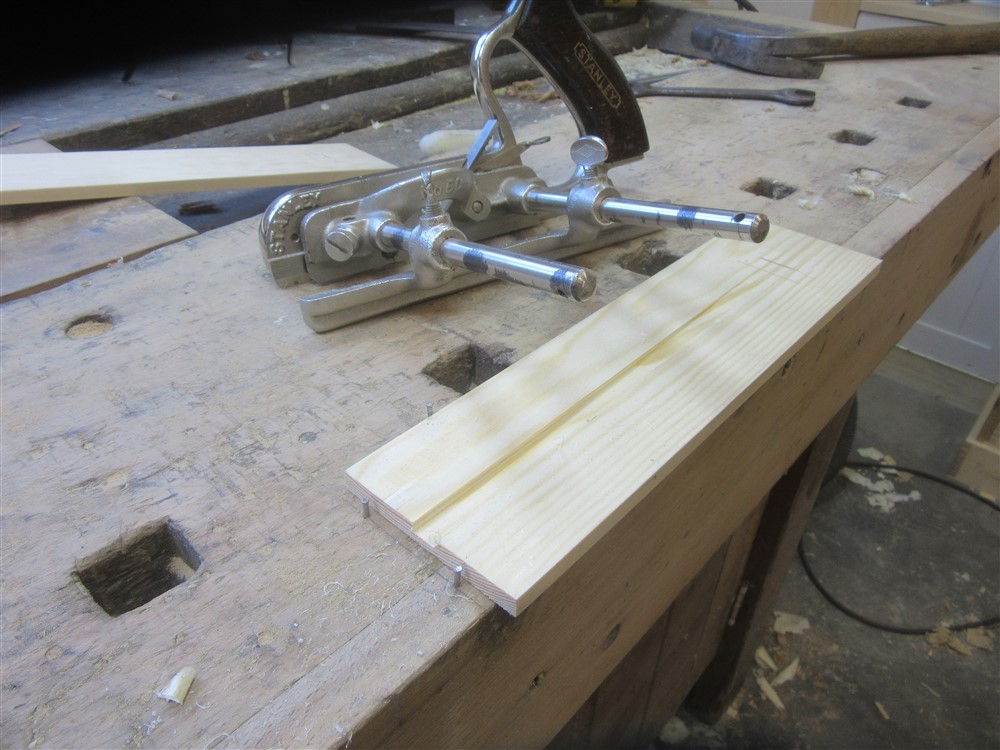
My next task was to make the shelf supports for the floating middle oak shelf. I'm not great at working with small bits of wood, and workholding is one of the reason. This time, it was workholding-by-pins:
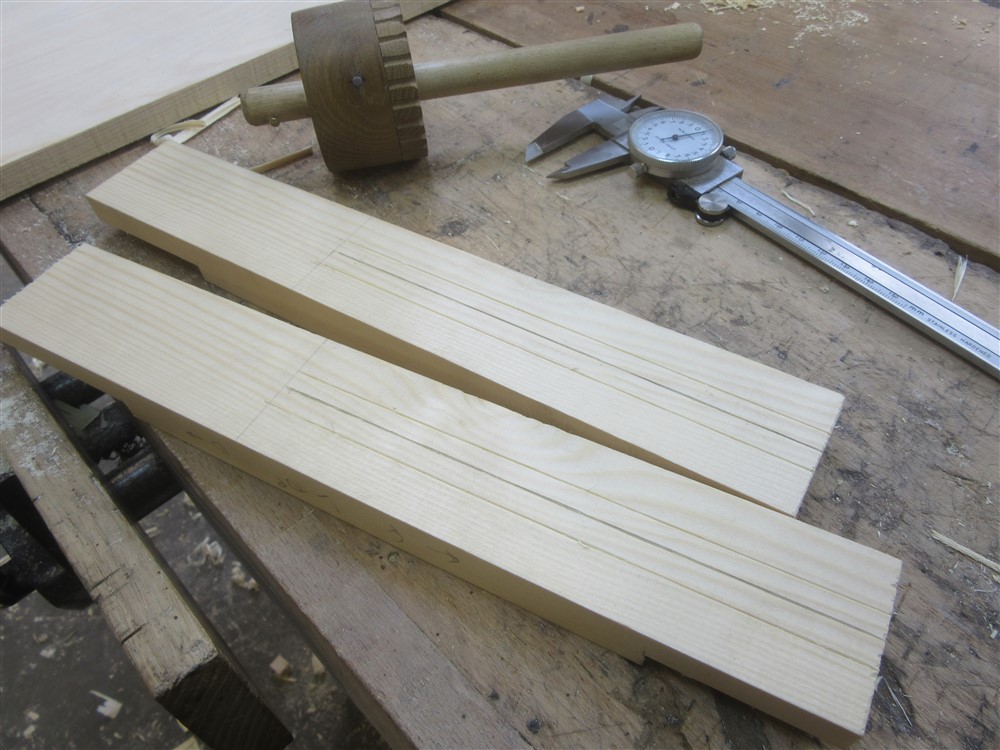
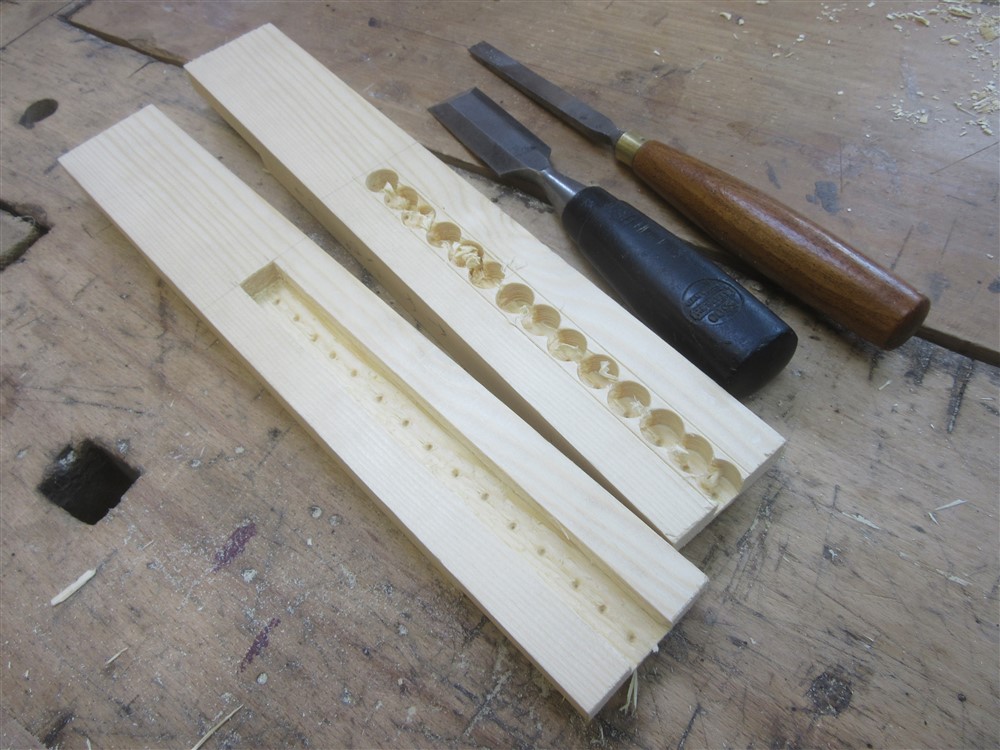
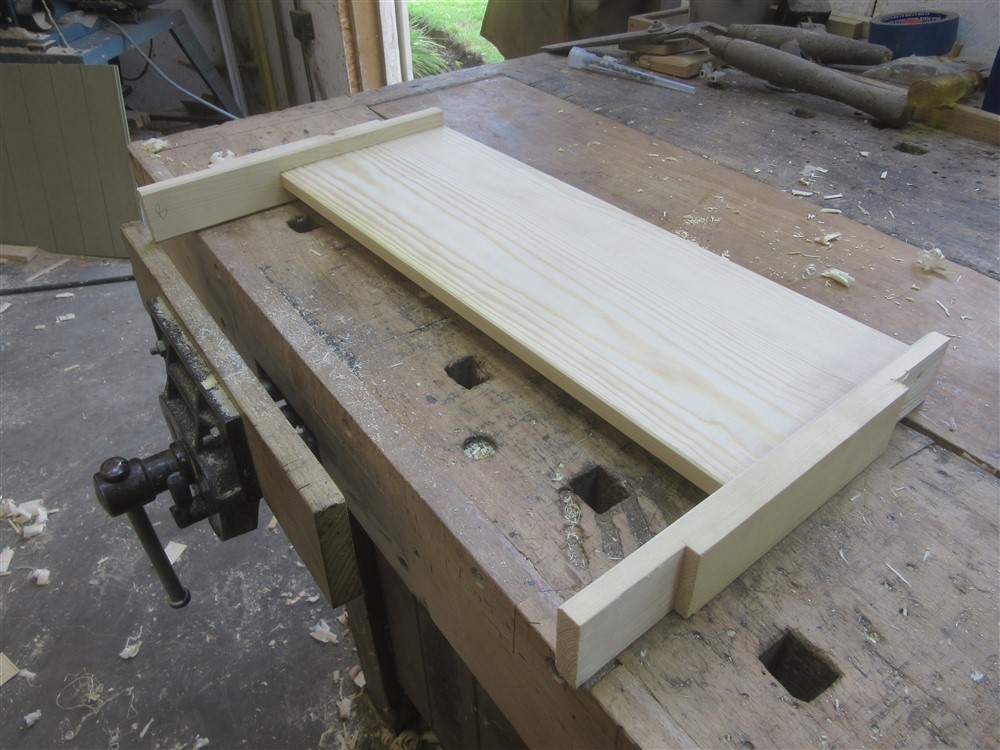
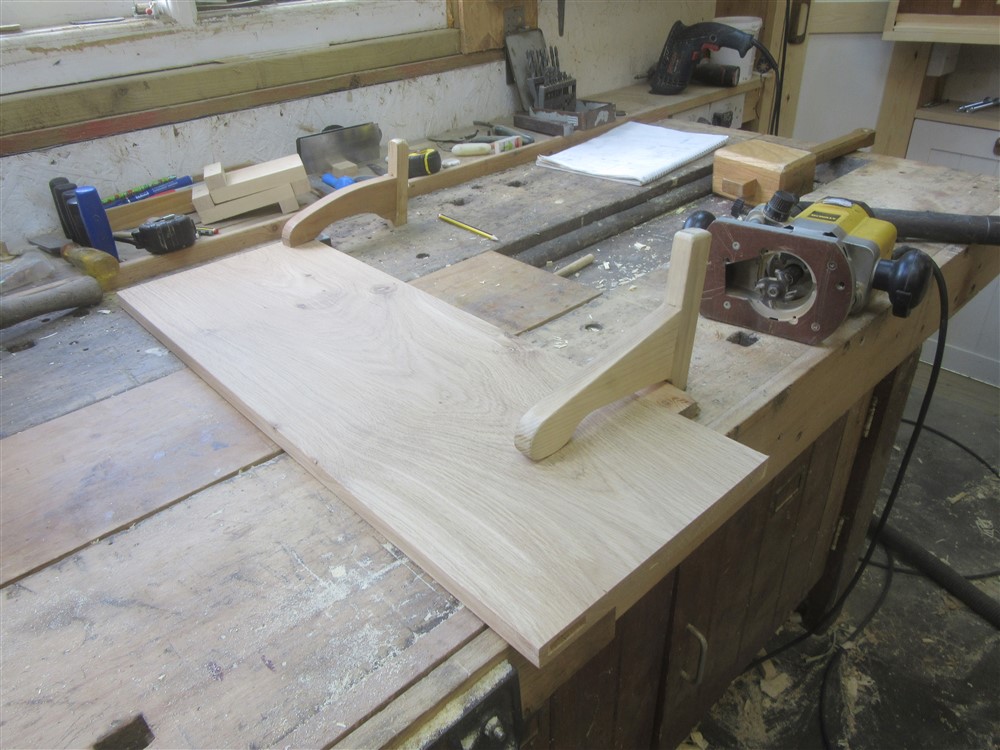
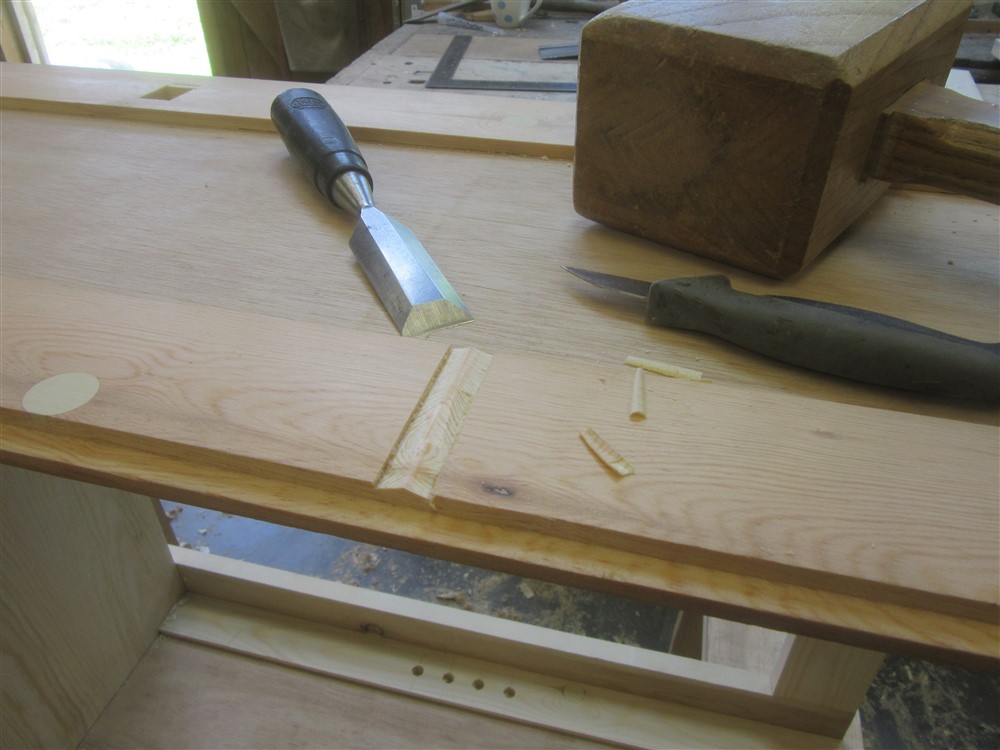
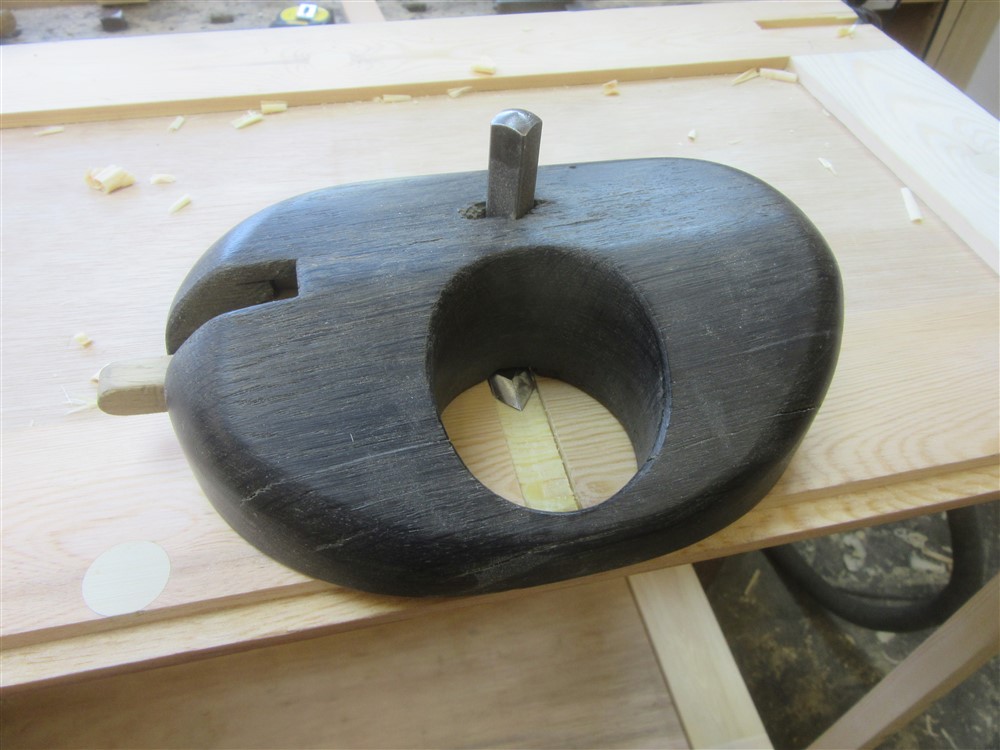
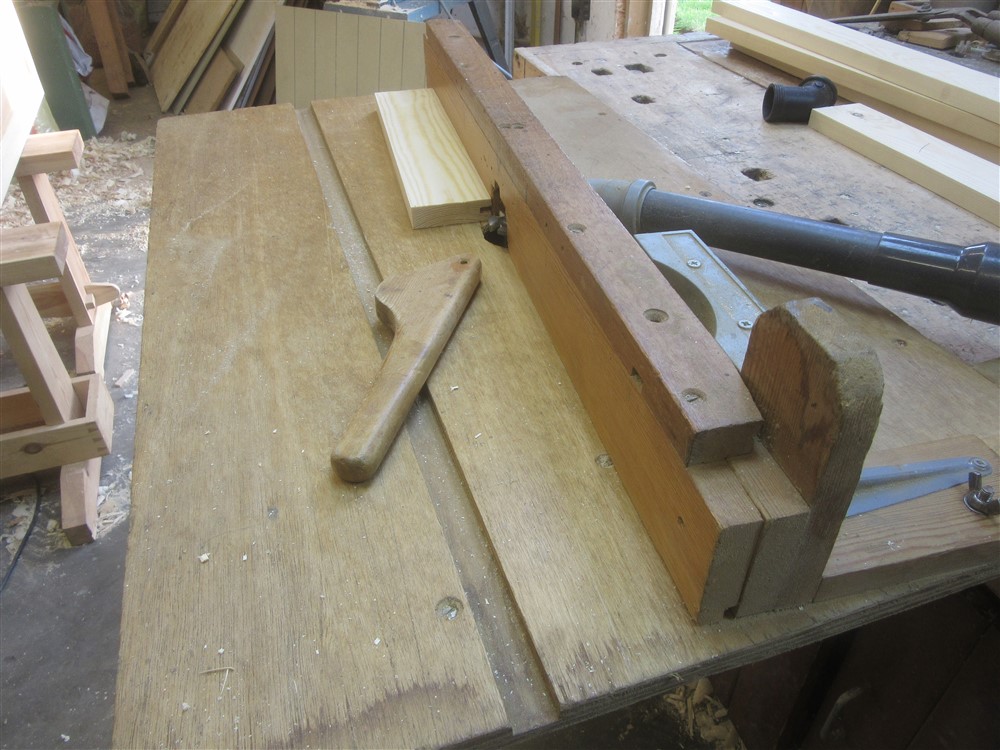
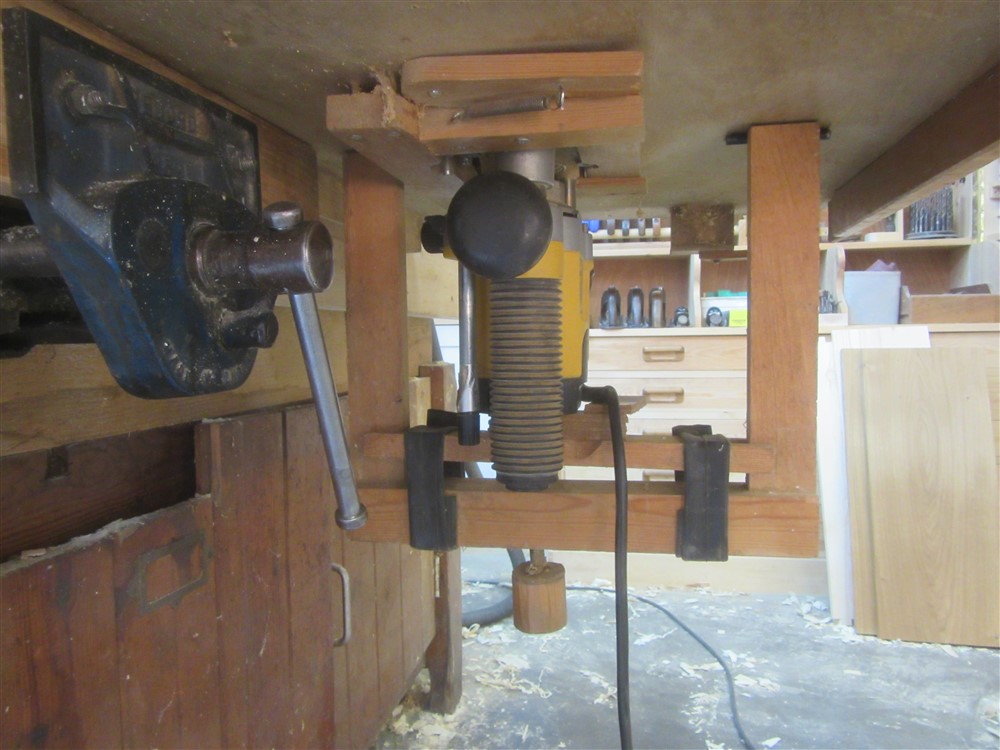
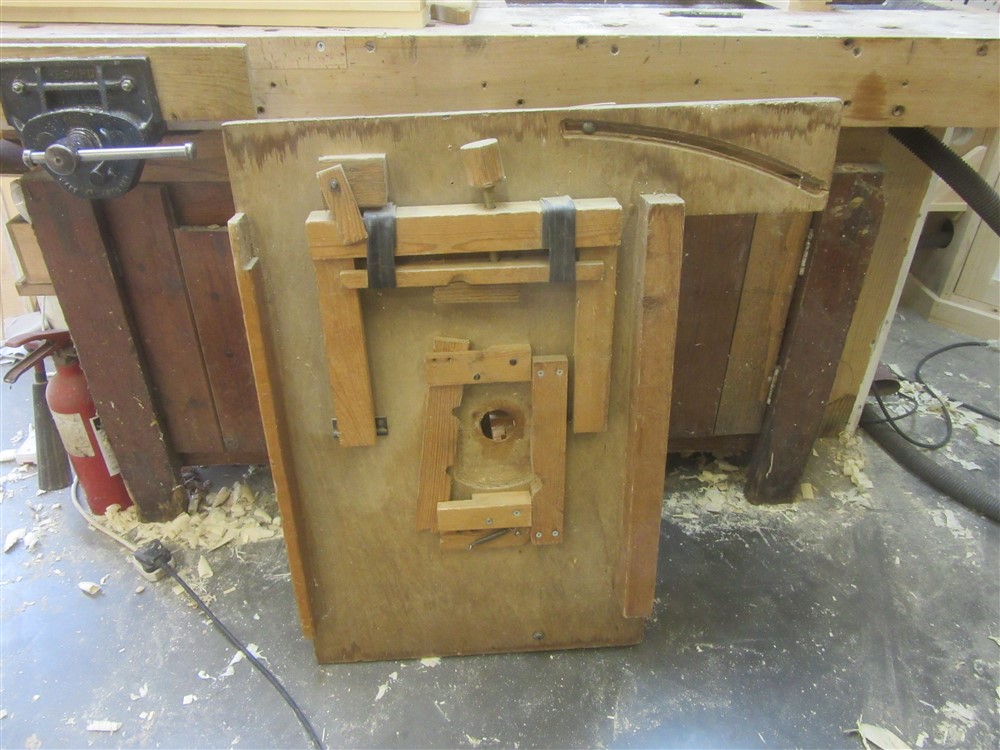
Then I ploughed as much of a stopped groove as I could before I reverted to chisels. Fortuitously, the imperial width of my plane cutter was just a smidgeon less than the metric width of a winged cutter for my router:
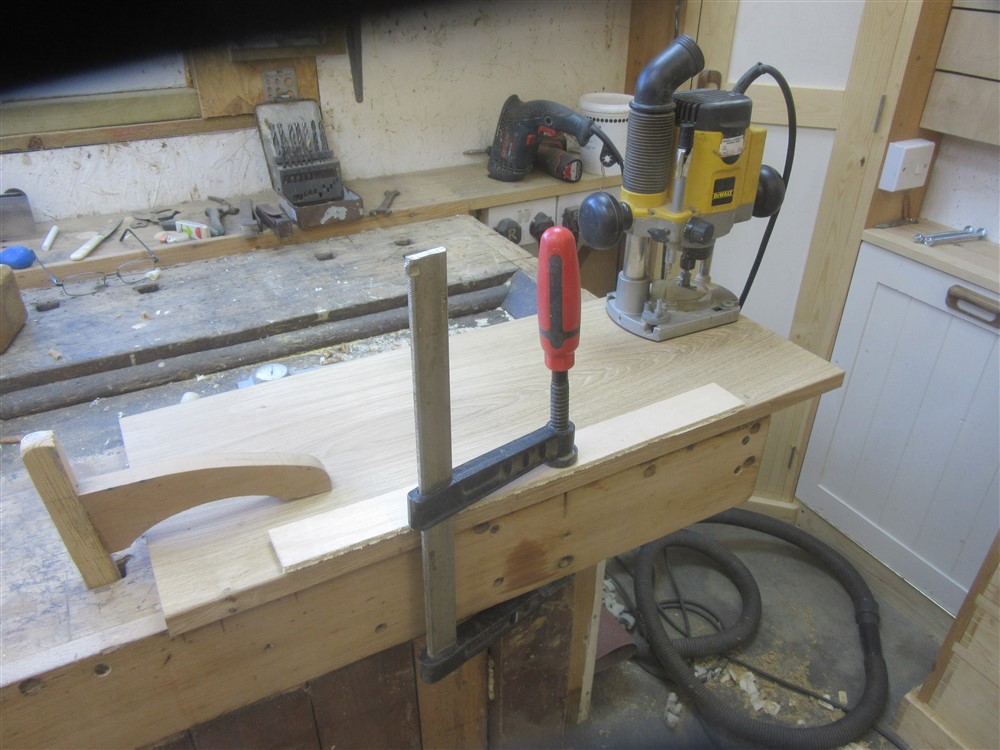
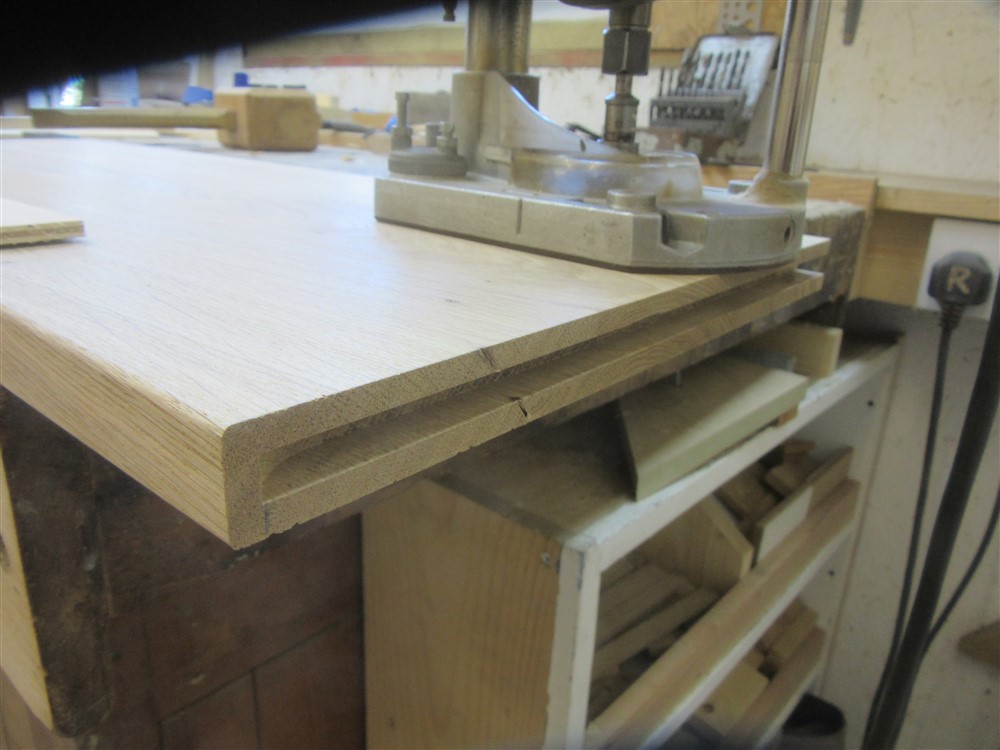
Apologies for the camera. It has a droopy eyelid. My wife has purloined the better one.
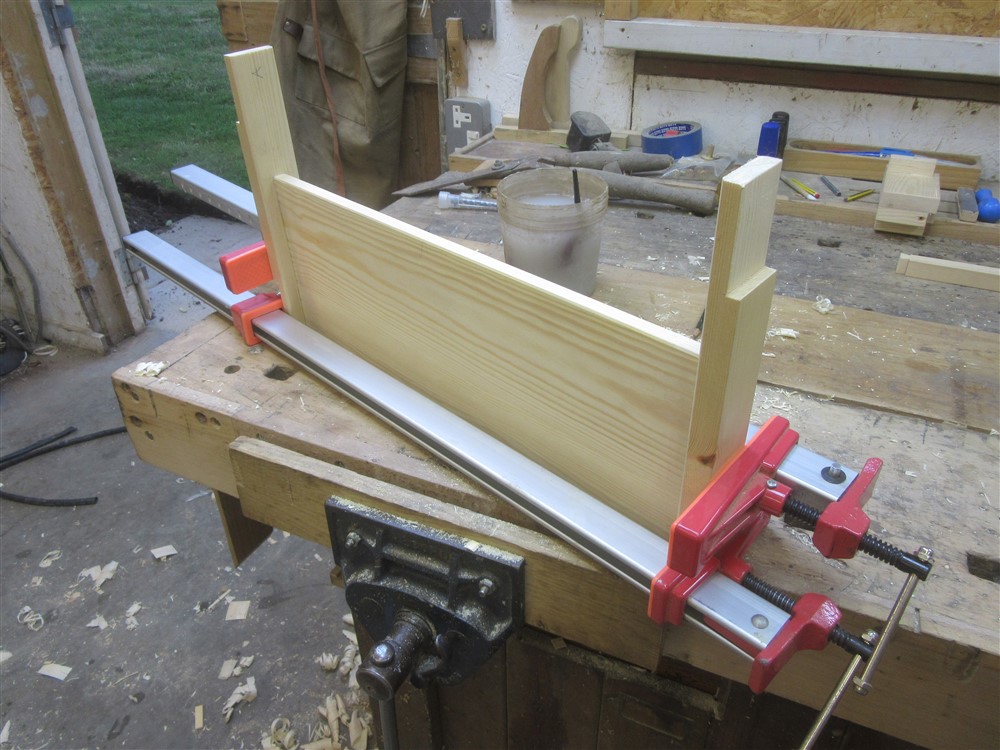
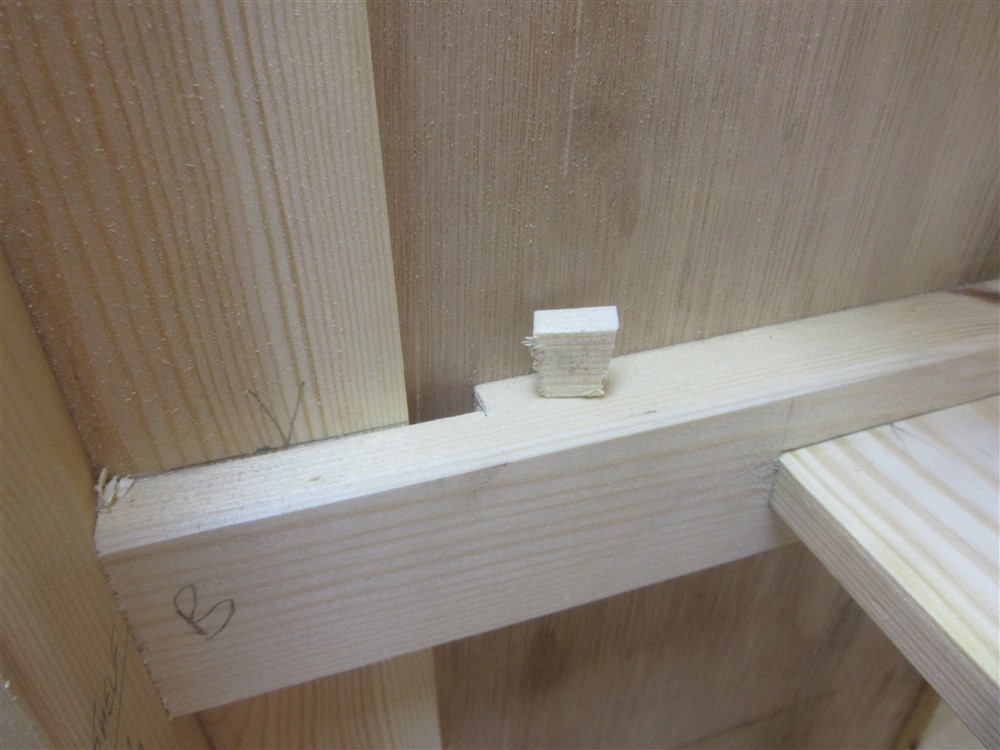
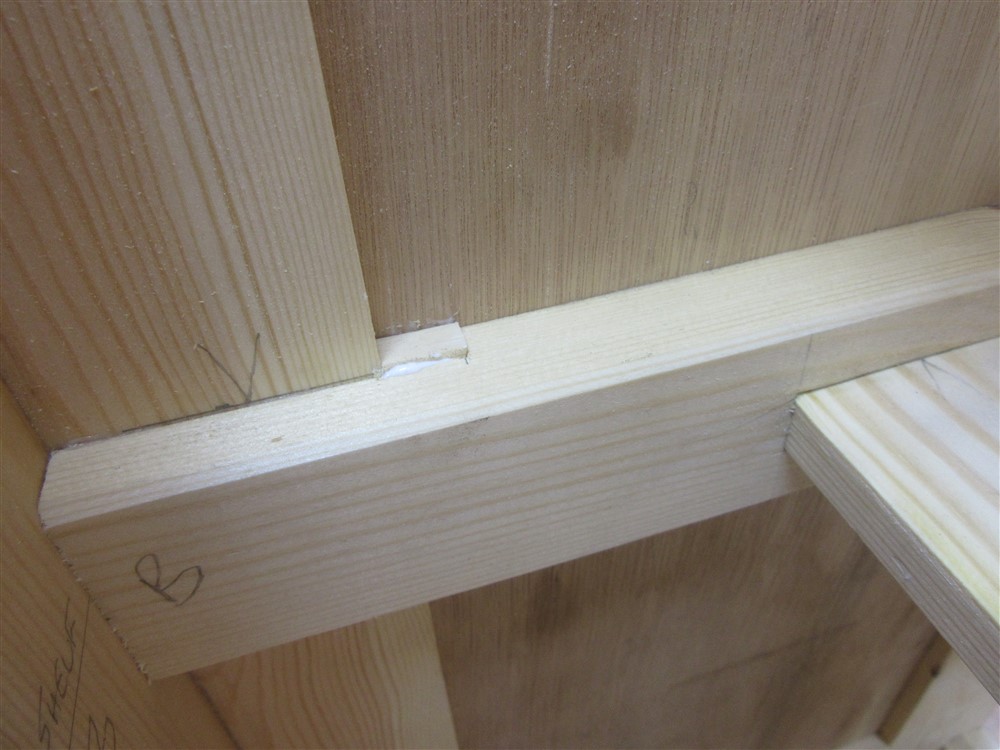
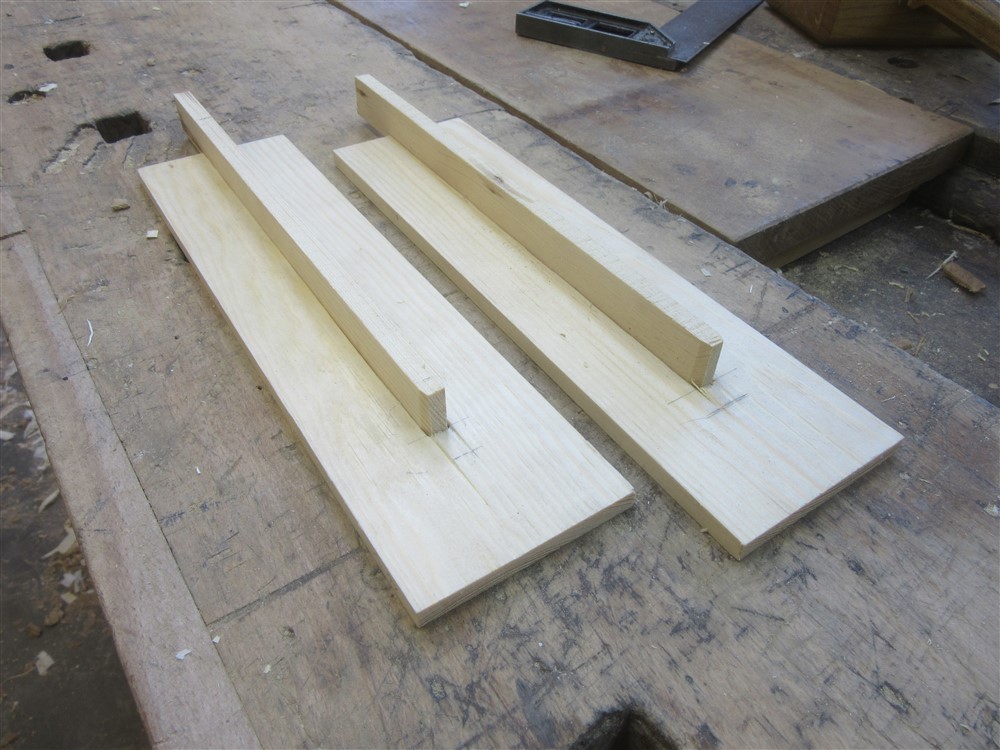
I planed up some narrow stuff for a tight fit in the ploughed groove, glued them up, and moved on to other things:
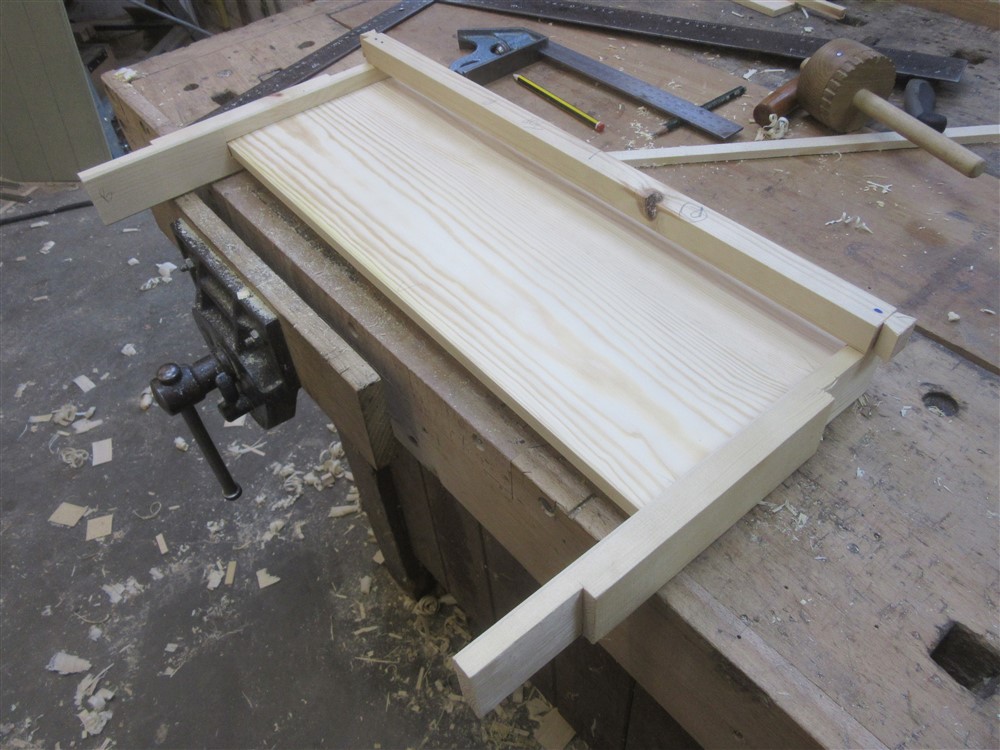
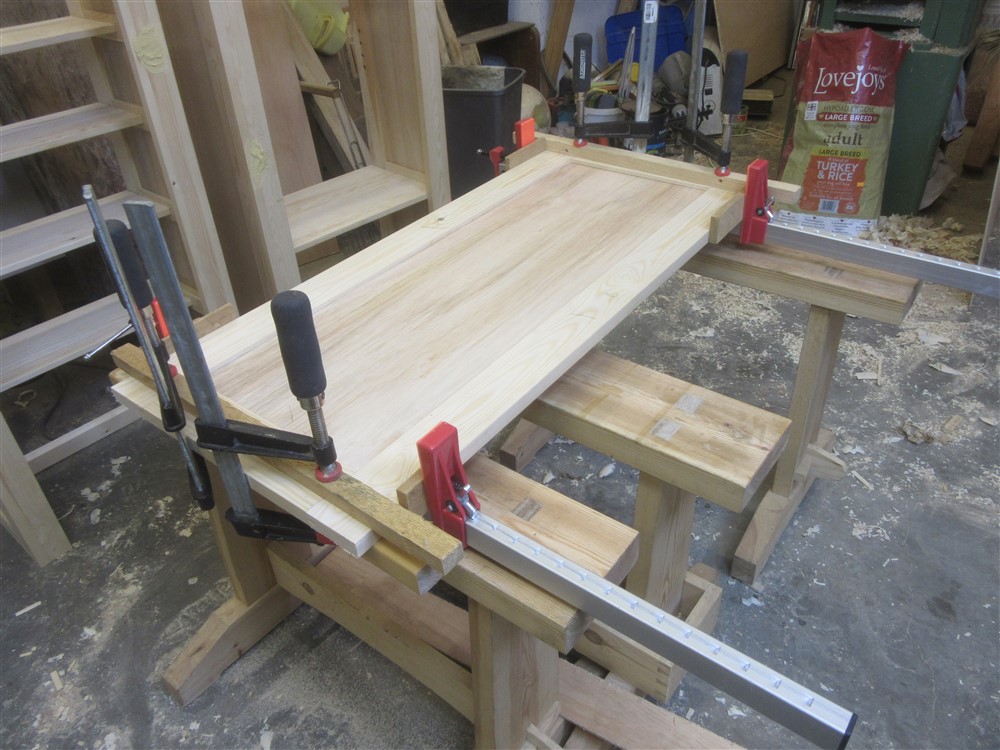
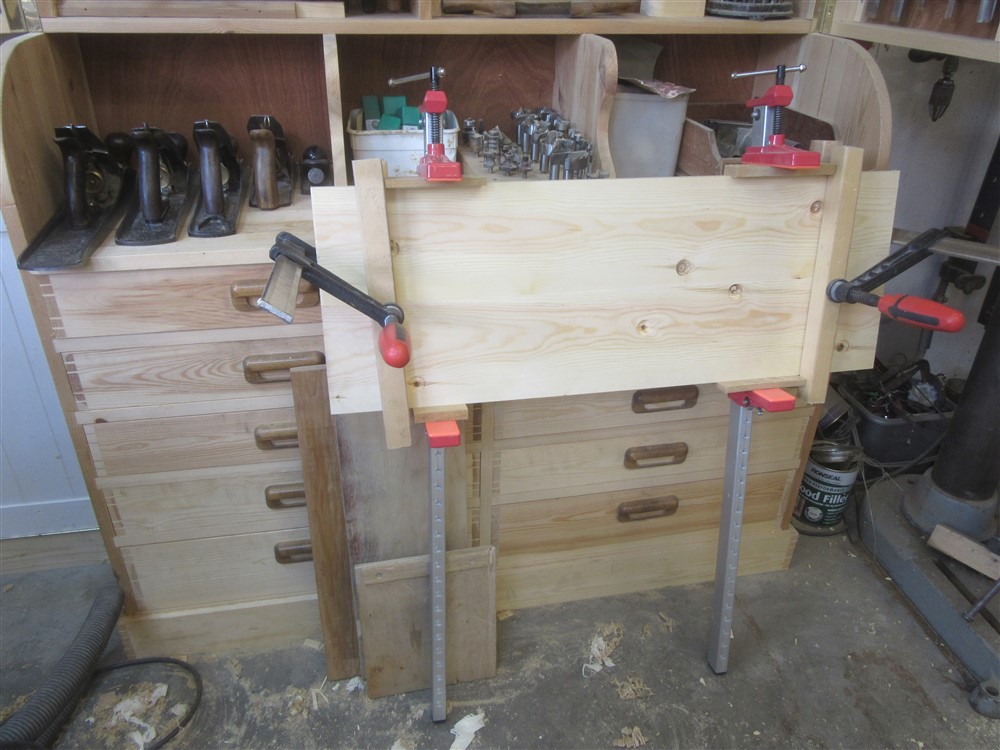
I quickly edge joined a pair of 145x20s to form the lower shelf of the small middle upper cupboard:
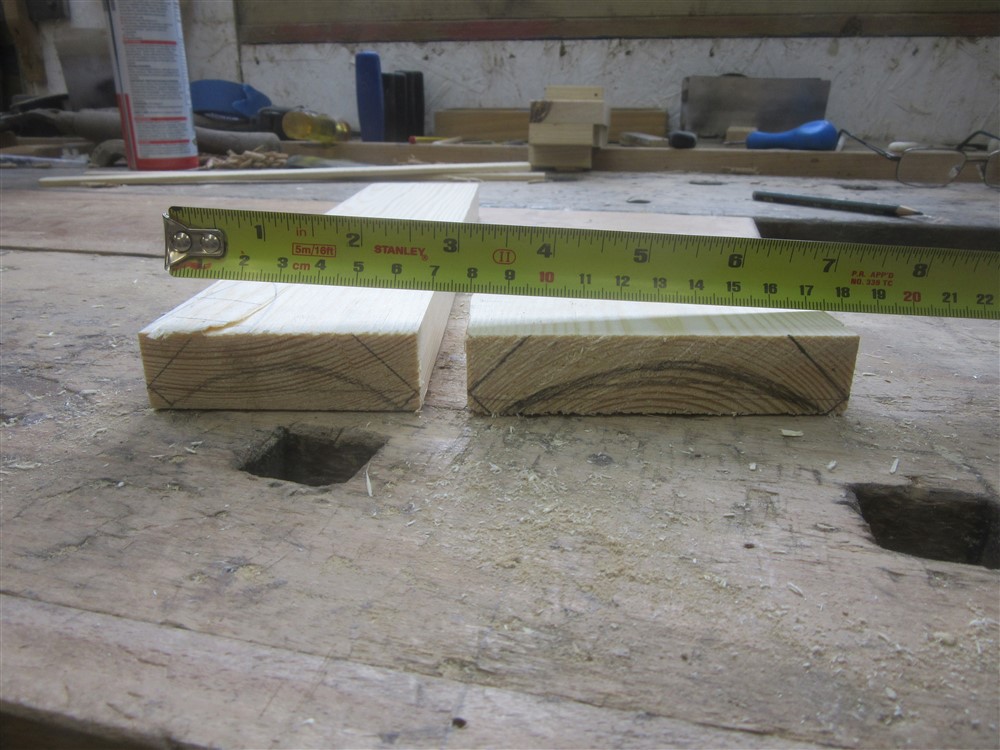
Randomly, I got distracted by the coving for a few minutes. I couldn't quite decide on whether to make it ex 3" or ex 4". In the end, I plumped for the bigger one.......but that's for another day:
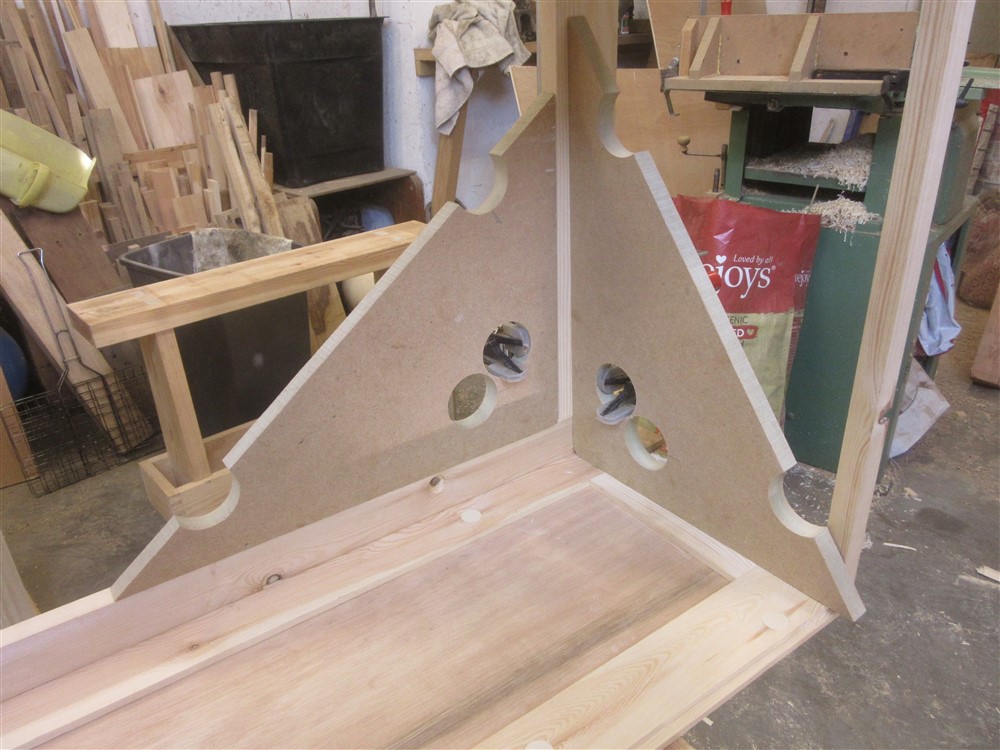
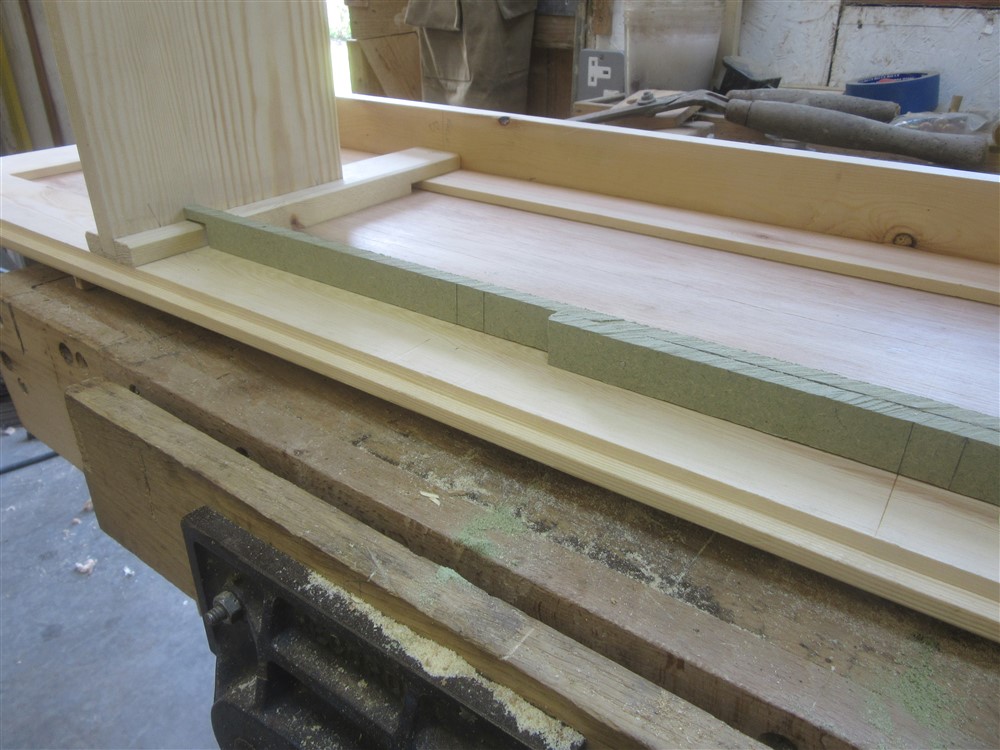
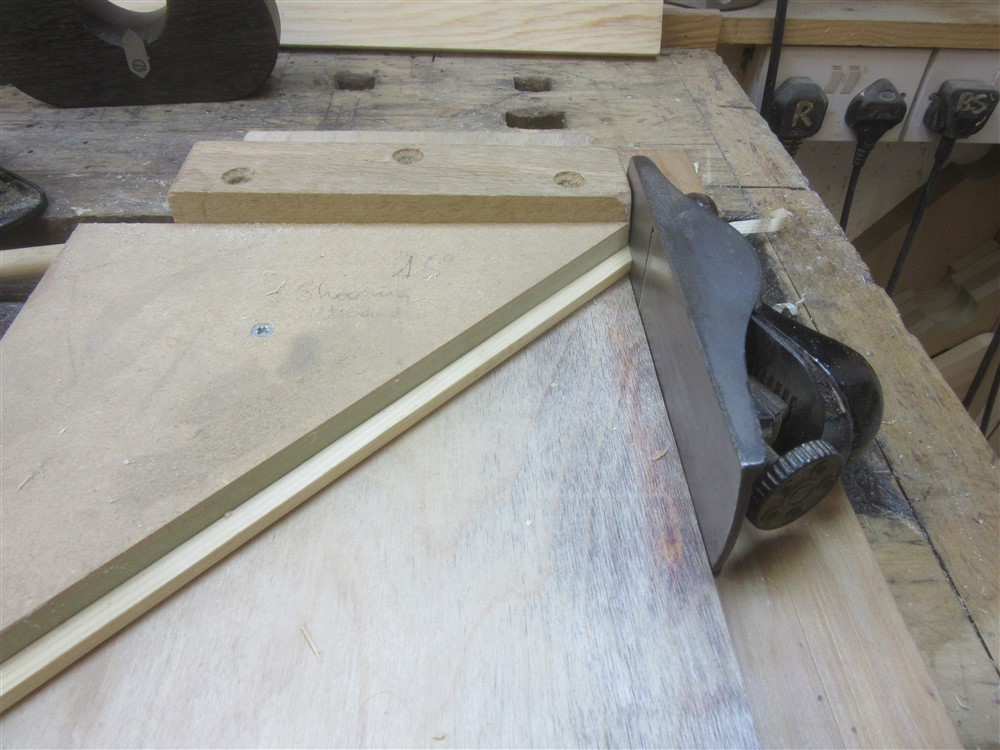
MDF......my favourite. It does have its uses, though:
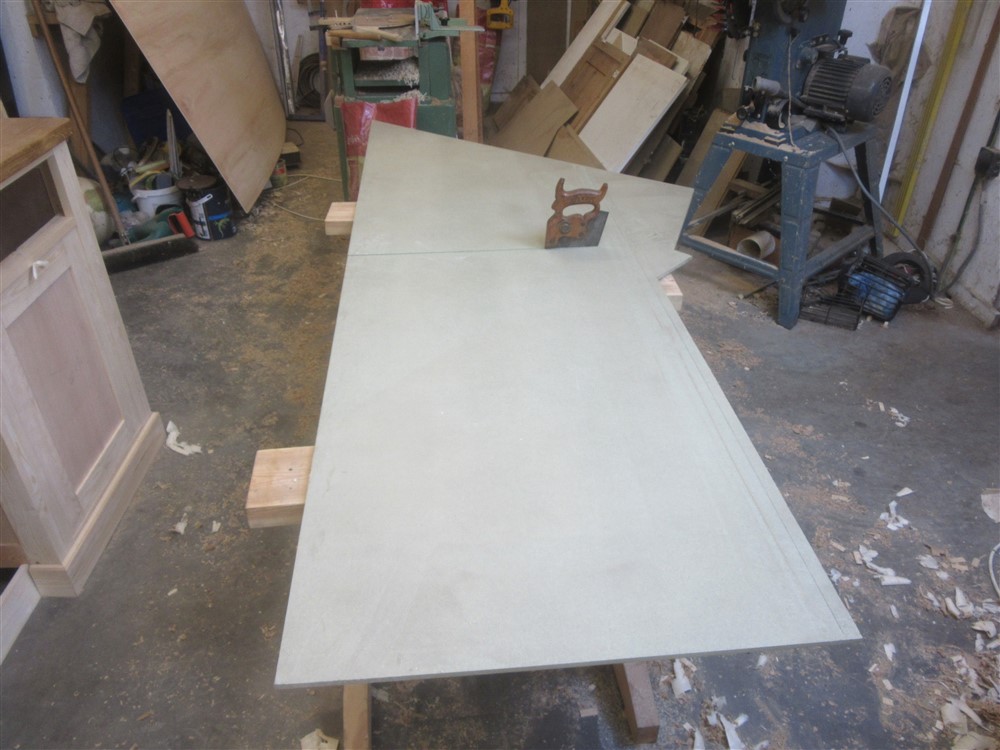
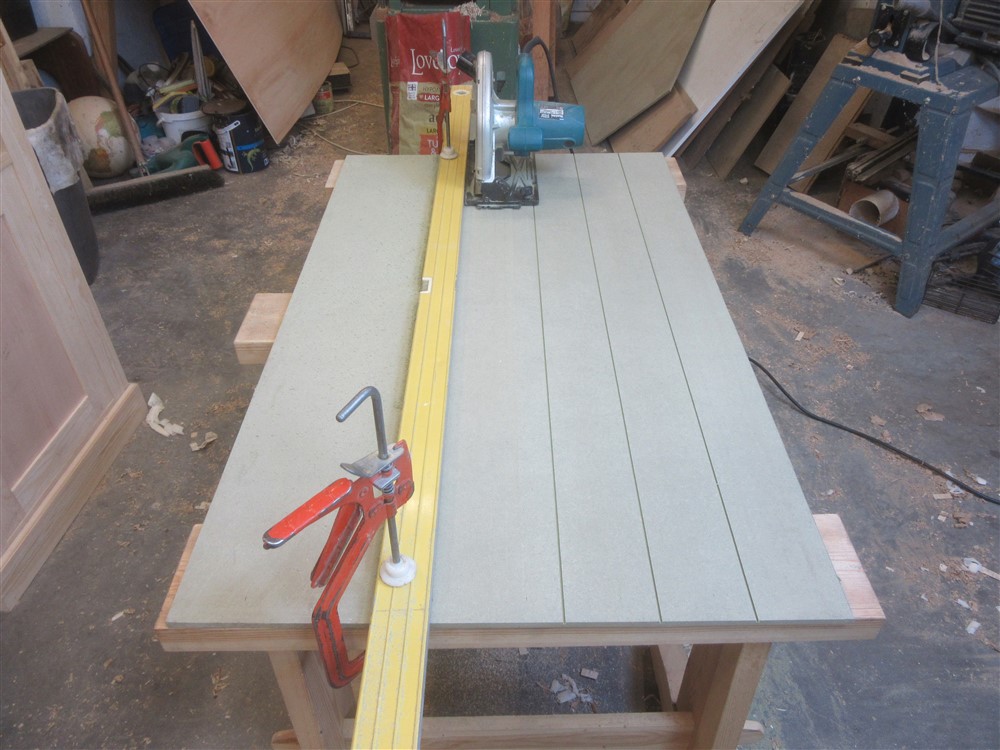
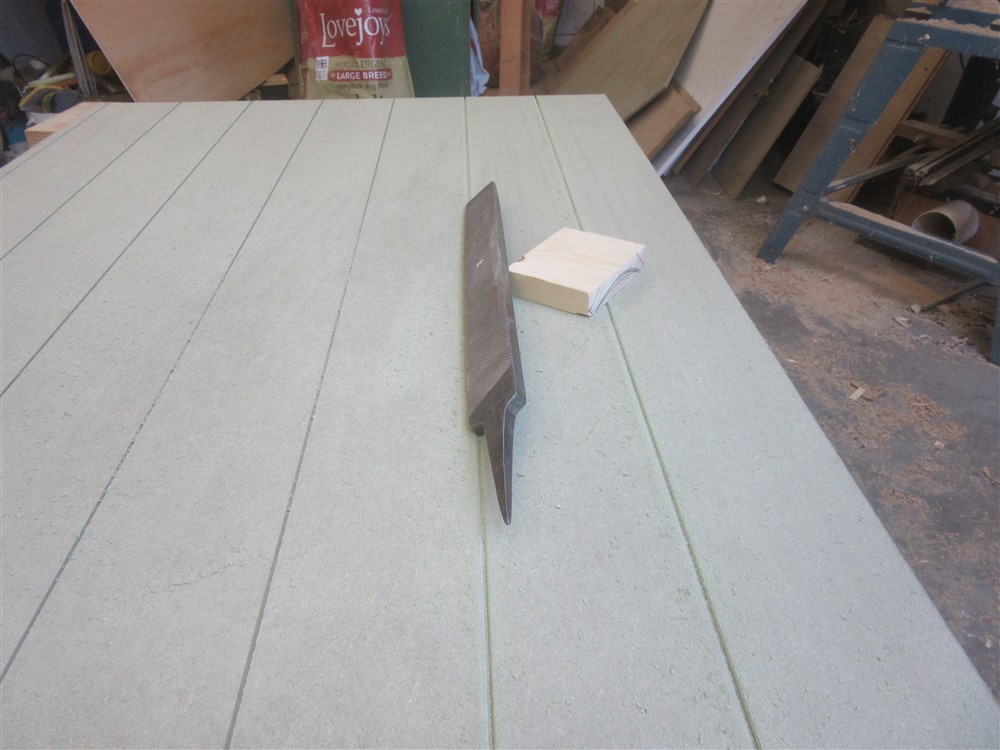
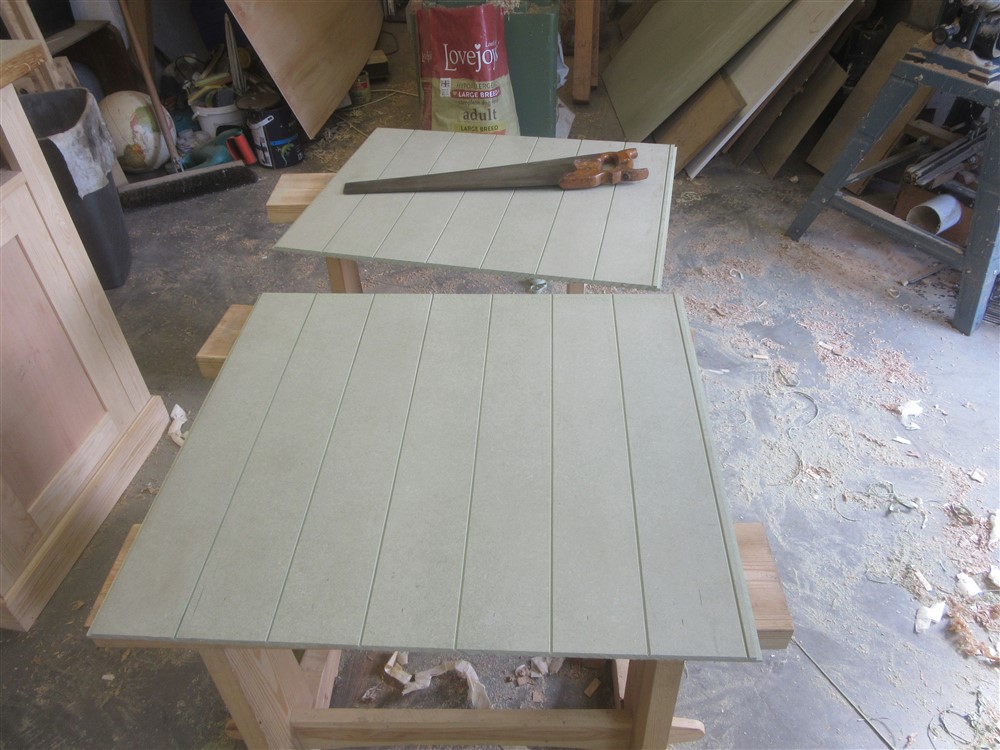
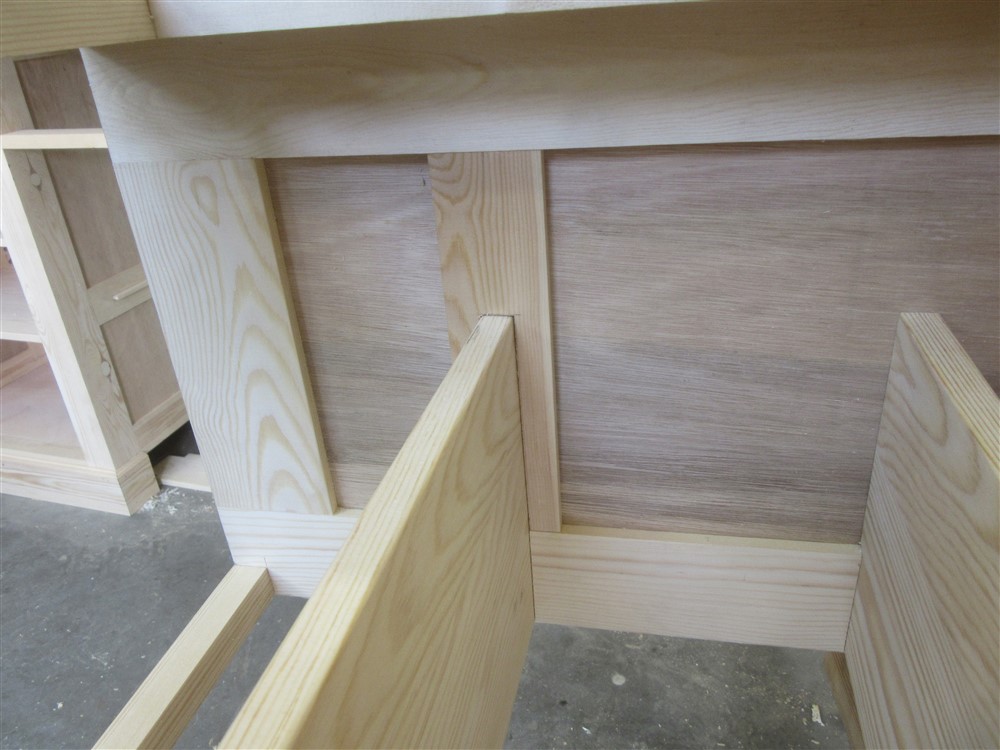
That will be a backing board for the open shelf sections of the dresser.
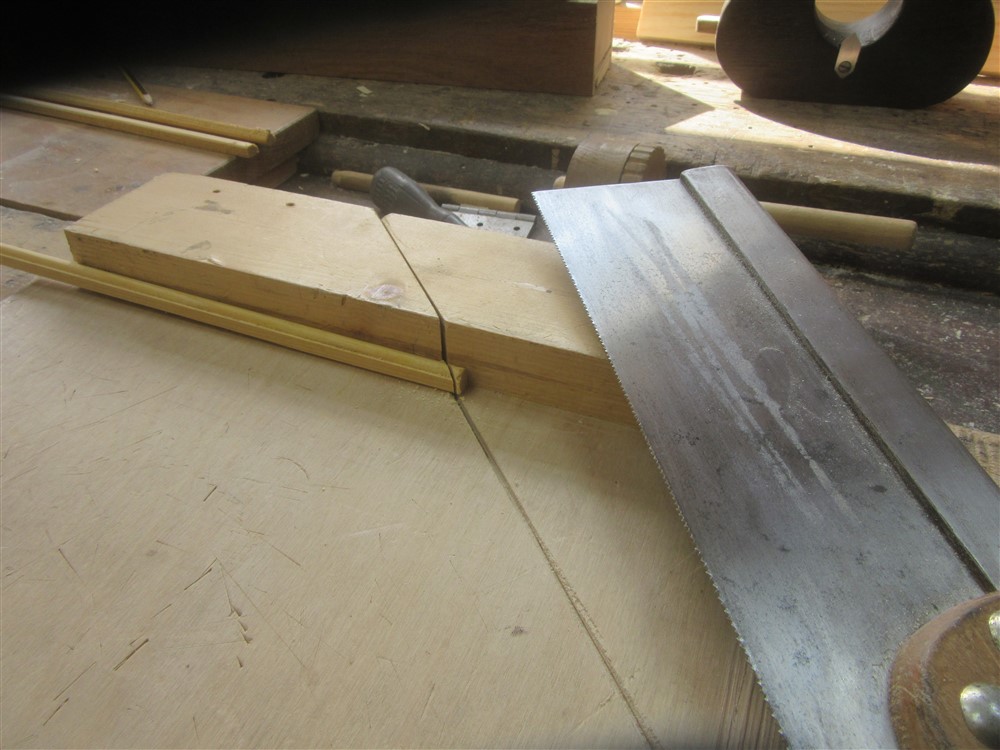
Right......two minute dovetails. No marking whatsoever for the tails, other than the shoulders. A quick saw cut, then a bash with a mallet on a randomly sloped chisel, and I have a pair of tails:
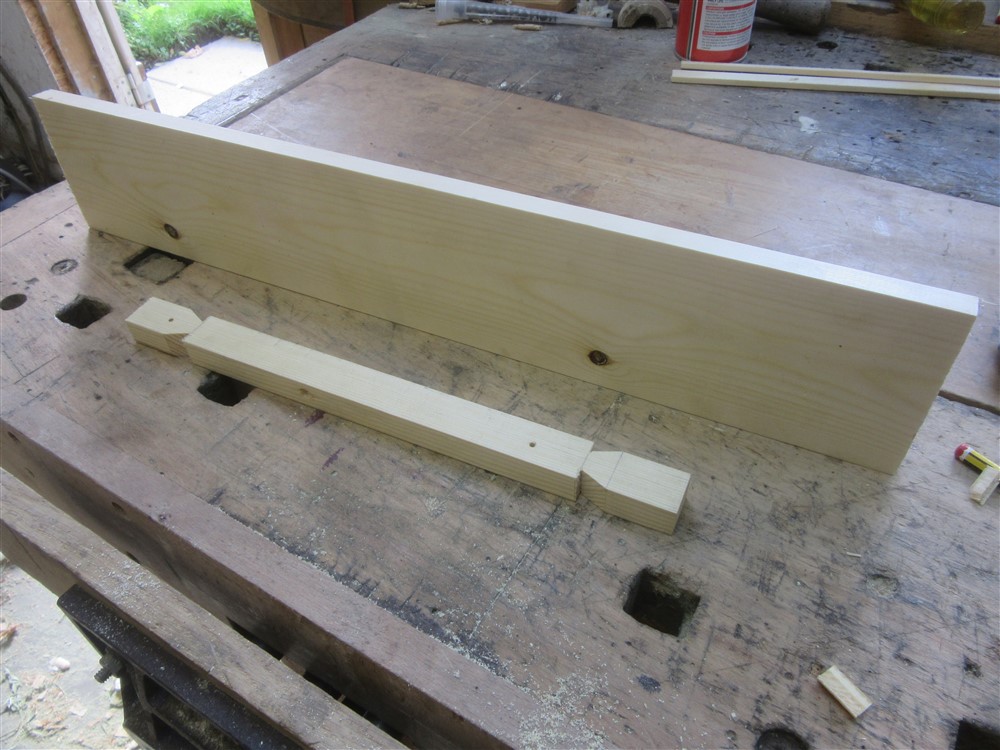
Offer those up to the board edge, mark with a knife, saw, chisel, glue.....
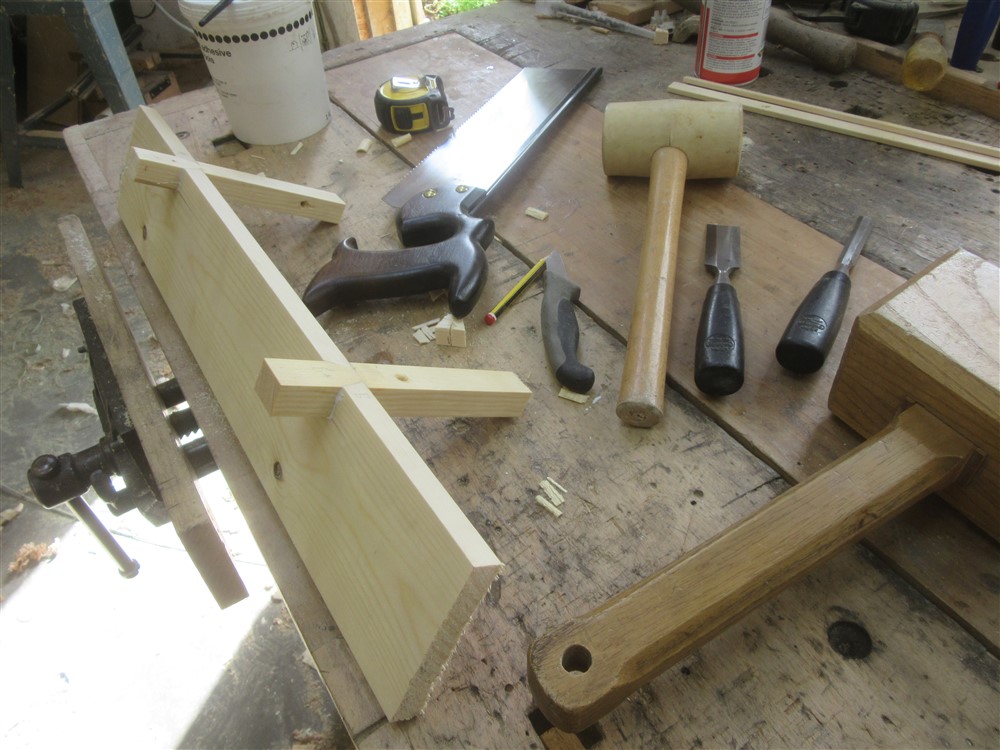
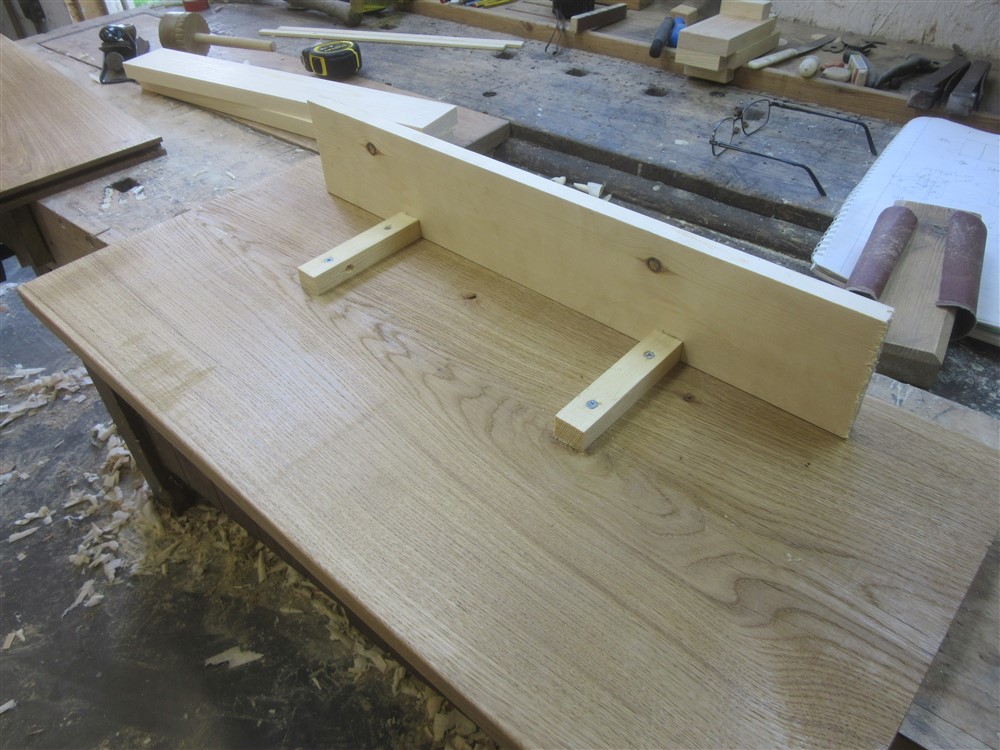
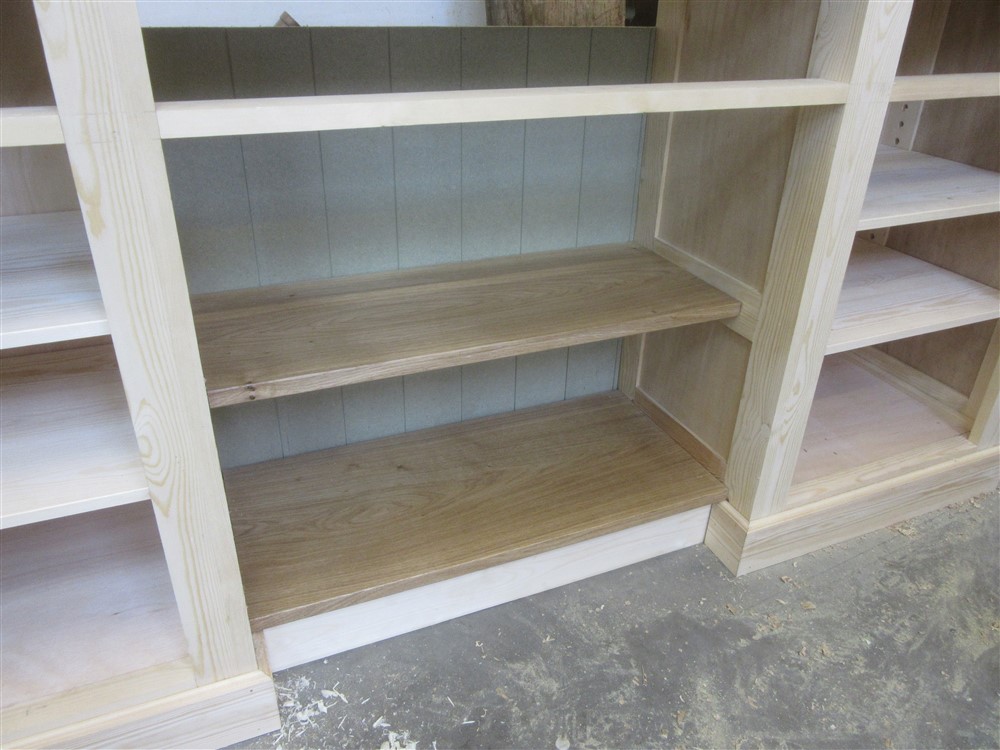
Once that dried it was screwed under the bottom oak shelf because I needed it to sit in place whilst I located the shelf supports for the shelf above it:
I needed to glue up the face side pieces of the upper cupboards overnight, otherwise I'd be struggling for something to do the following day. So late in the evening I cut them out, and made twice as many of the short pieces as I needed. Ooops:
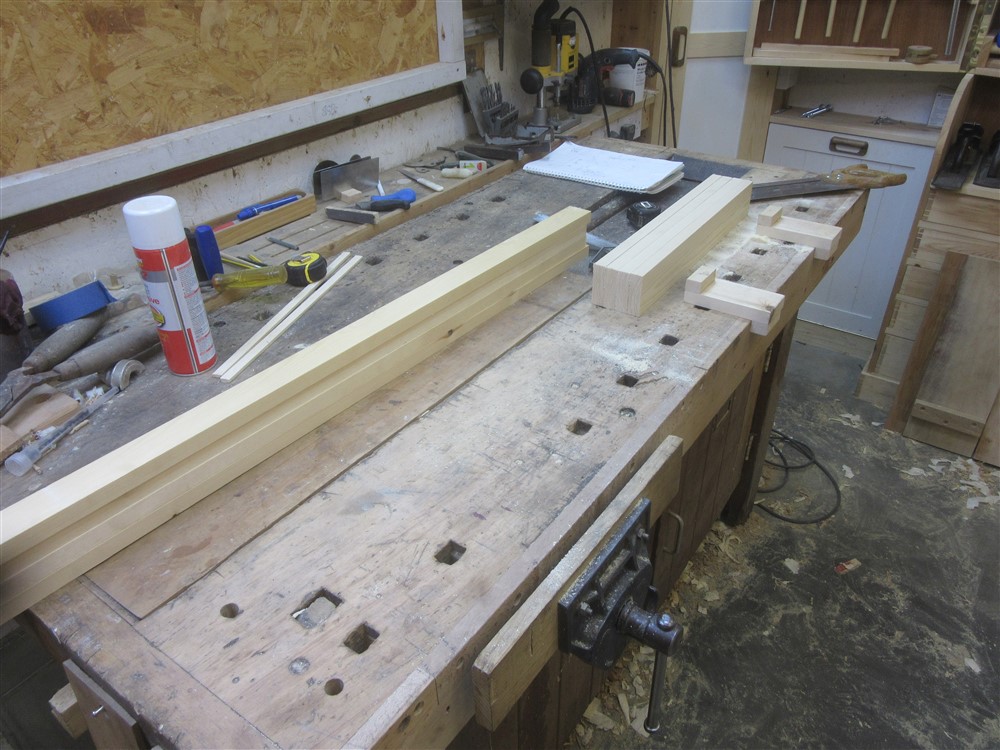
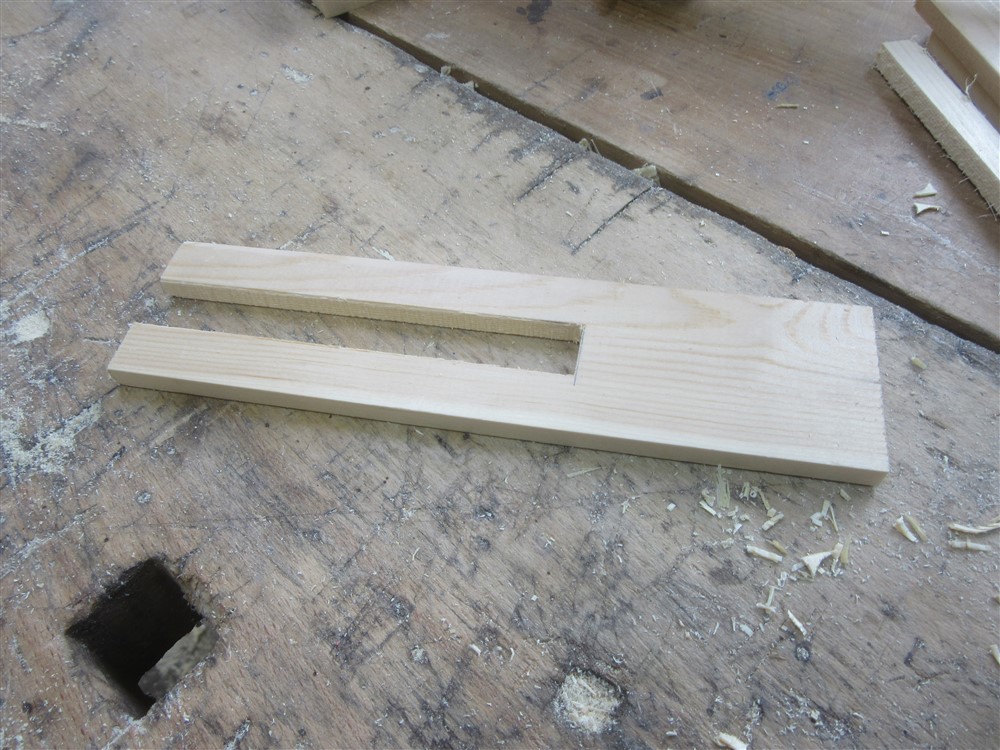
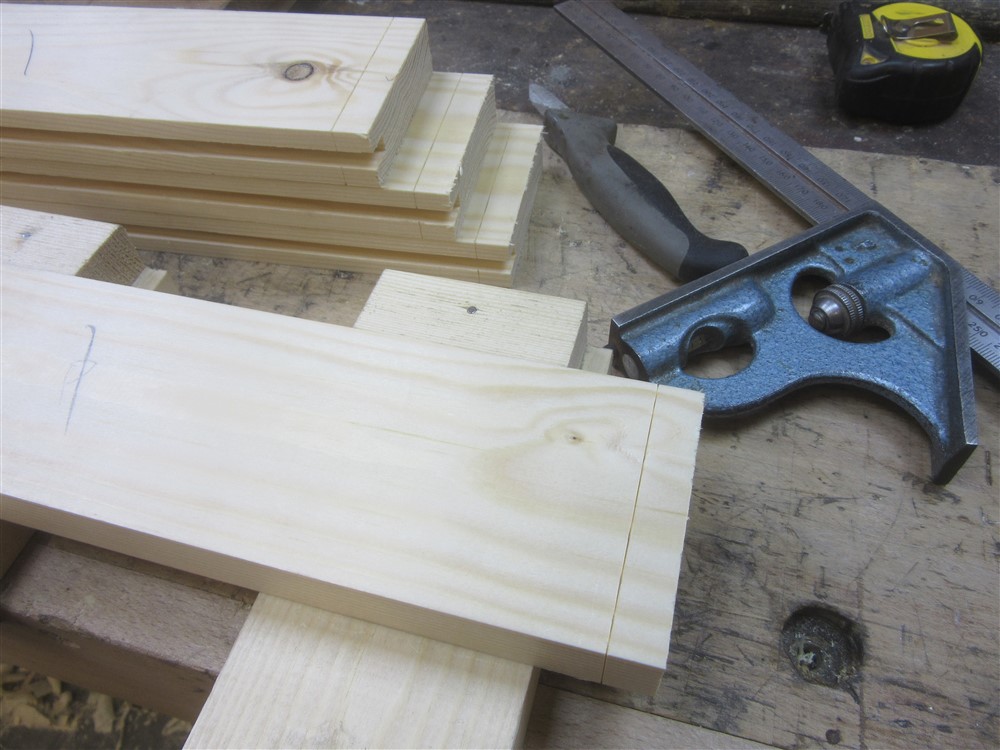
These were going to be joined by a bridle joint. I didn't have time for the whole joint, but needed the female side doing. Now, I reckon the bridle joint is the most demanding joint of the lot. Dovetails have a reputation, but they're a doddle in reality. Bridle joints, though, are a proper test of your skills. The first job, setting out, is relatively straightforward:
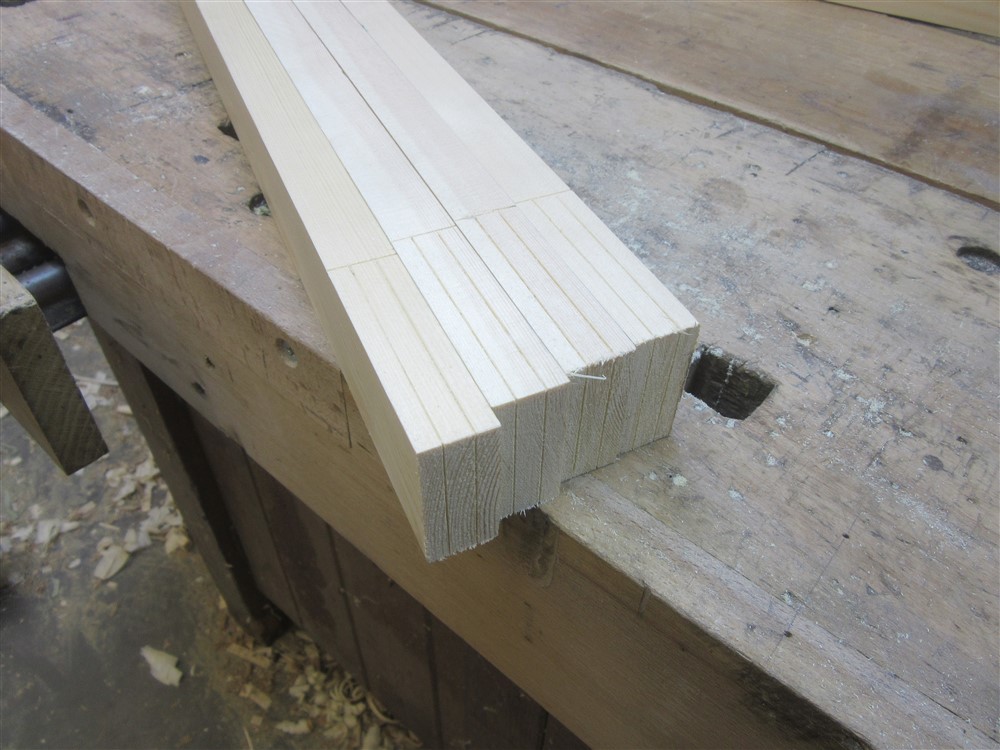
As is drilling through the bottom of the joint:
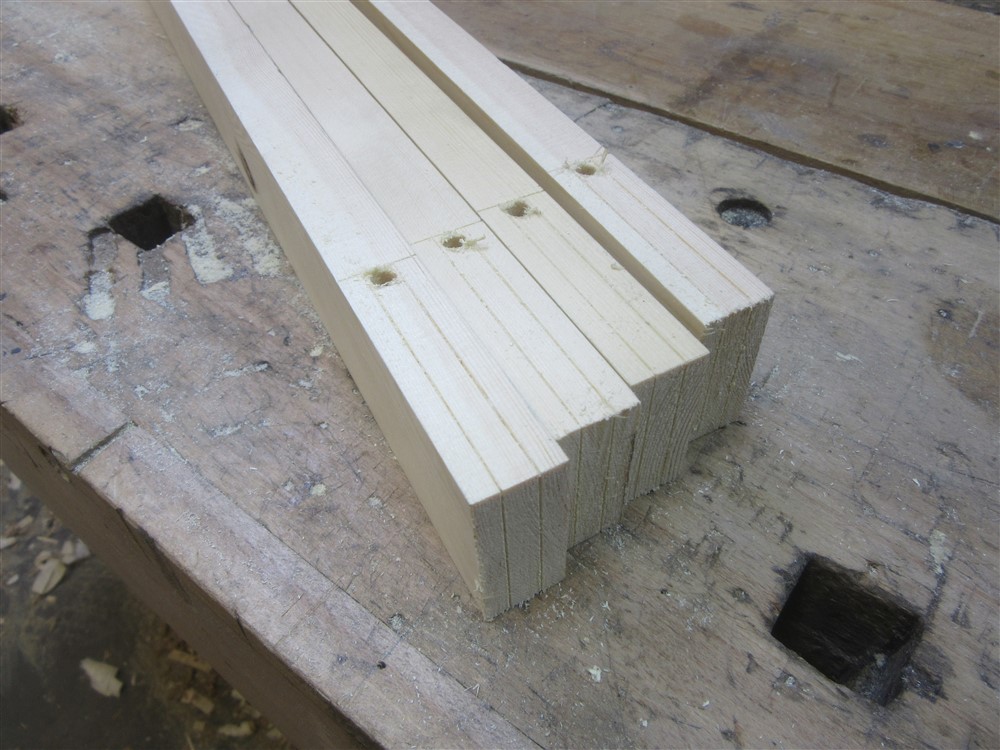
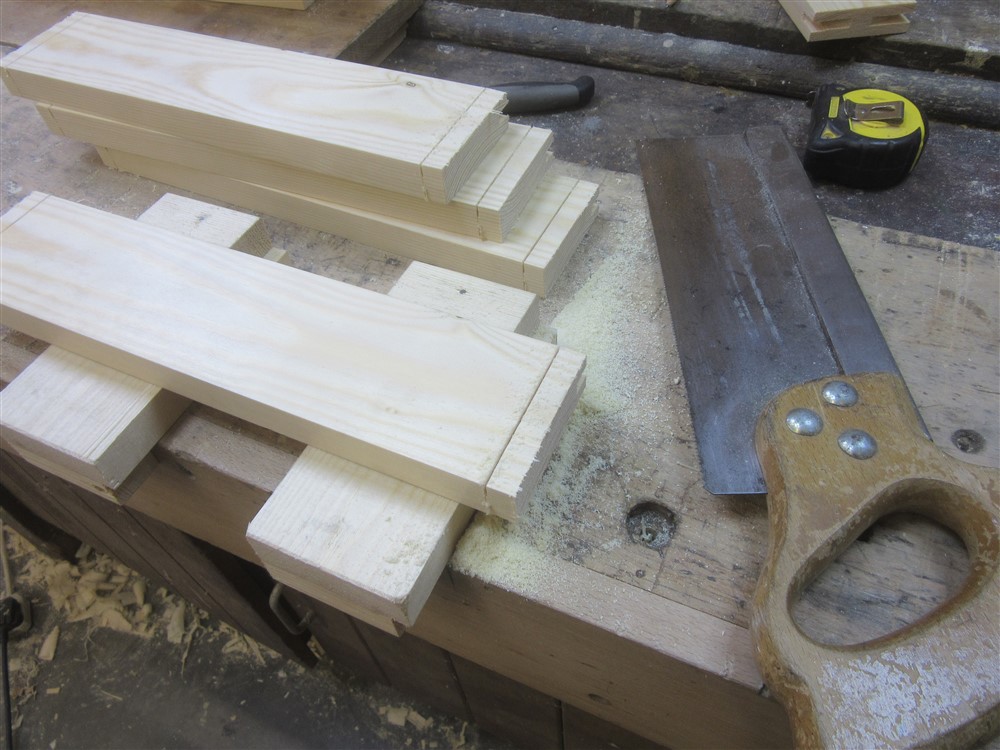
Cutting out the female joint, though, is a good test. I have an 11 TPI rip-filed tenon saw which is just ideal for the job.......and I always slope the workpiece in the vice as shown so that I can see both lines at once. Turn it over in the middle of each cut:
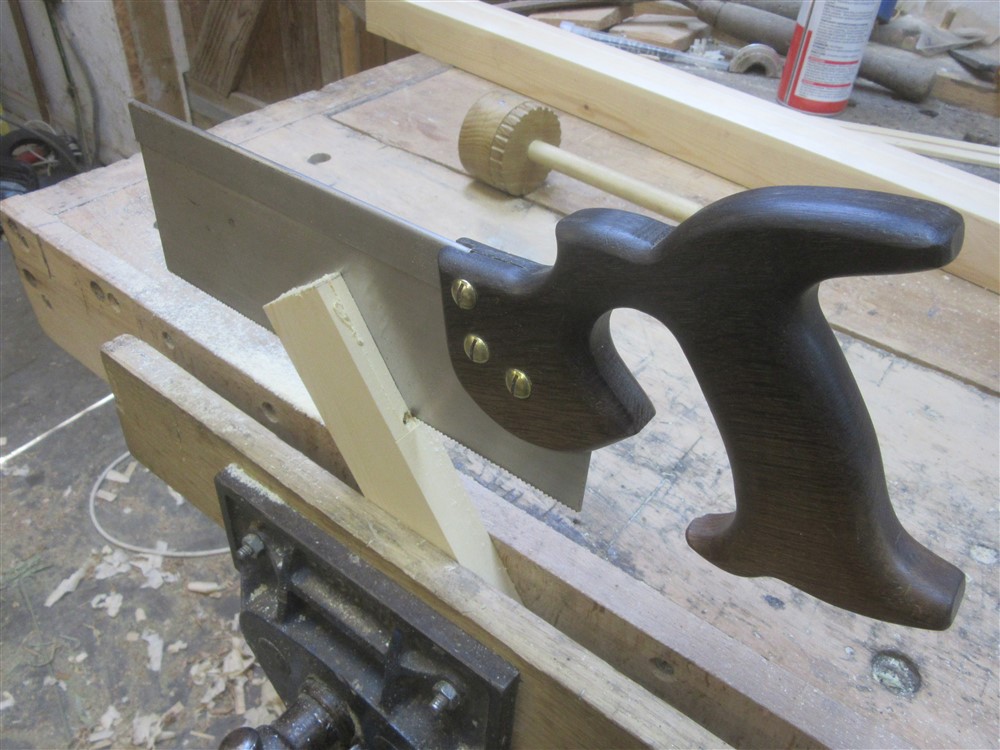
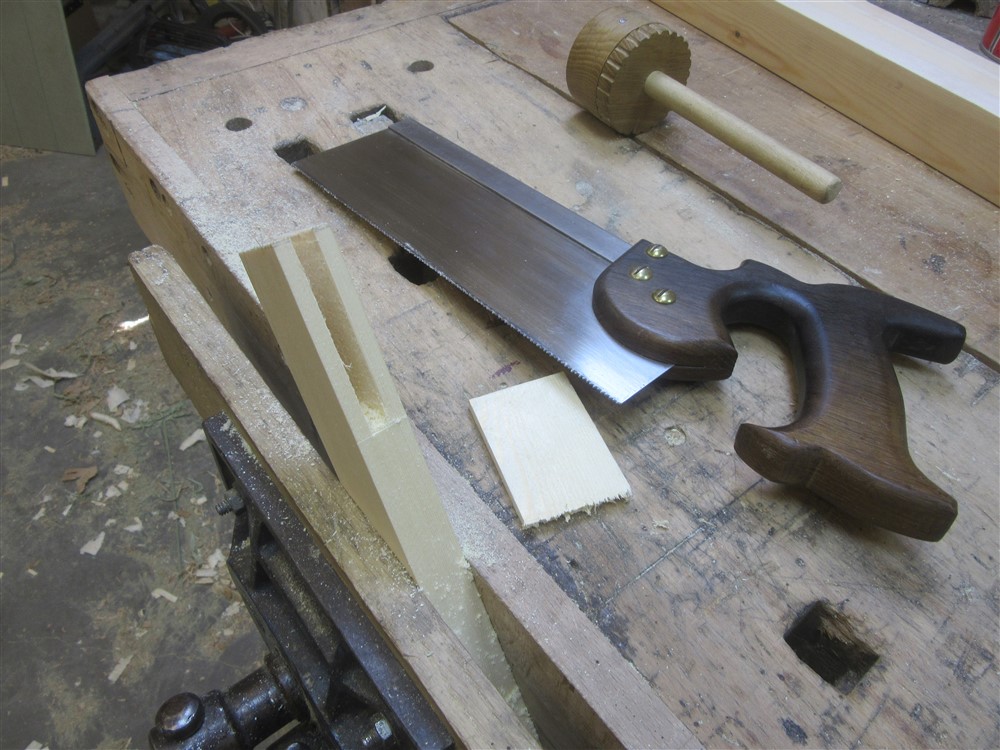
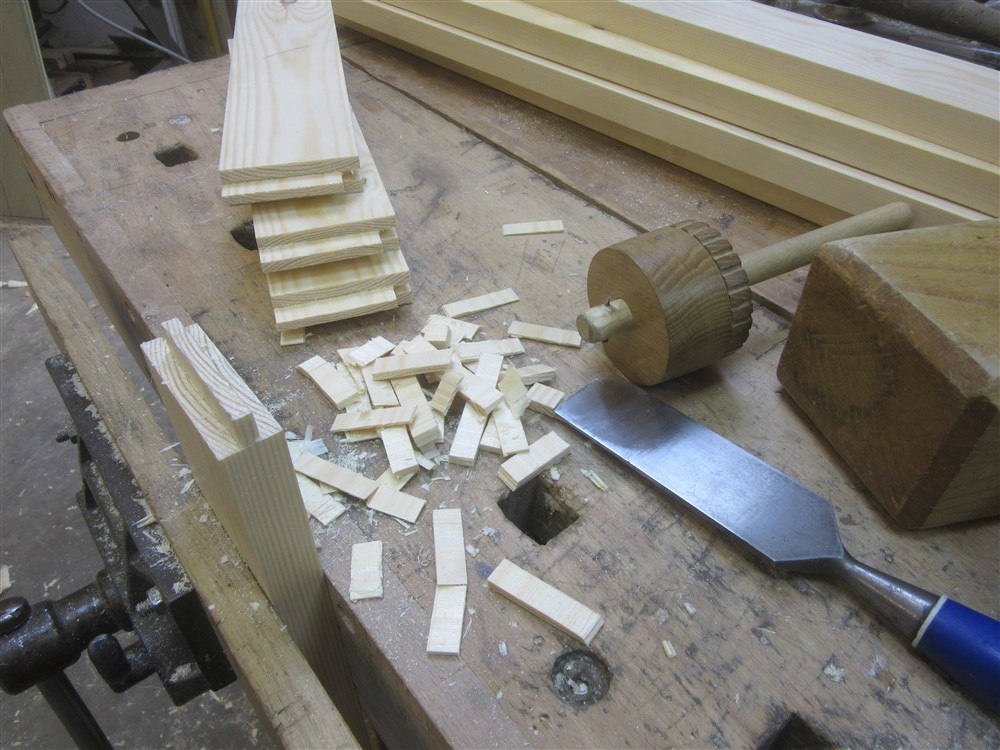
There's no cleaning up with a chisel. If you get the sawing right it is so much easier than faffing around inside a narrow slot where you can't really see what you are doing. A quick chisel out of the bottom of the joint (I don't aim for level here, I dip in the middle deliberately):
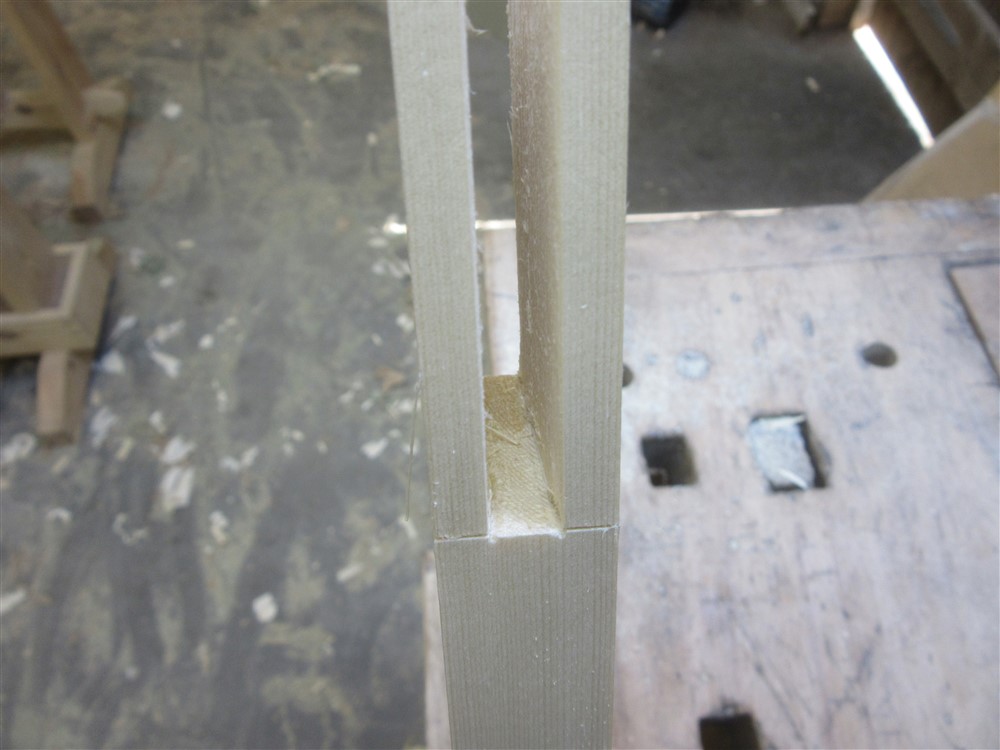
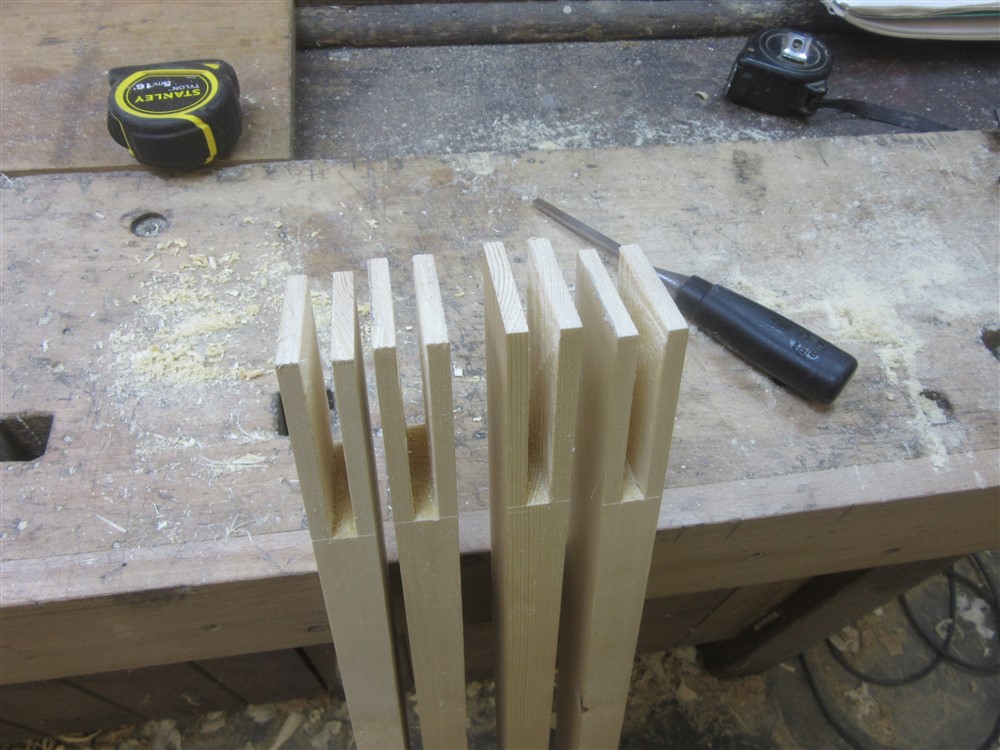
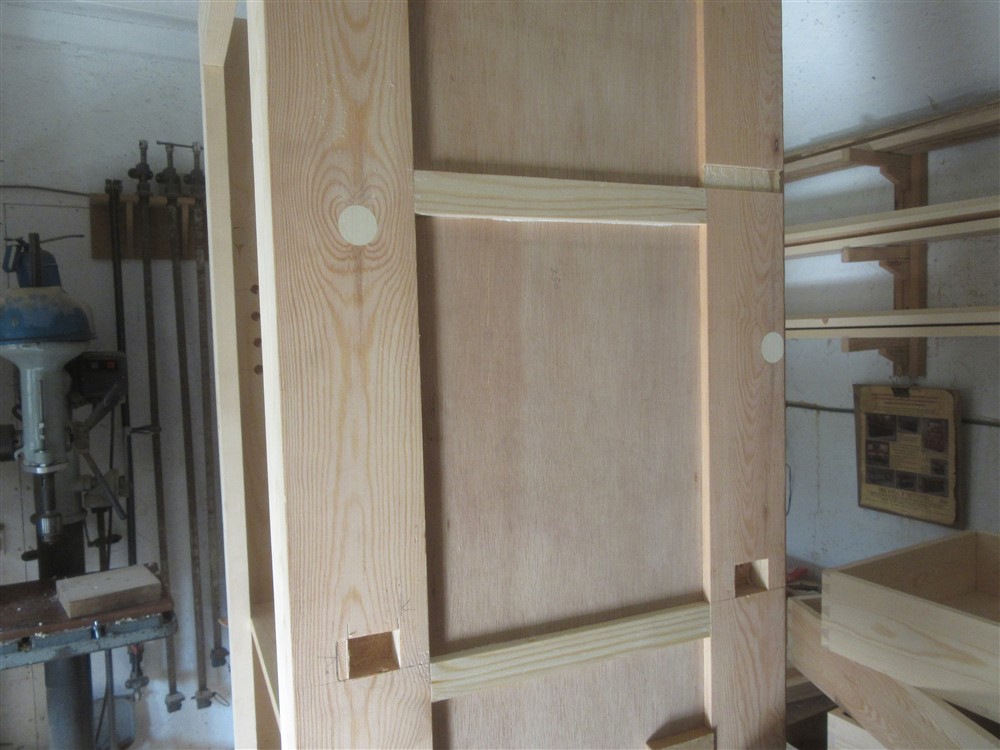
Done! Just time to drill out the knots for filling tomorrow:
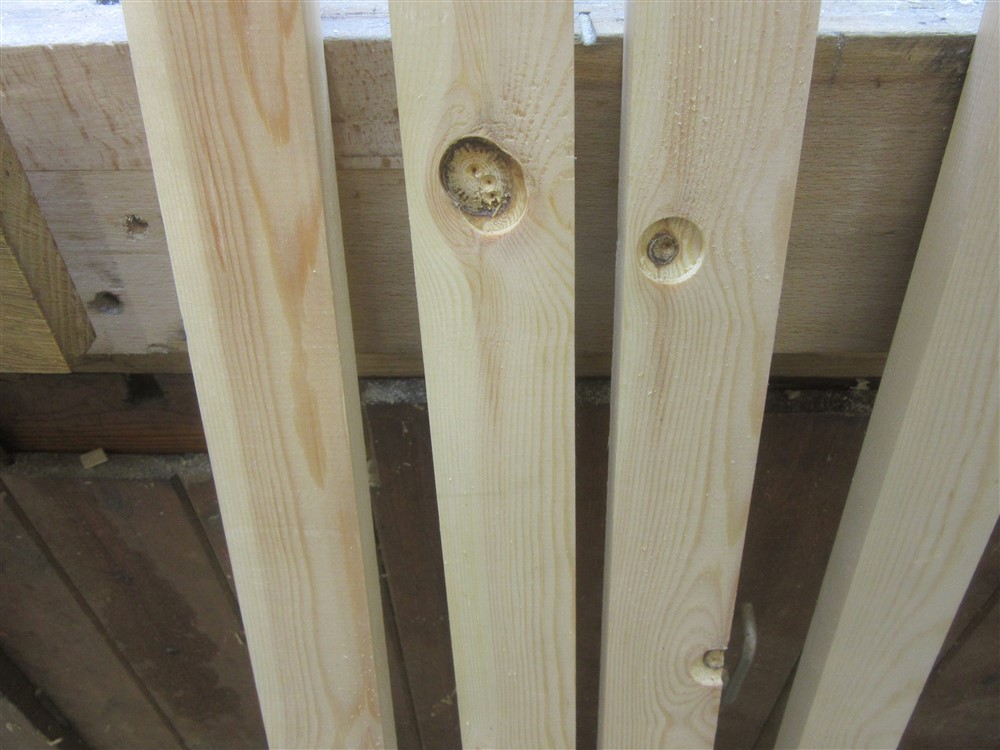
.....then time for a glue up. That was Saturday done and dusted. I'd hoped to have achieved a bit more, but I had to go to the woodyard for some bits and pieces, and my back forced me to go for a sit-down every hour or so. If Saturday was a day of under achievement, Sunday was even more disappointing.
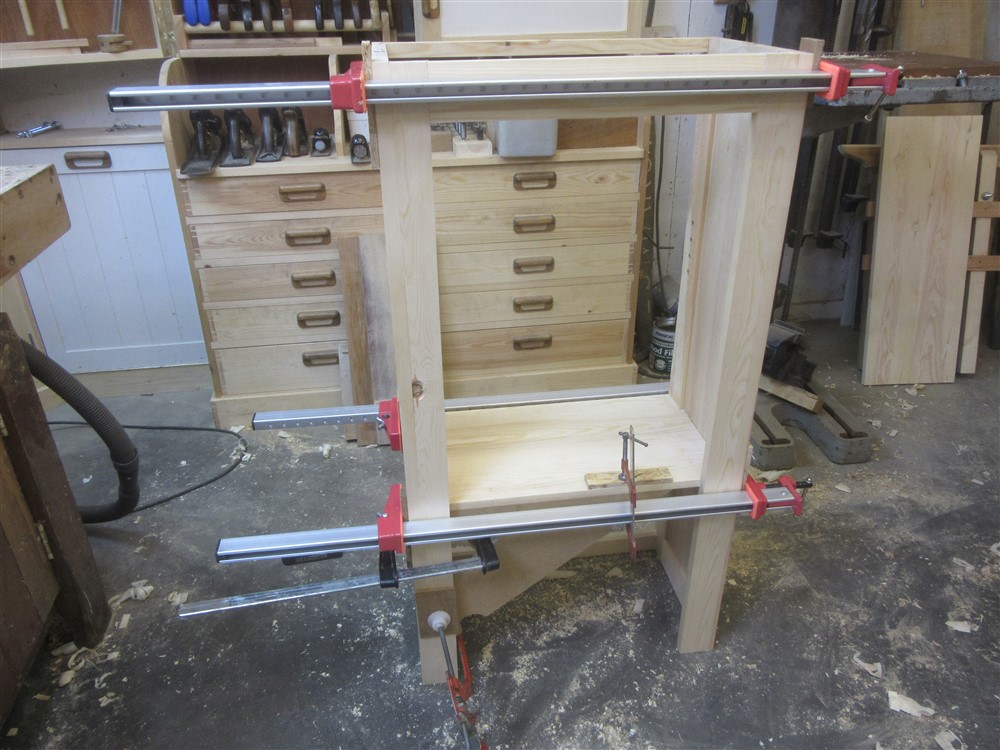
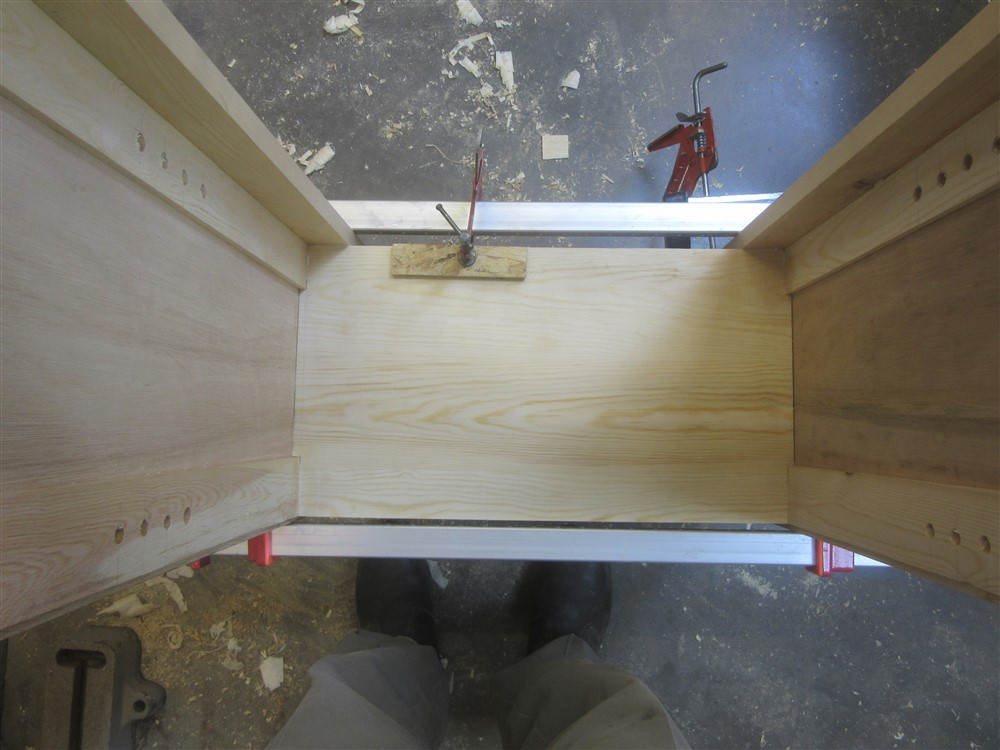
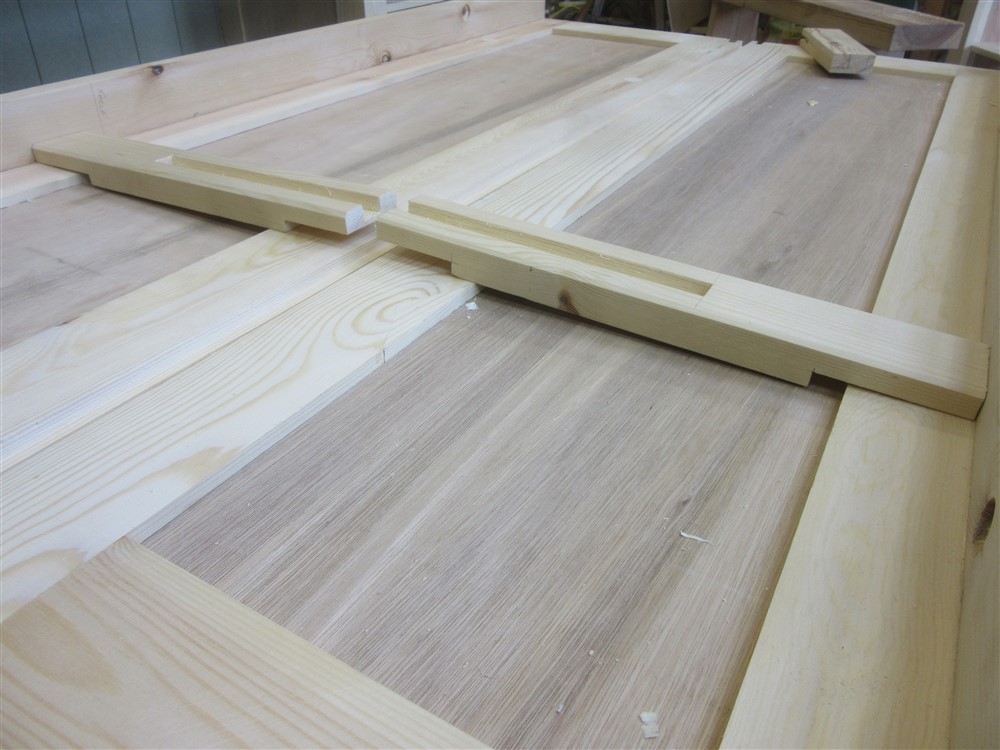
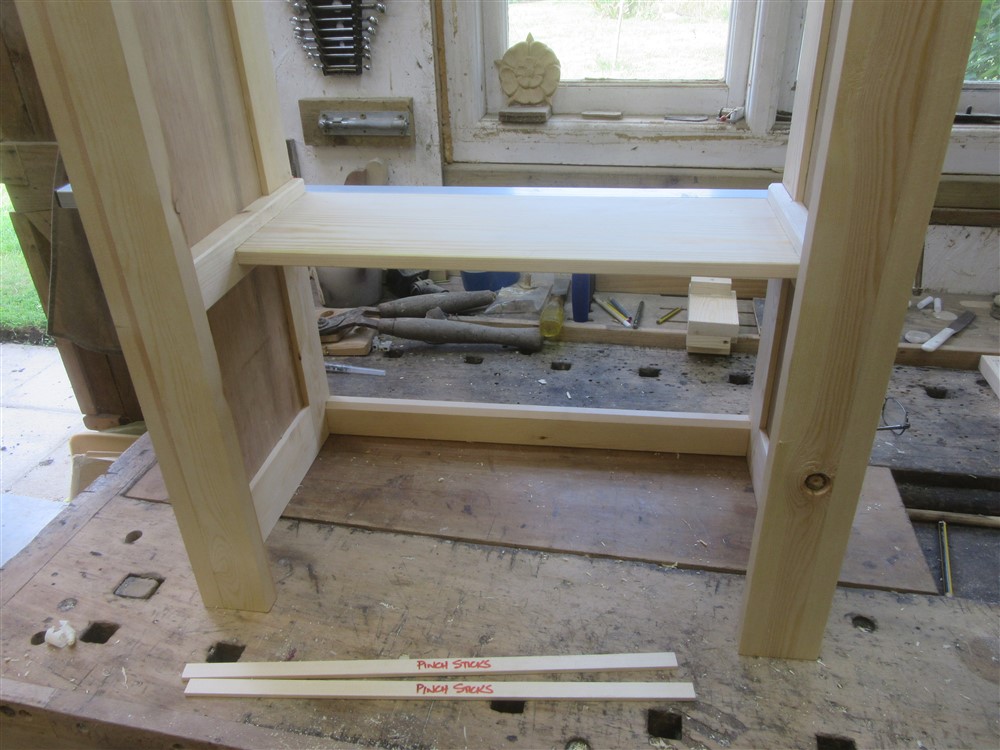
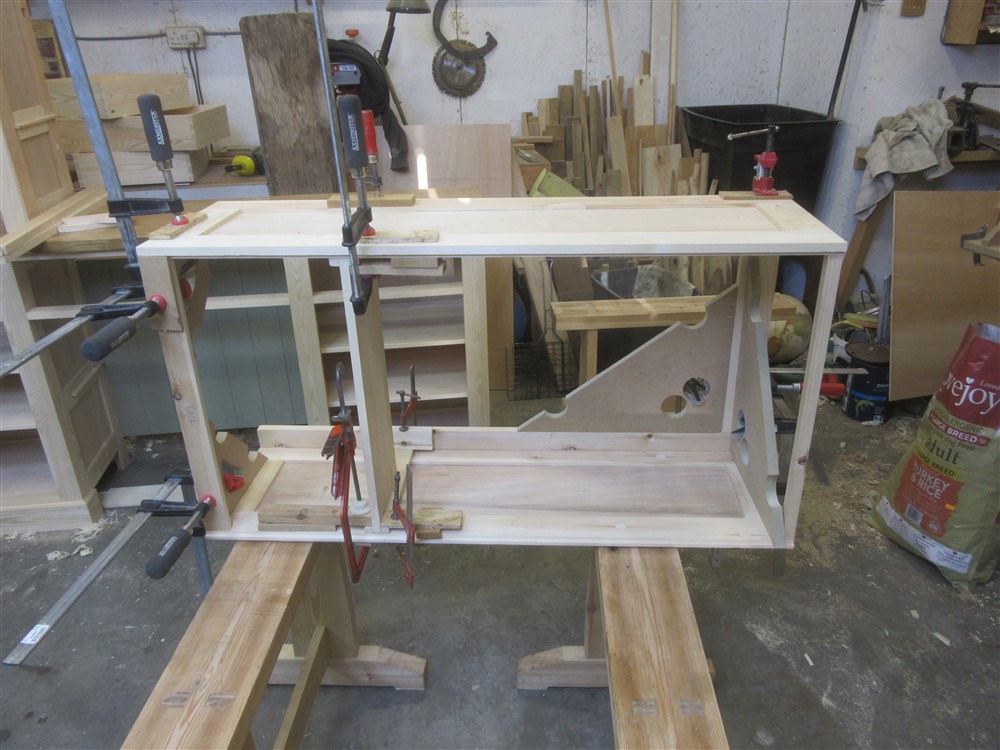
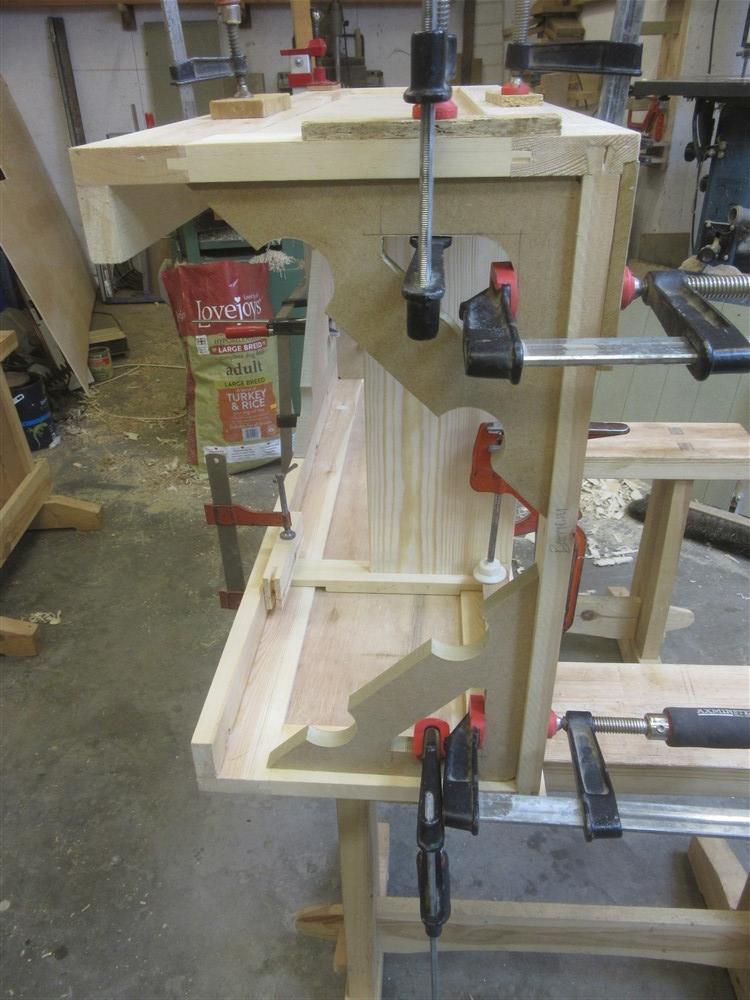
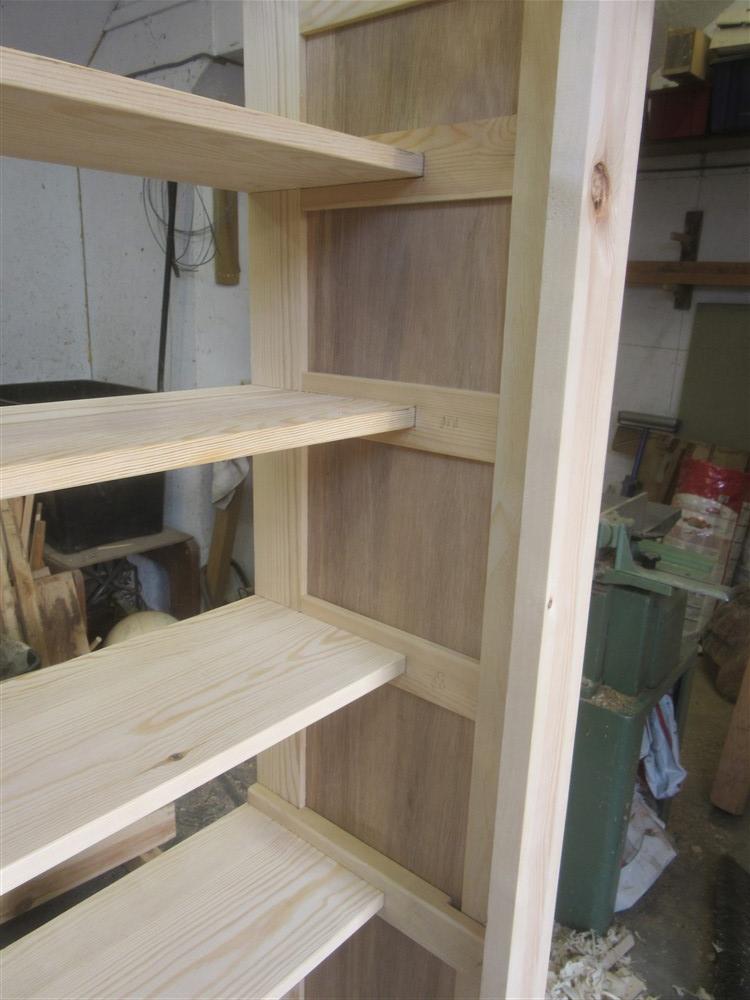
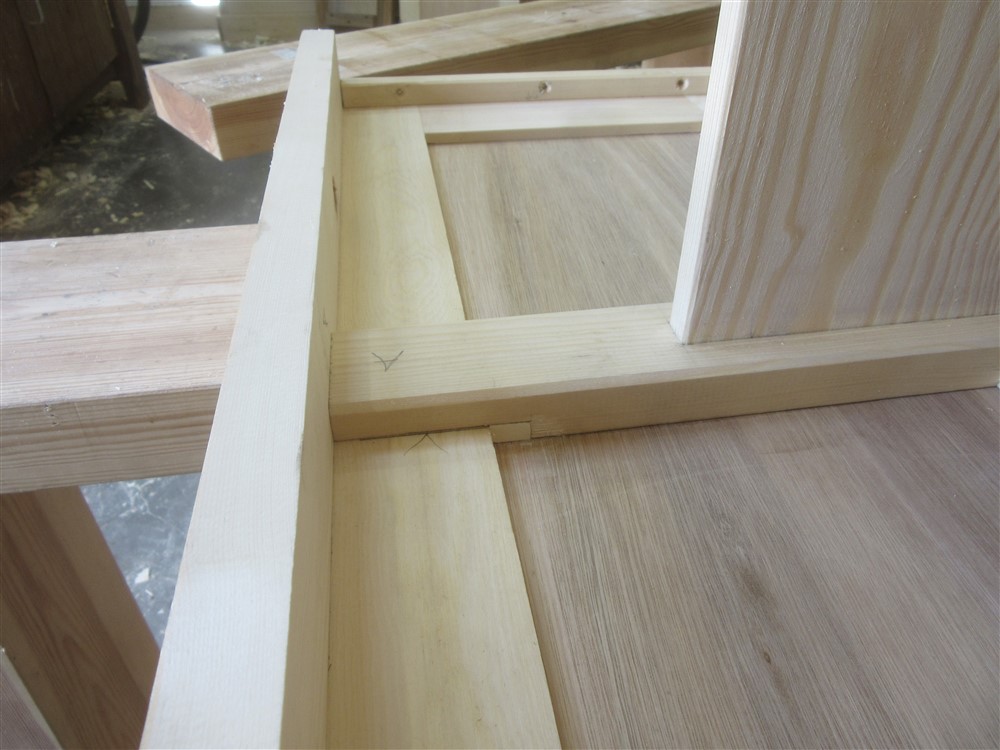
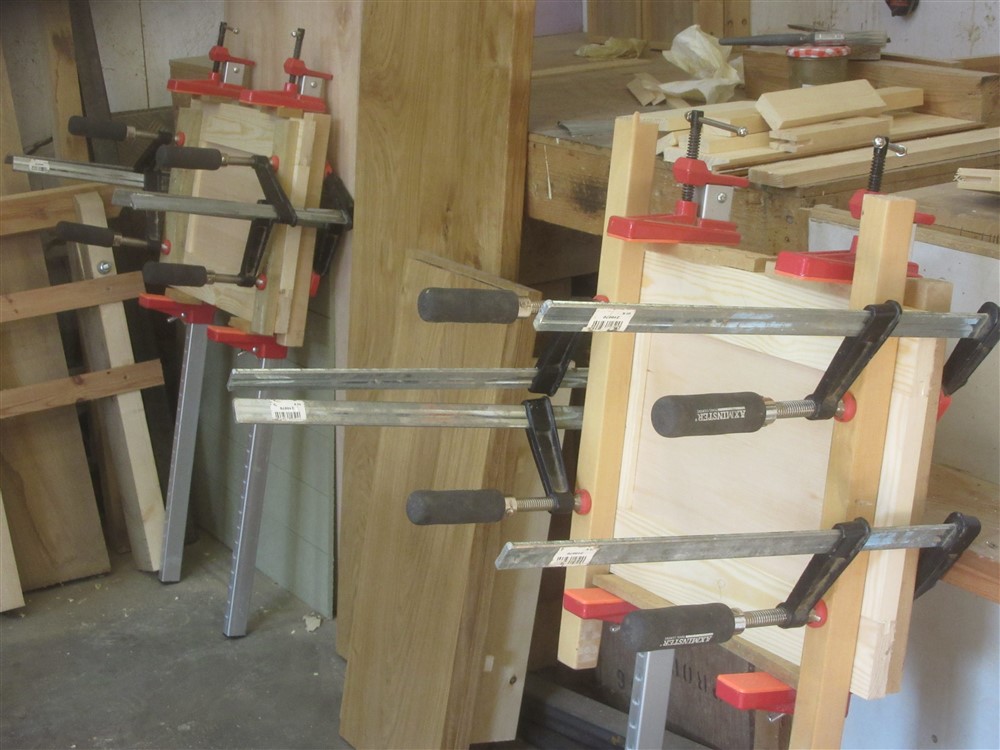
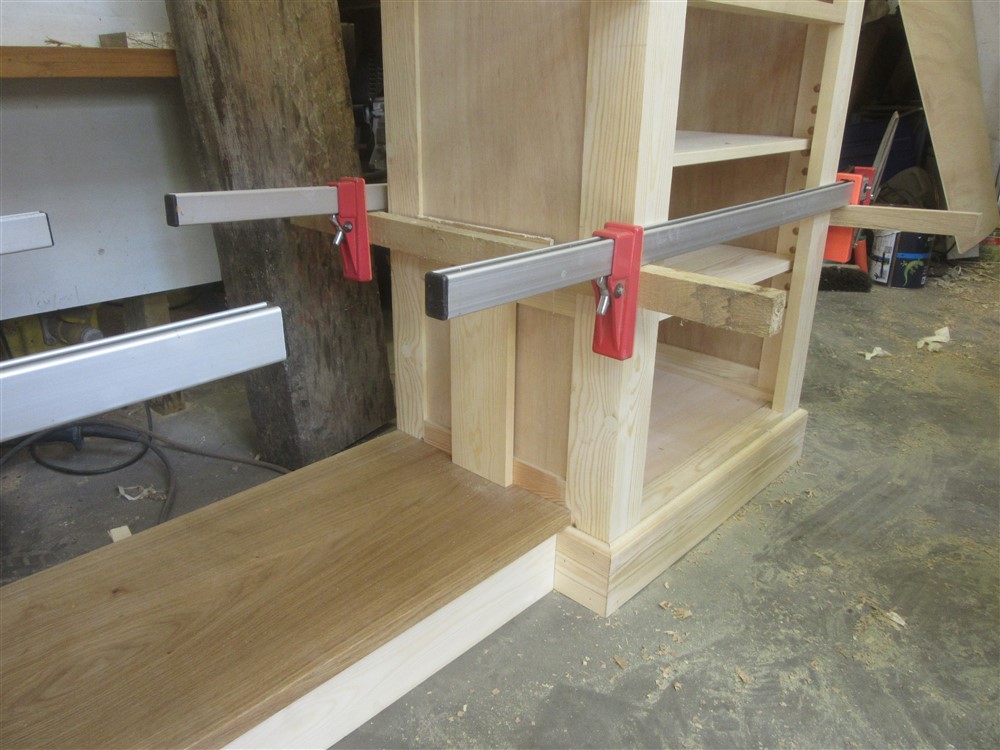
It started off nicely, though, with the shelf supports working really well once they were de-clamped:
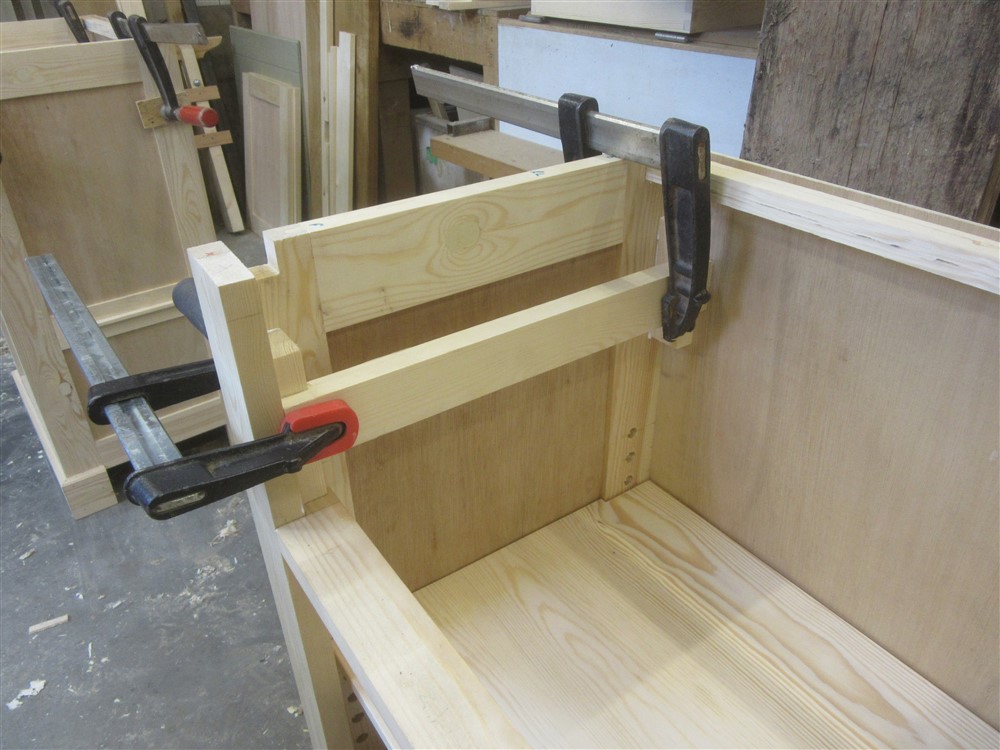
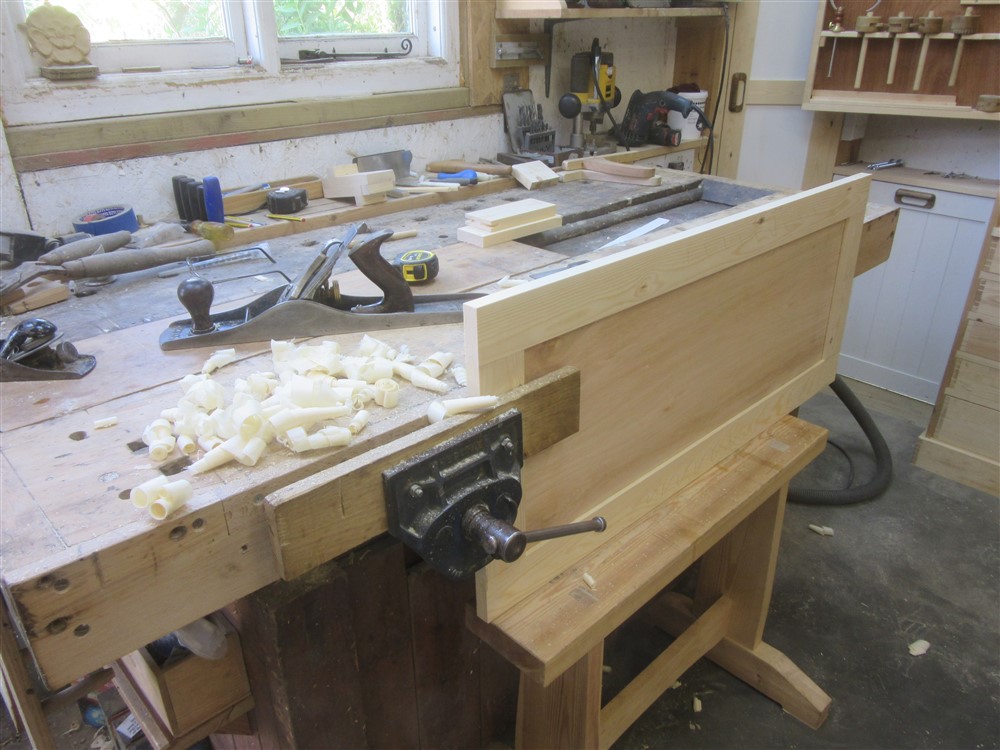
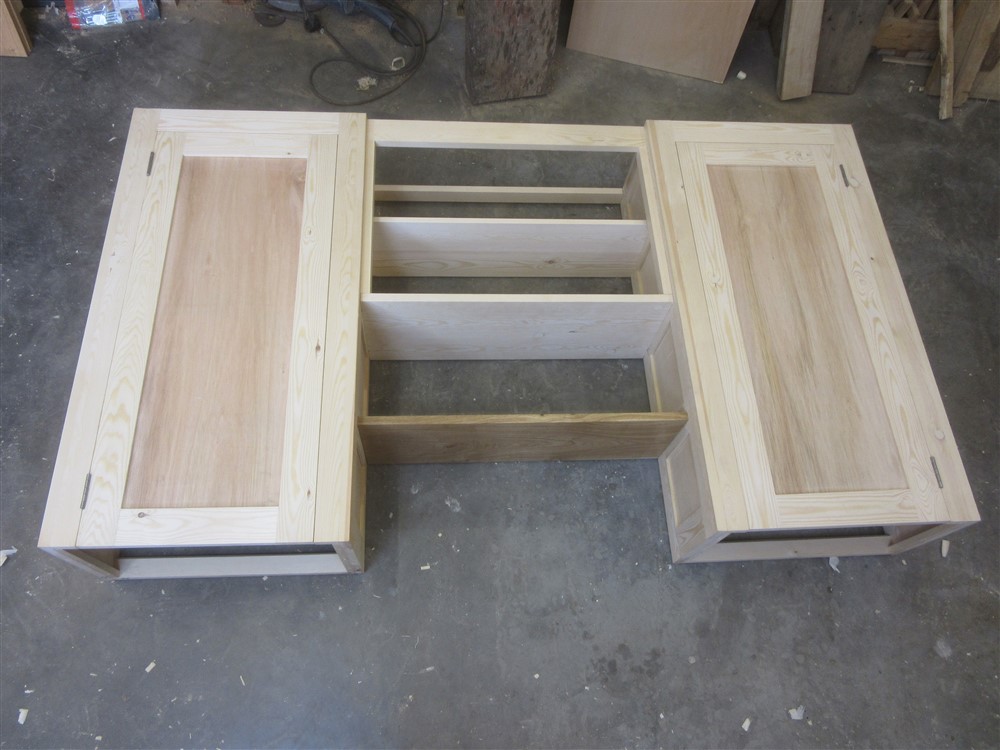
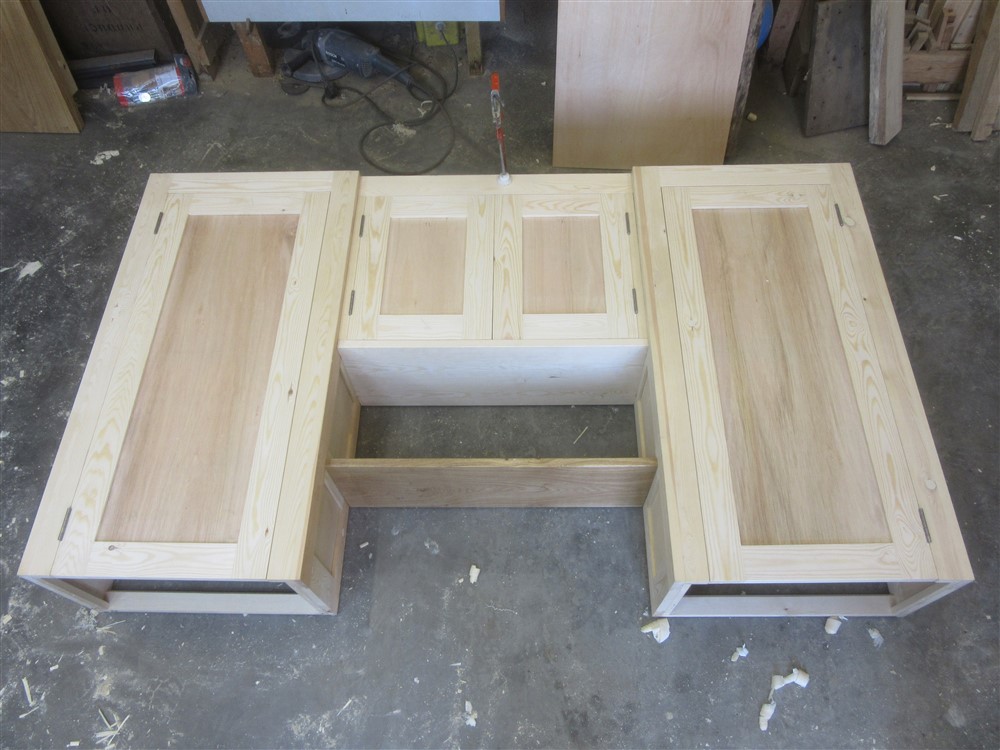
I cleaned up the glue joints to the cheek pieces of the upper cabinets, and set them in place on the worktop:
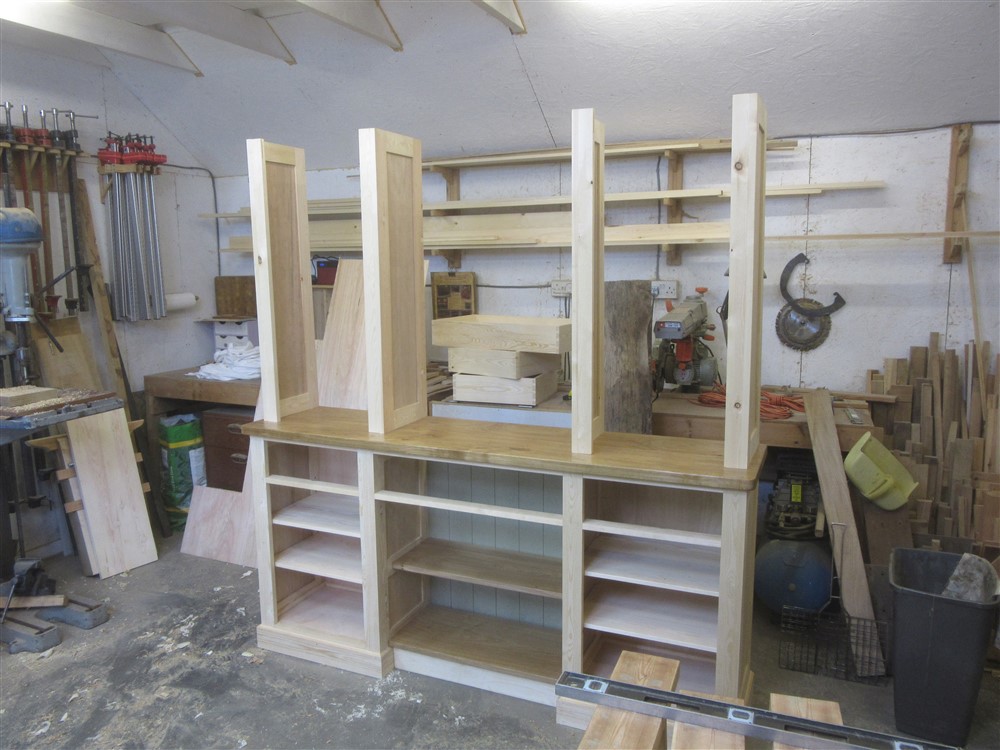
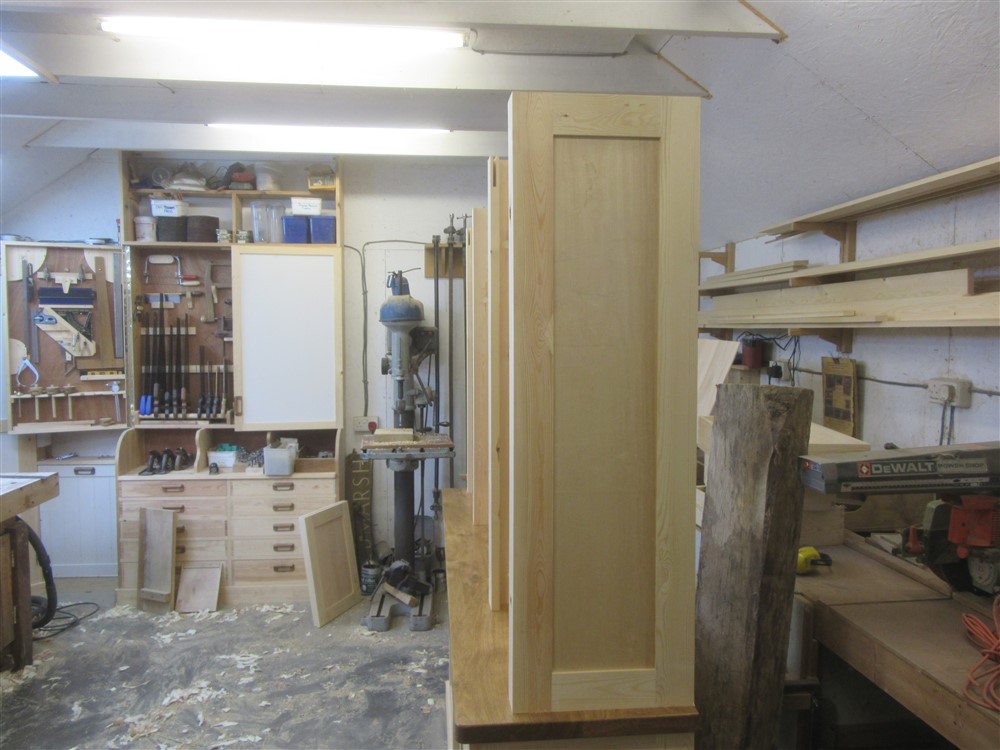
The main reason for this was to mark up the bottoms for cleaning up, and to do any adjustments necessary to make sure everything lined up properly. There was lots of sighting along the line of the front edges:
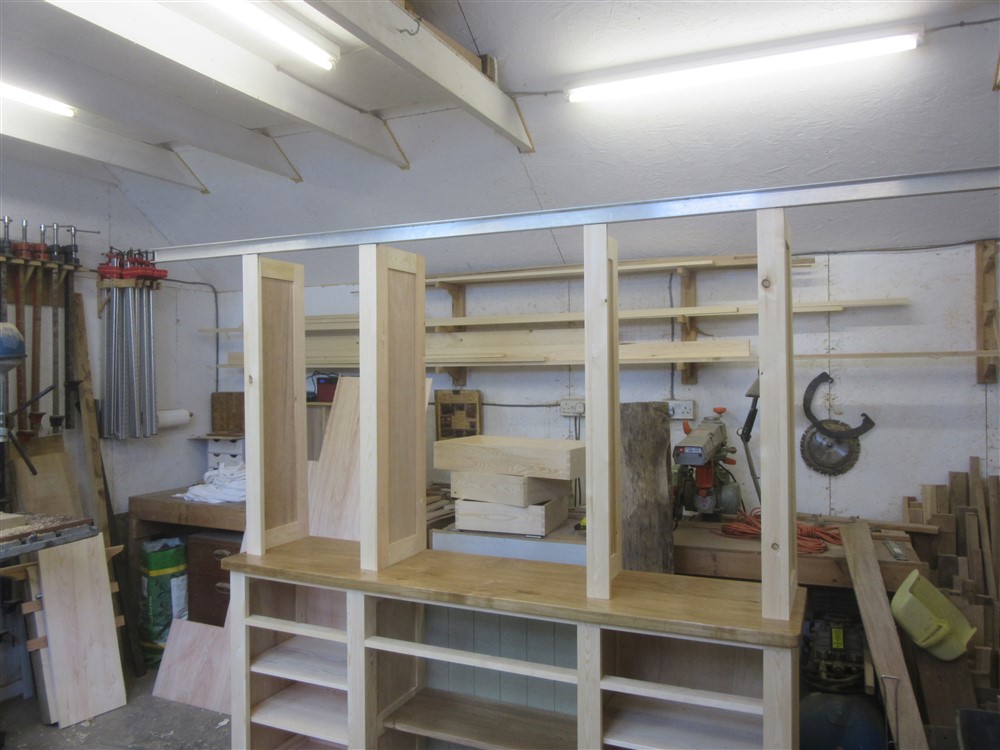
Then a straight-edge across the top for a final truing, which I abandoned in favour of doing it when the boxes were complete:
I then turned to the male parts of the bridle joints:
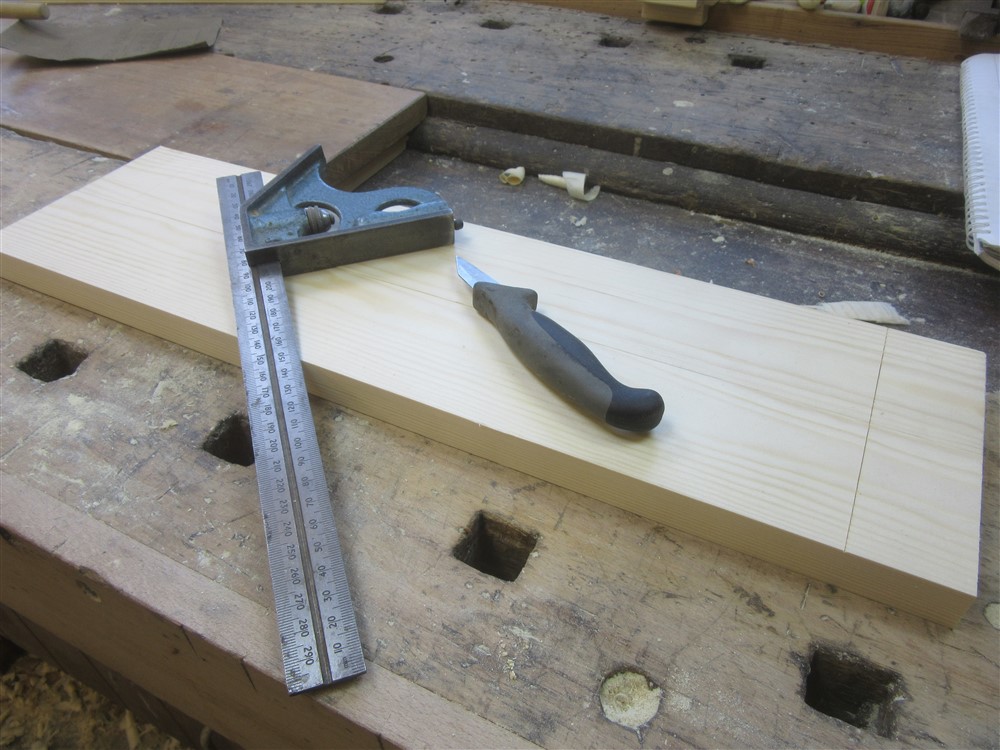
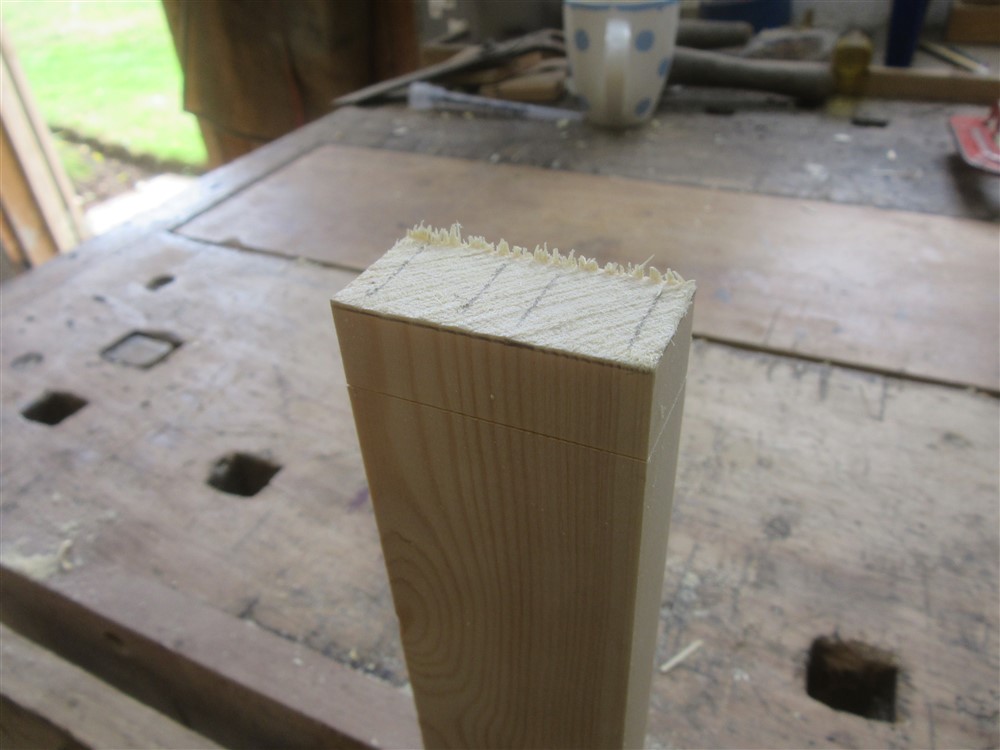
Accuracy is critical. I cut the shoulders first:
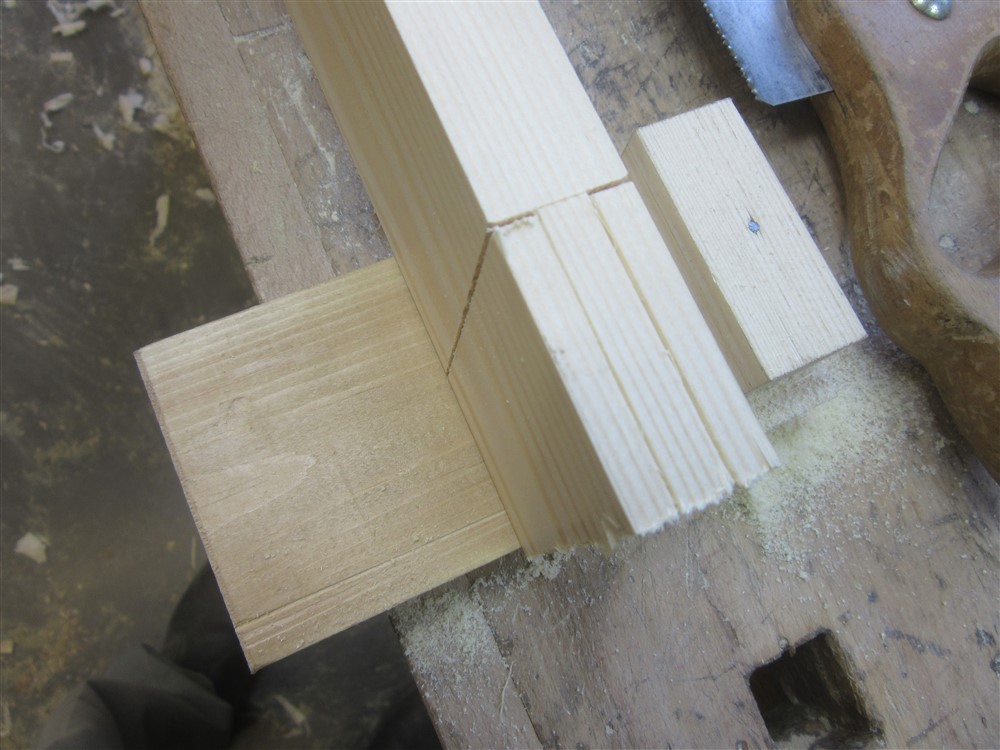
Then chisel off the waste. A good reason to choose nice straight grained material:
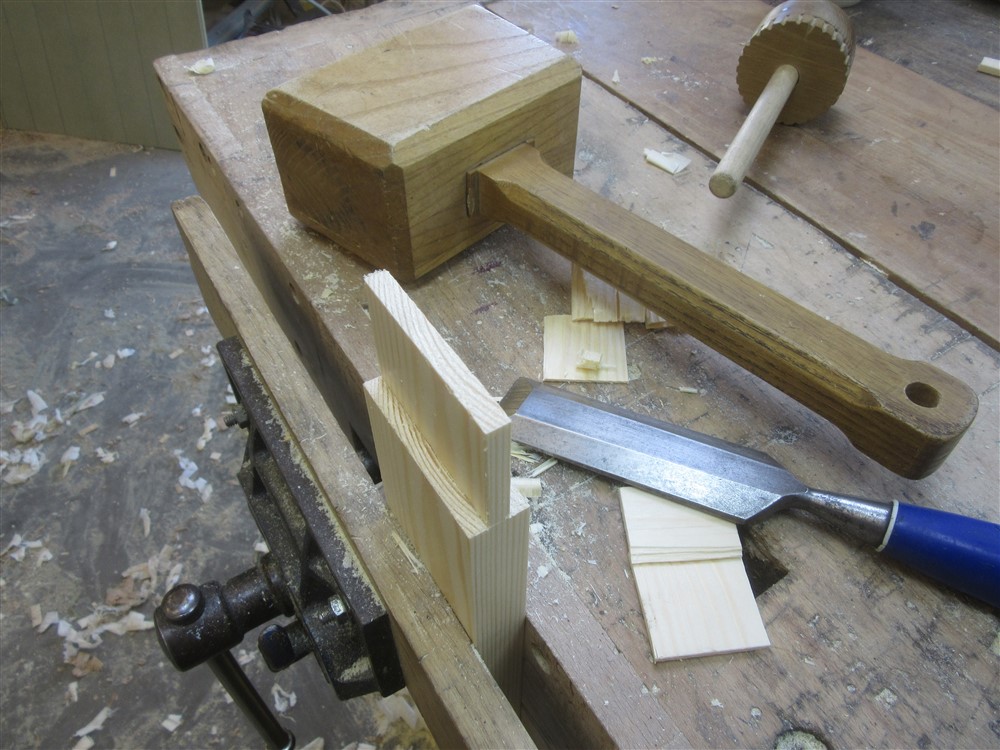
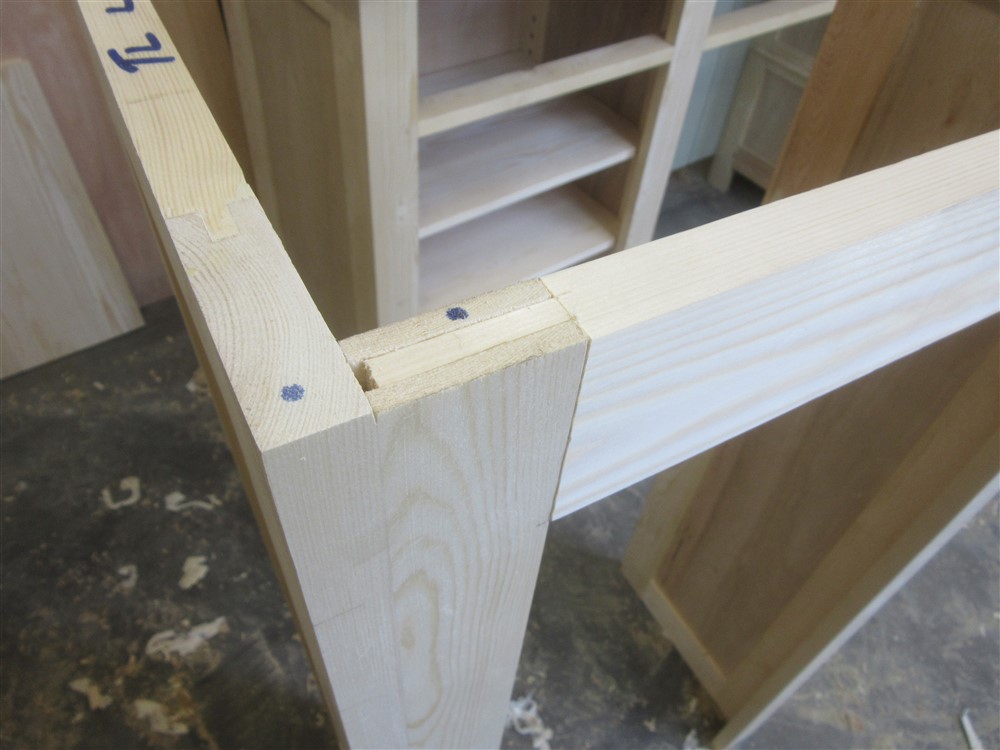
It fits. Three of the 4 were OK, one..........hmmm...........shall we say "adequate"?
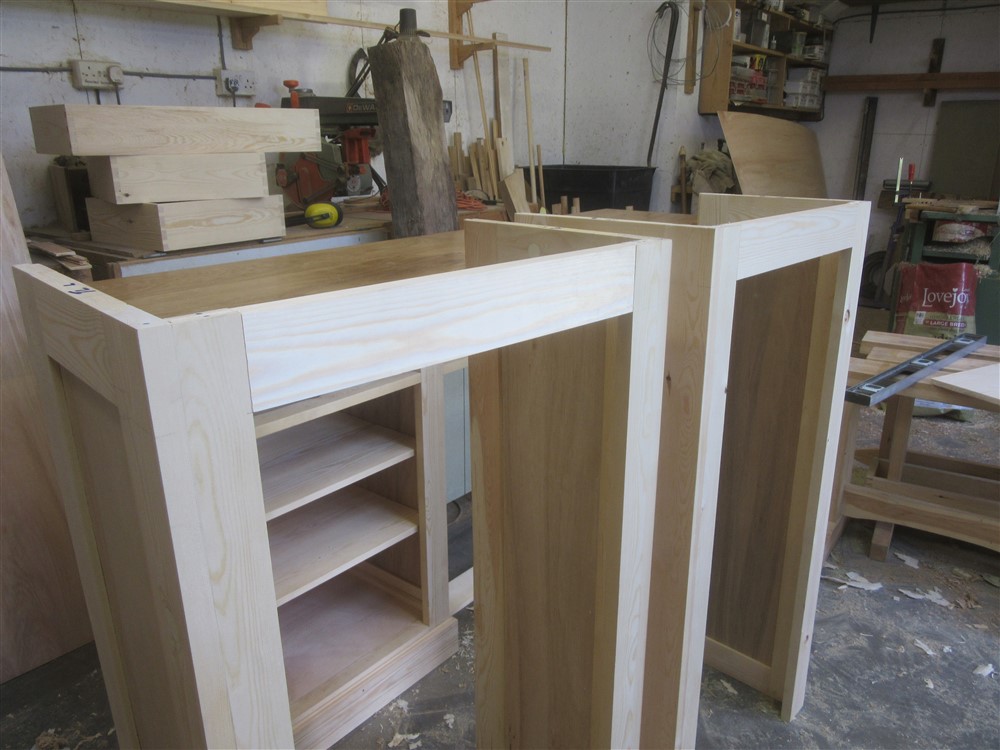
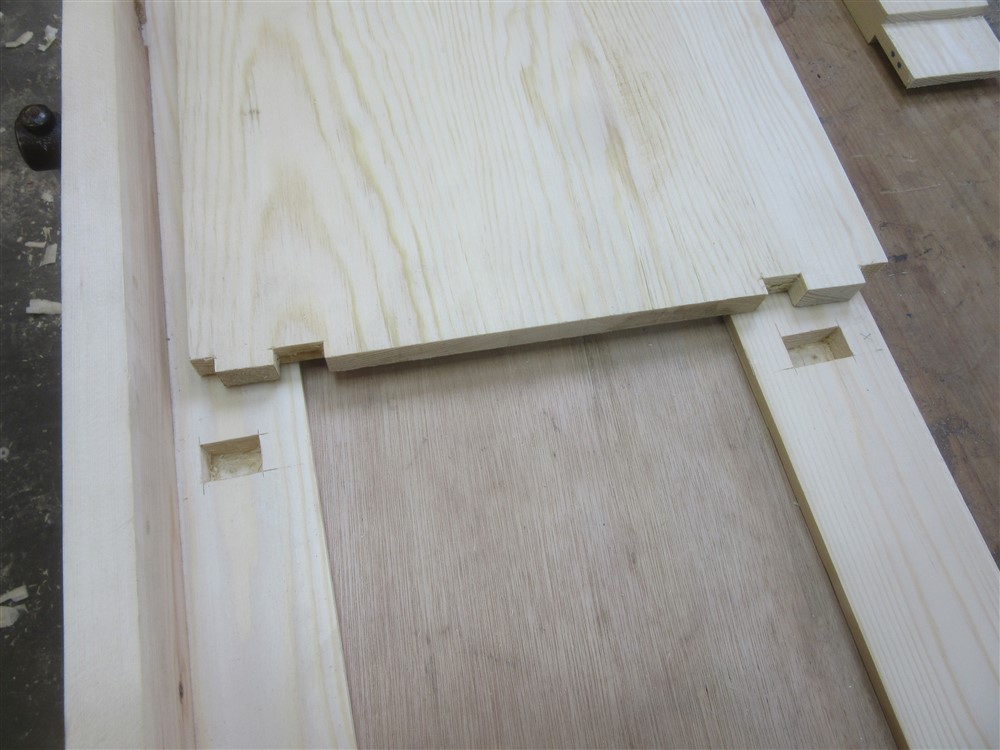
On to the back edge of the top of each box. Again, a really quick un-marked tail, with the line of the shoulders being the only critical issue:
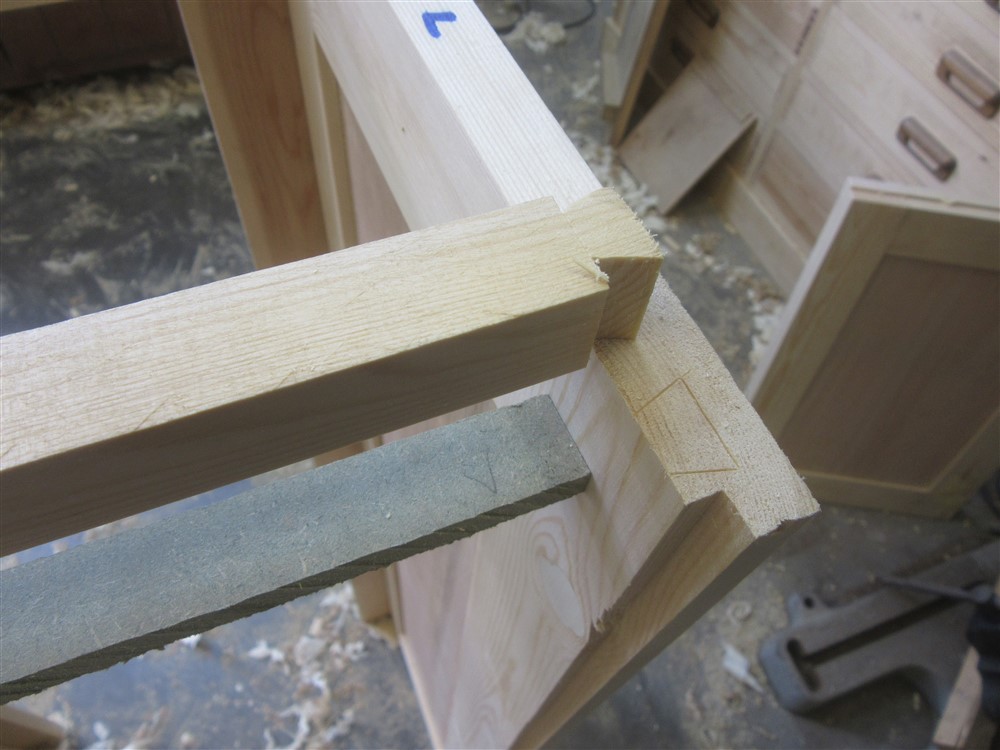
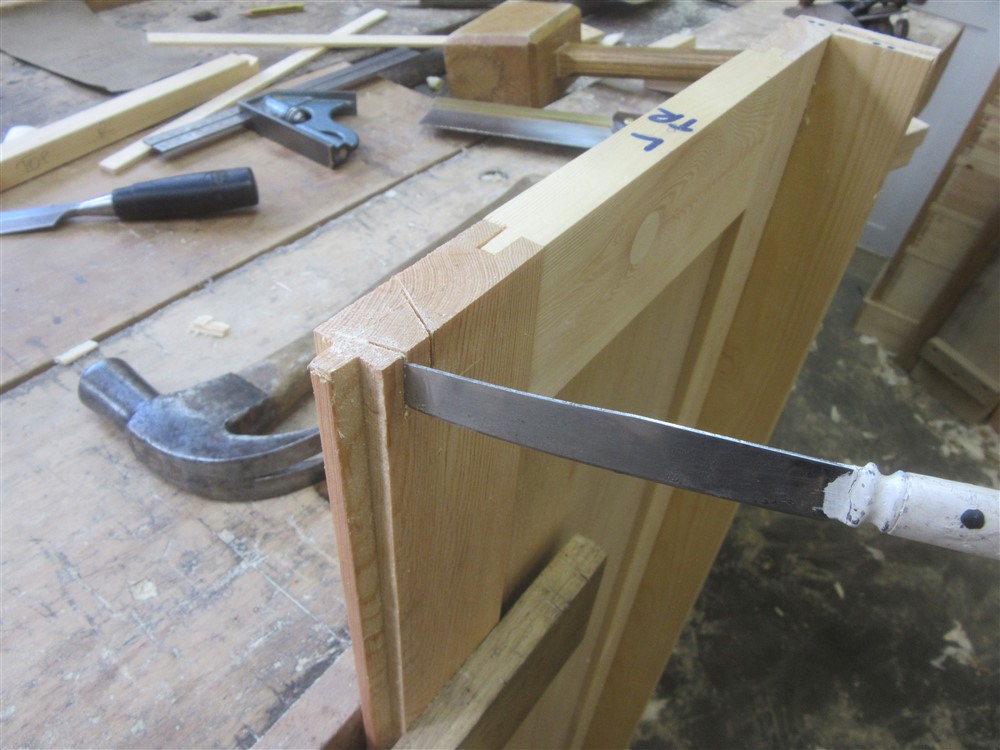
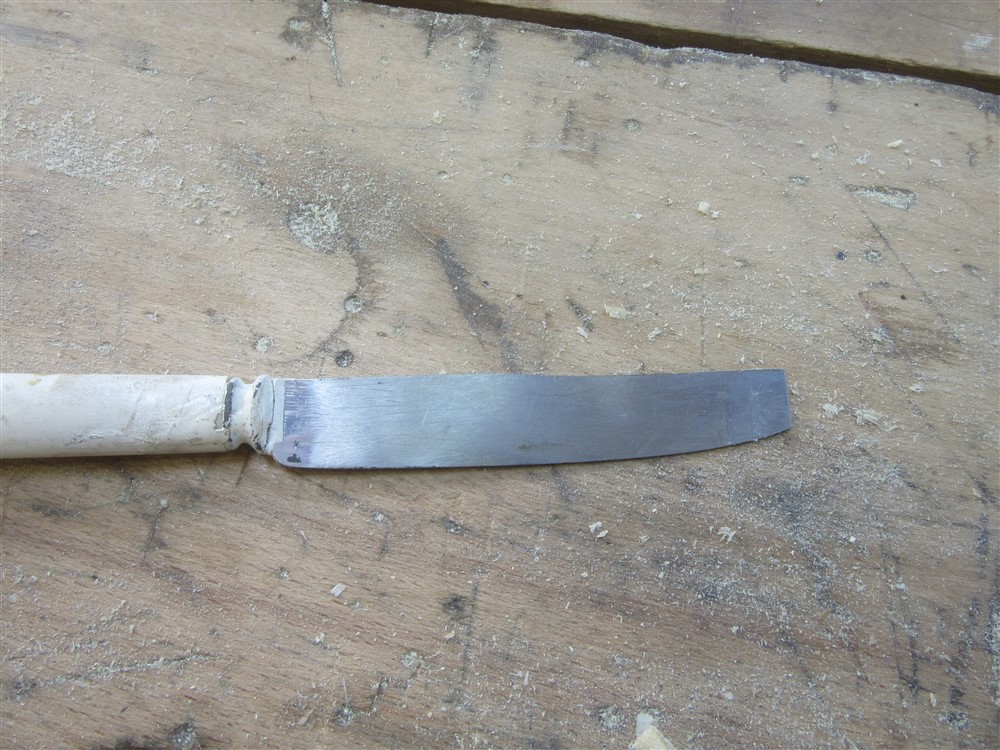
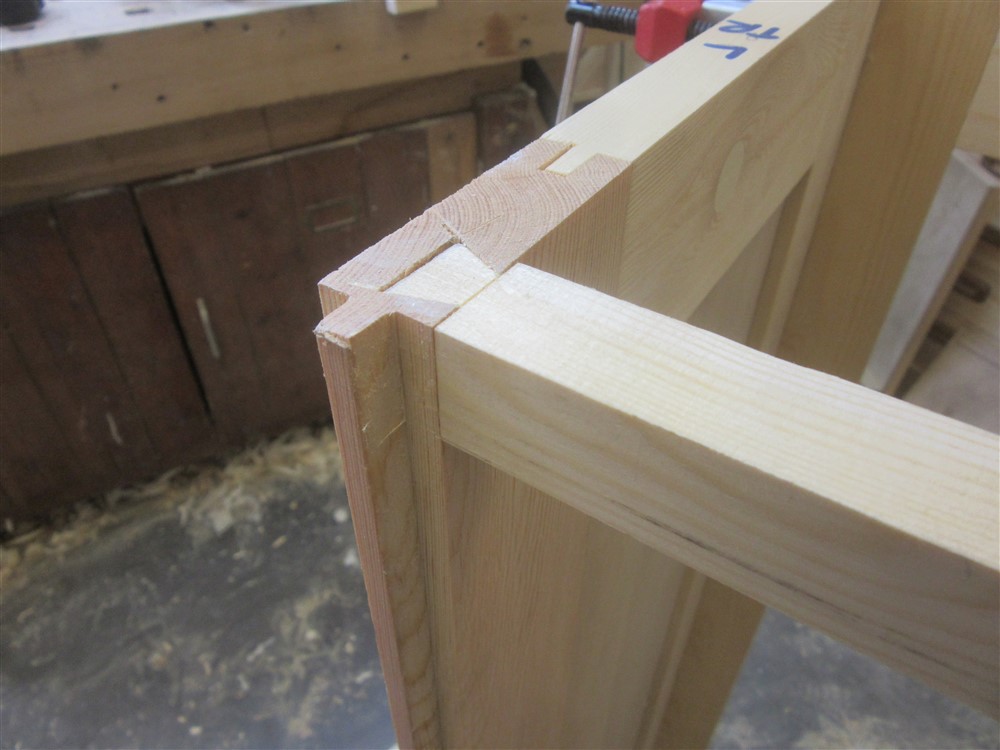
Veritas probably sell a kerf-extender for £50. I cut the end off an old knife.
Having made the top back piece, I transferred the shoulder locations to the piece for the bottom:
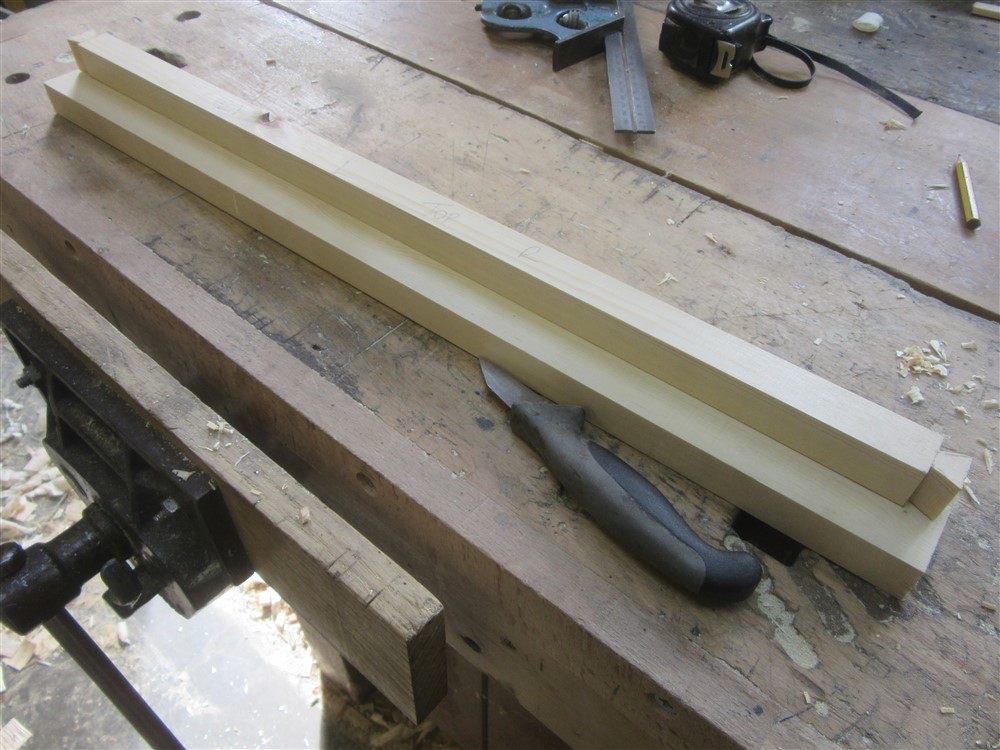
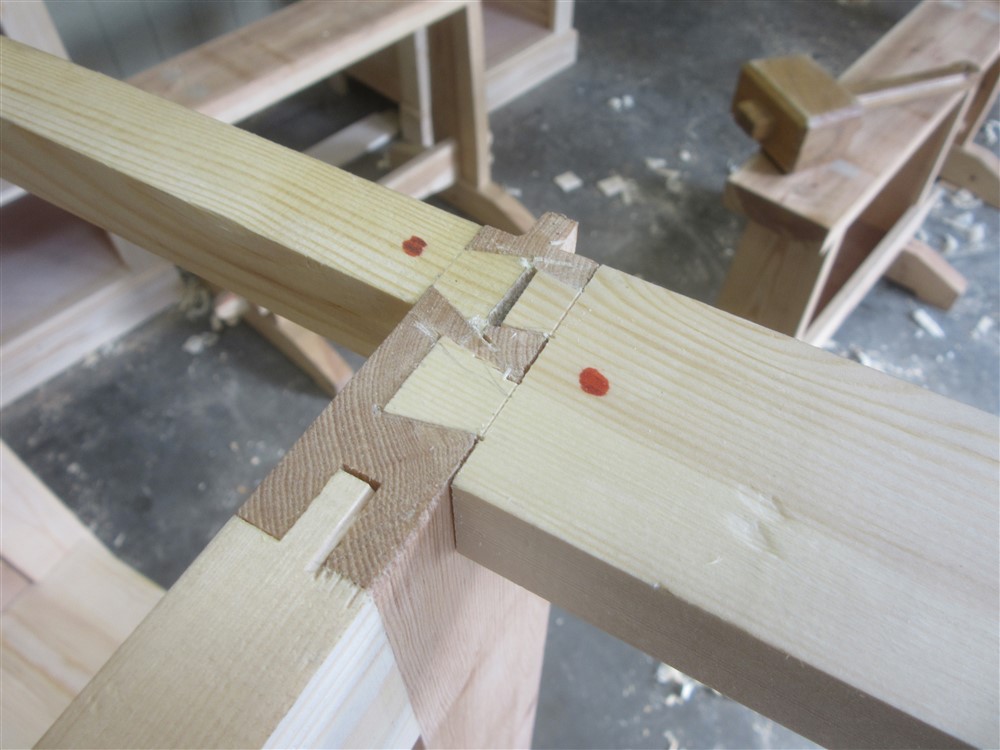
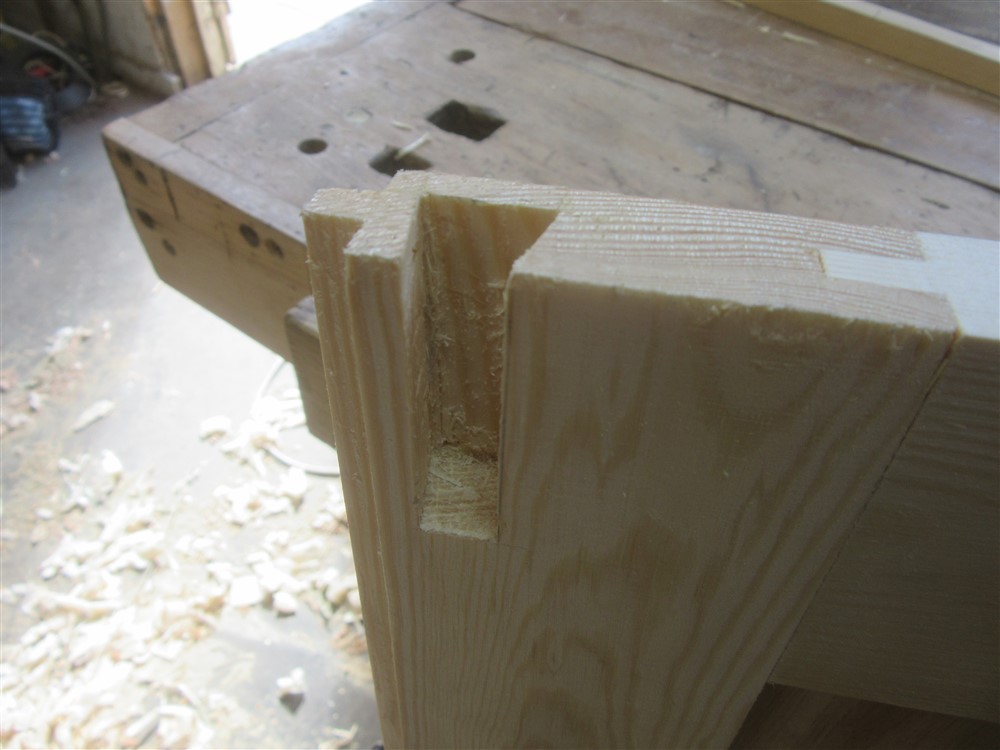
...then after making random tails again, marked up the cheek pieces and hacked away the stuff I didn't need:
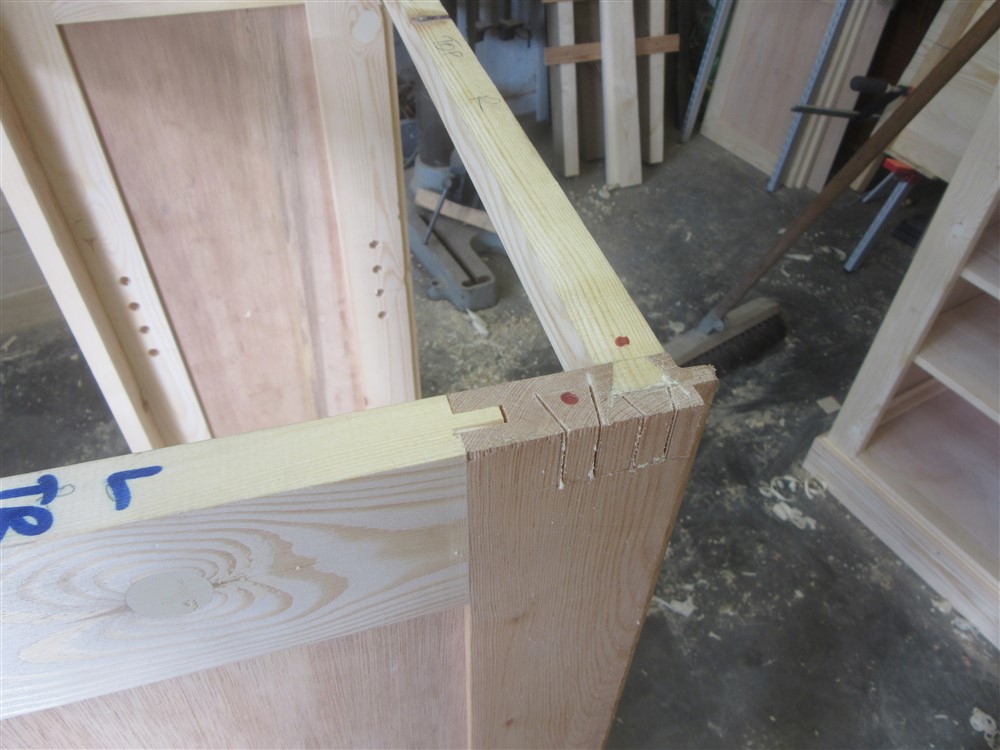
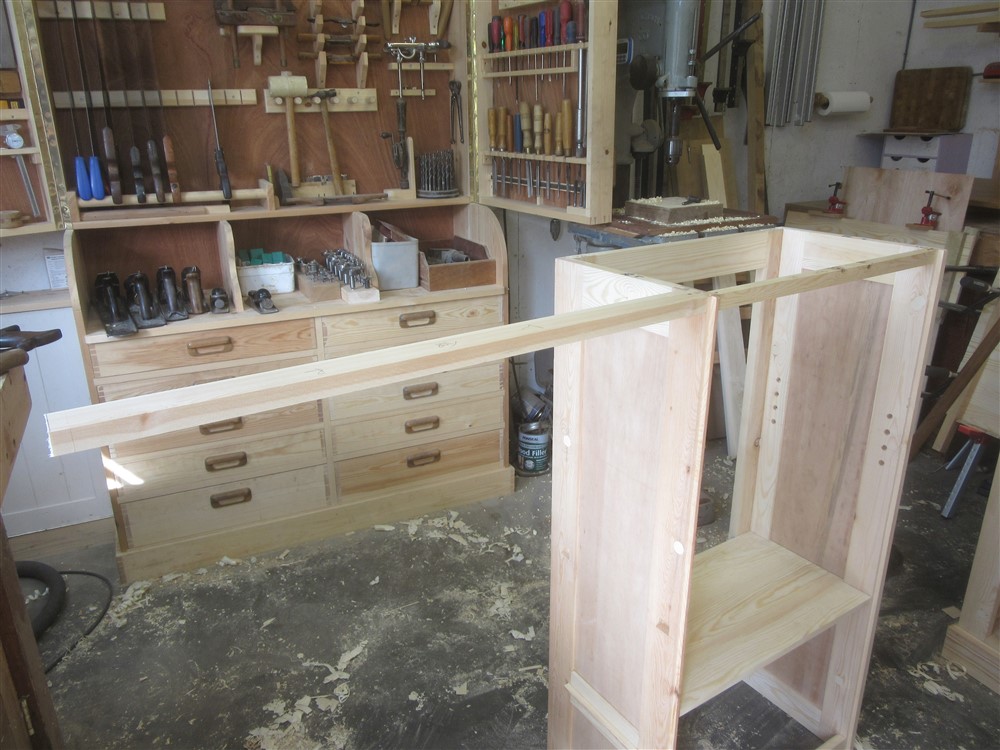
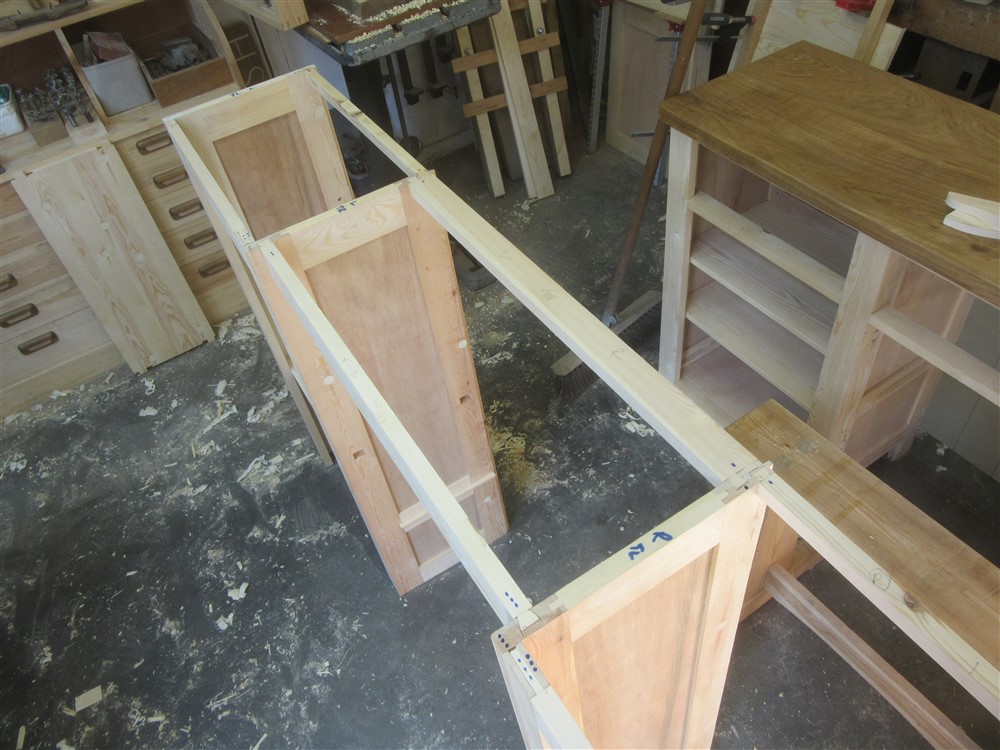
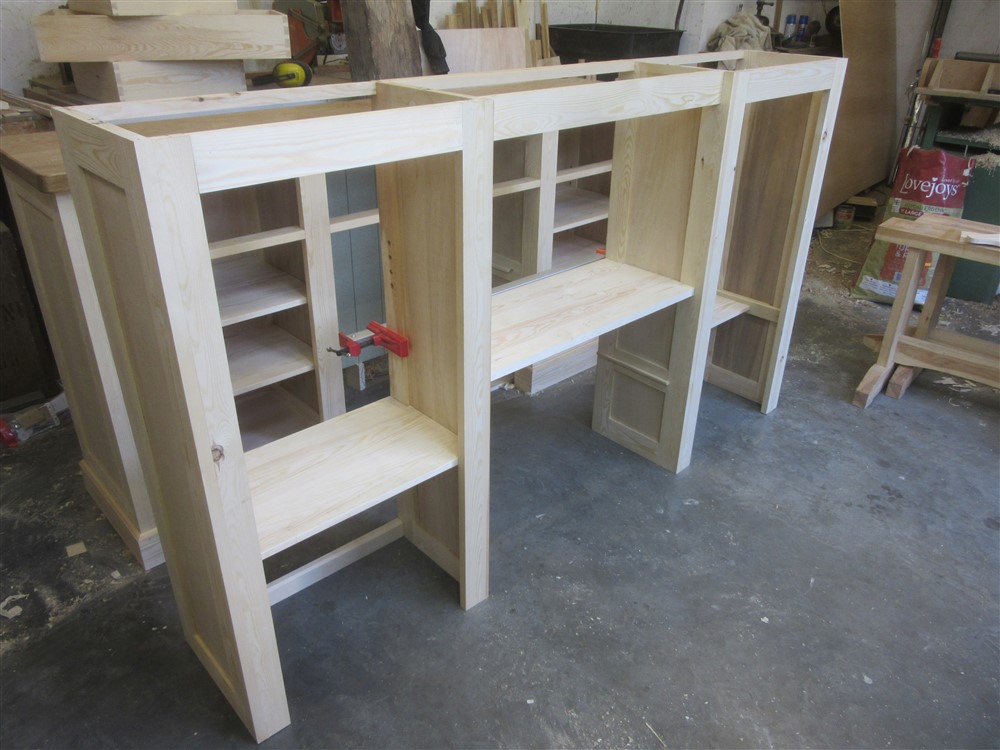
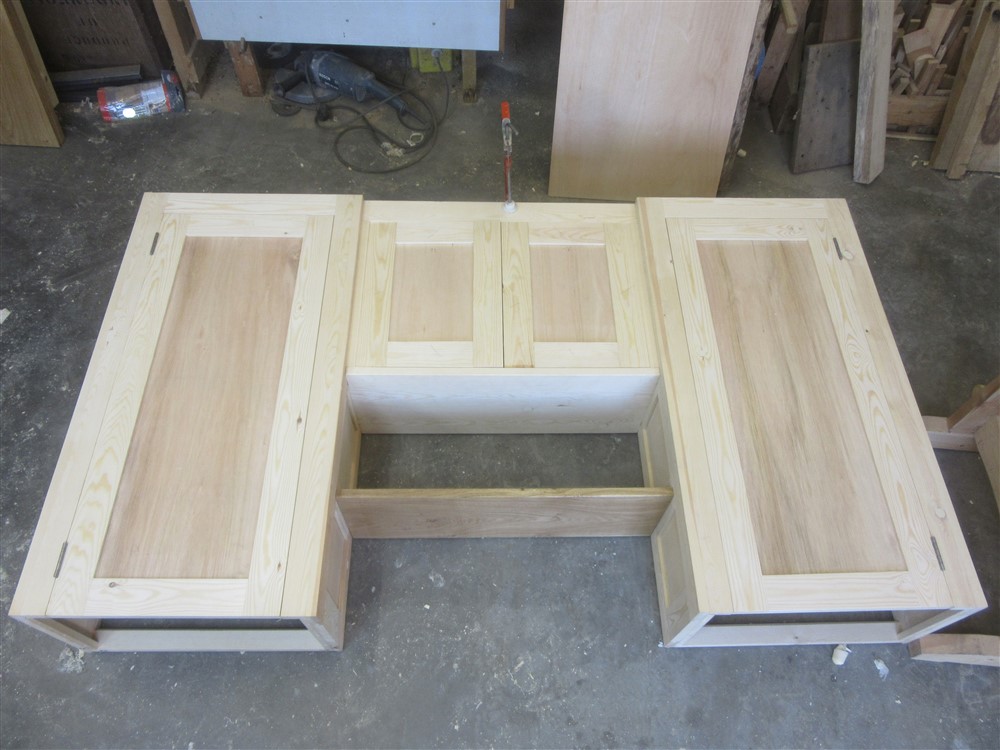
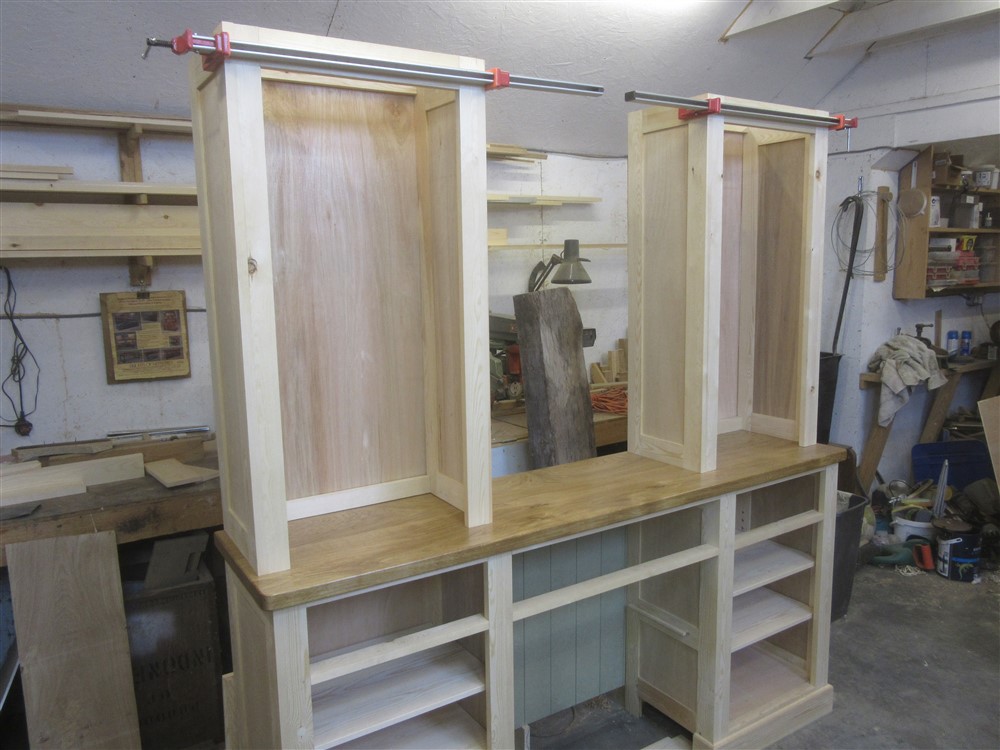
It all hangs together OK, but there is a mystery twist in the left hand unit which I'll have to look at next time I get out to the workshop:
My next task was to make the shelf supports for the floating middle oak shelf. I'm not great at working with small bits of wood, and workholding is one of the reason. This time, it was workholding-by-pins:

Then I ploughed as much of a stopped groove as I could before I reverted to chisels. Fortuitously, the imperial width of my plane cutter was just a smidgeon less than the metric width of a winged cutter for my router:


Apologies for the camera. It has a droopy eyelid. My wife has purloined the better one.
I planed up some narrow stuff for a tight fit in the ploughed groove, glued them up, and moved on to other things:

I quickly edge joined a pair of 145x20s to form the lower shelf of the small middle upper cupboard:

Randomly, I got distracted by the coving for a few minutes. I couldn't quite decide on whether to make it ex 3" or ex 4". In the end, I plumped for the bigger one.......but that's for another day:

MDF......my favourite. It does have its uses, though:


That will be a backing board for the open shelf sections of the dresser.
Right......two minute dovetails. No marking whatsoever for the tails, other than the shoulders. A quick saw cut, then a bash with a mallet on a randomly sloped chisel, and I have a pair of tails:

Offer those up to the board edge, mark with a knife, saw, chisel, glue.....

Once that dried it was screwed under the bottom oak shelf because I needed it to sit in place whilst I located the shelf supports for the shelf above it:


I needed to glue up the face side pieces of the upper cupboards overnight, otherwise I'd be struggling for something to do the following day. So late in the evening I cut them out, and made twice as many of the short pieces as I needed. Ooops:

These were going to be joined by a bridle joint. I didn't have time for the whole joint, but needed the female side doing. Now, I reckon the bridle joint is the most demanding joint of the lot. Dovetails have a reputation, but they're a doddle in reality. Bridle joints, though, are a proper test of your skills. The first job, setting out, is relatively straightforward:

As is drilling through the bottom of the joint:

Cutting out the female joint, though, is a good test. I have an 11 TPI rip-filed tenon saw which is just ideal for the job.......and I always slope the workpiece in the vice as shown so that I can see both lines at once. Turn it over in the middle of each cut:


There's no cleaning up with a chisel. If you get the sawing right it is so much easier than faffing around inside a narrow slot where you can't really see what you are doing. A quick chisel out of the bottom of the joint (I don't aim for level here, I dip in the middle deliberately):


Done! Just time to drill out the knots for filling tomorrow:

.....then time for a glue up. That was Saturday done and dusted. I'd hoped to have achieved a bit more, but I had to go to the woodyard for some bits and pieces, and my back forced me to go for a sit-down every hour or so. If Saturday was a day of under achievement, Sunday was even more disappointing.
It started off nicely, though, with the shelf supports working really well once they were de-clamped:

I cleaned up the glue joints to the cheek pieces of the upper cabinets, and set them in place on the worktop:

The main reason for this was to mark up the bottoms for cleaning up, and to do any adjustments necessary to make sure everything lined up properly. There was lots of sighting along the line of the front edges:

Then a straight-edge across the top for a final truing, which I abandoned in favour of doing it when the boxes were complete:

I then turned to the male parts of the bridle joints:

Accuracy is critical. I cut the shoulders first:

Then chisel off the waste. A good reason to choose nice straight grained material:


It fits. Three of the 4 were OK, one..........hmmm...........shall we say "adequate"?

On to the back edge of the top of each box. Again, a really quick un-marked tail, with the line of the shoulders being the only critical issue:


Veritas probably sell a kerf-extender for £50. I cut the end off an old knife.
Having made the top back piece, I transferred the shoulder locations to the piece for the bottom:

...then after making random tails again, marked up the cheek pieces and hacked away the stuff I didn't need:

It all hangs together OK, but there is a mystery twist in the left hand unit which I'll have to look at next time I get out to the workshop:


