Kitchen dresser

UKworkshop.co.uk

Help Support UKworkshop.co.uk:

This site may earn a commission from merchant affiliate links, including eBay, Amazon, and others.
Status
Not open for further replies.
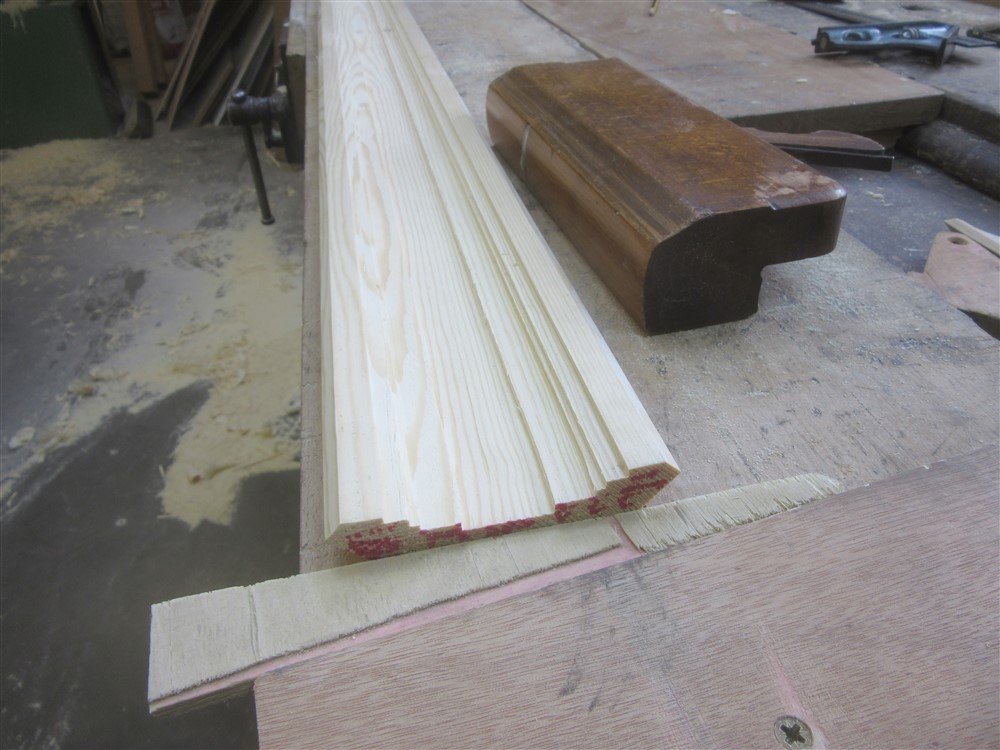
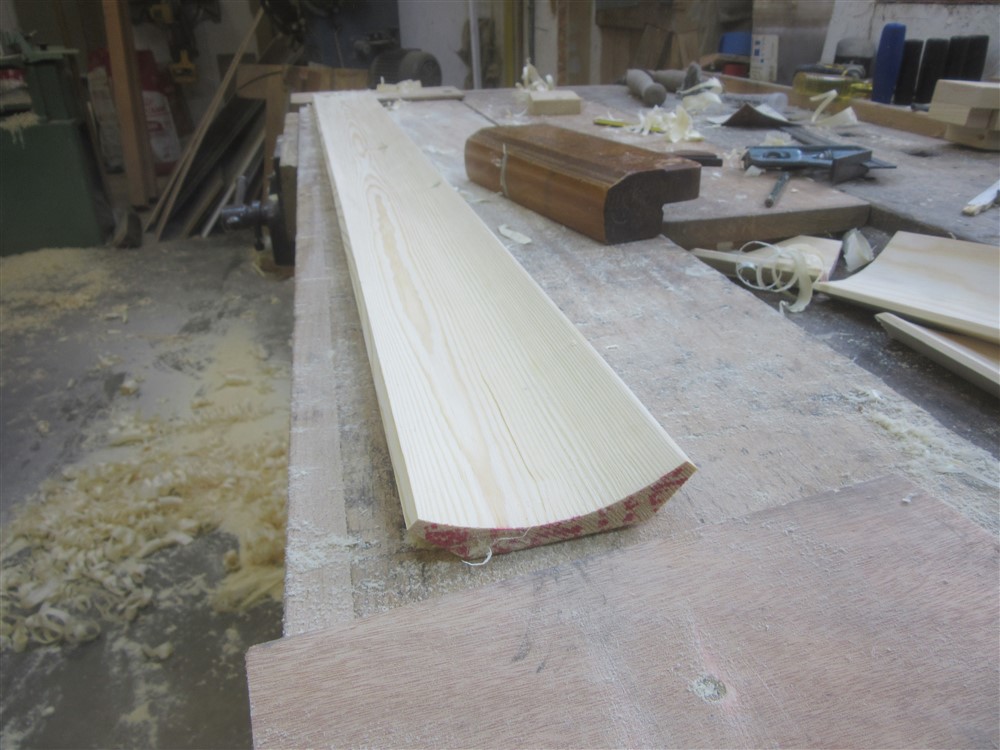
It's possibly also worth repeating that Mike enjoys the processes of working wood, not just getting the quickest result. The method he chose is very satisfying to do, quiet, safe and dust free. Also, an old round plane only costs £5 to£10, or on his case, nothing. :)
 
It's possibly also worth repeating that Mike enjoys the processes of working wood, not just getting the quickest result. The method he chose is very satisfying to do, quiet, safe and dust free. Also, an old round plane only costs £5 to£10, or on his case, nothing. :)
Sorry, I thought the idea of posting to such a thread was to encourage and educate others. Offering alternative methods is part of that. Someone else reading the thread may find the range of methods of making coving useful.
 
Sorry, I thought the idea of posting to such a thread was to encourage and educate others. Offering alternative methods is part of that. Someone else reading the thread may find the range of methods of making coving useful.

You're absolutely dead right, and I'm quite happy that we discuss all "matters arising" from these sorts of threads. Don't misunderstand Andy, though, who was just reiterating what I've said about my motivations for working the way I do.
 
You're absolutely dead right, and I'm quite happy that we discuss all "matters arising" from these sorts of threads. Don't misunderstand Andy, though, who was just reiterating what I've said about my motivations for working the way I do.

Indeed. I didn't say anything about not discussing other methods or argue against them, I just added some reasons for choosing the method Mike chose.
 
I used the saw method to create 100ft of moulded laminates when I made a curved drinks cabinet with curved fluted sides. I dont like leaving a blade unguarded so I put a wooden guard over the blade so the wood being moulded was in a tunnel
For handplanes, I think David Charlesworth did an article on converting a wooden jack plane so you can have any curve you like. The only thing is you have to refit the mouth as it opens up[
Ian
 
Sorry I've not been back to this thread for a while. I've had lots of work to do, and not enough workshop time, nor time to post a write-up here. Anyway where were we? Ah yes......coving......

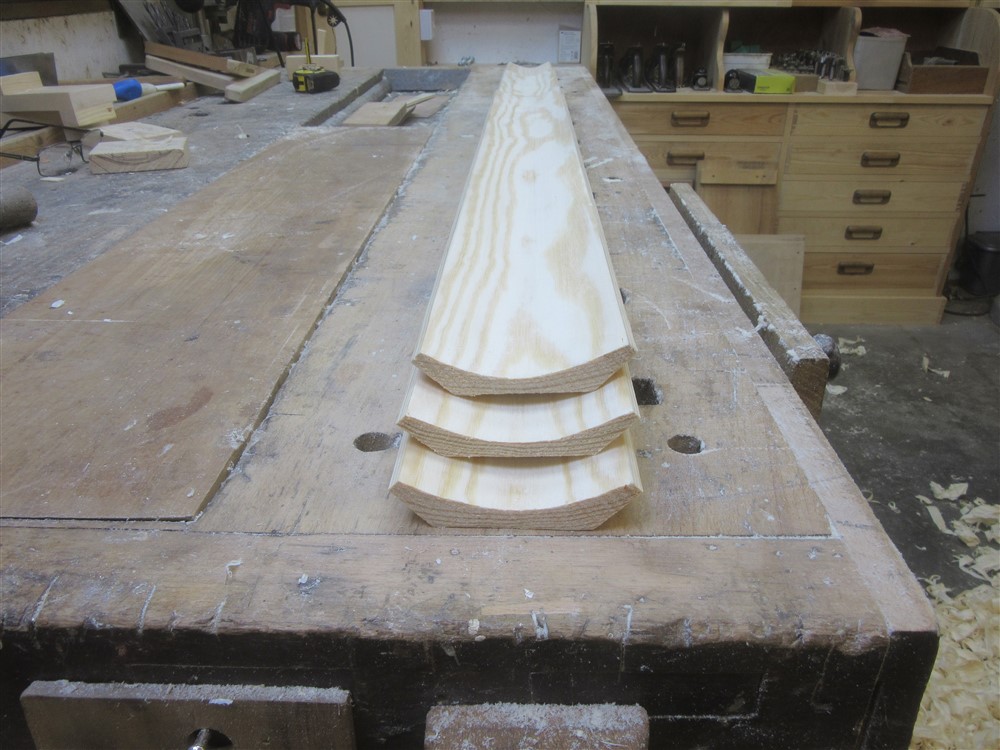
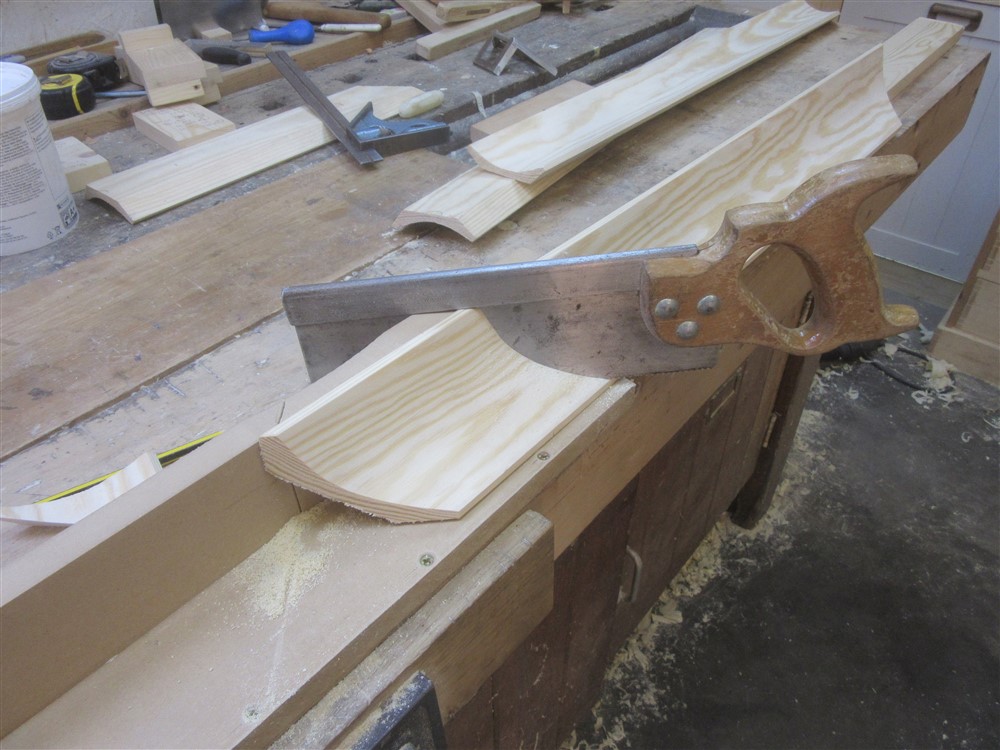
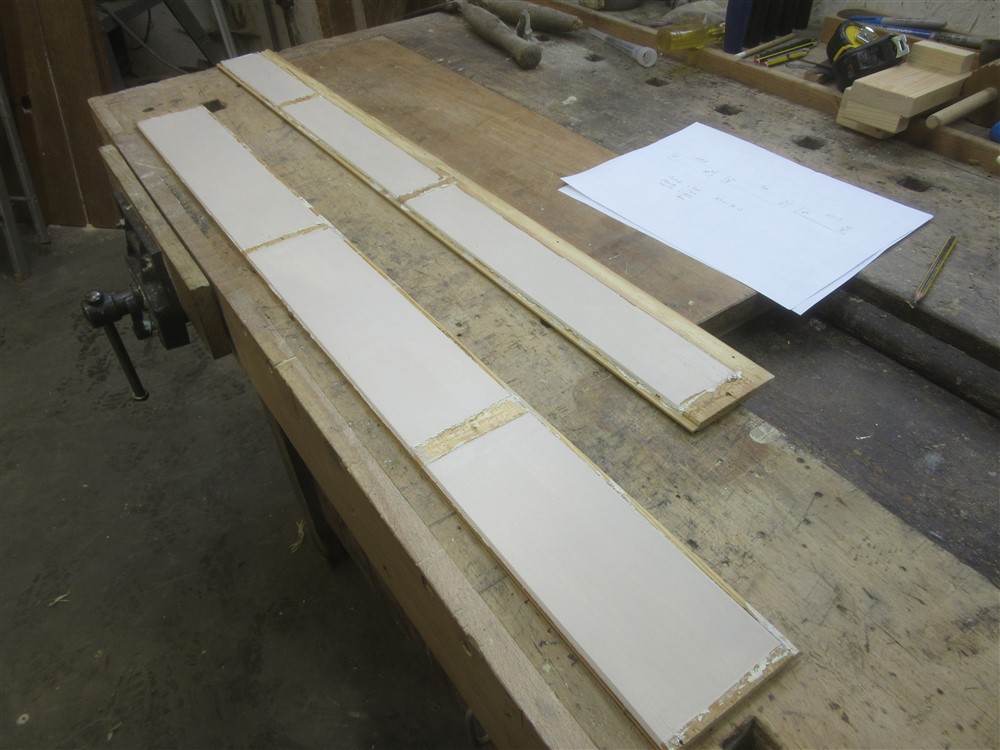
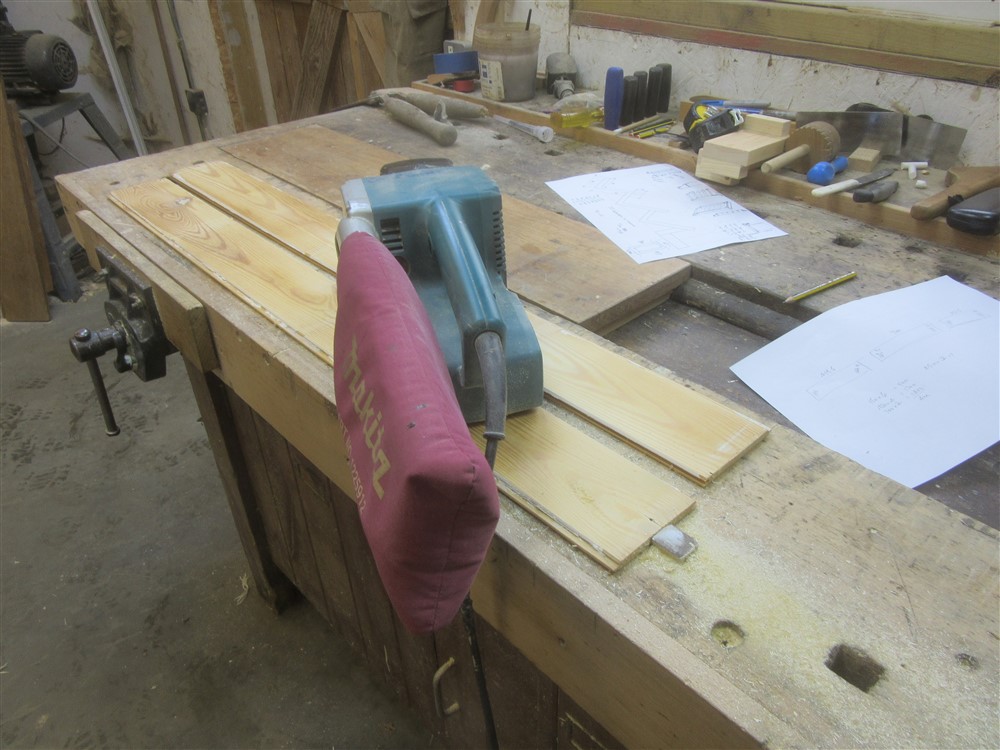
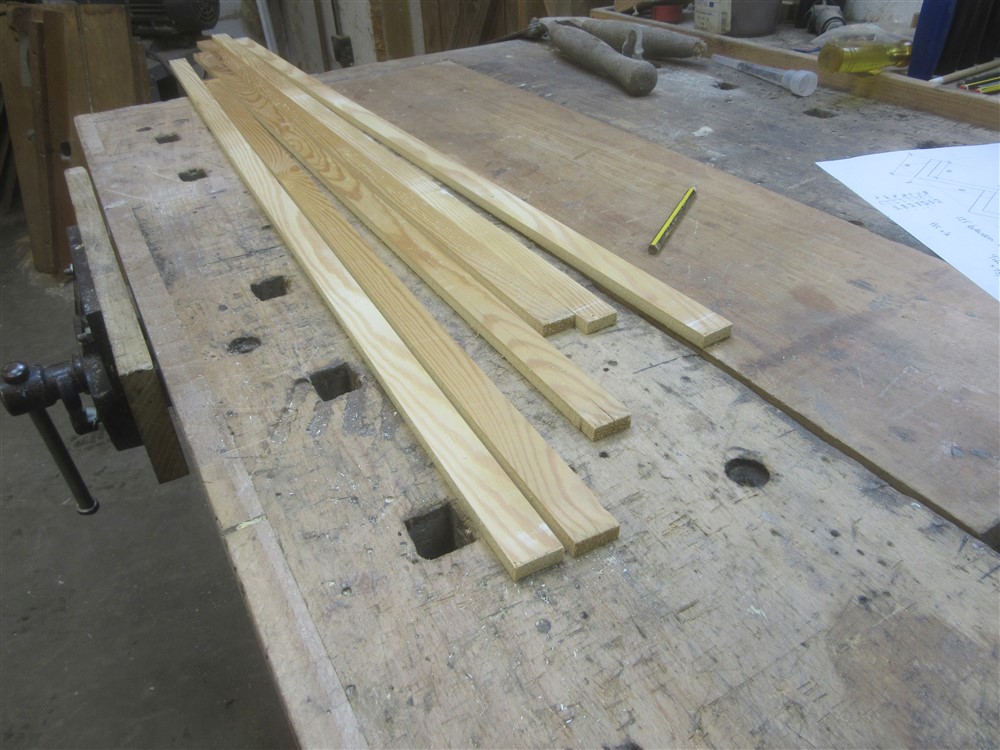
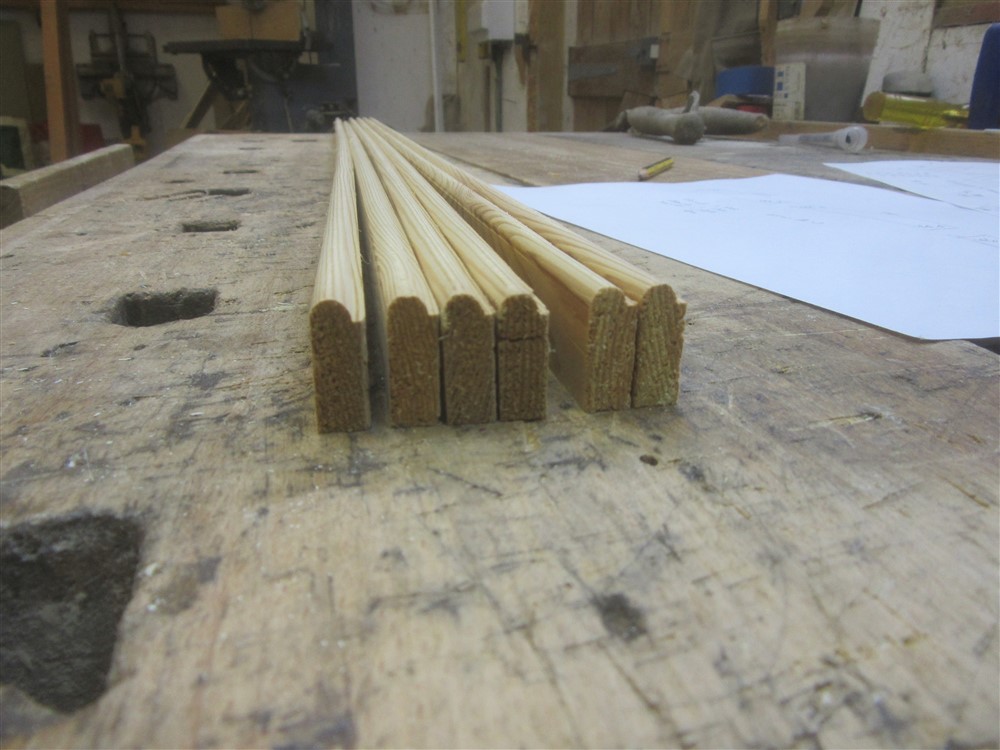
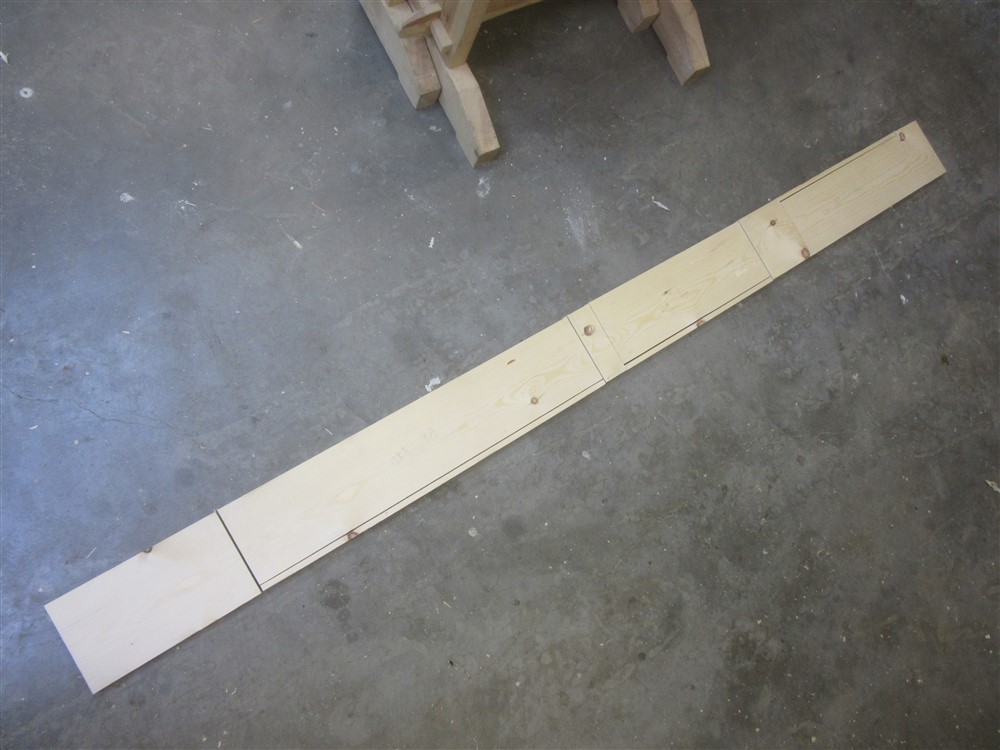
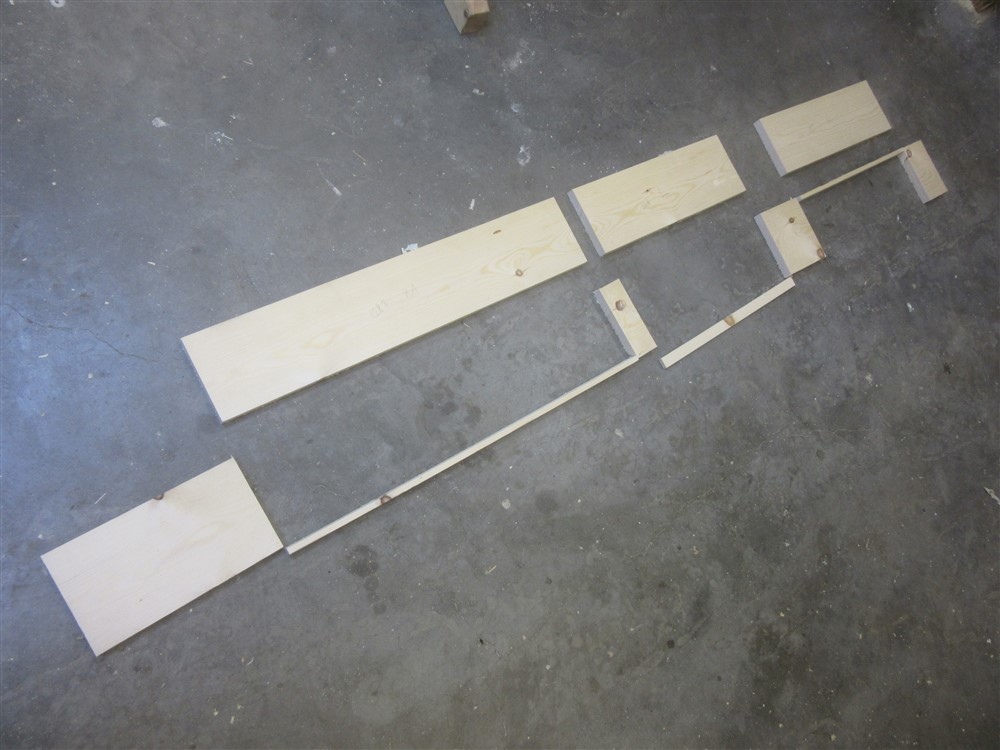
I'd made these:

4gKOyqE.jpg


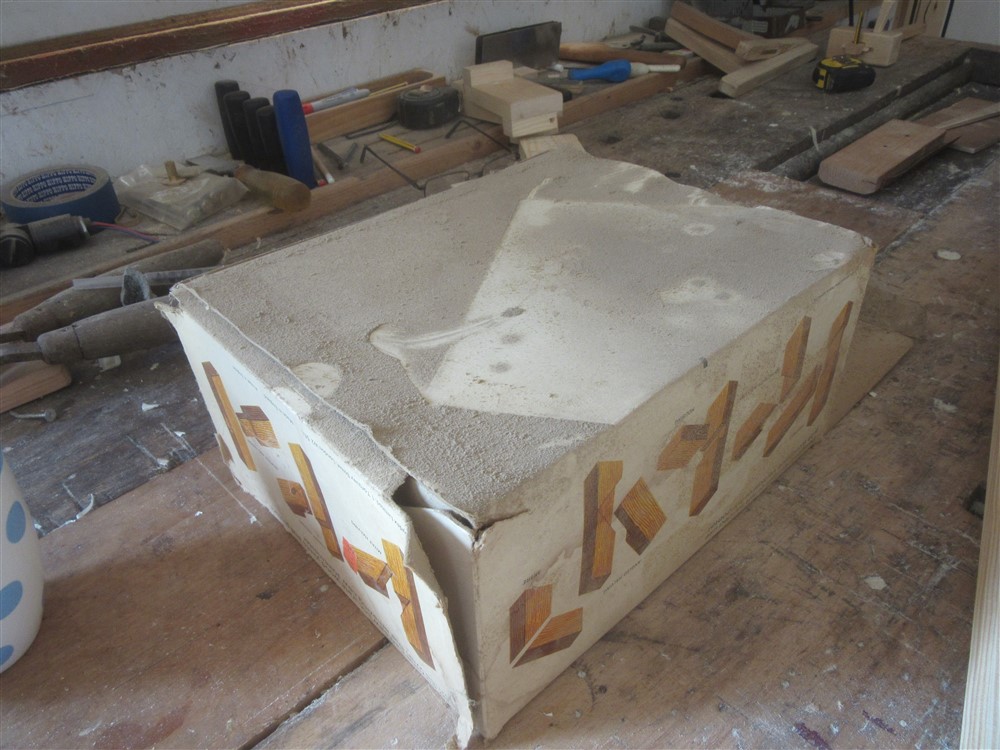
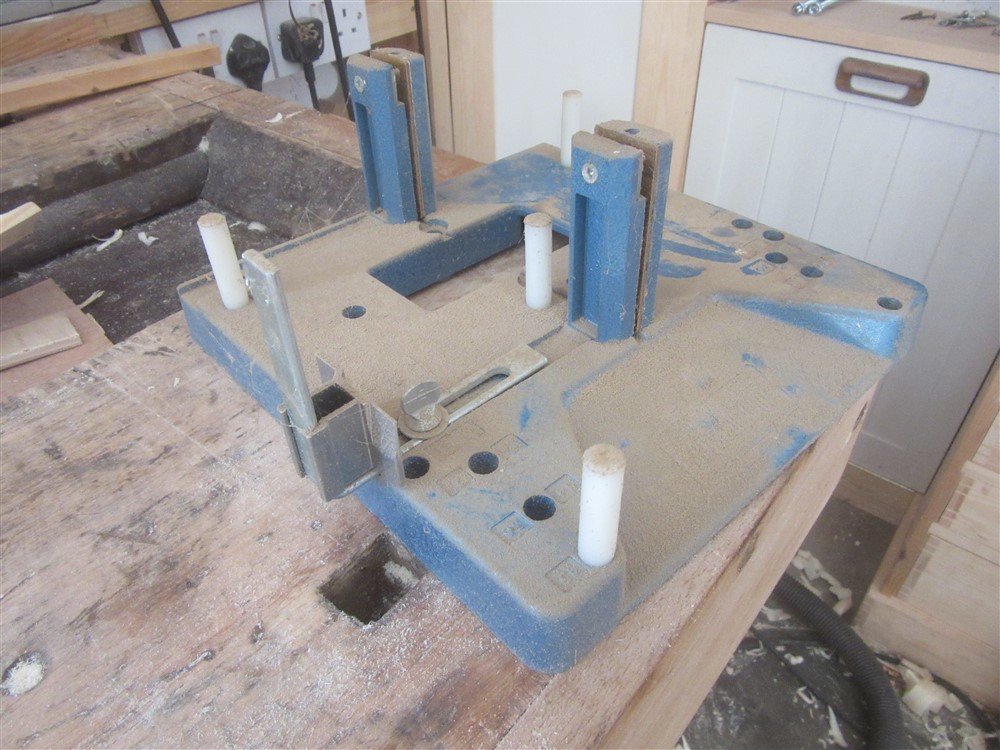
I'd anticipated using this thing for doing the mitres, which I've never yet used:

8Fsgm5t.jpg


95GwAko.jpg


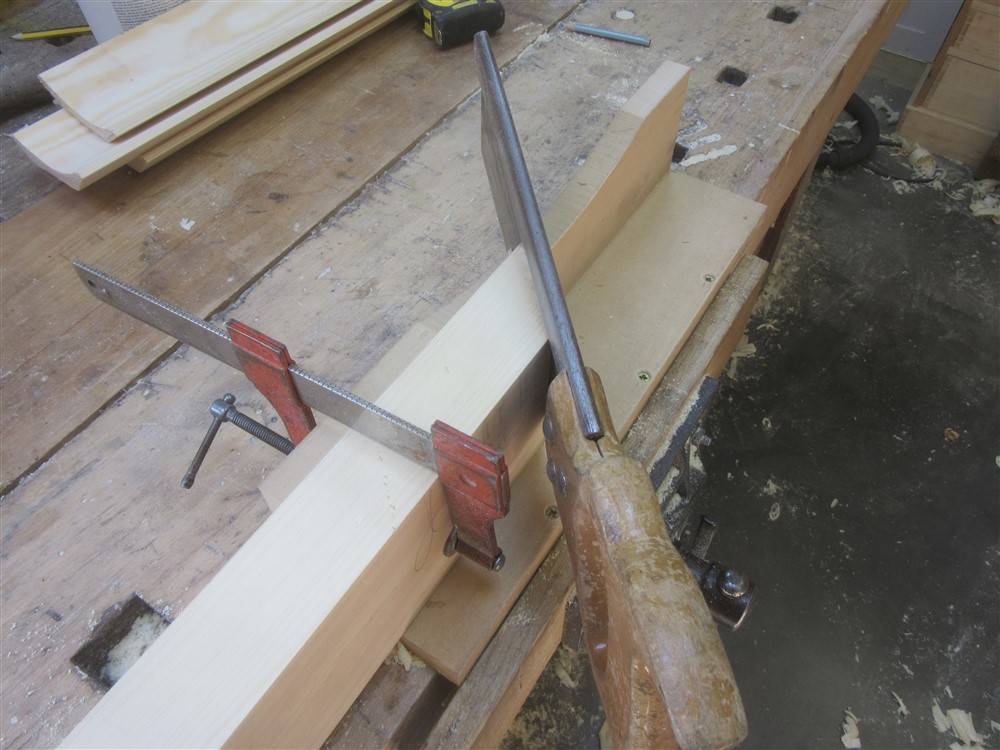
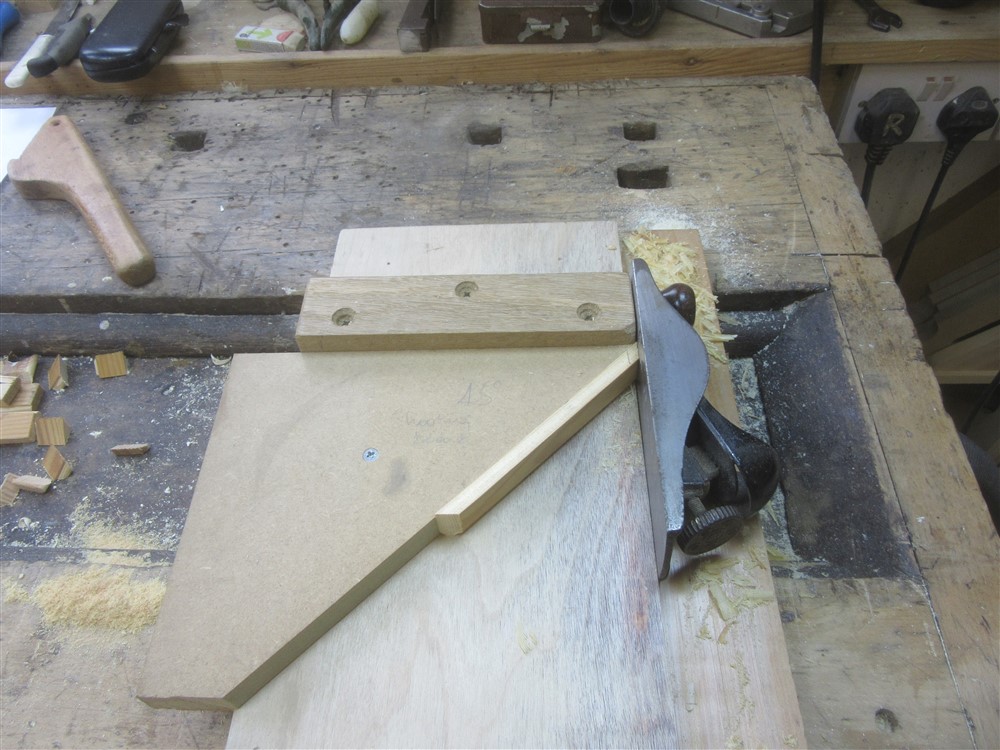
Unfortunately, the maximum size it fits is about half an inch smaller than the coving I'd made. Right, so I needed to make my own mitre guide:

0OwtE4K.jpg


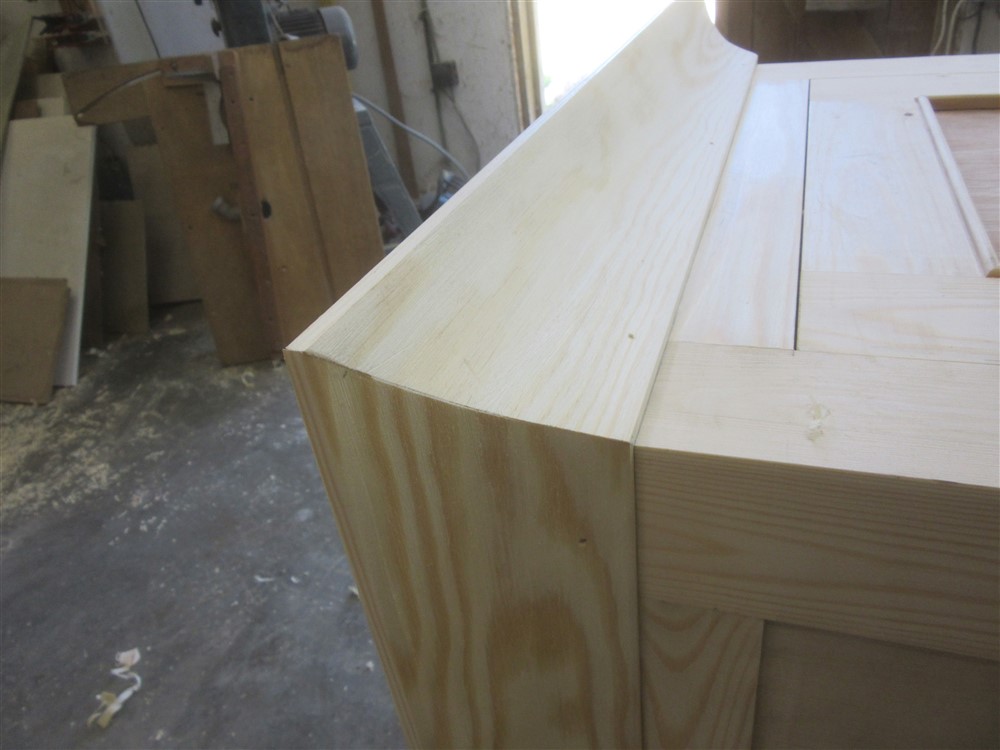
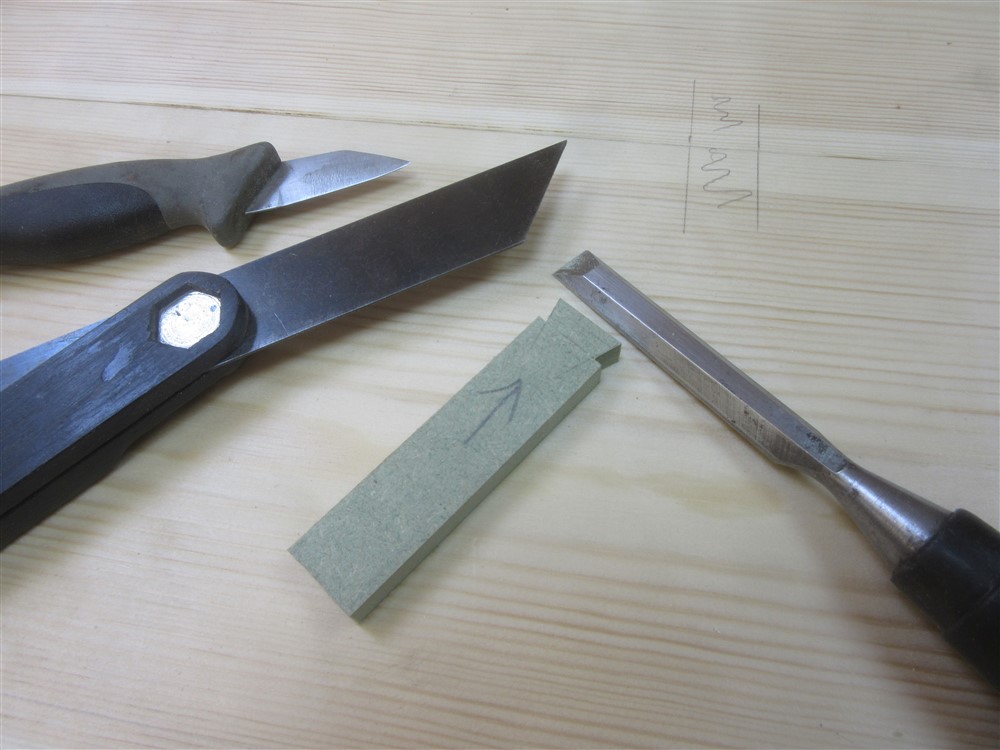
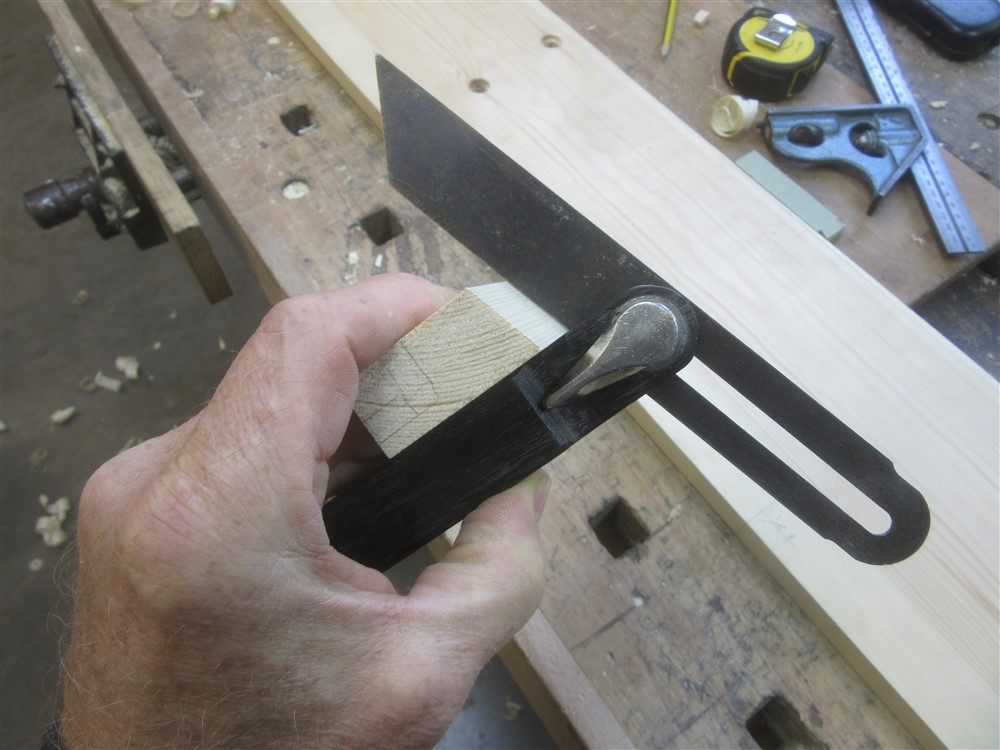
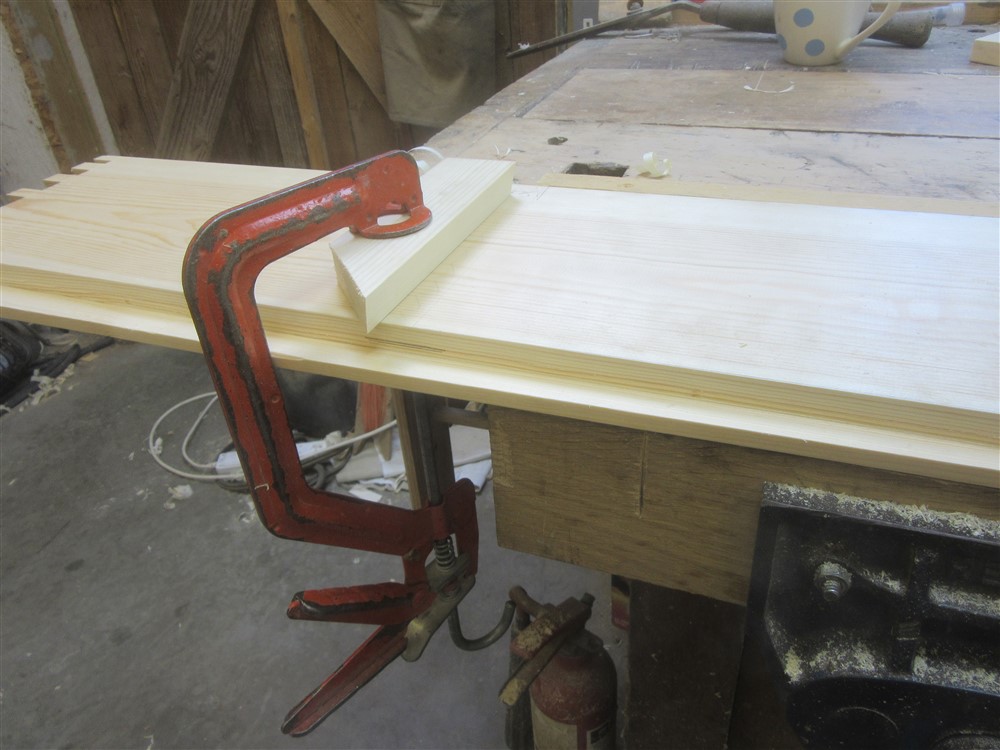
That involved cutting an accurate 45 degree piece first, but if I can remember I've got it, that will make a useful chisel guide for mitred dovetailing. I then just cut the mitres in the orthodox way:

I4BhVwz.jpg


bG8MPYL.jpg


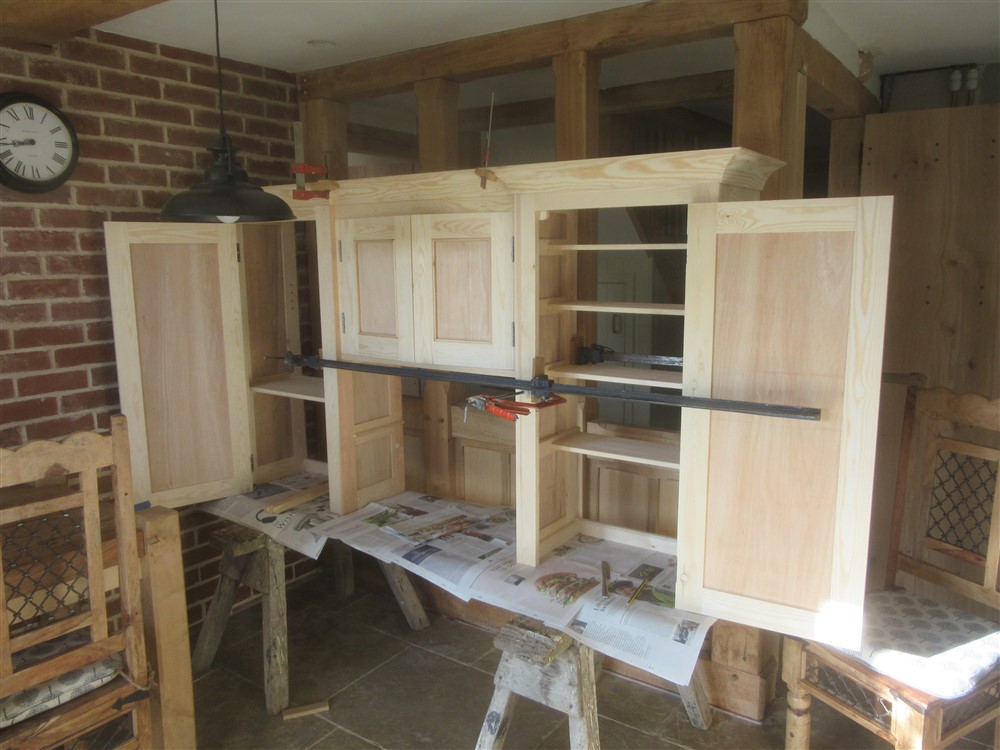
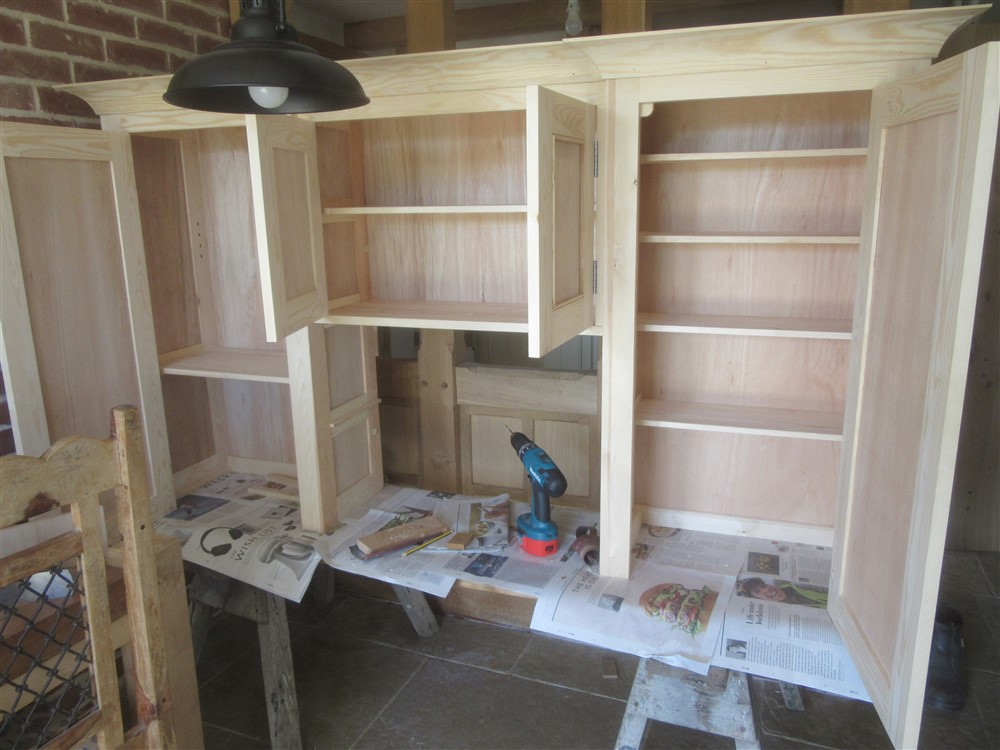
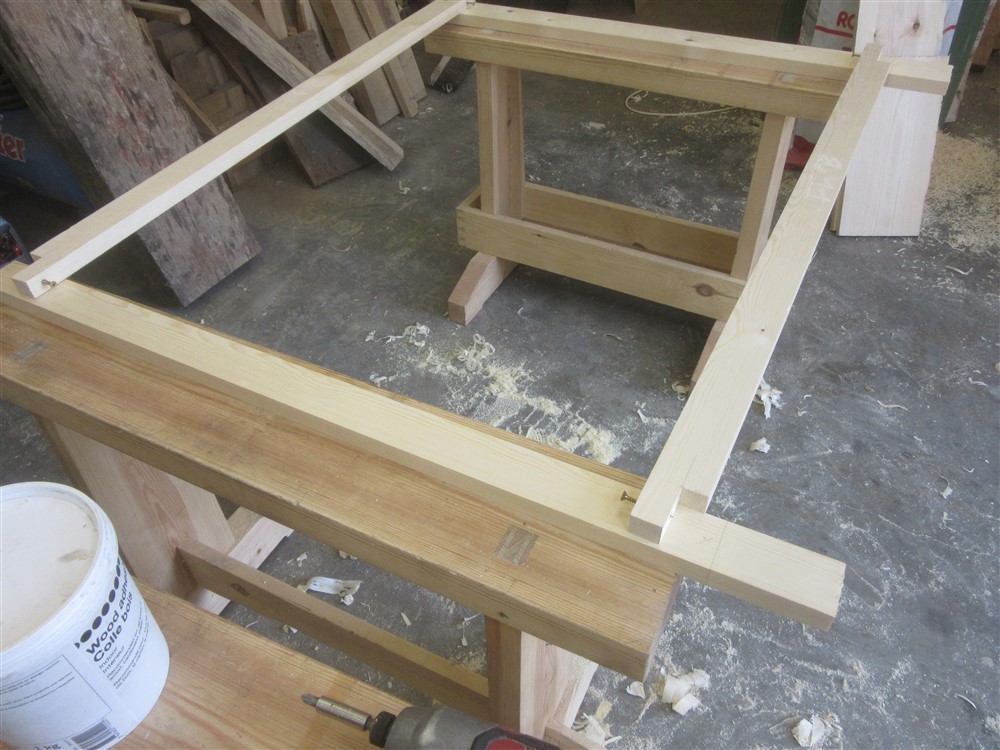
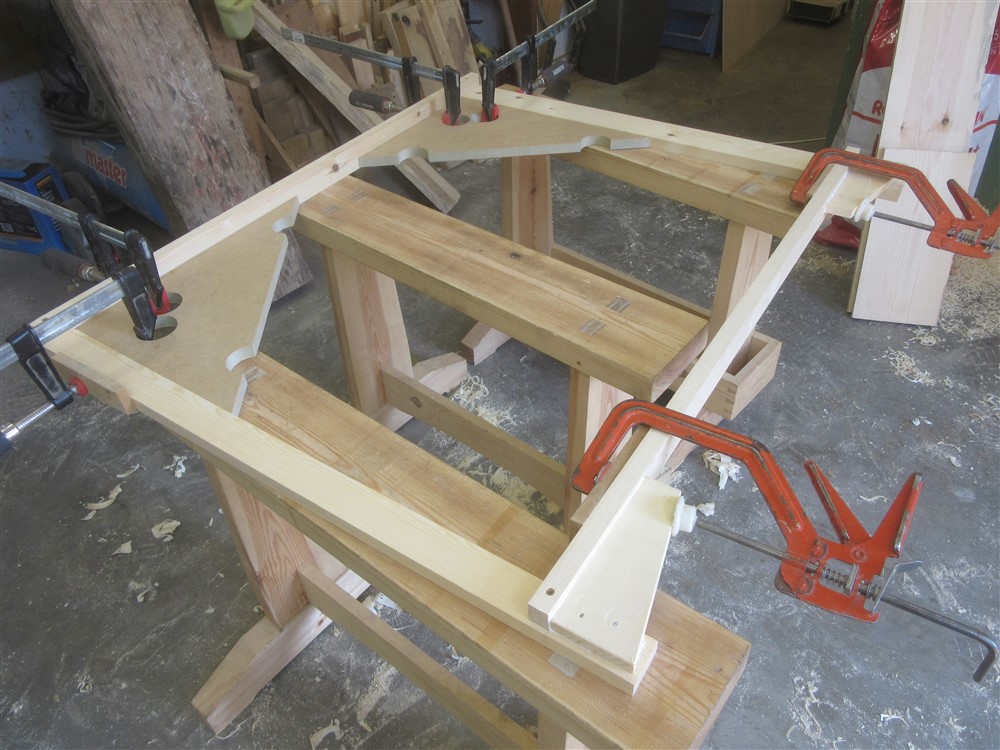
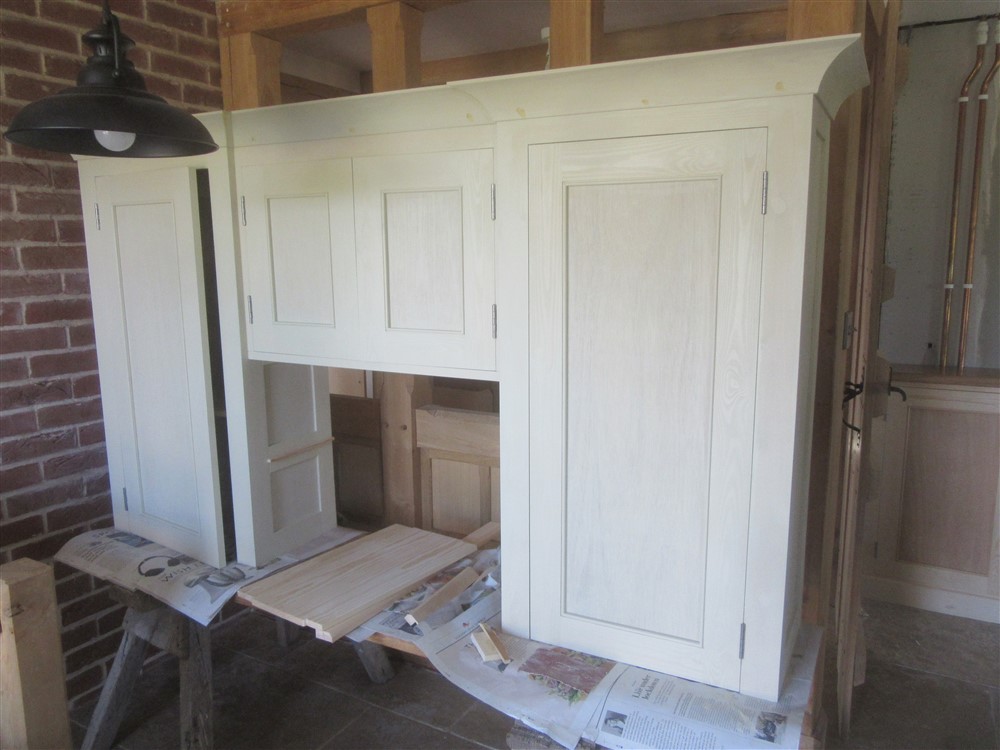
Time to take everything in, and glue it all together. I brought some horses in and put the oak worktop on top of them with some newspaper over it, then put everything together on top of that:

QXWaeyX.jpg


YgPUGfy.jpg


Note the little kick in the coving, where the middle cupboard is set back. That was something of a giggle to get right. The best one of the four I cut for the left hand infill piece had a crack running through it, so it broke in half.

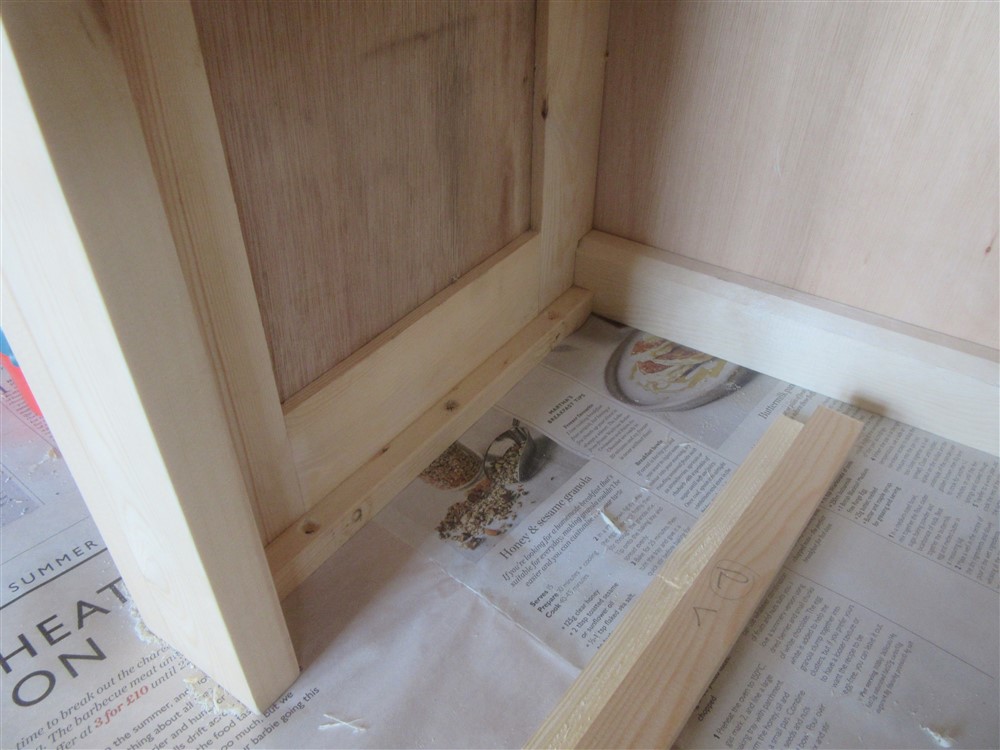
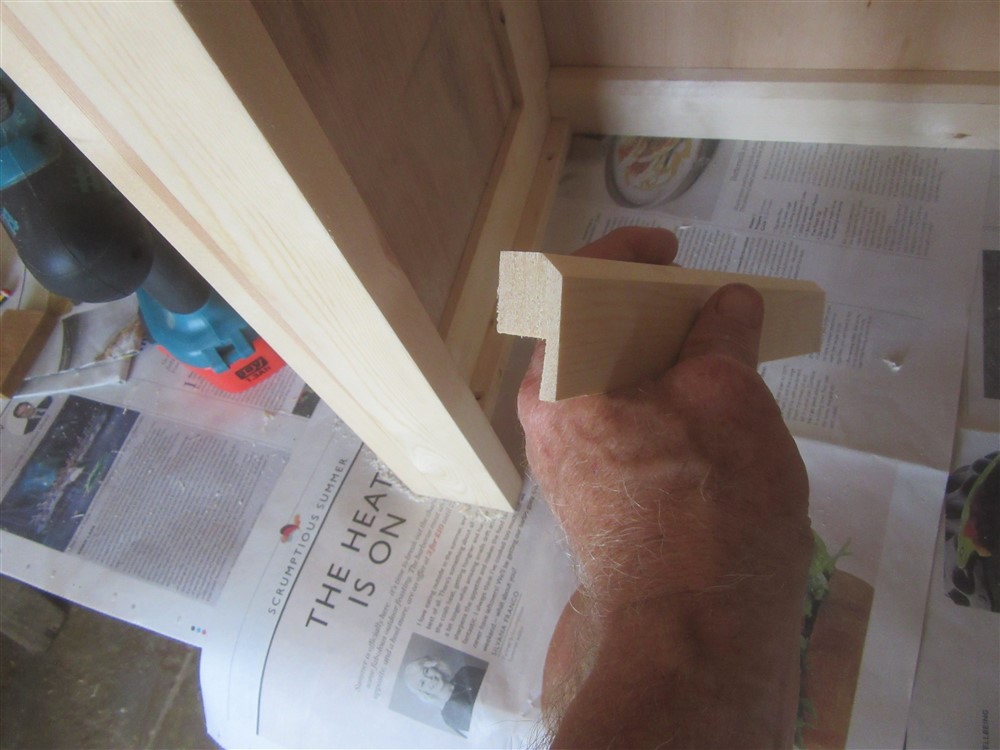
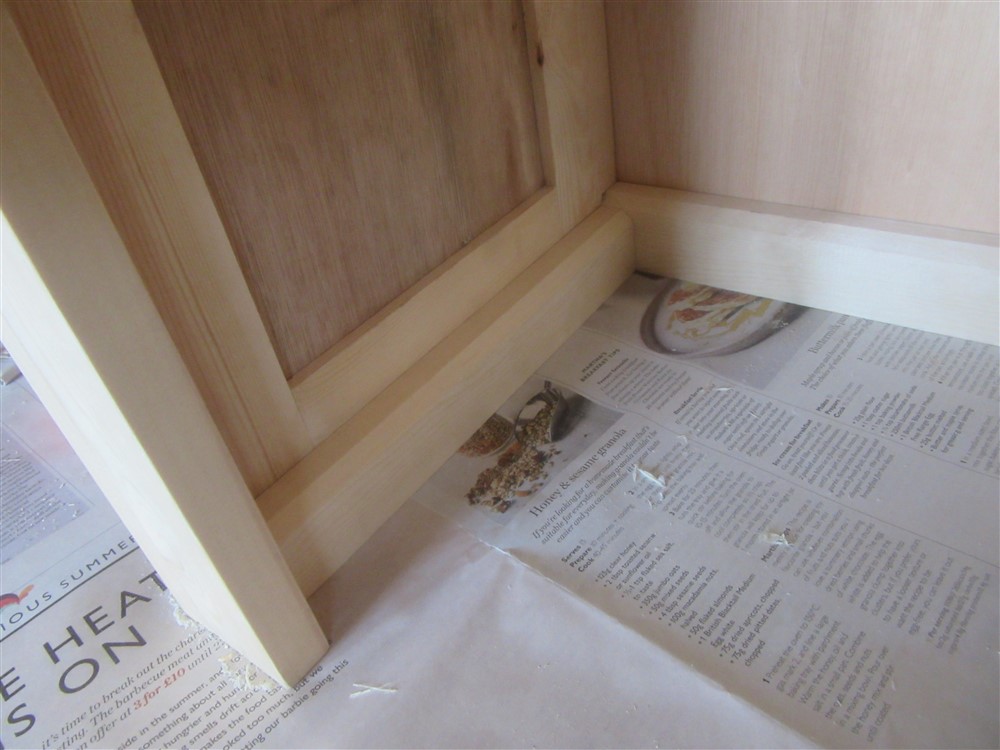
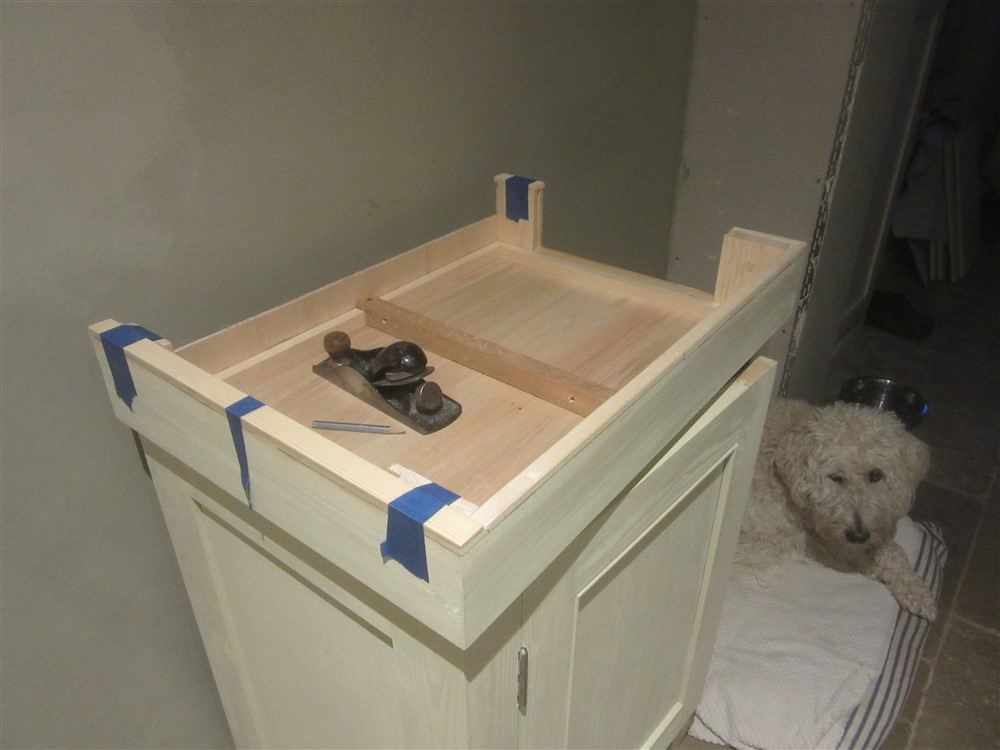
Here's my answer to the problem of fixing the top half of the dresser to the base unit worktop:

jnbl8iW.jpg


fxNKJYO.jpg


B3ciAnD.jpg


Yep, I'm just going to screw it in place and slip a cover piece over the batten.

-

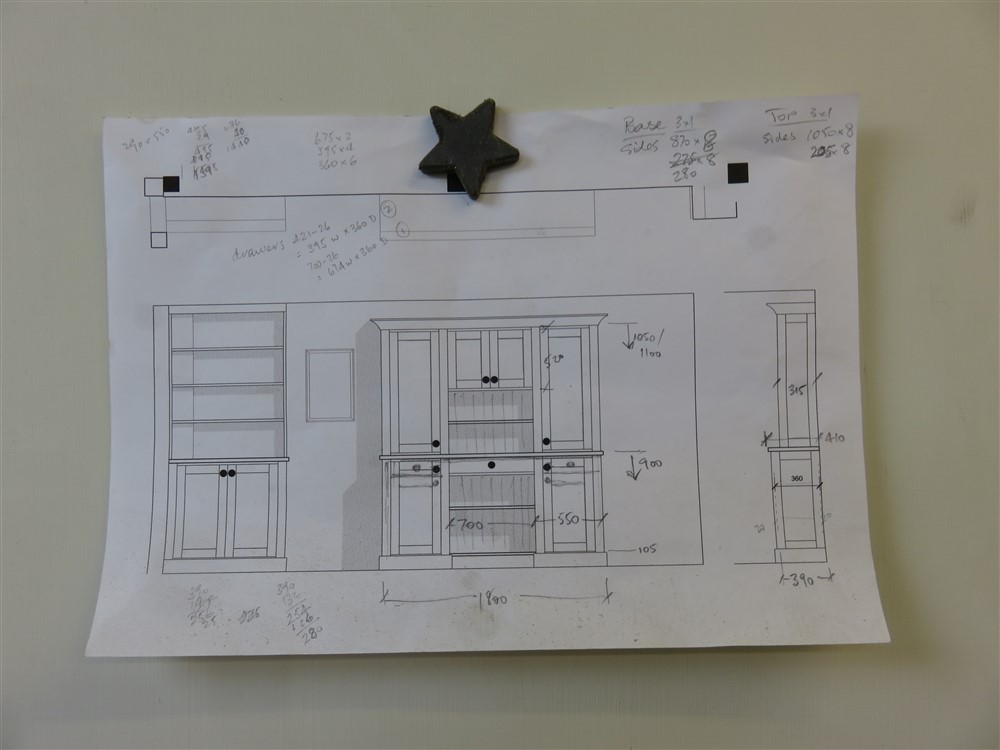
Remember this drawing?

Ffmz6BA.jpg


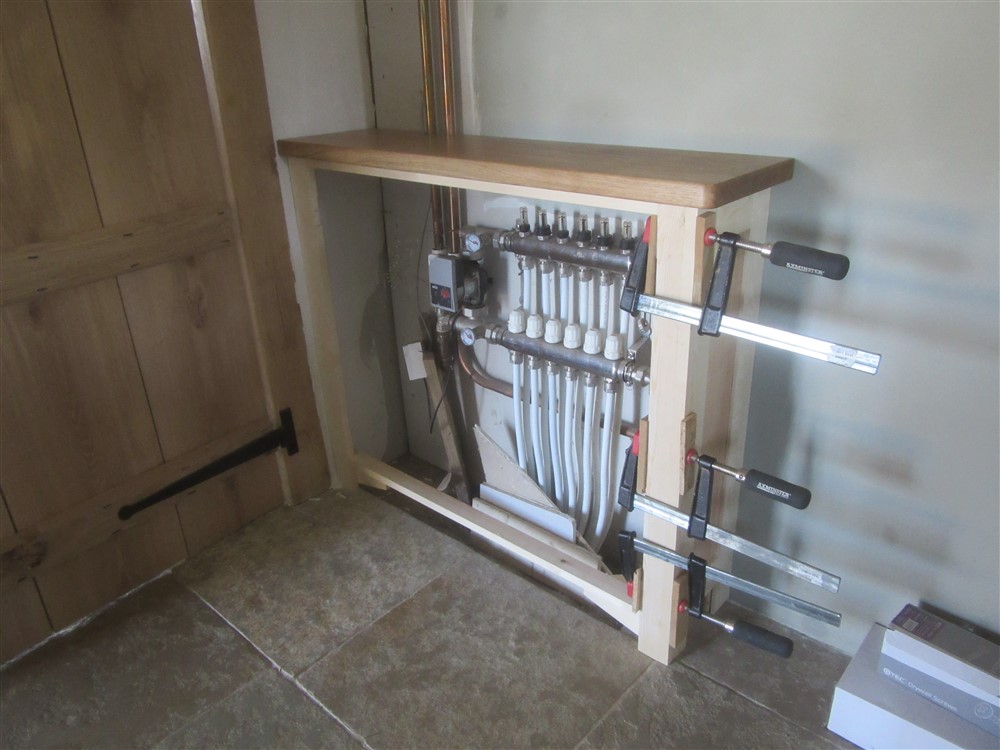
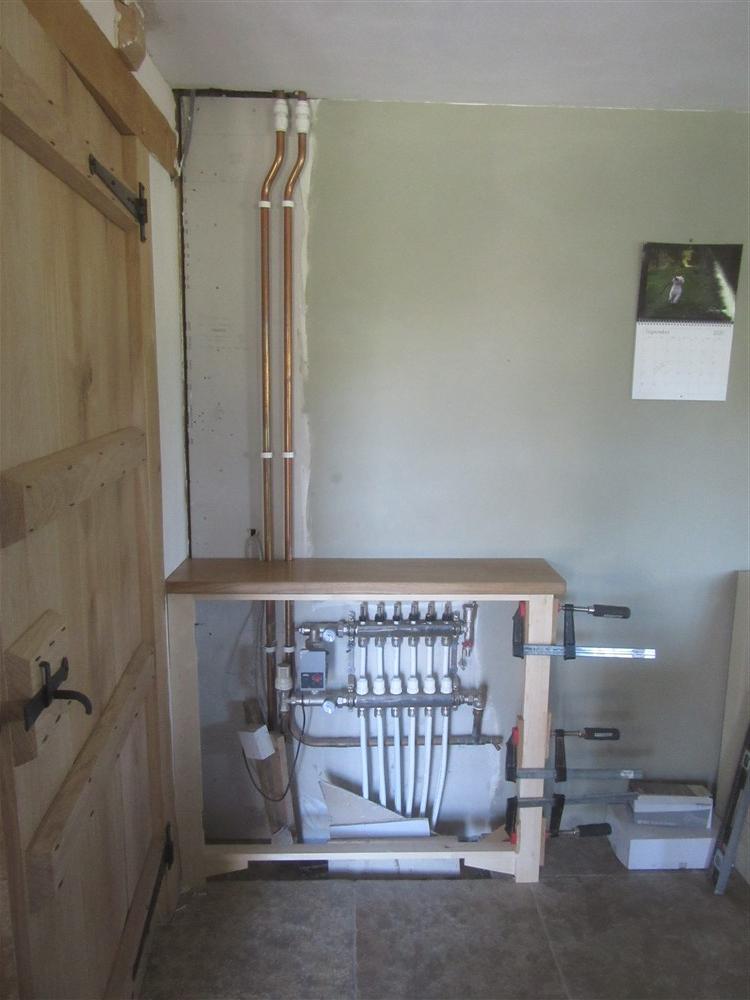
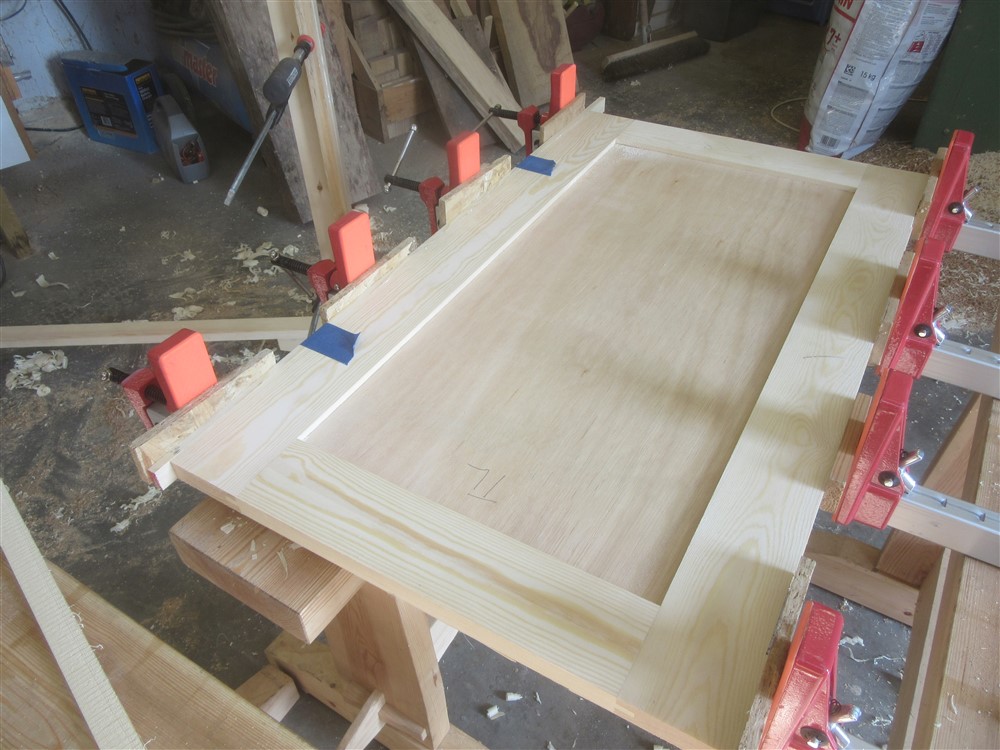
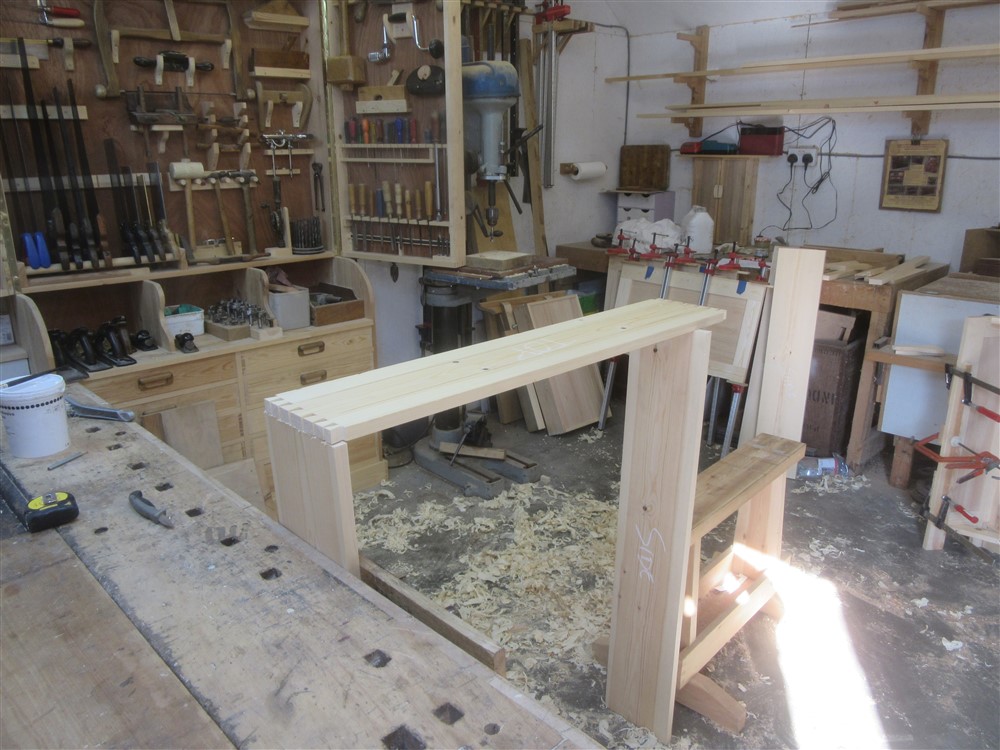
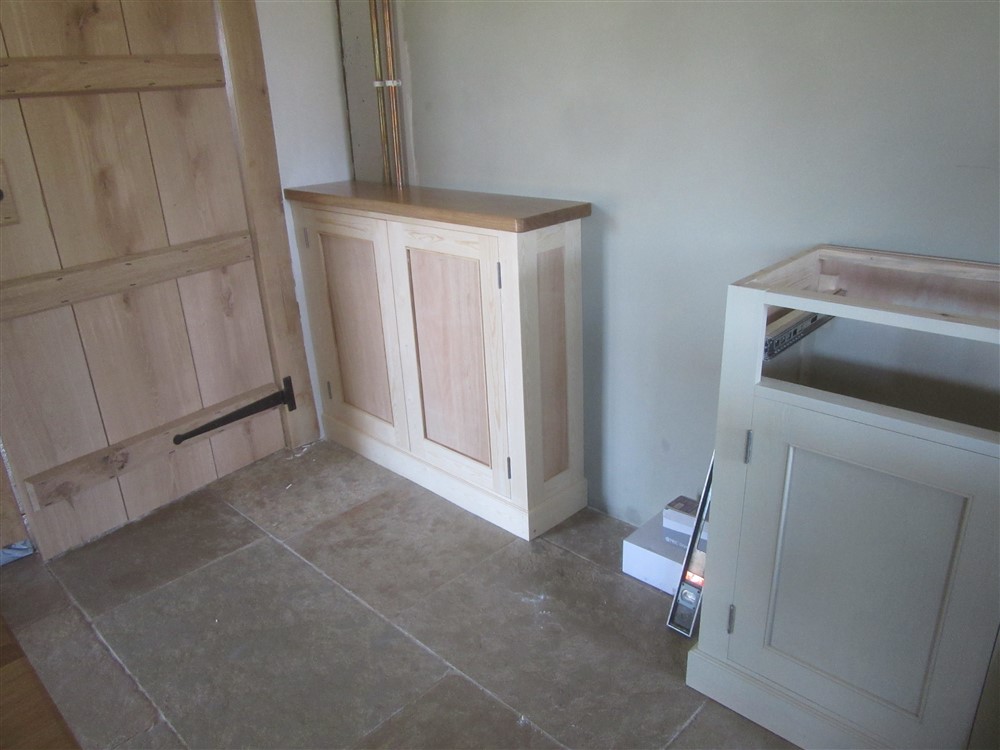
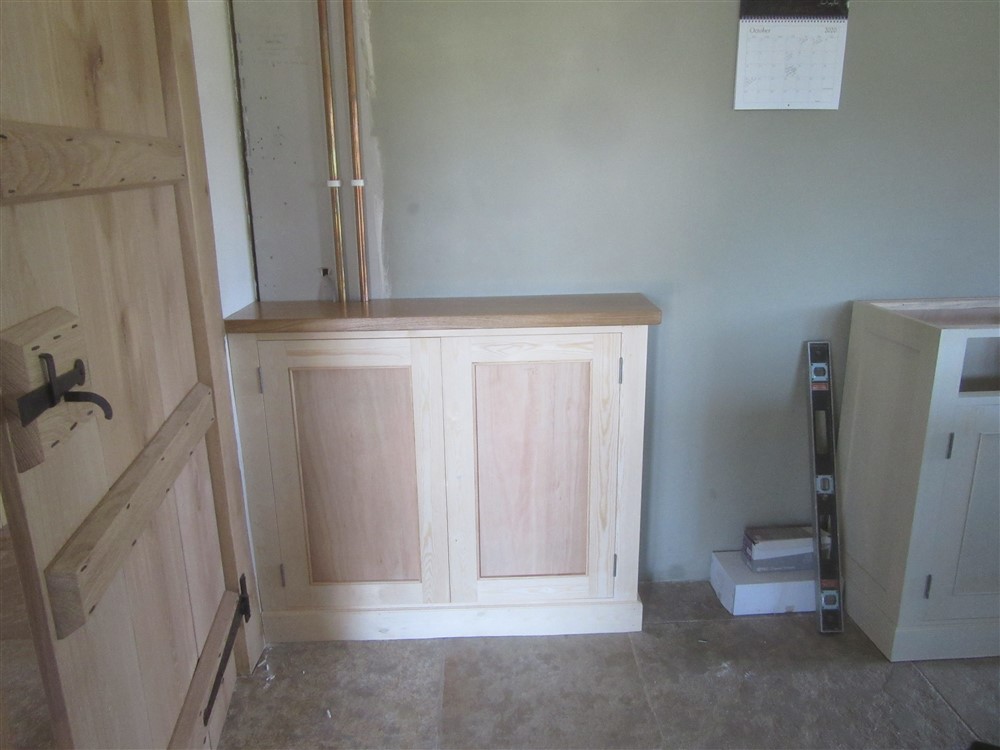
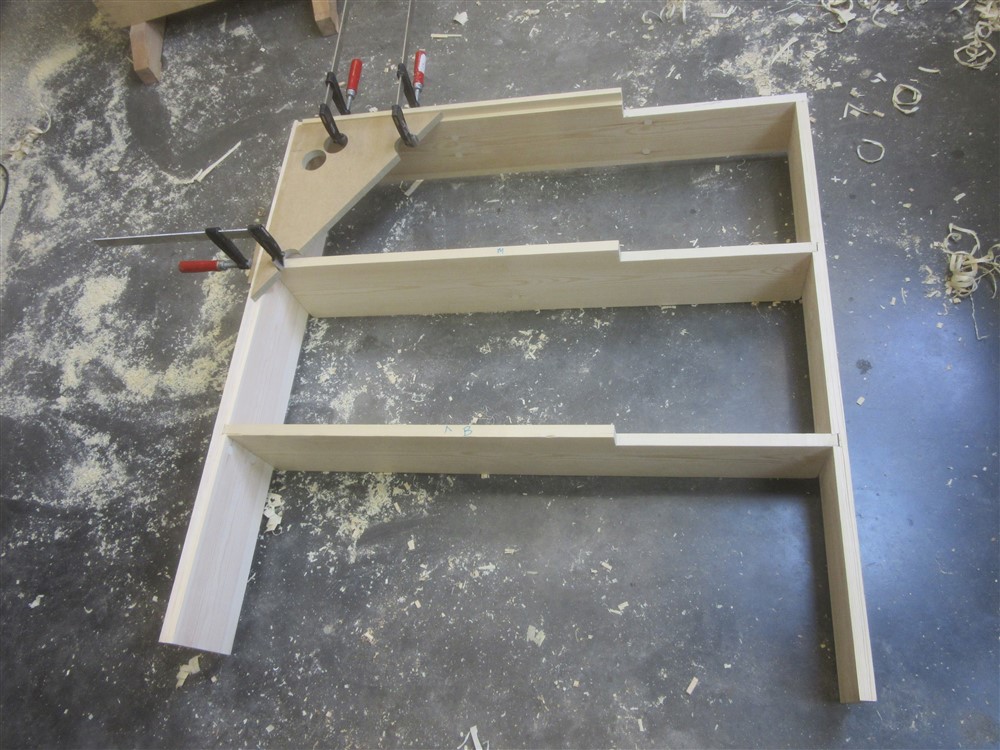
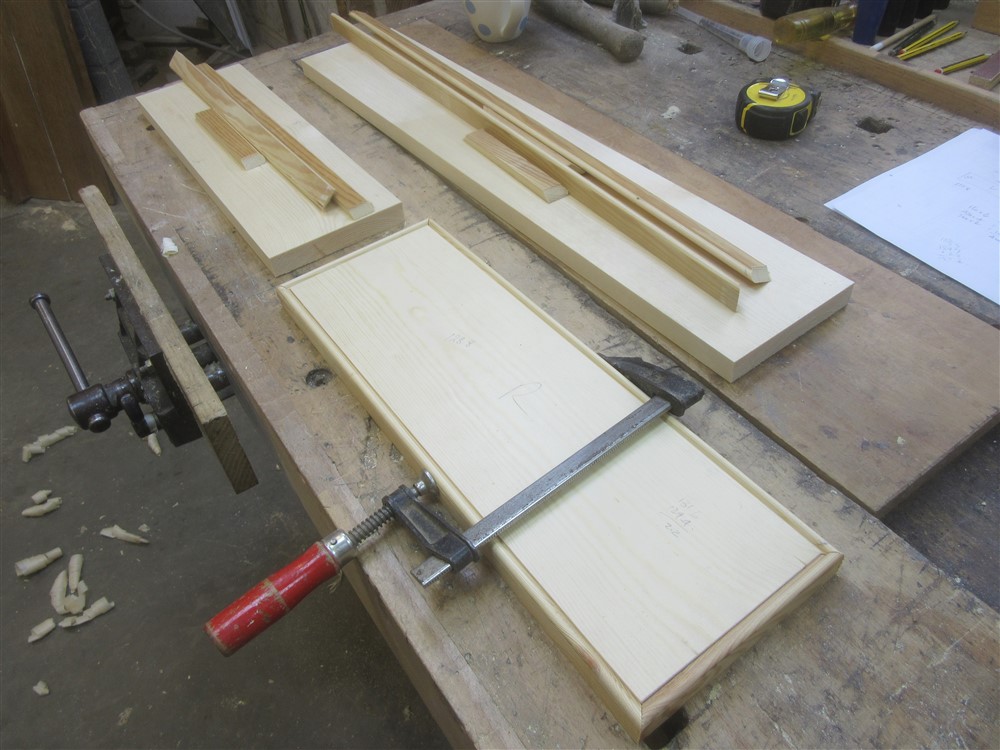
Well, there's a second piece of furniture in there, on the left. It's job is to hide the underfloor heating manifold and the flow and return pipes. Whilst my wife started the painting of the dresser I thought I may as well carry on and build that thing, as I had all the wood. I started with a simple side panel, and glued it up:

diJ8dCq.jpg


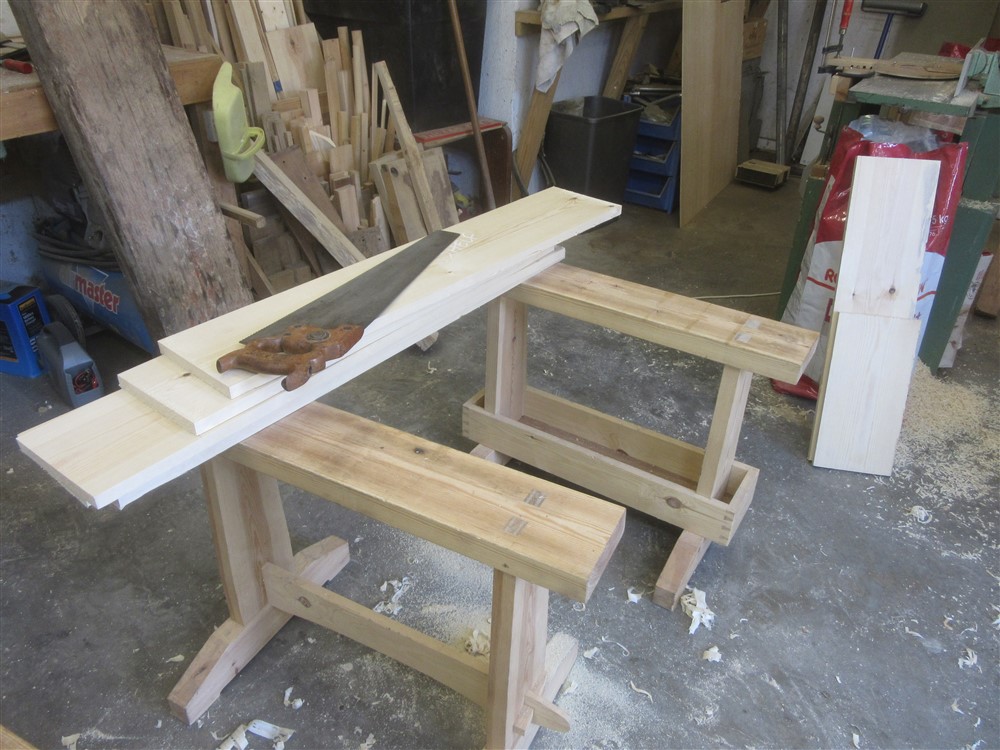
I also sliced up the wood for the shelves, just to get it out of the way:

akl39tZ.jpg


YRY2iqR.jpg


I had also started on the face frame:

QEpcDD3.jpg


3e7Sddq.jpg


eJvQENR.jpg


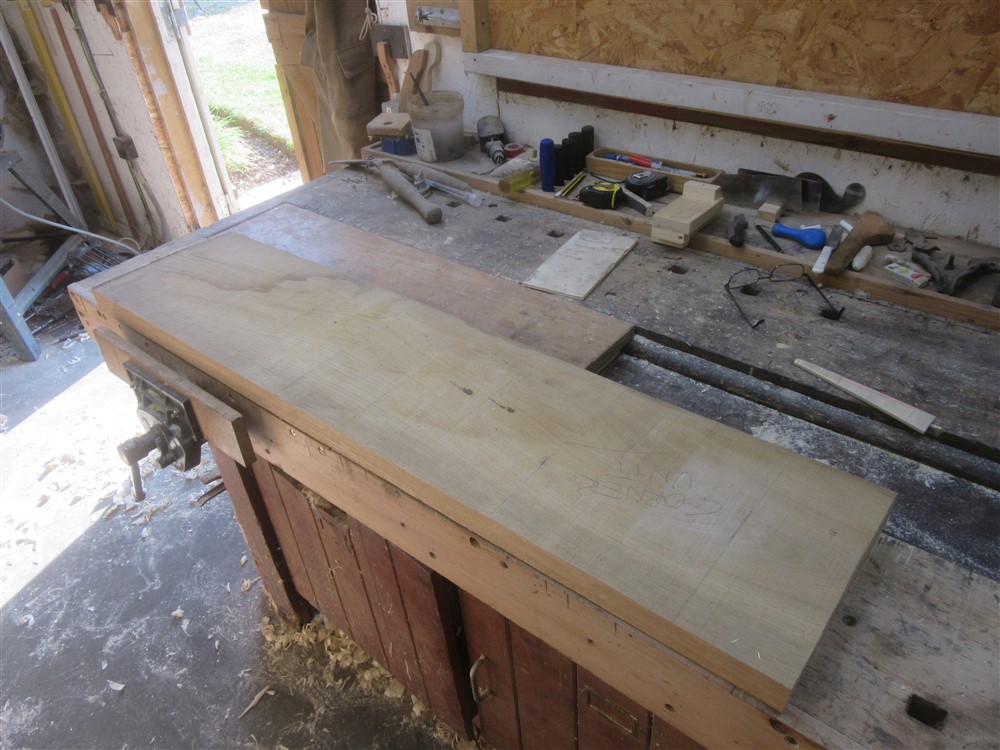
Whilst that was in clamps, I grabbed the piece of oak I'd set aside for the worktop:

0rGuL5Q.jpg


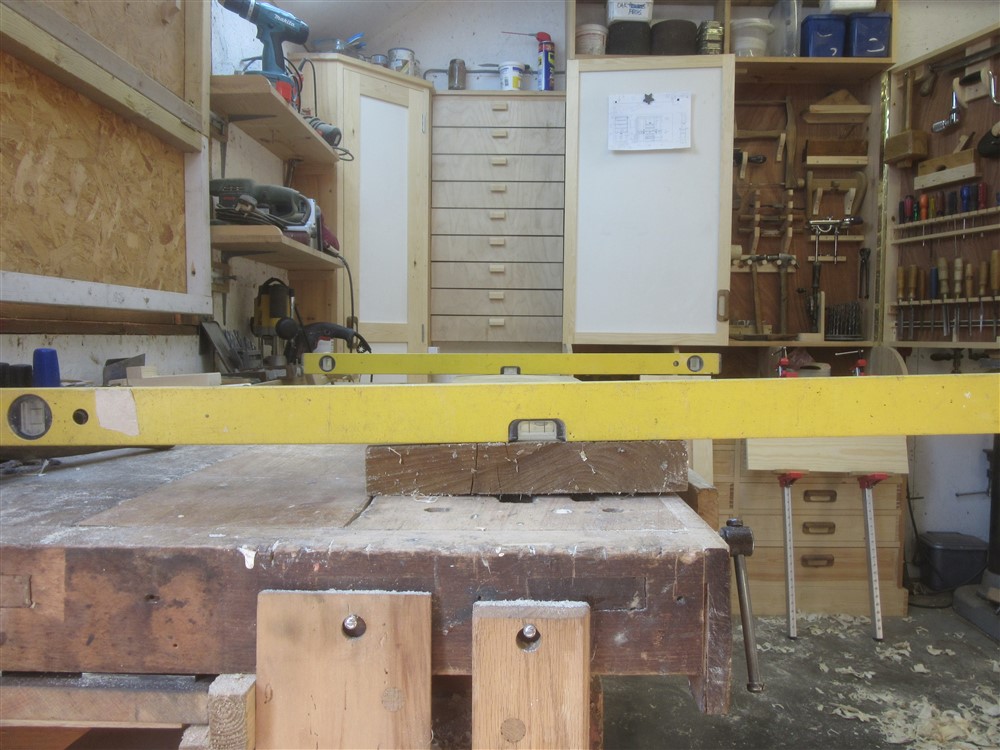
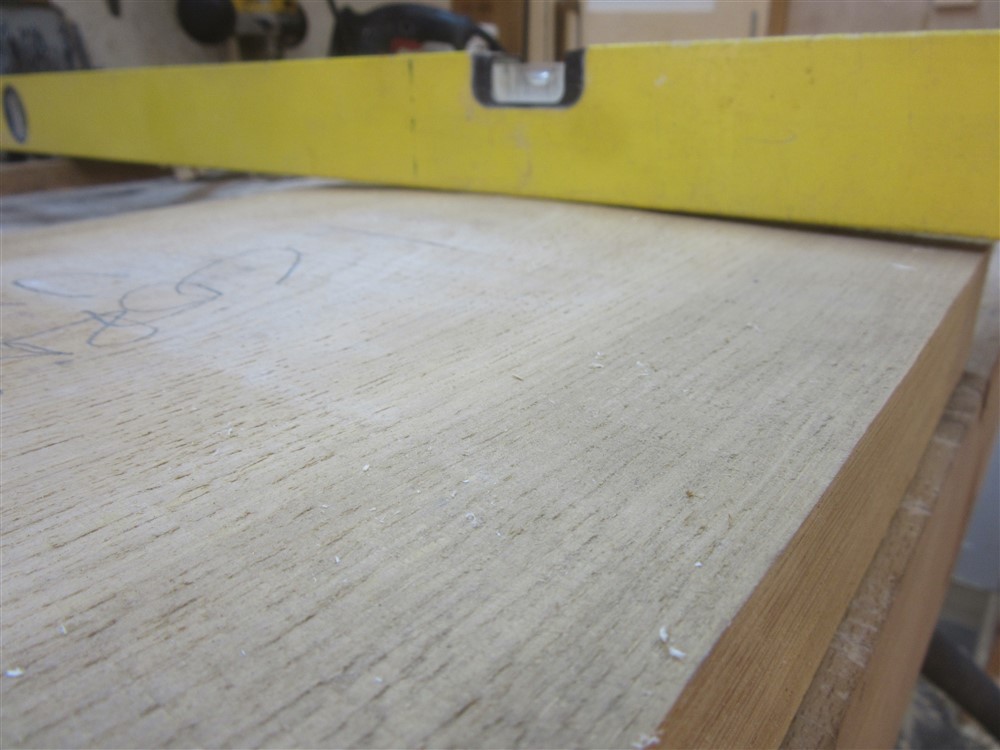
Not only was it in wind:

P3Ym1jq.jpg


......but it was also badly cupped:

nHkkmKq.jpg


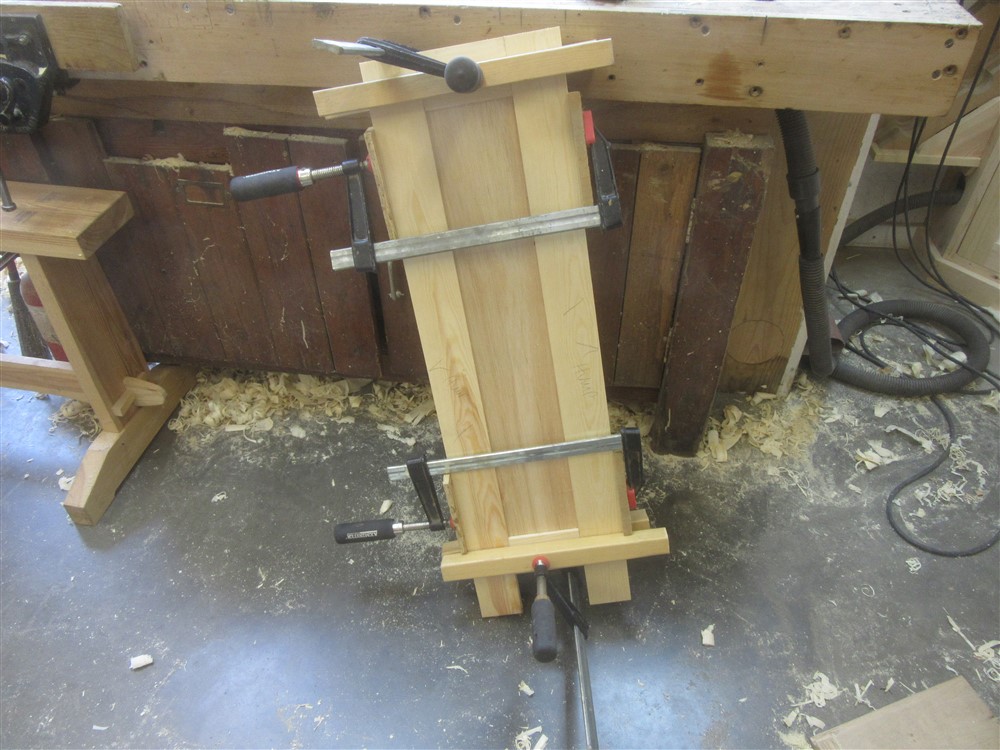
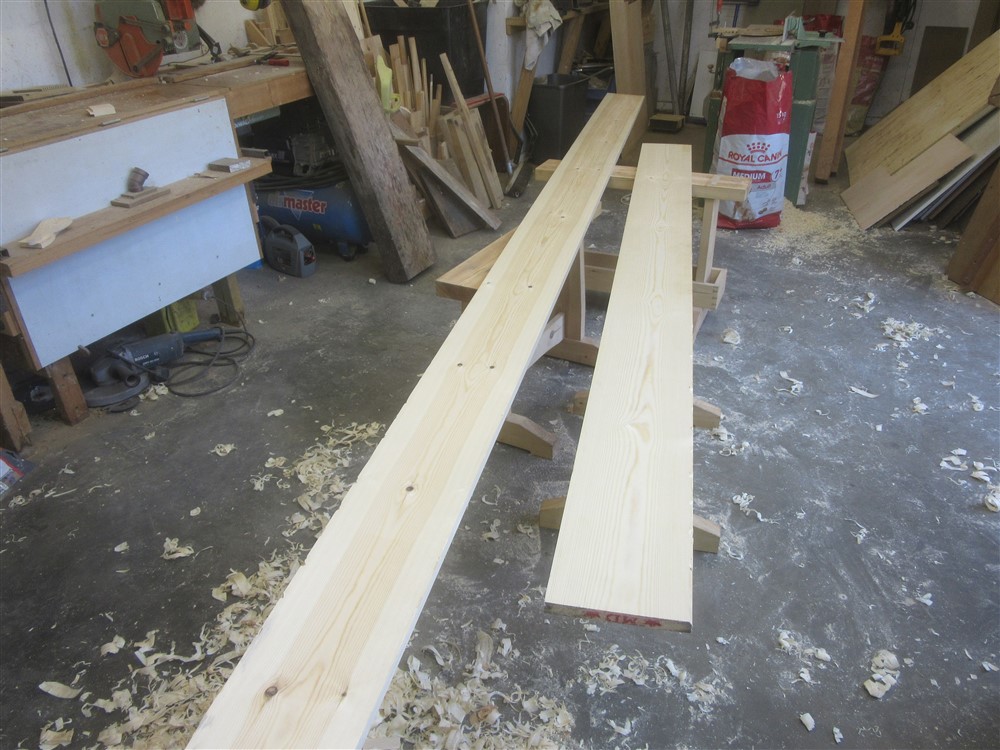
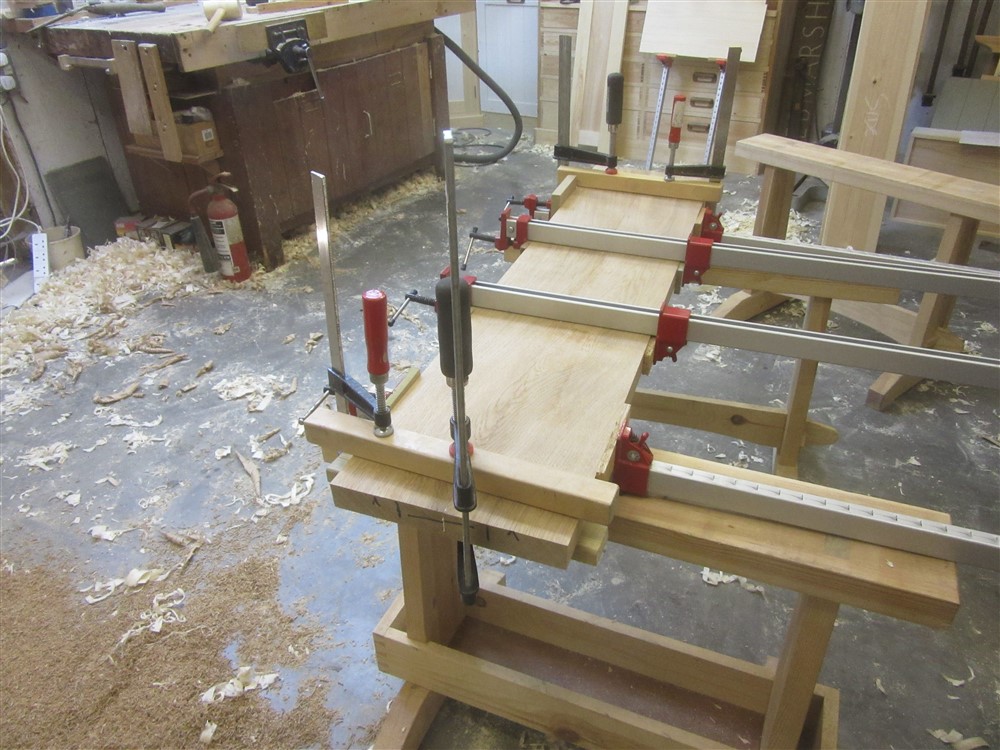
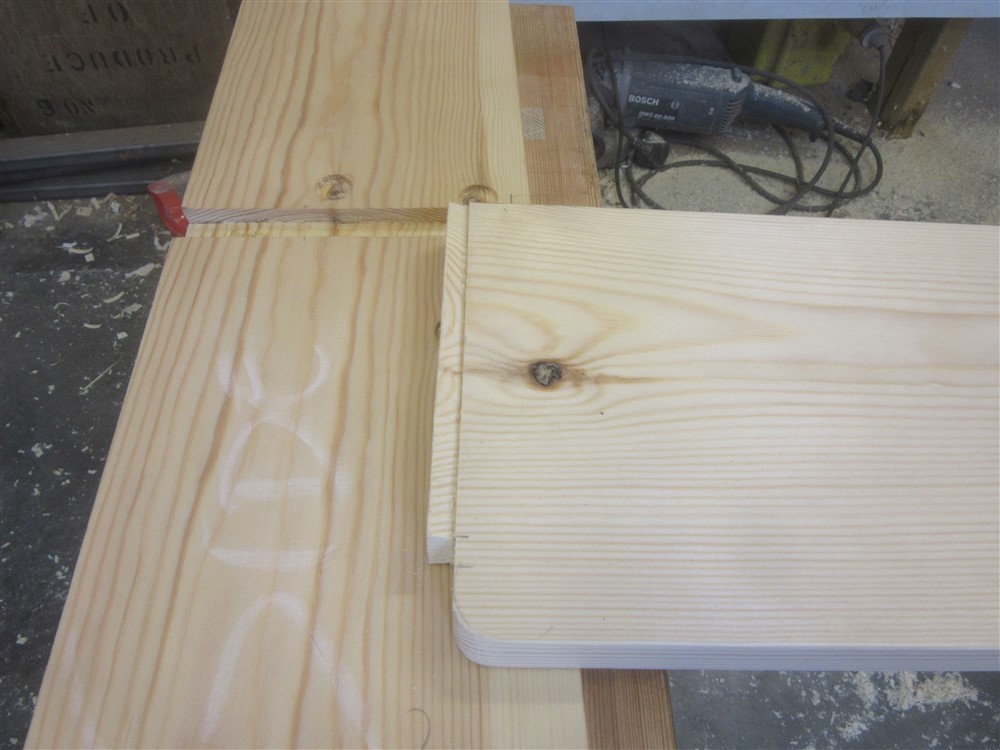
So I ripped it lengthways, planed up the separate boards, then glued it back together again:

rUaJDH0.jpg


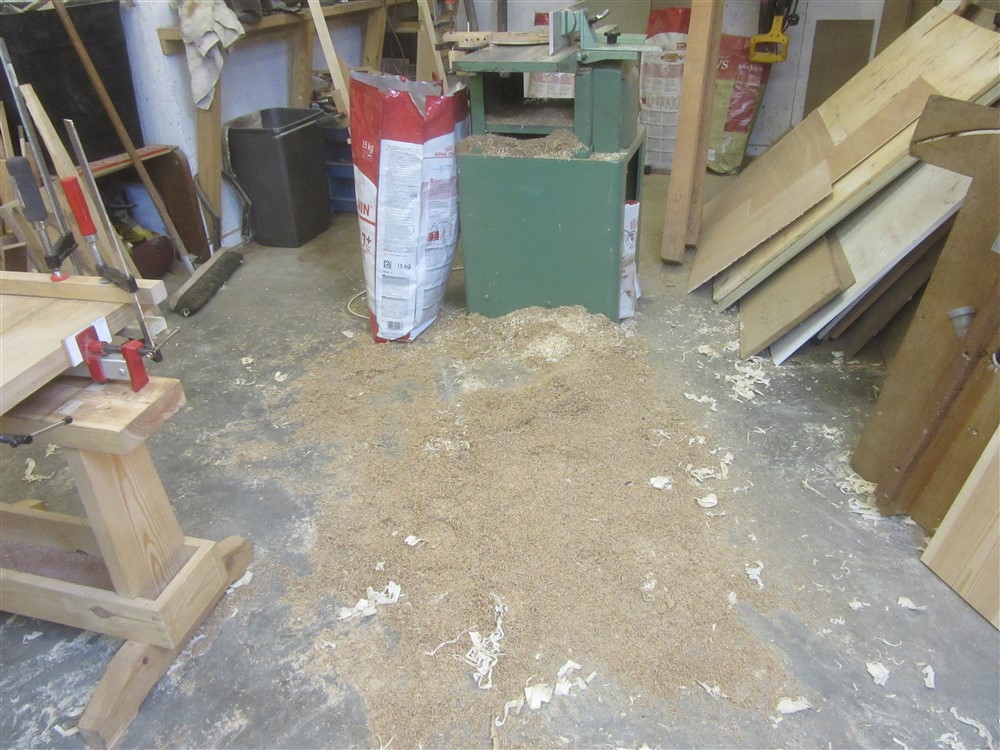
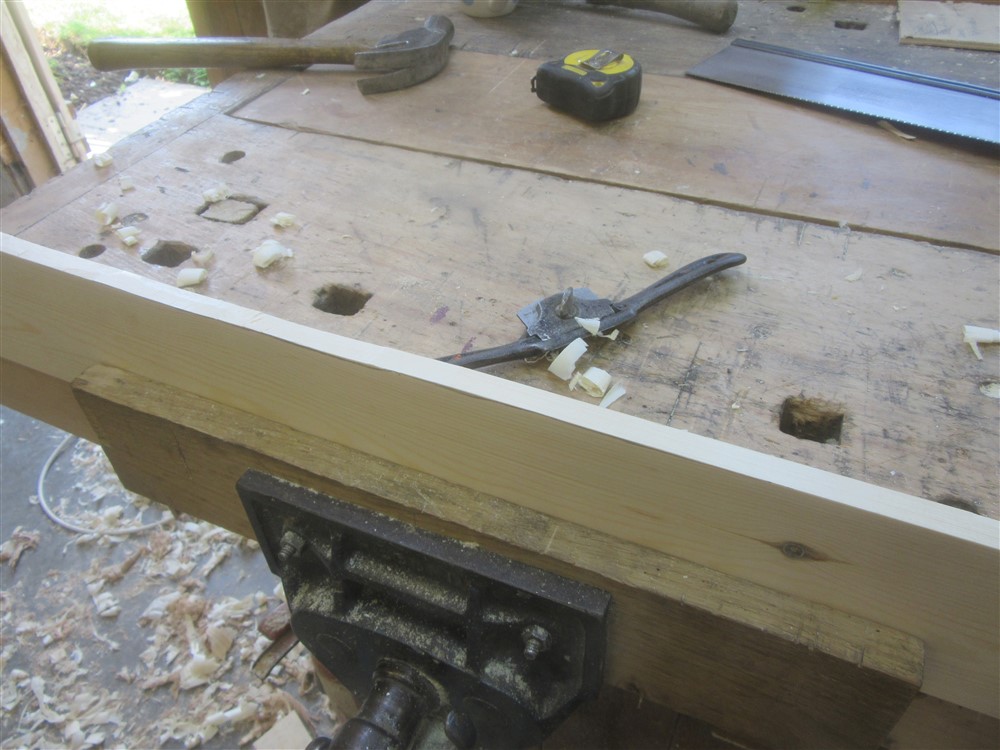
I used the PT, and my normal chip extraction system:

Y7lCIDG.jpg


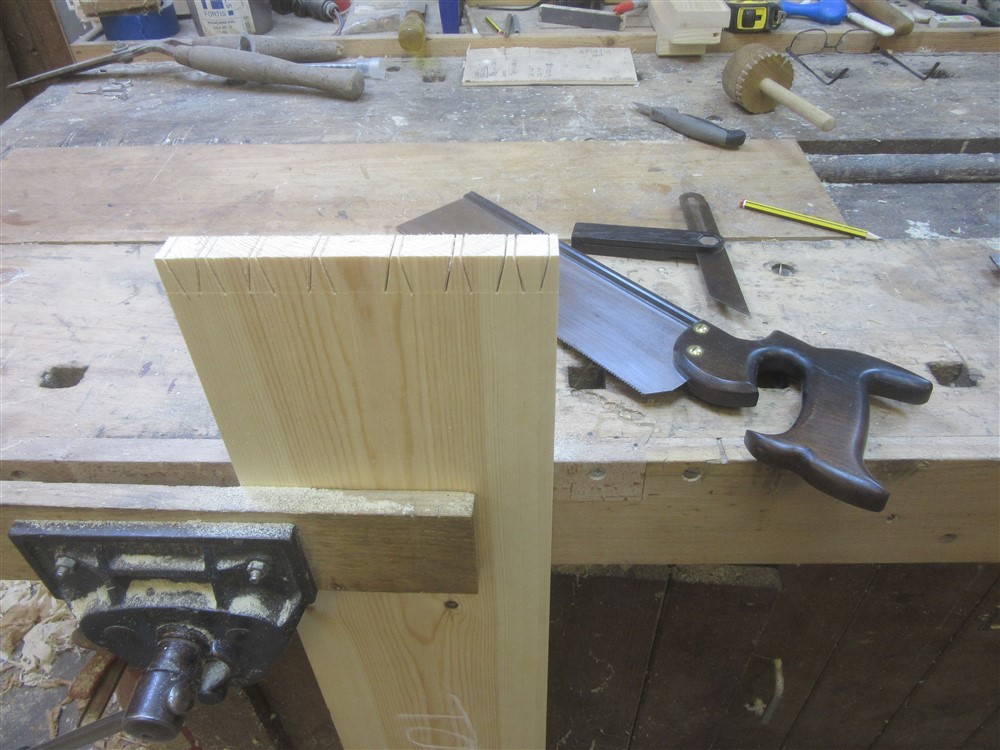
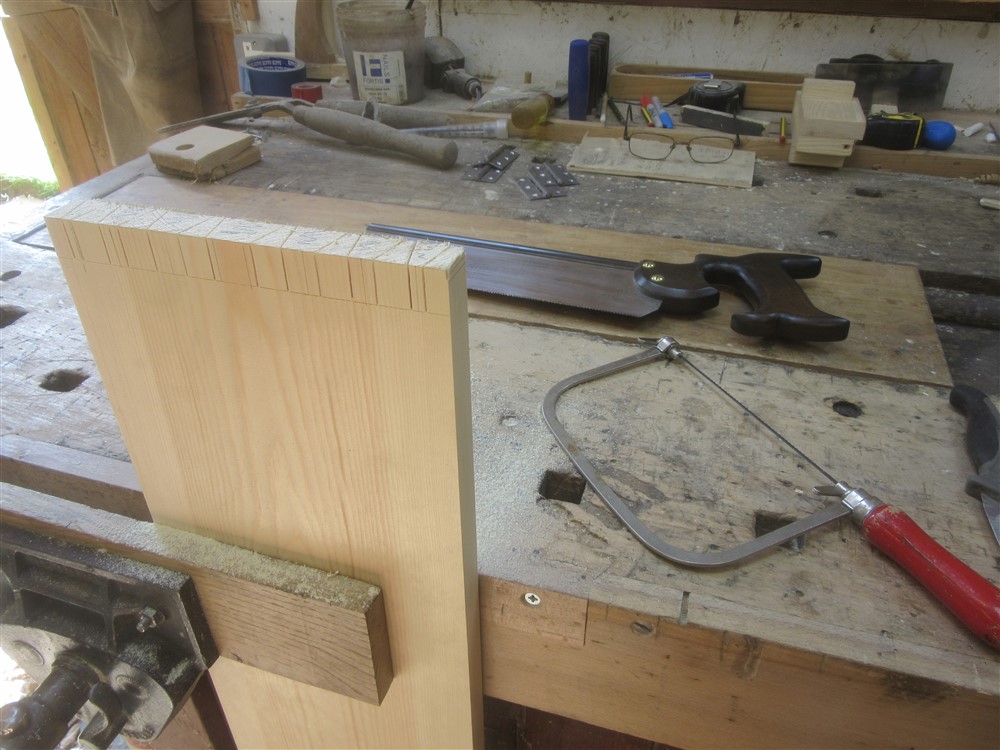
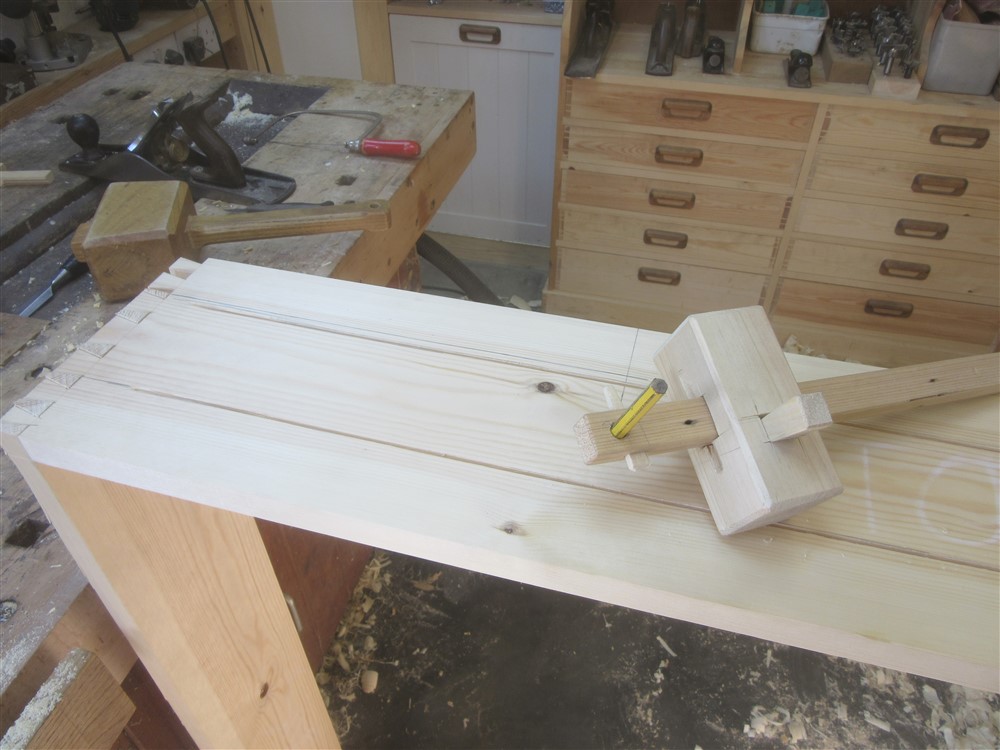
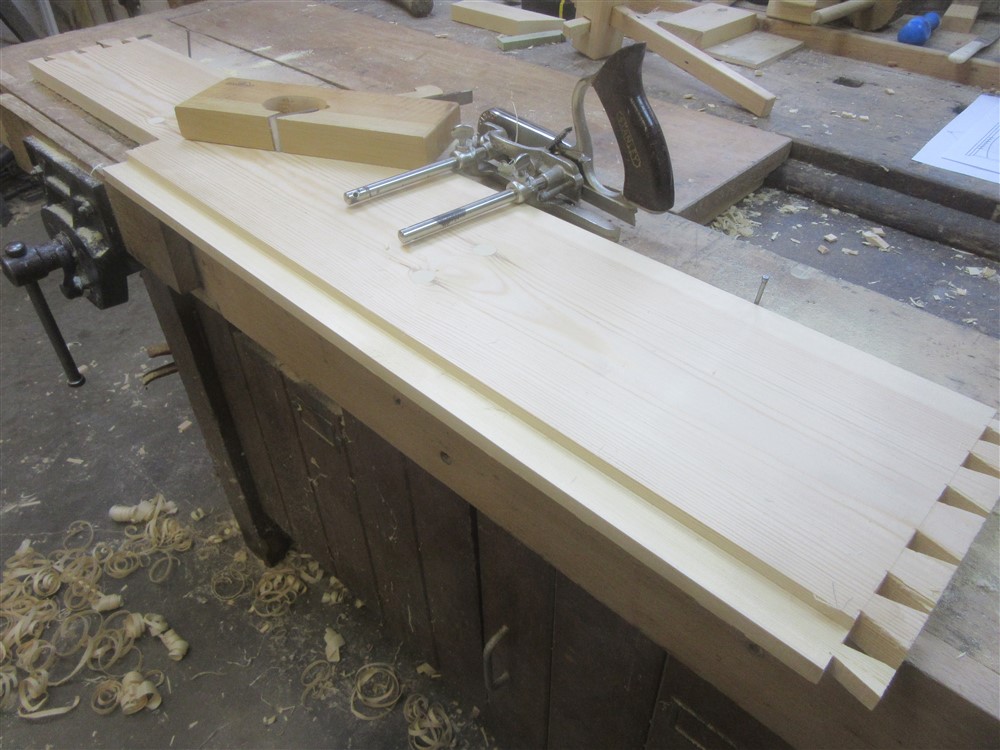
Whilst that was drying I started on the tailboard for the bookshelves that sit on the top:

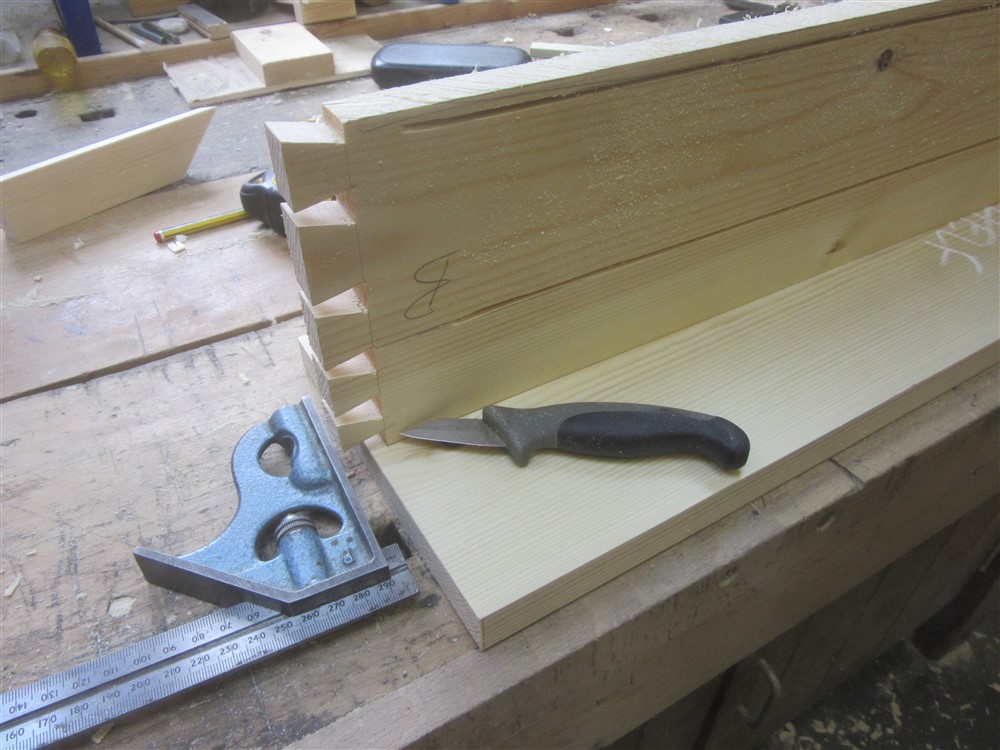
sITXe0C.jpg


That was Saturday.

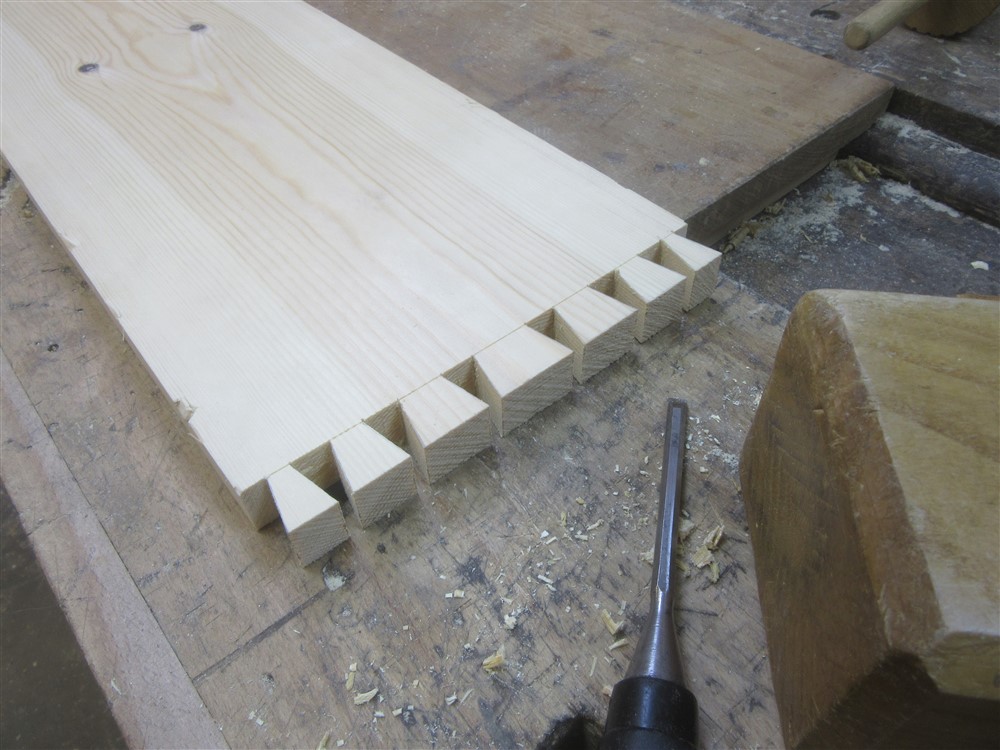
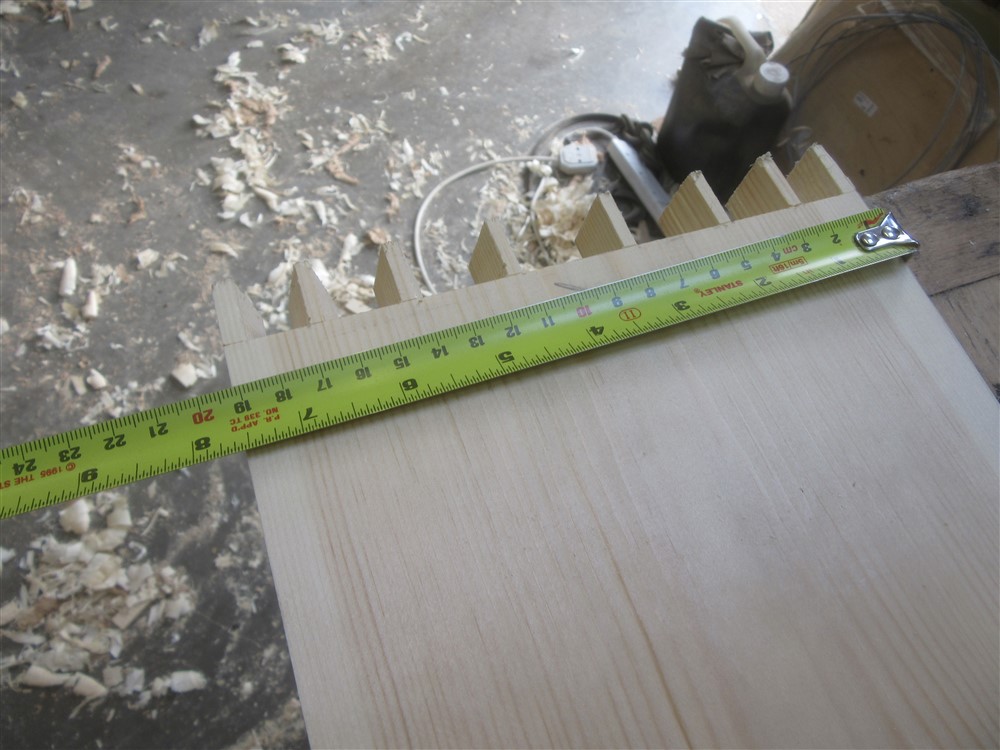
I de-clamped everything on Sunday morning. I always love that job first thing in the morning. The I chiseled the dovetails:

NPVctUm.jpg


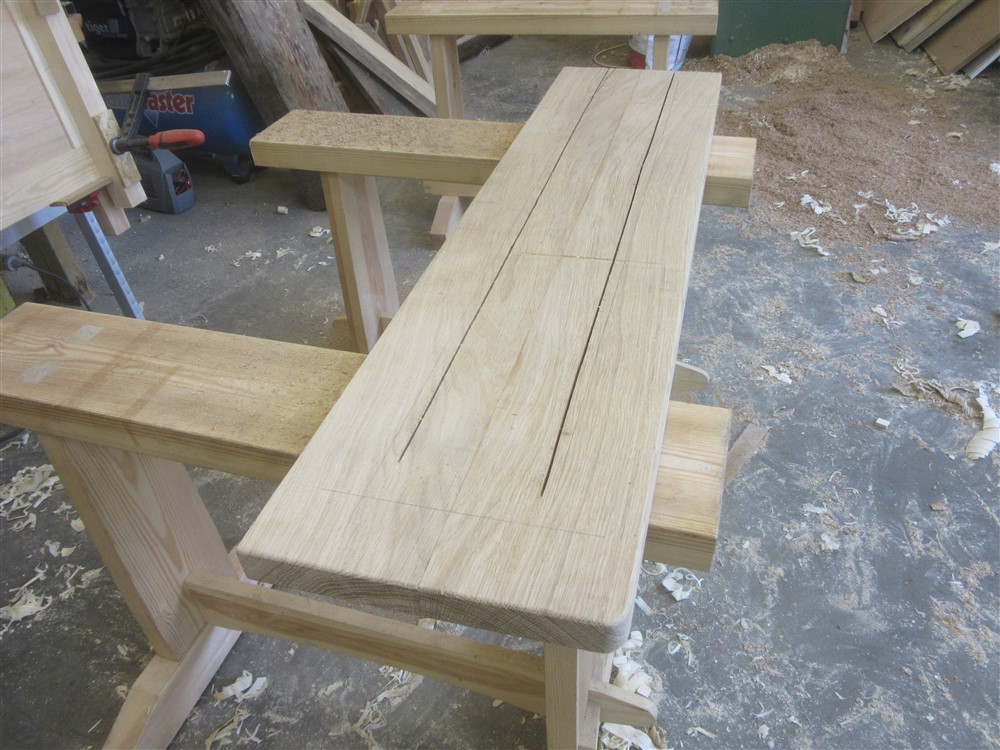
After finishing the preparation of the oak board, which had re-joined nicely, I ripped two relief cuts along most of its length. This unit is going to suffer from being over the manifold. It will get hot and dry, and I expect shrinkage. To help mitigate any cupping, relief cuts like this do an excellent job:

MEedMZm.jpg


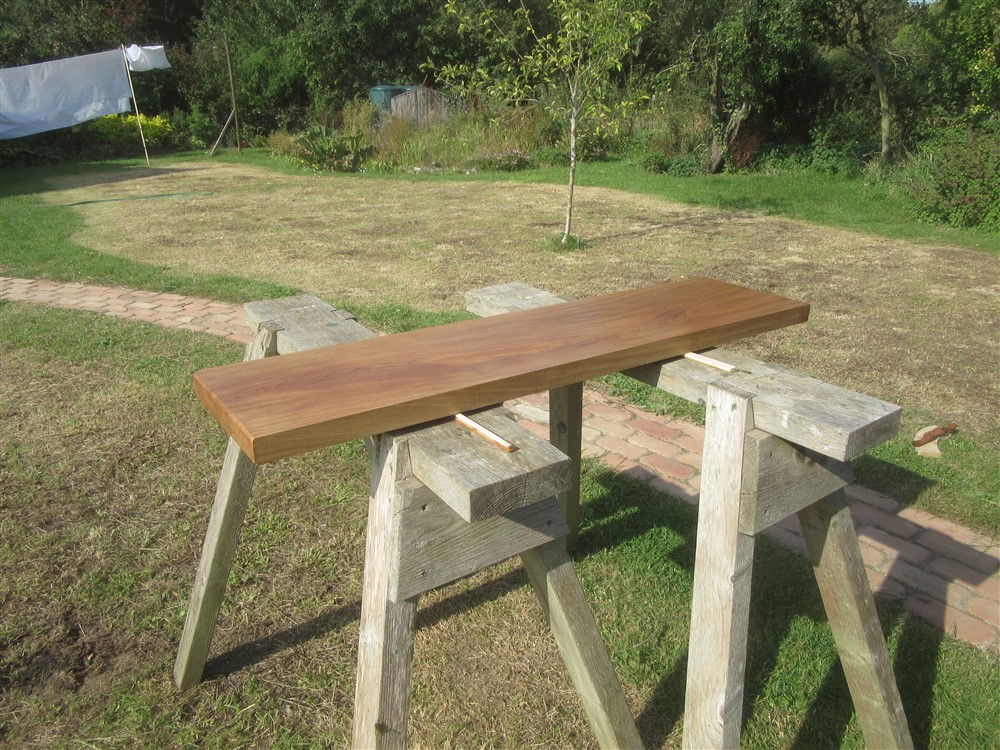
I slapped on the first coat of wiping varnish/ oil mixture, and left it outside to dry:

WD12blq.jpg


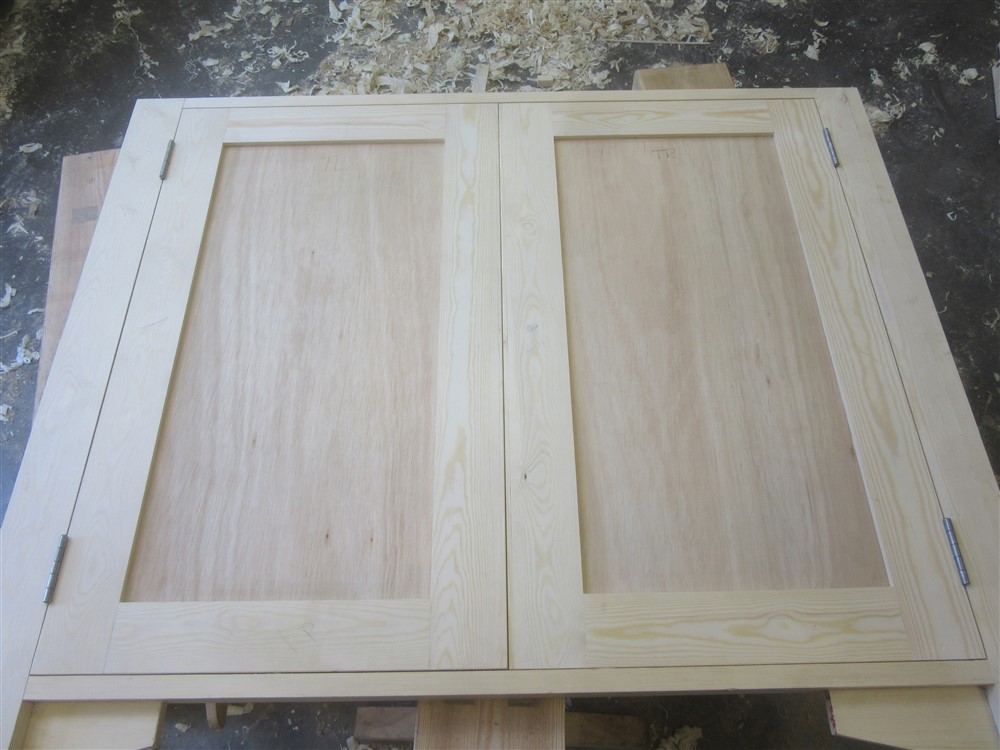
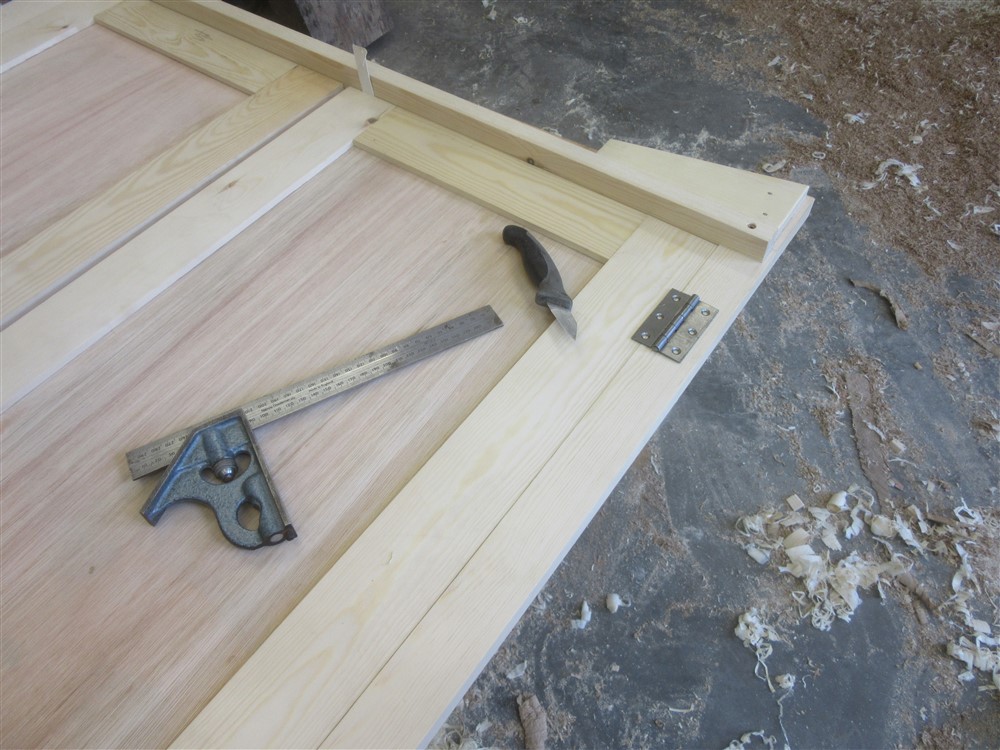
Ooooh, I made some doors on Saturday, too. I must have forgotten to take any photos. Anyway, here I am able to set out the hinge locations prior to fitting them into the door edges, because everything is still flat:

vJ3KBX8.jpg


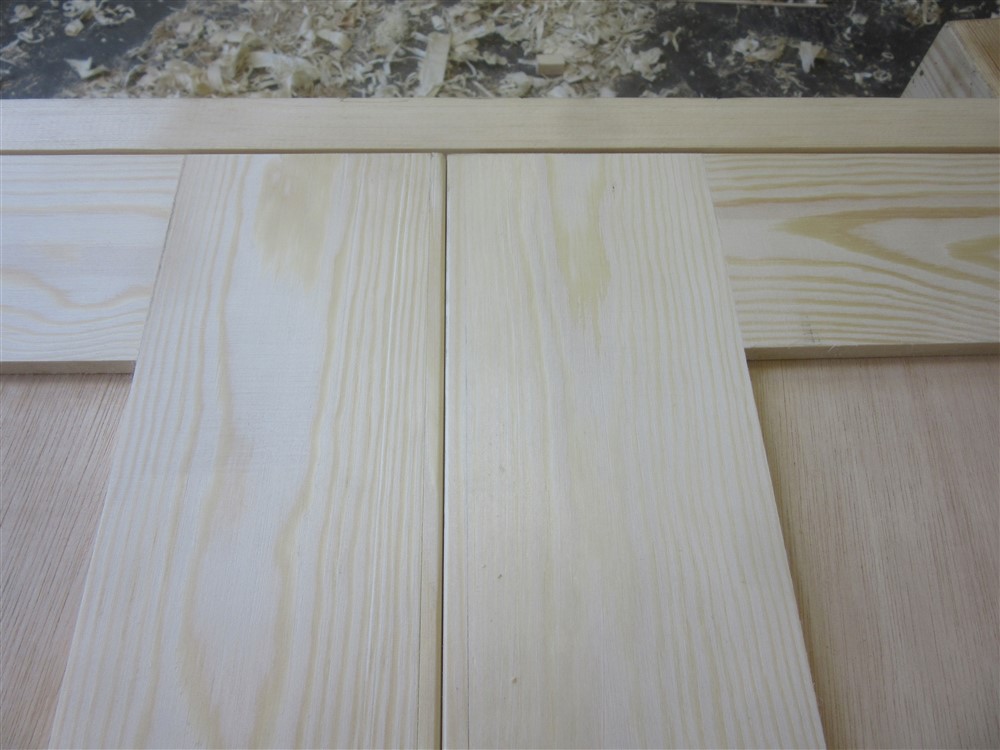
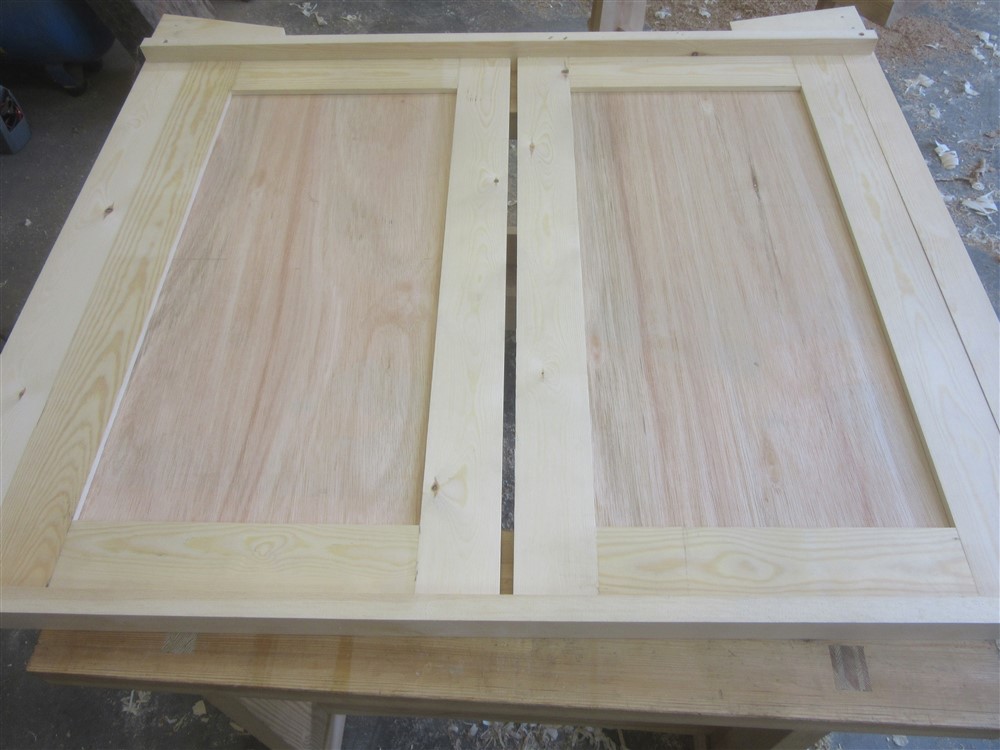
But look at this monumental cock-up! Clearly something had gone wrong with my back-of-an-off-cut measurement, calcs, and cutting list:

VPWhnCK.jpg


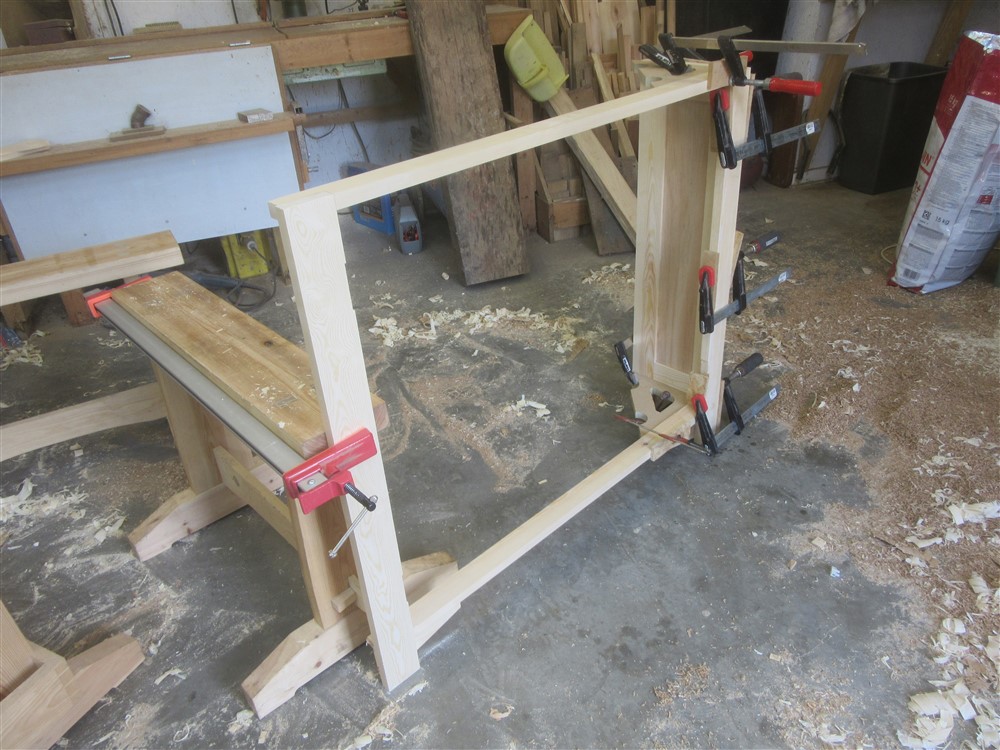
Having chopped out for the hinges I could now glue the unit together:

zxOfMl3.jpg


Whilst it was still in clamps I offered it up in its location so as to check for clearances, and to scribe to the 300 year old (and decidedly wonky) wall:

DU7ppeL.jpg


pKpaCtF.jpg


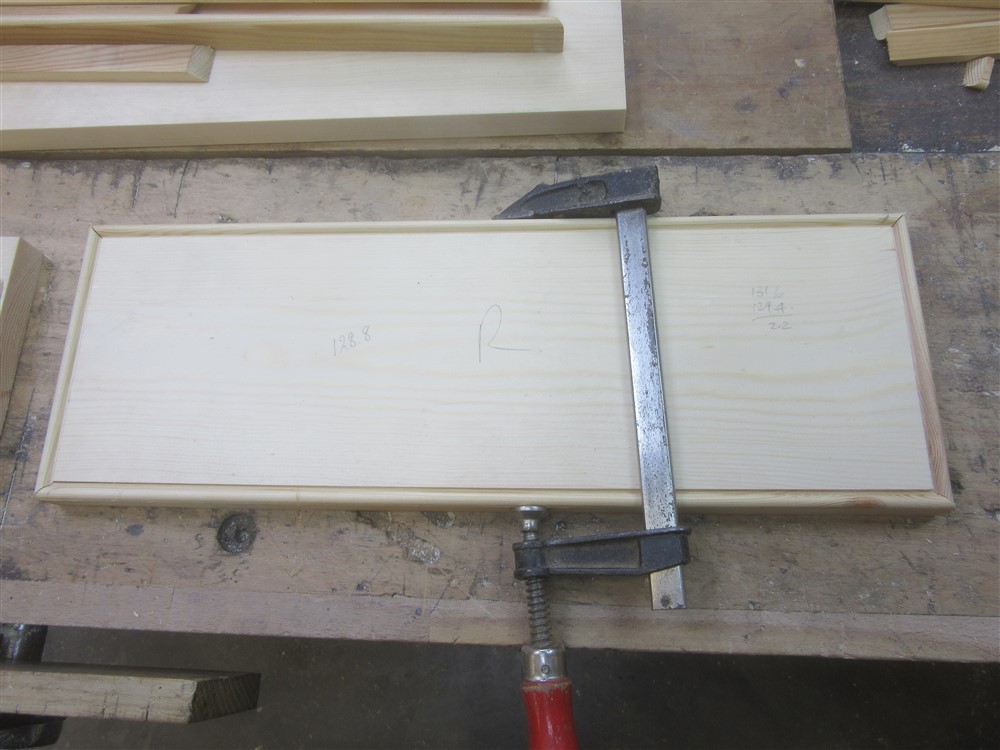
I ripped a strip 6 or 7mm wide and glued it to the leading edge of each of the doors:

WSYTHXk.jpg


Whilst was waiting for glue to go off, I carried on with the shelves:

HVeeOUs.jpg


AbbsVoy.jpg


Time for a bike ride, and that was Sunday in the workshop done........

This afternoon I grabbed a couple of hours on this. I started by cleaning up the widened doors, and planing them to fit:

dCYj5tT.jpg


I made them really tight fitting because I expect substantial shrinkage:

ny6DQTm.jpg


I cut up some 95 x 19 for skirting boards:

V35Yu98.jpg


After running the moulding on the router table, I scribed it to the stone floor, which was surprisingly un-flat:

8wpFt63.jpg


6Jn9YJw.jpg


I screwed the unit to the wall, and pinned and glued the skirting. I also mitred in the little bead on the door panels:

LktO7mD.jpg


jQNKHA3.jpg


The first coat of paint took 3 hours on each half of the dresser. I claim no credit for that:

V6t6meq.jpg


ngU2Co5.jpg


Finally, I marked up the top and sides of the bookshelves to avoid the pipes:

55W9kbQ.jpg


I scribed the RHS vertical to the wall. This is how much the wall is out of vertical:

PHe7o93.jpg


fLMZs62.jpg


Twenty mm over 1050. Oh well, that's what you get with old timber framed houses.

I marked up for the shelf locations (cook-book sized spacings), and made a quick template for a sliding dovetail:

UmVw6RA.jpg


That's it for now. I shan't get back to this until the weekend.
 
Looking good Mike. I would have put a cockbead up the middle of the manifold doors to form a rebate and hide the cock-up.

Maybe cockbeads were invented by someone who made some doors too small and that is where the name comes from? 🙂
 
I like your work Mike.

For some reason I don't like beads on panelled doors any more, even though they have practical advantages.

Will be interested to see the final paint job.

Adrian
 
.....Looking good Mike. I would have put a cockbead up the middle of the manifold doors to form a rebate and hide the cock-up.........

I did contemplate that, Doug, and the only reason I didn't do it is that there are 4 pairs of double doors in the kitchen, and none of them have a bead at the centre join. I did it in my previous kitchen, though, when some doors shrank.
 
Looking good Mike. I might have missed it but where did you source such clean pine ? It looks a lot nicer to work than what's available at my local timber merchant. Or was it just a case of spending a long time picking out good bits?
 
My local builder's merchant (Ridgeon's, Sudbury) is packed full of the stuff. It doesn't take much selecting.
 
Very nice work Mike, and so quick! Oh and I made some doors ha ha ! Just curious Mike was it mortise and tenons on the doors? Maybe with that plywood panel you could get away with dowels I suppose. Ian
 
No, they're just tenons into the same groove that the ply goes into. It's fine for lightweight doors like these that will only get opened once in a blue moon.
 
I tried really hard to complete these two pieces of furniture and post about it this weekend before the powers-that-be could carry out their threat to ban me. You'll have to read to the end to see whether I made it or not. We left it last weekend with me just starting the bookshelves for the unit over the manifold.....

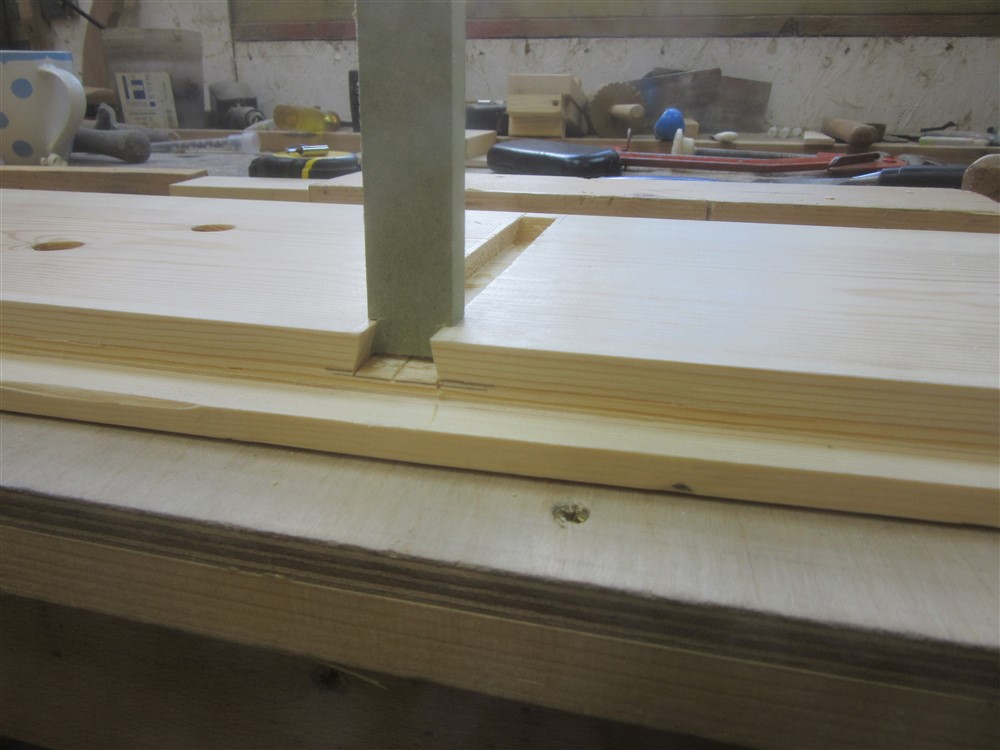
My first job was to run a rebate down the scribed back edge of the RH vertical. The astute amongst you will notice that the setting of my router table couldn't possibly produce the rebate as shown, but I had half-packed away the table when I remembered to take a photo:

994GxyZ.jpg


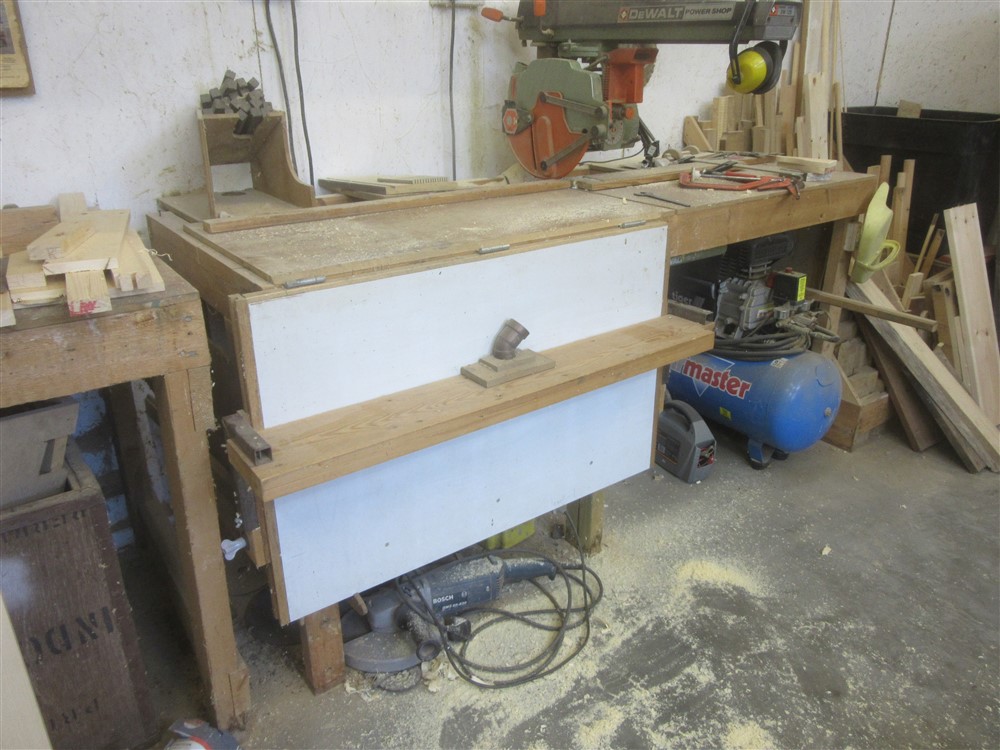
This is the table folded away (router permanently attached):

fHiuTzk.jpg


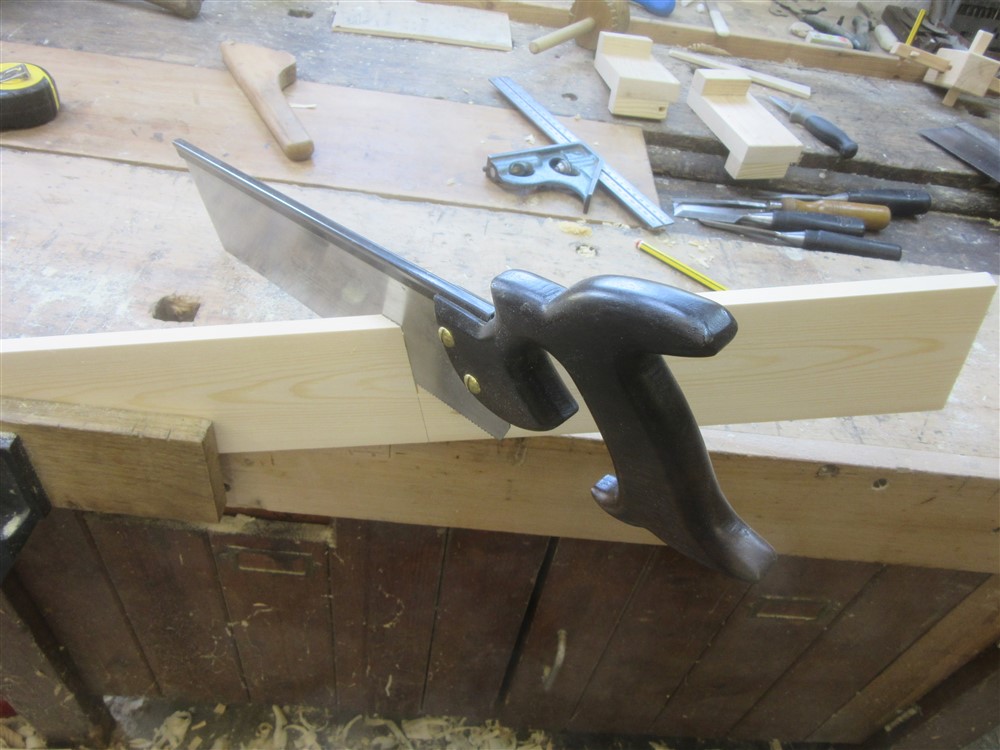
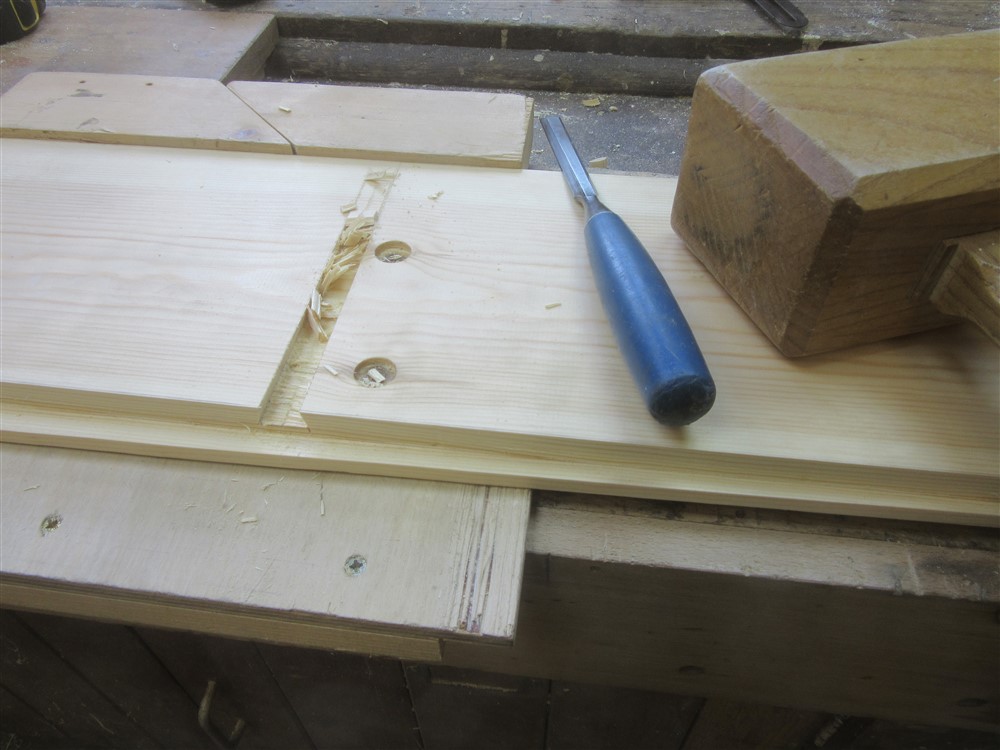
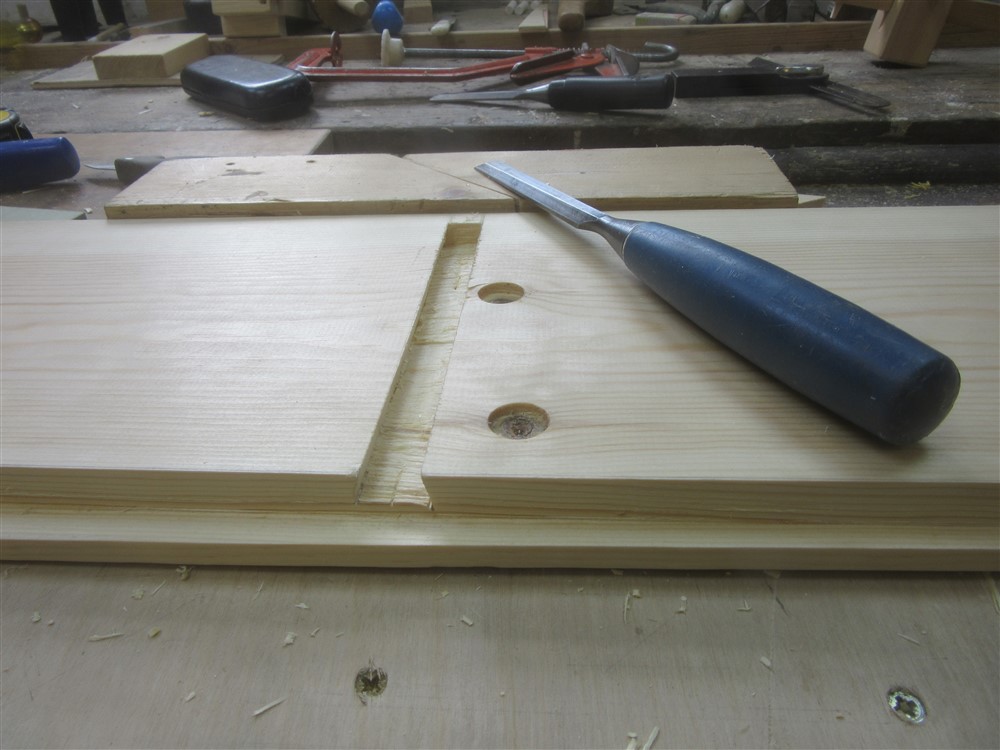
That was the last thing I needed to do to before doing the jointing for the shelves. Now, remember that this shelf unit is over the underfloor heating manifold, and covers the flow and return to the boiler. It is going to get seriously heated up. I am therefore naturally concerned about wood movement, even with dried timber, so I decided to do the shelf supports with a sliding dovetail joint. The first job was to plane up a saw guide at the appropriate angle, following the template I made last weekend:

UmVw6RA.jpg


UAEeDVw.jpg


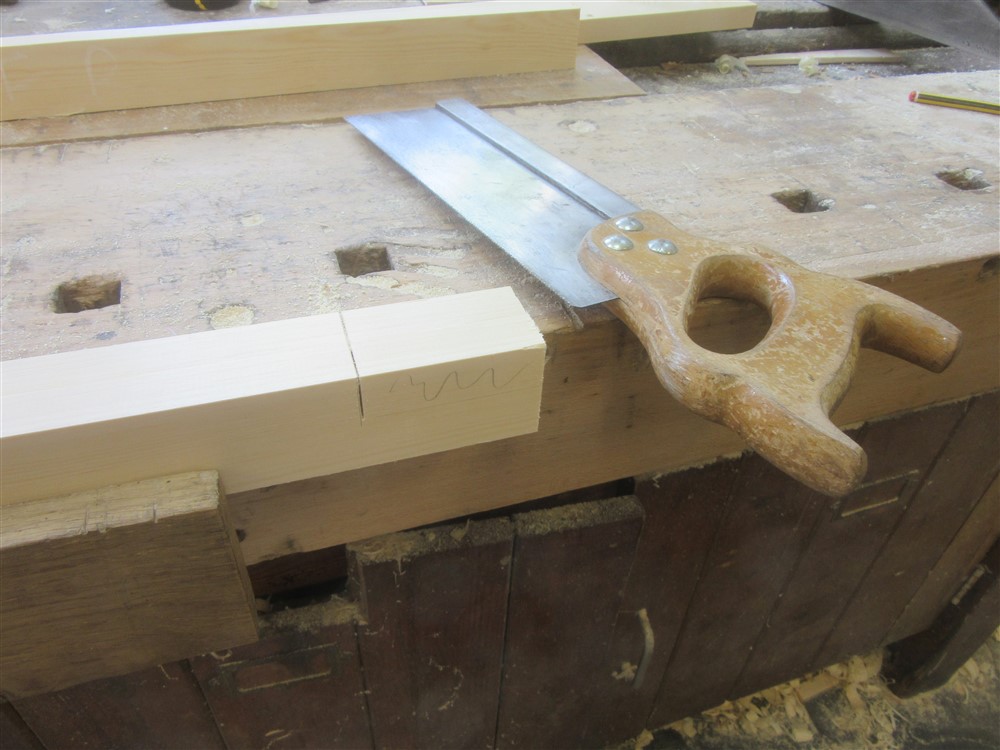
Stupidly, I only took a photo of it in situ from the back, but it was child's play to run a tenon saw along the sloped face:

hXzb46v.jpg


z3Xqm9s.jpg


J9Ikxlb.jpg


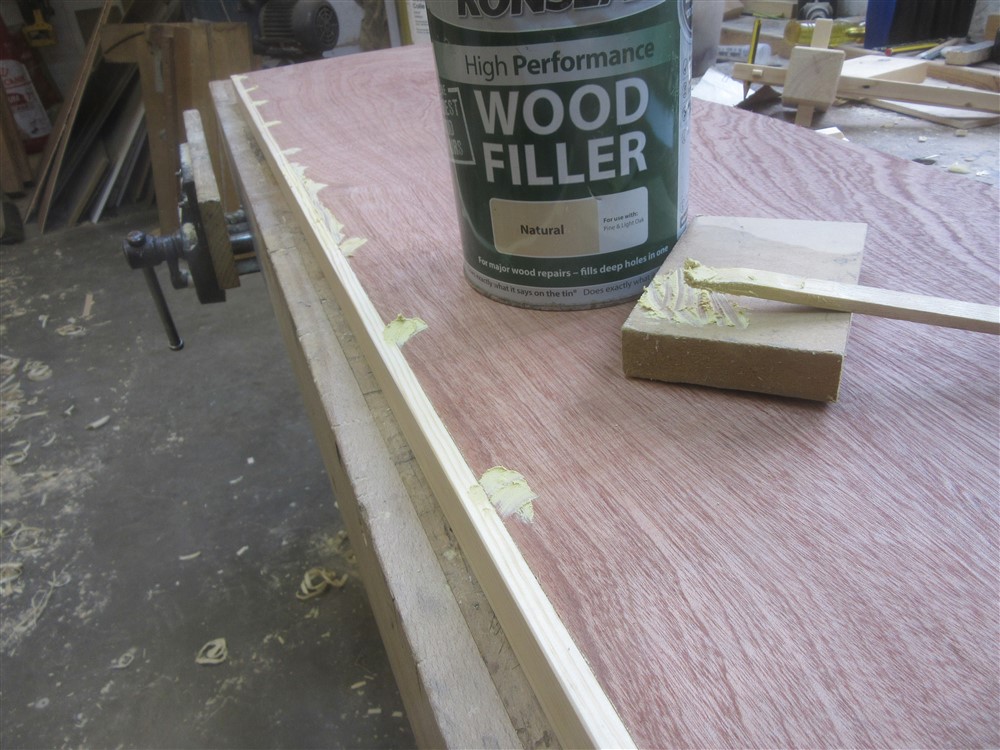
Note the knots drilled ready for filling.

8KlWrTq.jpg


Having cut the 4 stopped dovetail housings in the uprights, I marked the shoulder positions on the shelves, taken from the top piece:

Xs5kuzg.jpg


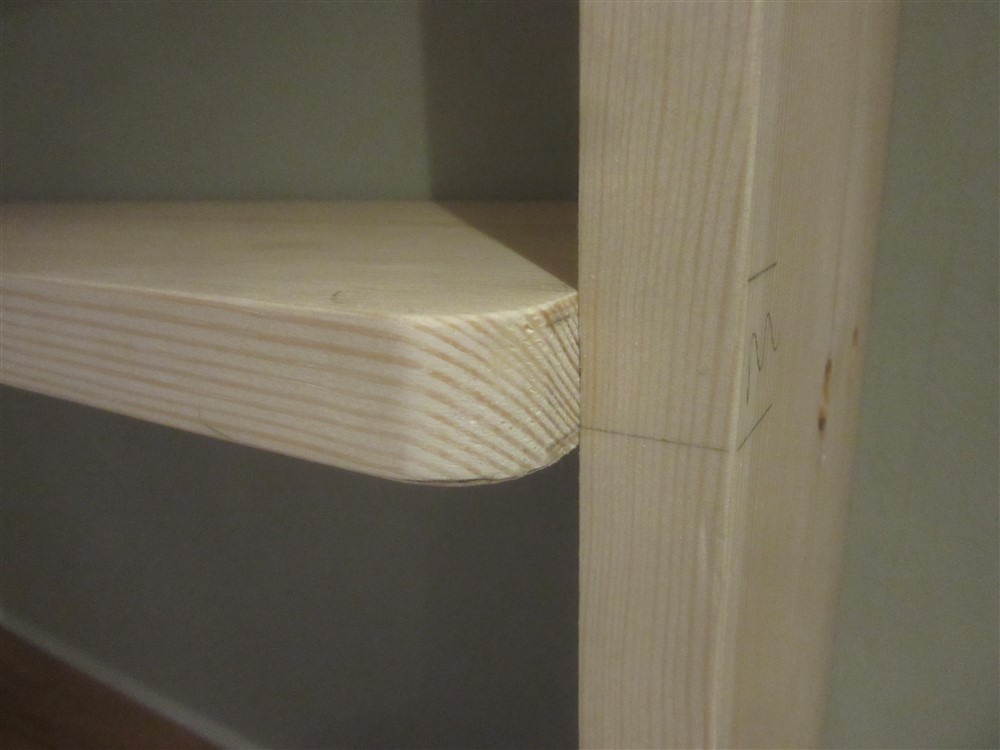
It's a doddle cutting the male compared with the female, and then I simply shaped the front of the shelves:

sHQ5qvd.jpg


H0tJoT1.jpg


t1LARGT.jpg


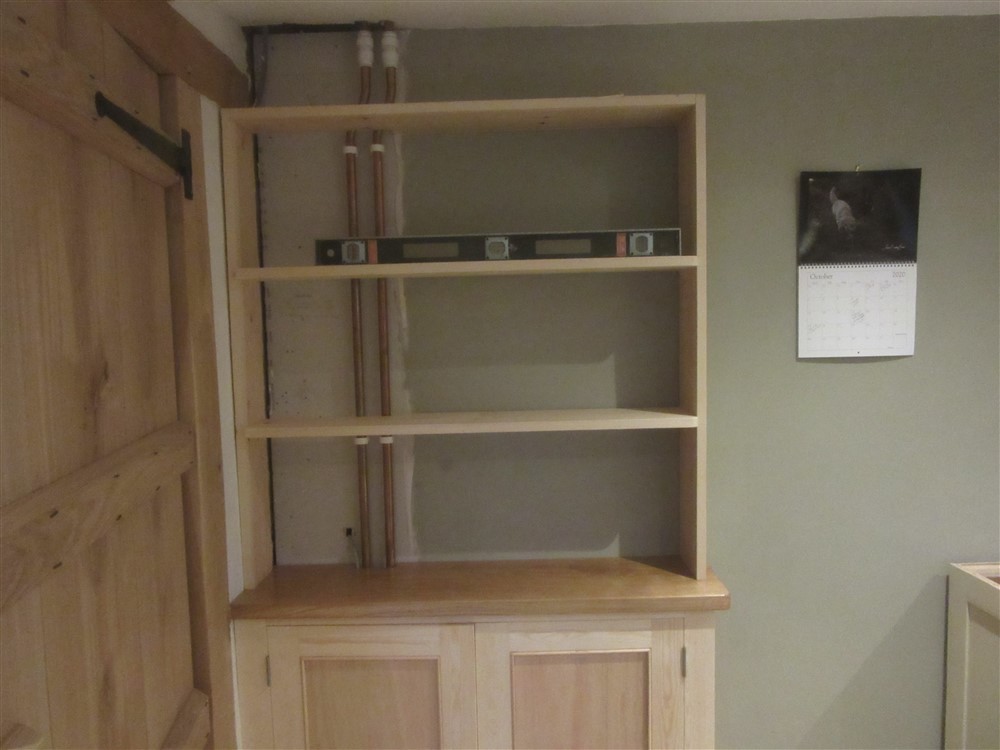
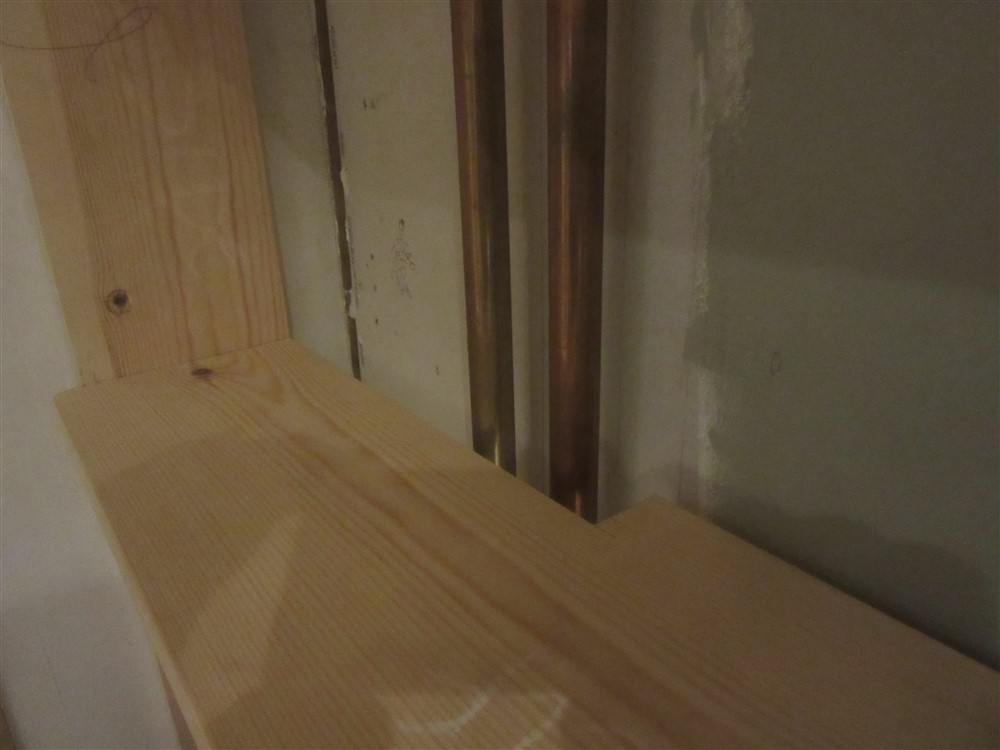
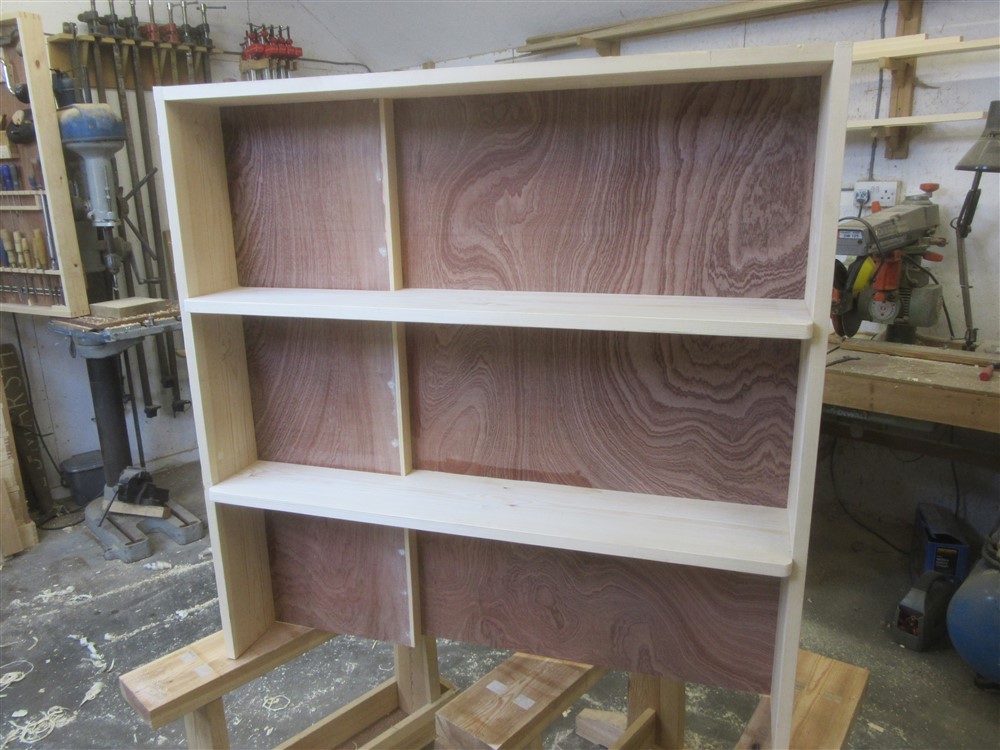
Having dry fitted everything together, I offered it up into position to mark up any clashes with the pipes, and to mark any feet adjustment necessary for horizontality (that's a word, isn't it?):

EGl4Pxt.jpg


2Qbxmmi.jpg


With everything fitting OK, back in the workshop I planed a rebate in the underside of the top piece to take the backing board:

oPq6uli.jpg


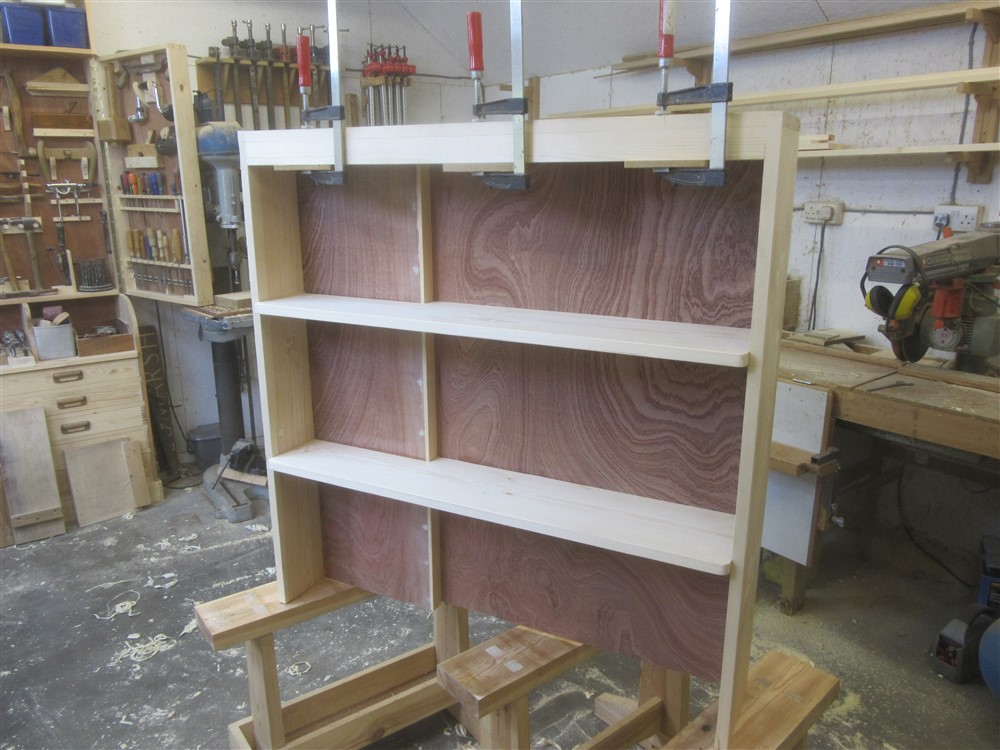
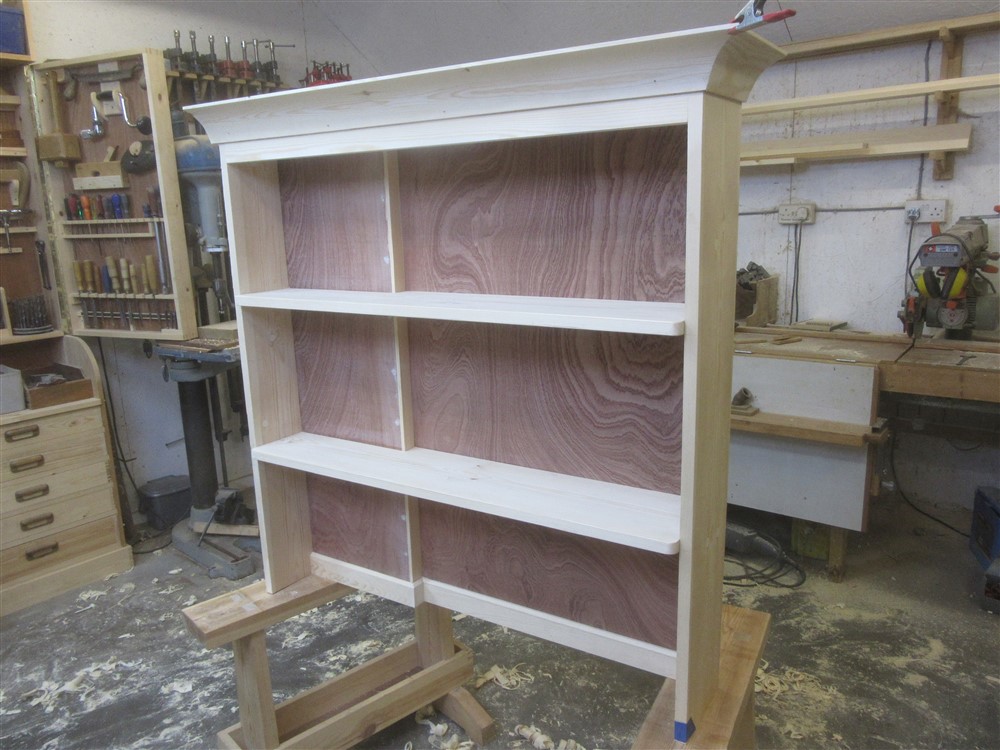
Then it was time for a nearly-clamp-free glue up:

0etBTbS.jpg


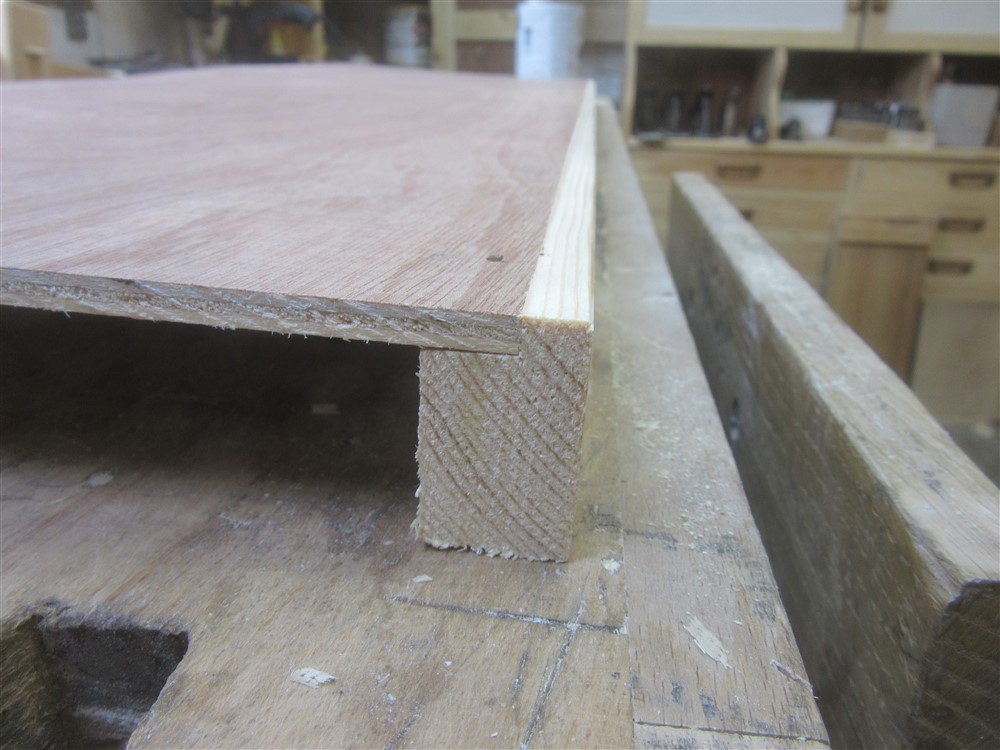
Whilst that was going off, I ran a rebate to the same depth as the ply in a piece of ripped down 45 x 20, cut out some ply, and glued and pinned it in place:

RveKuRo.jpg


9wcKjFZ.jpg


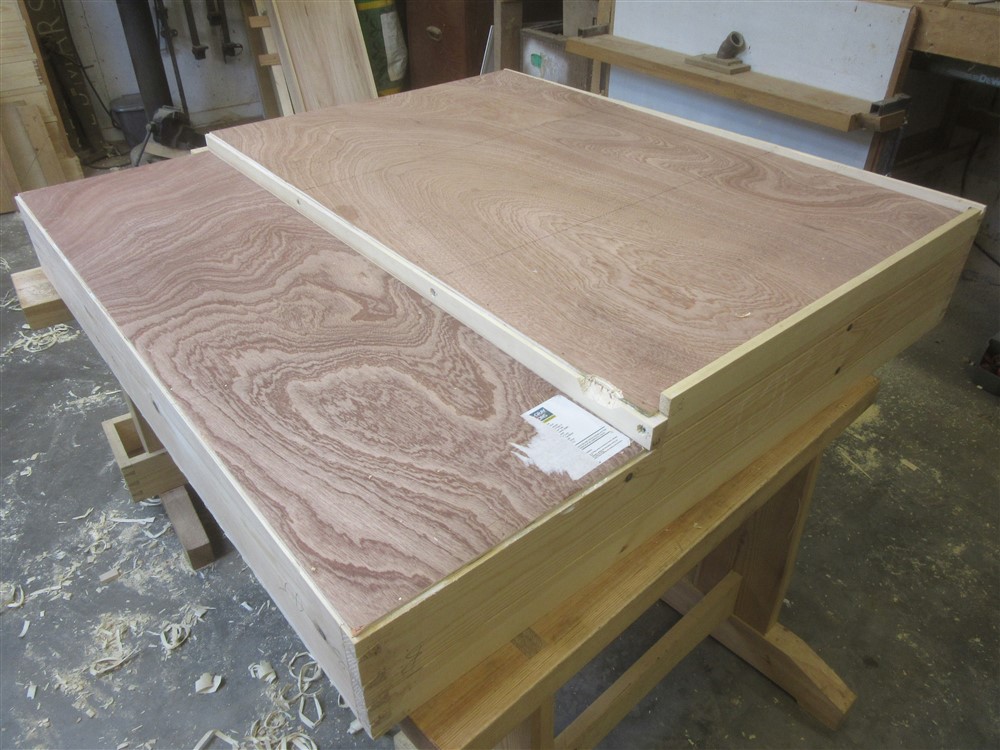
For the sake of continuity I'll carry on with this, but in fact there was a change of job for a couple of hours whilst the glue went off. I glued and pinned the stepped backing board into place:

fId2AEO.jpg


axpT9By.jpg


...then glued a piece under the top. In hindsight, I wished I'd put a gentle curve to the under edge of this:

Hidq6Du.jpg


This is one of the out-of-temporal-order things I did whilst the glue was setting:

Qp90oIx.jpg


YXmGnzl.jpg


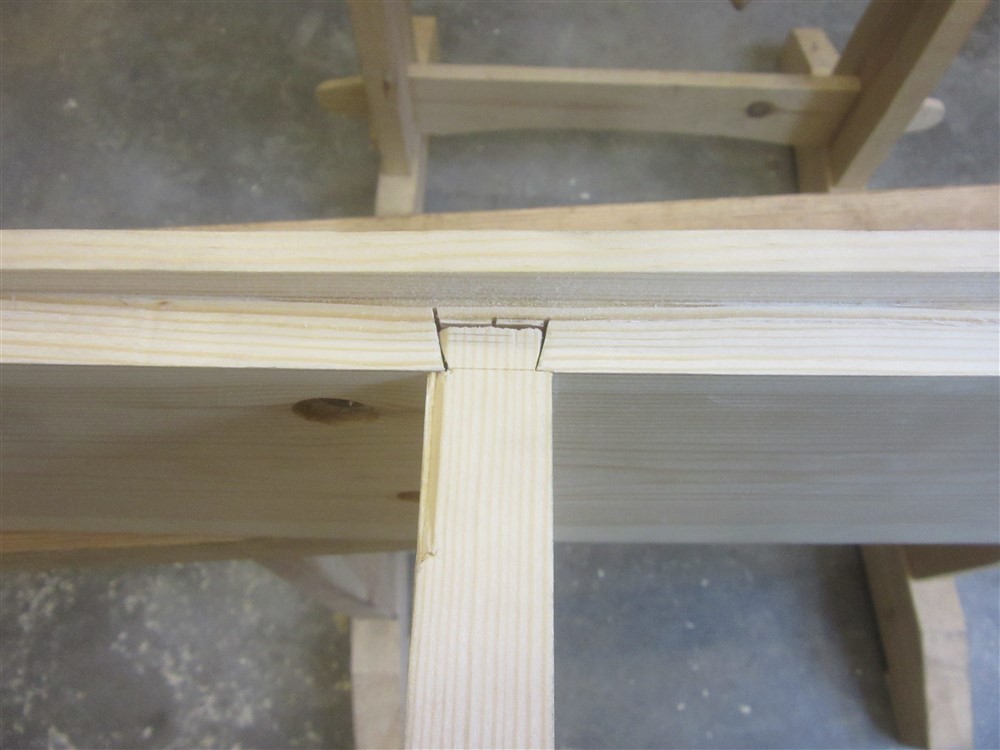
That then got mitred, and glued and pinned in place:

scC3DJg.jpg


The blue tape was to repair an unfortunate dog-related handling error, but besides that I was rather pleased that it all sate rather nicely in place. I just had to shave a bit off the back to clear a pipe clamp:

UMlmSzn.jpg


90Vtf4x.jpg


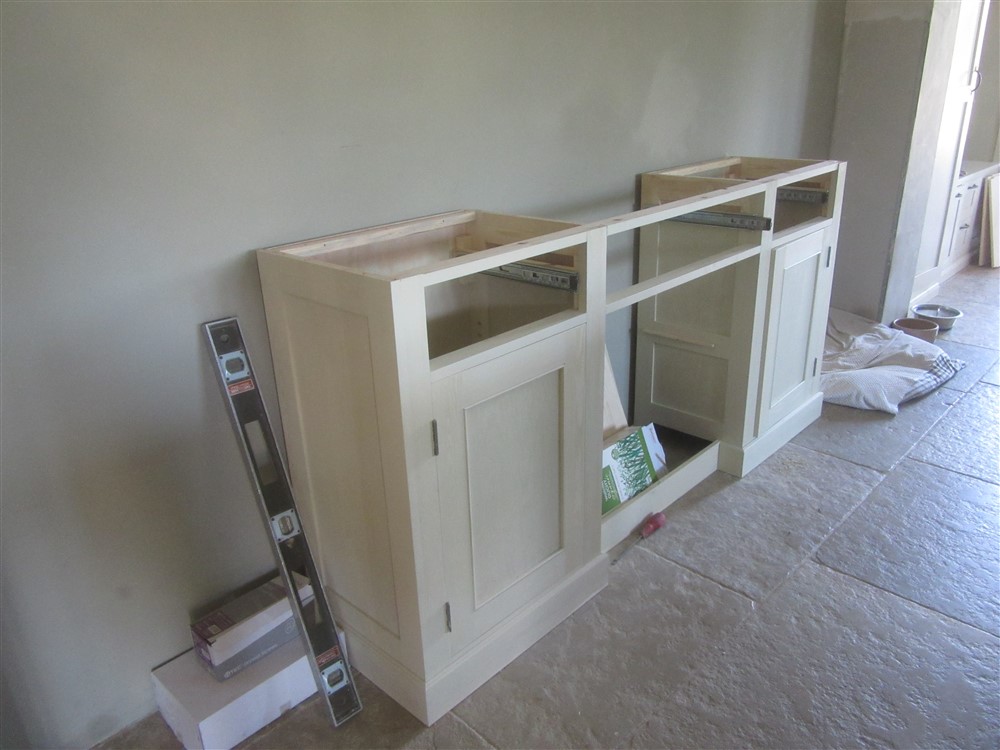
That all took rather longer than I'd hoped, and with a couple of family activities I found myself tackling the scribing of the base units of the dresser into the evening. That involved gluing some thin strips on to the underside to reduce the amount that would need to be carved away elsewherewhere:

EpEBAwV.jpg


That carried on for 2 hours this morning, including the time it took to glue the 2 separate parts of the base unit together into one. There's nothing to show for it, other than a piece of furniture which sits squarely and level.

Work in the workshop started with some old bits of painted matching:

OP16j6y.jpg


3LQxpmX.jpg


HX5YIfk.jpg


rzsmeqC.jpg


It cropped up here a week or two back about selecting where various imperfections in the timber end up in your project. Well, here's an object lesson in that. I needed three drawer fronts out of this knotty piece of timber, and I wanted to minimise the number of knots in this prominent location:

FdcSQUk.jpg


xEYF5g2.jpg


Two minor bits of filling was all I was left with, and some off-cuts. This is why you always buy more wood than you think you need.
It's awkward doing drawer fronts with planted on beads, because you all-but final adjustment has to happen before you apply the bead. I actually got a micrometer out, which I never do for woodwork:
zJv91FF.jpg


NEFEBHm.jpg


Tlcft9c.jpg


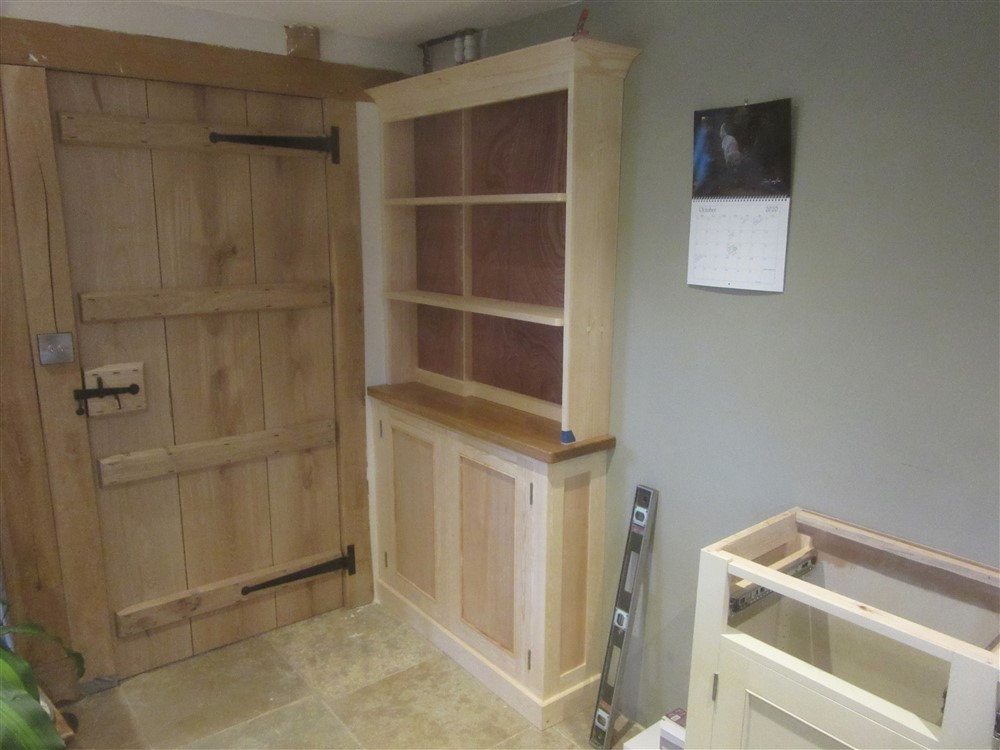
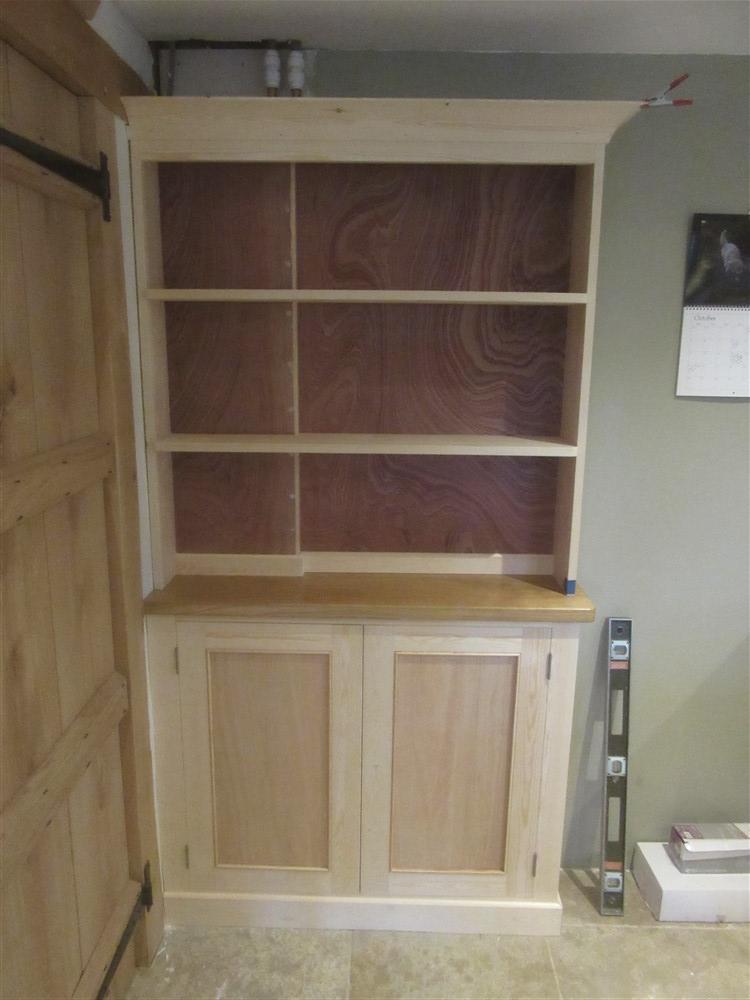
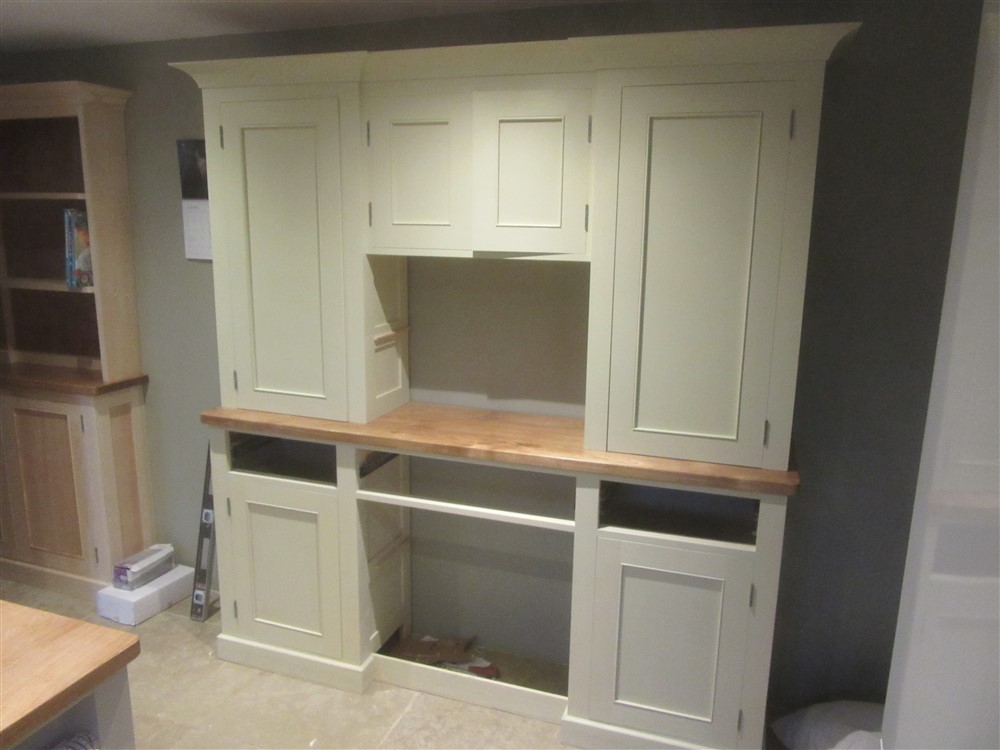
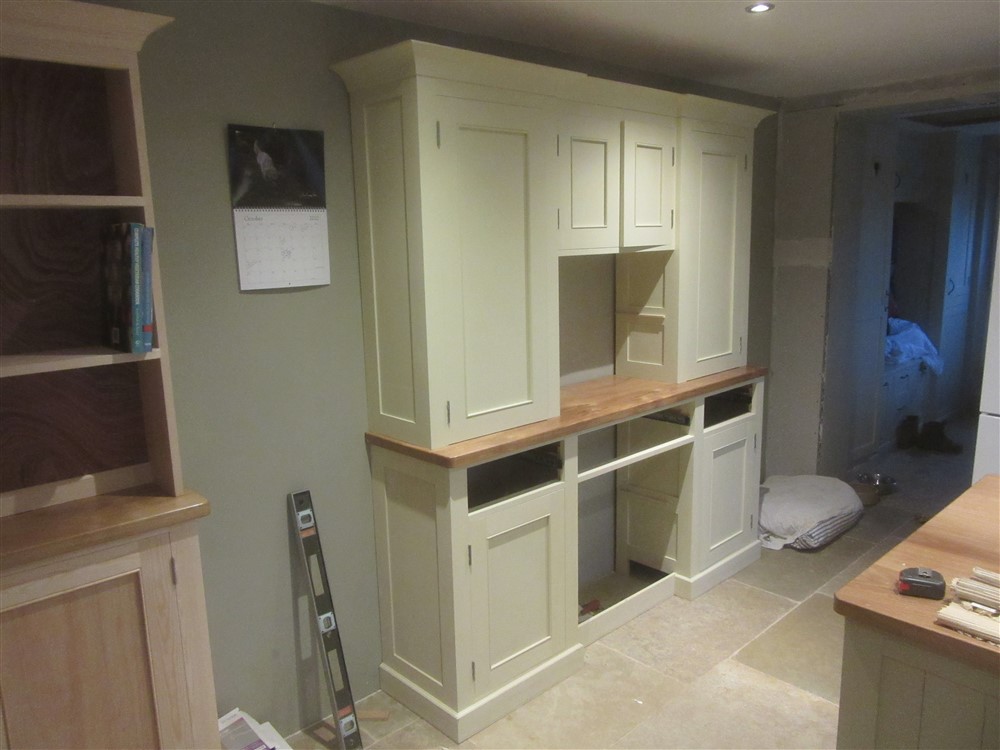
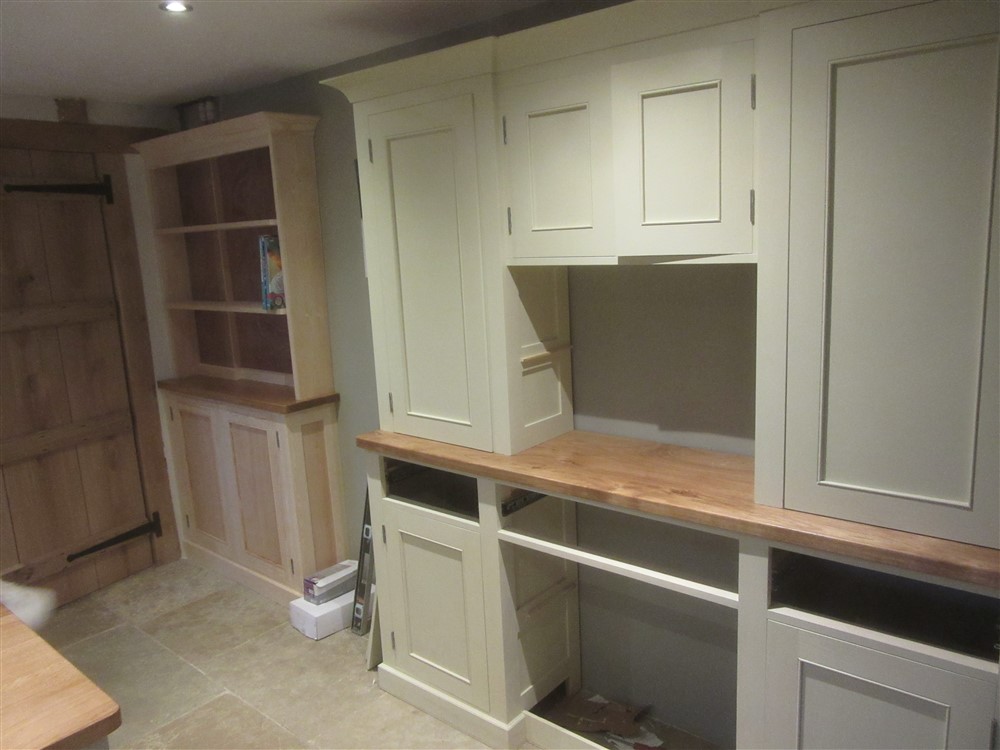
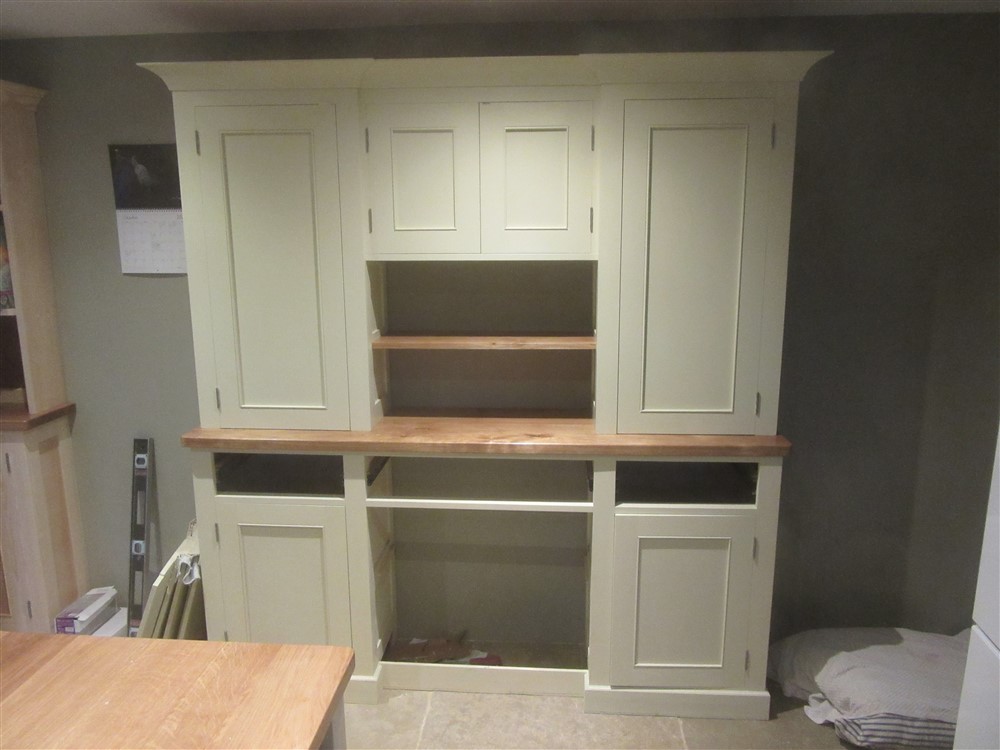
My wife has spent about 12 hours applying 3 coats of paint to the dresser with a brush. She finished this afternoon, so when it was dry I lifted everything into place:

thelgms.jpg


qXOQtlx.jpg


yKFOskY.jpg


....and then pushed the oak upper shelf into position:

NbnC3Qn.jpg


Unfortunately, my mother chose today to have her 87th birthday, so we lost the afternoon of work to visiting her. The upshot of that is, folks, that you don't get to see the dresser finished. That's it. My final post. I'm off. Someone else will have to do all the WIPs, and keep a check on the creeping Americanisms on the forum. If you want to talk about a workshop build or other architectural matter, you can find me over at Woodhaven ll. Cheerio.
 
Status
Not open for further replies.
Back
Top