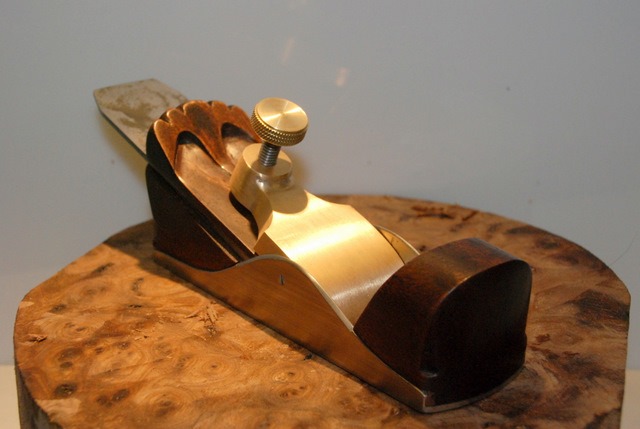
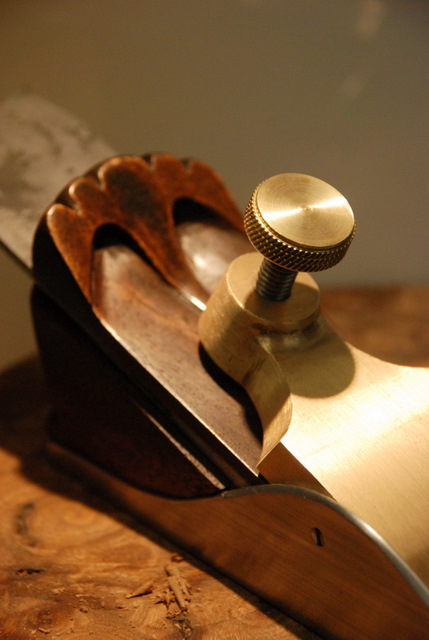
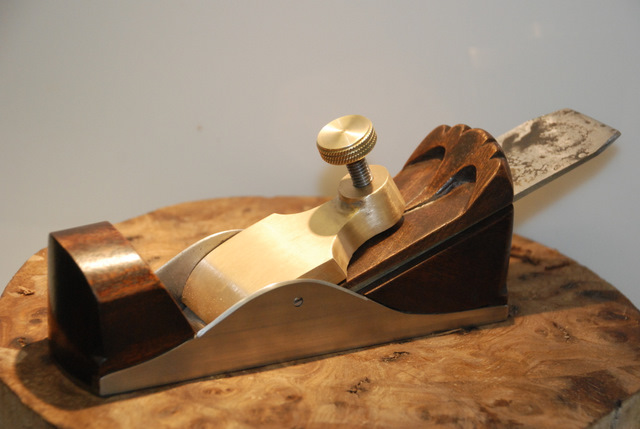
Galoot Block Plane - WIP

UKworkshop.co.uk

Help Support UKworkshop.co.uk:

This site may earn a commission from merchant affiliate links, including eBay, Amazon, and others.
Jim,

I knew that piece of timber had found the right hands.

This project is coming along fine. Almost there... And for a first attempt at carving.. Very nice. This gives me the confidence to finish that barometer I started! A Ram BTW? 8)

10/10 so far from me.

Regards
John :D
 
Cheers for the positive comments guys...it is really my first venture into this area and I have learned a lot that I would change next time but what gets me is the beautiful way this plane cuts.

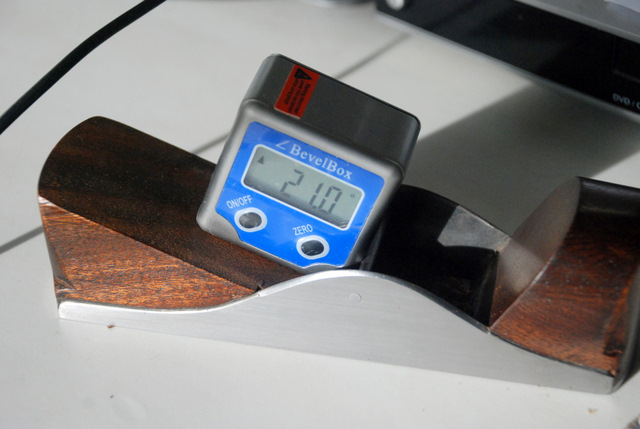
Derek...I was aiming at the same 20 degree bed as found in the 110....

DSC_0146.JPG


....so not that far out really.

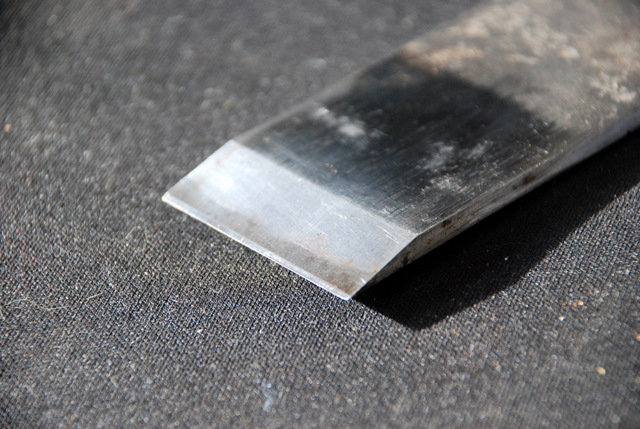
I intend to use a very thick flat blade in the final version but this little Isaac is doing an admirable job...I just put a secondary bevel in it at 25 degrees so I have a cutting angle of about 46 degrees.

DSC_0150.JPG


I was reading the "Smoothing Burr" thread and thought that too might be a challenge especially since I just received a rather nice rough piece of burr elm in the post this morning....

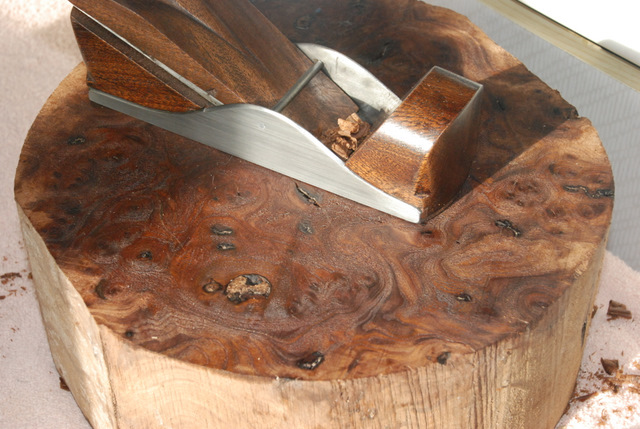
This is how the other side was when I received it and before planing:

DSC_0143.JPG


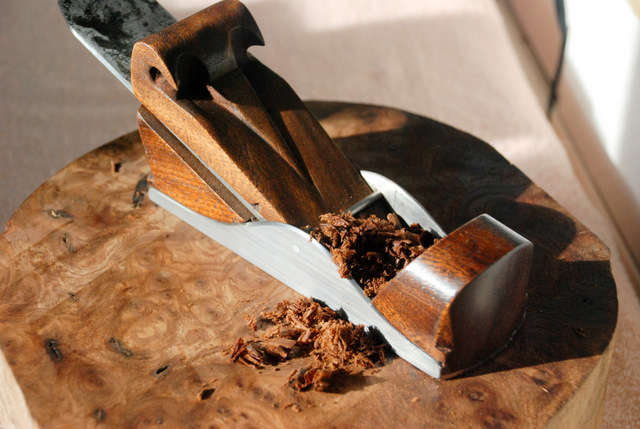
....and it had no problem cutting very fine shavings with virtually no tearout...

DSC_0138.JPG


I am really pleased with the way it performs so far...I need to create a thick blade...get the cap and install and see how it changes.

One thing is for sure...even now..it is a plane I want to pick up and use every time as a matter of choice....

Now....to watch you HC with the smoother/jack and see if I need to make another.... :wink:

Jim

P.S. yes John....it is a RAM! 8)
 
hi jim

looking really good , watch me, ooh i don't know :lol: when i start you will be the first to know about it , been out this morning and sourced 4 7/16 th *2 " in number brass bolt for the lever caps, next try and find some nice 1/2 *2 1/2 brass flat bar for the lever caps enough to do three planes with and fine some grub screws as well for them to pivot on , maybe later in the week a trip to yandles i think they have a show on soon down there so might waite till then and kill two birds in one day .

Visited axminster on friday picked up some liberon lubrication wax and some new rasps for shaping handles on the planes when the time comes to start .

I have a planned visit again soon to get replacement files of all description as most of mine are worn out so it's the right time to get replacements before I make a start .

nice piece of burr elm , what you gonna use it for :?:


Cant waite till philly get the part done for you and see it all finished . hc
 
nice piece of burr elm , what you gonna use it for

HA! I have ABSOLUTELY no idea!!! :D

I just bought it because I loved the grain...I am a sucker for nice grain!

I can see it as something but not sure what yet...I am sure it will come...meanwhile it gets filed under "future project" - any ideas?

:wink:

Jim
 
Jim

Your plane obviously performs well and with that "ram wedge", looks highly distinctive. No need to change it!

Just one suggestion - shouldn't you stamp your name on it somewhere? A hundred years from now, some tool collector might go crazy trying to work out who made it....
 
Evergreen":1gw79w2s said:
Jim

Your plane obviously performs well and with that "ram wedge", looks highly distinctive. No need to change it!

Just one suggestion - shouldn't you stamp your name on it somewhere? A hundred years from now, some tool collector might go crazy trying to work out who made it....

Hi EG....thanks mate! I do feel that it does not warrant personalisation as a good part of it was made by my mate "Stanley"....!!

I am not entirely sure that the horns will survive 100 years either...they are an accident waiting to happen methinks!!

I was REALLY impressed by Philly Planes impression stamp though on his planes so maybe one day when I build one from scratch...(looks avidly at a Henley as a prototype) then maybe I will go that far!
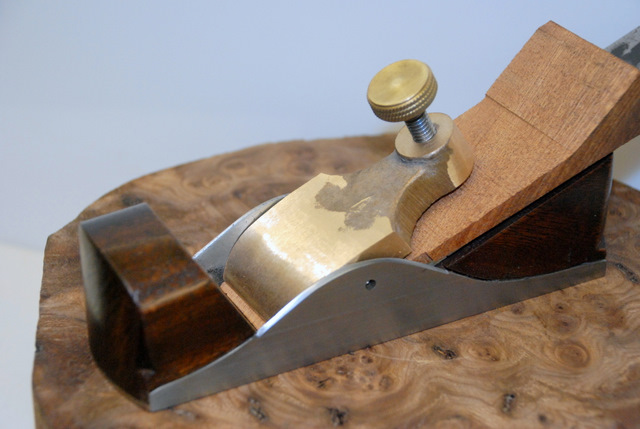
It is taking great effort not to shave the hell out of everything I bump into!!

Jim
 
Jim, excelent plane! That carving blew me away :shock:

jimi43":928cru2w said:
I just bought it because I loved the grain...I am a sucker for nice grain!

I can see it as something but not sure what yet...I am sure it will come...meanwhile it gets filed under "future project" - any ideas?

is it large enough to be resawn into guitar facings? If not, maybe a solid body mandolin? :) Maybe with some bluegrass style scrolls carved in?
 
Hi Mike

I have plans for a mandolin sometime in the future....but it is only 10" diameter so not sure it would even be big enough for that...I could perhaps bookmatch it though....

Jim
 
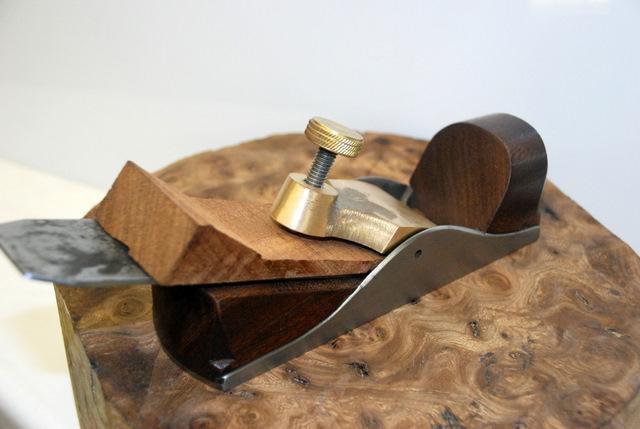
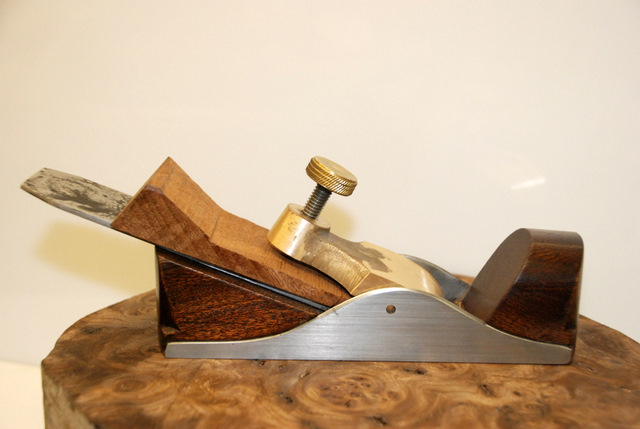
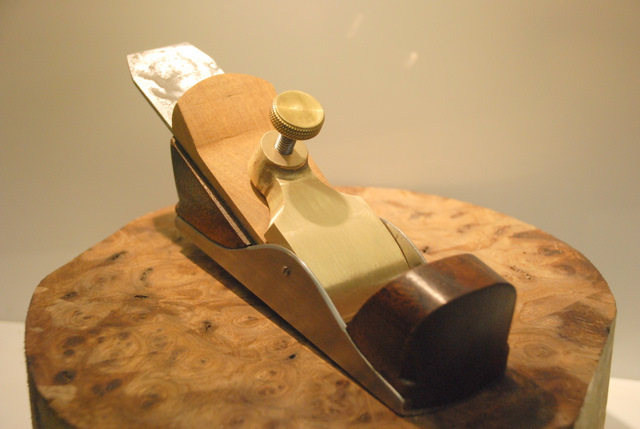
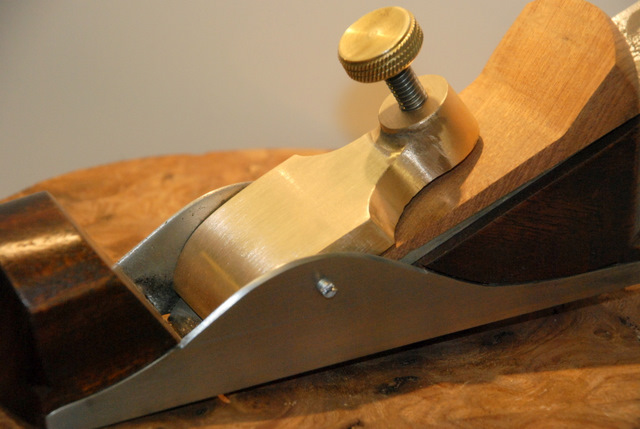
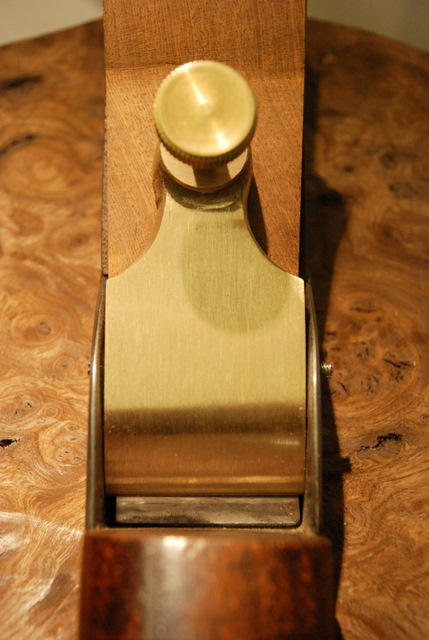
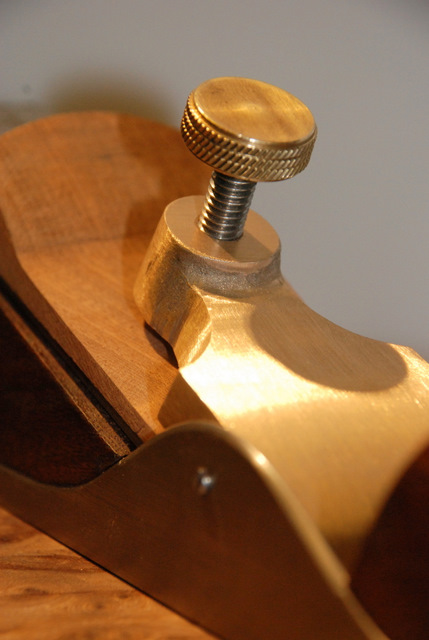
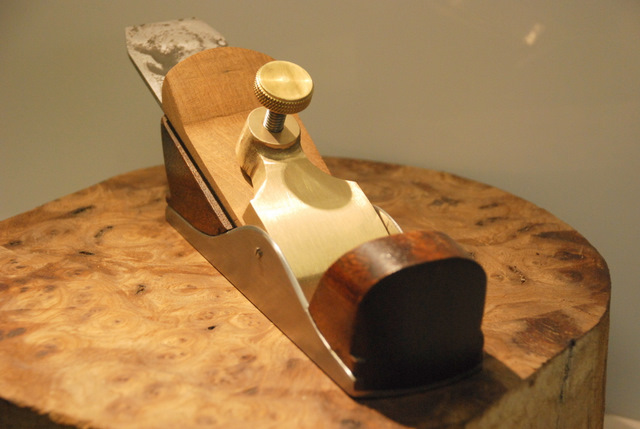
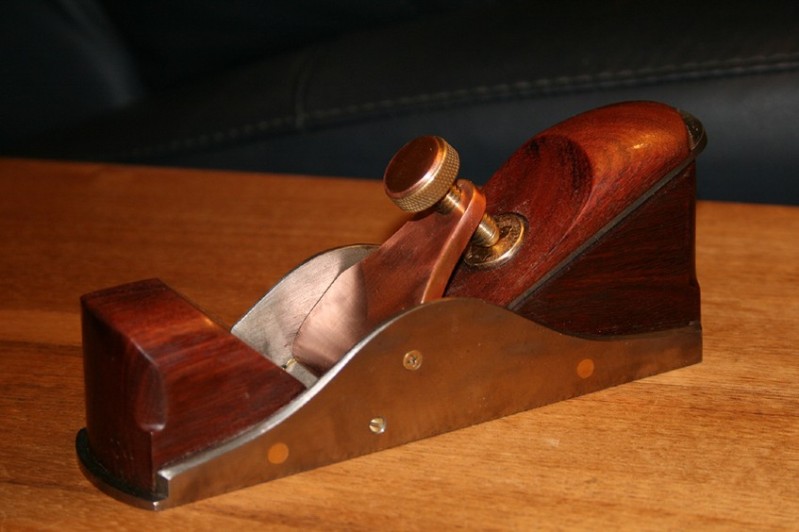
Hi Guys and Gals...just a quick update as I have received the "Norris Type" cap from our dear friend Philly...and it is looking good!

DSC_0205.JPG


DSC_0209.JPG


DSC_0210.JPG


I have removed the bar which was only an interference fit and drifted out easily....

Now...before I drill and tap the pivot points I need to think about the blade I am going to use...it's a bit tight so I can probably only go up to 1/8" (3.5mm) or I won't be able to fit the cap properly.

Obviously the wedge will need thicknessing and shaping too...but it's coming along nicely! Thanks Phil!!!

More later

Cheers

Jimi
 
hi jim

that will certainly add some more weight to it , should make it even better i would think , i'm looking forwards to seeing it with it's finished blade and all finished off . hc :D
 
Hi HC....yes it does! It has quite a bit of momentum!

I spent this afternoon working on the cap...getting rid of the mould marks and generally tarting it up a bit....

DSC_0223.JPG


The action of the plane has, if anything...slightly improved...but what has improved is the lock on the iron...it is rock solid now and easy to adjust...

DSC_0233.JPG


I think I will reduce the length of the knob thread...in order for me to be able to fit the pivot point, it is almost at its minimum...

DSC_0244.JPG


I am waiting for some 01 steel but in the interim...and since the Isaac blade is about the same thickness, I simply reground it ....bevel up still but now to 30 degrees...

If anything it handles crazy grain even better...

DSC_0245.JPG


So.....the next job is to shorten the grub screws....the left one is too long...panic moment as it nearly jammed in but I was patient and got it out...

So...ages yet before I get another day off so no updates for a while I guess....but it is coming along nicely!

DSC_0243.JPG


I do like my "Ram" wedge though...I think I will incorporate that design in the thin wedge...and I am getting a two pound coin for the screw plate...I think that will be perfect but I need a new one...

Later guys and gals

Jim
 
That's quite a looker *whistles*

Great job. The only fine work i'll be doing for the next little while is jack hammering and concrete work. Can't wait to get into the guitar shop for some fun stuff.
 
Looks great

Why do you have a timber wedge and a lever cap? If you got rid of the timber the lever cap screw would not be too long surely?

Ed
 
Hi Jim

It's looking good!

I do like my "Ram" wedge though...I think I will incorporate that design in the thin wedge...and I am getting a two pound coin for the screw plate...I think that will be perfect but I need a new one...

Keep in mind that the reason for the "wedge" with the lever cap is that it functions as a handle (rather than holding onto the blade). You will notice that mine has plenty of room for a palm. I would be cautious of carving it if this means that the comfort is removed.

GalootSmootherII_html_3a4b4ddd.jpg


One little tip - contact glue a strip of 240 grit W&D sandpaper under the hand hold to prevent it sliding around.

Regards from Perth

Derek
 
Just a quick update...

Thanks for the comments guys...and thanks for explaining the wedge design Derek...I have a long way to go to meet your standards but this has been fun!

Just to keep me happy...I am keeping the Ram design....I have grown to like it so it is now a signature of me for my tools...and this time I was a little more subtle on the carving...I am getting used to this whittling stuff now....

DSC_0246.JPG


I have some stain matching to do, the new blade to make when I get the gauge steel to shape and then harden in the forge...temper in the oven without Annie catching me after Sunday lunch...and finally - mounting a two pound coin in the ram wedge under the screw to prevent the wedge splitting...about here....

DSC_0248.JPG


The other reason for minimalising the ram horns is so that they don't snap off with age and it is more comfortable to handle now...

DSC_0251.JPG


I am going to test drive it tomorrow before work....

More later guys and gals

Jim
 
hi jim

this is just a thought and IMO HOW about carving the same design into front handle , it's beginning to look the bees knees mate . hc
 
Hi HC......I was mullin' that over in my head last night too...

Is it too much?

Will it be comfortable?

How easy now it is glued in?

What about......just the wool curves....the four cuts on the top mirrored?

Jim
 
hi jim

well as i said it was IMHO I think it would finish it off a treat, sort of get the carving to flow from end to end , if it's difficult to carve in situ perhaps make another front handle and place along side of it before you break out the first one and post some pics for others to view and comment on . hc

ps mirror ends yes a good idea .
 

Latest posts

Back
Top