Dom's workshop build

UKworkshop.co.uk

Help Support UKworkshop.co.uk:

This site may earn a commission from merchant affiliate links, including eBay, Amazon, and others.
DomD":6vod5dji said:
Slower progress - I did install the windows:

Only to decide the white really doesn't fit with the building... I will be getting some custom sized wooden ones; if anyone has used any companies for windows I would be open to recommendations.

Thanks

Looking good there Dom. On the subject of windows - you could leave the existing ones in for the moment and then make some. I'd never made any and had a go and was (is still) very happy with them.
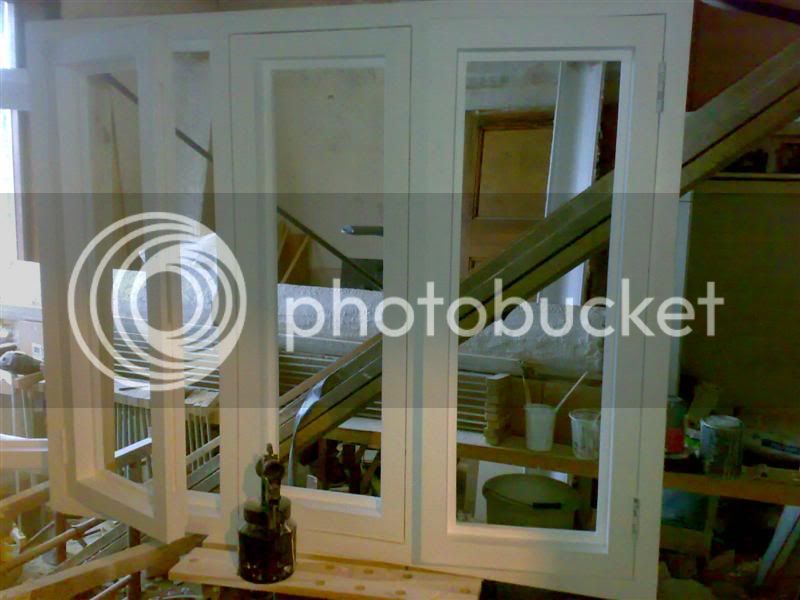
3rd_coat_primer.jpg
 
Dibs-h":1g57yrtl said:
DomD":1g57yrtl said:
Slower progress - I did install the windows:

Only to decide the white really doesn't fit with the building... I will be getting some custom sized wooden ones; if anyone has used any companies for windows I would be open to recommendations.

Thanks

Looking good there Dom. On the subject of windows - you could leave the existing ones in for the moment and then make some. I'd never made any and had a go and was (is still) very happy with them.

3rd_coat_primer.jpg
After looking at the price of new wooden windows that's what I think I'll do. Those windows look great!

I may paint them in the meantime, I think grey frames would look reasonable despite the thickness.

I have finished the first row of onduline but other than that progress is slow due to seemingly constant rain.
24a20f7a7d85a16bd0d43a4566e8c3e6.jpg

Hopefully I'll get the roof window in on Saturday.
Dom
 
Window mostly installed other than final flashing. I covered it with some spare breather membrane in the meantime.
f1f8d9a8de30ee47d2267f01708c4afe.jpg
a333ca0edbb1acc6e8f2e9801adbc693.jpg
bf58563b12891f84f43c66363178f3cd.jpg


This is the flashing around the top gutter which should be fine as far as I can tell but the instructions are unclear.
02d13cf2122fdf6614688242209df296.jpg
 
Roof light fully flashed:
b1f20152dfa100c74f65cc76e48037aa.jpg


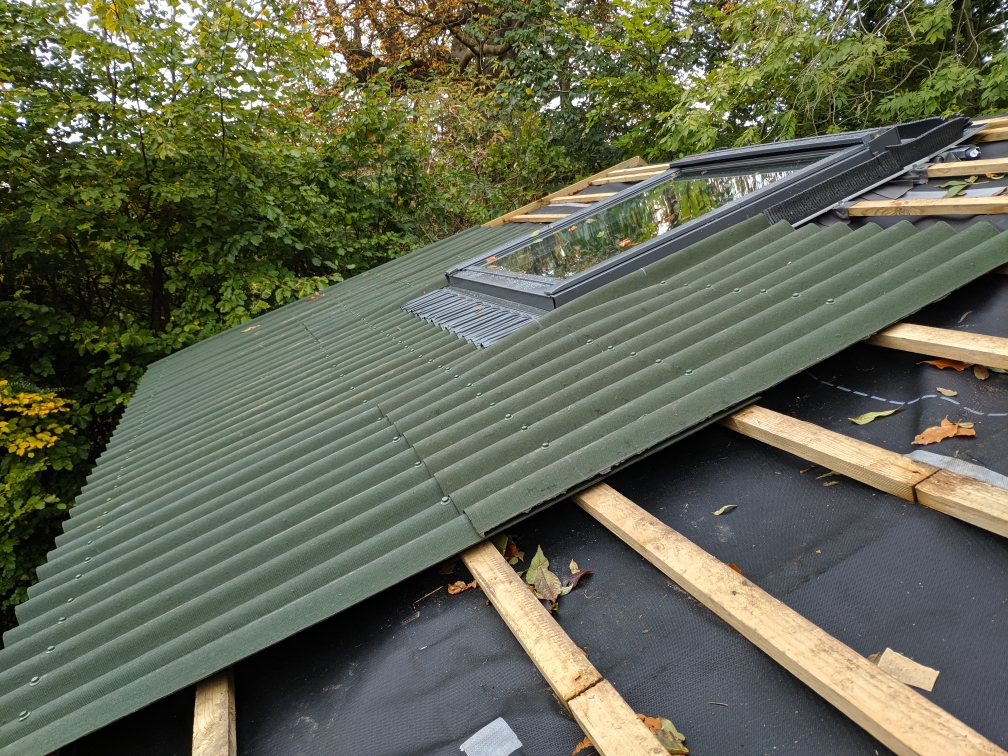
I'm really struggling to get the sheets on around it though. See here where I installed a sheet over the bottom flashing:
70df8f6a10625213f244aa073a84e752.jpg

The sheet lifts up which could allow water to be blown up over the overlap and I can't nail them down as that would be through the flashing. Not sure what the correct way rectify this is; any ideas appreciated.
Dom
 
Can you not use some of those fixings that are lower down in the last picture? Or is there no lath directly underneath where you would screw down? Just thinking out aloud.
 
Dibs-h":3iq4ah70 said:
Can you not use some of those fixings that are lower down in the last picture? Or is there no lath directly underneath where you would screw down? Just thinking out aloud.
Yeah I can't fix any further along (would be over the flashing) or lower (would not be over a batten). I think I will have to rip up some of the onduline sheets and have this overlap go over onto the next batten.
Dom
 
I layed a longer sheet over the flashing and fixed below, there is a small bump but it doesn't lift at the bottom anymore.
a728cd81b6ef22e74f4522d31dc21196.jpg
 
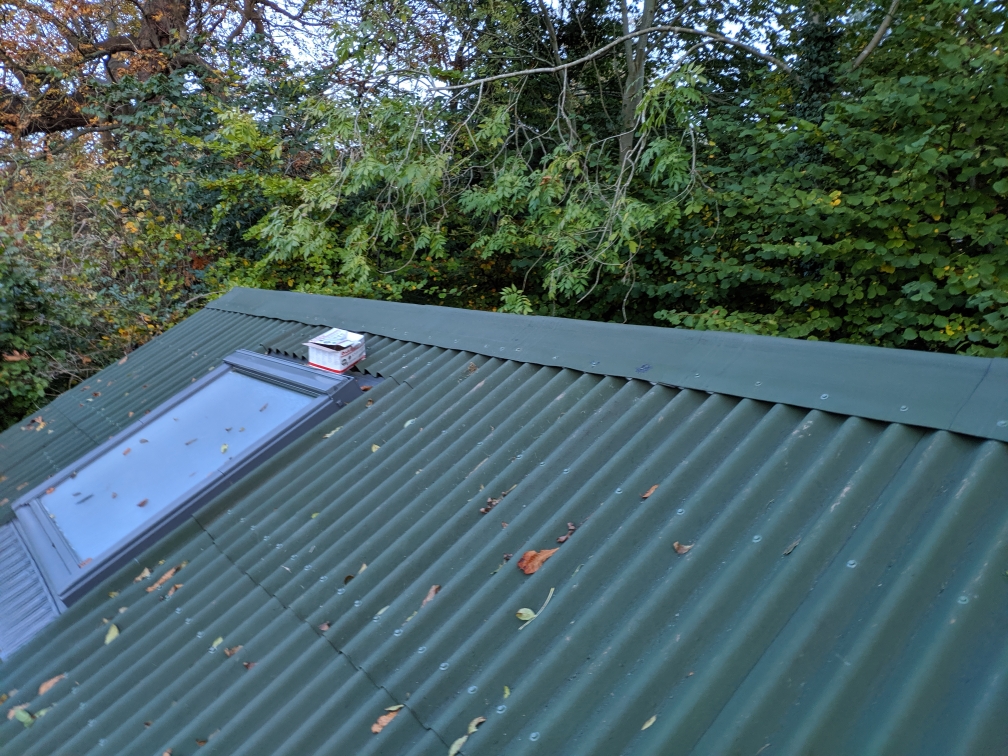
Roof now basically finished - but I am one ridge piece short!
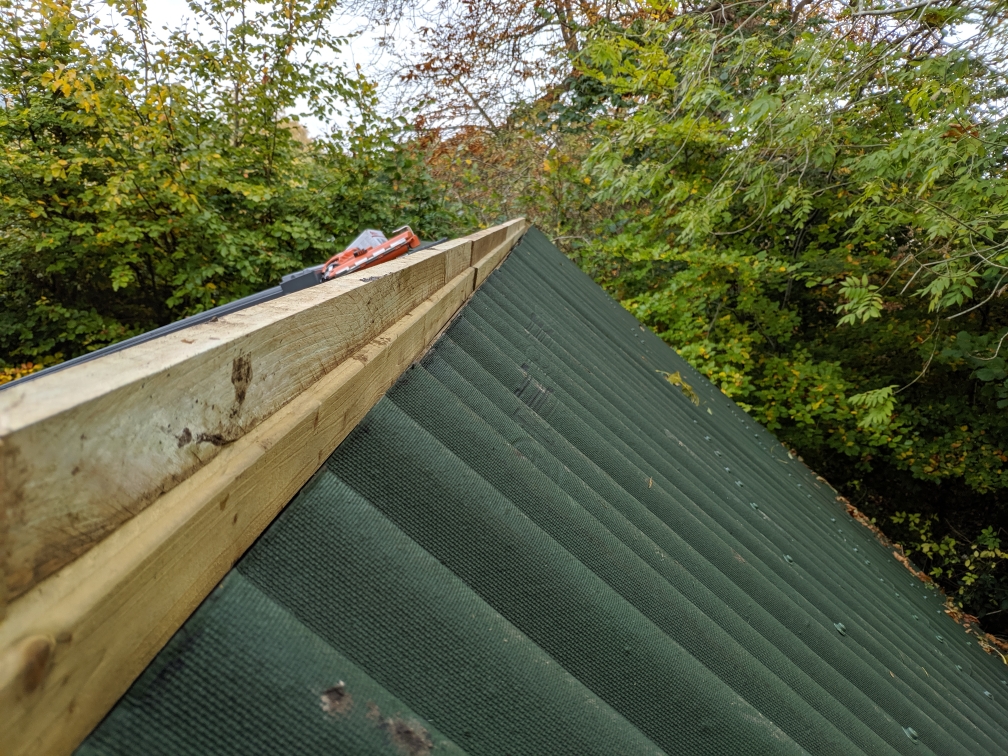
I made a 'ridge board' with a 2x2 and a batten
1bb4929b18ae9e21ce26a9d34f5ed040.jpg


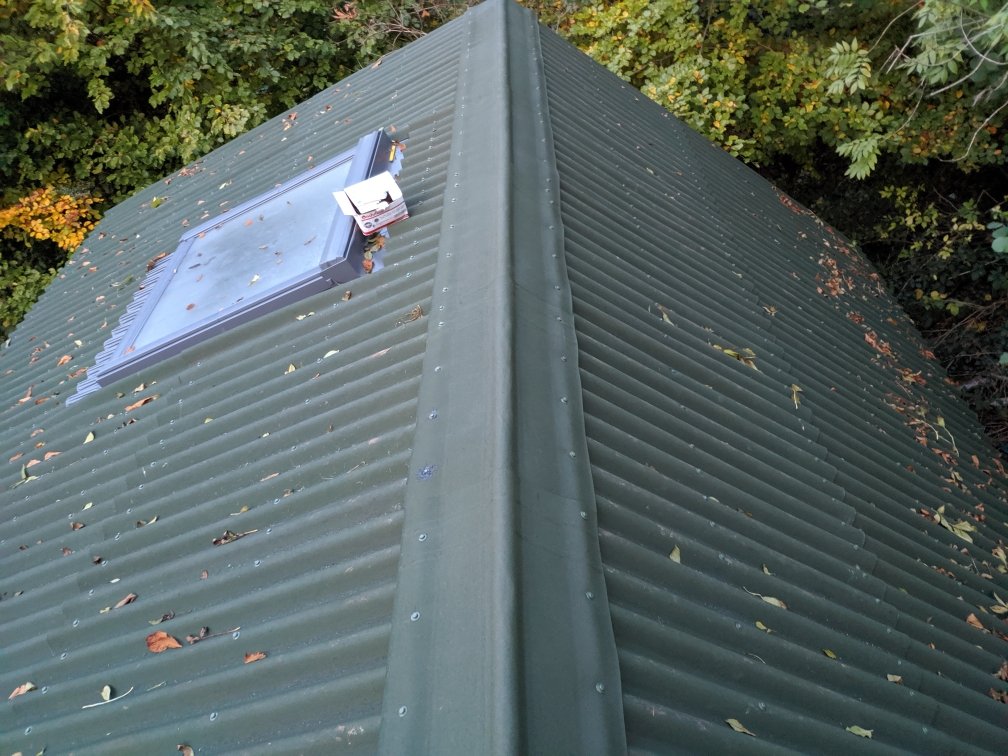
Then added the ridge all along with foam fillers. This means no ventilation at the ridge but I will use comb fillers at the eaves to allow airflow.
8b0822cce90ece2ed1f3f4b7af55e55a.jpg
9dddc4972fe3c441a3cd17d251273364.jpg


Next it's the internal wall, painting then electrics. I'm going to run a 10mm² swa cable for 40A in the shed. That should be enough to run the heaters (4kW), lights and some tools.
 
The electricity needs to be certified by a qualified electrician, who'll need to test everything including earthing. Leave the calculation of the cable size to him. He'll need to wire up the consumer unit, which isn't a DIY job. Many electricians will let you run the circuits for the sockets and lights, and simply check inside a couple of the fittings to see that you've done it properly. Otherwise, leave the electrical connections to a professional.
 
MikeG.":1x0poy40 said:
The electricity needs to be certified by a qualified electrician, who'll need to test everything including earthing. Leave the calculation of the cable size to him. He'll need to wire up the consumer unit, which isn't a DIY job. Many electricians will let you run the circuits for the sockets and lights, and simply check inside a couple of the fittings to see that you've done it properly. Otherwise, leave the electrical connections to a professional.
Yeah should have specified but this was discussed and will be done with an electrician.
Dom
 
10mm2 is what I'm running to my Norwegian Wood(shop)
It was sized for me by the electrician that will be doing the installation work.

Off that I'll have 4 circuits, 1 of them 3-phase (we have 3-phase 230V here).
And of the single phase circuits; 1 separate circuit for lighting, 1 separate for extraction and 1 for all the rest.

Mark
 
Krysstel":3swcydwq said:
10mm2 is what I'm running to my Norwegian Wood(shop)
It was sized for me by the electrician that will be doing the installation work.

Off that I'll have 4 circuits, 1 of them 3-phase (we have 3-phase 230V here).
And of the single phase circuits; 1 separate circuit for lighting, 1 separate for extraction and 1 for all the rest.

Mark

Lucky to have 3 phase available, I'm going to have a 32A circuit for plugs, 6A for inside lighting, then 2 9A circuits for heating (my electrician wants to split it). I imagine I will just run extraction from sockets and if I do get anything permanent installed just plug it in.

For the internal wall I think I may as well insulate it; if I am heating only the inner room will having OSB on both sides of the wall cause problems? I suppose any vapour would condense on the inner vapour barrier.

I also am wondering if I need to add OSB around the skylight as a vapour barrier? This is done in houses.

For lighting I think I will use LED panels unless anyone has other suggestions. One for the smaller room, in the vaulted ceiling opposite the skylight and one in the entrance area. I may also put a LED tube in the 'loft' area which I am boarding and using for storage.

Dom
 
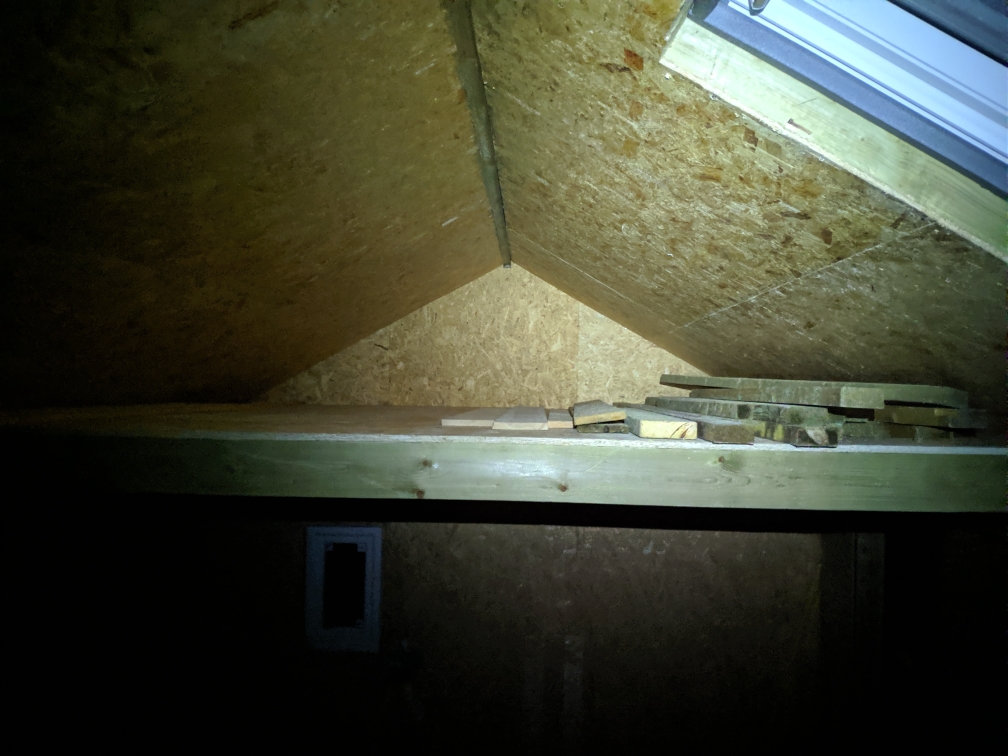
Attic boarded with 18mm osb - maybe a bit over the top.
ad2c865d6d7f090cba66bb46326e752e.jpg

I also boarded a shelf on the opposite side. I screwed 2x2s into the wall structure at each side to support the edge of the sheets.

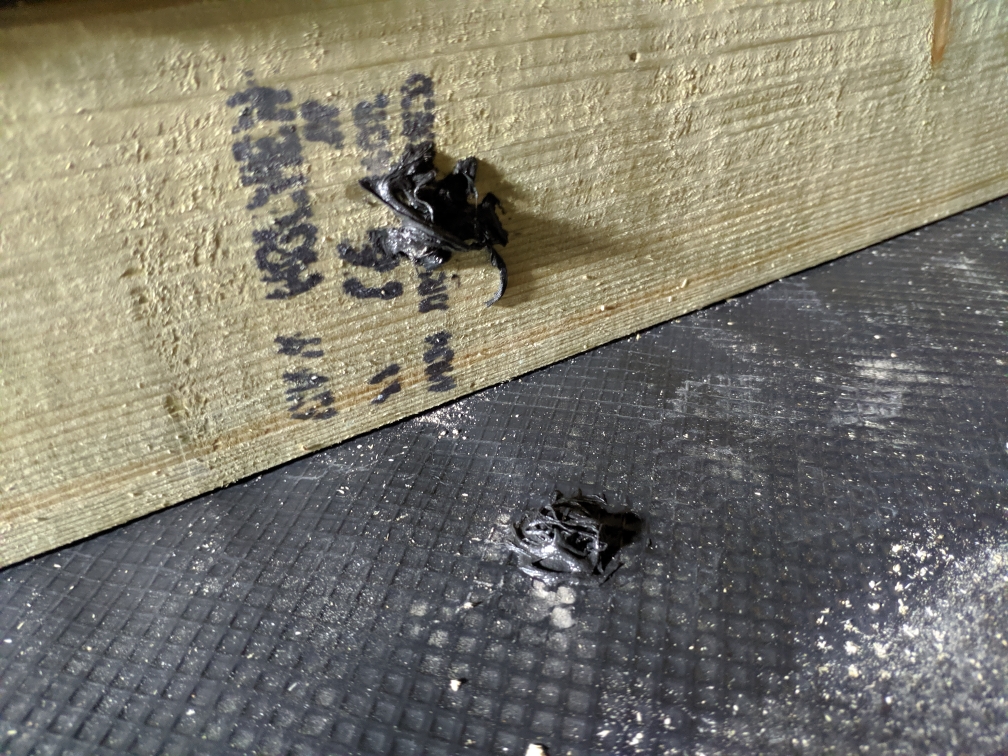
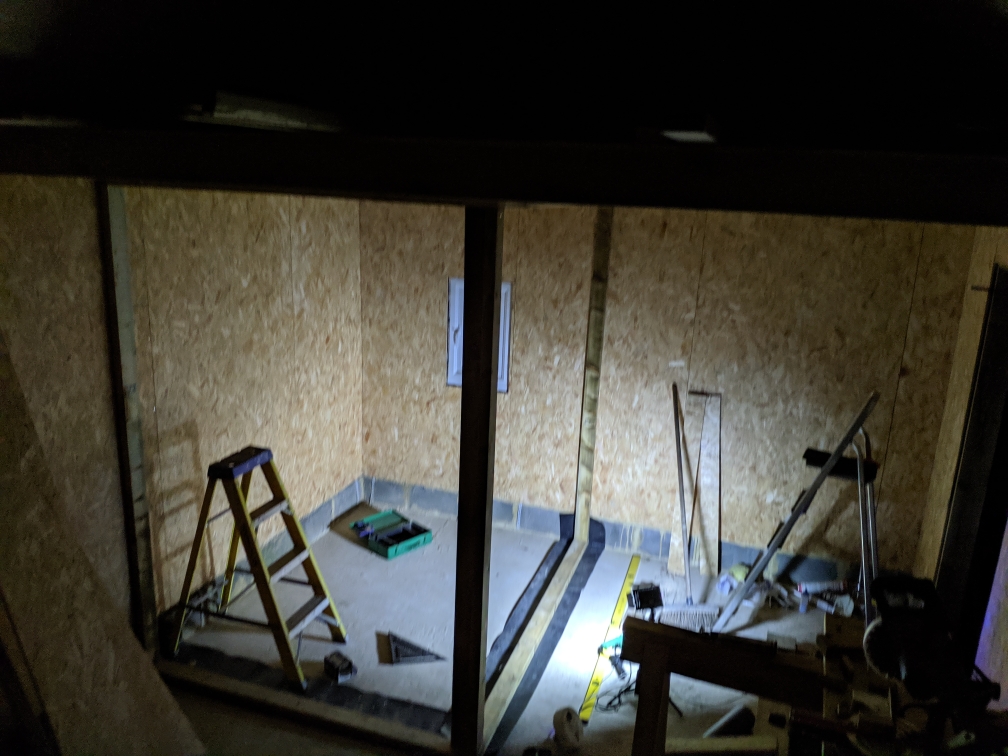
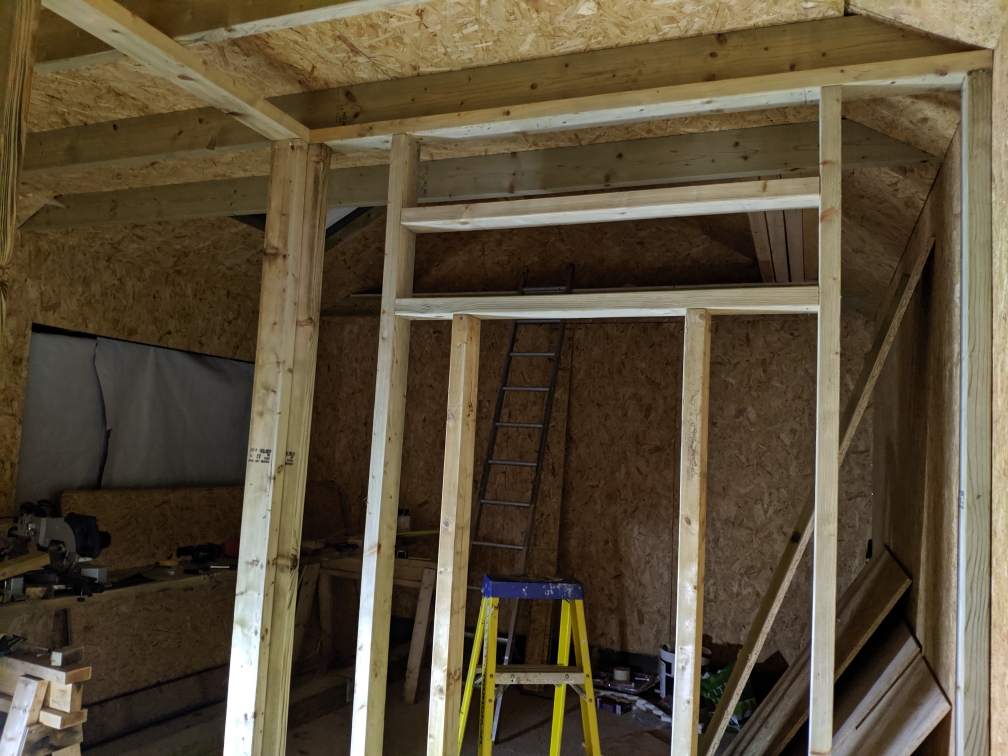
Then I moved onto the interior wall, first laying out with a chalk line, then fixing the sole and top plates. I used multifix screws - not intended for anchoring but work fine here I think. I sealed the dpc hole with roof and gutter seal.
5671ad3c433d40dce3ea1eb137055c33.jpg

b9c7359d938f0436217ef61deb4d8a76.jpg


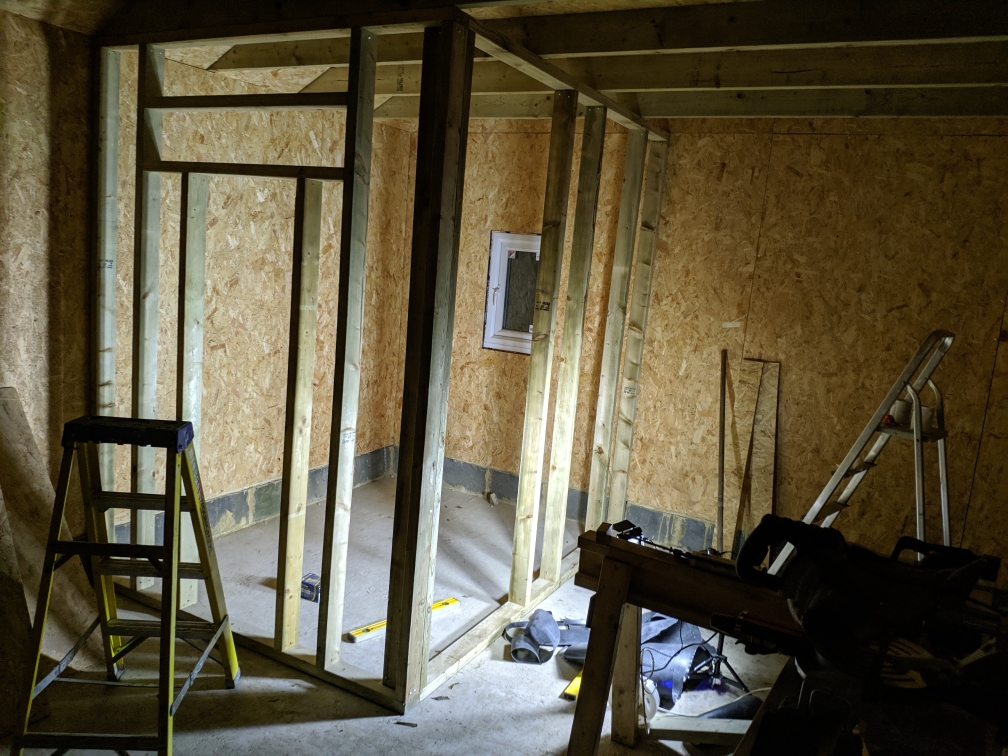
I decided to add space for an internal window to let light from the large windows into the small room; this explains the framing for the left wall.
50b4e36fd38715d6049e37adc281201d.jpg

cb984848d2809cacfbe5a2fba9b2fc42.jpg


The joist above the wall had been placed crown down so the top plate is actually slightly angled; only a few cms drop across its length though.

Next will be sheathing and insulating the internal wall.
Dom
 
I'm going through this thread because it's pretty close to what I figured out I want to build, lots of good information many thanks to all! I'll post my own thread soon I think with some ideas to get some comment on before I submit for planning permission (I'll need PP because it will be within 2m of a boundary and I want a decently pitched roof).

One question - DomD what software did you do the framing designs in?
 
Gareth79":17tmg8kp said:
One question - DomD what software did you do the framing designs in?
It's in fusion 360 which isn't really designed for it but works alright. In reality though I didn't stick to locating the framing as in the model when I built it and instead just marked based on spacing. Model was more for material estimate.
Dom
 
DomD":epf3oz5d said:
Gareth79":epf3oz5d said:
One question - DomD what software did you do the framing designs in?
It's in fusion 360 which isn't really designed for it but works alright. In reality though I didn't stick to locating the framing as in the model when I built it and instead just marked based on spacing. Model was more for material estimate.
Dom

Thanks, yes I think learning another piece of software is probably too much effort for me! I have used Revit to do the overall design, which will do me fine for the planning permission drawings, and I then I can manually work out the rest. I have gathered that studwork is generally not precisely planned out (the same as a bricklayer isn't told how to lay each brick), but as you say for a DIYer it's necessary to get a fairly close estimate to avoid ending up with too much or (worse) too little timber.
 
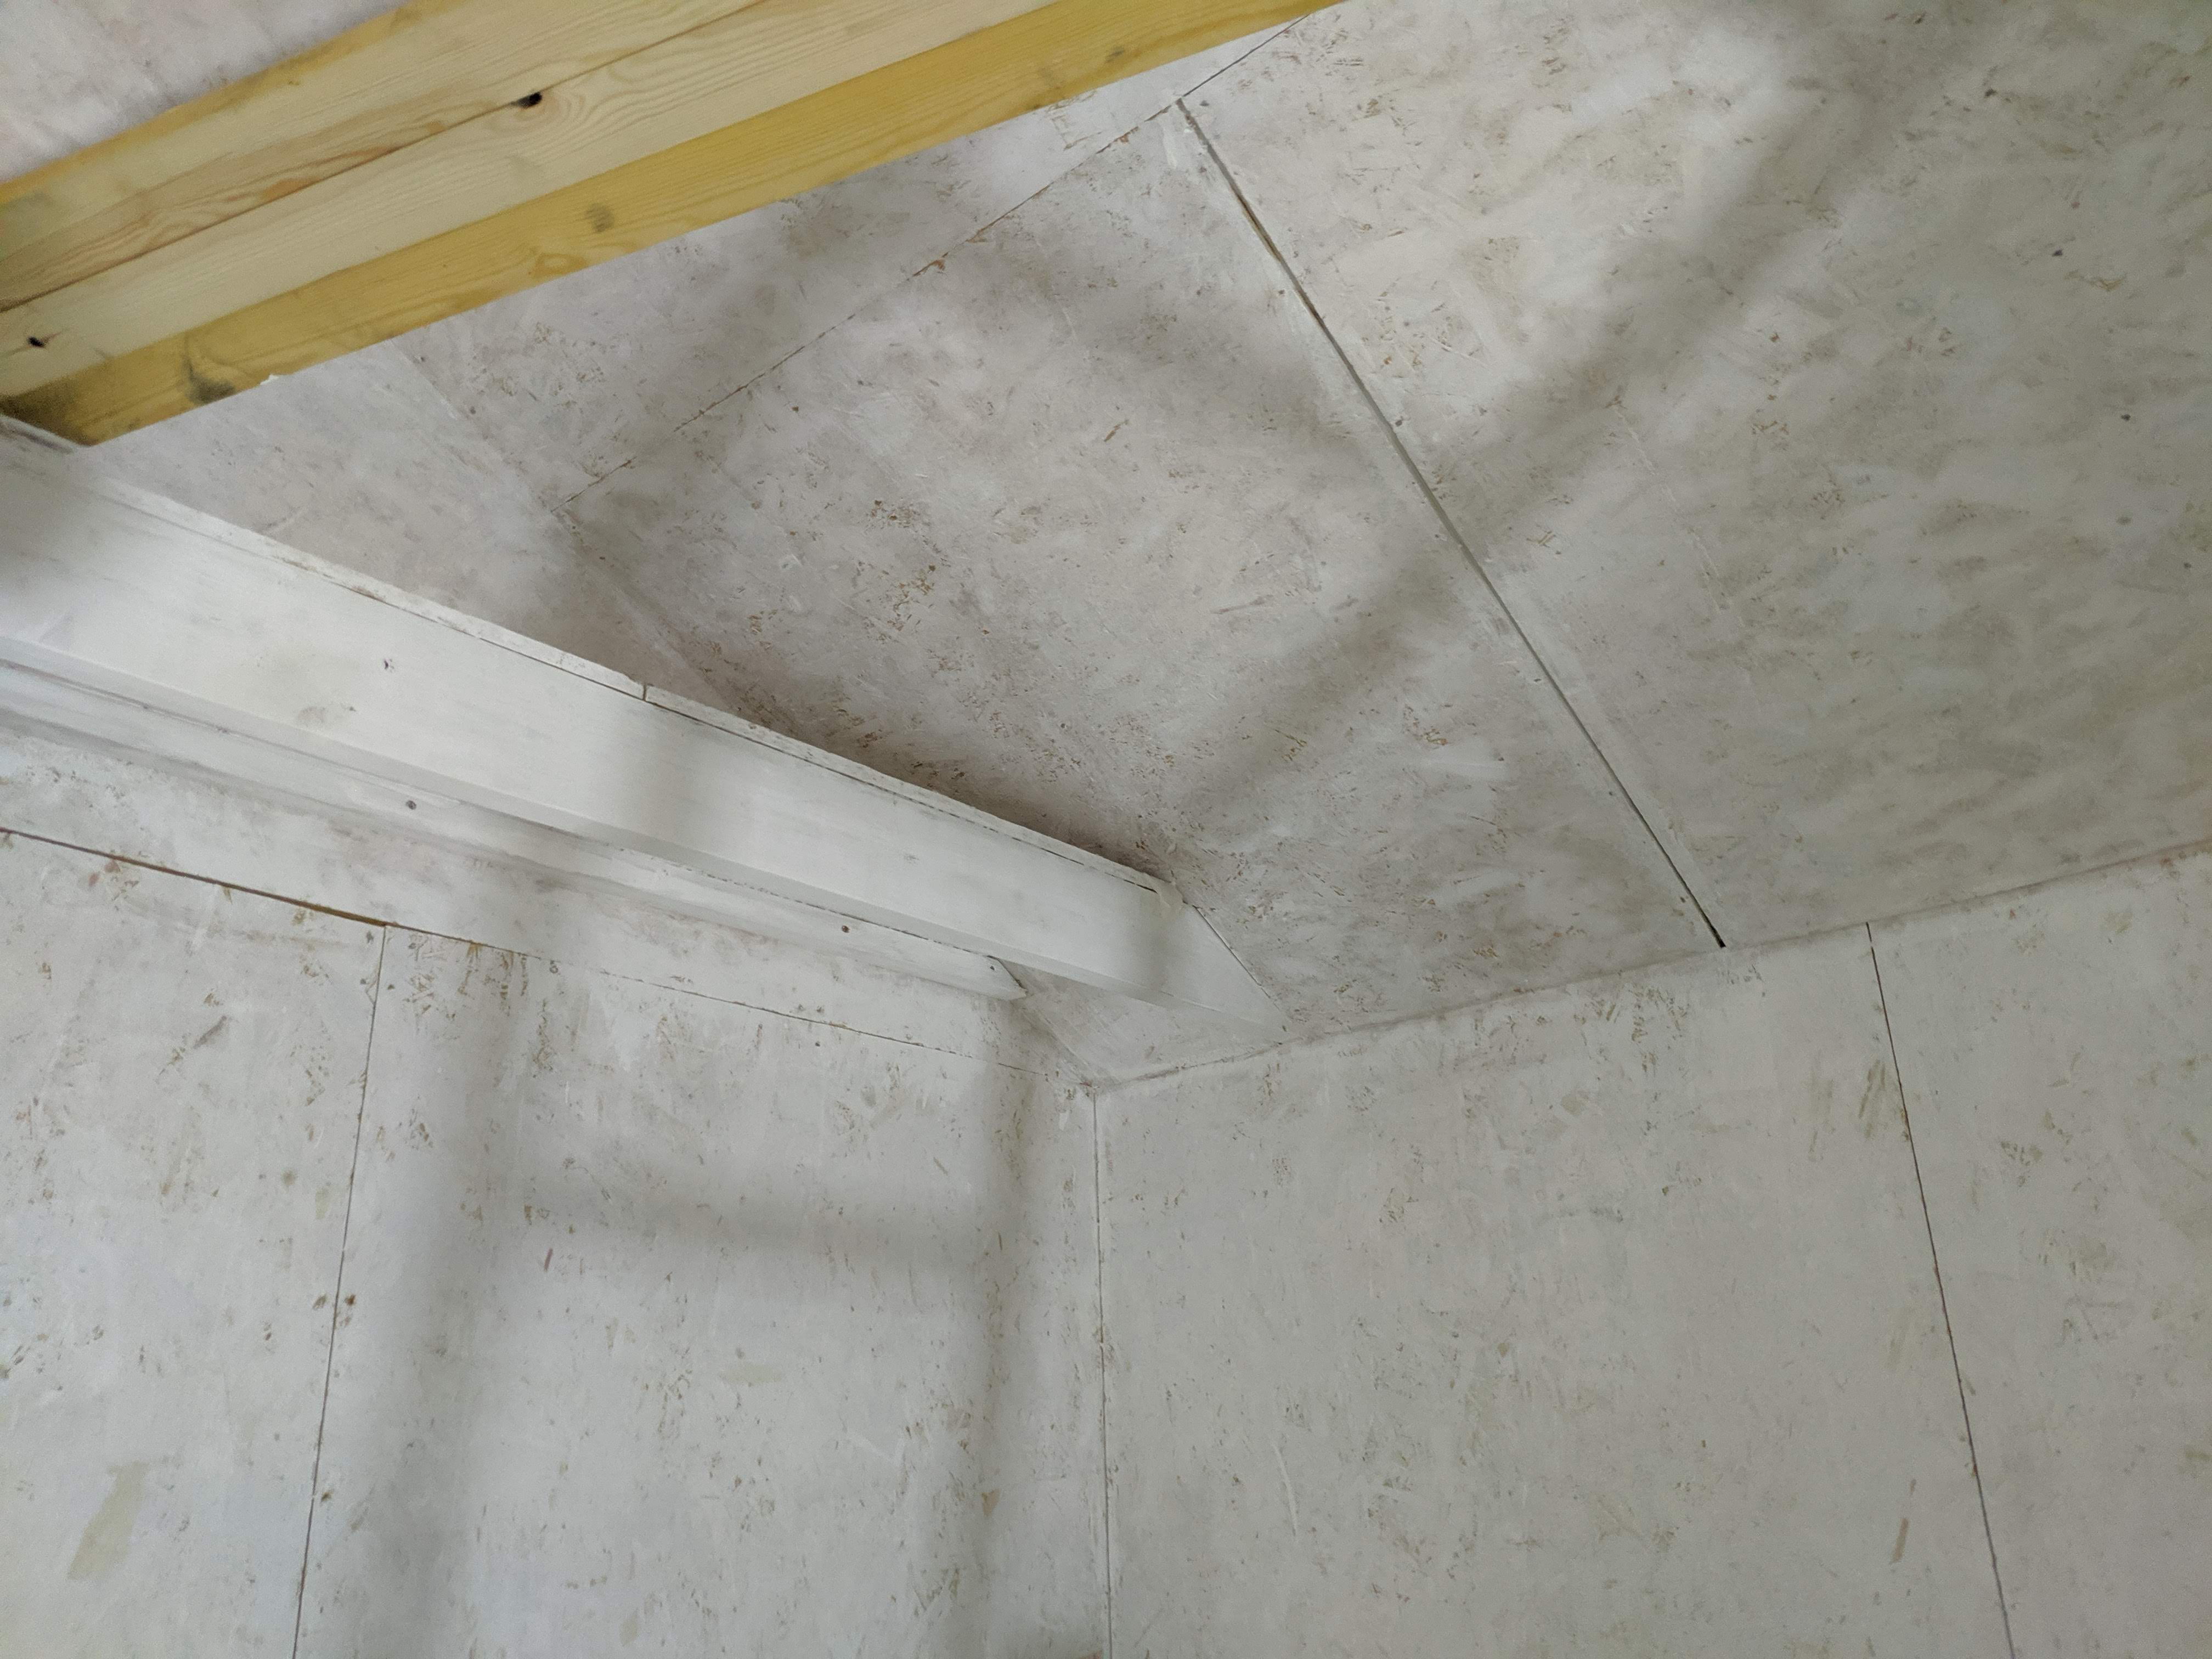
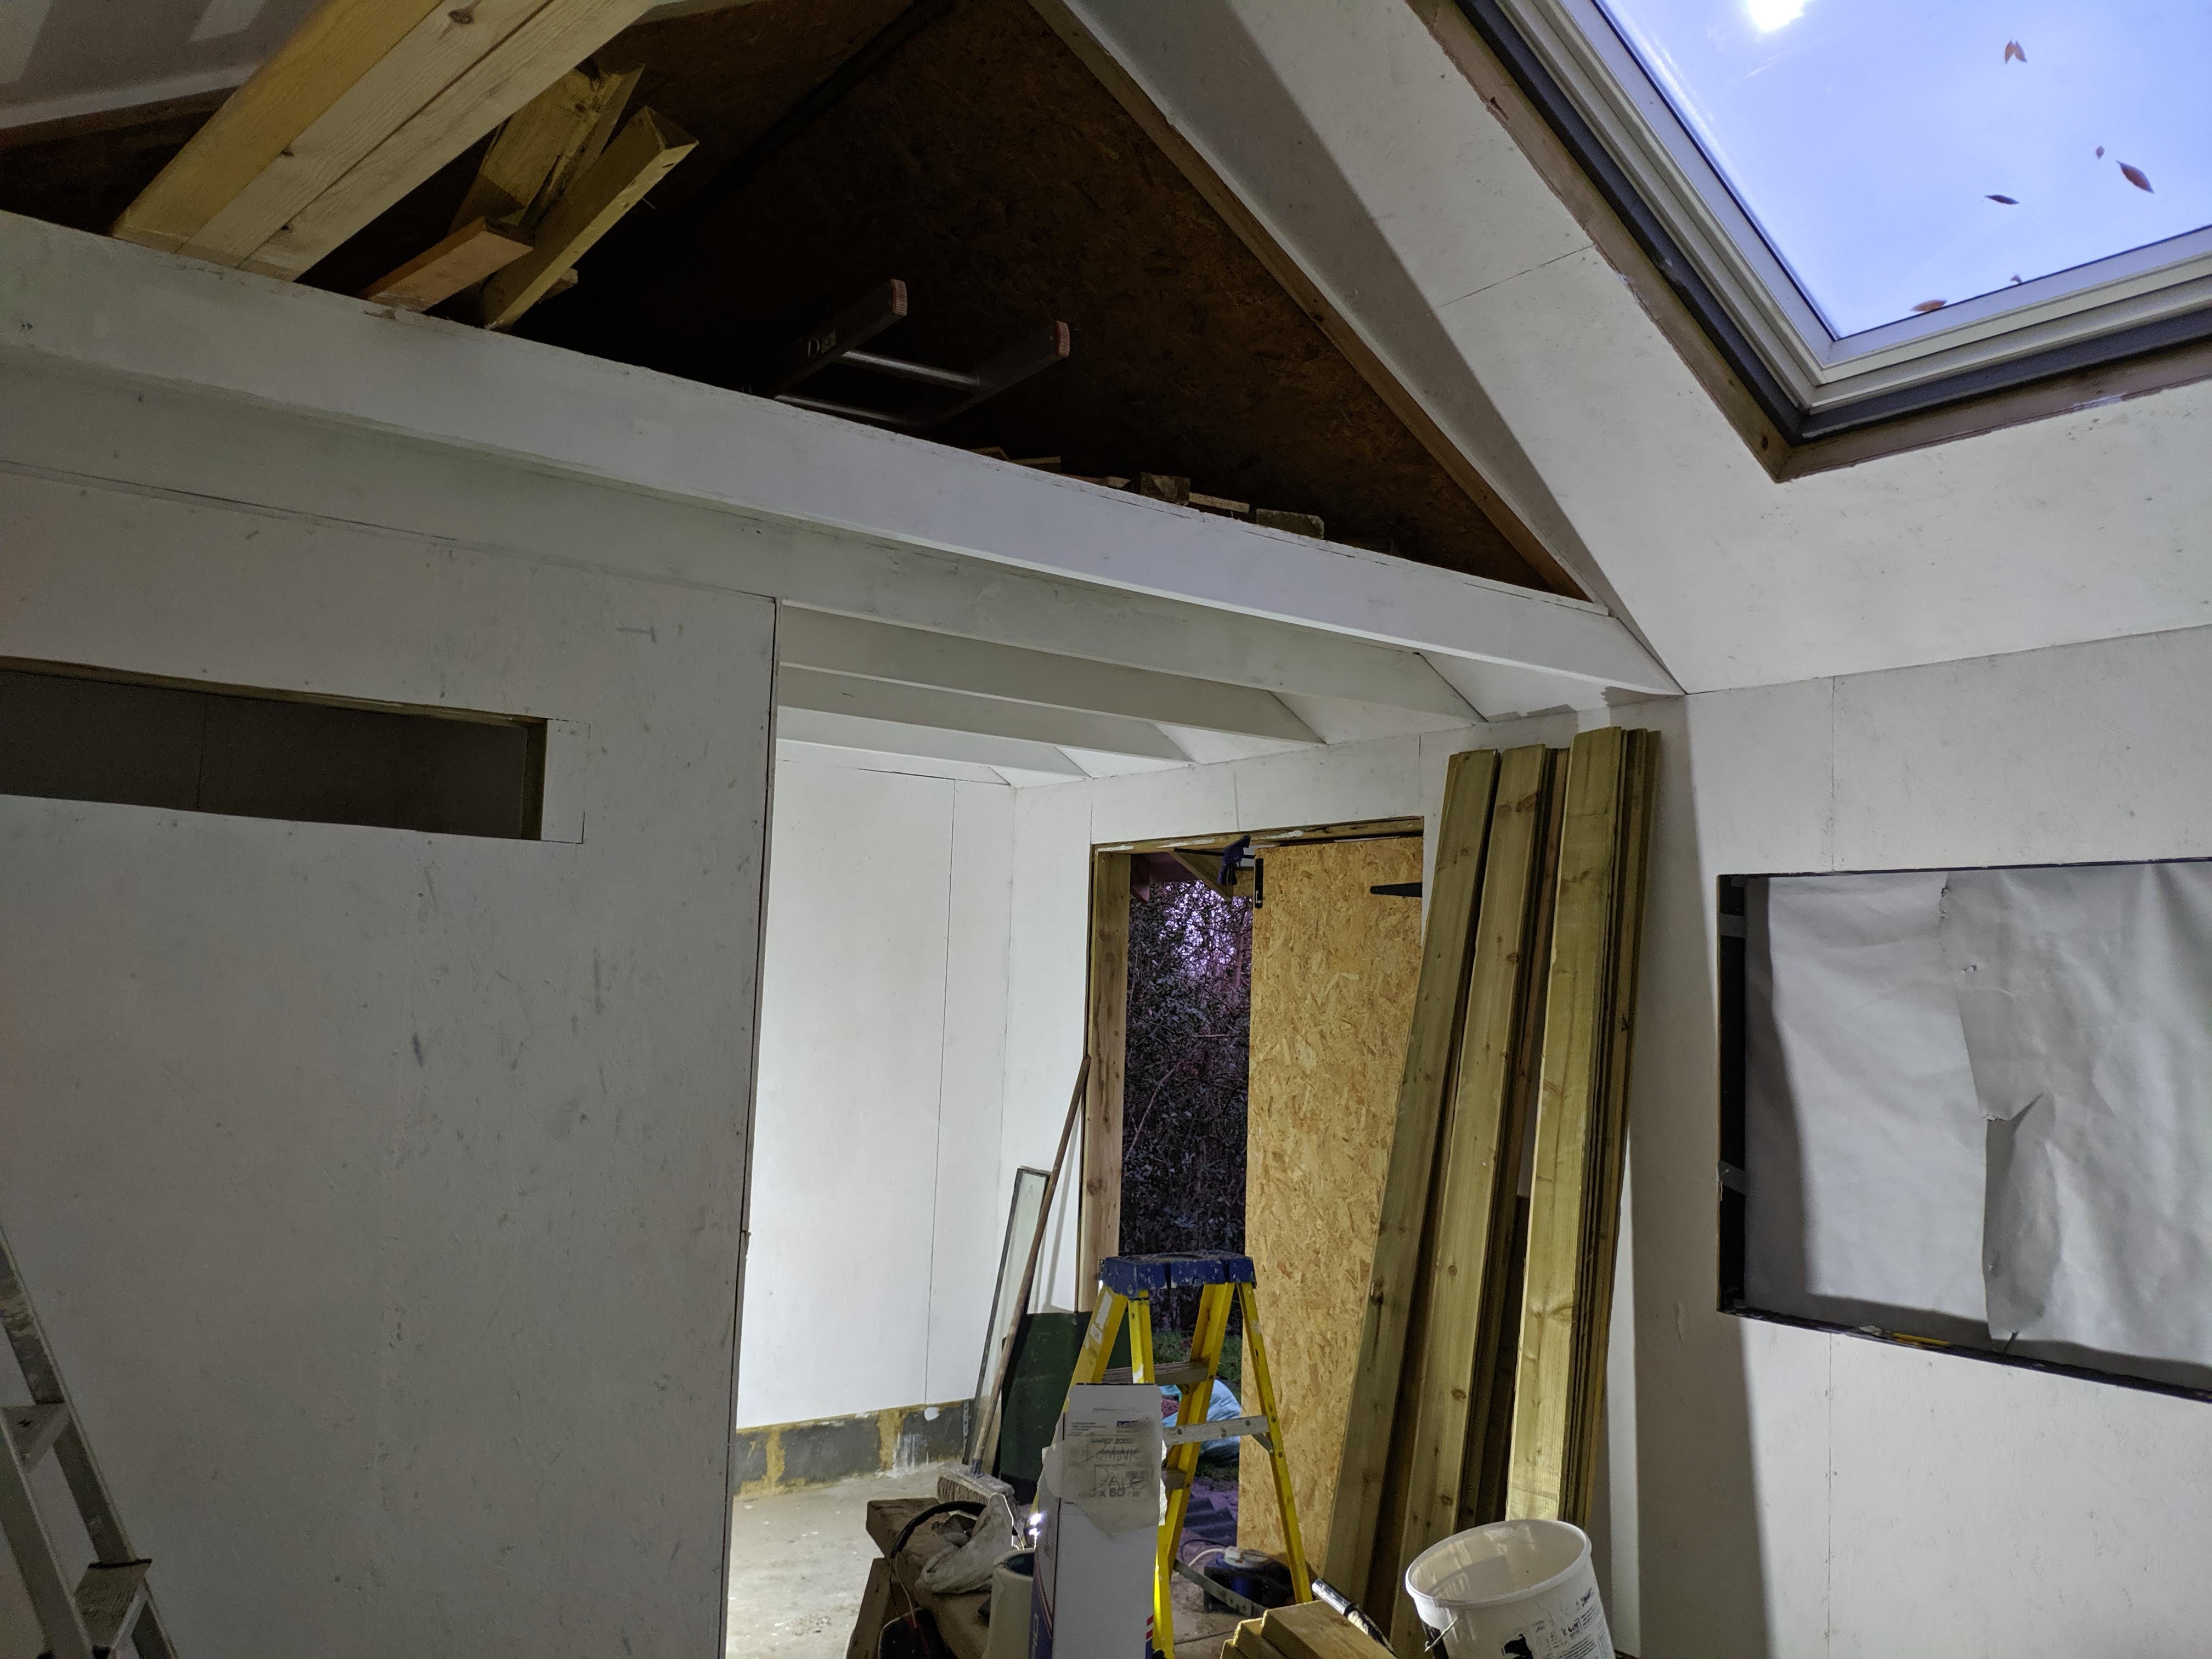
I have now rolled on three coats of emulsion on all surfaces; I was planning on doing the attic too but that seemed a waste of time so instead I added a wooden 'border' and painted up to that.

After the first coat it looked like this, this was a slightly watered down coat:
DqTN64P.jpg


Then the final two coats:
gIq1r7b.jpg

Not perfect but good enough I think.

I'm putting the electrics in with my electrician before New Year; he has persuaded me to use plastic conduit to keep things neat. These will go directly into metal-clad socket knockouts. There are going to be four circuits: 6A interior lighting, 6A exterior lighting (security lights & maybe other), 32A sockets, 20A heating.
I'll post some photos when its done!
Dom
 
are you wiring the socket outlets in 2.5mm t&e? if yes use 25mm conduit as you/he will struggle to get two cables in 20mm conduit
 
Add at least one 16amp outlet. Sods law dictates that at some stage a bandsaw or PT that you buy will require it. Costs peanuts at installation time.
 
flying haggis":1kwlwavj said:
are you wiring the socket outlets in 2.5mm t&e? if yes use 25mm conduit as you/he will struggle to get two cables in 20mm conduit
I believe it is 2.5mm t&e but the electrician seems confident we will be able to get two cables in each 20mm conduit. That should be the max that is ever going down/up a conduit run.
It's all bought now so hopefully will work out.


AJB Temple":1kwlwavj said:
Add at least one 16amp outlet. Sods law dictates that at some stage a bandsaw or PT that you buy will require it. Costs peanuts at installation time.
I think it's going to be too late now - I could always add one in the future if needed.

Dom
 
Back
Top