Brace & Ledged Door - or Panelled Door.

UKworkshop.co.uk

Help Support UKworkshop.co.uk:

This site may earn a commission from merchant affiliate links, including eBay, Amazon, and others.
Been a very long day - just come back in and I went out around 11:00, blimey where does time go.

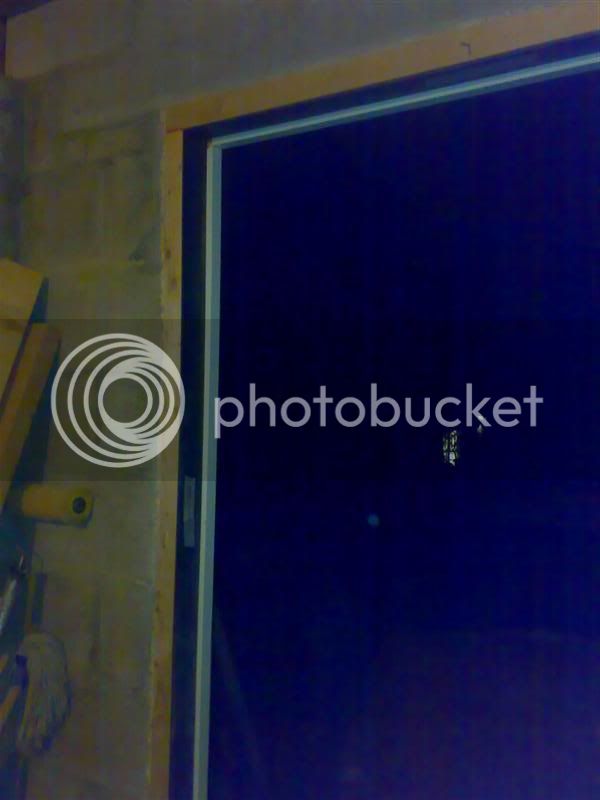
Got the door frame fitted, foamed it, leaving it for an hour or so. Then screwed it in using some of those concrete screws that were recommended - RapierStars or something.

Since I had a 100, I did kind of overdo it - but what the hell.

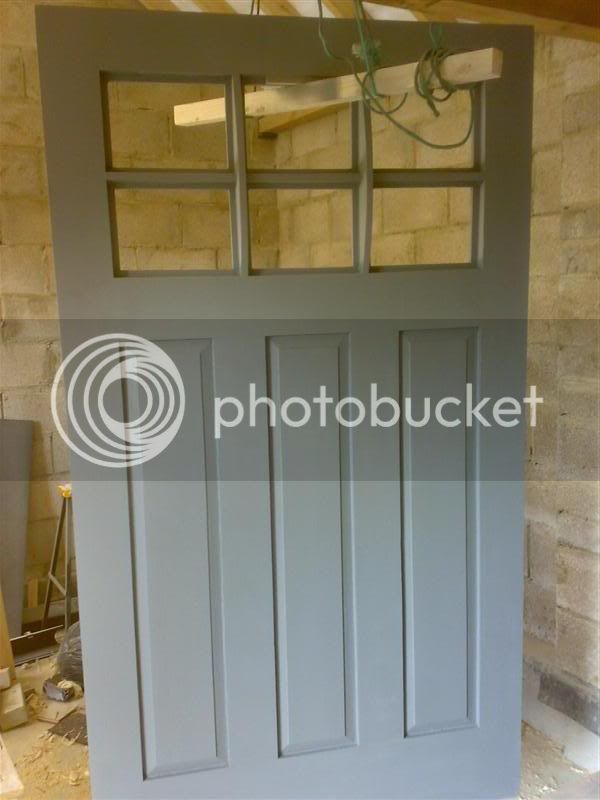
Door is in paint - I can't describe just how forward I've been looking to that! Well grey primer - but still. I'm been thinking about what final colour to use - been a choice between Edwardian Green, Blue and Grey has been a bit of late entrant. I didn't really fancy green - so it was more or less Blue. Now that it's in Grey primer - mind's made up, it's Grey.

I did cut almost to final length - but stopped short. The aluminium cill I've bought - requires the door to be 20mm less than the opening height. Thought it best to cut it to fit the opening - treble check, sleep on it and then come back and cut it to final length, given the shenanigans I had with the frame. :lol:

Took some piccies - but phone is flat, so will post them up tomorrow.
 
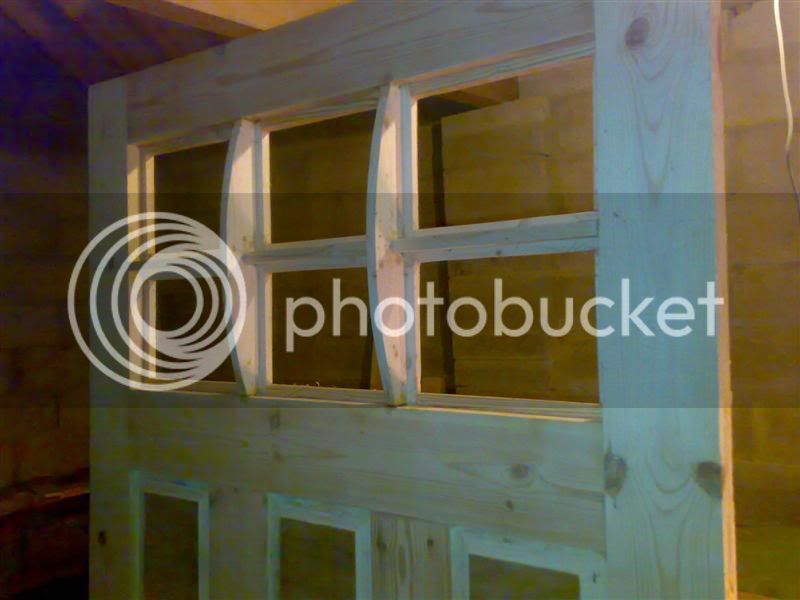
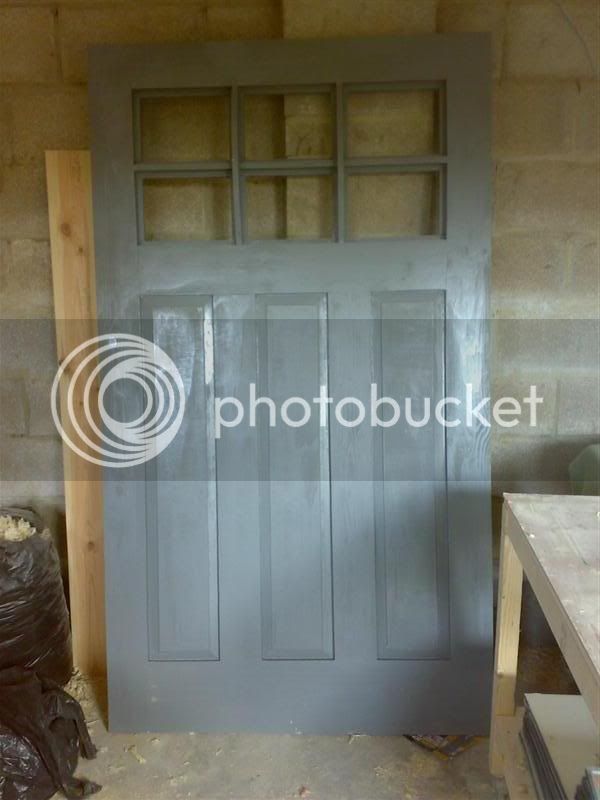
Piccies: Sat - the glazing stops all done,

rebated.jpg


Then odds and sods - nothing spectacular to write about, except bondo on the odd bit that I wasn't happy with and loads of sanding.

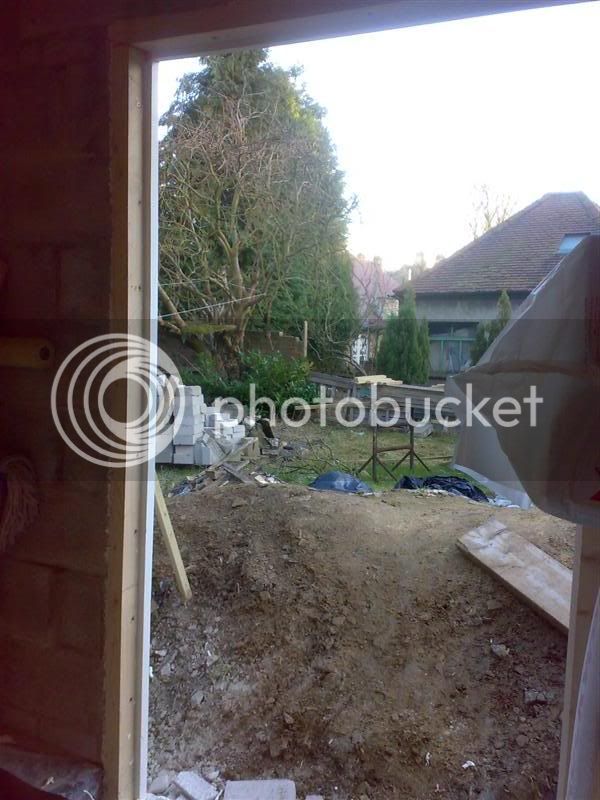
Sun: Fitted the frame,

frame_fitted.jpg


Yes - it's probably overkill on the fixings - my excuse is that I had that many, I had to do something with them. :lol:

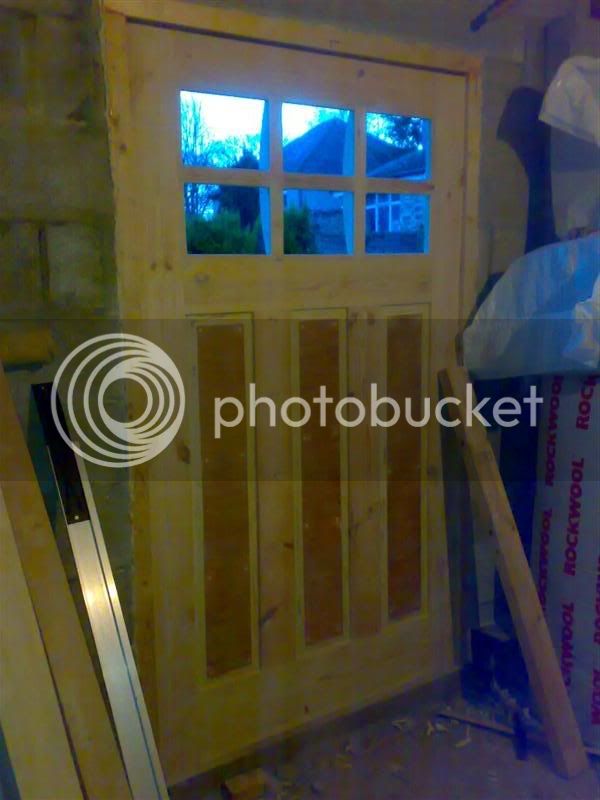
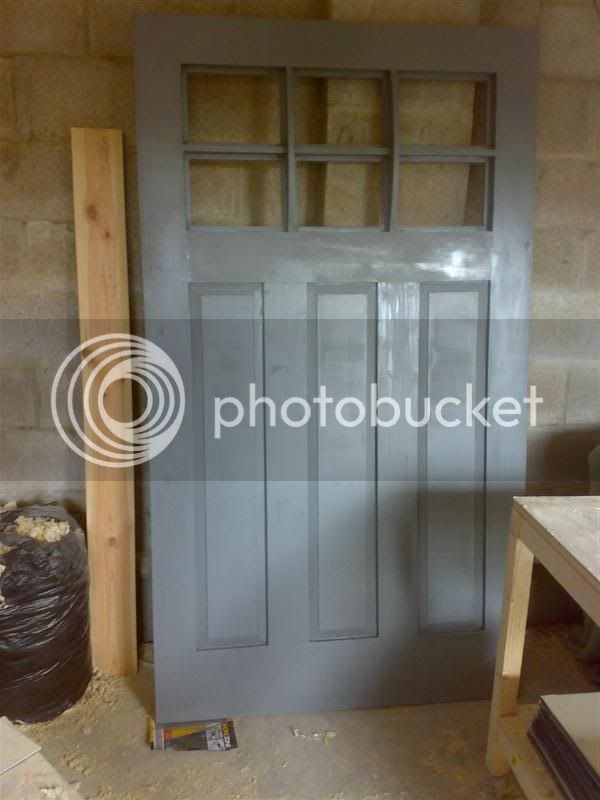
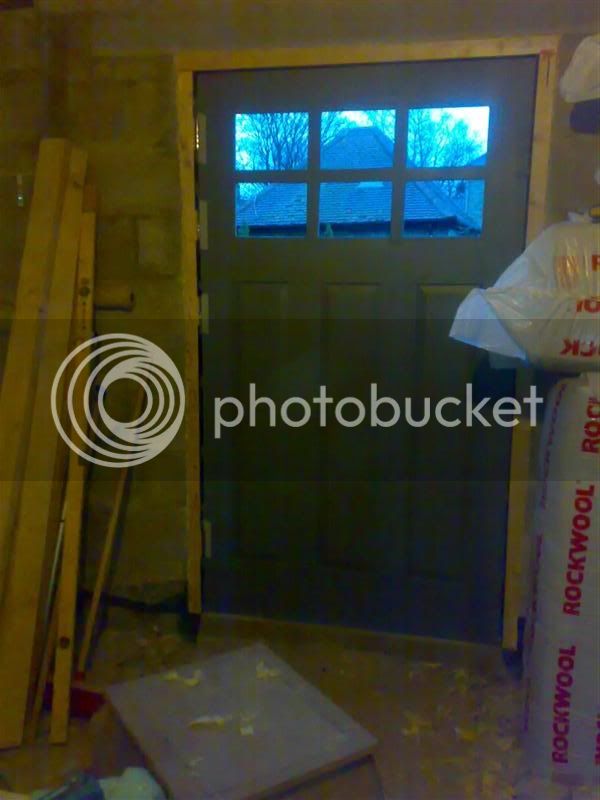
Here's the door man-handled into position - I think it needs weighing again, it must be putting weight on!

temp_fitted.jpg


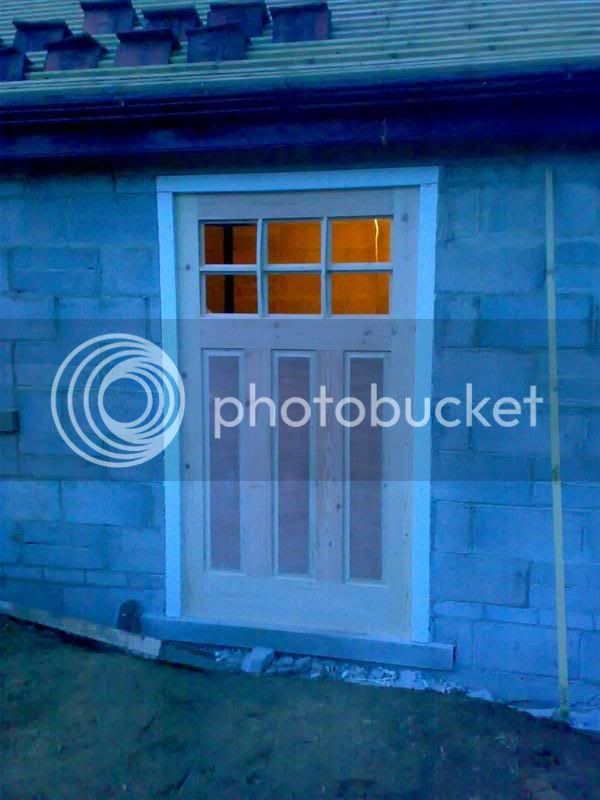
Here's one from the other side,

fitted_2.jpg


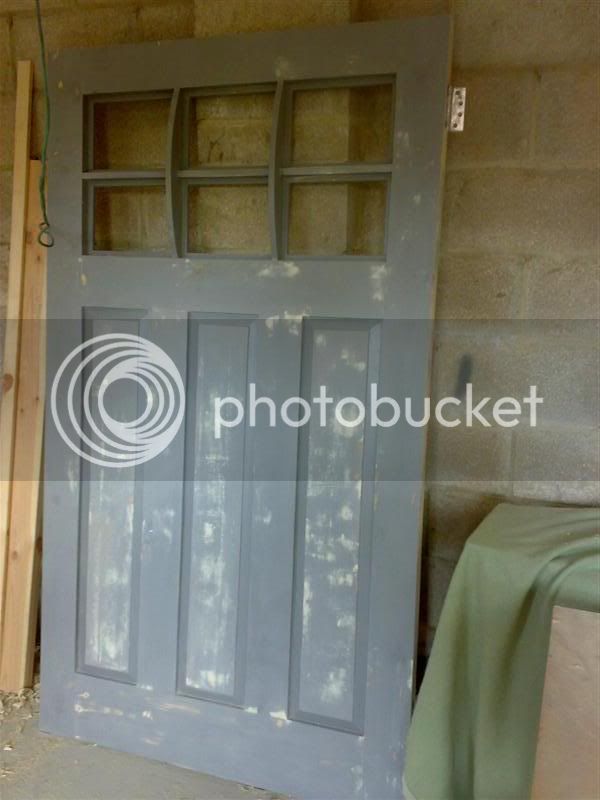
And finally this morning after the 1st coat of primer seems to have dried,

Primer.jpg
 
Dibs-h":3l41k6ho said:
Then a bit of procrastination and a quick look on the 'puter at John Henry's garage door frame - and a bit of faffing about we have,

.

I wouldn't go copying me, i don't know what i'm doing :lol:

nice work 8)

JHB
 
Update: managed to get another coat of primer on, after having gone over the existing one with a Scotchbrite pad.

primer_2.jpg


The slightly shiny bits are where the primer went on a bit thick and hasn't fully cured. Bloody resin is starting to creep out in one or 2 places - will just have to keep an eye on it. Any advice? All the Sikkens literature I could find was to leave it to harden and crystallise and then remove it - repairing the topcoat if need be.

Had a complete faff about trying to get the Sikkens topcoat (Rubbol Satura - satin one) in the same grey as the primer. In the end - after a 2nd call to Sikkens Tech line, their chap came back with the 4041 (no idea what it means) colour code and my usual suppliers is delivering 2x1L on Thursday.

Hopefully try and go for a test hinge this evening and perhaps fit the steel jamb reinforcement. Or finish the beading if nothing else.

John Henry - I had a moment where I felt that the door jambs should go to the top of the opening and the header fit in between. As opposed to the header going all the way across and the jambs into it. I thought it would visually look right - i.e. bit like the top rail and stiles. :lol:

Which is why I had another look at yours and realised that with my Plan 1 version - it would be a weaker intersection, i.e. outer 3rds of the header would effectively be unsupported. So went with Plan 2 - i.e. same as yours! :wink:
 
MickCheese":23mas5me said:
Looking really good.

Are you planning on fitting a weather bar to throw the water off the bottom of the door?

Mick

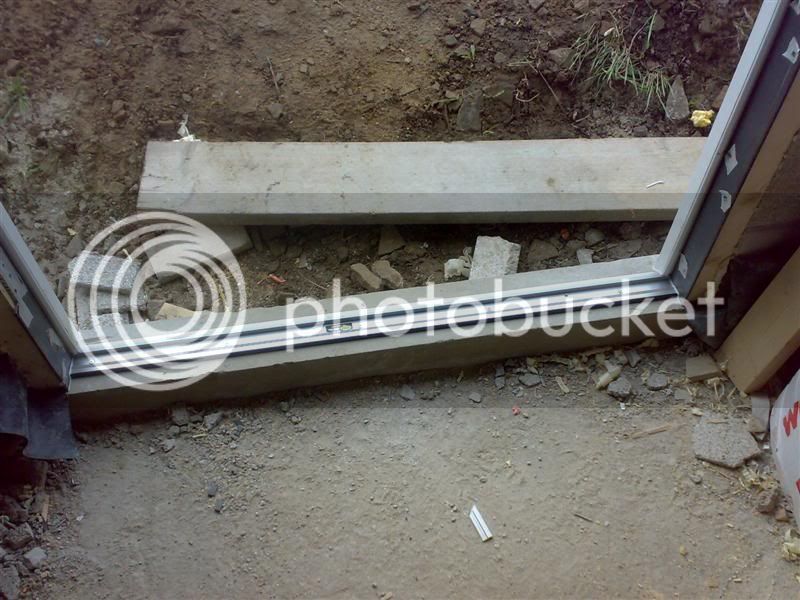
Yep - the aluminium sill that I got on the weekend, comes with one and neoprene seals, as below,

1.01.280_hi_3d.jpg


Not exactly retro - but if it bothers me, could cut off the upstand, leaving just the bit under the door screwed on (with the seals) and cover it at the front with a wooden weatherbar - looking all consistent. Have to see how it goes.

Not in gold obviously - looks garish. Went with milled aluminium finish.
 
Update: chopped up the 5mmx70mm mild steel bar to length for the jamb reinforcement,

stee_frame.jpg


Here a piccy of it temporarily in place. Dropped it off this morning to have the corners welded up. Decided not to epoxy it in place, just a ton of screws.

If for whatever reason the locks change to a diff design\make and different cut outs are required in the steel - this way the steel can come out and the cut outs altered. If it is expoxy'd in place - I'd have to destroy the frame. Even if the frame required repairs or whatever - just wouldn't be possible.

The original rebate was made 5mm deeper - so with the steel it's now around 1/2" and if I leave a gap of around 3mm between the edge of it and the stop - I get the gap for the gasket.

Just now need to decide on the spacing for the hinges, as the cut outs in the plate will have to be made prior to fitting.
 
Update: Managed to go over the 2 coats of primer with some Abranet and wasn't terribly happy with the finish in places. Wacked on some knotting solution and then hung the door.


SprayPrimer1.jpg


Well hung it in the air that is, :lol: Those King Post roof trusses are just so handy!

I wasn't too happy with the brushed on primer - always the case. Having a HVLP, just ruins expectations. :shock: A brushed finish would no doubt have been perfectly acceptable in the past - but now?

Thinned the Sikkens Onol primer with about 25% white spirit - donned the the PPE and started spraying - thankfully it was in my extremely well ventilated workshop - so not really bothered about extraction.

Went and checked on it this morning (which is when the piccy is from) - very happy with the finish. A little more flatting this evening and perhaps another coat.
 
Great work again! I am taking notes and look forward to the actual hanging of the door now! Nice work again!
 
Update: been another long day. Can't believe how many times I've had the door off & on again, adjusting here, trimming there! Bloody hard work moving that beast of a door around on your own!

Anyway - it fits like a glove now! 2mm gap all the way round, which I think is good enough. Pulled it back off, hoping to flat it down again and give it the 1st coat of topcoat!

Things take forever - especially when you get rather anal about finishing and have a HVLP. :oops:

Fitted the sill, having fitted the jamb (obviously) and notched it for the hinges.

I'm shattered and I dare say my back is going to make itself known tomorrow! :shock:

I'll post up some piccies in the morning, when I get back to work (for a rest)!
 
Here's some piccies from the weekend,

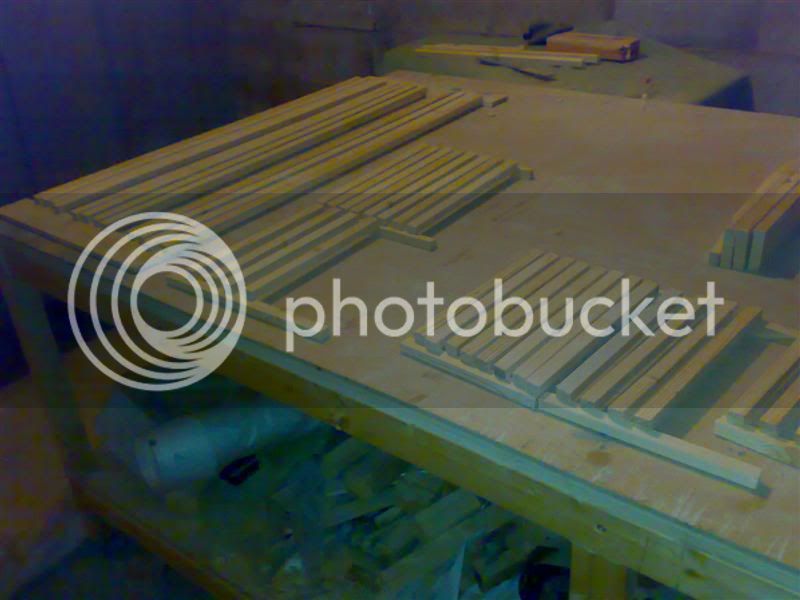
Here's all the beading (door and windows) all laid out,

beads1.jpg


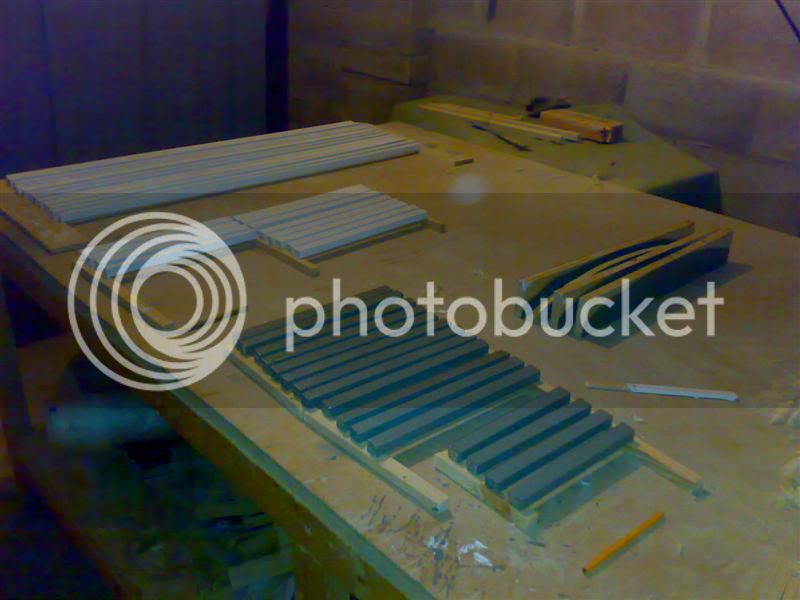
The beading on either side of the bowed uprights in the glazed panel - I only cut one roughly to shape, electing to get the others into primer and then cutting to final shape. Here's in primer,

beads2.jpg


The white ones - for the windows - are in WB whilst the grey ones are in oil based. In the end took them into the house as the oil base was taking ages to dry.

With the door "hanging" took the opportunity to play about with the hinge positions - here's 4 hinges,

hinge_pat1.jpg


Now due to the position of the mi-rail - I couldn't achieve 4 evenly spaced. This is what I went with in the end, not really liking the one with a pair at each end.

hinge_pat.jpg


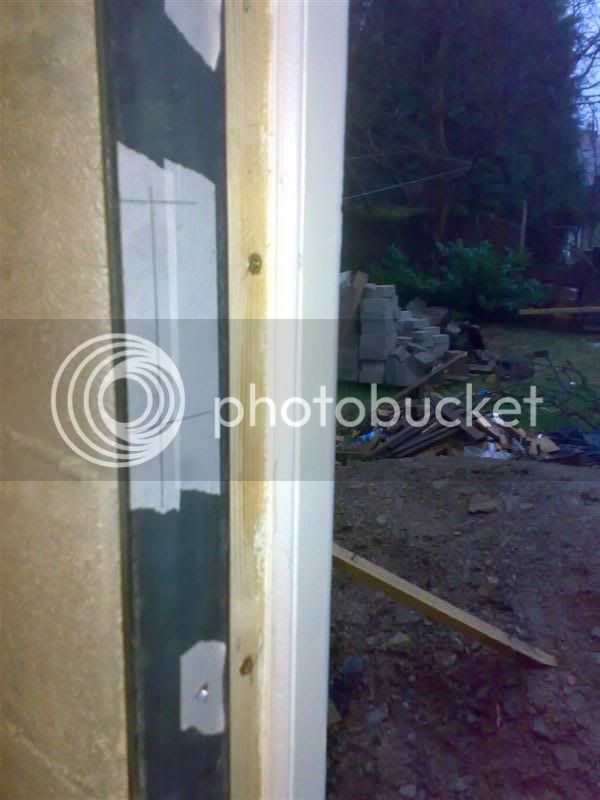
Once I'd worked out the spacing and was happy with it - used on offcut as a rod, transferred the spacing to that and then to steel doorjamb, to which I'd applied masking tape, otherwise bit hard to see pencil marks. :lol:

marking_out1.jpg


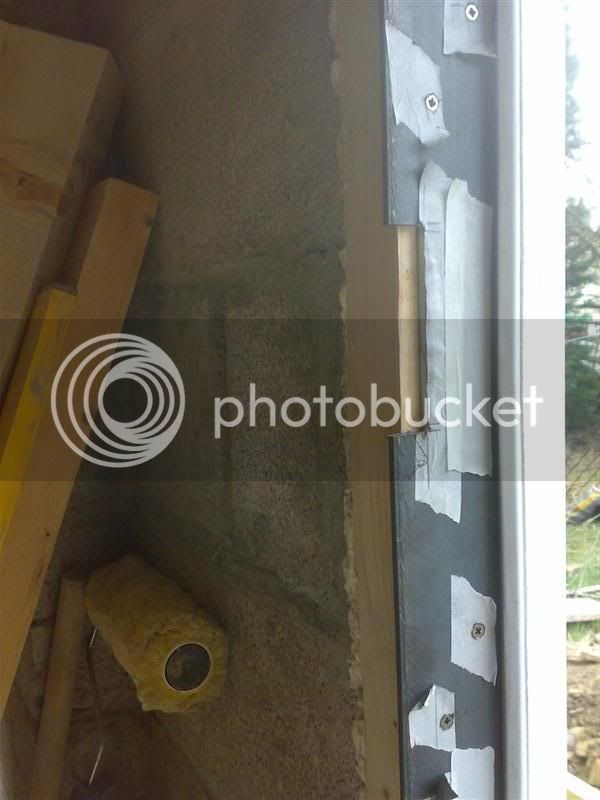
Because of the knuckle, the jamb has to be recessed or a cutout - not having a milling m\c to hand, I went with the cut out,

cutout.jpg


You can also see the Aquamac door seal. I sprayed the rebate with some contact adhesive (lightly) and the back of the seal, fitted it in place and then when teh 5mm steel went up against it - it held nicely in place.

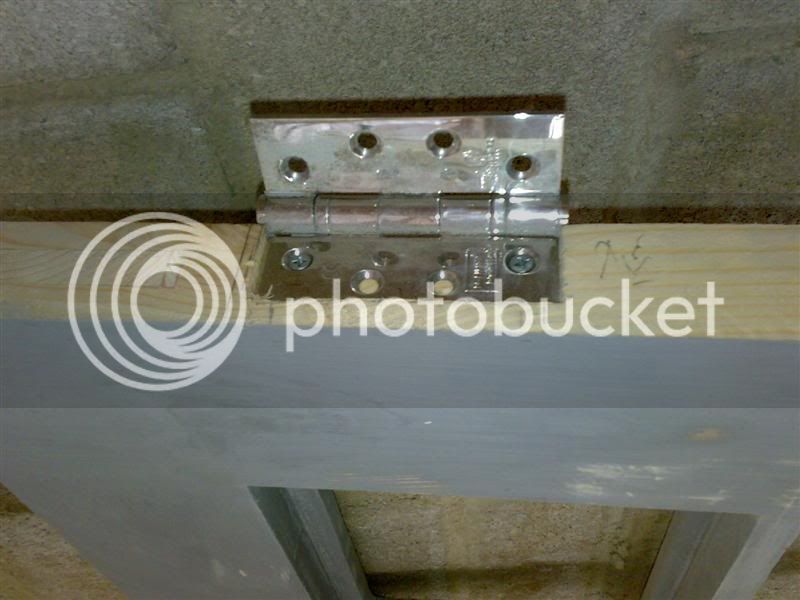
Here's the 1st hinge - they are recessed in about double what they would normally be,

hinge_1.jpg


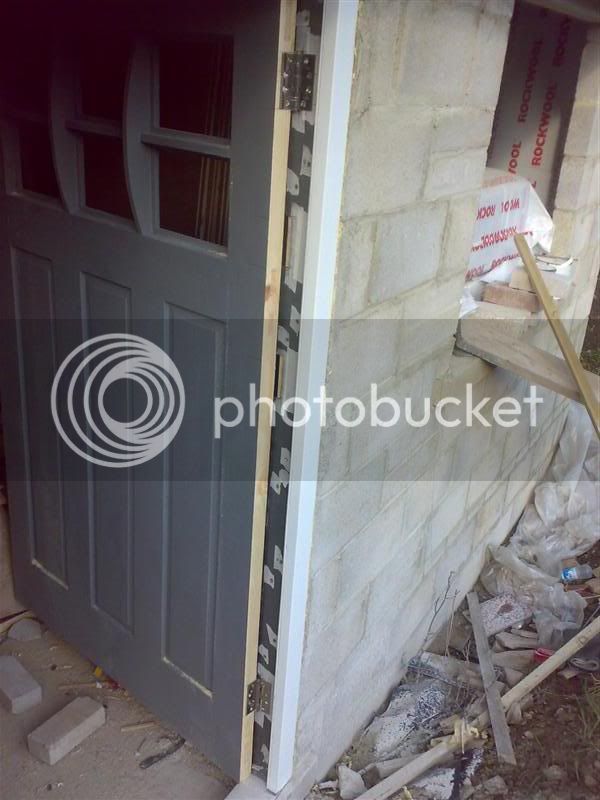
Here's both hinges on - I elected to fit the top and bottom hinges, to allow the door to get gapped up before doing hinges 2 & 3. Might not be the best method - seemed logical at the time.

2hinges_on.jpg


The million bits of masking tape were so I could mark the screw locations and see them with ease. Quick whack with a hammer and punch and drilled out with ease with a HSS drill bit.

Once hung - I had to take it off a few times to trim it here and there. Probably could have done it in 1 go - but I took it super slow, not wanting to ruin the door, by trying to rush.

gapped1.jpg


Removed the door and then fitted the sill

sill_1.jpg


I wasn't happy with the finish of the door, so flatted it all back - thank goodness for Abranet!

smooth1.jpg


Now it's super smooth, so hopefully another coat of primer and we should be good for the top coat.

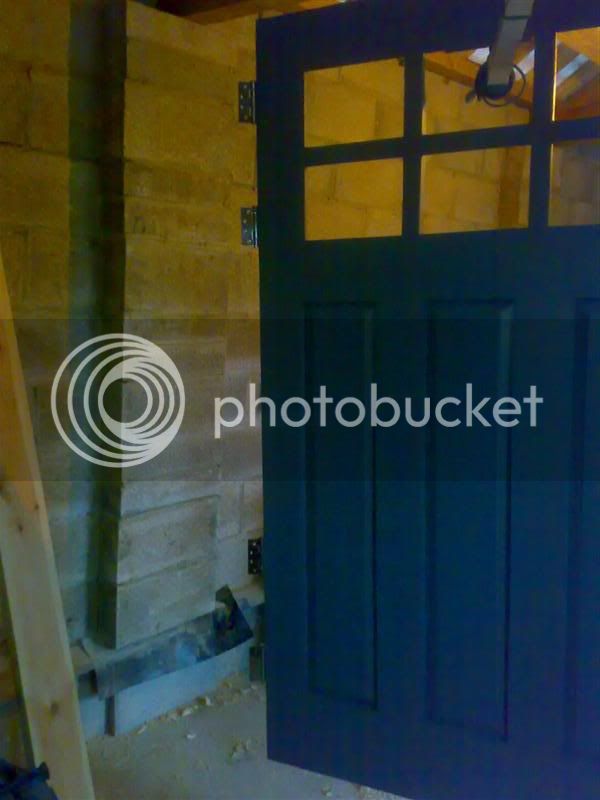
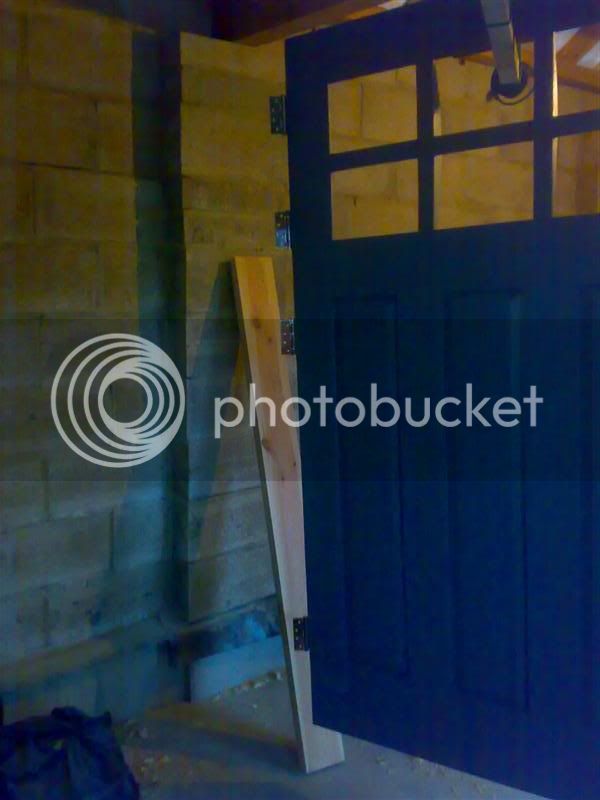
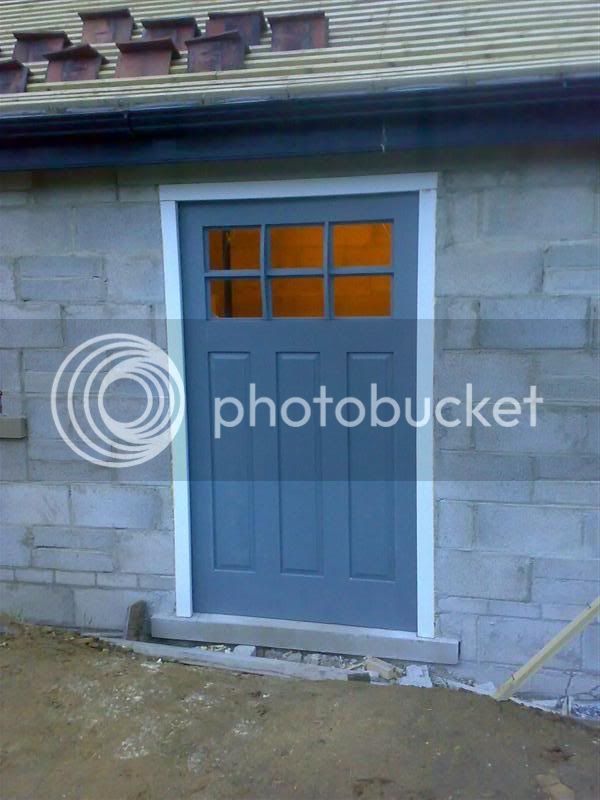
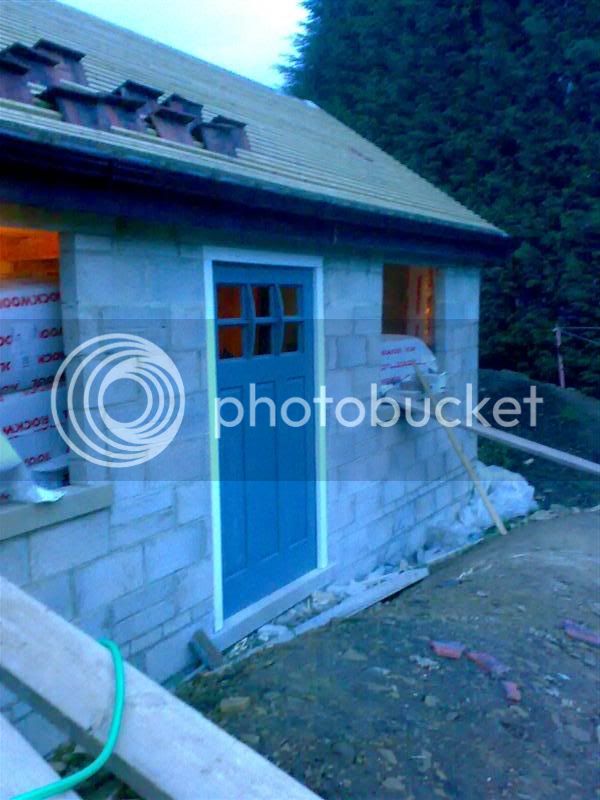
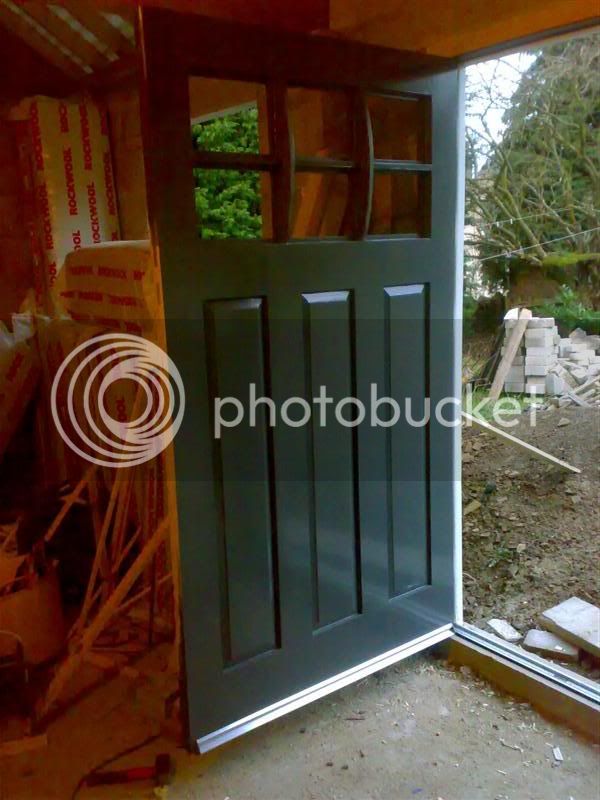
Here's a couple of shots with the door fitted, before I took it off - I'm very pleased how it's turned out.

fitted1.jpg


fitted2.jpg


Now - I'm having 2nd thoughts about the supplied aluminium weather bar - so will probably cut off the actual weather bar but use the bit underneath that contains the seals. Then fit a traditional wooden weather bar. Will have to check to see if anyone local does on 1200 long.
 

Latest posts

Back
Top