Brace & Ledged Door - or Panelled Door.

UKworkshop.co.uk

Help Support UKworkshop.co.uk:

This site may earn a commission from merchant affiliate links, including eBay, Amazon, and others.
Benchwayze":1h2ixz88 said:
I explained why in my earlier post. Believe me, I know of what I speak. Provided you make the door properly, fit good bolts/locks, and for a shed, maybe reinforce the jam with angle iron....

Regards
John


Now that my windows are progressing nicely and should be complete within a week or so - (sledging is cancelled this eve - ok maybe for go for an hr or so) it won't be too long before the door starts.

Lock wise - was thinking of 2 x 5 lever sashlocks at 1/3rd's with a noddy handle\knob and non-lock watchyamacallit thingy. Now having seen a few doors kicked in (after the fact & thankfully someone elses), what strikes me is that the jamb always comes apart, i.e. the keep (I think that's what it's called) getting ripped out along with a section of the jamb.

So interested in re-inforcing it. Was thinking angle iron but wouldn't it need to be bolted to the wall and then the jamb screwed thru (i.e. the appropriate holes drilled in the angle to let the jamb fixings go thru)? A rebate would also be required on the jamb to sit over the angle?

Seeing as how the jamb always splinters - part of me was thinking that instead of having the rebate in the jamb (for the door) being 1/2" deep, making it an extra 5-6mm, then expoxy'ing\screwing in a strip of 5-6mm thick steel, the full width & height of the rebate\jamb. And having the rectangle cut into the strip to engage the lock strikers. That way, the load (in the event of an attempt on the door) required to shear the entire jamb would be a great deal more. Good idea or bad?

Also hinge pins on the other side.
 
Hmmm,
I ahve to be a Festool Owner to access the second link.

Oh well, when the Domino gets to be a better tool for less money! :lol: :lol: :lol: :lol:

John
 
Started at last!

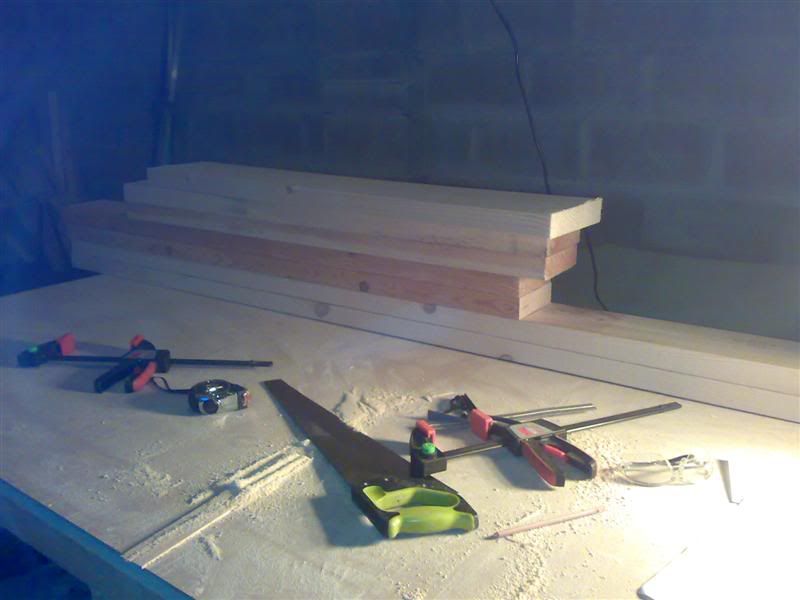
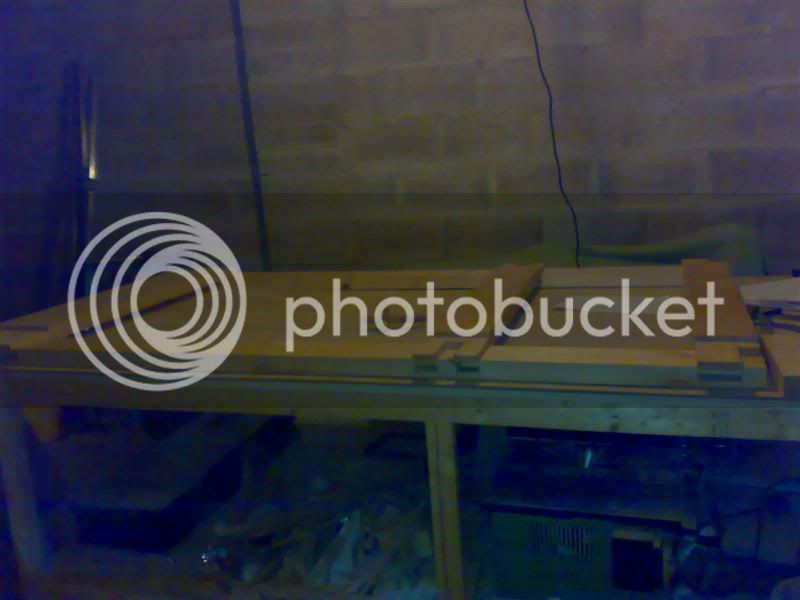
I've had the timber since before crimbo - sat up in the trusses. I am so chuffed I have trusses, so damn useful for storing stuff. Anyway I bought a whole load of 6"x2", 8"x2" for the main sections and chopped them up yesterday to approx lengths.

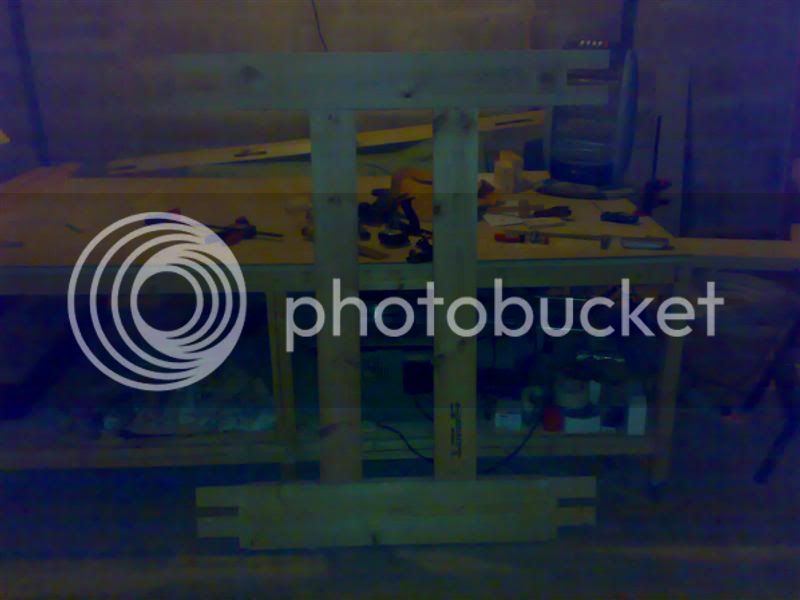
door_prep.jpg


Now I've gone with 5" for everything, except an 8" bottom and 6" mid (although I have enough 8" to change this). The muntins have currently been cut to 5" wide (but can change this too).

Thankfully the timbers are relatively straight and required very little in the way of planing\thicknessing. The thickness has ended up at approx 45 - which I think is ok. Hardwood would have been nice - but for a 1st door - I'm happy to do it in softwood. I'm going to make it about 10mm bigger in H & W to allow for final trimming, etc.

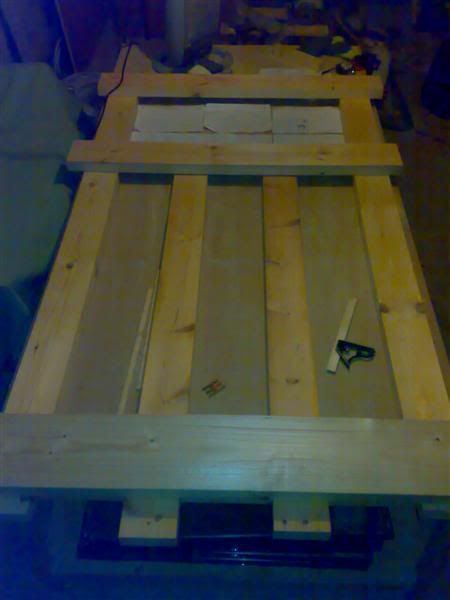
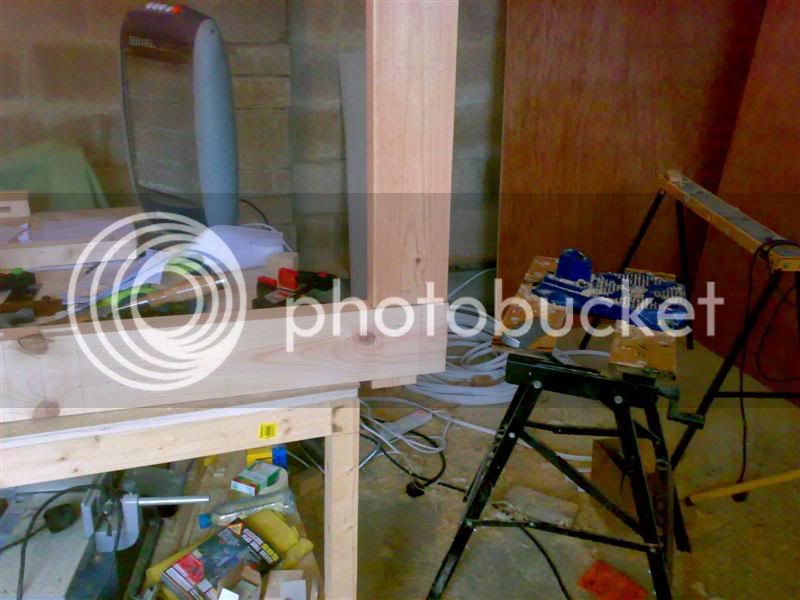
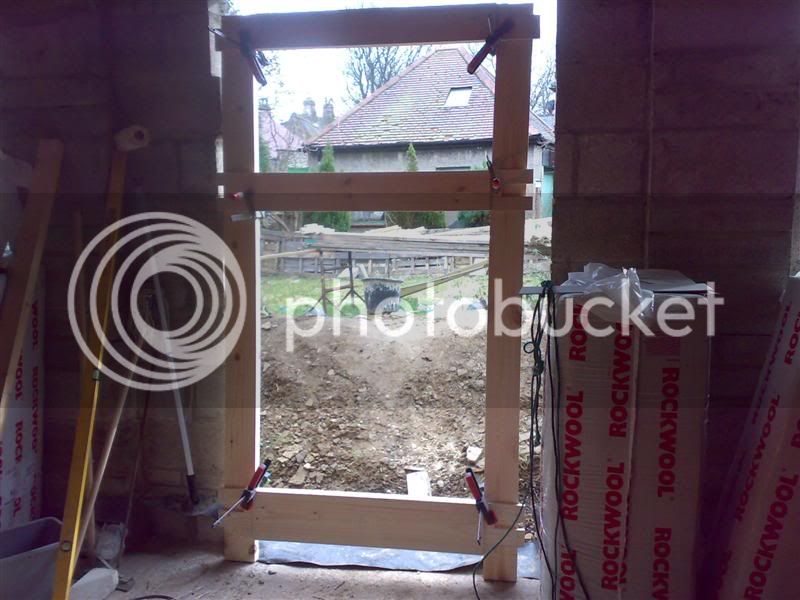
Then proceeded to do a mockup -

Door_mockup.jpg


Damn that's a big door! Even coming and going thru the opening - the penny never dropped. Seeing the mock - certainly did. I cut the muntins over length (glad I did that) so playing about with the height of mid rail and therefore the size of the glazed area.

I placed 6 sheets of A4 paper to simulate the glazed panels (either 6 separate units or 1 and fake bars).

Wedged Tennons - I have some questions. I release the mortice will be (can't find the word :oops:) - the height (outside) will be slightly greater than the height on the inside, to cater for the tennons. By how much?

Also can anyone point me in the direction of any details for the tennon\wedges - i.e. are the tennons cut as per normal and wedged in on the outer edges, or are they cut and wedges driven in to "separate" the parts?
 
Dibs-h":29w9y1vq said:
Seeing as how the jamb always splinters - part of me was thinking that instead of having the rebate in the jamb (for the door) being 1/2" deep, making it an extra 5-6mm, then expoxy'ing\screwing in a strip of 5-6mm thick steel, the full width & height of the rebate\jamb. And having the rectangle cut into the strip to engage the lock strikers. That way, the load (in the event of an attempt on the door) required to shear the entire jamb would be a great deal more.
Unless I've misunderstood you, that sounds much like a Birmingham or London bar?
 
Jake":1mqxb5n6 said:
Dibs-h":1mqxb5n6 said:
Seeing as how the jamb always splinters - part of me was thinking that instead of having the rebate in the jamb (for the door) being 1/2" deep, making it an extra 5-6mm, then expoxy'ing\screwing in a strip of 5-6mm thick steel, the full width & height of the rebate\jamb. And having the rectangle cut into the strip to engage the lock strikers. That way, the load (in the event of an attempt on the door) required to shear the entire jamb would be a great deal more.

Unless I've misunderstood you, that sounds much like a Birmingham or London bar?

After a quick Google - yes it's is very much like a Birmingham bar - only the full width of the rebate as opposed to 16mm or so.
 
Update: Started on the door. After tinkering with the height of the mid rail until I felt it looked\felt about right - marked the tennons and removed the waste from the cheeks in one go.

Tenons_1.jpg


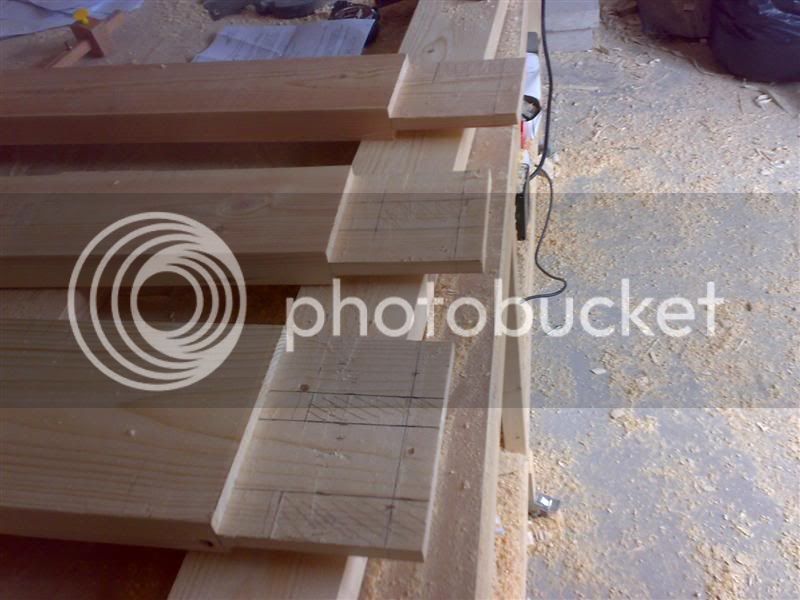
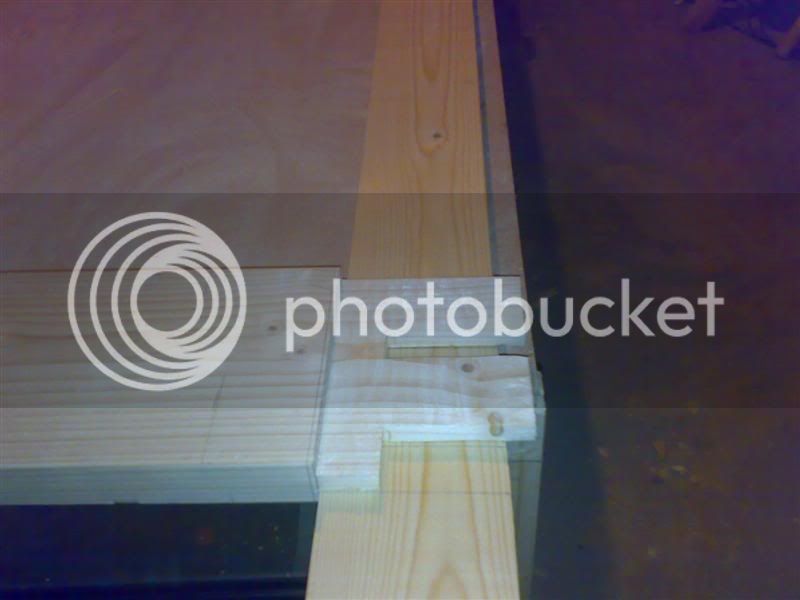
Then marked out the haunches, etc.

marking_out.jpg


Now all the reading material I have come across suggest that the depth of the haunch is about 1/3 and 2/3 tenon. But nothing stated how long it should be. So went with about 1/3 - but this can be adjusted.

Any thoughts on how long the haunch should be? Was originally going to go with about 1" on a tenon\s that was about 5" long. At the mo - they're about 40mm long.

Here's the bottom tenons

marking_mortices.jpg


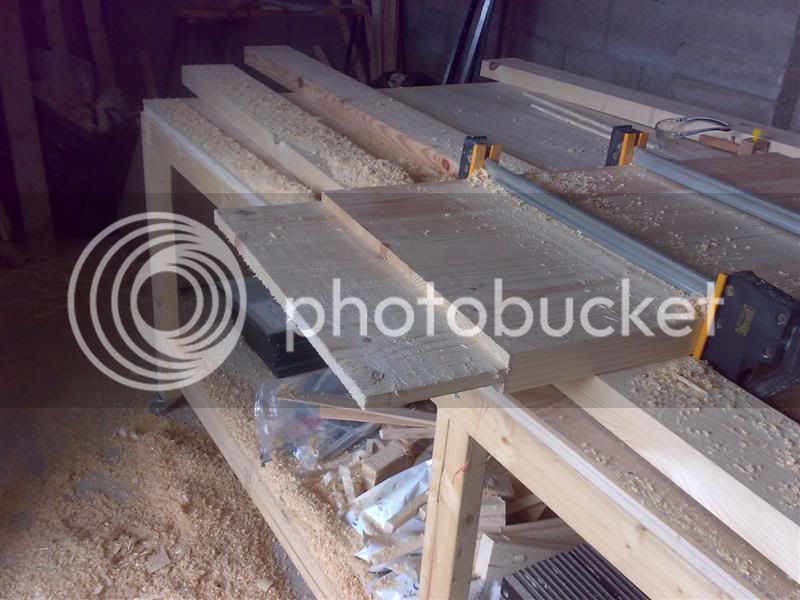
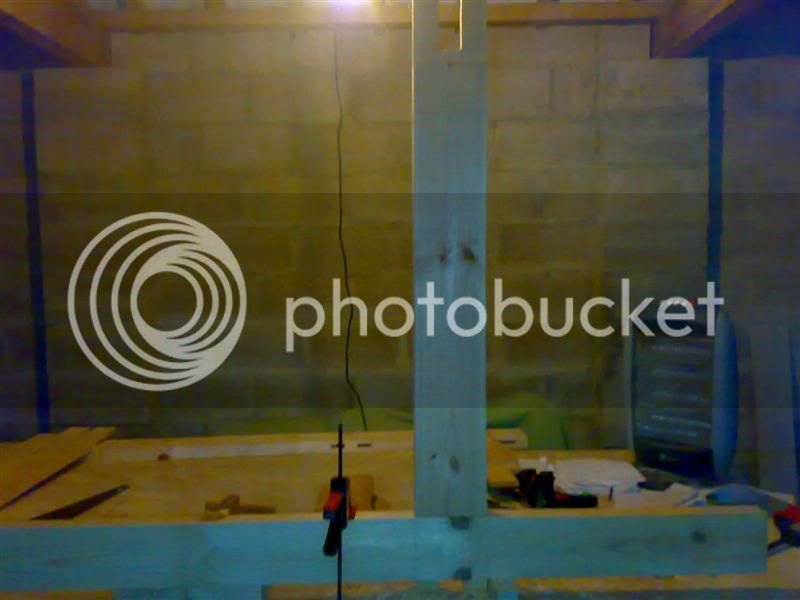
Then just clamped it up and man-handled it roughly into the opening to get a feel for how big this door is.

bloody_big.jpg


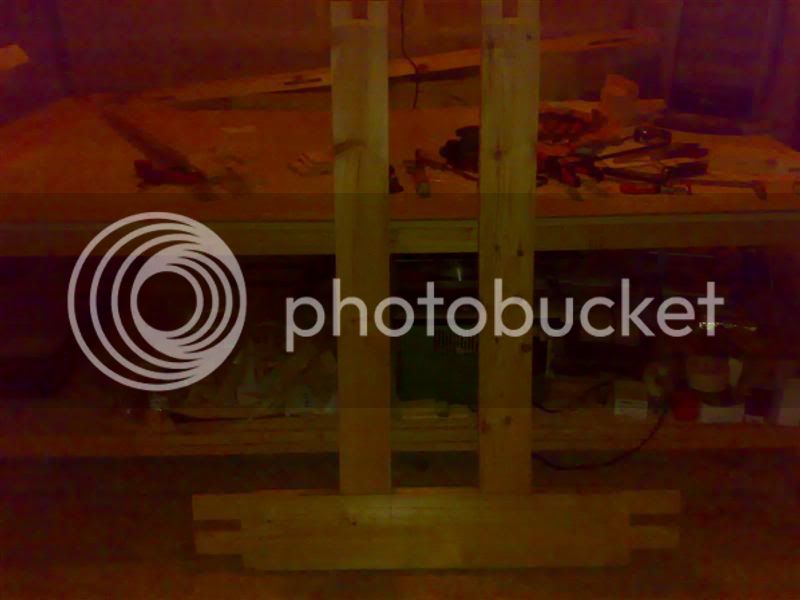
Then on with the mortices - just did the ones for the tenons - left the bits for the haunches - until the length of the haunches have been decided.

Sorry no wip ones just a crappy one at the end,

mortices_done.jpg


Thought I'd do the main frame first, then do the muntins last.

At home on Wed\Thurs (half term) so should get some more done.
 
Update - after some reading yesterday, came across one mention of how long the haunch should be on a tenon - no more than 1/4 the length of the tenon. Can anyone comment on this?
 
I went with the length of the haunch at 1/4 the length of the tenon in the end.

Wed - trimmed the haunches down and then carried on with the mortices in the stiles. Having already done the main bit - did the bit for the haunches.

Here's the 1st top rail -

TopRail_1.jpg


The mid rail

midRail_1.jpg


Must have forgotten to take one of the bottom rail!

Thurs - started on the muntins. Decided to lay them out such that the 3 panels between are all the same size and to have the tenon in each end go no deeper that the start of the middle haunch of the mid rail and the bottom rail.

Having pondered for a bit - I decided to use double tenons in each end of the muntins.

Here's both muntins test fitted into the bottom rail

muntins_1.jpg


and here's the mid rail test fitted on as well,

muntins_2.jpg


I can tell you one thing for sure - wrestling them back out, and it is wrestling - isn't fun!

I've decided - as the door will be painted - to use some ply for the panels. I have some 18mm hardwood ply - so perhaps 2 pieces glued (or not) together and then glued into a 1/2" groove in the stiles\rails\muntins. As ply shouldn't expand\contract as solid timber would - I don't see why the ply can't be glued in.

Now the glazing bit requires a bit of pondering - I do like the look of the glazing bars as on the doors which are the inspiration for these,

0612-G-CTL4b.jpg


But obviously mine has 3 (w) x 2 (h) lights as opposed to 2x2 as in the above above picture, more like (ignoring the rest of the door,

080925-CL05-b.jpg


Which might make it easier that curving the middle bar and 2 verticals. It also shows the inside is flat. I get the impression the glass is externally beaded and the curved bits on the outside are quite possibly just applied after the glass is fitted as opposed to part of the frame.

On the 2x2 door the beading looks substantial - but on the 3x2 door it doesn't - so will be having a think on how to make it - yet for it not to be a weak point.

I suppose one could either fit just one big glass unit\pane and then apply the beading internally\externally to give the visual appearance - or go for 6 individual panes. Choices, choices. :-k Also whether to have the door panels raised (is in the picture above with 2x2 lights) or not? Suppose that can be a bit of a last minute thing and personal preference.
 
I would go for 6 individual panes if nothing else than for security. I could probably kick out one large section but may struggle a little gaining access through smaller panes.
 
I'm inclined to go with 6 lights - for a production run I can see having 1 unit with applied beading being something to think about, but for me - not too bothered with saving time.

What do you think about the raised (or fielded or whatever they are called) panels as in the picture of the door with 4 lights? As opposed to just flat.

Might just have to peruse the gallery on the site (US) that makes them and see what has been done & what looks good (to me anyways).

Thanks.
 
I hope you're on a 'High Spinach, Popeye style' diet? You'll need to be to open and close that door, tis a whopper. :shock:
 
studders":2tzqshii said:
I hope you're on a 'High Spinach, Popeye style' diet? You'll need to be to open and close that door, tis a whopper. :shock:

It's not a cat flap hinged at the top or somefink. It'll have 4 hinges - should close with a gentle push assuming it's fitted well. :wink:

I have had the odd (well loads actually) thought - of man that's a flipping huge door and maybe I should have made the opening smaller. Must make mental note to make openings small - then make them larger afterwards, if I want to - bit hard now making it smaller!

Having said that - I suspect the one time when I don't have to take the door off (as would have been the case with a normal door) when getting something large in or out - it'll more than make up for it!
 
Dibs-h":b0inme25 said:
studders":b0inme25 said:
I hope you're on a 'High Spinach, Popeye style' diet? You'll need to be to open and close that door, tis a whopper. :shock:

It's not a cat flap hinged at the top or somefink. It'll have 4 hinges - should close with a gentle push assuming it's fitted well. :wink:

Well natch but, have you factored in Wind? (not your own wind, I know you'd never do such a disgusting thing :lol: )
 
studders":26ofjs0p said:
Dibs-h":26ofjs0p said:
studders":26ofjs0p said:
I hope you're on a 'High Spinach, Popeye style' diet? You'll need to be to open and close that door, tis a whopper. :shock:

It's not a cat flap hinged at the top or somefink. It'll have 4 hinges - should close with a gentle push assuming it's fitted well. :wink:

Well natch but, have you factored in Wind? (not your own wind, I know you'd never do such a disgusting thing :lol: )

Thankfully the spot is rather sheltered - I mean the building!

I've been working in there for the past month or 2 and with no windows or door - there haven't really been any gusts of wind - excluding self generated that is. :lol:
 
I reckon the easiest way to do those glazing bars would be to cut vertical and horizontal bars to length, and then cut halving joints where they cross. Then cut tenons on the end to fit inside mortices on the top opening. After that, mark and cut the curves. Then assemble, and rout round inside to make rebates for the glass, squaring off the corners by hand. Fix glass with nailed-in beading, mitred at the corners.
 
AndyT":3dkptlzc said:
I reckon the easiest way to do those glazing bars would be to cut vertical and horizontal bars to length, and then cut halving joints where they cross. Then cut tenons on the end to fit inside mortices on the top opening. After that, mark and cut the curves. Then assemble, and rout round inside to make rebates for the glass, squaring off the corners by hand. Fix glass with nailed-in beading, mitred at the corners.

I was pondering how to attach stuff together - in the end due to recent events (which have forced matters), the uprights have already been cut and roughly shaped. Going to use the Domino to join the horizontal pieces to the curved uprights and also to fix the lot to the top\mid rails and the stiles.
 
Let me start by saying i follow all your threads quite closely, as you seem to be doing a lot of things i've wanted to for ages, and hopefully will soon.
I am truly impressed!

So for the extreme newbie question: What does the haunch do?
I've looked at it and looked at it again and still doesn't manage to figure it out. Sorry :oops: :oops: :oops:
 
Henning":2a835jlu said:
Let me start by saying i follow all your threads quite closely, as you seem to be doing a lot of things i've wanted to for ages, and hopefully will soon.
I am truly impressed!

So for the extreme newbie question: What does the haunch do?
I've looked at it and looked at it again and still doesn't manage to figure it out. Sorry :oops: :oops: :oops:

No probs -

http://www.geoffswoodwork.co.uk/mortise01.htm

will probably explain it better than I will.
 
Thank you very much! That cleared it up nicely.

That was a nice site which i have made a favourite. Now all i need is to read it...
 

Latest posts

Back
Top