Brace & Ledged Door - or Panelled Door.

UKworkshop.co.uk

Help Support UKworkshop.co.uk:

This site may earn a commission from merchant affiliate links, including eBay, Amazon, and others.
Update - despite the uninvited visit, progress must be made.

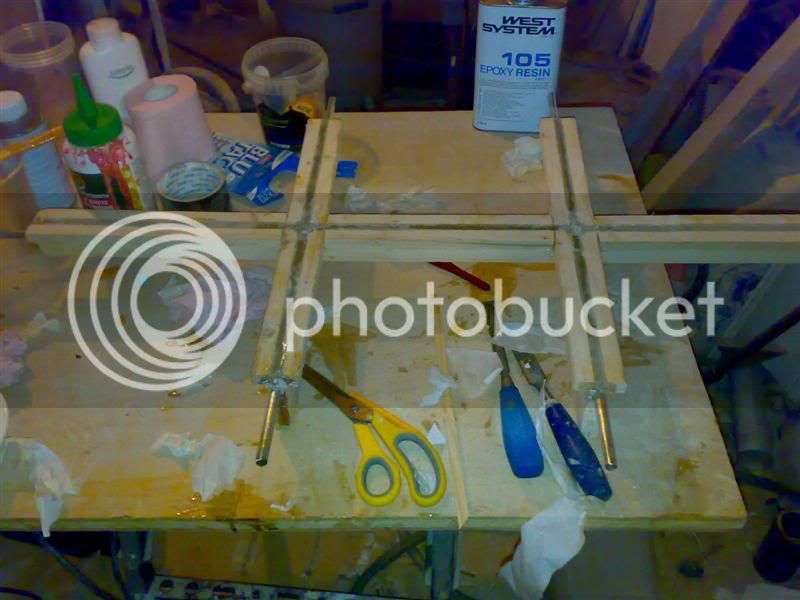
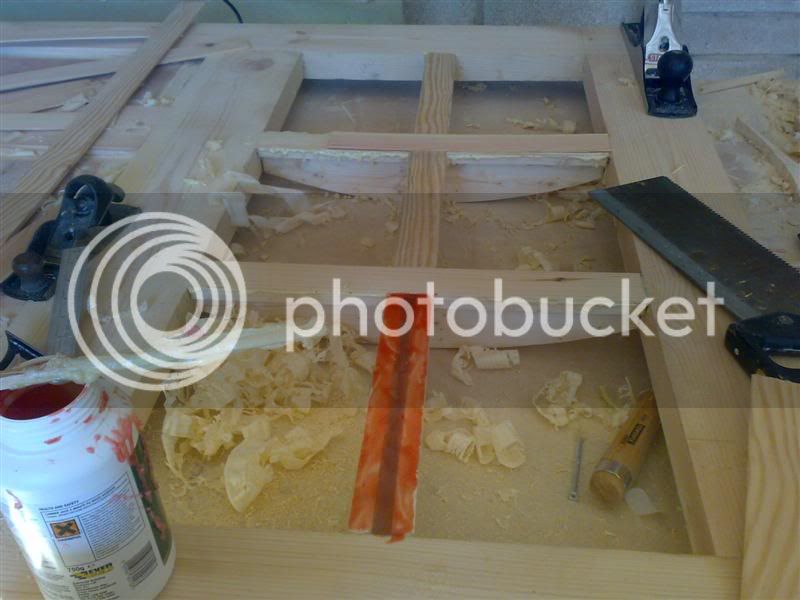
Having laid out the components on the table, I laid some strips of timber 2" wide (off cuts from the windows) over the window area to get an idea of what it would look like. 2" because the sections would be like that (or need to be), prior to rebating, beading, etc.
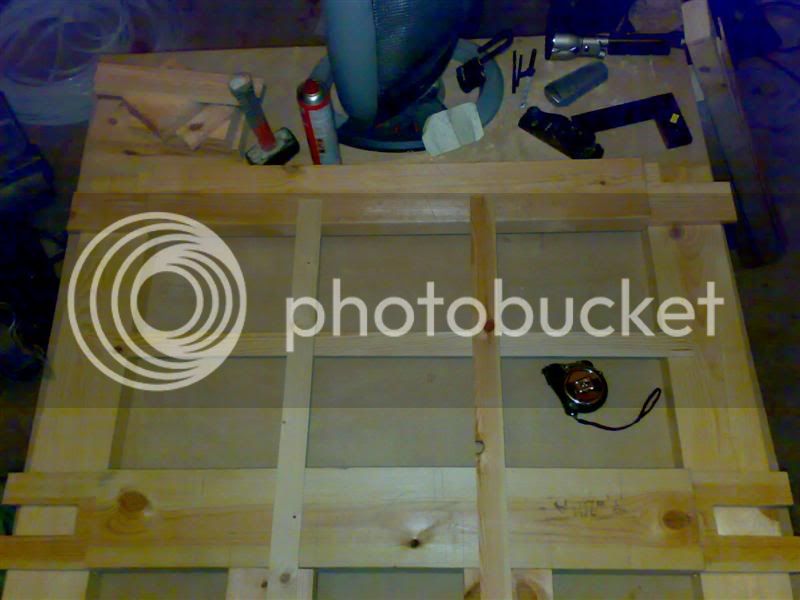
lightsMockup.jpg


Then marked out the curve on some 4"x2",
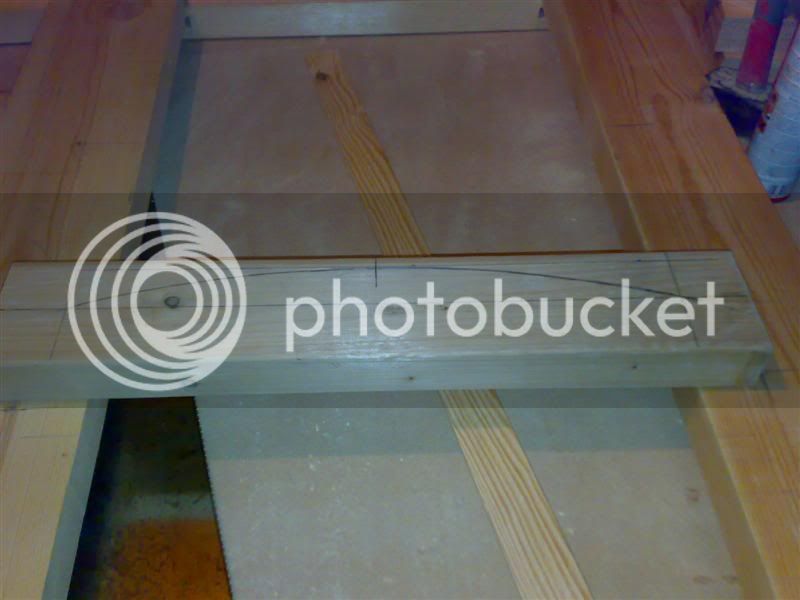
mullion.jpg


Proceeded to cut to to shape on the bandsaw, and use the 1st one as a template for the 2nd one. Here's both approx in place,
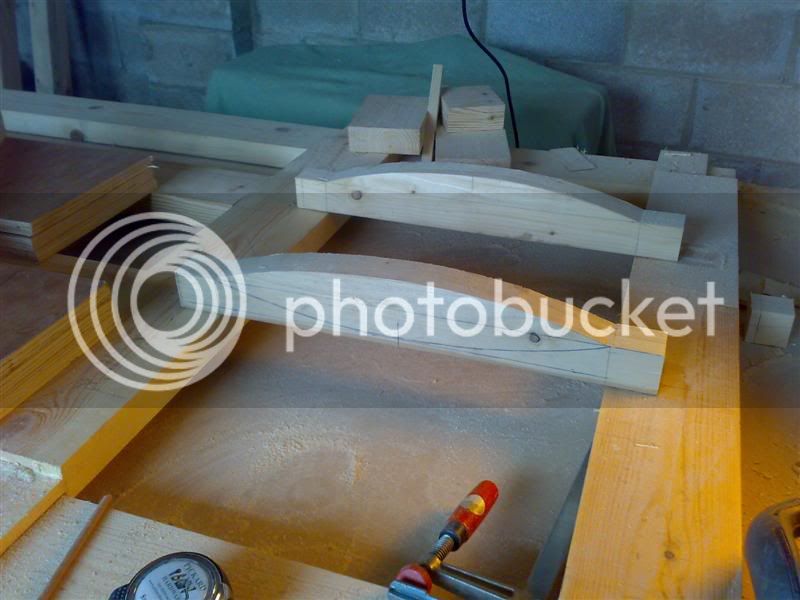
mullions.jpg


The rectangular bits at the end were to be trimmed down to form tenons, but as I'll be using a Domino - they'll just be cut off.

Cut some sections of 18mm hardwood ply - catering for almost 1" to be set into grooves in the door stiles\rails,
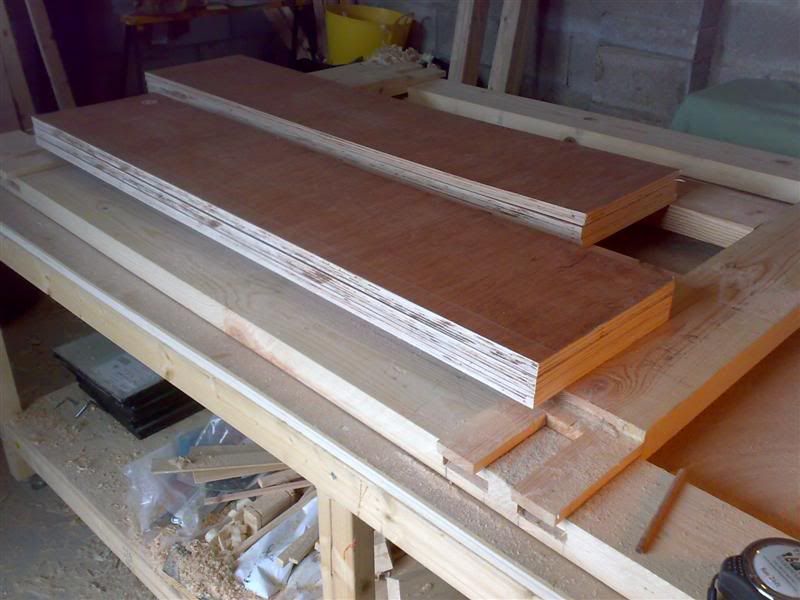
panels.jpg


The plan is to laminate the panels up in pairs, cut a 15mm groove in the stiles\rails and cut a tongue (if that's the right term) all round the panel, glueing them in.

I'm inclined to have have the panels raised & fielded (perhaps sunk) as well - a lot of the doors on the site used as inspiration, have them that way. So will have to go thru the bits I bought from Harrogate - I think there are at least 2 bits amongst them that should work. Cobblers - just realised they won't - as both have bearings on the end - I'll need one without a bearing as the raised\fielded bit will need to be in at least 1" to cater for the 1" tongue.

Will be ordering from Wealdon again.

The ply panels will be doubled up - I was going to laminate them together, some PVA probably - although do have some spray contact adhesive. Any advice on laminating the ply panels? Or not
 
Update:

The raised panel bit turned up Thurs am and with only working Thursday 1/2 day - spent all day with the router table running the plywood panels thru.

Here's a piccy of the first panel with 1 side run thru,

routered.jpg


The cut line isn't wavvy even though the glue lines give that impression. I've had a mixed amount of tear out - so with a little 2 part bondo, it should be ok.

In the end - right or wrongly - decided to laminate the panels using some West epoxy and put some 10mm s\s bar in there too. It shouldn't add much weight, but would make life a lot more difficult kicking it in. I went with s\s as it's a damn sight harder than mild.

Laminated 1 set up last night - see how that goes before doing the rest,

laminated_1.jpg


You can see the s\s bars at 1.3's. Panel is amazingly stiff compared to even 18mm ply. It's got me wondering - As I'll have a little left over - Whether one should use Epoxy to assemble the door - or not?

I've got to assemble the "lattice work" for the glazed bit this evening and route the back of it - so I can get the steelwork reinforcement for it, welded in the morning and with some luck - hopefully get the door assembled this weekend.
 
Update: Sat -

Had to get the s\s reinforcement welded up for the lattice work. Found a local firm that did it while you wait. Luckily I took a piece of mdf, in which I'd routed semi-circular channels to serve as a jig, so that the welders didn't have to faff about lining things up and we'd be able to gauge how much distortion was creeping in.

Realised that the sections that I'd cut out for the glazing wouldn't quite work - as soon as I rebated them to hold the glass, they slightly short - i.e. they needed to have been cut longer rather than to length.

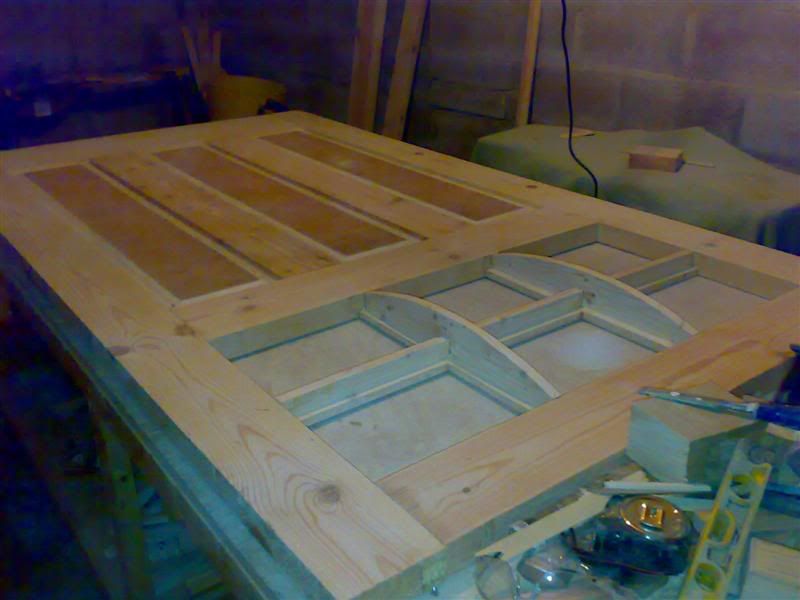
Did them again. :oops: Here's the newly done lattice work, all rebated , etc.

lattice_1.jpg


I haven't yet curved the verticals.

I didn't join them with anything - but "cored" them out from behind - quite quick on the t\s. Here's a cross section,

hollowed.jpg


Here's one of the steel have been dropped into place and the epoxy having set,

lattice_reinforced.jpg


Amazingly rigid and not much extra in the way of weight - quite a quick clean up with a small angle grinder with one of those zirconium pad thingies.

Then spent a while in the afternoon routing the grooves in the stiles, muntins, bottom and top rails for the panels,

panel_routing.jpg


A million test fits and holes for the reinforcement bars in the panels.

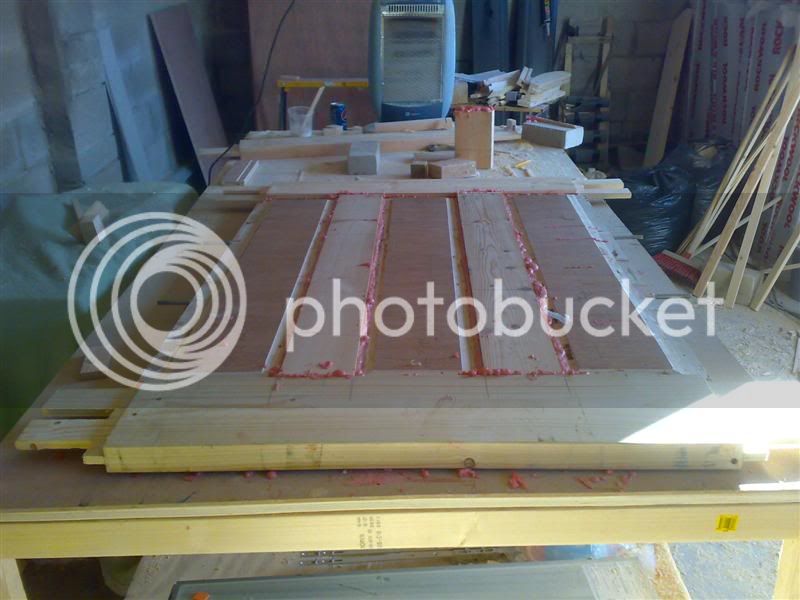
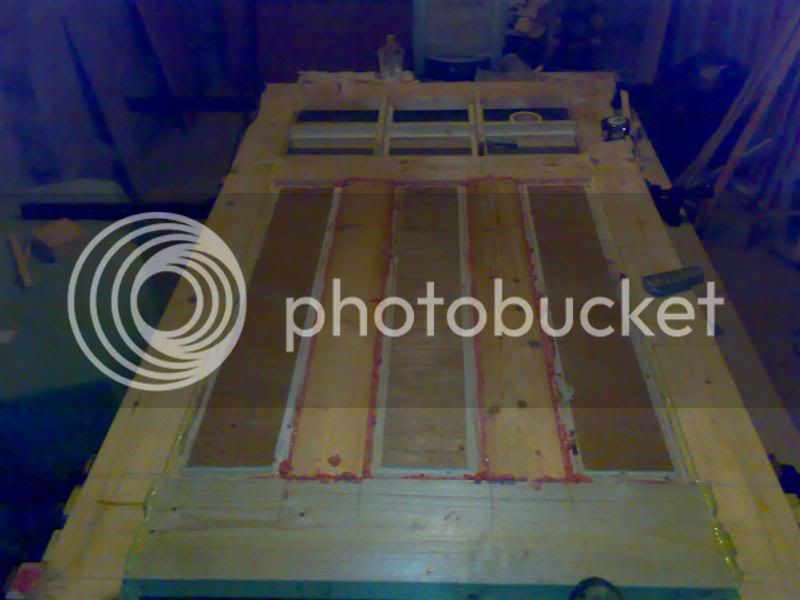
Then decided to assemble it in sections, checking measurements a million times. As the air temp wasn't great - went with PU, had to move damn fast, especially as the assembly started to get bigger. Sorry no WIP on this one, so here's one of the main section,

main_section.jpg


The PU has foamed everywhere - sharp chisel should sort that out. You should be able to make out the bars poking out of the side of the 2 outer panels - ready to go into the stiles.
 
Update: At last - bloody glued up. I did a dry fit yesterday evening - checked the diagonals and made a note of them. When PU starts going off, time is rather short.

Drilled holes in the stiles, mid rail and top rail to take the 10mm bars poking out of the "lattice work". Filled the holes with epoxy and then smeared PU liberally all over the mating surfaces on the rest of the door. Lines up the tenons with the mortices and 4 large sash cramps later and a lot of cussing - ended up with the diagonals within 2mm of each other - so a result. Didn't end up with too much PU on my hands.

Here's a piccy - sorry for the crappy quality - at 22:30 last night wasn't the best time to take one.

Glued_Up.jpg


The "mullion" bits haven't been curved yet - Hopefully do that after the rest of the door has been tidied\cleaned up.

Will be ordering the glass in the morning - laminated/6mm spacer/4mm toughened - hopefully have it for Sat am. Got 4 Grade 11 S\S hinges so shouldn't have an issue with the weight (hopefully). Be interesting to see what it weighs - might have to "borrow" the bathroom scales and hope they don't go bang!

Will be drilling a hole or 2 in the lock stile - to receive the magnets for the door contacts.

Can see light at the end of the tunnel - thankfully! Now just select the locks and paint colour.
 
That is one substantial thieving little ****- deterrent you've got togheter there :shock:

It will be very interesting to hear how much it weighs!
 
Like the idea of the reinforced window thingies.
Might well allow me to have some high windows to let in some light, without introducing a security problem.
 
Bit of a clean up last night having removed the sash cramps. Those cheapo Aldi chisels came in handy!

Then went and got the bathroom scales - having set them to KG, and hoping that the didn't go bang (they're those glass ones - SWIMBO would not have been impressed) manoeuvred the door down the side of the bench and having worked out were it balanced in the middle - tapped the scales (so they switch on) and then pushed them under and gingerly placed the door on the scales. Balanced well.

Bare door weight - 42kg approx.

I suspect by the time the glass is in and the additional steel is fitted (there's a little more to go on - :wink:) it'll probably be closer to 60KG. No idea whether that's good, bad or what - but I wouldn't want to be moving it about often.

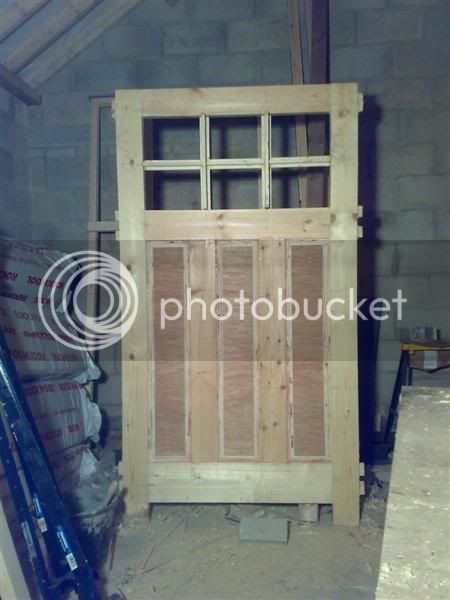
Here's a piccy - whilst it was off the bench.

cleaned_up.jpg


For those interested - the door is 1150x2010x45

Now just a bit of bondo on the raised bits - the raising on the plywood ranges from really good to crap - i.e. no splintering to loads.

Ordered the glass - so should have that on Sat am. Gone with 6.4(laminated), 6mm spacer and 4mm toughened.

Any suggestions of a good Edwardian colour - Blue, Green??
 
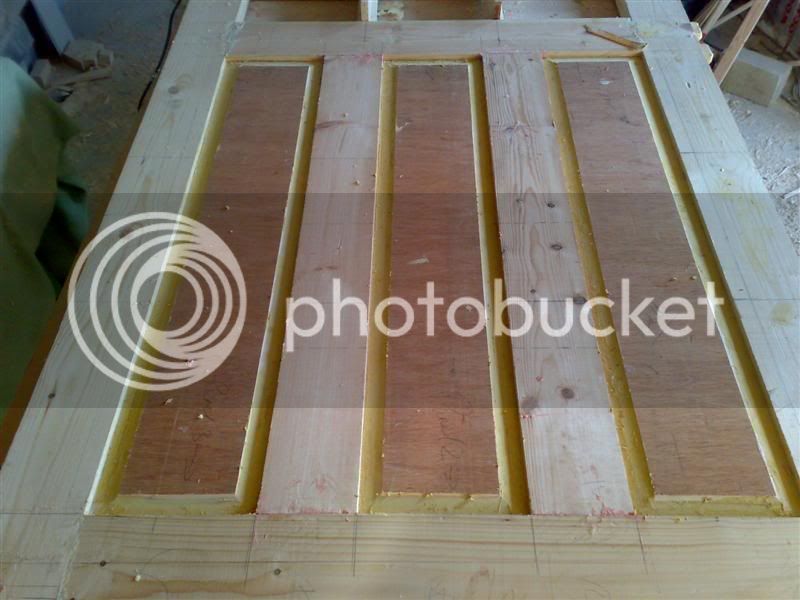
Update: a bit of bondo and the lines started looking all nice & sharp again.

Bondo_1.jpg


Hopefully get them sanded this evening and get the other side started. Glass should be ready to collect in the morning - so with a bit of luck might get it primed tomorrow as well.
 
42 kg's... That's not bad, i was guessing closer to 60.
But the glass will of course add a little.

Nice work!
 
Henning":3bssop2i said:
42 kg's... That's not bad, i was guessing closer to 60.
But the glass will of course add a little.

Nice work!

I suspect the glass will add perhaps another 5kg - 6.4laminated\6mm spacer\4mm toughened double glazed units.

Cut of the excess tenons and trimmed the stiles to length and buzzed the whole thing with a 40grit disc with a ROS. Went over a few areas with a Nbr 5 first. It's come out a treat. Also curved the verticals in the glazed area. Going to order the locks\handles this week and once the locks have been fitted (temp) then I can work out the dimensions for the s\s protection plates.

Got some more piccies - but they're on the camera phone & the leads at work! Will post them up tomorrow.

Will hopefully have it in primer in a day or so - suspect it's going to have to come into the house - outside temp is hanging around 2-3 celicius.

Also getting on with the frame. Someone showed a nice aluminium threshold strip\plate - any suggestions as suppliers? Needs to be around 1200 wide.
 
matt":3oa93u2v said:
You wouldn't want to trap a finger in that door when it's closing :shock:

Shoot - there's an idea!

Have the door permanently ajar, say 5-6 inches, with signs up everywhere - saying something - and the moment johnny asbo sticks his arm thru - hydraulics - bamm! No need to shear it off - just keep it\him there until the householder comes back from work, etc. :wink:

On a serious note - the hinge'ing will need to be fairly spot on, can't be doing with a difficult to close door. Mind you I'll probably need to put some sort of restrictor in place (i've seen them in the floor usually)- really wouldn't want to be stood within say 4' of the door and it's open, with a bit of wind catching that sail - you'd wake up sometime the following week! :oops:
 
Dibs-h":3666cff9 said:
Shoot - there's an idea!

Have the door permanently ajar, say 5-6 inches, with signs up everywhere - saying something - and the moment johnny asbo sticks his arm thru - hydraulics - bamm! No need to shear it off - just keep it\him there until the householder comes back from work, etc. :wink:

On a serious note - the hinge'ing will need to be fairly spot on, can't be doing with a difficult to close door. Mind you I'll probably need to put some sort of restrictor in place (i've seen them in the floor usually)- really wouldn't want to be stood within say 4' of the door and it's open, with a bit of wind catching that sail - you'd wake up sometime the following week! :oops:

You could use one of these and then one of these to sort out any problems from the door being large and heavy though, i would think?
 
Henning":kddy5iey said:
Dibs-h":kddy5iey said:
Shoot - there's an idea!

Have the door permanently ajar, say 5-6 inches, with signs up everywhere - saying something - and the moment johnny asbo sticks his arm thru - hydraulics - bamm! No need to shear it off - just keep it\him there until the householder comes back from work, etc. :wink:

On a serious note - the hinge'ing will need to be fairly spot on, can't be doing with a difficult to close door. Mind you I'll probably need to put some sort of restrictor in place (i've seen them in the floor usually)- really wouldn't want to be stood within say 4' of the door and it's open, with a bit of wind catching that sail - you'd wake up sometime the following week! :oops:

You could use one of these and then one of these to sort out any problems from the door being large and heavy though, i would think?

I recall seeing something floor mounted (ages ago) where it restricted the door opening (i.e. behaved like a regular floor mounted door stop) - but you pressed your foot over it and the restrictor would go down - allowing the door to fully open.

Anyone seen one or know where to get one?
 
Update: Piccies as promised,

Here's one with the front of the lattice work shaped,

shaping.jpg


I had loads of very thin offcuts lying about - just the right width of the lattice work - so thought might as well stick them onto the back of the lattice work - covering over the epoxy. Might make life a bit easier with painting.

lattice_rear.jpg


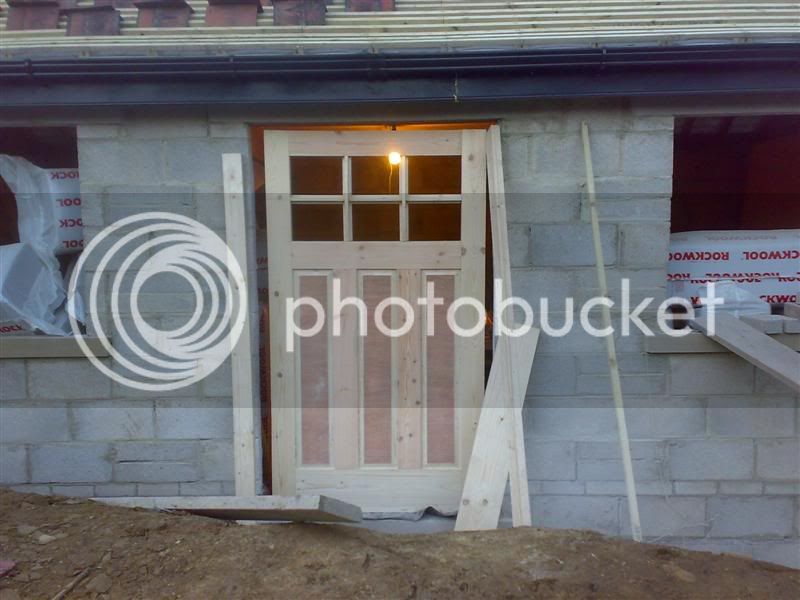
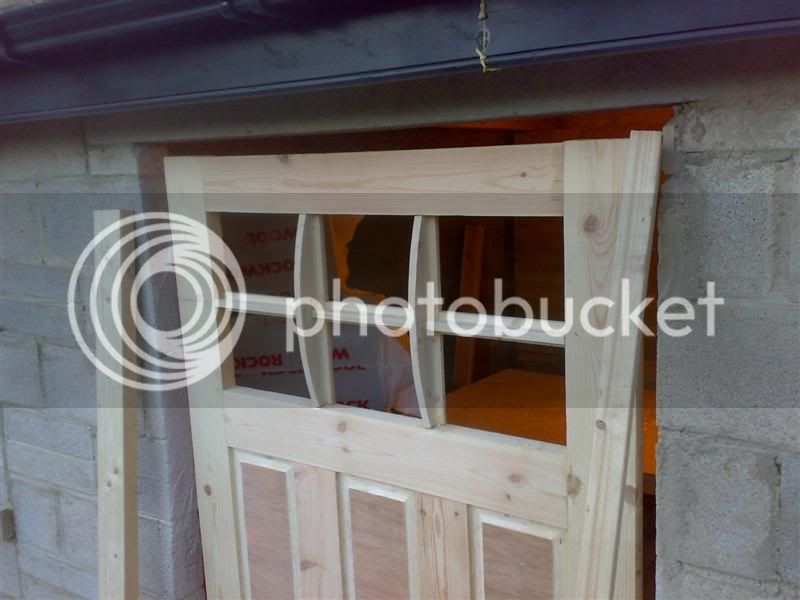
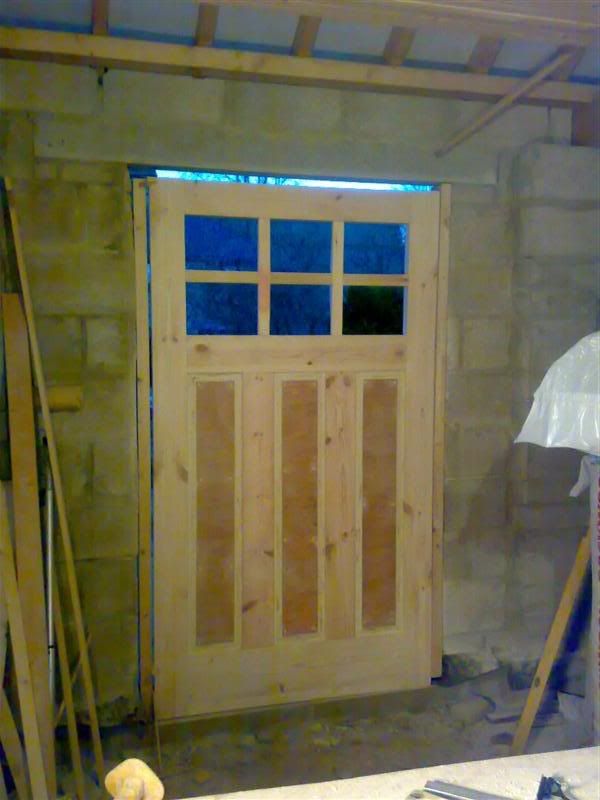
Then had to get the door off the table to clean the glue off it that had dripped from previous efforts, so thought let's put it in the opening and see how it looks.

test_fit1.jpg


Another showing the glazed area,

test_fit2.jpg


And finally one from the inside

test_fit_inside.jpg


Also need to apply the stops\rebates to the glazed area - there aren't any on the Stiles\top & mid rails, then probably into the house for painting. The lattice work has them and need to make the beading.

Also will crack on with the frame this afternoon.
 
Update: I had some 4"x2" that I was hoping to use for the frame - dominoes for the joints - with planted on stops. That was the plan, but...

Trimming the opening ended up around 10mm wider than expected - which meant the 47mm thick 4"x2" left a gap too big around the door - didn't want to faff about laminating that as well - so nipped down to the local lumber yard. So convenient having a yard 1 mile away! Got some 4"x3" - cut the the top piece to length and then did the sides. Dohh!!

At that point I'd decided to create the rebate using the TS, and that required the side pieces to be cut to length afterwards - assuming they were slightly long to start with! But I'd already cut them! :oops:

So me and Son get back in the car - already rang up for another 2 lengths of 4"x3" @ 2.1m. Got back 10 mins later and started again!

Decided to create the rebates 1st - here's some I did the 2nd time

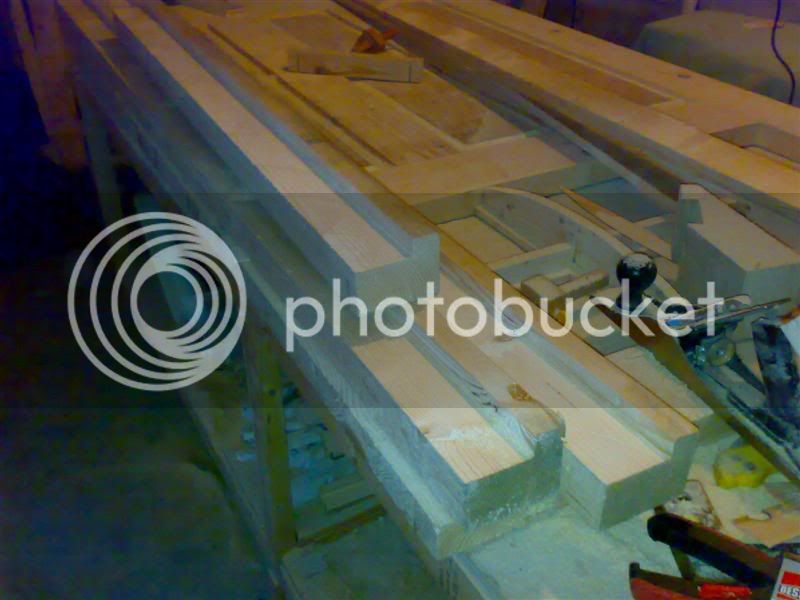
stock_rebated.jpg


The stop is around 30mm wide and 20 deep (5mm for the reinforcement). The rebate is around 60 wide - I felt I would prefer excess jamb on the inside (and therefore more reinforcement) than on the stop side.

Then a bit of procrastination and a quick look on the 'puter at John Henry's garage door frame - and a bit of faffing about we have,

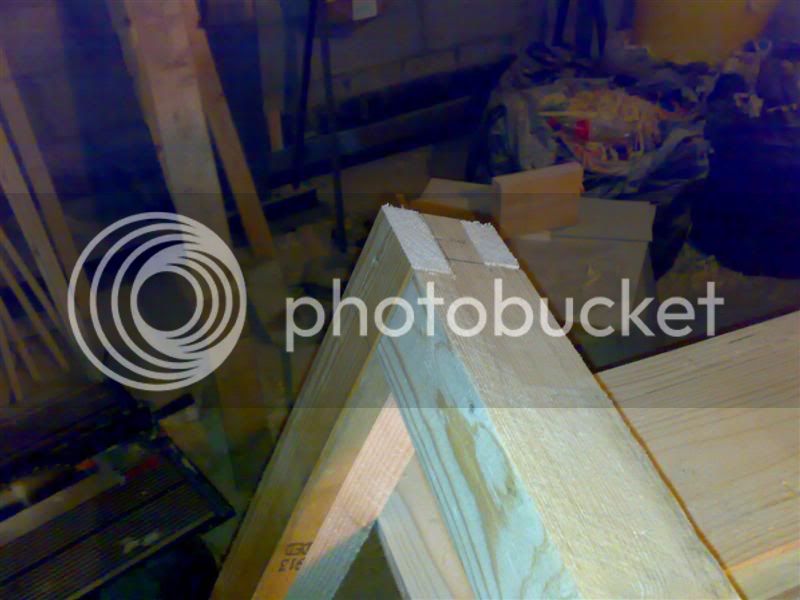
1st_joint.jpg


Joint Nbr 1 - will finish joint nbr 2 this evening.
 
Did the other corner last night, quick thump with a lump hammer on the non visible sides and came together quite well.

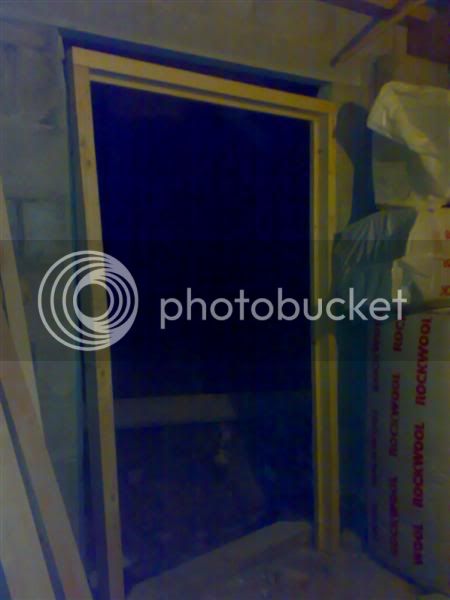
Propped it up in the doorway and thankfully the sides need trimming - so no need to go and get a 3rd lot, because they're too short. :oops:

frame.jpg


Sorry for the crappyness of the picture - was getting on a bit when I finished. Quick going over with some 80 grit Abranet and a Nbr 5 on the reverse sides (where the mill must have run it thru the bandsaw, cutting it down from bigger stock), followed by taking it inside.

Bit of bondo to fill the odd knot and resin pocket (that I'd scraped out roughly) and then 2 coats of Sikkens WB (had a bit left over from the windows) - one last night and 1 this morning. So might get some top coat on it this evening.

It isn't assembled yet - would have been a lot harder to get into the house - assembled.

Going to get some sleeve anchors to bolt it to the wall - then screw (and epoxy) the steel jamb reinforcement.

Hopefully finish off the beading, etc. for the door.
 
Back
Top