I am not one for multi hour techniques to address maybes, but I have figured out over time how to make planes like this very flat in a short period of time, so I'm going to share it. This plane is a norris A13, something I overpaid for and when I received it, it had two very high corners and the others very low. Unfortunately, tehse were diagonals. There was also a lot of wear under the mouth. With as much use as this plane saw, I'm lucky that it doesn't appear to have ever been dropped.
The overall idea here is to file the center hollow in steps - like a thousandth hollow, just a tiny amount, and then lap off the outer ring.
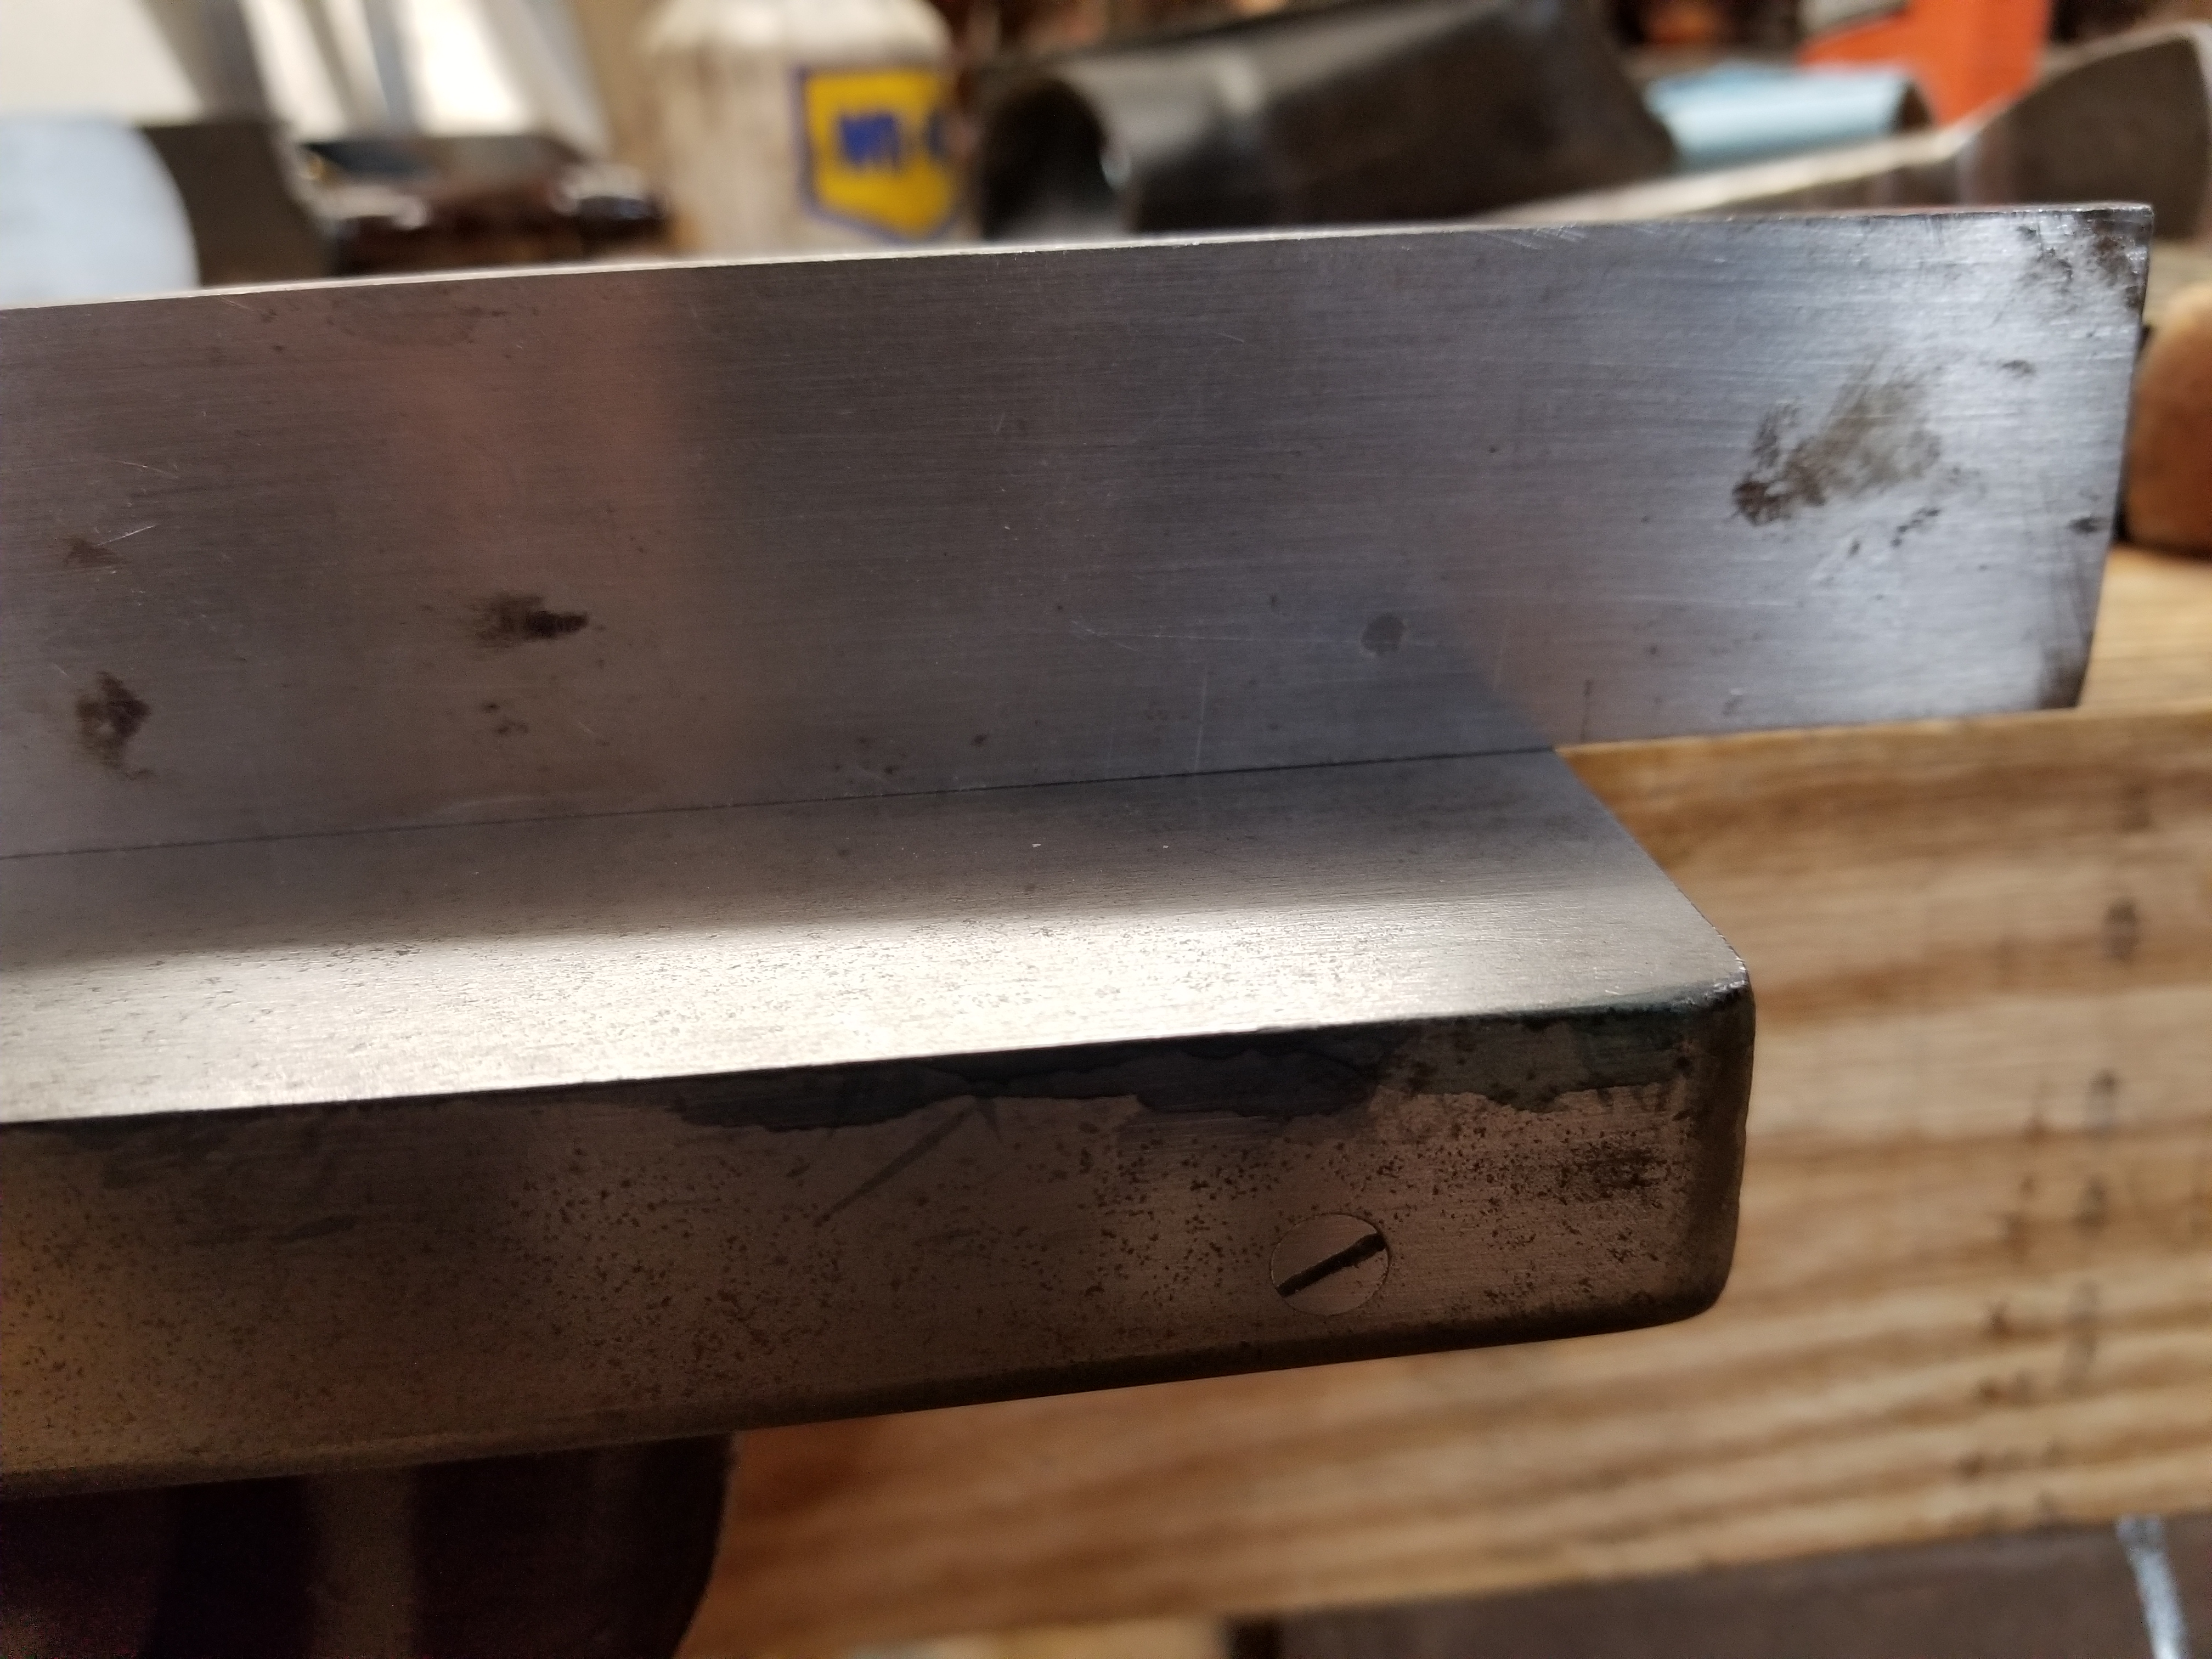
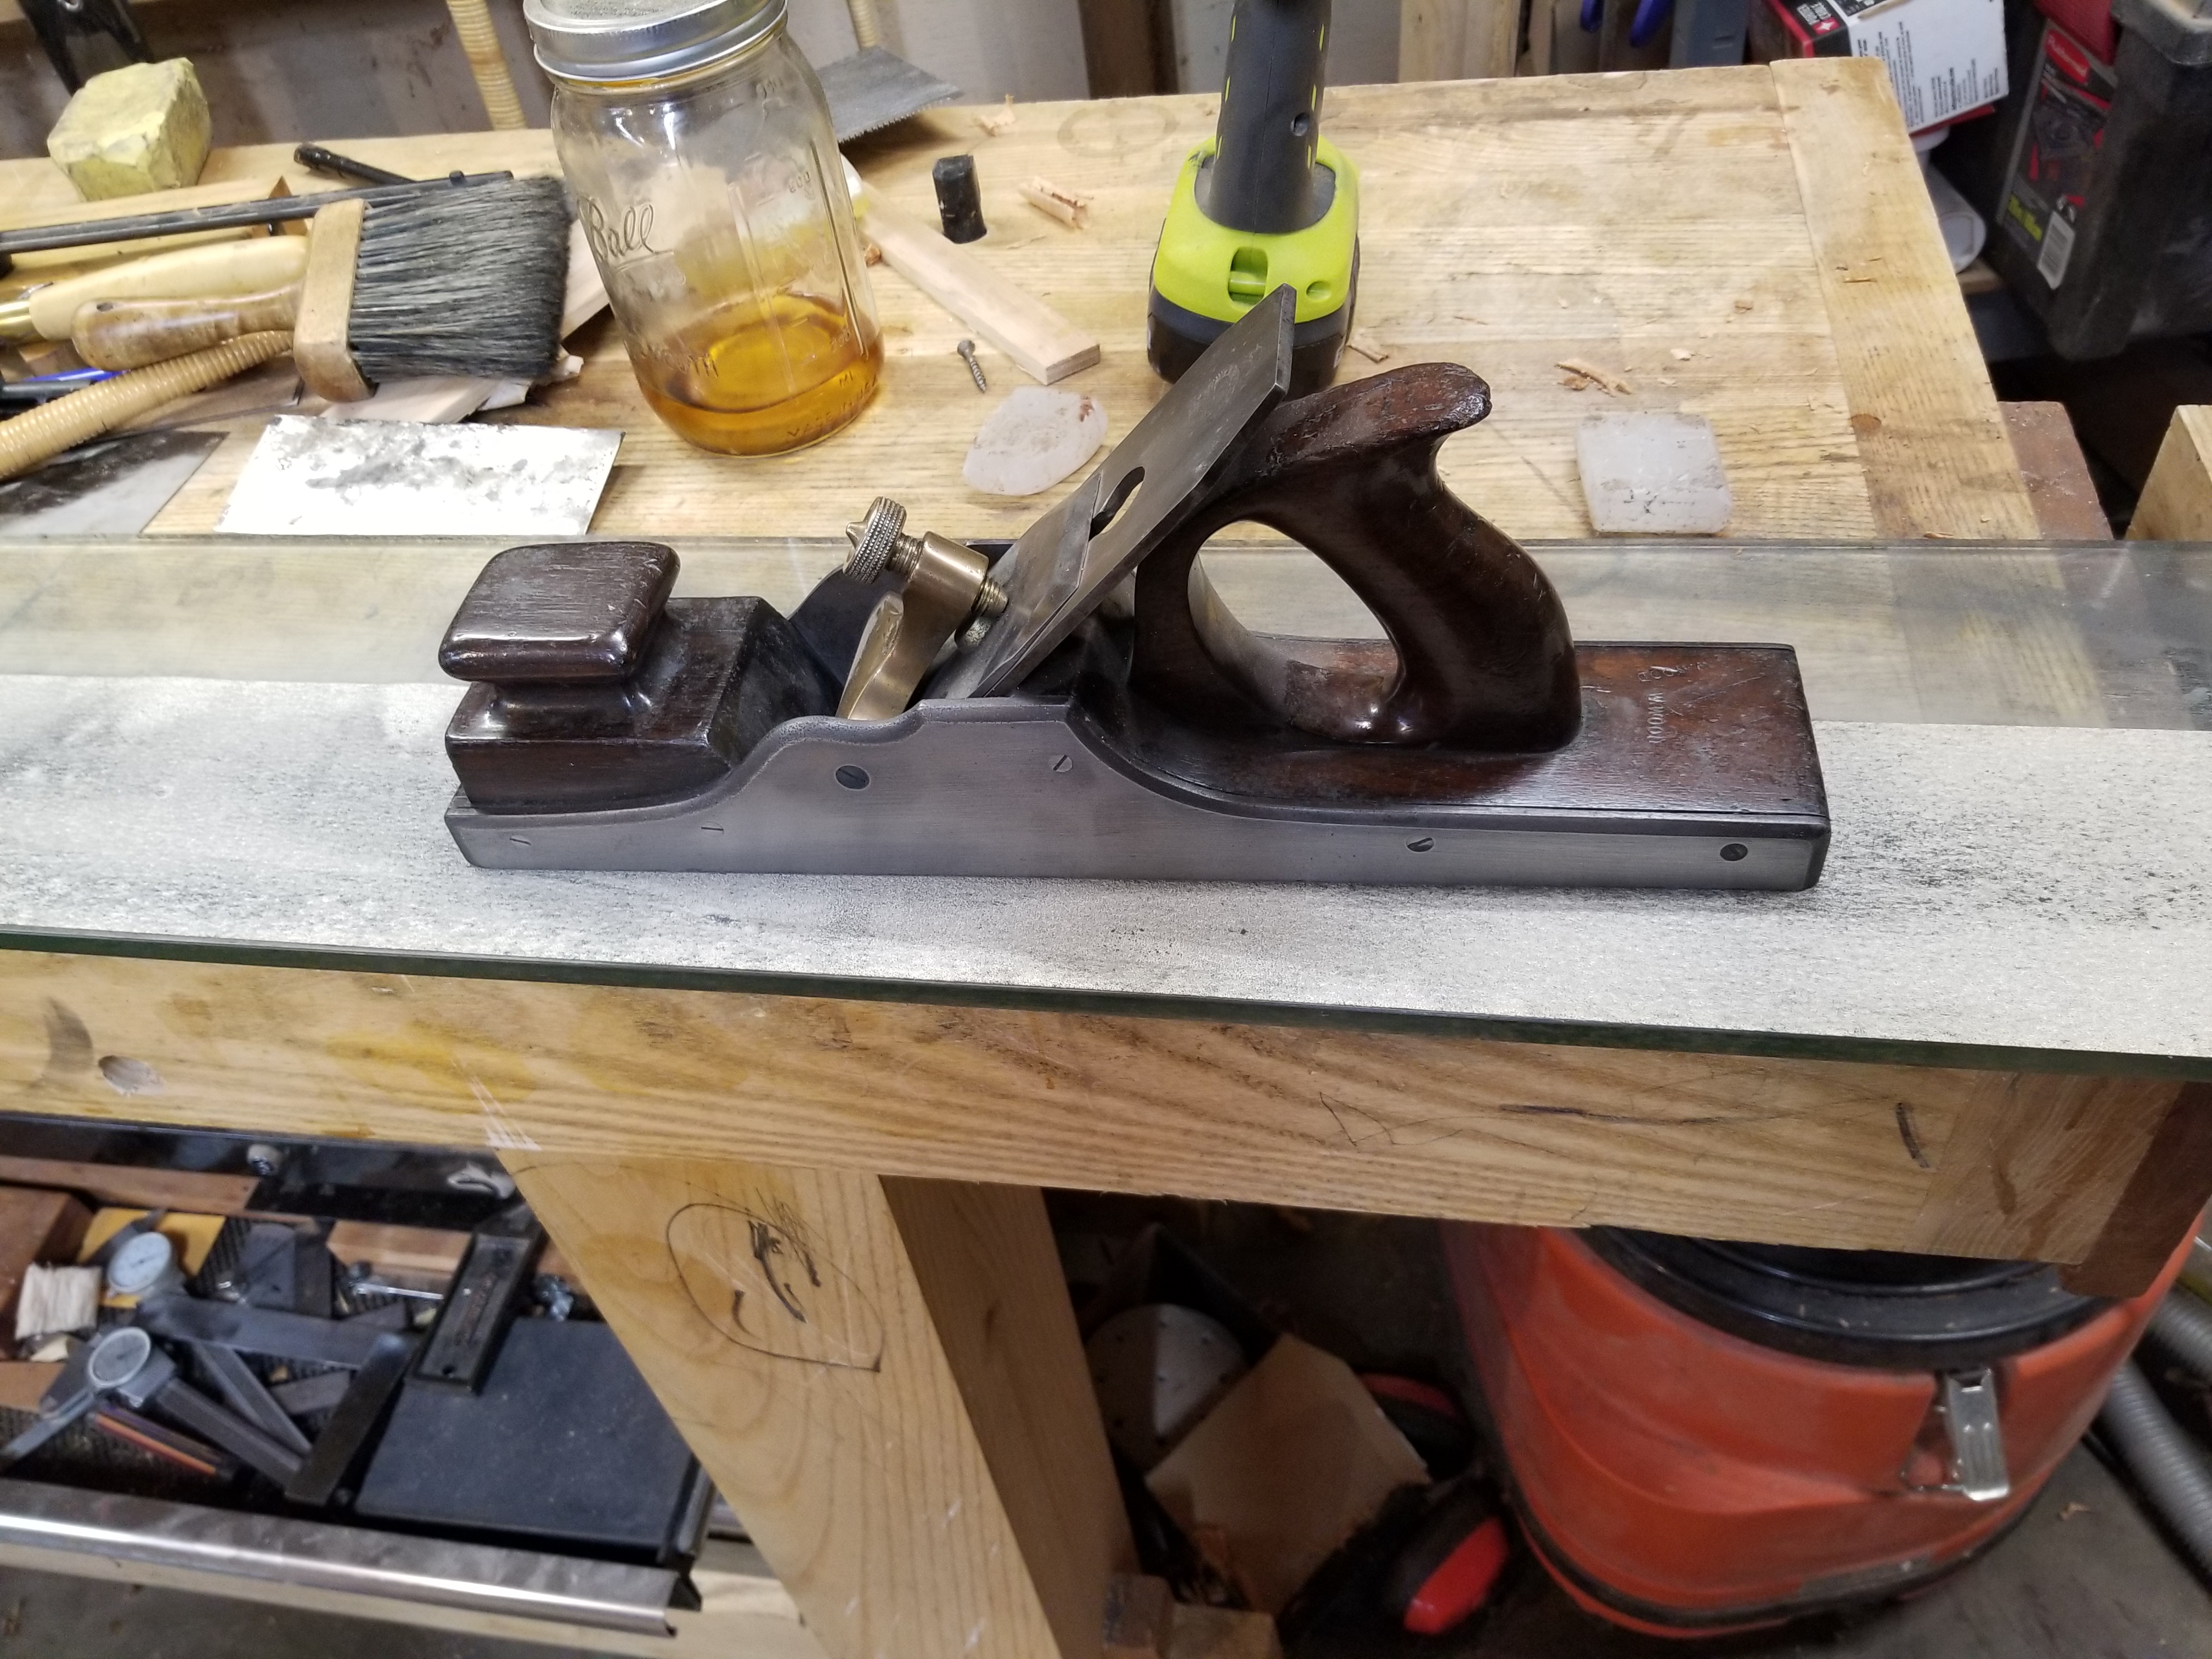
This is my glass shelf lap with the plane on - sorry, i forgot to take a picture of the sole ahead of time, but it wouldn't have shown much.
I put dykem (marking fluid) on the bottom of this plane, let it dry, and then lap it to see where it's high.
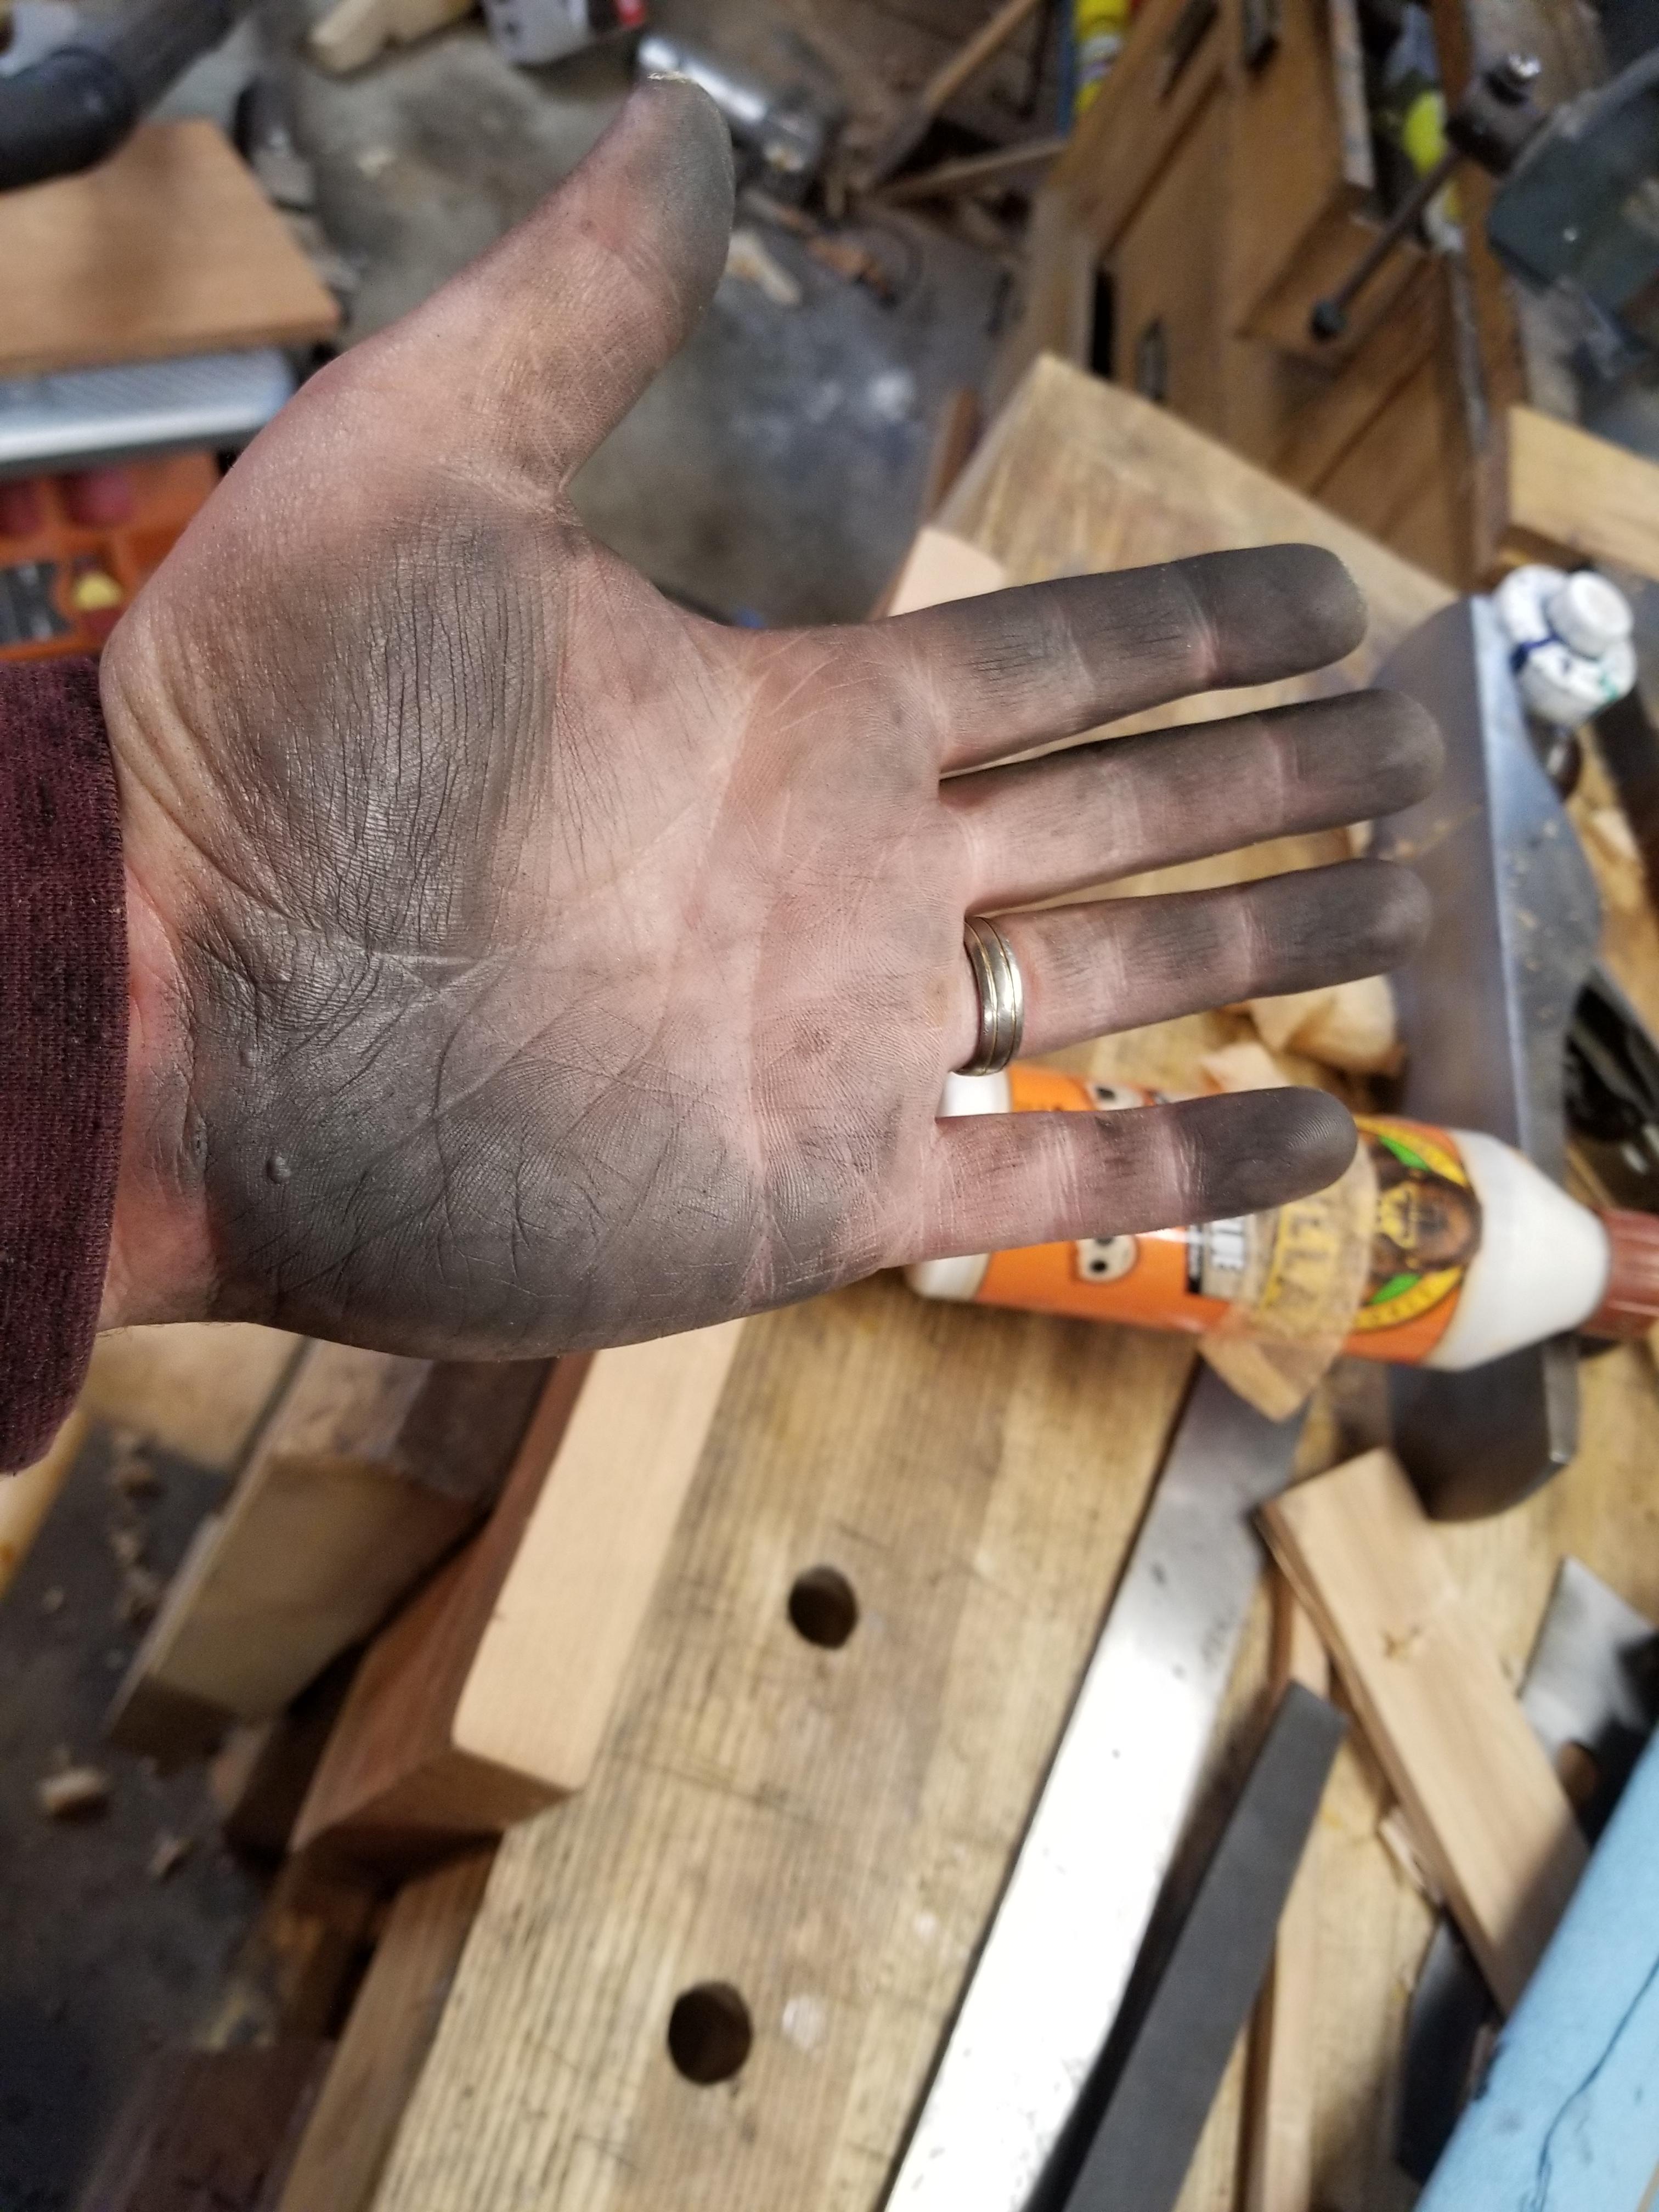
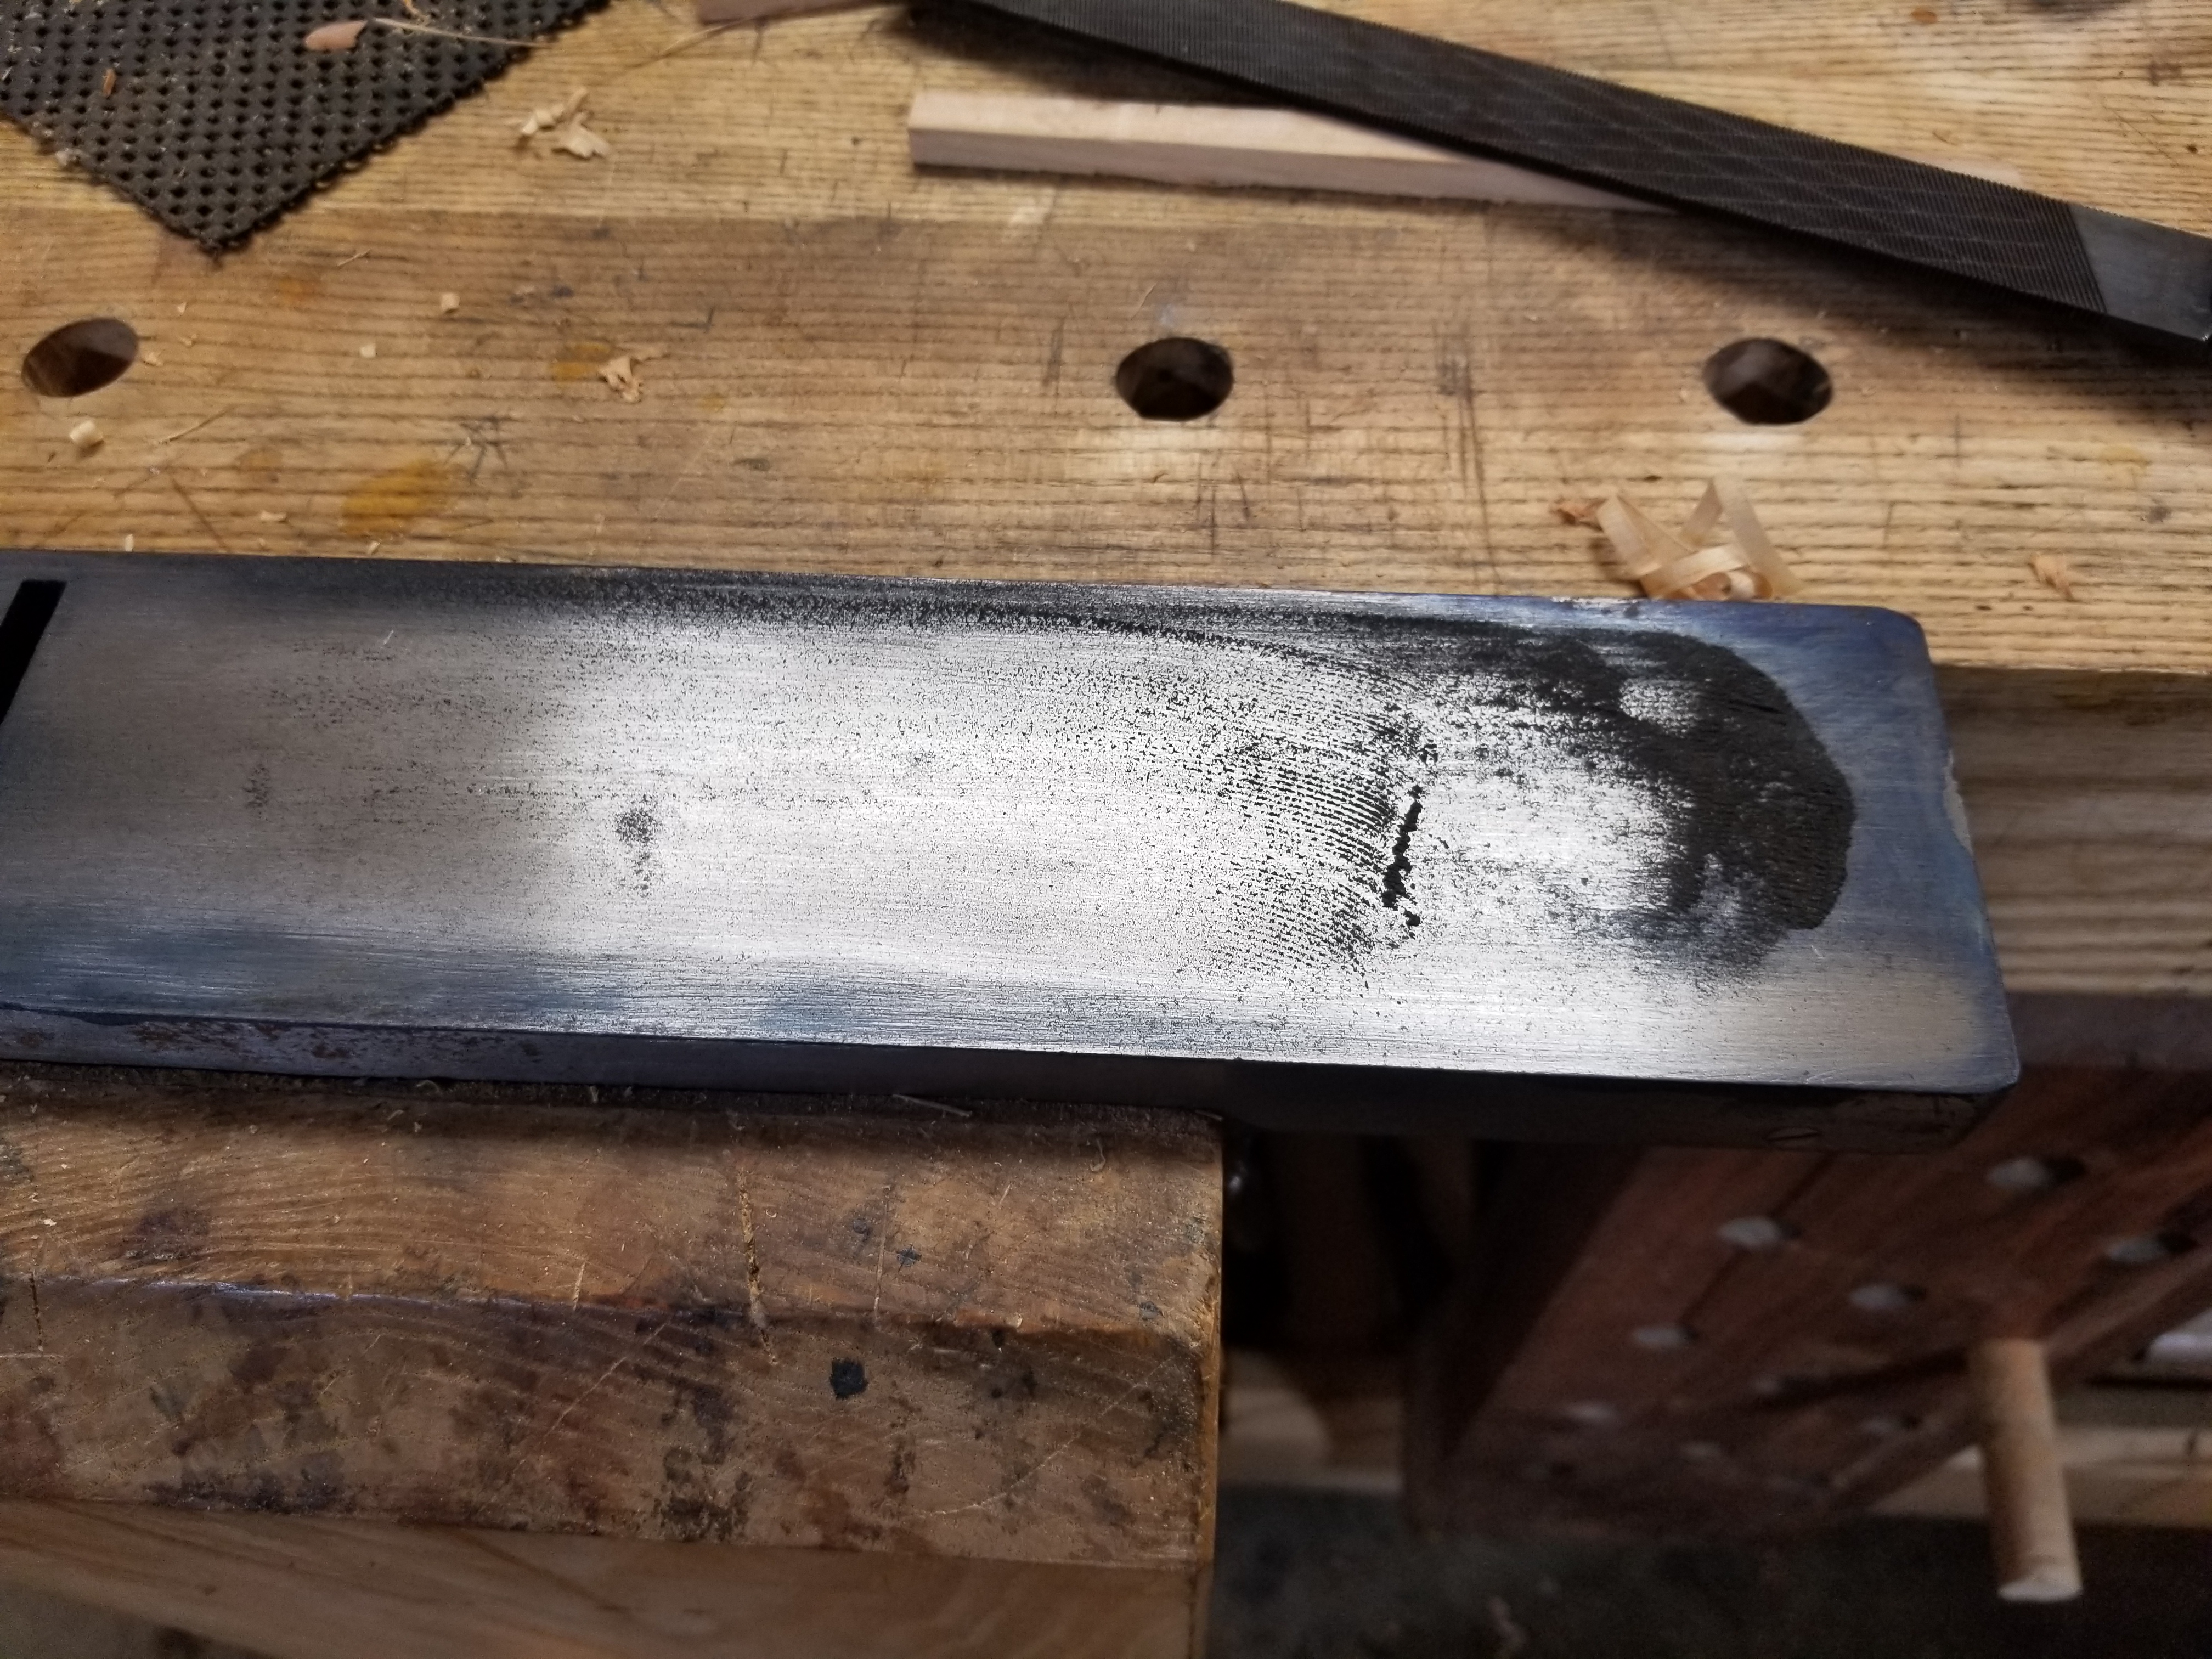
Turn it over, put it in a vise and file the spots that lost color on the lap (notice the high back corner - this isn't just a little high - it's probably 2 or 3 sheets of paper high - perhaps a hundredth). This is the swarf from about 30 file strokes.
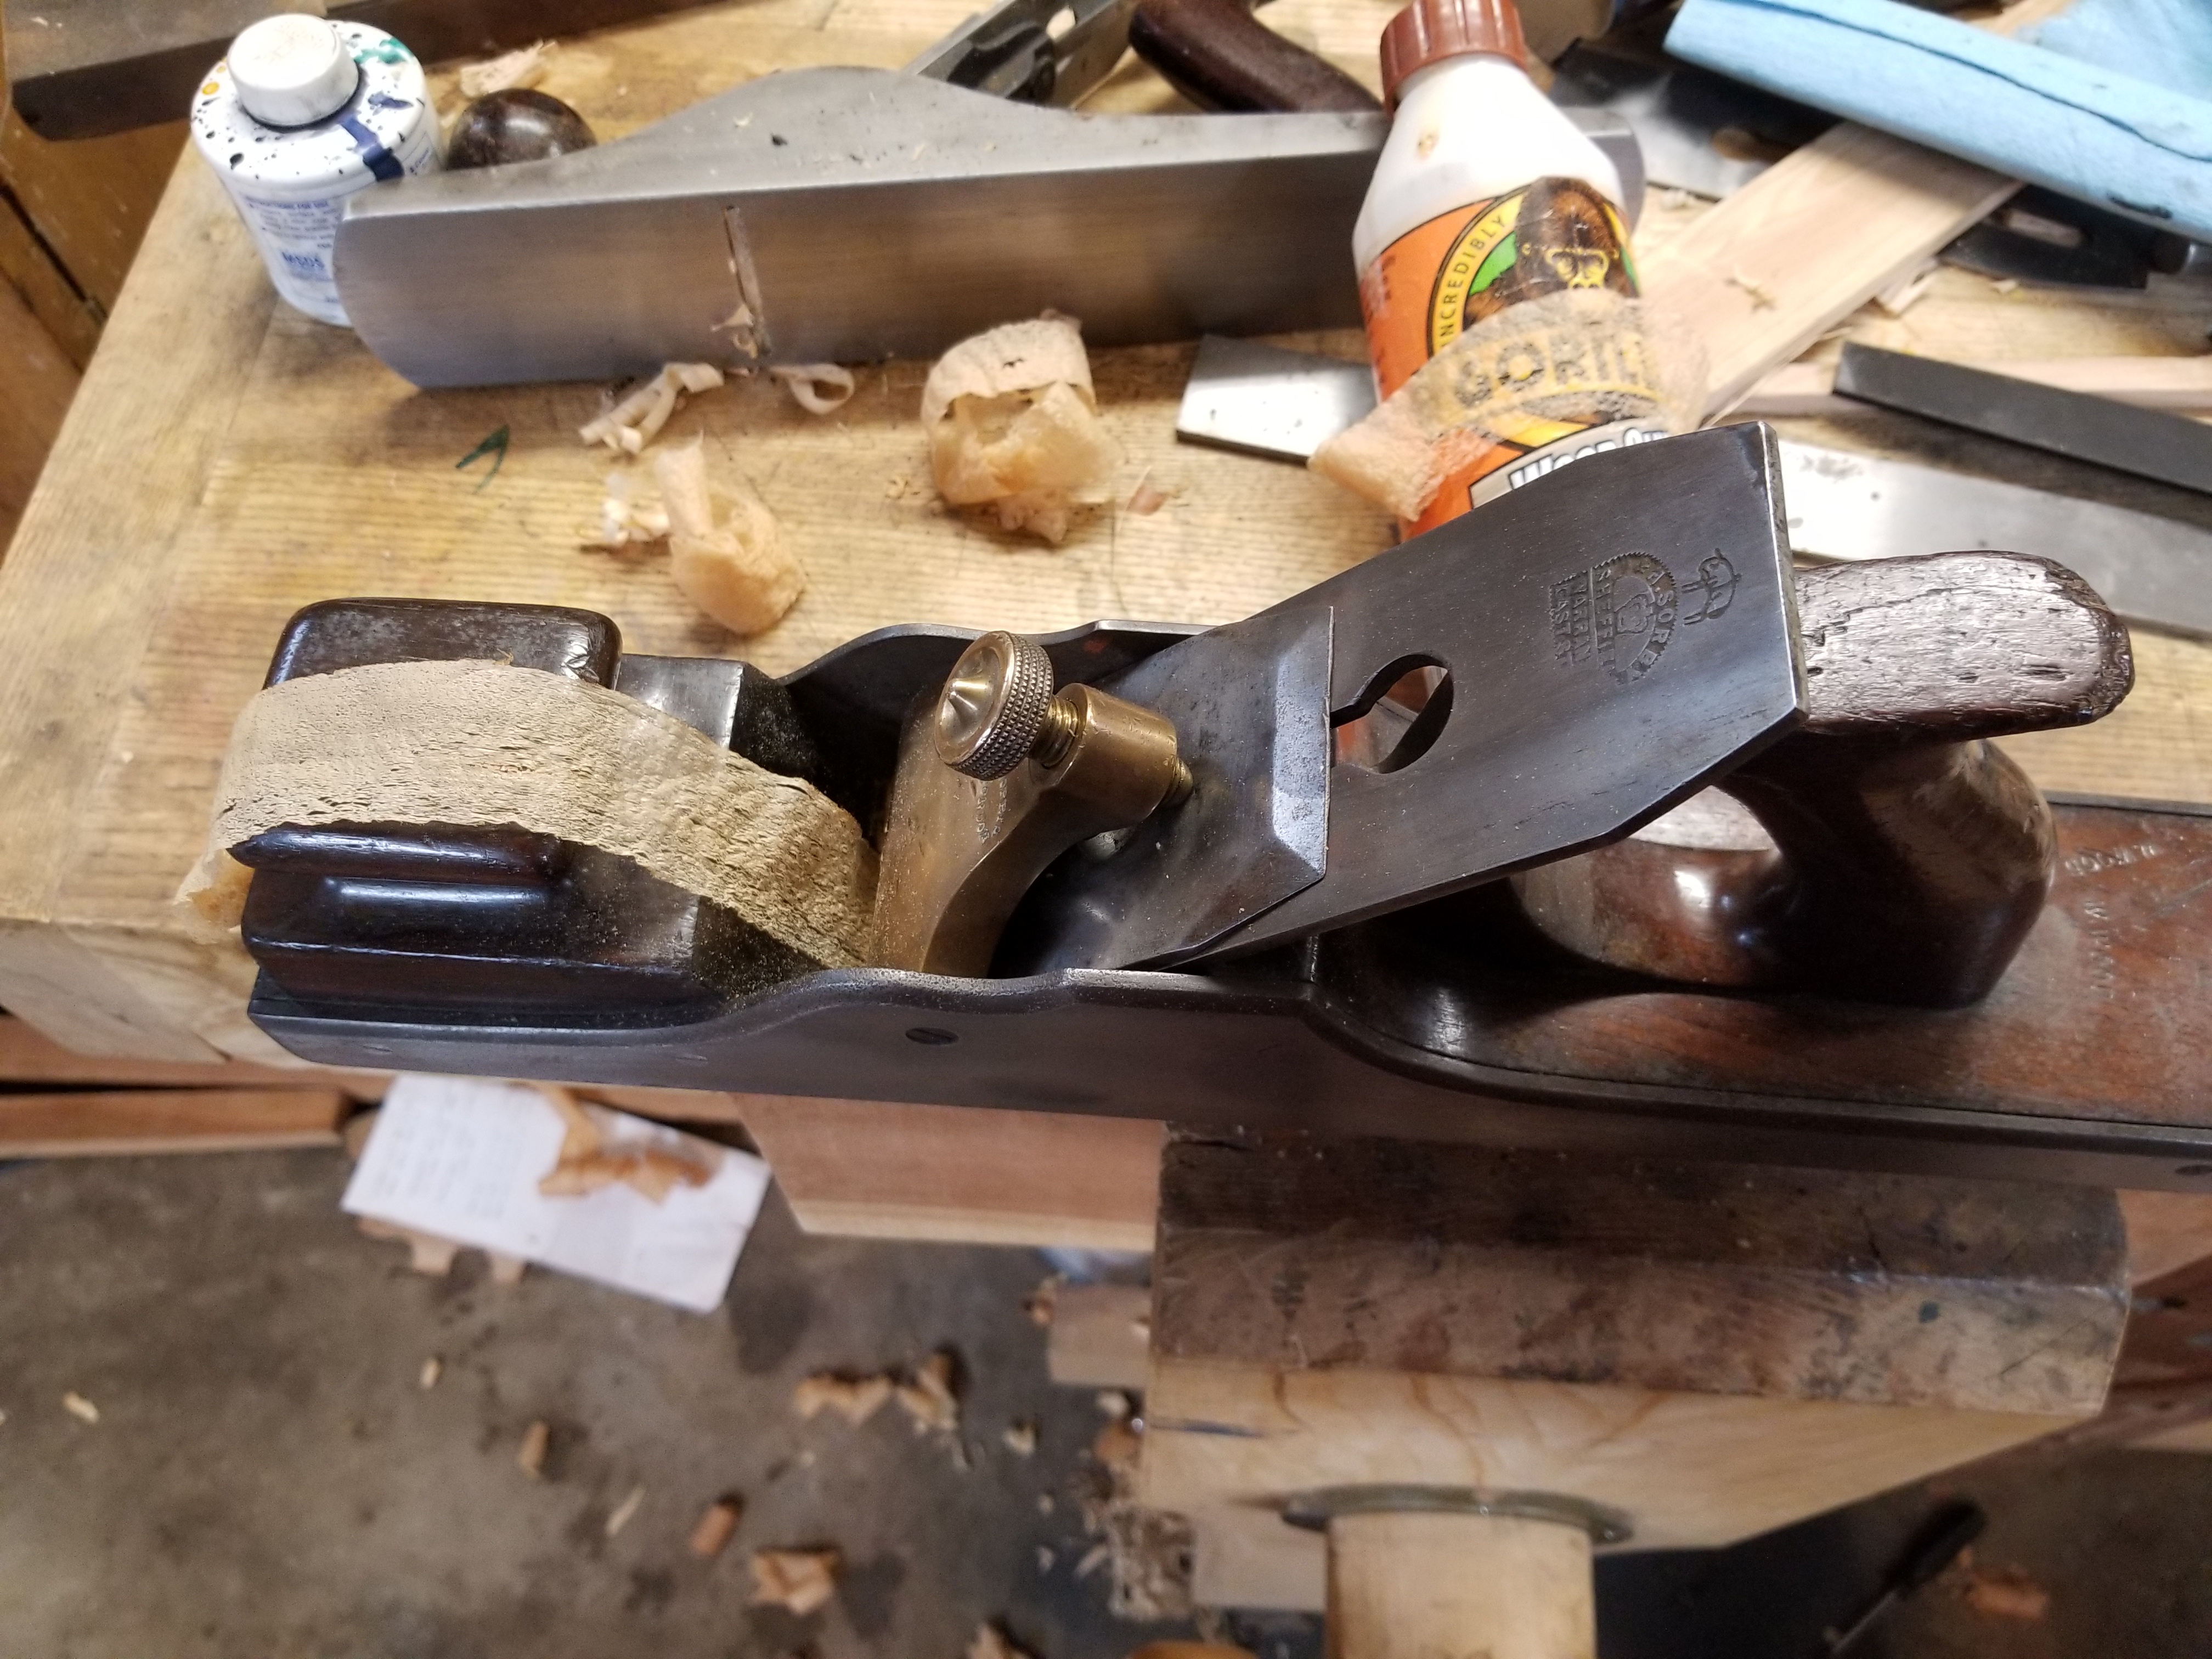
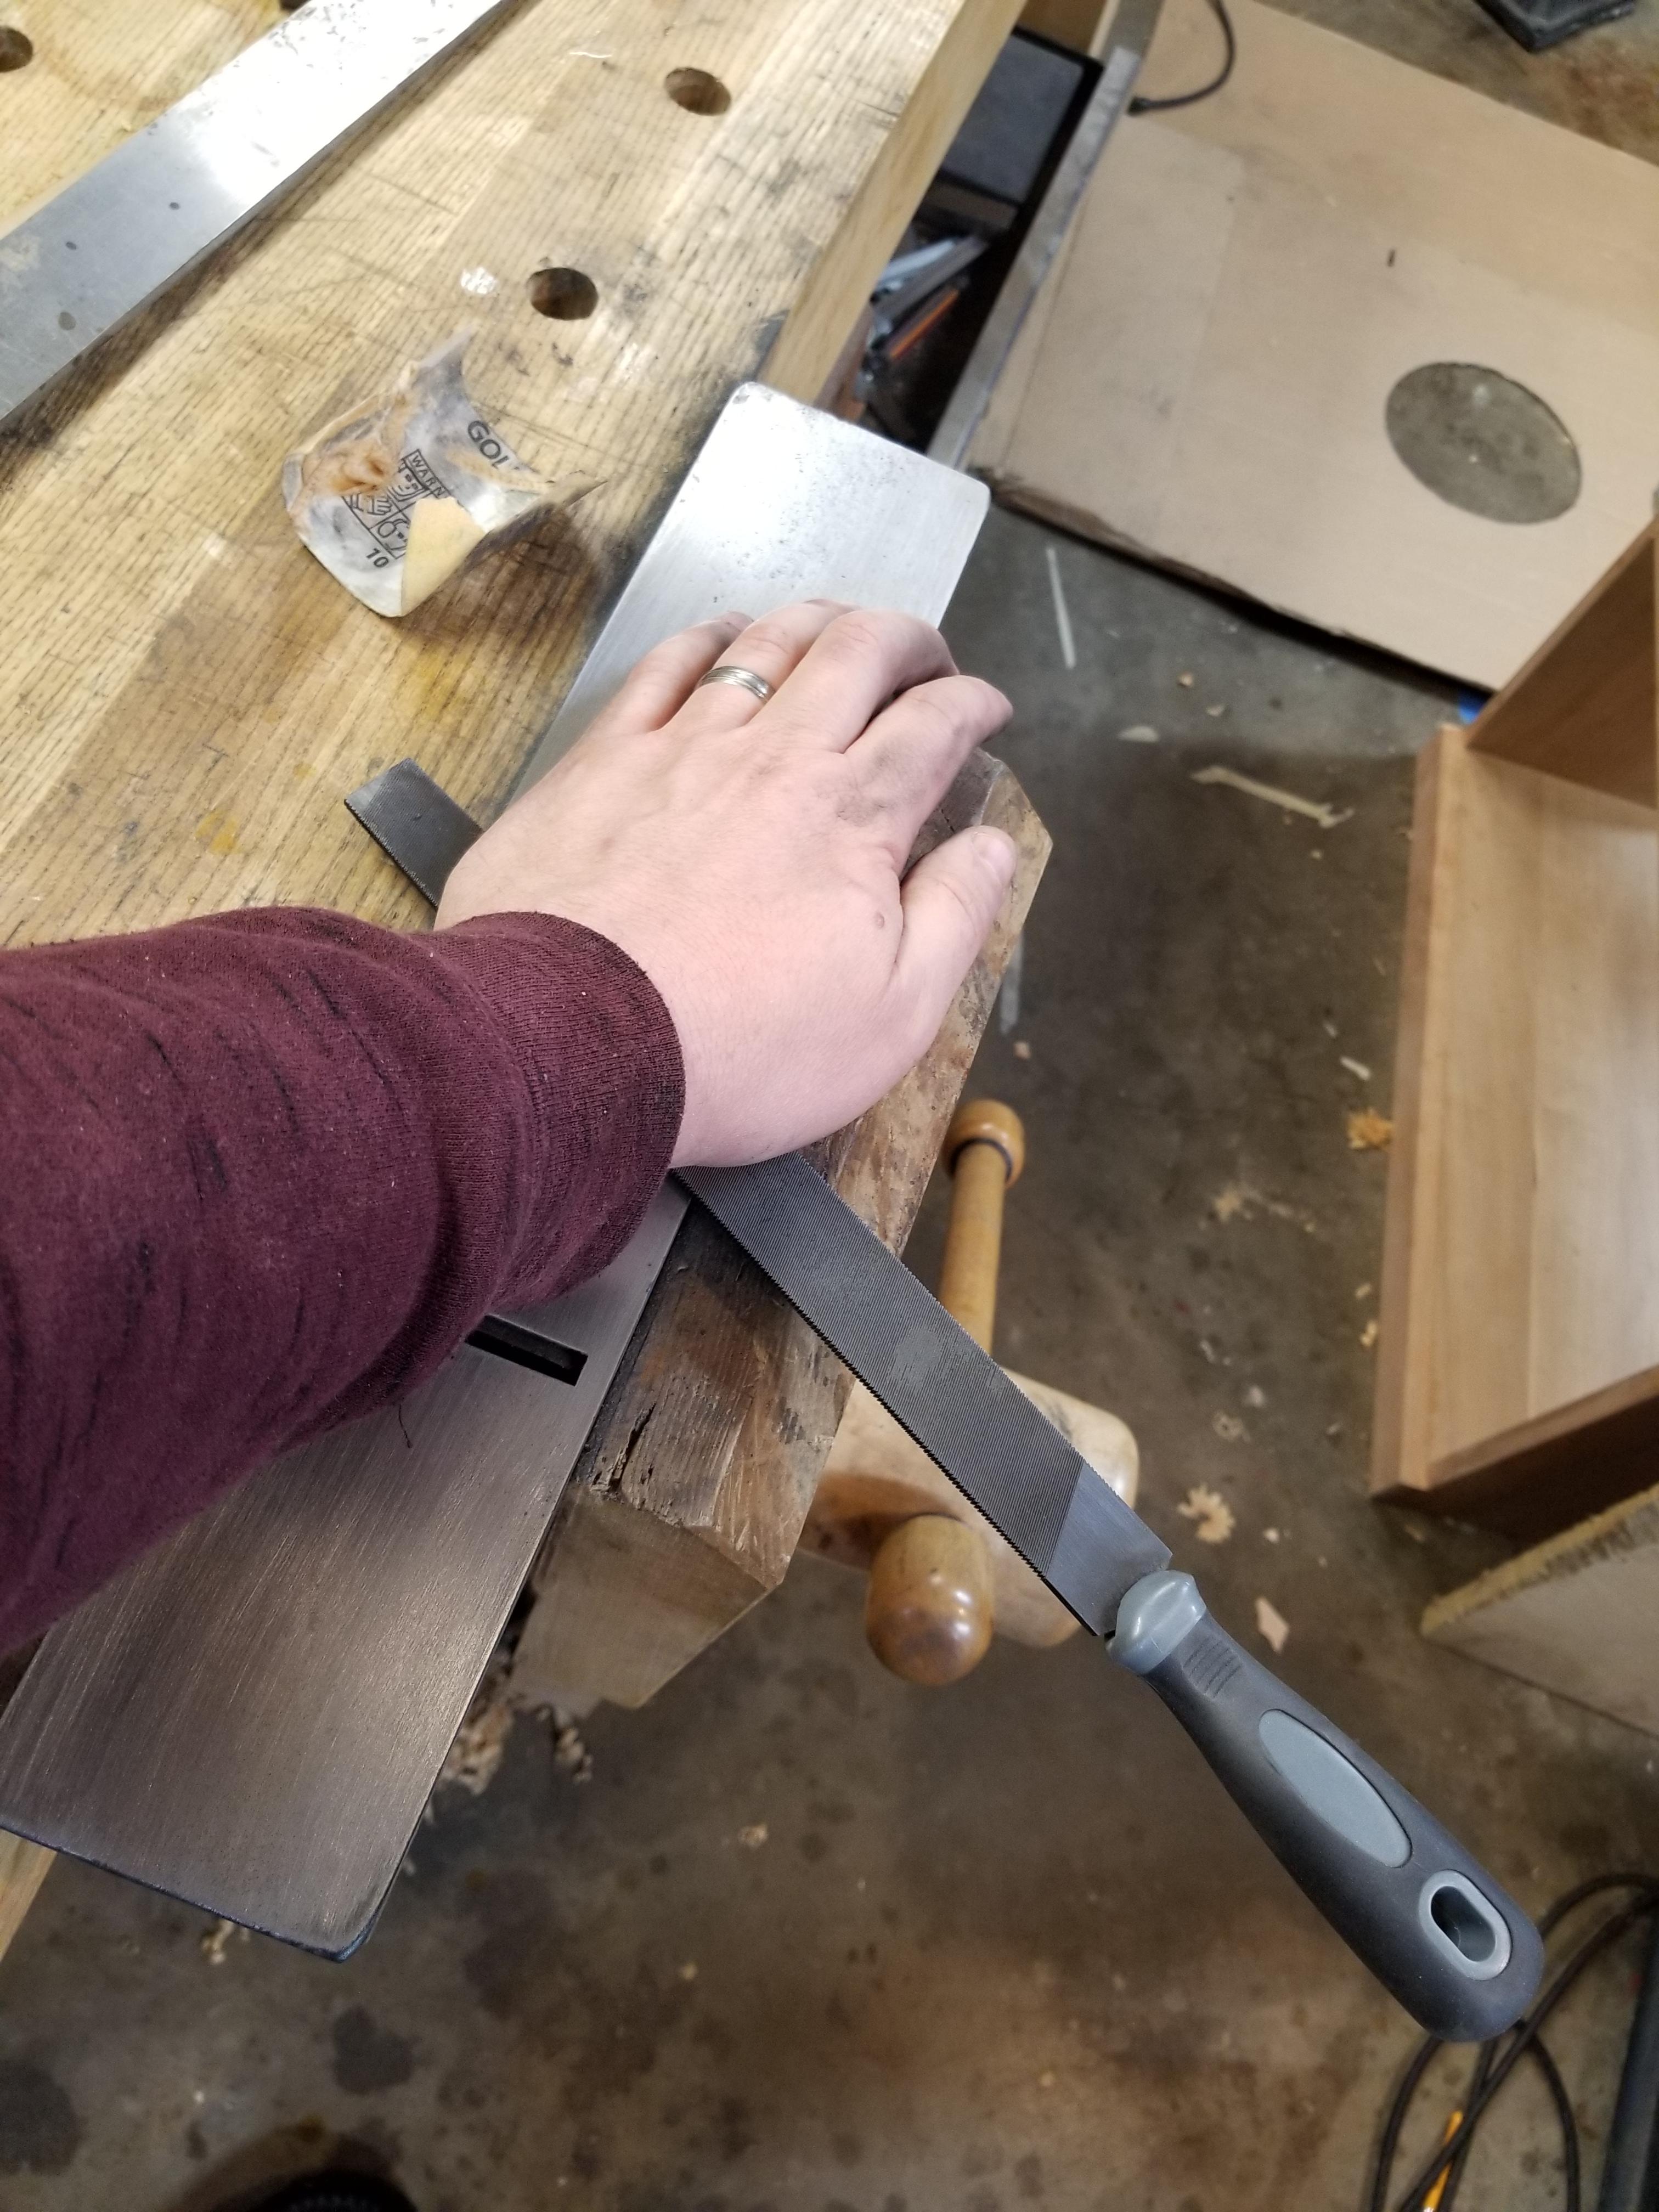
put pressure on the file like this - push the file in the direction of the plane length. Just doing this will file the sole hollow as the file will flex a little bit under pressure. It's easy. Go slow and ensure you feel the file cutting or you're just dulling the file and wasting your time. Tap the filth out from time to time. If the plane is mild steel (many infills), use a file card to make sure you don't pin the file and make huge scratches in it. The swarf will be little pigtails instead of dust in mild steel.
If you are doing a long cast plane (like a stanley jointer) and are uncomfortable with filing, make a 2x2 or 2x3 inch wood block and work in small sections with coarse PSA machine paper stuck to the block. You cannot get enough downward pressure to lap those planes efficiently, and you will end up relieving the ends a lot, but you can do this technique with a smaller block and the paper will cut much better as it dulls due to the small contact area. This is an effort thing of 10 to 1, I'd bet (BTDT), and the accuracy is far better if your reference source is flat.
The overall idea here is to file the center hollow in steps - like a thousandth hollow, just a tiny amount, and then lap off the outer ring.
This is my glass shelf lap with the plane on - sorry, i forgot to take a picture of the sole ahead of time, but it wouldn't have shown much.
I put dykem (marking fluid) on the bottom of this plane, let it dry, and then lap it to see where it's high.

Turn it over, put it in a vise and file the spots that lost color on the lap (notice the high back corner - this isn't just a little high - it's probably 2 or 3 sheets of paper high - perhaps a hundredth). This is the swarf from about 30 file strokes.

put pressure on the file like this - push the file in the direction of the plane length. Just doing this will file the sole hollow as the file will flex a little bit under pressure. It's easy. Go slow and ensure you feel the file cutting or you're just dulling the file and wasting your time. Tap the filth out from time to time. If the plane is mild steel (many infills), use a file card to make sure you don't pin the file and make huge scratches in it. The swarf will be little pigtails instead of dust in mild steel.

If you are doing a long cast plane (like a stanley jointer) and are uncomfortable with filing, make a 2x2 or 2x3 inch wood block and work in small sections with coarse PSA machine paper stuck to the block. You cannot get enough downward pressure to lap those planes efficiently, and you will end up relieving the ends a lot, but you can do this technique with a smaller block and the paper will cut much better as it dulls due to the small contact area. This is an effort thing of 10 to 1, I'd bet (BTDT), and the accuracy is far better if your reference source is flat.


