Hoorah! It's done

Today was mainly assembly. First I took a trip to Screwfix to pick up the hardware mentioned in the above post. I also grabbed a set of their Hilki serrated forstner bits and a sanding block.
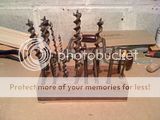
Once I got things organised I started playing with the forstner bits, my first time using them and in a power drill of all things... I lived to tell the tale

I had to drill through both sides of the legs as the bits only reached half way. 2 holes drilled unguided through each leg later and I was onto finishing off the feet.
This involved drilling pilot holes for the huge 6x100mm screws to hold the legs on from the bottom. 5mm pilot hole right through then I counterbored with a 13mm forstner bit. 4 pilot holes in the end of each leg too.
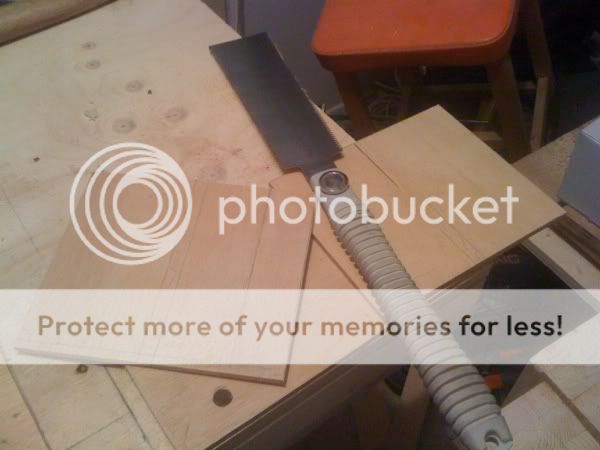
On the ends of each foot I put a toe plate just to stop it marring on the concrete floor and hopefully help with stability. I didn't get a pic of them attached but here's me cutting them out of some 3mm ply with my Hibiki:
I attached them with 4 small veneer pins each and punched the pins below the surface.
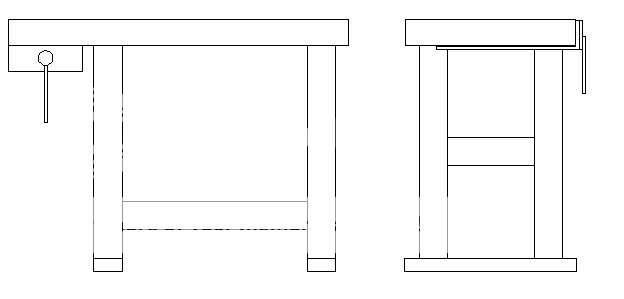
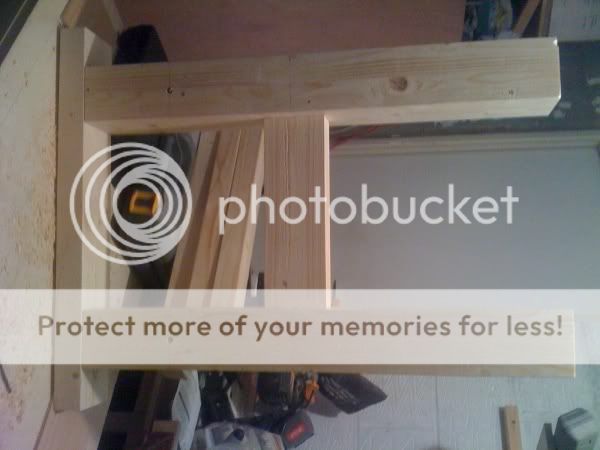
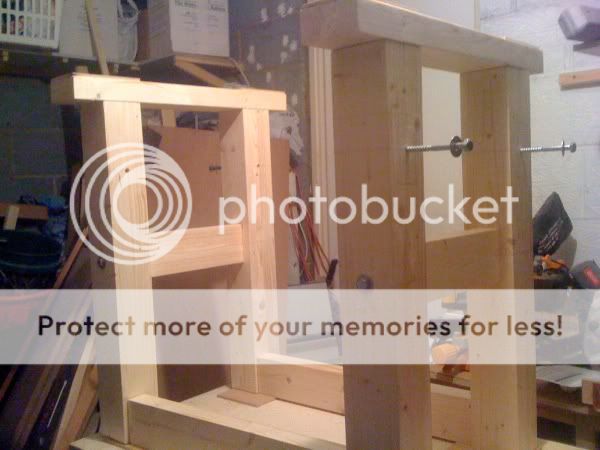
With the toes attached to the feet and the feet attached to the legs it was rails and stretchers time! This meant bringing out the 160mm coach screws which also meant finding a 17mm socket or spanner! Luckily I found one of each and a long socket too so game on

Next up was the stretchers. It started looking like a bench base which surprised me a bit as I thought I might be making a hash of it all

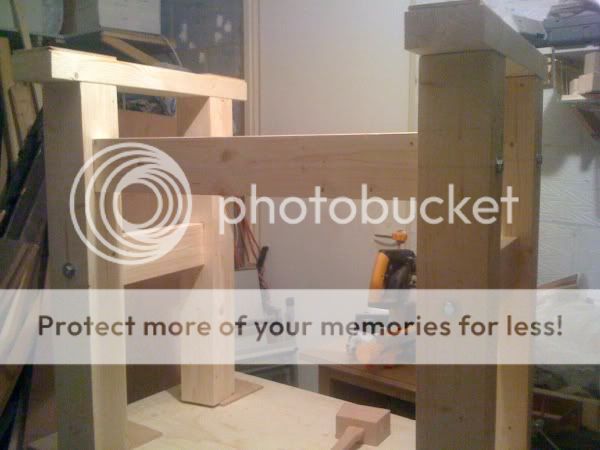
Here's a pic of the finished base, the screws done up nice and tight but not FT

You can see the toes in this pic so I did manage to get a pic of them afterall.
Now the fairly scarey part. I had to get the top lined up with the legs. I made a torsion box the other day so that I had something decent to work . I've done all the work on this which has sat on top of the workmate. The torsion box gave me a cheap, strong and pretty much warpless solution to having a thick top (90mm). This meant I could leave it in layers and then assemble it properly once the bench was built from the bottom up.
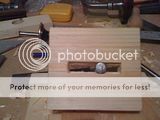
Here is a pic of the bottom layer that also served as dinner table, notepad, calculator and even a temporary benchtop while I made the bench

The bottom was attached to the legs by lining it up with them and then drilling 4.5mm pilot holes into which I screwed it all together with some 5x60mm screws. I didn't need the 100mm jobbys I used earlier as it was only going through 18mm ply this time. Last job on this part was to write a secret message which will be forever sealed inside the torsion box 8)
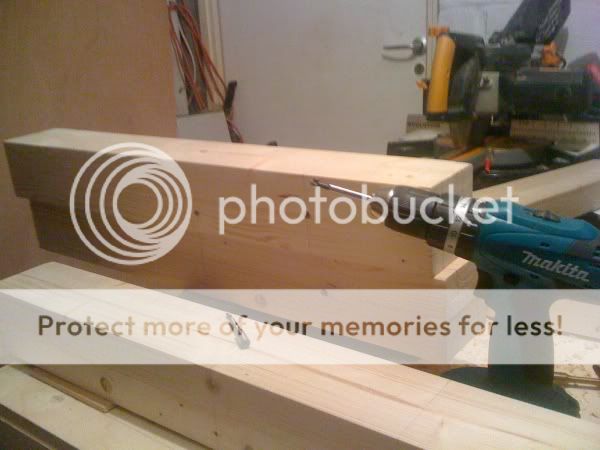
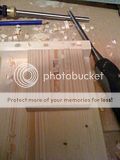
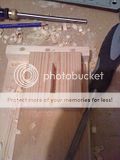
Next was to attach the middle and top layers of the torsion box. I joined them together first with some plasterboard screws. They are nice to use in softwood but I was a bit scared of ripping the heads off of them at times so I restrained my trigger finger and the drill's clutch quite a lot! Here's a pic:
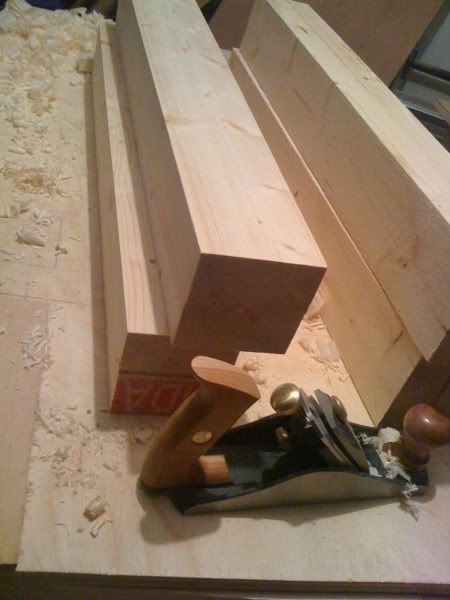
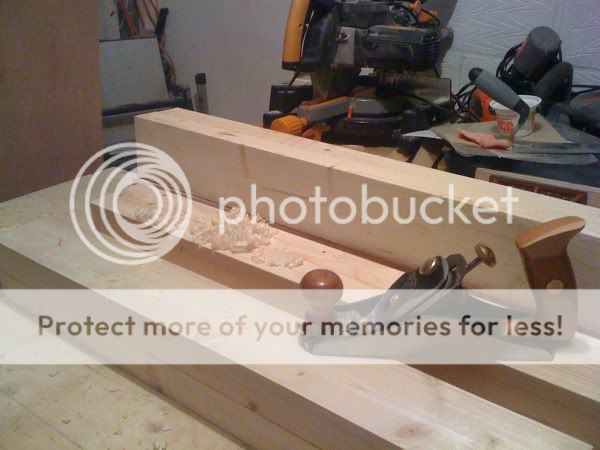
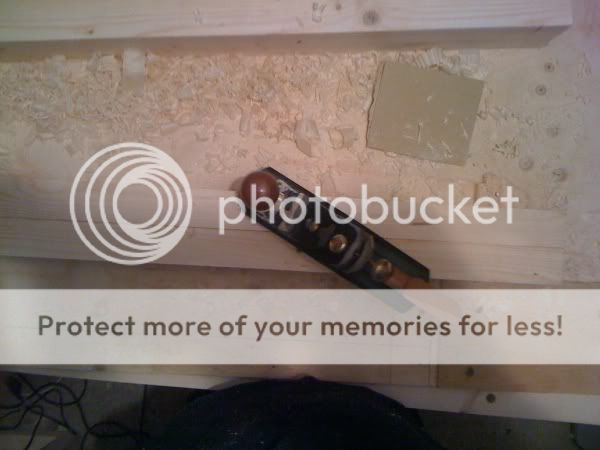
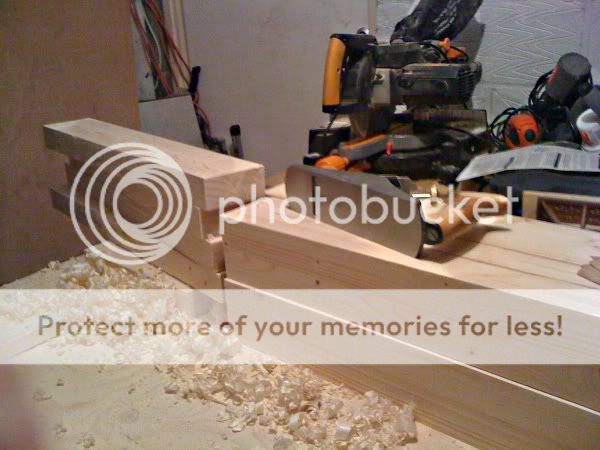
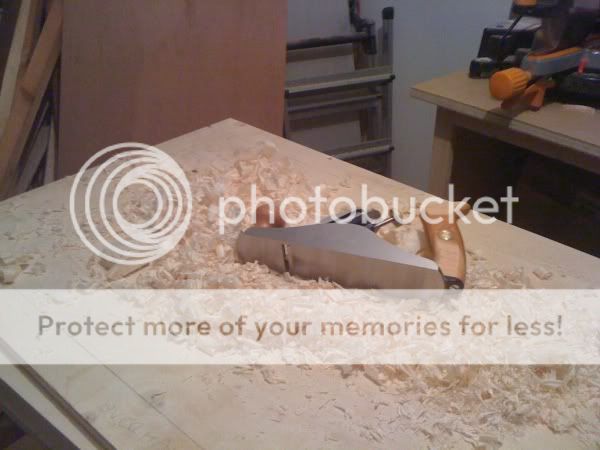
The torsion box is simply 2 layers of ply with a framwork of 2x4's. i fixed the framework together for the most part with pocket screws. The additional bits in the middle and by the vice mounting point were offcuts so I used them where I expect to put dog holes later. These were held in with glue and plasterboard screws. I had to plane quite a lot to get the 2x4's flush otherwise it wouldn't be a good fit onto the bottom layer. As I will be putting holes through the top for bench dogs, etc.. I made sure to mark out where my screws were and where it was ok to drill later. Hopefully I got it all right when that time comes!
Now I started getting excited! I put the torsion box together using the bolts for the vice (fitted the vice while I was at it) I think I've gotten used to lifting that thing as I managed to manhandle it onto the bench without any aids

Either that or all the planing over the past couple of days has turned me into Popeye

After fitting the vice I managed to get some plasterboard screws in from underneath to bring it all together.
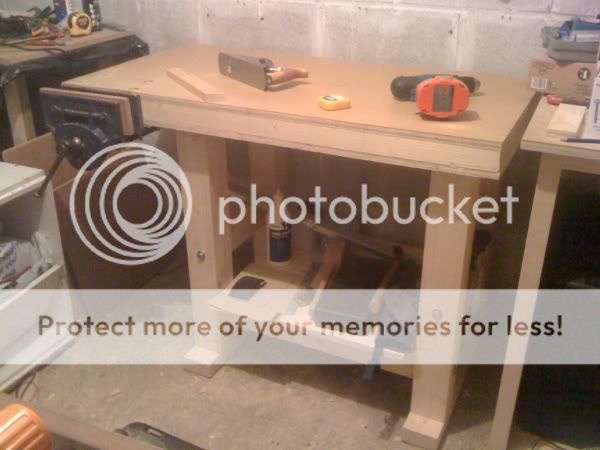
FINISHED!


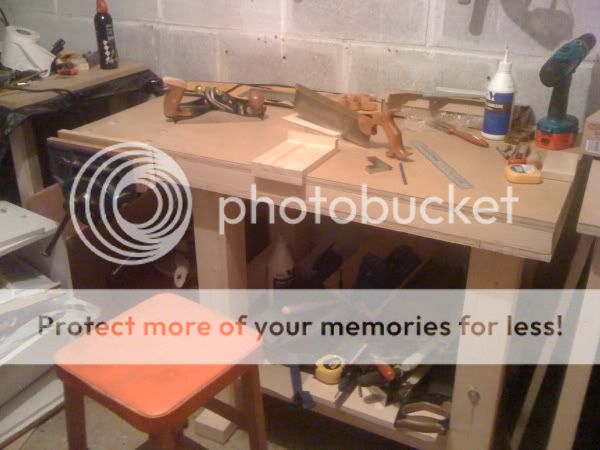
I stopped for some dinner, then went back to the garage. Here's a pic of it an hour later, lots of tools and a bench hook

Well not quite finished but near as dammit for now

I want to get some wood to edge the front and line the vice jaws properly. I'll get some softwood for now with a view to getting oak or something harder in the future.
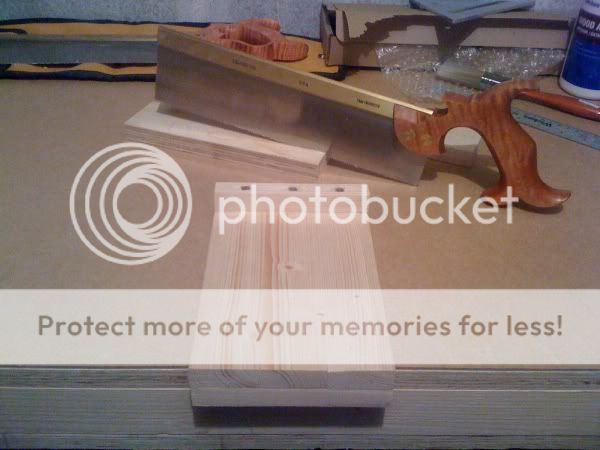
I've now started making jigs and things for it (bench hook shown in picture above). The need for a couple of these useful things became immediately apparent! Here's a bench hook I knocked up out of some pine framing bits. 3 bits glued together to make a wider board, then one of them ripped in half to make the stops. 3 screws and glue for each stop at right angles to the board. I've since replaced the screws with dowels - more tool friendly!
I'll make another similar one but with the bottom stop running down the middle, along the length. This can then be held in the vice so that I can start planing small bits until I can get a Veritas wonder dog and a couple of Axi bench dogs.
I'm really happy with it all. I am quite impressed that the only power tools I used were my trusty Makita drill and the Evolution scms. I could probably have gotten away without the scms to be honest but I wanted to be sure that those 100x100mm legs were as square as possible and didn't trust myself to cut them right. It felt a little bit like cheating to use the coach screws but I've seen better woodworkers than I use them on benches. I would love to do another base using mortice and tenons in the future though once I've practised them more (hand cut of course!)
I'm wondering if it is worth finishing it with something? what would be best? I have some Ronseal diamond hard pine stain/varnish, would that be any good? The garage doesn't suffer much from humidity or damp/dryness. I was thinking about wax on the base?
