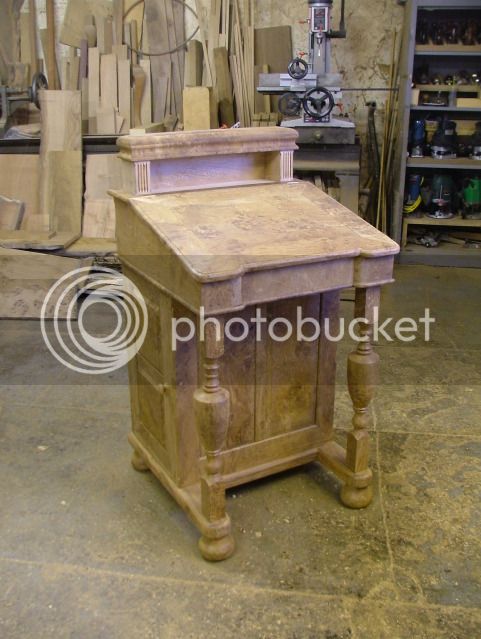
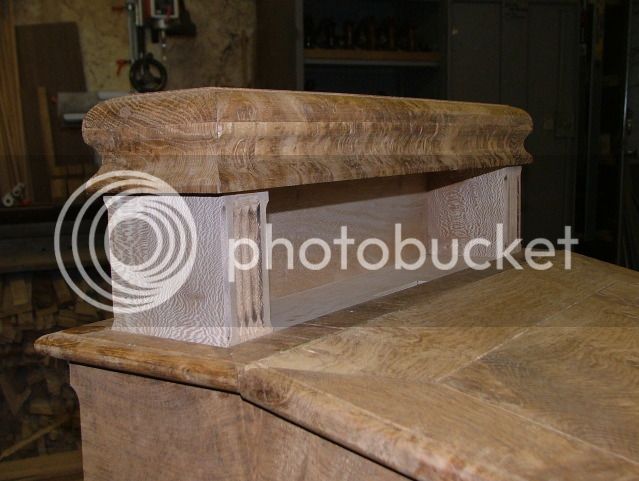
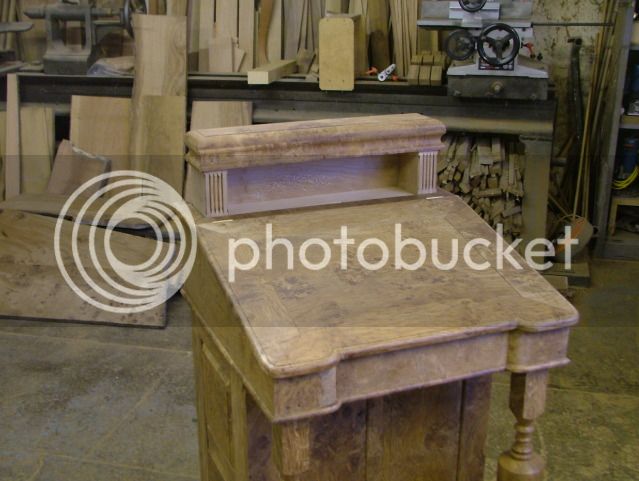
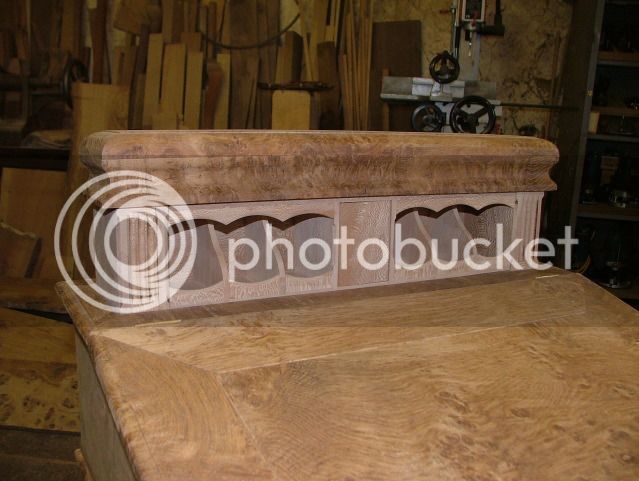
Started a new project today - Burr Oak Davenport WIP

UKworkshop.co.uk

Help Support UKworkshop.co.uk:

This site may earn a commission from merchant affiliate links, including eBay, Amazon, and others.
Roger,
This is a labour of love and a true work of art - I bloody hope they pay well and appreciate it (and so do their ancestors - Would love to see old Dickinson's ancestors talking about a 21st Century 'Dodge' in a few hundred years' time)
Can't wait to see the finished article
Greg
 
46 Hours in total so far - will be more than double that by the time its finished!
 
That really is a beautiful piece, and a great testament to your skill.
Just one criticism. To my eye it looks a bit odd that the front spindles don't follow down through the bun feet. I think they would look better with a bigger offset or no offset all all. Having said that, it's a bit hard to tell from the angles of the pics.
Si
 
Hi Si,

No they are not in line - this was one area where i looked at quite closely - i think the photo is a little misleading as there is quite an offset between the two but traditionally Davenports have their bun feet towards the front, for stability I assume and where carved legs are applied these are always stepped back.

I am looking to "bulk up" the top and bottoms of the spindles with a raised carved relief which may also remove this appearance.

i appreciate your thoughts though, quite often when working on a project a second eye makes you look at things yourself differently

Cheers

Rog
 
Hi Rog
When you used the wood rat
Did you use the wood rat bits or did you use another make
Just asking as I find the wood rat bits tend to blunt quickly (after about 6 pins) and I am looking for another make
that will work

Roger
 
RogerBoyle":1uszswma said:
Hi Rog
When you used the wood rat
Did you use the wood rat bits or did you use another make
Just asking as I find the wood rat bits tend to blunt quickly (after about 6 pins) and I am looking for another make
that will work

Roger

Same here, somewhat disproves the idea that HSS is better than carbide doesn't it!

Aidan
 
I have got both the woodrat HSS cutters as well as numerous other TCT cutters which I use which were ones that I bought from Axi to use on my Leigh before I sold it as I found that once I got my head round the woodrat I never used the Leigh.

I'm surprised at what RogerBoyle said regarding his HSS Woodrat bits dulling quickly - I am using ones that I have had for about 4 years and as yet have never sharpened them and think they are excellent - I also tend to use quite a few HSS router cutters for bench work.

I must admit I love my woodrat now but I have got to say it was a long learning curve and I nearly ebayed it but now wouldnt be without it.

One thing though is that I never change the mountings on my rat so it is purely straight forward and back rather than using the cams for the angle on doveltails - I cut the tails then still traditionally mark the pins with a marking knife, I then cut the majority of the waste out on the rat cutting a final paring cut to the knife line using a sharp chisel as I find that It leaves a far finer finish on the dovetail joints.
 
Fantastic work as usual Rog. That really is a work of art mate. I see you have the same lathe as me too. But I think that's where the similarity ends :lol:
 
I can only dream of making something half as beautiful as this piece!!
Also a dream to own something of this beauty too.
I too can't wait to see it with the finish on.

(wonder what bit my pen blanks were an off cut from!!! :D )
 
Havn't been in the workshop today so no further progress but back tomorrow and will be starting on the lacewood linings and internals

More to follow
 
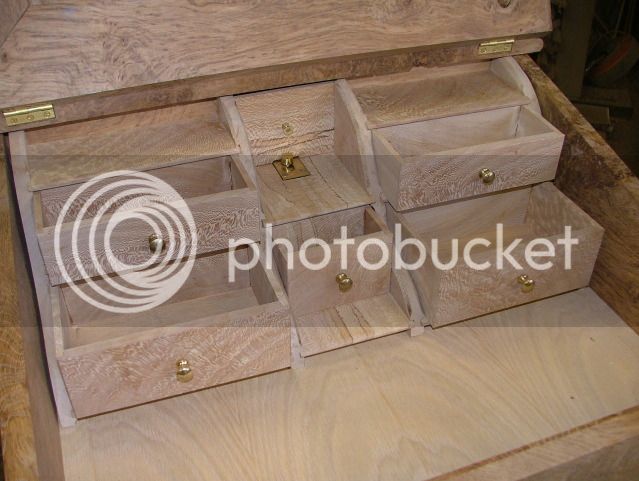
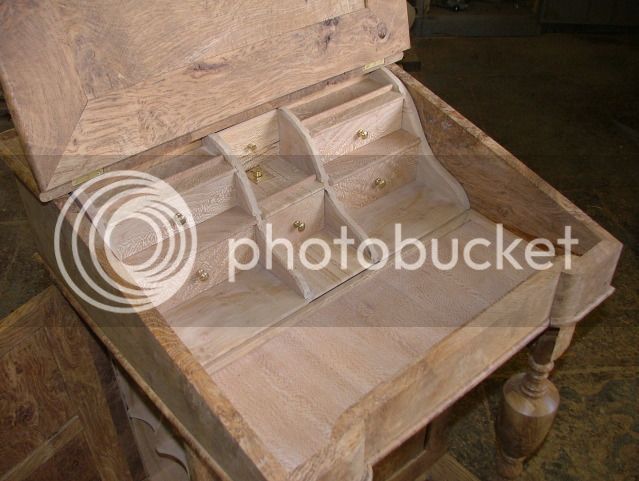
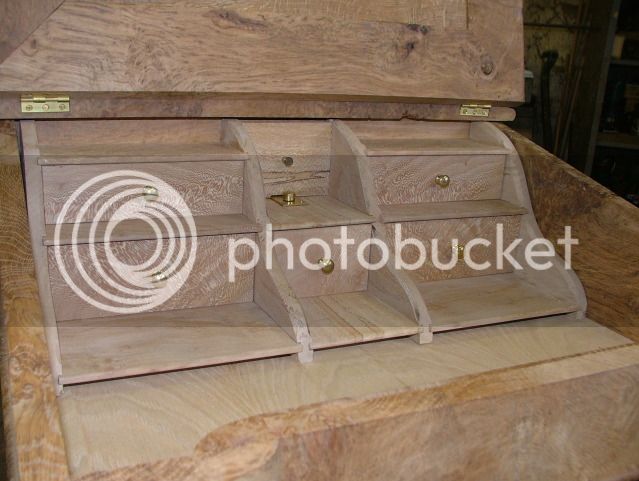
Well I have been back on the davenport today and having completed the oak work have started on the internals which will be made in English lacewood for contrast.

The top section at the back of the desk features a rise and fall which I have fitted with a paid of small gas struts which are completely concealed within the lacewood but lift the section really smoothly on releasing the concealed catch within the body of the davenport.

DSCF4291.jpg


DSCF4283.jpg


DSCF4278.jpg


Will finish this section tomorrow and start the stationary compartments etc that will be within the desk under the lift up surface.

Just got to start planning a few more secret compartments!
 
This one just carries on getting better and better! I keep wanting to see how this lovely timber will burst into life when you put some finish on - and at the rate that you are going, I shan't have to wait too long!
I'm really very impressed.
 
Got on with the internals today - its nice using some lacewood for a change to the very hard burr timber. The lacewood i am using was from a butt of timber that I air dried myself a number of years ago and is particularly nicely figured, it even has some spalting. Hopefully it will give the contrast I am looking for when its polished.

DSCF4301.jpg


DSCF4296.jpg


DSCF4304.jpg


Will get these sections completed tomorrow.
 
Aled Dafis":2xgac2un said:
Lovely work as usual Roger. How many secret compartments have you managed to include?

7! I have shown one on here but I'm not showing the others - they wouldnt be secret then!!
 
so what have I been up to today??

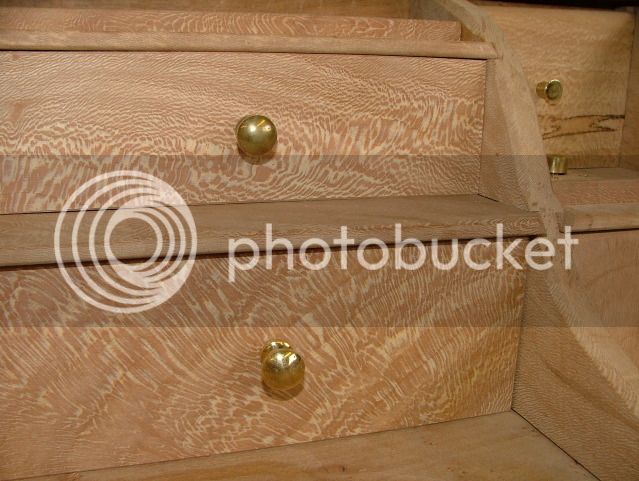
Finished the inside of the top, veneered the front with lacewood veneer, and added a few mouldings/trims

DSCF4310.jpg


Close up of the lacewood on the small detail drawers, I book matched the drawer fronts so they match each other.

DSCF4313.jpg


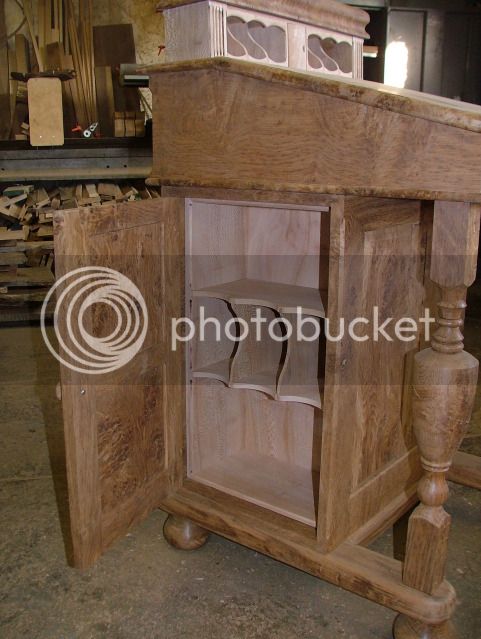
And then completed the lining for the cupboard, again in lacewood

DSCF4307.jpg


Next week looks like I will start the finishing as not in the workshop much tomorrow
 

Latest posts

Back
Top