Small Workshop WIP (including costs)

UKworkshop.co.uk

Help Support UKworkshop.co.uk:

This site may earn a commission from merchant affiliate links, including eBay, Amazon, and others.

kdampney

Established Member
Joined
30 Apr 2012
Messages
93
Reaction score
2
Location
Leicester
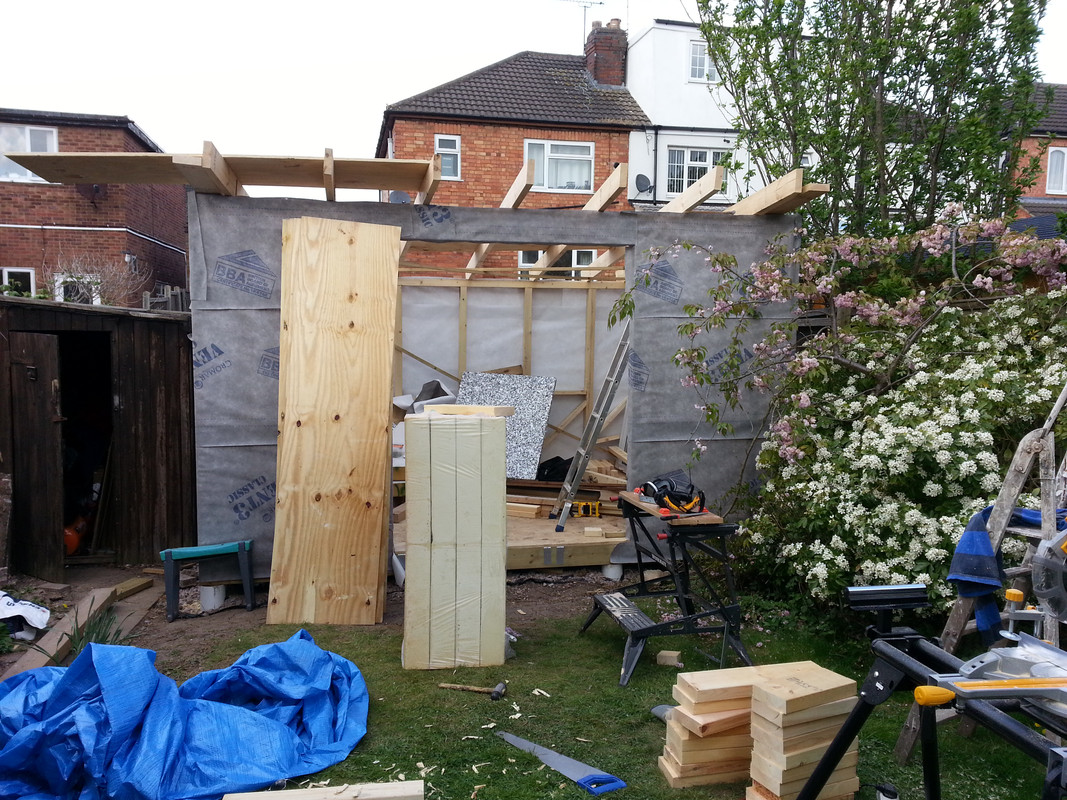
Seeing all the fun that people have had making their own workshops, I’ve started on mine!

Variously described as a shed/workshop/sort-of garden office/man cave (depending on who I’m talking to), I want it to be a woodworking workshop, but look good enough to be a smart home office (if/when we sell in the future). Broadly based on Mike's and Steve's workshops (except for the foundations).

This is what I'm aiming for:
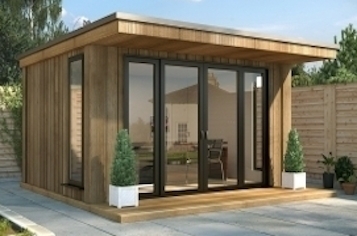
westwood_cat__80925_category.jpg


Spec:
  • 4m x 3m, and 2.5m tall;
  • Concrete piers (extending below the frost line);
  • 50mm sheet polystyrene under the suspended ply flooring;
  • 120mm Kingspan-equivalent insulation (got an extremely good deal from Seconds & Co) in the walls;
  • 100mm loft roll insulation under the...
  • EPDM Complete Firestorm single-pitched roof;
  • British-grown Western Red Cedar cladding (got a good deal from Code 6 Timber in Somerset);
  • Double-glazed French doors.

Timber used/ordered:
  • Floor joists and bearers: 50x150mm C16 Treated, at 600mm centres, with joist hangers for the joists;
  • Floor: 18mm shuttering ply (will probably put 22mm floorboards over it at some point to make it more rigid);
  • Front/Rear Floor/Top Plates & Studs: 75x100mm C16, at 600mm centres;
  • Sides Floor/Top Plates & Studs & all noggins : 47x100mm C16;
  • Diagonal bracing for studs: 47x100mm C16; (may not strictly be necessary due to the sheathing);
  • Lintel over doors: 47x150mm C16 doubled up (so 94x150mm to fit in the 100mm stud work);
  • OSB sheathing: 9mm;
  • Rafters: 47x150mm at 600mm centres.
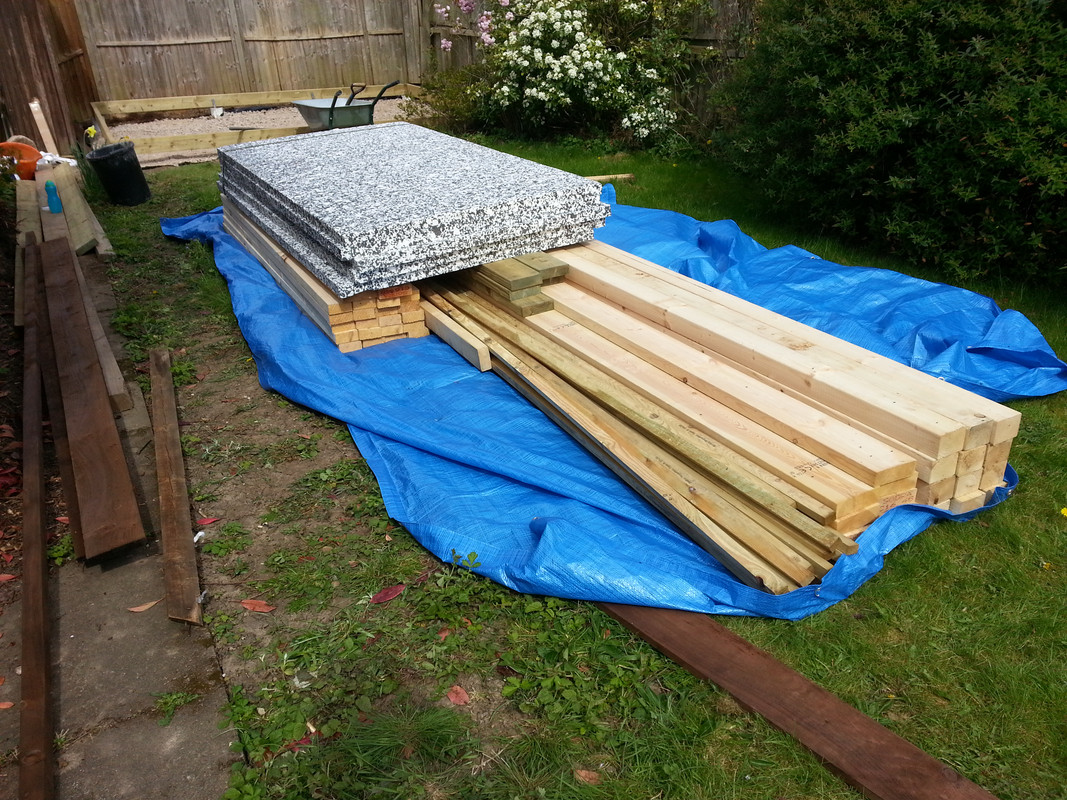
  • A vast quantity of lath to hold the floor insulation in place, and pad out the 95mm studwork to take 120mm insulation (one was ordered before the other)!

I was thinking of making it bigger and taller (concrete slab, around 4m x 5m, 3m high double-pitched roof) and even applied for planning permission, but that was vetoed by my darling wife when she thought it was too much effort for me (we have a young family, and getting concrete or large amounts of aggregates to the back garden is tricky). My father-in-law's a structural engineer, so that helped with the specs!

I know that nothing actually happens without photos, so here goes...

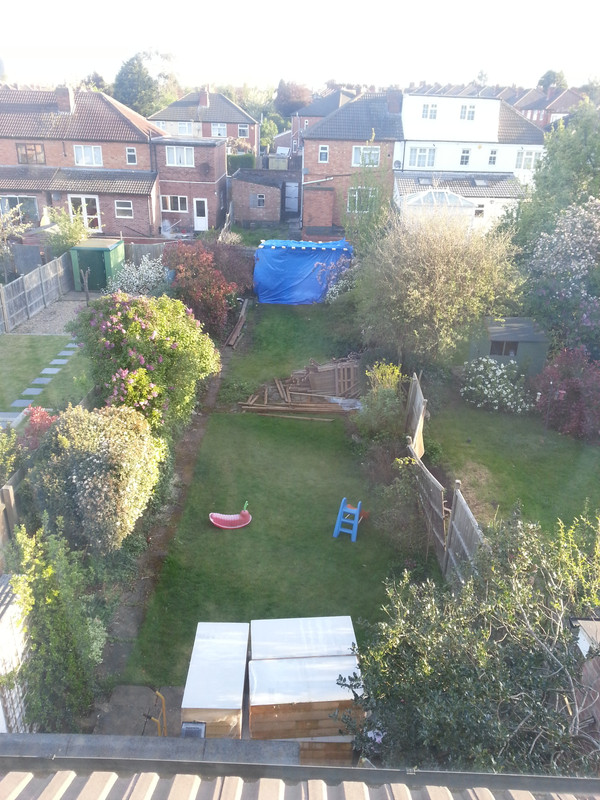
Last year (note the 5m tall Cupressus hedge at the back):
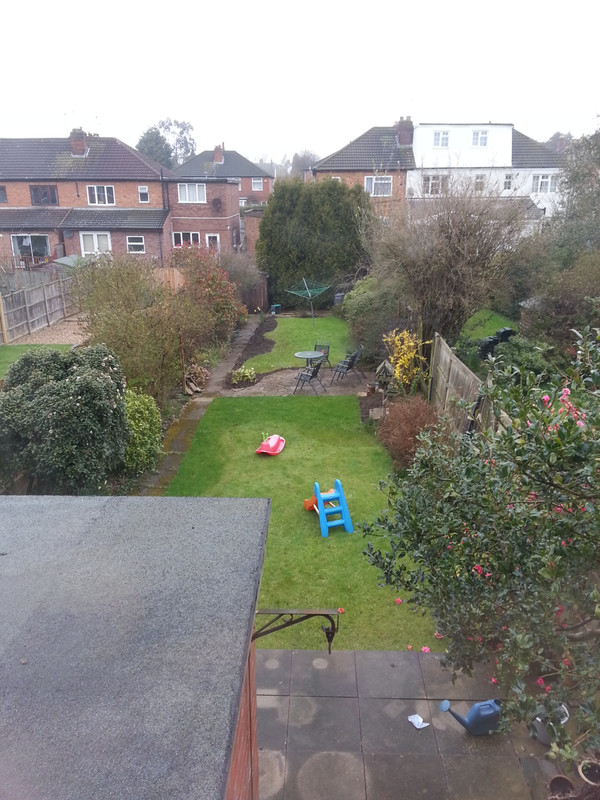
2016-04-12_08.07.19.jpg


Destruction of the rainforest:
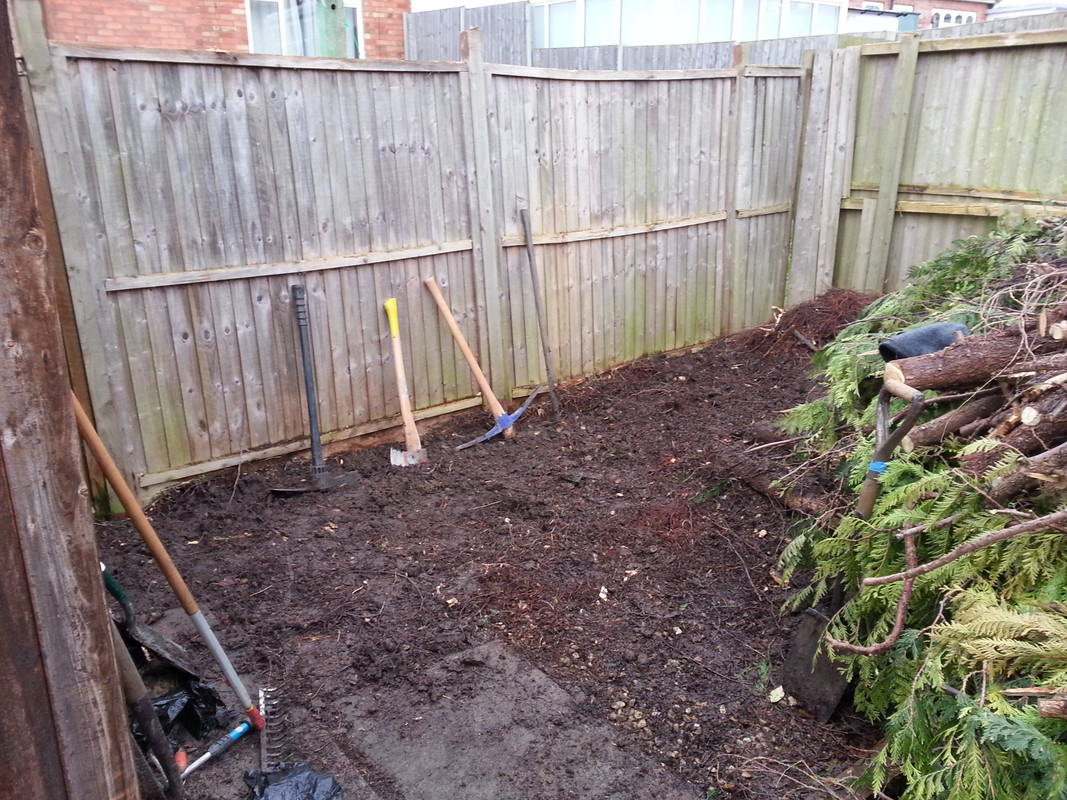
2017-02-25_13.38.32.jpg


Those stumps were hard to shift:
2017-02-25_13.38.18.jpg

2017-02-25_13.38.43.jpg


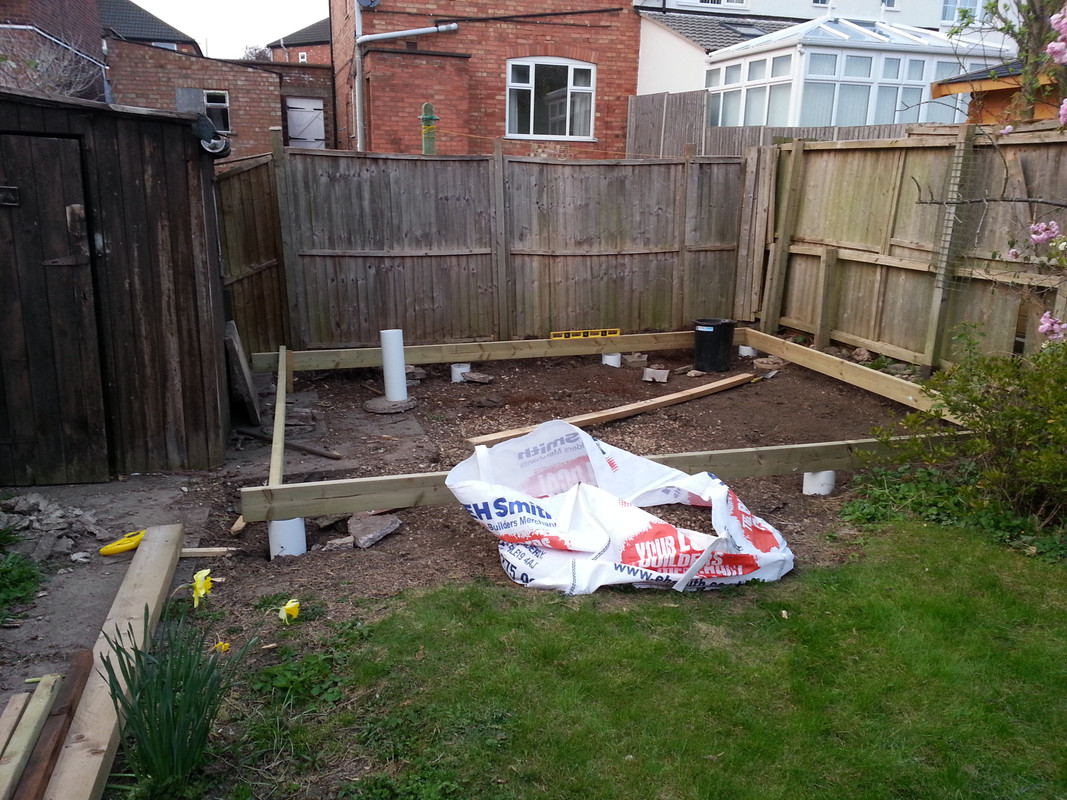
Current progress:
2017-04-09_19.40.37.jpg


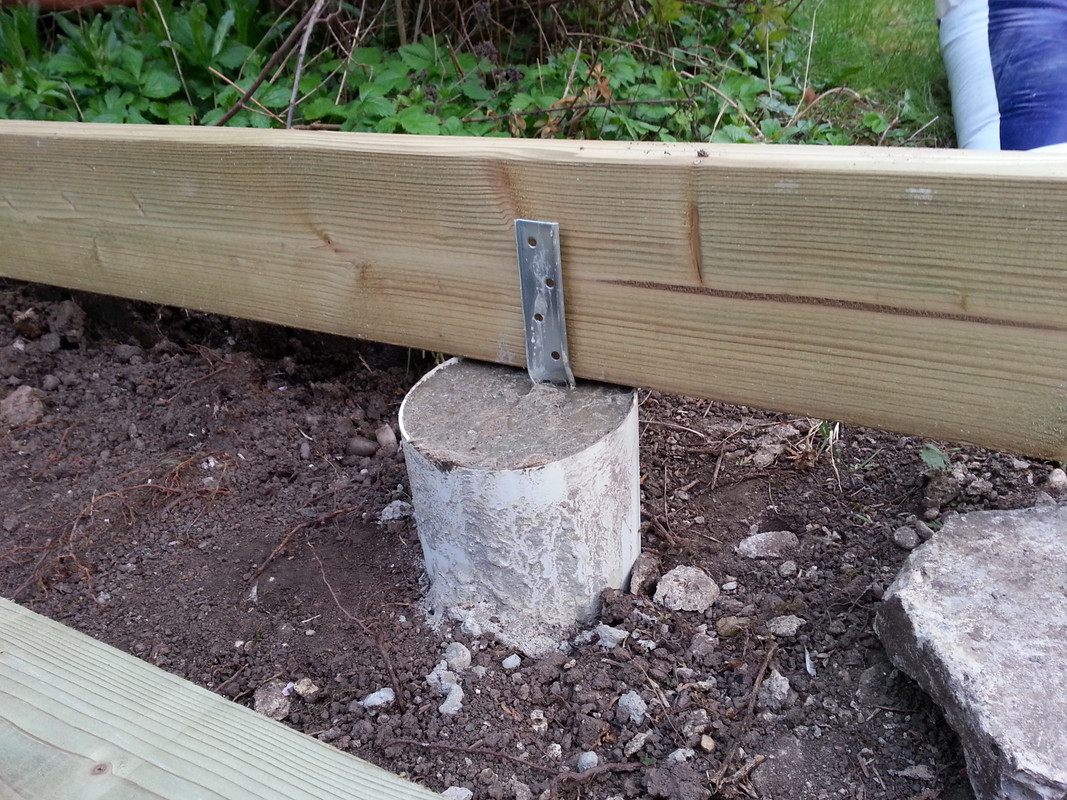
Using a post auger (150mm wide, 1 metre long corkscrew) I made the holes, filled the bottom with some hardcore, tamped it down, inserted 150mm diameter 500mm long ventilation pipe levelled up with each other, and am filling them with concrete. They have a 500mm long metal strap inserted into the concrete to screw the base timbers to (and try to act as rebar).

I have the long Easter weekend without the family to crack on with as much as possible, and a couple of friends coming round at different times - please wish me luck. I can do basic DIY, building a couple of built-in cupboards, but have never taken on anything this big!


Questions, if anyone can help please. I've got some DG French doors already, and some small DG windows, and some long DG sealed units (without frames).

Should the studwork be made so the holes for the doors and windows are exactly to fit, or should I leave space for cladding trim to go around them?

Does anyone have links to diagrams or WIPs that do this (I tried looking again on Steve's monster thread, and couldn't see any obvious examples)?

Does anyone have links to diagrams or WIPs that make timber frames for sealed units (to be done in the future)?

For now, what kind of gap should I leave for the sealed units' frames?

Many thanks for reading, will try to update regularly!
 
for mine I allowed height of frame + cill +10 mm; and width of frame +10 mm. The gap is to make room for small plastic packers that stop the frame flexing when you screw it into the opening (they also make it harder for someone to pry out the unit if they are trying to break in).

The glazing units are expected to go in a design that will shed water to the outside of the building when any water enters the gaps between the unit and the structure, so you seal them with silicon from the inside and then use your cladding/trim to minimize the water that enters any gaps. You might also want to allow a couple of mm for flashing where water might collect (e.g under the cill).
 
Thanks Nick. So the trim is purely water-proofing/decorative, it doesn't hold the frame in place?

If I understand correctly, I should: build the studwork (with frame height and width +10mm gap), fit the window, fit the trim, then the cladding up to the trim.
 
Take a look at my workshop wip it may answer a few of your questions. I made frames for DGUs, openings are dgu size +3mm (edge gap) +35mm (frame thickness) +5mm (fitting gap) x 2 (each side). But that's for a non opening window. Gaps between frame and stud work are filled with expanding foam.

Fitz.
 
Thanks Fitzroy :)

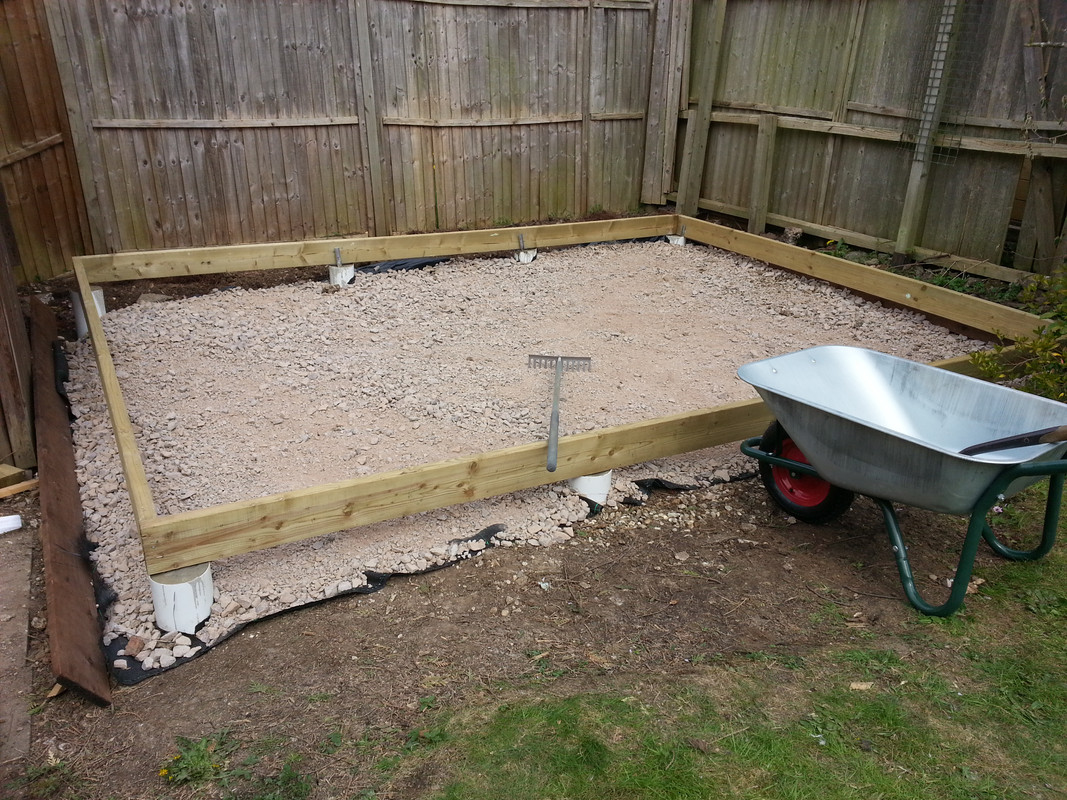
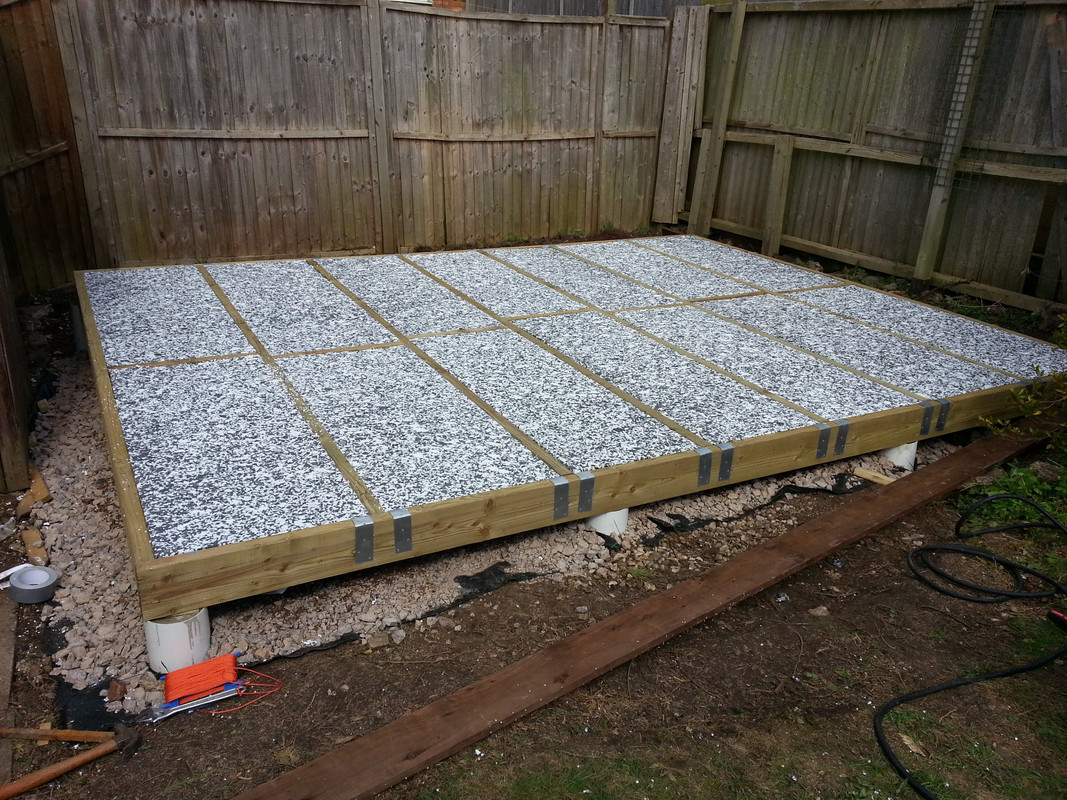
So last night saw the last of the concreting finished. Not the neatest perhaps, but should suffice.
2017-04-13_19.22.46.jpg


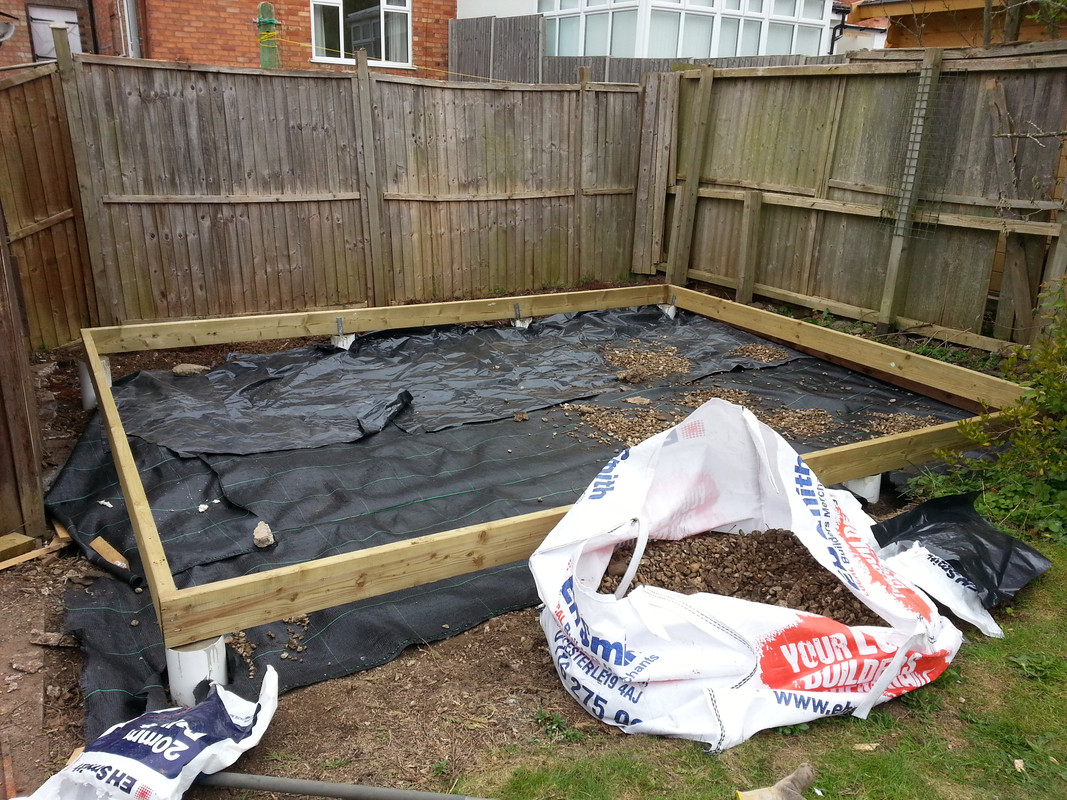
Everything levelled off, and weed fabric down:
2017-04-14_10.58.09.jpg


1 tonne of hardcore and gravel levelled out...
2017-04-14_13.39.49.jpg


Right, now where's the instruction manual? Oh yes, in my head.
2017-04-14_13.41.49.jpg


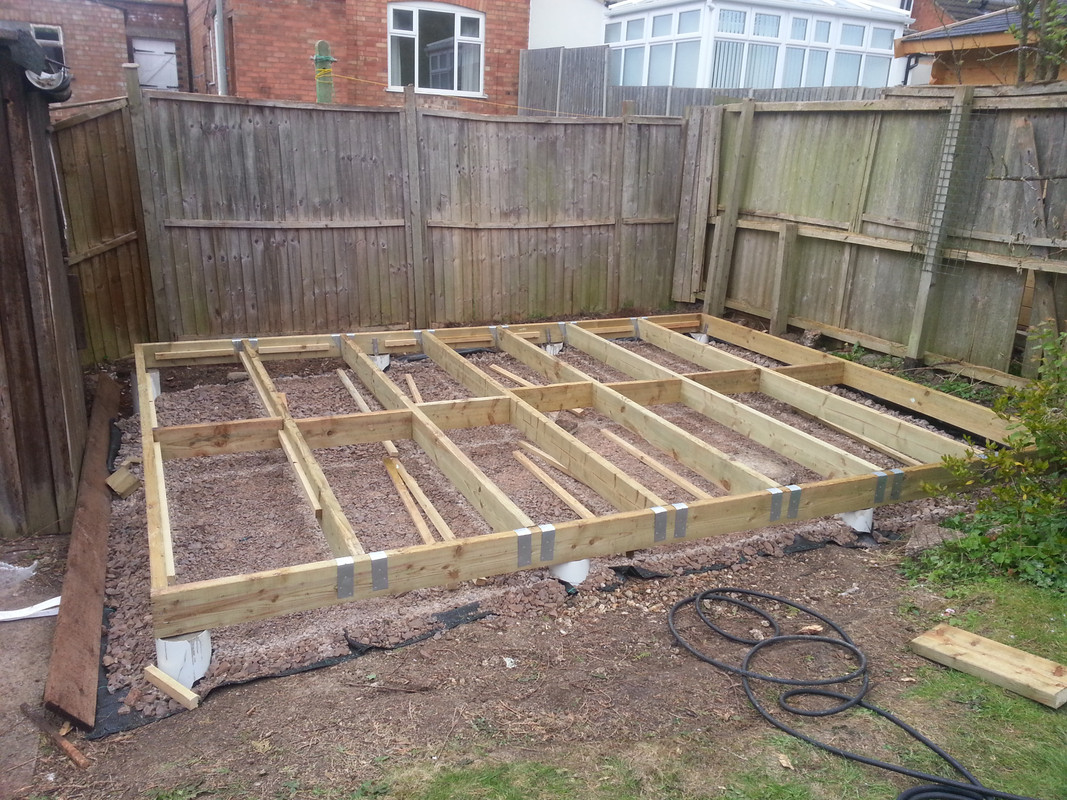
Bearers and joists attached. Lathe ready for insulation.
2017-04-14_18.11.47.jpg


And then it started raining... more tomorrow!
 
Looks like you're making good progress! The concrete pillars look very professional .

Coley

Sent from my SM-G900F using Tapatalk
 
Nice slick design and very neat foundations. Makes mine look like overkill :roll:

IMG_0515a.jpg
 

Attachments

  • IMG_0515a.jpg
    IMG_0515a.jpg
    110.5 KB
kdampney":3mk8poka said:
Thanks Nick. So the trim is purely water-proofing/decorative, it doesn't hold the frame in place?
yes, you will be screwing the window frames into the timber used to make the opening in the main structure.
It is worth thinking about the details that will keep the water out at this stage - it is quite straightforward, but a good idea to think it through early on. The below article is good (albeit a bit long).
http://www.scotland.gov.uk/Resource/Doc/46910/0024271.pdf
You did well getting the conifers out - must have been a nightmare!
 
nabs":1u7jnnb2 said:
You did well getting the conifers out - must have been a nightmare!
Yes, required a few afternoons! What we did in the end was dig about 30cm down all around the root ball, then used a bow saw to cut underneath and through the tap roots.

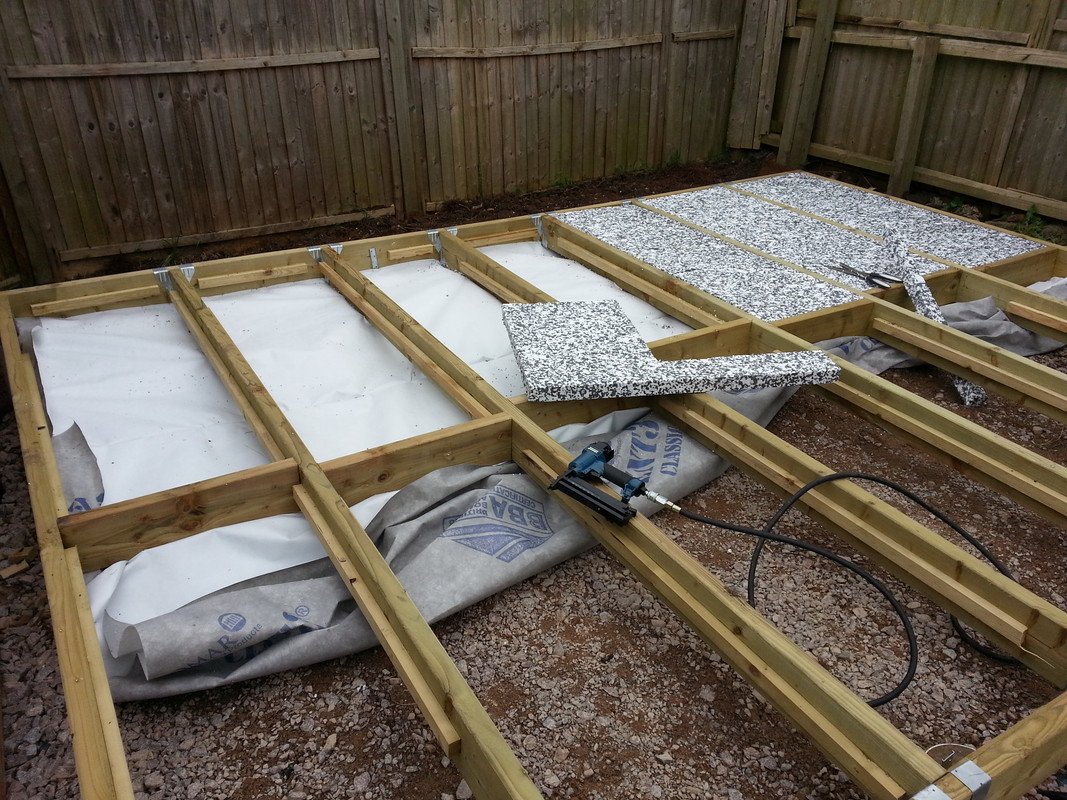
So yesterday's progress was slow - I didn't want rodents living in the insulation, and saw someone suggesting to use breather membrane underneath insulation to keep them out. As the frame was too heavy to lift by myself, I thought it would simple enough to staple it to the joists from on top. Hmm. It took forever to staple the paper to make a big enough sheet, then to fit it. At least any rodent who lives down there will have earned it.
Edit: I wouldn't bother with this if I did it again, as the breather membrane underneath has all gradually fallen down. Hopefully the mice/rats won't find out!
2017-04-15_11.32.01.jpg


Use a sharp carving knife to cut polystyrene, unless you want your neighbourhood to look like it's snowing! But finally looking good:
2017-04-15_13.46.06.jpg


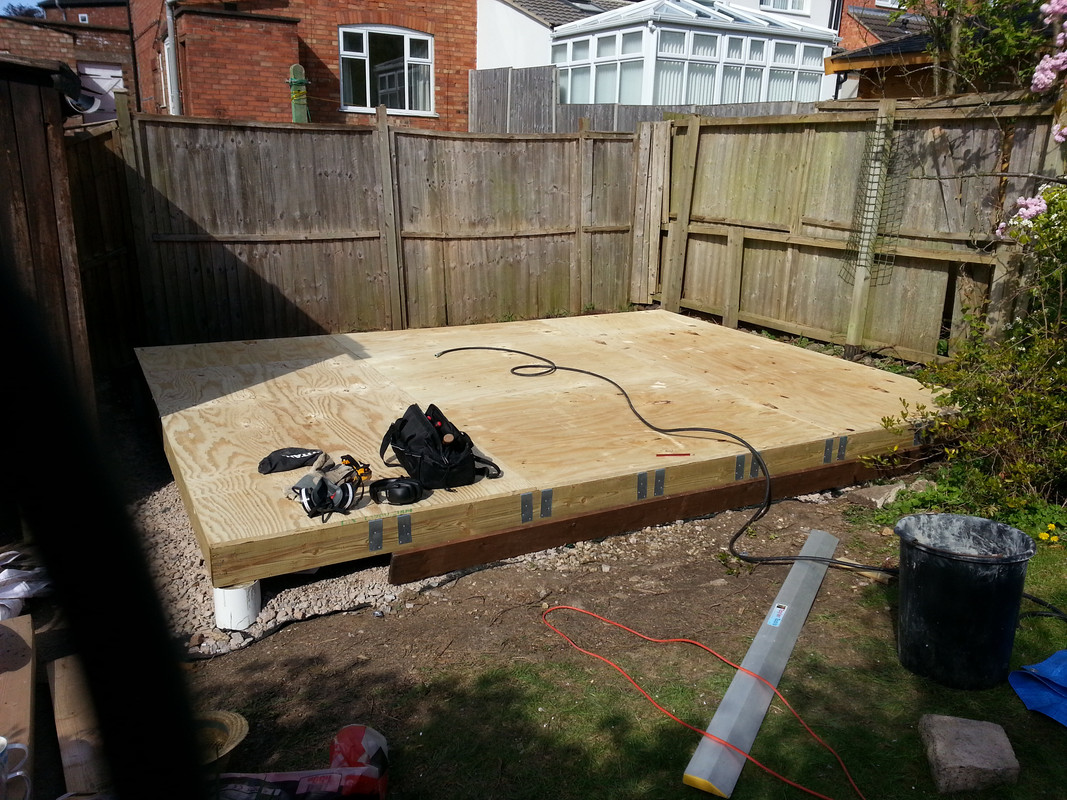
And with the plywood cut with a circular saw, we finally have an insulated deck at the bottom of our garden! :)
2017-04-15_15.39.20.jpg


After this, I started on the walls. I made sure I cut a 600mm noggin to use as a template, used the 3m lengths for one side's top and bottom plates, and cut down the 2.4m lengths for studs, and was feeling pleased with myself. Then I tried using the first side as a template for the second side... and realised I'd chopped down a 3m length for the 600mm noggin template. I only had 4 of those to start with, and had to go back to the timber merchant to collect them as they left them off my original order... so now I needed to get some more for the second side.

Top Tip 1: Mark everything important with what it is!

I was so annoyed with myself... so forgot to take photos. Then I had to wrap everything up with a tarp as as Sunday (today) was due to be written off by rain. :(

Top Tip 2: Ignore weather forecasts!

In the end, today turned out to be almost completely dry! So with the help of a friend, Stu, we cracked on with the rear wall. The air framing nailer was misfiring quite a bit - nails seem to fire out at a downwards angel, bending the nail as it enters the wood, and leaves them sticking out by 1cm... So I went old-school and just hammered the nails in.

Top Tip 3: When in doubt, hit it with a hammer

Remember the plan that was in my head? Well, when I originally drew everything in Sketchup, it was for the 3m-high planning permission version. The workshop's only going to be 2.5m high now, so I had to reduce the height of all the studs. Everything was hunky-dory when cutting and arranging the front plates and studs... until I realised that we hadn't left enough room for the French doors (along with the 150mm lintel and 72mm top plate that go on top of them). Grrrrrrr! I think the roof will need to be a bit higher...

Top Tip 4: Proper Planning & Preparation...

I think I can rescue it, but again - too annoyed to take photos!
 
The rain that stayed away on Sunday arrived on Sunday night. The first order of the day, after going and getting some more timber for the 3m side top/bottom plates (thanks Jewsons for opening early on a Bank Holiday Monday!), was to mop up all the water that had gone through the tarps.

Then, with Mark's help, the remaining walls were built. I should have taken someone's advice about not cutting the bottom plate (where the doors will go) until everything was upright and square, as the top plate was a bit cupped, and the measurements were all a bit out. A spare timber across the door width held things in place, and a mallet 'persuading' gaps to close up got it together.

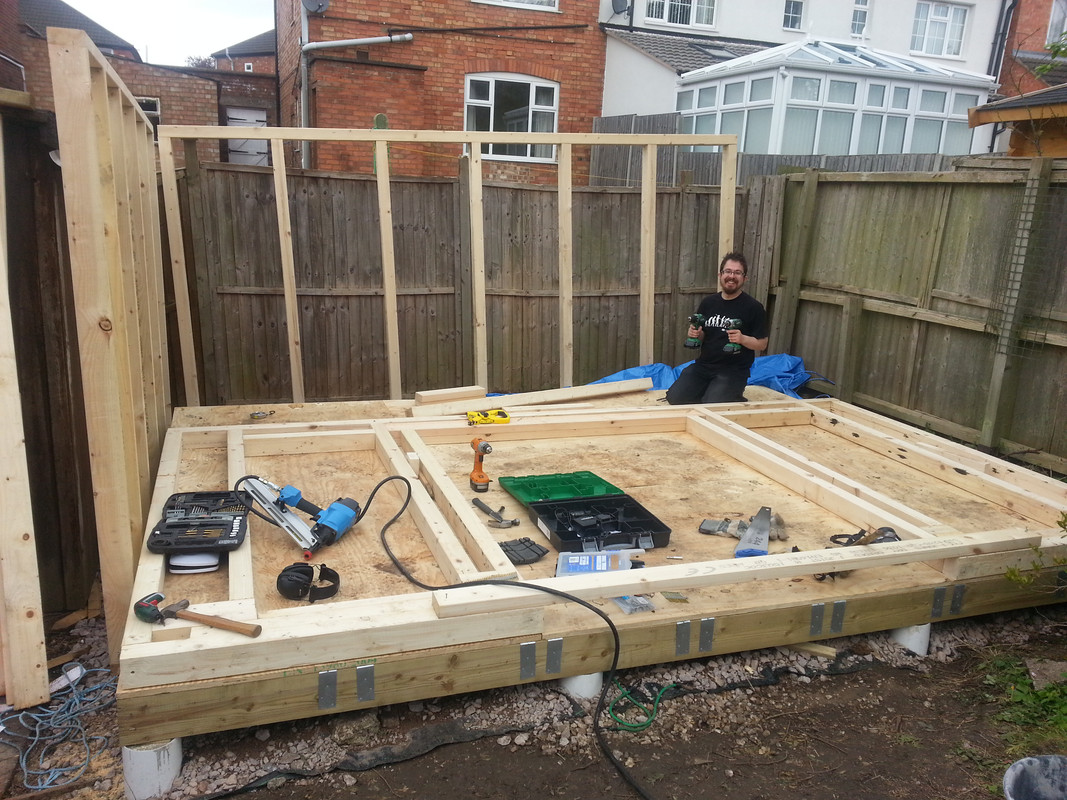
I had to make do with some of the studs not being quite long enough to cope with the French doors + lintel + top plate, so this isn't as neat as it could have been. Here's Mark:
2017-04-17_15.00.23.jpg


Then everything was slowly moved into place. The front, being made of 75x100, was rather heavy, but we managed to prop it upright...
2017-04-17_16.45.32.jpg


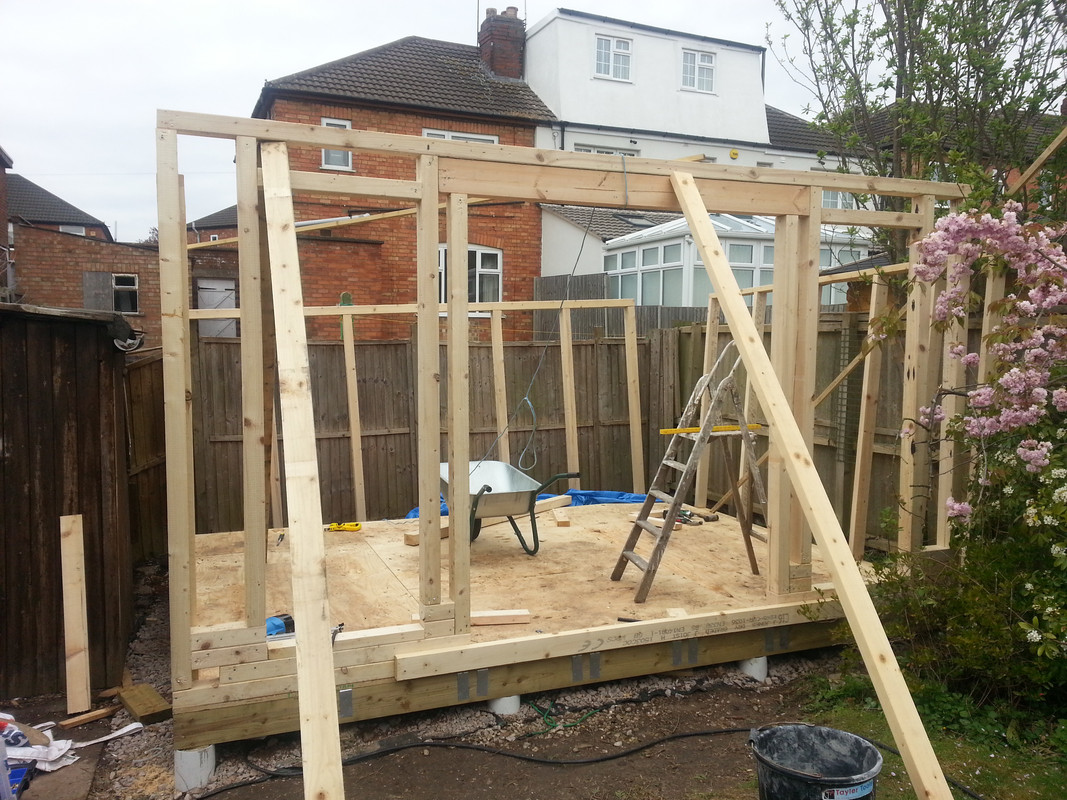
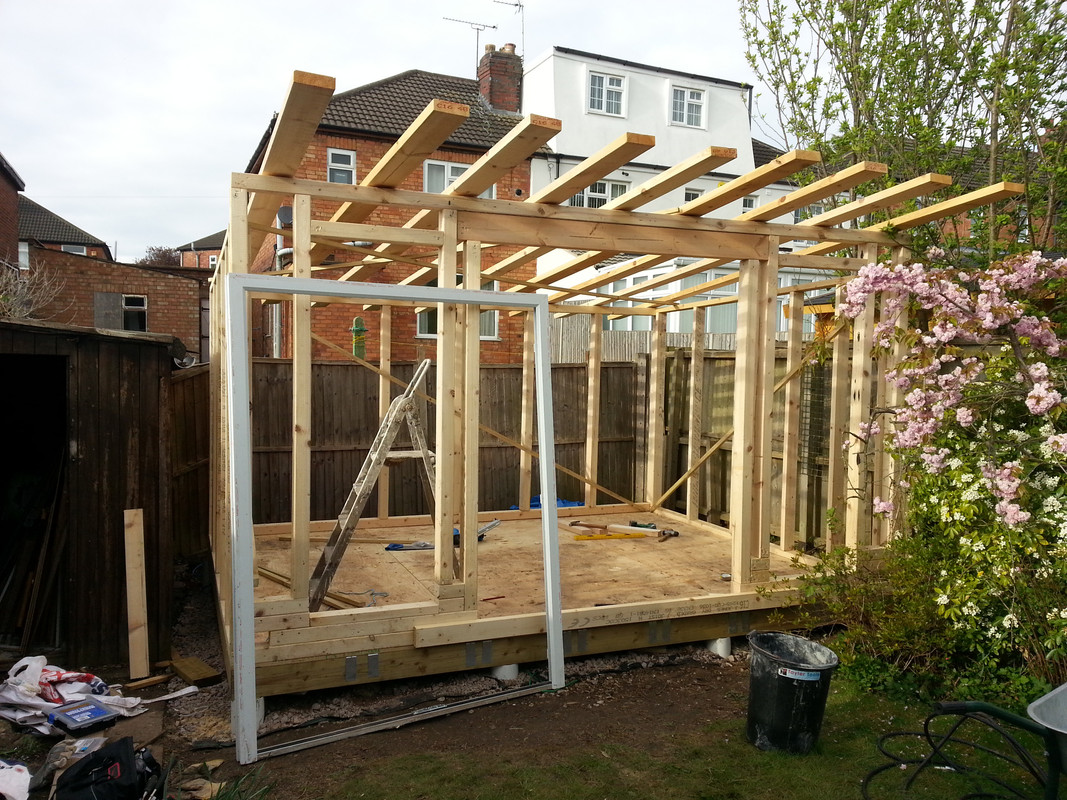
The other walls quickly followed, and some bracing to keep things square. I was amazed at how quickly it went from 2D to 3D, given how it had taken to get this far! The rafters will be vertical, not horizontal - they're up there mainly to support the tarpaulin.
2017-04-17_17.49.40.jpg


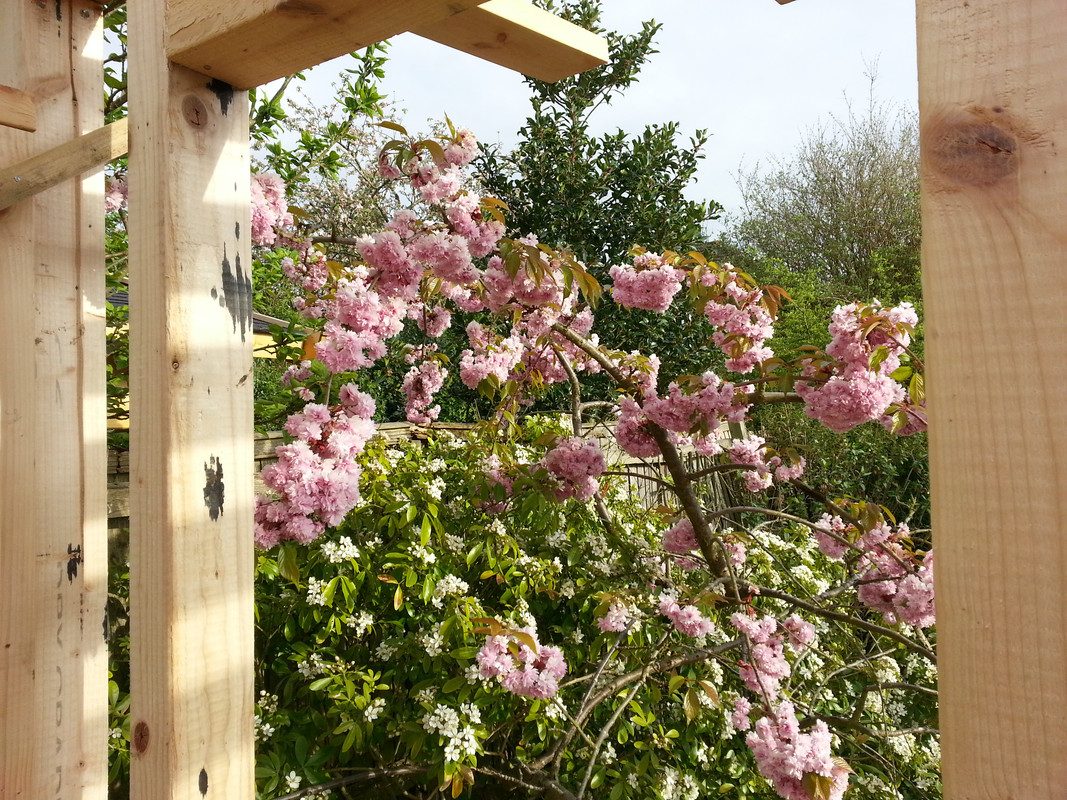
Nice view from this window...
2017-04-17_17.49.54.jpg


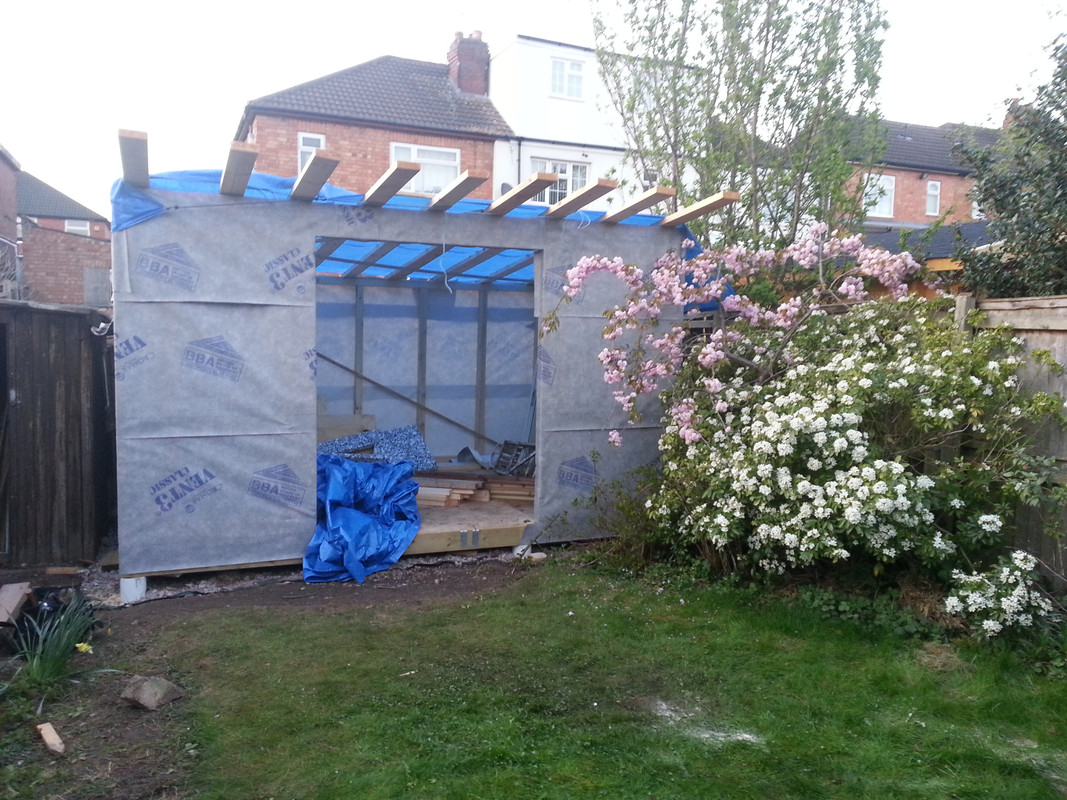
The family were arriving back soon, and we were starving, so decided to wrap everything up and get it watertight:
2017-04-17_20.02.44.jpg


Tarp across the front as there's no door yet. I always wanted a big blue tent in the bottom of the garden...
2017-04-18_07.15.16.jpg
 
Thanks :) The next instalment may be a little way off, due to my poor office-based body aching and groaning. I take my hat off to people who do this day-in, day-out.
 
kdampney"I take my hat off to people who do this day-in said:
Ooh, you don't wanna do that! You'll get kicked off site :lol:

very good WIP, please keep it up
 
I didn't get a huge amount done this weekend, but with the help of a friend we got the rafters down, cut them to size, cut birds mouths (in all except for the outer two, which will be floating in a gable-ladder style), put them back on the roof and nailed them in place using twist-straps (http://www.screwfix.com/p/sabrefix-rolled-edge-restraint-strap-twist-5-pack/96232).

I also cut the 2.4x1.2m sheets of ply down with a circular saw to 2.4x0.6m so I could get them up onto the roof - I'm much happier with it being water proof now the taurpaulin's fairly flat.

Also been cutting noggins, diagonal bracing and some insulation to size (my quieter job for the evenings!) - sorry, no photos of that.
2017-04-22_16.20.47.jpg
 
No progress made unfortunately. Just some more questions!

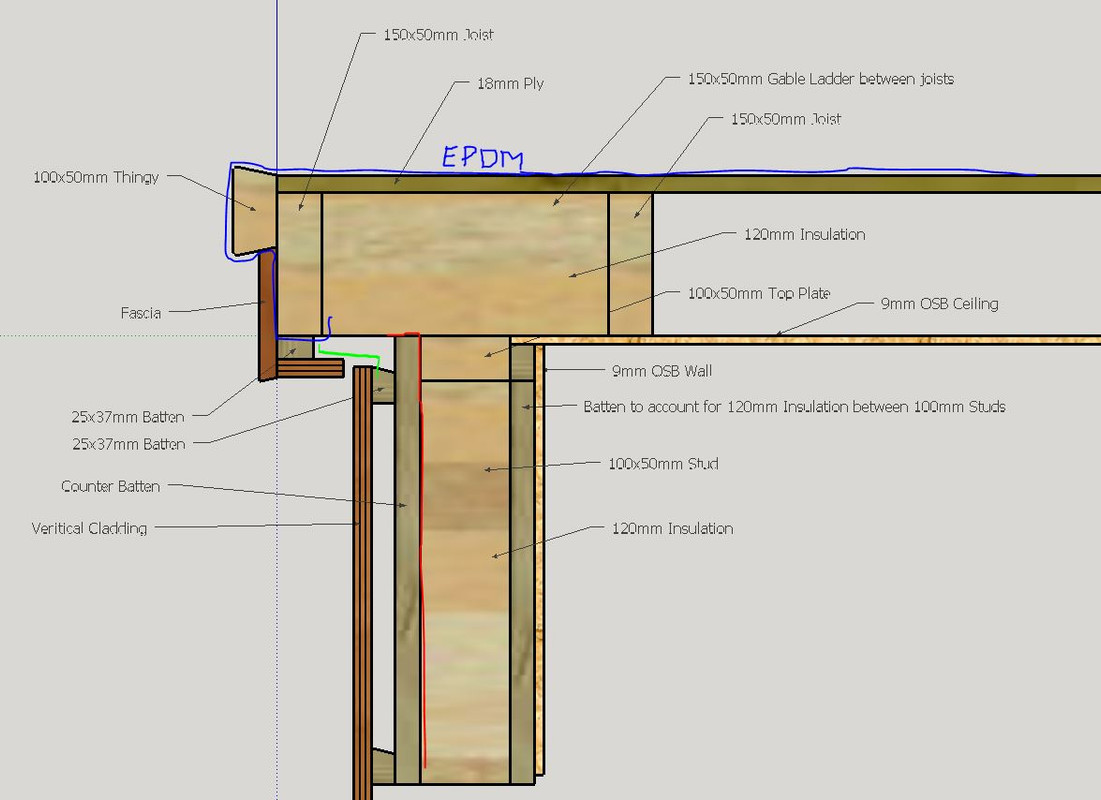
Blue below is the EPDM rubber layer, red is breather membrane, green is insect mesh (more to go at the bottom of the wall cavity). The 'thingy' (no idea what it's called!) on the left is to keep drips on the roof (sloped to the rear where there will be guttering), and provide a drip edge.
Roof_Detail.jpg


How does this look? I'm just not sure how to put fascia/cladding on the side of the outer joist without making it much thicker (if I put a ventilation cavity there, for example).

Thanks for stopping by :)
 
Sorry, not a roof expert so can't answer your question, but I'm enjoying watching your progress!
 
just out of interest, what depth did you bore the foundation holes to?

great build BTW!
 
will1983":1su1tx1s said:
just out of interest, what depth did you bore the foundation holes to?
About 50cm, with 5cm hardcore compacted at the bottom. I believe that's down below the frost line, so hopefully should be stable...
 

Latest posts

Back
Top