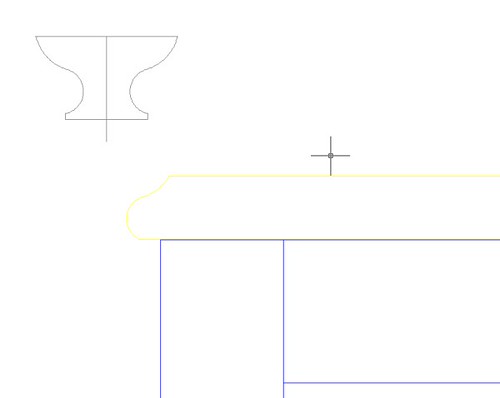
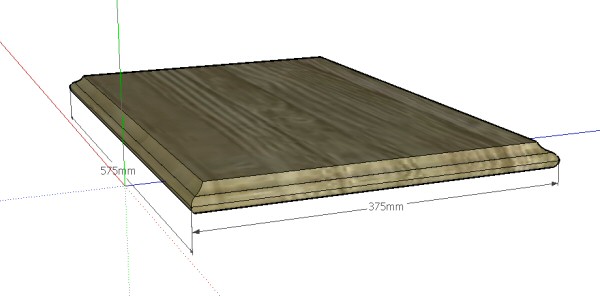
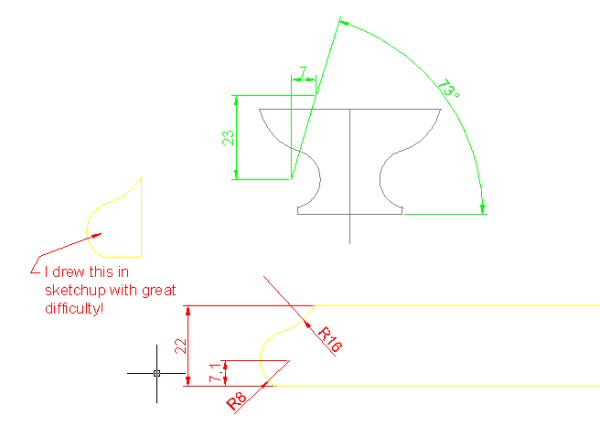
Alright, I took the dimensions you gave and constructed the cutter profile. I started by drawing a vertical rectangluar surface on which to work. Then I constructed the profile. I used guides as needed to give me references and laid out the arcs as needed. I deleted the waste and moved the profile, or a copy of it in this case to the corner of the table top. I could have drawn it in place on the edge of the table top but I didn't this time. Then, I selected the top edges all the way around, selected the Follow Me tool and clicked on the profile. Presto!
Since you have it and seem more comfortable with AutoCAD, you might as well create the profile there and import it.
I'm not sure I would bother with trying to draw the profile perfectly anyway. You won't use the SketchUp file to have the profile made. You just need to represent the profile. Look at the door on the right in the next image. It gives the idea of a raised panel with a coved raising. I just drew a profile that looked alright to my eye but I didn't try to match a cutter. The same was done for the profiling on the rails and stiles. I don't think it matters. The viewer would understand what they are seeing and I spent very little time drawing it.
Keep in mind SketchUp is not a CAD application in the same sense as AutoCAD or TurboCAD is. It was never intended as such. For what most woodworkers have invested in it, SketchUp is more than capable of doing what they need of a computerized drawing program. It can certainly generate usable working drawings if those are needed and it is perfect for showing your client how a piece would look when complete.
SketchUp may not be as good as AutoCAD for dimensioning but I've never had any trouble putting in the dimensions I need for working from them in the shop.
Robert, you mentioned layers and so on. I don't have time right now to repeat what I've said about using components, groups and layers. I have covered them ad nauseum here in the Design forum. I would urge you to read back through. Also take a look at my long tutorial showing the construction of an armoire for some examples.
For the moment I will say this. Always leave the default layer called Layer 0 as the active layer. (Don't argue with this. I didn't make it up. It is part of the old SketchUp wisdom I learned three or four years ago when I first started with SketchUp. If you don't follow this rule you will find it easy to get geometry scattered around on various layers and you'll find it very time consuming to fix.) Draw entities, make them components and move them to other layers as desired.

