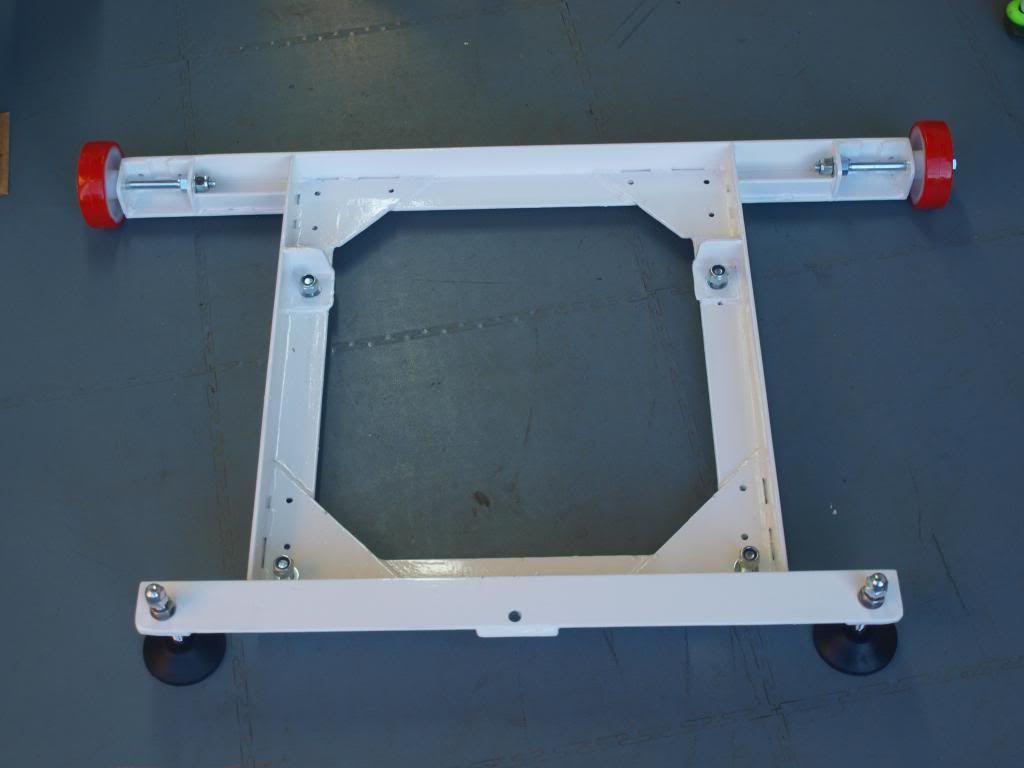
I have been delayed by the acquisition of a Startrite tilt Arbor Table saw - another rebuild on the horizon I think!
(Post updated to restore pictures lost from Photobucket change of 3rd party hosting)
Updates to progress on Sedgwick - Guards and dust shields:
The machine came with a rusty front cuterblock guard but no rear cutterblock guard behind the fence. The original guard looked like this:
I removed the old guard and salvaged the support pillar, I cleaned it up and used the home black phosphate kit mentioned earlier:
Using an off cut of wood and some cardboard, I tried a couple of options for a prototype guard before making the genuine article, I settled on this design:
First, I made a steel version of the hardwood prototype support block, again chemically blackened and secured to the post with a cross drilled hole and a stainless grub screw.
The New stainless guard was made in 2mm thick 304 stainless steel. I had originally planned to use thicker sheet, but this was already fairly difficult to bend at home with the limited tools I had for sheet metalwork! I cut the sheet with a jigsaw using a stainless steel cutting blade and drilled the holes for the slot after bending the sheets. I used a vice plus some 50mm angle iron to create the bend in the guards. It took a lot longer than I originally thought to get it right! I also cut most of the slots with the jigsaw and tidied up with a file.
I used a cut down bolt for the guide pin, some threaded rod for the front adjusting knob and a coach bolt for the rear guard. I had the rear coach bolt welded to the bottom of the guard to prevent it accidentally dropping down onto the cutterblock. The star knobs are from Wixroyd and were bought at the same time as the other parts for rebuilding the machine.
I made the guard in 2 sections to reduce the mount of projection when machining wider section timber.
This view shows the guard in "thicknessing mode", holding the dust chute in place;
For the rear guard, I made a new mounting plate in nylon 6 and fixed it to the rear cover. I then made a one-piece guard in another piece of 2mm stainless steel sheet.
Mounting plate:
With rear cutterblock guard finished and fitted:
An addition to reduce the amount of sawdust escaping down between the back of the surface tables and the rear cover are the parts I fabricated shown below. On later machines, the cover seems to be a much better fit than mine was, but the amount of sawdust in the drive chain persuaded me that a solution was needed. I used 1.5mm thick stainless steel this time to make two plates, plus two moving "L" section plates fitted to the top of the in/out feed roller bearing block. This should keep most of the larger particles from getting down the back of the machine, whilst also allowing the rear cover to be easily removed. I used existing table fixing bolts to secure all the new parts. Time will tell if this has the desired effect on sawdust reduction in the drive mechanism!
Another picture here of the shield above the infeed roller:
In the next and hopefully final "instalment" of the rebuild, I will cover the installation of Barke Disposable Cutting Blades.
Nigel


