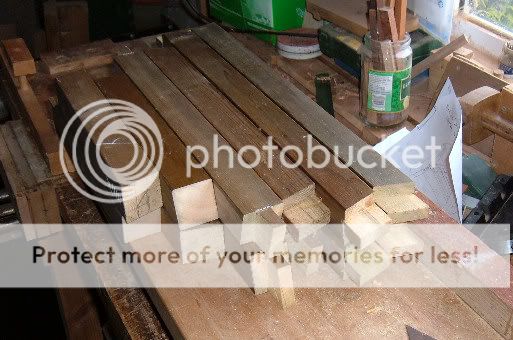
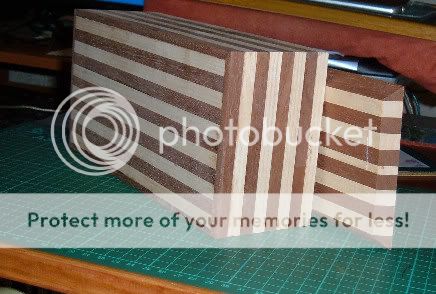
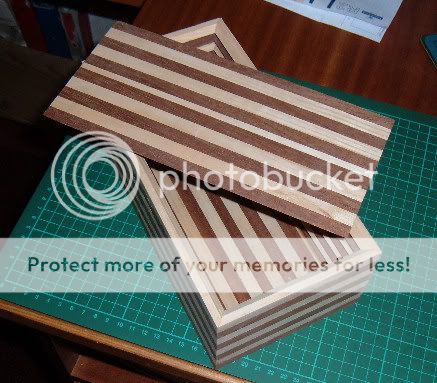
ribbed Box

UKworkshop.co.uk

Help Support UKworkshop.co.uk:

This site may earn a commission from merchant affiliate links, including eBay, Amazon, and others.
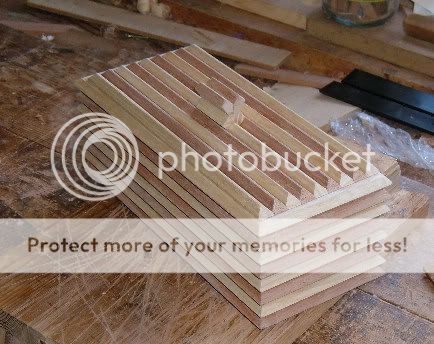
I hand cut a lifting knob for the box above, ( well used saw board.)

4w-11.jpg


5w-12.jpg


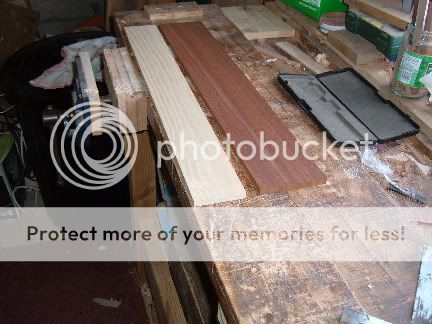
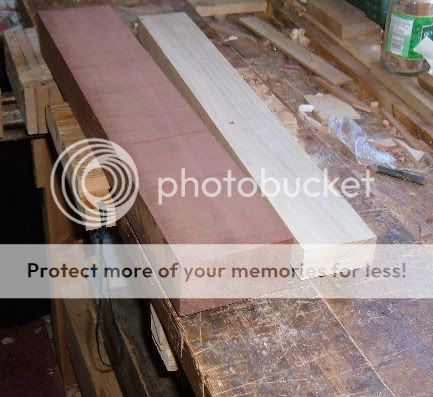
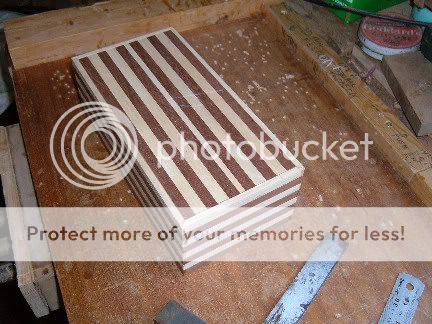
And started another ribbed box, Sapele and American Ash, (that will make three ribbed boxes, and three visitors coming to stay this weekend, so I will have to get cracking)
6w-10.jpg


prepared to 10mm thick strips.

7w-10.jpg


And hand cut them to length (decided to do some handwork for a change, but knocked up a useful jig) I have put the saw board in the vice and clamped a length stop to the bench, now every one of the 32 lengths have cut nicely to equal sizes.
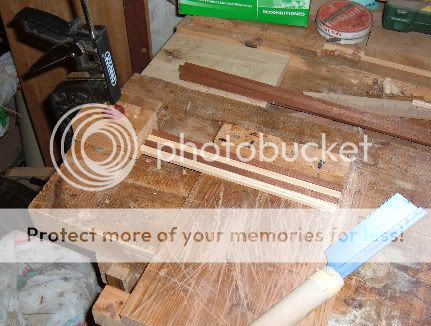
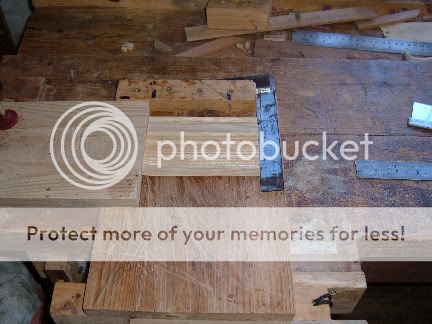
9w-10.jpg


10w-9.jpg


Brought them indoors to glue up for the night. so that was a good day.
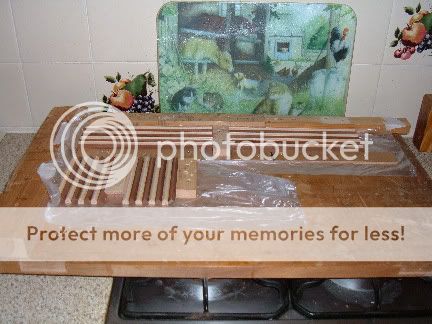
11w-9.jpg
 
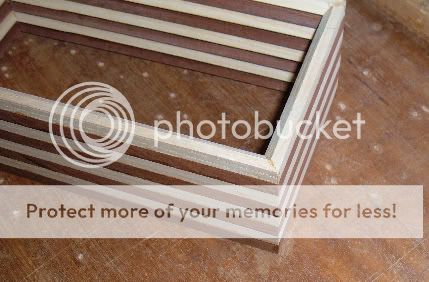
DISASTER :shock:


12w-10.jpg


13w-8.jpg


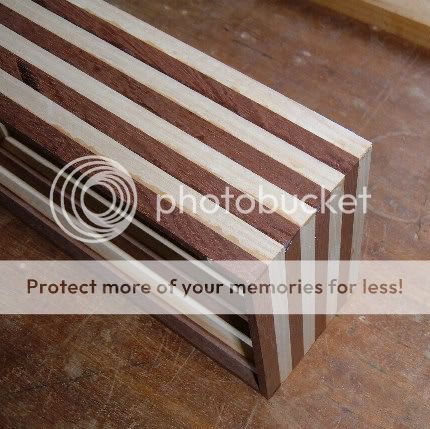
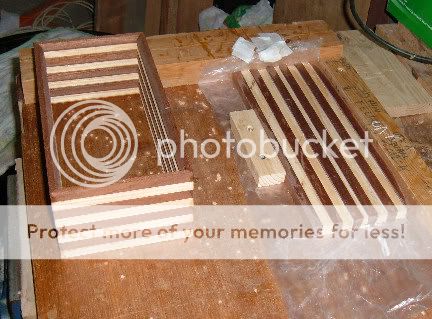
The ribs should be external, not internal :)

So I have got a new idea to redeem this box it is going to have a different sort of lid. :x


Prepared some more strips for the top, but I shall have to put it away until after Easter, visitors coming.


14w-9.jpg


Oddly enough the mitred corners are the sweetest I have ever cut, they are as clean as a whistle. :roll:

It was a bad day, drove into town early and the driver in front of me had an attack of road rage, :) it was funny really it started because two ducks waddled down the highway holding up the traffic, he then saw a parking space opportunity and wanted me to back up, I couldn't because I had traffic behind me. We then did some argy bargy, he chased me so I stopped in front of a CCTV camera and that calmed him down, he didnt want a witness did he?
See you after the weekend perhaps?
 
It's nice to see that you will persevere with the box even when the ribs mistakenly end up on the inside of the box - I'm sure many of use would've put that one to one side and prepared some more timber! :wink: :)
 
devonwoody":19rwce21 said:
The ribs should be external, not internal :)

Just needs a quick flick of the wrist and turn it inside out, be right as rain. :roll: :wink:

OK hat coat door :whistle:
 
Or cut the joints and then flick over, but I am quite excited with an idea for the lid and base, roll on Tuesday.

BTW can anyone suggest how I could insert a working clock face into this box, preferably with some illumination for nighttime? It would then be placed on a nightstand.
 
Tuesday morning and I have cut the first face for the top lid

15w-8.jpg


The other end needing to be very accurate I crept up on its length and used paper thicknesses to get an accurate cut.

16w-8.jpg


put the mouldings on the two long sides using the router bit in the table.

and got a perfectly fitting lid!

17w-8.jpg


18w-6.jpg


19w-6.jpg


Prepared some more strips for another session tomorrow for the base.

In the meantime I have purchased two water butts and making stands for them to sit on so I can get a watering can under to fill. Tenons cut for first one.

20w-6.jpg
 
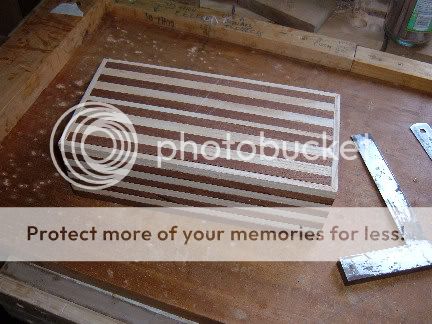
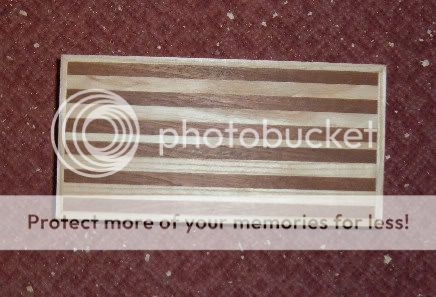
Fitted a base to the box made to the same style as the lid but the base has been glued in flush.

22w-6.jpg


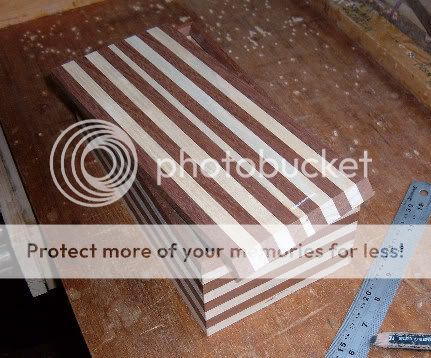
This picture shows the box with the lid laying loose on box.
I do intend sometime in the future to either making a finger groove or a sprung push button to raise the lid from the carcass because it also lay flush with the outer case.

23w-6.jpg


However this is the fourth box, plus the chevron completed in the month and house maintenance duties are now becoming urgent, gardening, painting etc. etc. so I have got to leave the workshop for a short while. I do have some more ideas which I am keen to try.
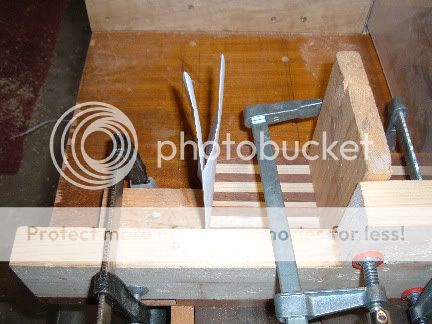
 
devonwoody":3ijo2h0c said:
BTW can anyone suggest how I could insert a working clock face into this box, preferably with some illumination for nighttime? It would then be placed on a nightstand.
clock faces are easy - you can buy them from turning suppliers like toolpost, craf suplies etc ( and you can get ones that have a light up face at the push of a button)

then its just a case of cutting a hole for the mechanism to sit in and a rebate arround the edge of the hole to accomodate the face flange (i'd use a lathe but probably the easiest way is a router in a jig or a big forster bit in a pillar drill) and gluing it in - and bob is your fathers brother
 

Latest posts

Back
Top