Post a photo of the last thing you made

UKworkshop.co.uk

Help Support UKworkshop.co.uk:

This site may earn a commission from merchant affiliate links, including eBay, Amazon, and others.
@Doug B I feel compelled to not only pass on my compliments for another brilliant project, but the fact you have clearly not suffered from expensive gizmoitus.

My only comment, is, I prefer to use my cheap speed square, when cross cutting, on the leading edge..
Thanks @HOJ I can’t see the point of buying stuff I can easily make & I see track squares as expensive one trick ponies. I agree re the square on the leading edge most of my cuts are made like that I just prefer the opposite way cutting narrow pieces.
 
I was asked recently if I could re-pipe a towel warmer the original pipes ran around the bedroom skirting & didn’t look that nice. In the bedroom was an alcove that had a fitted wardrobe the towel warmer was on the other side of this alcove so I suggested removing the the back of the wardrobe & running the pipes in the void behind from the ceiling above.
On removing the back of the wardrobe we discovered the void was 300mm deep which got the customer wondering if we could utilise the space for storage, in particular for her shoes.
This is what I came up with
View attachment 188435

The parts were just cut up with the tracksaw, no fancy track square just a speed square.

View attachment 188438

To make the shelves adjustable I used my shop made shelf pin guide.

View attachment 188433

The shelves were cut to size with the router & another shop made jig my parallel guides

View attachment 188437

This is the unit fitted in place

View attachment 188436

& this is the finished article with the fitted furniture reinstated

View attachment 188434
Just wondering why you used the router to cut the shelves to size and not the track saw?

Fished shelves look great!
 
Just wondering why you used the router to cut the shelves to size and not the track saw?

Fished shelves look great!
Thanks Paul, I use the router as that leaves a machined clean edge on both pieces cut so I can just keep moving the track across & make another cut. The tracksaw doesn’t leave a good enough edge on the waste side to do that.
 
Thanks Paul, I use the router as that leaves a machined clean edge on both pieces cut so I can just keep moving the track across & make another cut. The tracksaw doesn’t leave a good enough edge on the waste side to do that.
That’s really interesting. I’m surprised you don’t get a clean enough edge on the offside of the cut. I’ve not had much of a problem with that. I can see how the router would avoid it if it is happening. Good tip. I’ll remember it if I get the problem
 
A shooting board with detachable donkeys ear PXL_20240919_184945065.jpg
 
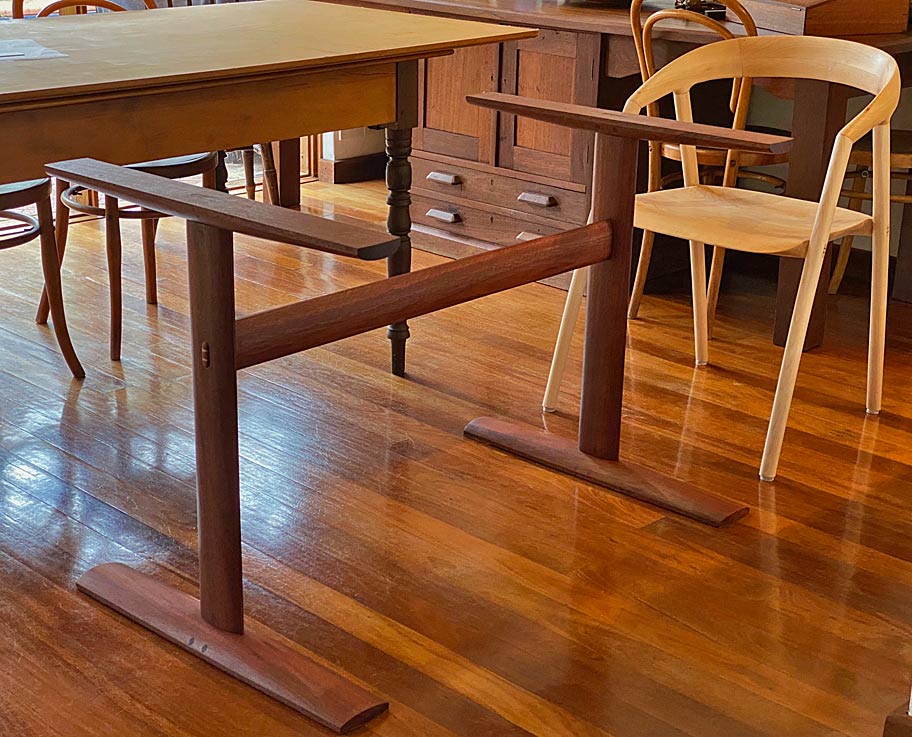
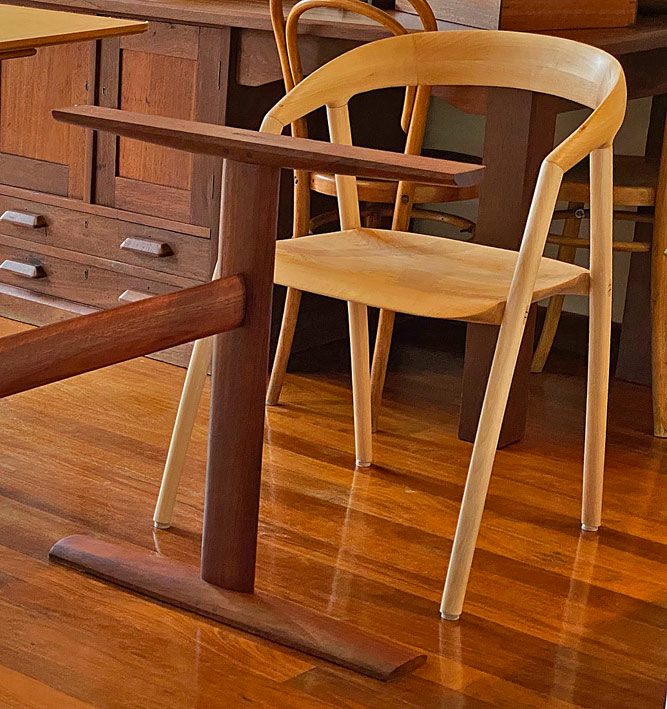
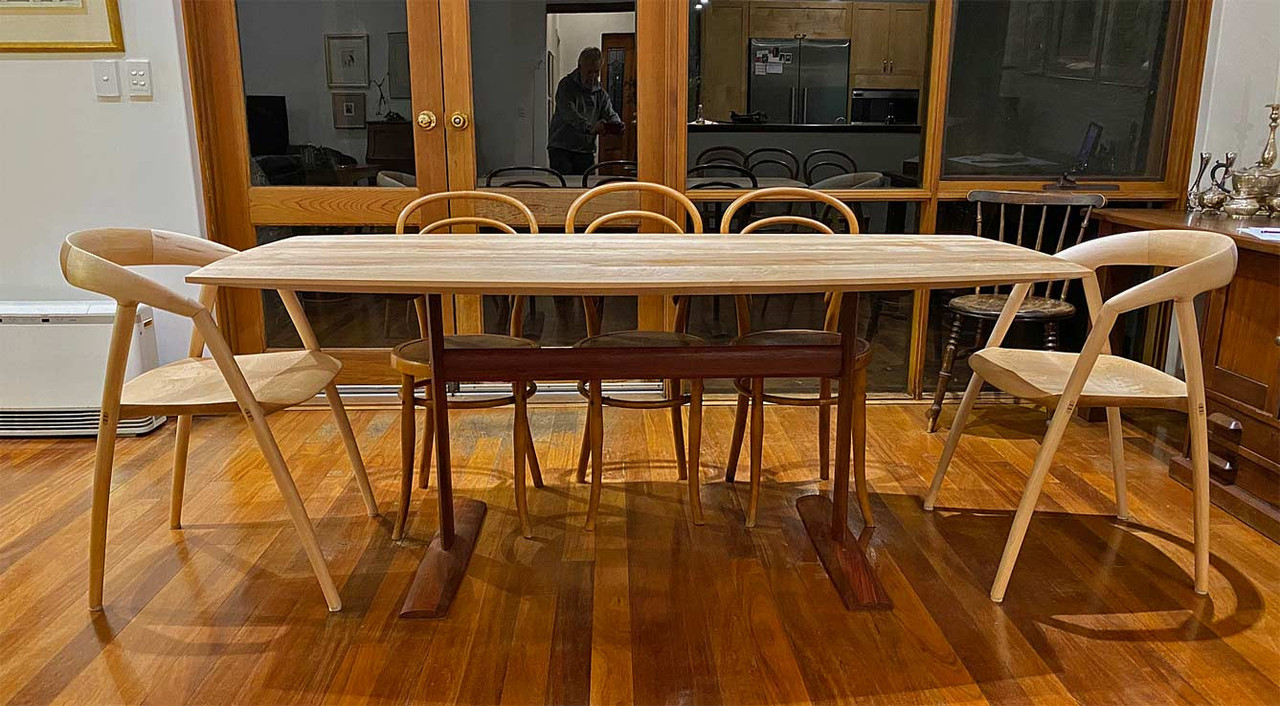
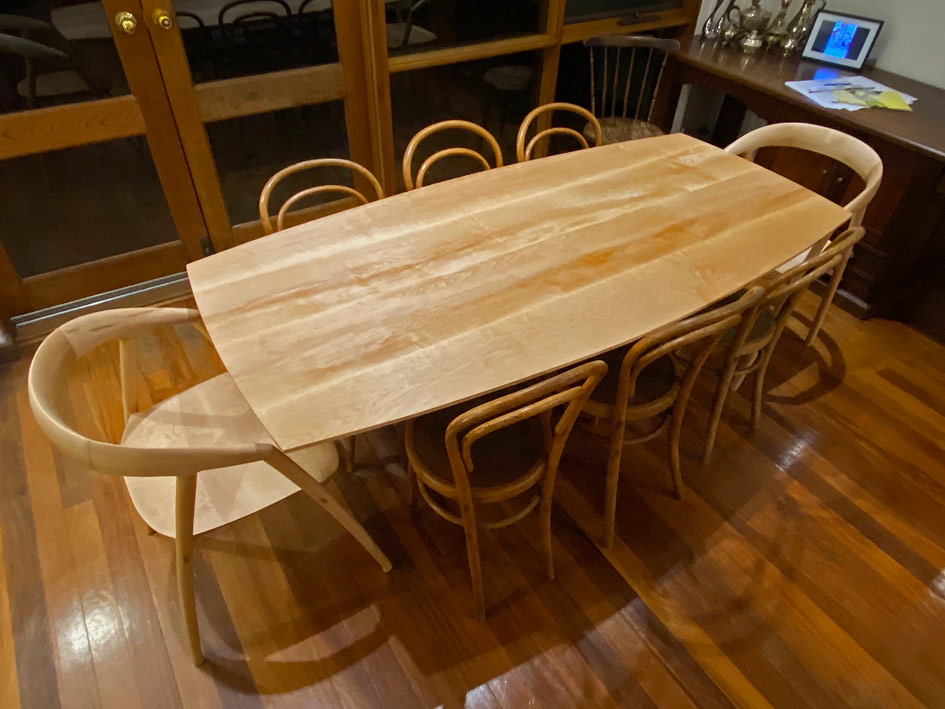
I posted the build of a trestle dining room table in Projects. For those that missed this, here are a few photos.

The design is my own. The base uses elliptical sections, in Jarrah ...


Note that chair to the right is one of two I built, based on the Japanese-Danish DC 09. The aim of the table design was to mesh with these chairs as well as a set of vintage bentwood chairs we have.

The elliptical top in Rock Maple ...


Regards from Perth

Derek
 
A set of four boxes, all made with hand tools only (although some of the timber had previously been resawn on a bandsaw). They were made while on holiday in Brittany, using my Travel Tool Chest & Workbench. The one on the left (which has a couple of drawers) isn't finished yet as I need to turn a couple of walnut knobs when I'm back home. None of them have had any finish applied (the tea caddies will get mineral oil, the other two will get my normal default of Mike's Magic Mix).

1727020463644.png


The drawer box is American black walnut outside, with maple drawer fronts and sweet chestnut drawer bodies/bases. The Keemun tea caddy is cherry, the little box in the middle (which I mainly made in order to try out the mitre shooting feature of the chest) is oak, lined with red oak. The tea caddy on the right is American black walnut.

Here's a picture of them all open:

1727020471867.png


There is a complete and fairly thorough build write-up of three of the four boxes (all but the cherry tea caddy, which followed much the same process as the walnut one) in the build log part of my website (the box builds start on page 130 of the 142 page, 1100 image WIP for the tool chest). Anyone bored enough to read a 142 page WIP? :LOL:
 
Theres stuff called P.E.G that I think totally penetrates wood, replaces all water in the cells with a resin, which kind of makes it a kind of plastic, but with obviously woody structure

" Use to stabilize green wood to keep it from cracking, splitting and shrinking. Wood treated with Polyethylene Glycol (PEG) is ready for carving, shaping or machining. Polyethylene Glycol is dissolved in water. Wood is treated by submersing into the PEG/ water mix. "

Saw a vid years ago, where a wood turner immersed a piece in a large pot of this stuff, but cant remember if it was heated or if a vacuum was used to draw it into the timber. Im sure its probably a common item amongst turners and they'd be the best to ask.
Hmmm... I'm a bit surprised by that. I can see that polyethylene glycol would replace water in the wood, but I wasn't aware that it would offer any structural benefit. Do you know if it chemically bind to the cellulose in the wood fibers?
(I used to work with PEG in plant tissue culture.)
 
Hmmm... I'm a bit surprised by that. I can see that polyethylene glycol would replace water in the wood, but I wasn't aware that it would offer any structural benefit. Do you know if it chemically bind to the cellulose in the wood fibers?
(I used to work with PEG in plant tissue culture.)
I'm pretty sure PEG is what they used to stabilise the Mary Rose after it was raised form the seabed. Looked into using it years ago, when I was doing a lot of turning, but seem to remember you were very limited on what finish could be applied . Specifically, I think it was PEG 1000, but am only speaking from hazy memory...
 
That's great. The design is on my list of things I want to try, so it's nice to see an adapted version using the concept, rather than a 100% "authentic" example. Love the contrasting woods.
 
I'm pretty sure PEG is what they used to stabilise the Mary Rose after it was raised form the seabed. Looked into using it years ago, when I was doing a lot of turning, but seem to remember you were very limited on what finish could be applied . Specifically, I think it was PEG 1000, but am only speaking from hazy memory...
A different option to PEG would be a 1 part thermosetting epoxy (eg "cactus juice" but many other cheaper brands available). Produces a solid texture and I don't think any restrictions about finish.
 
Last things that I finished building were decking and large planters for on the decking.

I had built a deck when we moved in to this place 17 years ago and at the same time planted bamboo plants in the ground. I'd lined the trough for the bamboo with 1mm plastic sheeting so the roots couldn't escape. Sadly, the roots jumped over the membrane and spread, so this year had to dig them out completely. The deck was past it's best too, so 2 big jobs combined into one.
The new planters on top of decking ought to prevent similar spread of invasive bamboo roots. Sad, really, because it was a beautiful screen and had grown to around 5m tall.

Anyway, here are the pictures.

IMG_20240927_173011.jpg
IMG_20240927_173025.jpg
IMG_20240927_173033.jpg
 

Latest posts

Back
Top