Plane Cabinet - WIP!!!

UKworkshop.co.uk

Help Support UKworkshop.co.uk:

This site may earn a commission from merchant affiliate links, including eBay, Amazon, and others.
Dodge":3akgrfg8 said:
eoinsgaff":3akgrfg8 said:
For those reasons I like idea of the absorbent crystals. I must check this out further. Is there a particular trading name I should look out for?


Eoin

There used to be a computer company opposite my workshop, and everything came in packed with large absorbent crystal pouches which they just throw away. I regularly pop in and see them and collect a handful which I throw in my plane cabinet - Have been doing this for years and have kept the dreaded rust at bay!

I also occassionaly put them near the woodburner (not too close) to dry them out fully again!

So try your local computer or electrical shop - I'm sure you will find they are happy to get rid of them.

Rog

That's the way to do it, if you haven't got a big packet then you can empty lots of little ones into a small jar. It's a reversible reaction too, so everysooften you can place the jars in a low oven or after it's been switched off and drive the moisture out of the crystals again

aidan
 
...it's even cheaper to use a handful of rice to absorb moisture. It's the way I keep biscuits nice a dry in old coffee jars - Rob
 
woodbloke":1yq40wna said:
...it's even cheaper to use a handful of rice to absorb moisture. It's the way I keep biscuits nice a dry in old coffee jars - Rob


And after about 15 years it's ready to serve with a curry!

Aidan

 
TheTiddles":3u3y75mf said:
woodbloke":3u3y75mf said:
...it's even cheaper to use a handful of rice to absorb moisture. It's the way I keep biscuits nice a dry in old coffee jars - Rob


And after about 15 years it's ready to serve with a curry!

Aidan
... although foodies do say a good curry needs to be cooked slowly - Rob
 
samharber":3igekwbx said:
A slightly different approach is to use a sacrificial block. If you connect your planes by a conductive material (i.e. metal wire) to a large lump of a slightly more reactive metal (such as zinc if I recall correctly), then this block will preferentially corrode. Then you just need to replace this block when it's more or less corroded away.

That at least is the theory, and works well on oil rigs and the like.

That is the standard way on protecting underwater structures but you're missing the vital ingredient - seawater to complete the circuit.

We usually wrap out parts onboard in specially impregnated paper, I get it from Caterpillar but there must be a more easily available source - perhaps RS Components might be worth a gander. Surprised that your tools are that badly affected indoors though wonder if something else is not at play.
 
woodbloke":25vyx87b said:
...it's even cheaper to use a handful of rice to absorb moisture. It's the way I keep biscuits nice a dry in old coffee jars - Rob

Do you think that would work if I put a bowl of rice in my car for a few days to absorb all the moisture that got in the car with the snow on shoes?
 
Chems":2s9whwlj said:
Do you think that would work if I put a bowl of rice in my car for a few days to absorb all the moisture that got in the car with the snow on shoes?

Haha! Same problem here. I ended up to run my car interior heater several hours longer than I normally do. I also need to replace worn out rubber carpet of driver's floor to avoid moisture absorbing to upholstery... :wink:
 
My mats are Velour which really soaked it up. The screen was covered in a green mist today that look ages to dry off, the car also has a heated window screen and it didn't seem to help much.
 
Ok, I'm going to take Robs advice and try for a frame and panel back to the cabinet.

However, first I'm going to do a little finishing. For the sake of simplicity I'm using and danish oil and wax finish. I do seem to recall from somewhere that when this finish is used with ash (my shelves) it leads to a p!ss yellow colour. for that reason I think I'll just oil the oak and wax the whole arrangement.
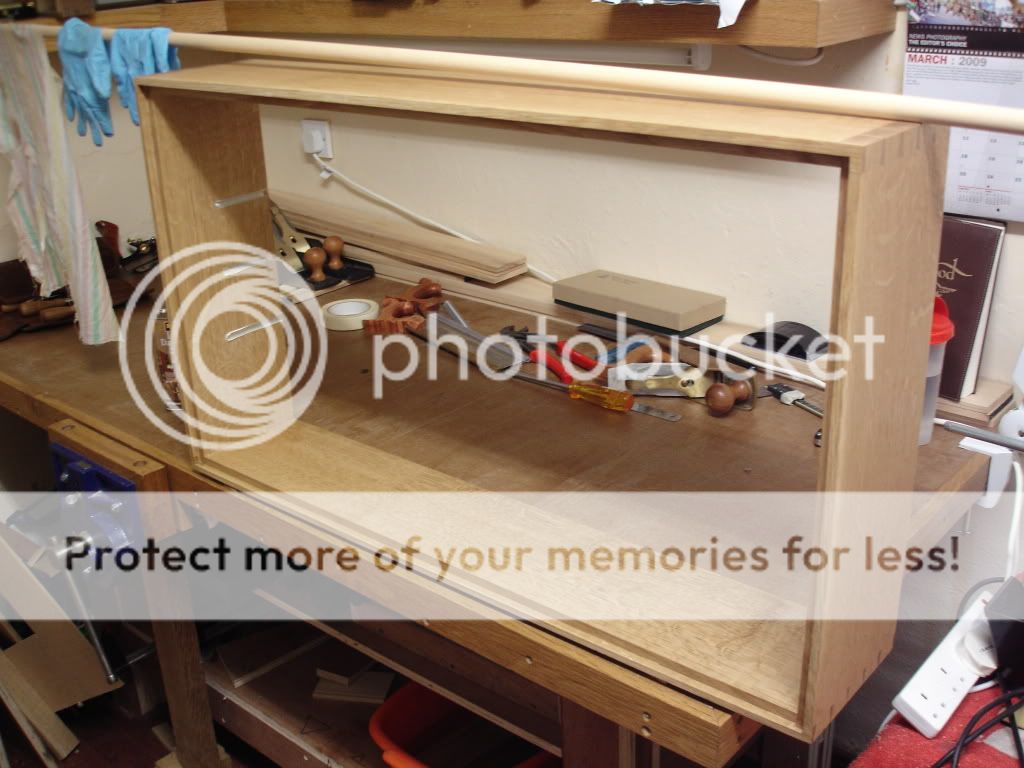
Here I have been oiling the main body of the cabinet. 3 coats of danish oil. Wax to follow later.
DSC01011.jpg


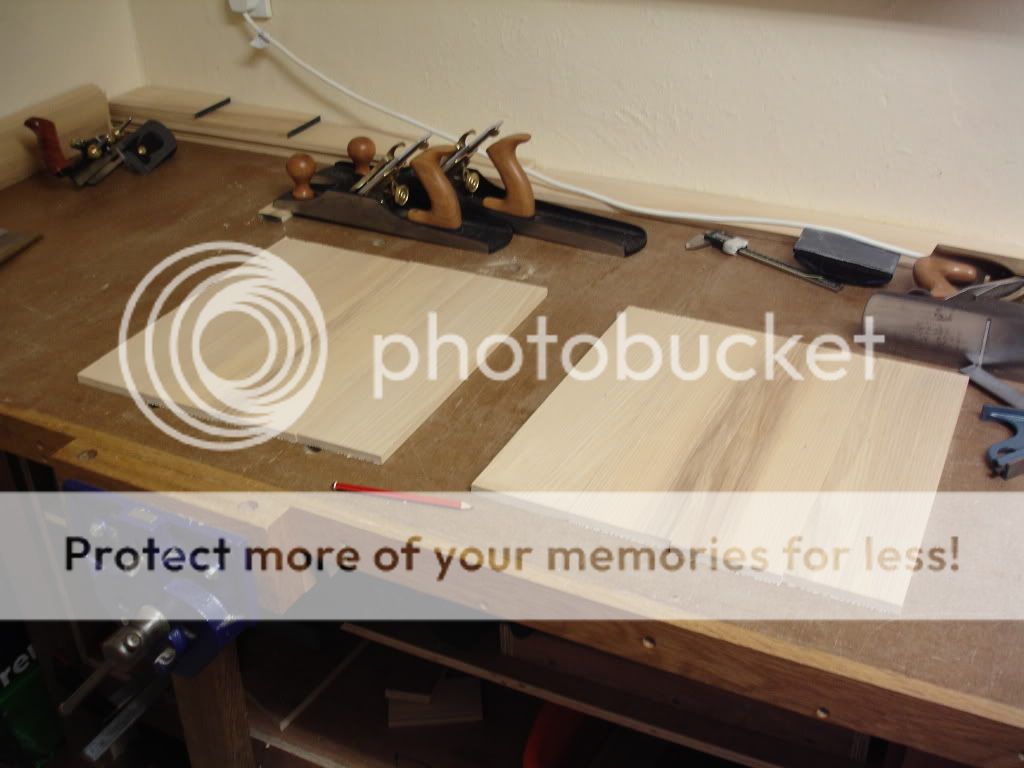
Next I have started on the panels. I'm using ash for these and the same oak for the frames. I've a limited stock but I have still tried to match as best I can and to make it interesting. There is a nice feature to the colour and grain.
DSC01012.jpg


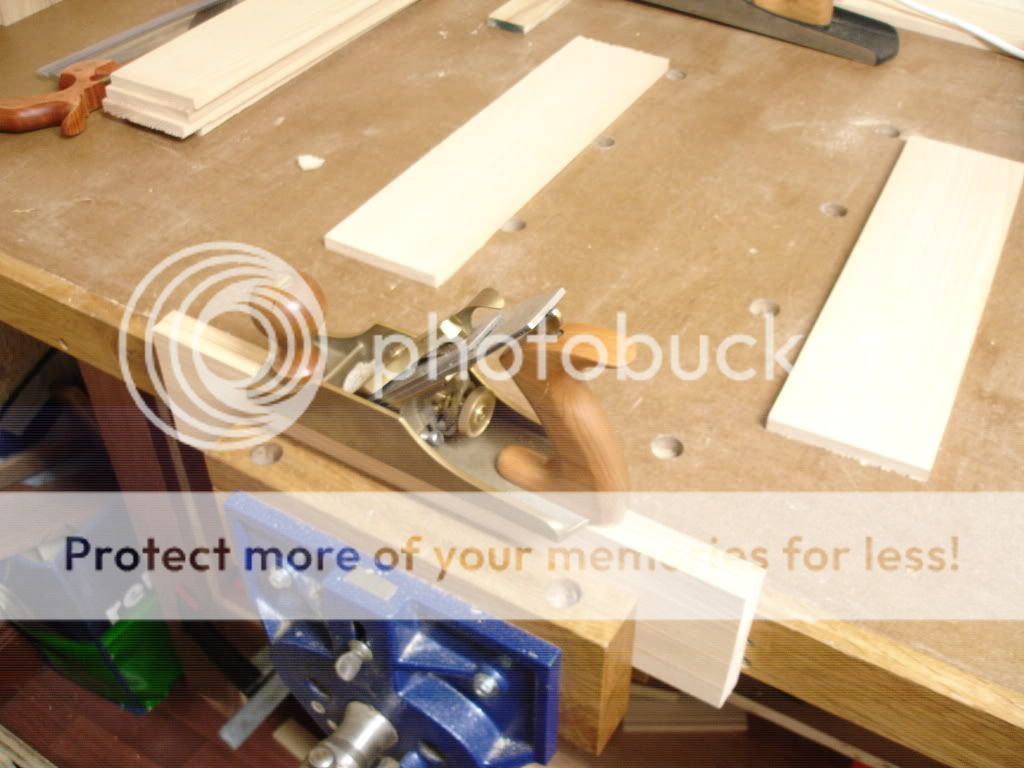
I use the No.7 (straight edged blade) to match joining edges.
DSC01013.jpg


Then a light rub of the No. 4 to 'spring' the straight edge joint.
DSC01014.jpg


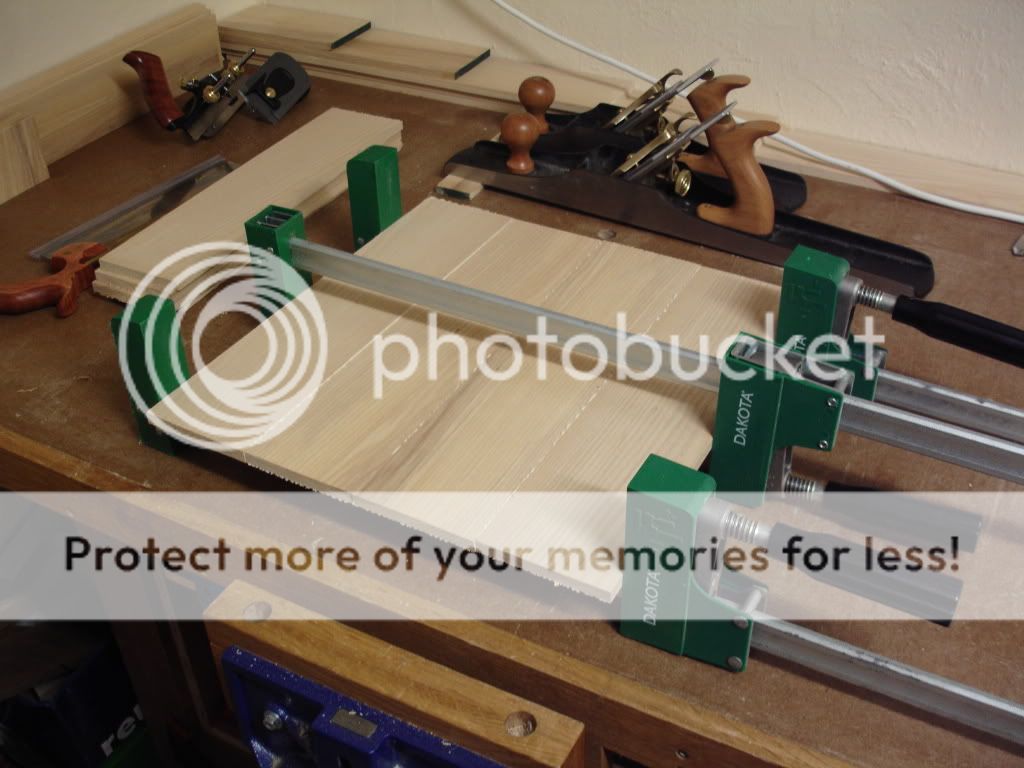
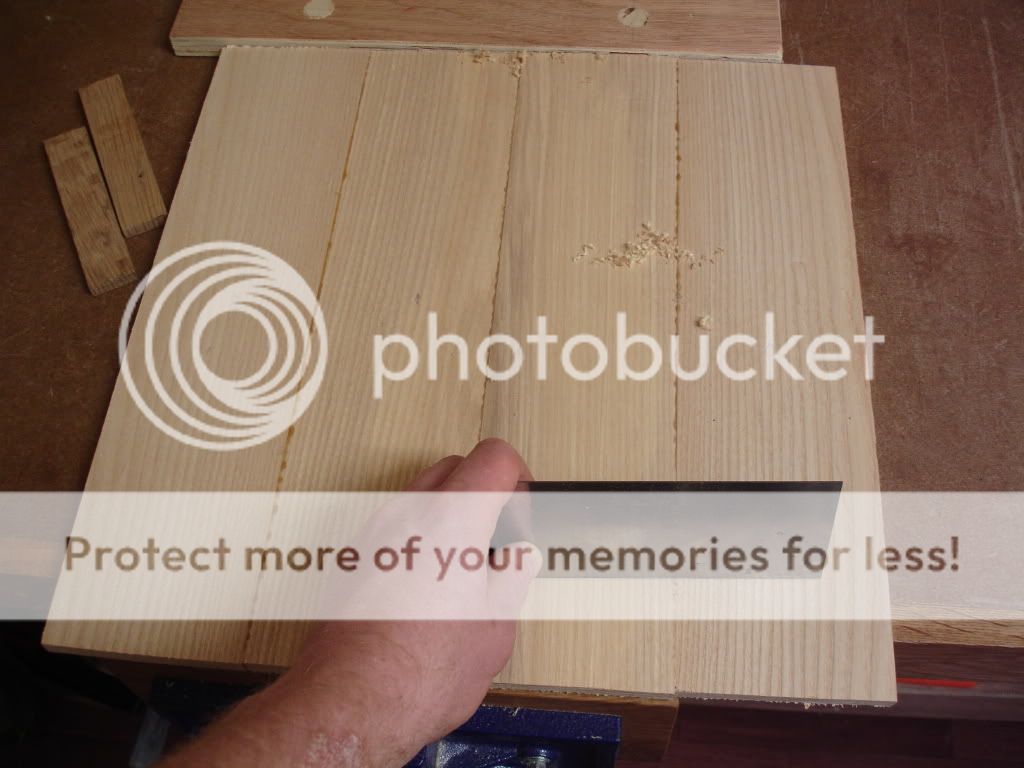
Gluing up the panels and cleaning off the dried glue.
DSC01015.jpg

DSC01016.jpg


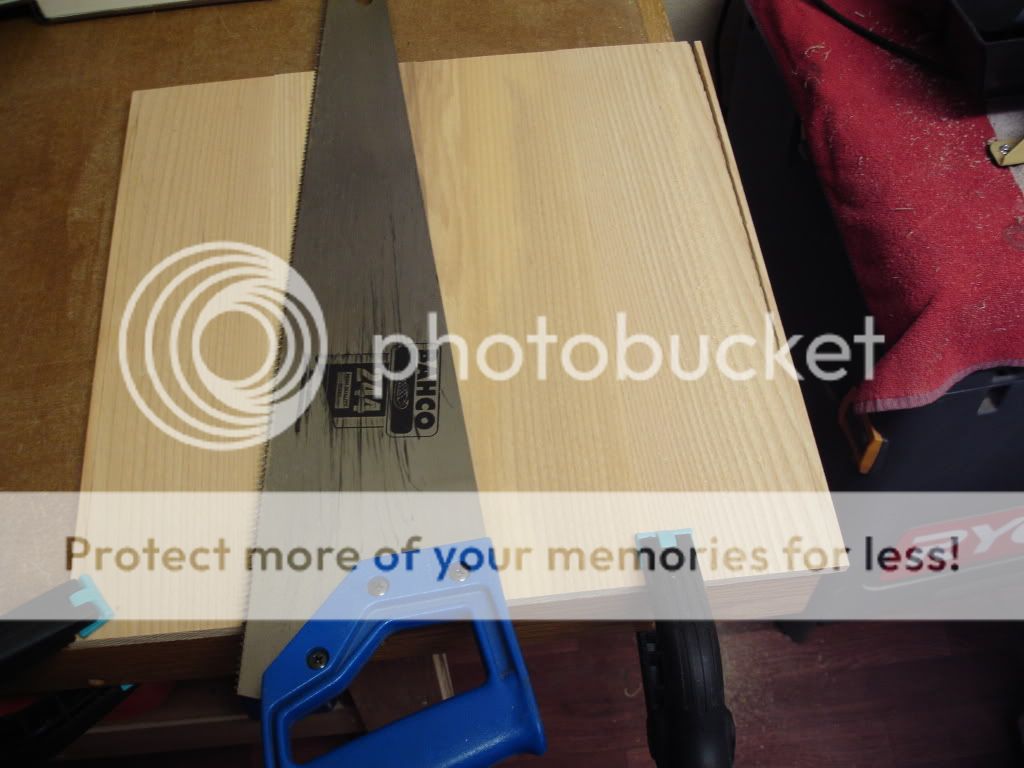
The panels were then planed flat and cut to shape.
DSC01017.jpg

I've had some thoughts about the profile of the panel and I'm going to leave it very simple. I don't ant to go at it with a router and I don't have the profile planes. I don't want to do any thing fussy now any way. Just a simple rabbit and groove. I'll leave it until the frame is finished.

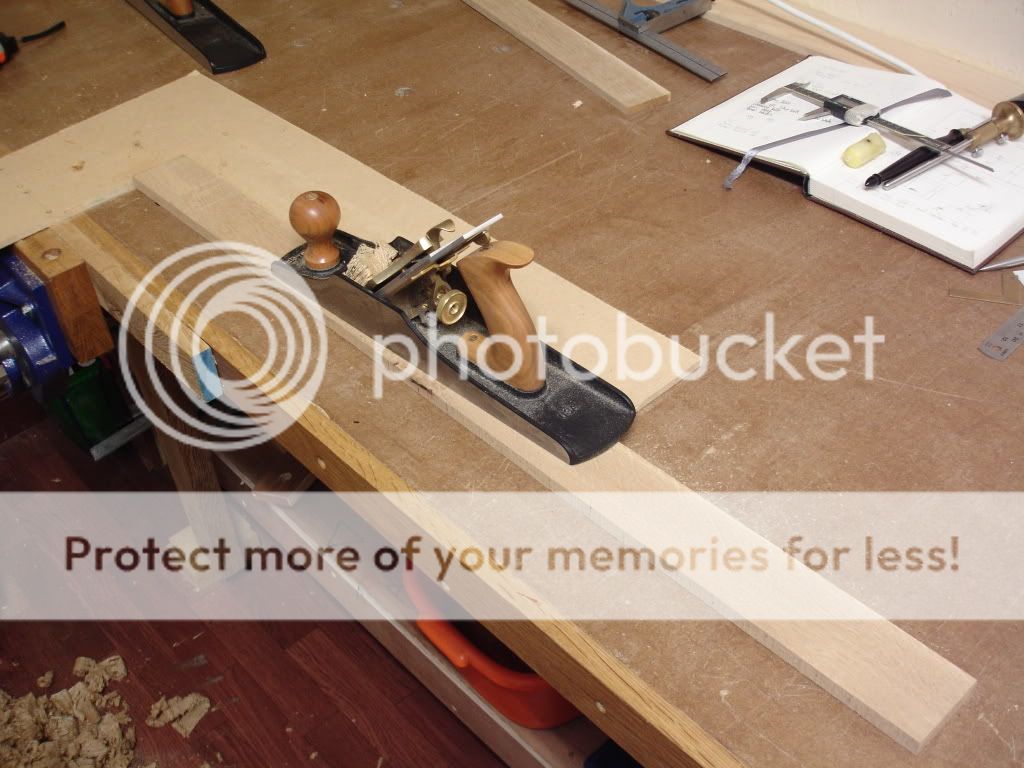
Now to plane up the frame pieces.
DSC01018.jpg


The No.5 1/2 is the best tool I've gotten yet. What a work horse.
I can't wait to get the frames finished but I will have to...

Thanks for looking again.

Eoin
 
Looks like that panel work is coming along quite nicely. I usually always opt for a simple rebated panel, leaving around a mm each side to allow for expansion or contraction across the grain, a dab of glue in the centre top and bottom is all that's needed to hold it in place. You're right about the ash and danish oil as well, something that won't make it go that 'orrid p!ss colour is what's needed...I'd do a little experimentation and maybe try some matt acrylic and wax or maybe a few coats of blond shellac and wax. The wearing surfaces of the shelves I'd definitely do in acrylic as it's quite tough - Rob
 
Thanks Rob, I must look into that acrylic.

I can see that this WIP is getting a bit monotonous as there are no machine (money) shots but it's just me and the bench for the most part.

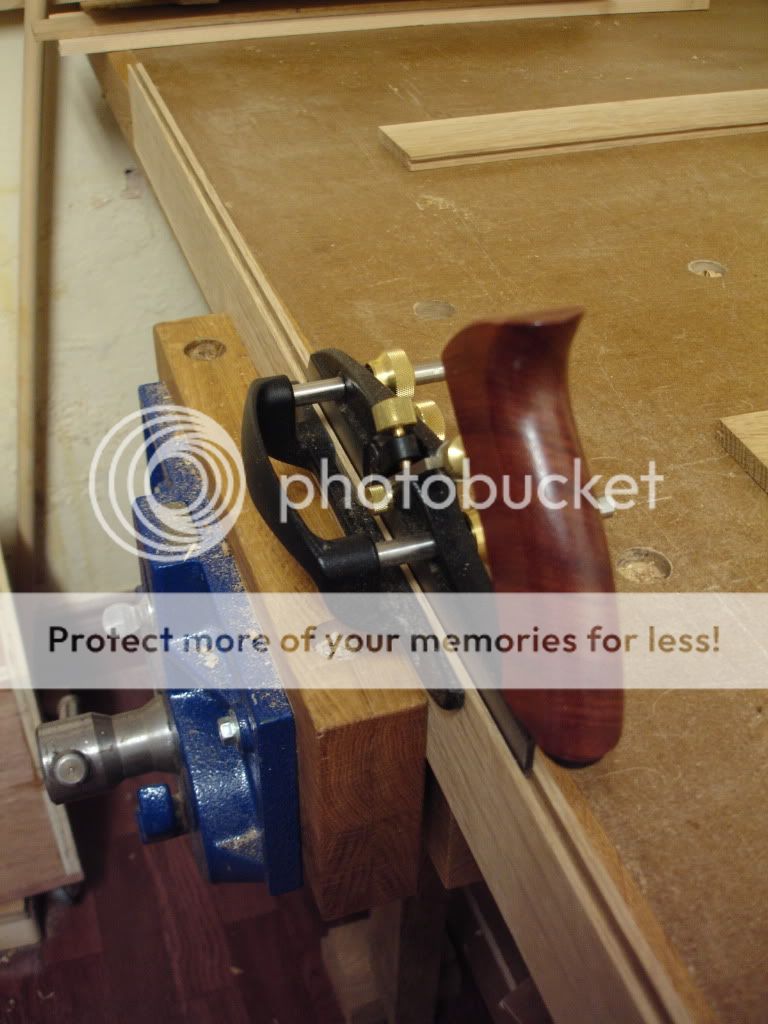
I got the oak for the frame shaped and planed. I've decided to run a groove all around to hold the panel with my plough plane.
DSC01032.jpg


To simplify joining the vertical members to the horizontal I just carried the grooves on the horizontal pieces out to the ends. I then wanted to run a similar groove in the end of the vertical member and just fit a spline/loose tenon to join the pieces together. The problem was grooving the end grain. I wasn't sure the LV Small Plough would be up to it and tear-out would be a nightmare.

However, on a sample piece the LV was well able for the end grain (AWO!!!) and the longitudinal grooves offered a perfect situation when two vertical pieces were positioned back to back.
DSC01034.jpg


Two small saw cuts on the exiting side of the groove before planing meant there was no tear-out at all.

Hopefully I'll be able to finish up this piece fairly soon

St Patricks day greetings to everybody

Eoin
 
Why is your gaff damp Eoin?

Couldn't you treat the disease, and not the symptom?

Of course in the days of tungsten bulbs, which gave out a lot of waste heat, one could make a radiant heater with a batten-lamp-holder, a biscuit tin with holes in it, and a metal chimney. That's how I heated my greenhouse years ago, all for the price of leaving on a 25Watt bulb. It would no doubt work in a workshop too.

Regards
John
 
Hi Eoin

I'm currently preparing some Ash to make my son a display cabinet not too far different from your plane cabinet and in size too. I have a basic sketchup design (no joint details) but am still deciding on exact details about joints etc. It will have side hinged, wooden framed glass panelled doors so that my son's soldiers can be viewed through the doors. I hope to add glass shelves too. The carcase will be about 800mm wide, 500mm tall and 160mm deep.

However, the back is causing me a headache and I see that your back is to be solid wood T&G. From the photos it seems that the boards for this are about 10-12mm thick, is that right? I am trying to minimise loss of depth in my cabinet so would like to keep the solid wood back as thin as possible (<10mm), but I guess that this is adequate for a back so don't anticipate any problems here. I could use a veneered piece of MDF or other substrate but I do not want to spend any more cash on this and I have enough Ash to make the back anyway! I was also going to have a T&G arrangement and screw into the bottom & top shelves from the back.

I had intended to just rout a rebate around the jointed sides/top/bottom as you have done but not sure if this is right as the fixing of the T&G back into the rebate seems problematic? If there is a slot in the sides/top/bottom rather than a rebate then the slot will hold the T&G back in place and the wood can expand back and forth freely, but with a rebated carcase the T&G back will be free to pop out so I guess with this design that you need to put a screw in each piece of the T&G?

I also plan to through dovetail the side/top/bottom at each corner.

How are you going to attach your back to the rebate in the carcase? Are your carcase parts 20mm (ish) thick?

I notice that you have oriented your dovetails so that the tails are visible from the sides. I have been reading some books (dangerous, I know!) and they all seem to orient the tails on the upper/lower surfaces. I prefer your choice as the tails are better looking! Not sure why the books all have them round the other way? Maybe because they are applying solid top which overlie them?

Anyway, I would be interested to get your input...

cheers
Steve/HM
 
Steve,

Orienting dovetails so the tails are on the top and bottom of case work, is like putting the tails on the front of a drawer. The joint can pull apart.
That's why dovetails should be on the vertical members, so the weight of contents won't pull the cabinet asunder; eventually.

Modern adhesives might hold, I know, but I don't take chances like that. And of course it's why unreinforced finger-joints would be as bad an option. If I did ever put dovetails on the top and bottom of casework, I'd at least reinforce, by running in a blind dowel from the back.


That's my thinking.

Regards
John :)
 
Another idea for rust free tools is
a 5 gallon bucket full of play sand. To this add 1 quart of used motor oil. When done using the tools, simply push the blade into the bucket and work it a few times. This not only cleans the dirt and grime from the blade, it also serves the purpose of oiling without a dripping mess. Don't use too much oil, 1 quart in a 5 gallon bucket works just fine. This keeps the sand from sticking to the blade. Afterward, I wipe the blade with an old rag, my tools stay clean, sharp, and rust-free.
 
LOUS HARDWARE":2xnc83fe said:
Another idea for rust free tools is
a 5 gallon bucket full of play sand. To this add 1 quart of used motor oil. When done using the tools, simply push the blade into the bucket and work it a few times. This not only cleans the dirt and grime from the blade, it also serves the purpose of oiling without a dripping mess. Don't use too much oil, 1 quart in a 5 gallon bucket works just fine. This keeps the sand from sticking to the blade. Afterward, I wipe the blade with an old rag, my tools stay clean, sharp, and rust-free.

For spades, shovels and forks, etc., yes. Great idea.
Don't think I'd want to shove my Lie-Nielsen blades into sand though!

John
 
Benchwayze":2t576osr said:
LOUS HARDWARE":2t576osr said:
Another idea for rust free tools is
a 5 gallon bucket full of play sand. To this add 1 quart of used motor oil. When done using the tools, simply push the blade into the bucket and work it a few times. This not only cleans the dirt and grime from the blade, it also serves the purpose of oiling without a dripping mess. Don't use too much oil, 1 quart in a 5 gallon bucket works just fine. This keeps the sand from sticking to the blade. Afterward, I wipe the blade with an old rag, my tools stay clean, sharp, and rust-free.

For spades, shovels and forks, etc., yes. Great idea.
Don't think I'd want to shove my Lie-Nielsen blades into sand though!

John

That depends on if you want to cut anything with them again.
 
John (Benchwayze), my bench is currently located in a bedroom of my uncles house where I stay from time to time. The house is old and needs to be heated almost all day to keep it dry. As this room is empty most of the time its not heated. This is compounded by the area. Its close to the sea so the climate is quite harsh. Everything rusts here. Almost over night. Its incredible. Anyway, I'm not in a position to treat the disease for now. Hopefully I'll be getting my own place built soon with a workshop so watch this space!!! (hammer) (hammer) (hammer)

Eoin
 
eoinsgaff":r6ya0q1b said:
John (Benchwayze), my bench is currently located in a bedroom of my uncles house where I stay from time to time. The house is old and needs to be heated almost all day to keep it dry. As this room is empty most of the time its not heated. This is compounded by the area. Its close to the sea so the climate is quite harsh. Everything rusts here. Almost over night. Its incredible. Anyway, I'm not in a position to treat the disease for now. Hopefully I'll be getting my own place built soon with a workshop so watch this space!!! (hammer) (hammer) (hammer)

Eoin

I empathise then Eoin.

I am lucky enough to have a metal door on the garage (Workshop I mean), which seems to act as a solar-panel. Facing due south, as it does, I just never have any problem with rust. Whatever time of year, the smallest amount of sunlight gets soaked up straight away. If SWIMBO would stand for it, I'd paint the door matt-black and improve it. So, I count myself fortunate.

Cheers.

John :wink:
 
Steve ,
Firstly, John has answered the issue of the dovetails perfectly.

My intension was to make a strong unit and I think it is exactly that. The main body is made from oak members that are 20 mm thick so this adds to the rigidity. I had initially intended to use MDF or ply as backing so I had made the rebates 10 mm square for this purpose. This was, as with your own requirements. to maximize the depth of the unit. A 10 mm groove would have probably required a further 10 mm of material outside of it.

However, on advise from Rob (woodbloke) I decided to put in a frame and panel back. The frame pieces are just under 10 mm. In my opinion this would be too thin if the backer had more structural significance. 10 mm does not allow you to make a proper M+T joint and thus would not be able to resist or survive racking. I think!!! :? :? :?

I intend to just tack the back panel in place and duct tape the joint from behind to seal it up airtight. As my 'shop' is temporary I don't have a clear plan for mounting the piece so for now I'm going to use a french cleat screwed onto the main, 20 mm, frame. I hope this will take to weight but for now I'm confident.

I hope this answers your questions. If I can be of any further help, just ask.

Regards

Eoin
 

Latest posts

Back
Top