Mr Ed
Established Member
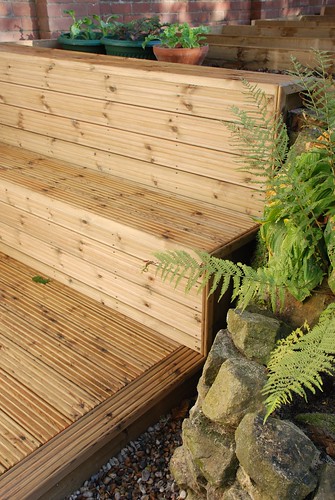
I have just completed this deck at the rear of my house;
I've done a few of these now, so the process goes quite quick - this is about 3 to 4 days work in total including the foundations. The notion of the seat emerged from the idea of covering up the rough retaining wall to the back of the area. Originally I was just going to return the deck up the wall, but decided to create the seating area which has worked out well.
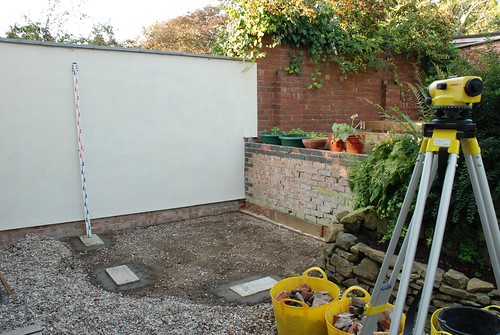
I always build decks as suspended structures as I think it leads to longer life, so this one sits on a combination of the outer leaf of the retaining wall and concrete blocks bedded on concrete to the required levels;
I applied a bitumen primer and then proofex tanking membrane to all the surfaces that the joists would rest on to assist in avoiding damp rising into the timber. All the joists are 6X2 tanalised, probably a bit oversize but it makes for a nice rigid structure. The seat area was created using a halving joint - I cheated and cut these on the bandsaw.
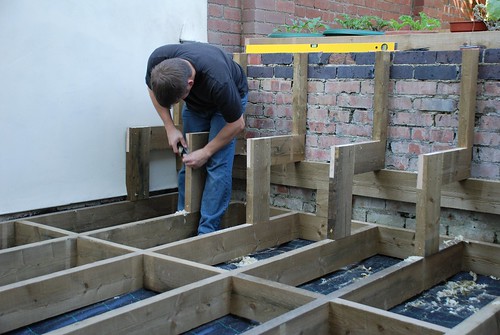
The finished substructure;
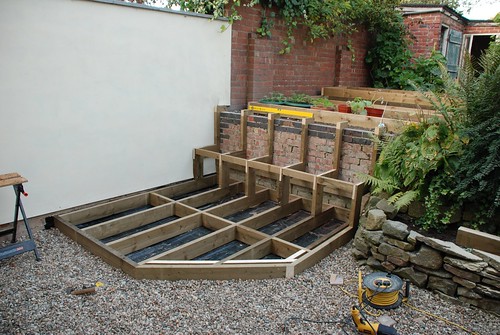
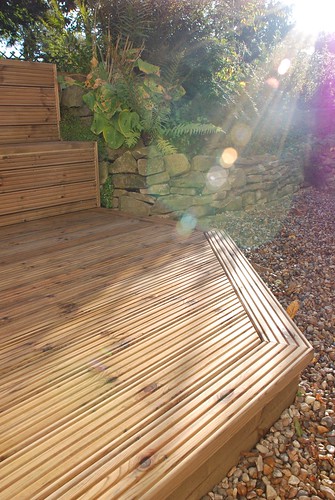
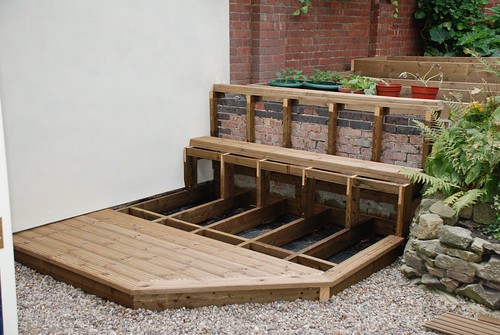
I decided to use a border on the deck as I think it gives a more finished look, especially where you get the 45 degree cuts showing on the end. The deck boards are 125 X 35 tanalised from Harlows in Derby;
I work night and day on this stuff man;
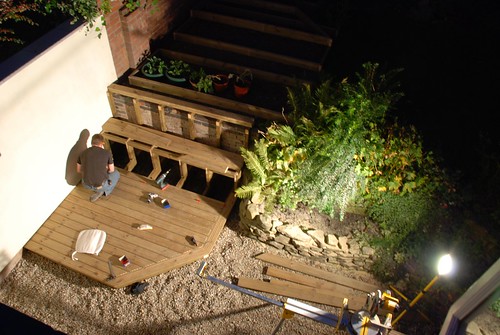
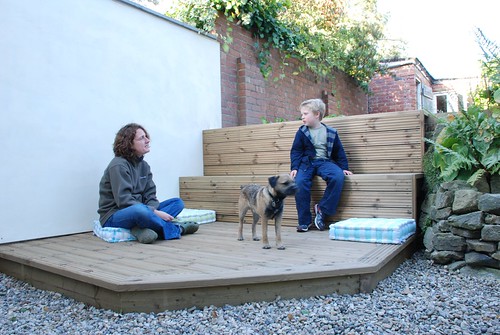
And finally it is complete;
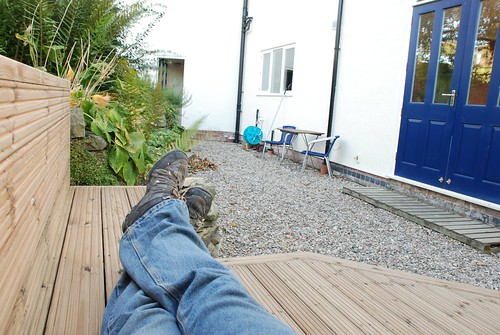
It needs a coat of decking oil when the weather permits in the next few days.
Thanks for looking, Ed

I've done a few of these now, so the process goes quite quick - this is about 3 to 4 days work in total including the foundations. The notion of the seat emerged from the idea of covering up the rough retaining wall to the back of the area. Originally I was just going to return the deck up the wall, but decided to create the seating area which has worked out well.
I always build decks as suspended structures as I think it leads to longer life, so this one sits on a combination of the outer leaf of the retaining wall and concrete blocks bedded on concrete to the required levels;

I applied a bitumen primer and then proofex tanking membrane to all the surfaces that the joists would rest on to assist in avoiding damp rising into the timber. All the joists are 6X2 tanalised, probably a bit oversize but it makes for a nice rigid structure. The seat area was created using a halving joint - I cheated and cut these on the bandsaw.

The finished substructure;

I decided to use a border on the deck as I think it gives a more finished look, especially where you get the 45 degree cuts showing on the end. The deck boards are 125 X 35 tanalised from Harlows in Derby;

I work night and day on this stuff man;

And finally it is complete;

It needs a coat of decking oil when the weather permits in the next few days.
Thanks for looking, Ed


