laptop and console stand

UKworkshop.co.uk

Help Support UKworkshop.co.uk:

This site may earn a commission from merchant affiliate links, including eBay, Amazon, and others.
Wednesday last posting and no work done, well the weather has been off hasn't it.

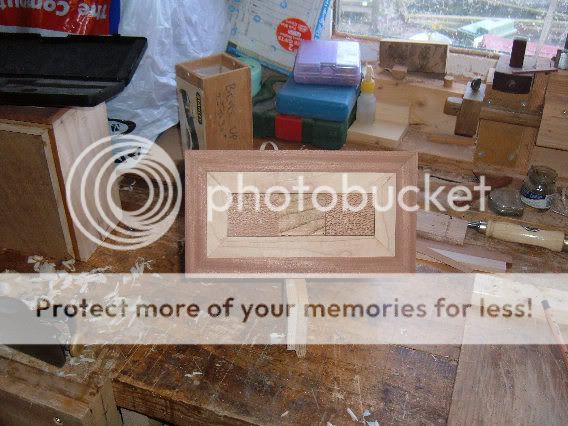
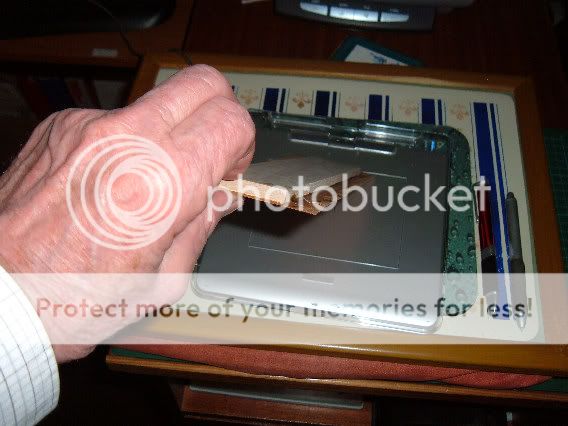
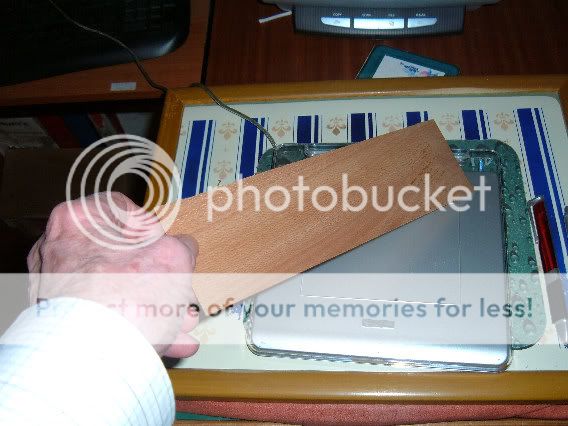
put a nice looking veneer on a 7mm thick piece of sycamore, not veneering the underside because with luck it wont cup. The third layer is going to be the drawer carcass.

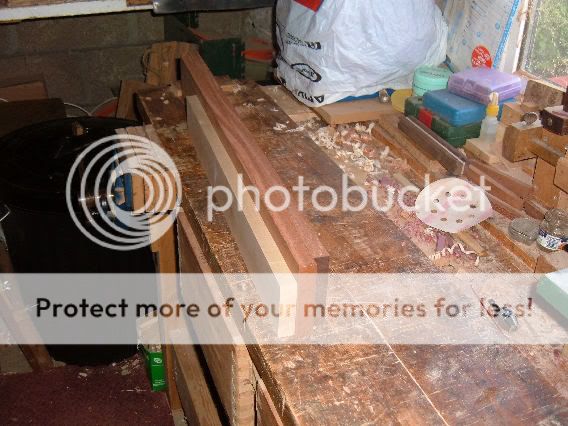
Glued on with Titebond 3 and held in place with masking tape and clamped between boards in the bench vice.
82w.jpg


83w.jpg


Positioned here 40 x40mm squares.

84w.jpg


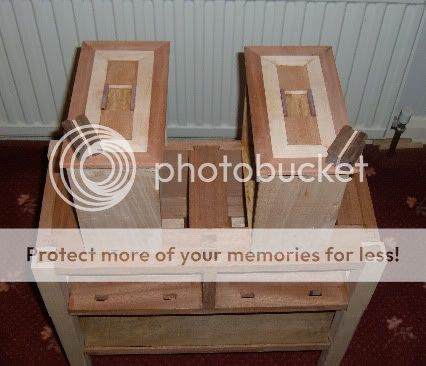
Handles next to be fitted, black walnut and maple stripe.
86w.jpg
 
Heading for the last round up.

Got the boards for the tabletop from under the bed and they have stayed put without any defects.

87w.jpg


Marked up a former full size on some waste mdf. I can say that was a very good decision on my part, it paid dividends later in the day.


88w.jpg


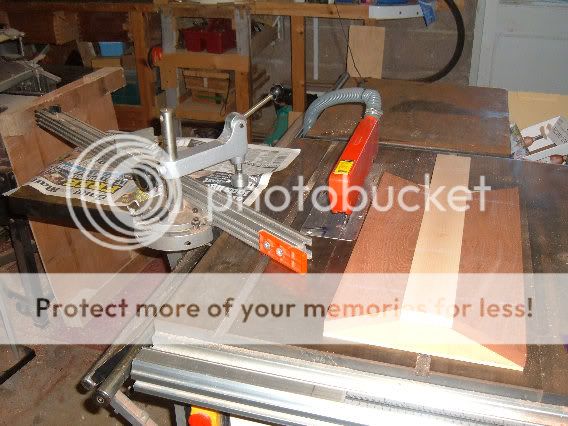
Got the sliding table out from storage, first time it has been used in anger, top was rusty so cleaned up and laid some newspaper to protect surface of timber. Must have been two hours setting it up, finding all the bits etc.
Cut four angles on the sapele.

89w.jpg


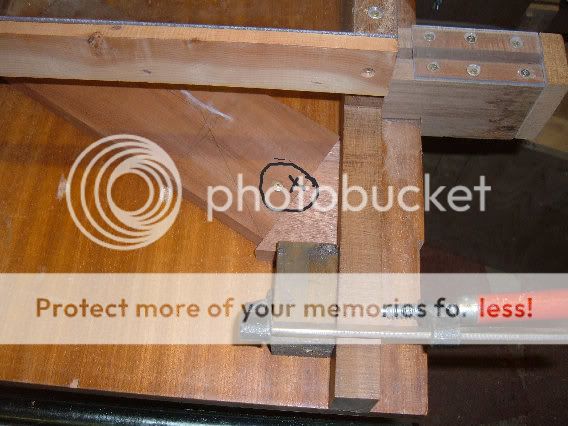
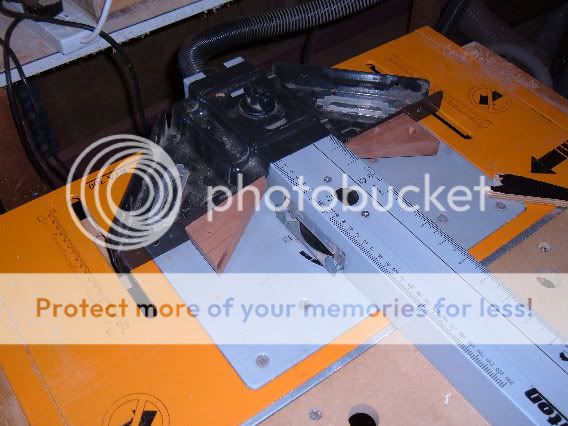
The sliding gear only swings to 45% so cut the angles on breadboard ends on my sled and screwed the timber to the sled as per picture.

90w.jpg


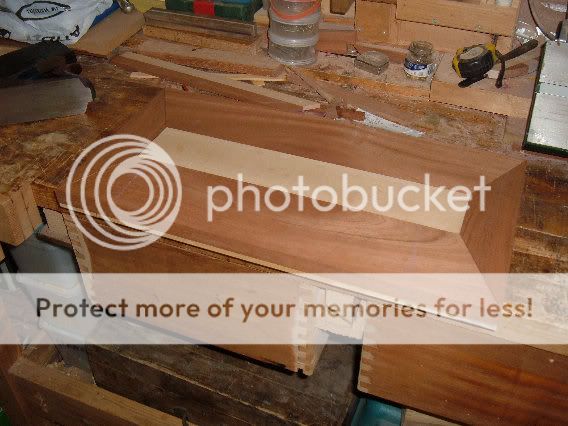
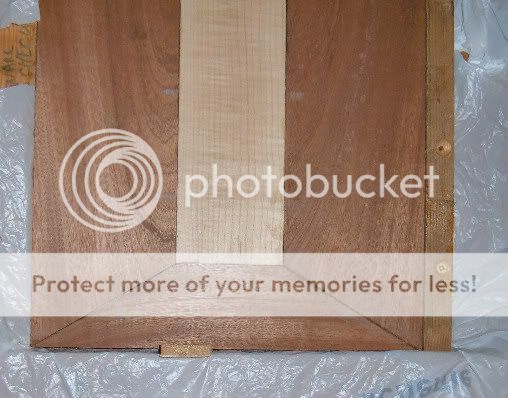
Top fits together reasonably well, might do some hand planing, then biscuit boards together.

91w.jpg
 
Thanks pita :)

The brown stuff fits ok, its the maple that is going to need planing to fit.

Should only take a few minutes longer in the shed today.

92w.jpg
 
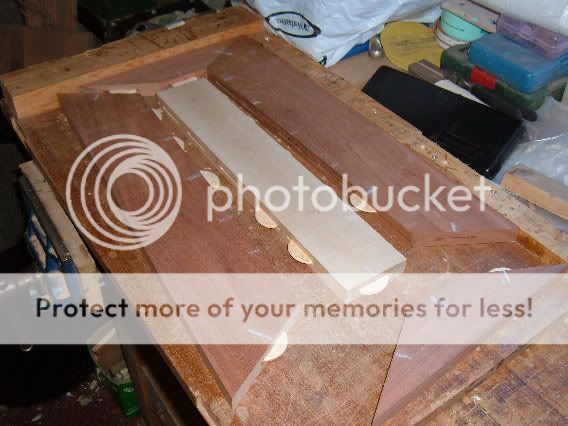
Put the biscuits in using my Triton router table and biscuit attachment.

93w.jpg


94w.jpg


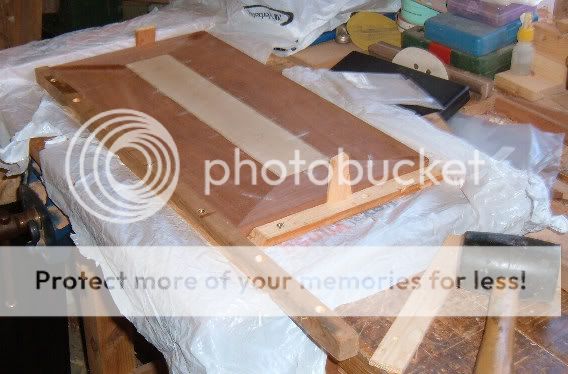
Glued up the tabletop and whacked in a couple of wedges to tighten joints.

95w.jpg


But unfortunately when I looked in on the tabletop two hours later a joint has sprung. I think I made a mistake of only using one wedge each end and I should have put at least four wedges in to keep tensions equal.

97w.jpg


So going to purchase some of that stuff called plastic wood, my woodwork teacher 60 years ago recommended it on some mortises I did for a picture frame.
If that doesn't work I will cut of ends and have straight breadboard ends.
Any suggestions welcome.
 
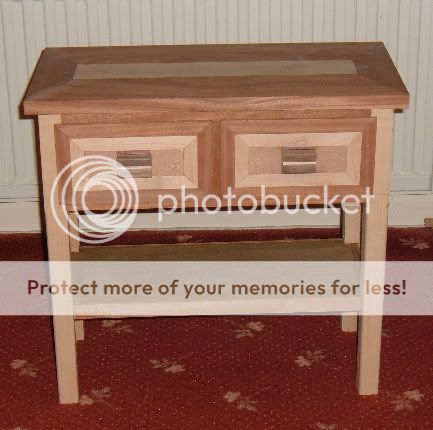
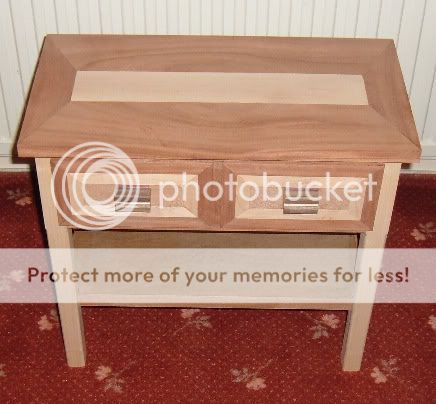
Here the project finished but the top has not been fixed to carcass until the problem of end joint as been resolved.

99w.jpg


Today I am going to attempt to fill gap with plastic wood and see how it turns out after a couple of days. If still a problem I might cut out the cheek on the bandsaw and try to infill with a new piece. Otherwise I shall chop off both ends and fit straight end pieces.

Keeping my fingers crossed.
 
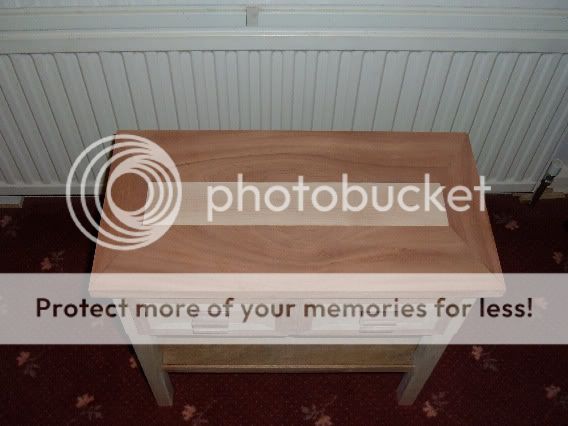
Looks ok to me, put some plastic wood in the joins and sanded down top, leaving again for a few days before deciding on finish.

100w.jpg


101w.jpg
 
Back
Top