laptop and console stand

UKworkshop.co.uk

Help Support UKworkshop.co.uk:

This site may earn a commission from merchant affiliate links, including eBay, Amazon, and others.

devonwoody

Established Member
Joined
11 Apr 2004
Messages
13,493
Reaction score
25
Location
Paignton Devon
Dave R of USA is drawing up the final making up diagrams of a stand to store laptop and also called a console stand.

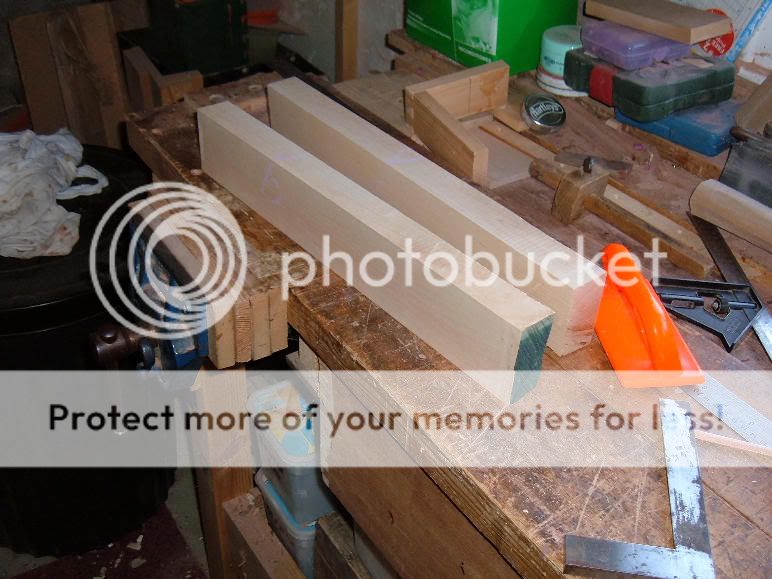
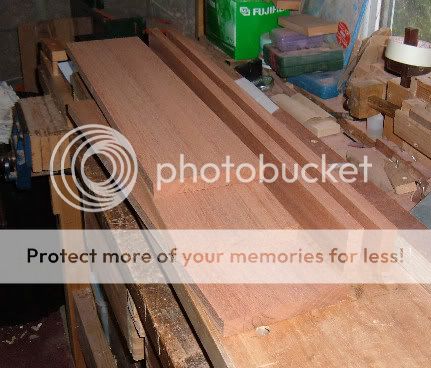
Timber obtained today. some 75mm thick Canadian Maple which has a moisture content of 11 percent, so should be ready for immediate use. I think it is also suitable to be quarter cut to make boards for the top.
I would still like to contrast the maple with either Sapele or the black walnut also obtained has a reject piece at the same time as Maple.
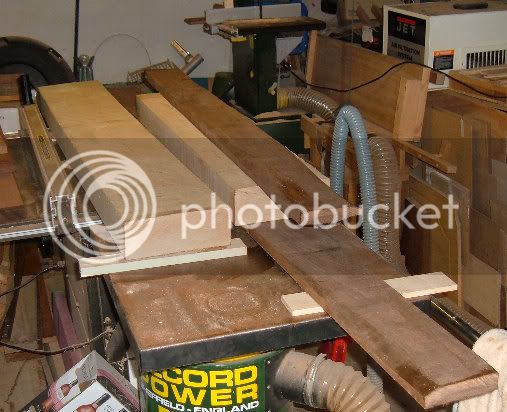
1w-4.jpg


What advice can you give re contrast edge for the top?
 
I've seen something that was made with Maple and Black Walnut and it looked really nice.

DW, whats up with your grammar today? You sound almost foreign?
 
Chems":y6fzfbln said:
I've seen something that was made with Maple and Black Walnut and it looked really nice.

DW, whats up with your grammar today? You sound almost foreign?

Tired, I had to crosscut that Maple with a blunt handsaw to get it in the car. :)

Or if you mean my gramma, she died 30 years ago. :wink:
 
Chems":lo0ig0kk said:
DW, whats up with your grammar today? You sound almost foreign?

Well, he says he's been in discussion with DaveR from over the pond - is that foreign enough for you? :D

I also find walnut can work very well as a contrasting timber. Sometimes, sapele is a bit too 'red' and bright. I find walnut to be warm and more subtle. :)
 
Personally I don't think the sapele would complement the maple too well, I have a board of each stacked next to each other in the store and I'm not getting anything from them.

If you have ABW then I think that would work well, as would cherry, my shaker hall table was in maple and american cherry, also did a jewellery box in cherry and maple.

Bet that 75mm maple set you back a few quid though
 
devonwoody":2vnpcohn said:
Tired, I had to crosscut that Maple with a blunt handsaw to get it in the car. :)

That'll do it!

I look forward to seeing a large scale DW project!
 
Chems":e2zyxsj0 said:
devonwoody":e2zyxsj0 said:
Tired, I had to crosscut that Maple with a blunt handsaw to get it in the car. :)

That'll do it!

I look forward to seeing a large scale DW project!

I forgot to mention that the timber straddled across my knees whilst I cut that metre off. :)
 
Project delayed, a neighbour told the wife about a special offer on at the local supermarket. :) (So had to do the weekly shop and 10lbs. of rump steak now in freezer).

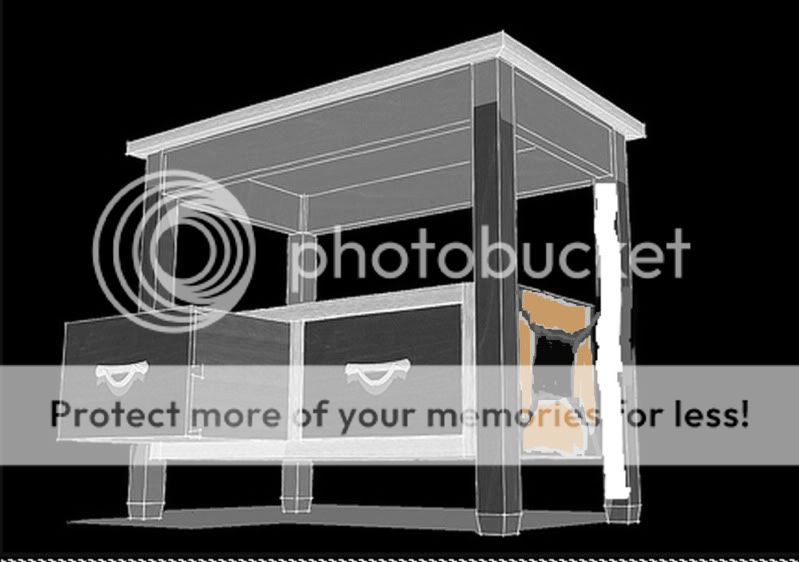
Decided top and lower shelf will be to the design shown below.

2wtopandshelf.jpg
 
Using a sketchup drawing sent me by Dave R.
I am going for the box idea set between legs with some slight modifications. The box will fit inside the legs and the box top will have the same design on its top surface also side panel.

3w-4.jpg


I have had some consternation re the design, having the drawers set at lower level, all console tables in woodwork books have drawers under tabletop.
However, laptops were not around when those books were printed so I feel I can break with tradition.

Any advice and comments welcome.
 
Trying to get my head around how this will work, I assume the drawers are just there for storage space and are not connected to suing the laptop. My question would be where will your knees and feet go, you won't be able to sit close to the desk so will end up sort of hunched and stretched - if that's possible!
 
Dont be concerned Ironballs the lady uses her laptop in her reclining chair and when finished stores the laptop on the shelf below and I display my boxes on top .

However after DaveR gave me the cutting list and calculations I find the weight of the piece is goint to be over 28lbs. which is a bit of a shocker because it is needed to be mobile, so went and sourced some castors.;
 
Got started on construction this afternoon, just a couple of hours.

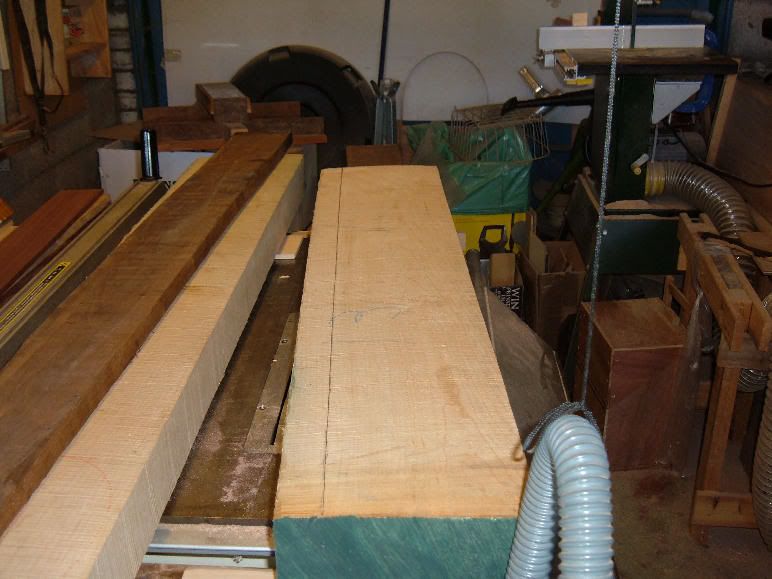
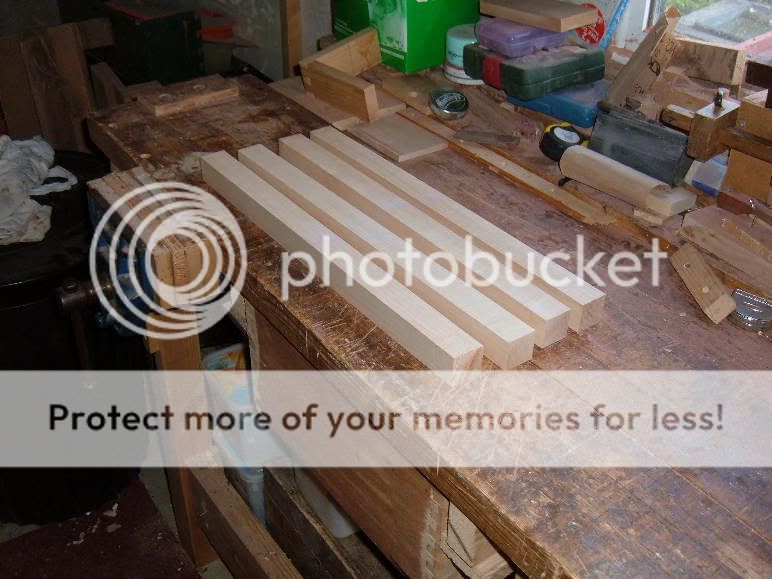
Put a cutting 39mm line down the maple for the 4 legs.

4w-4.jpg


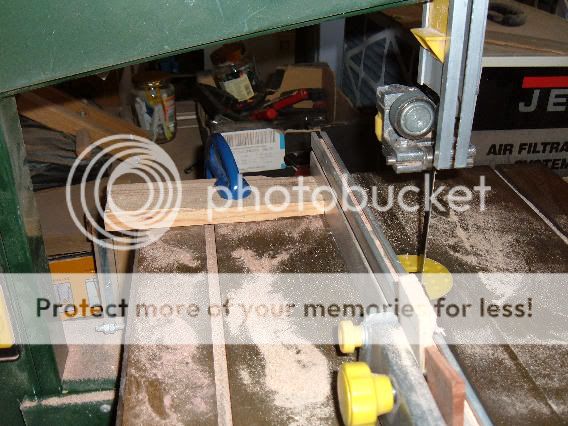
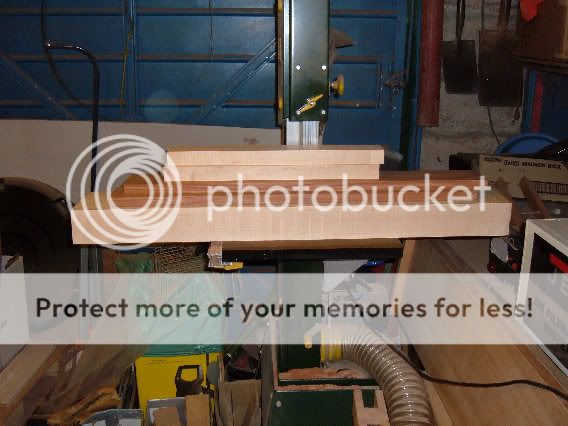
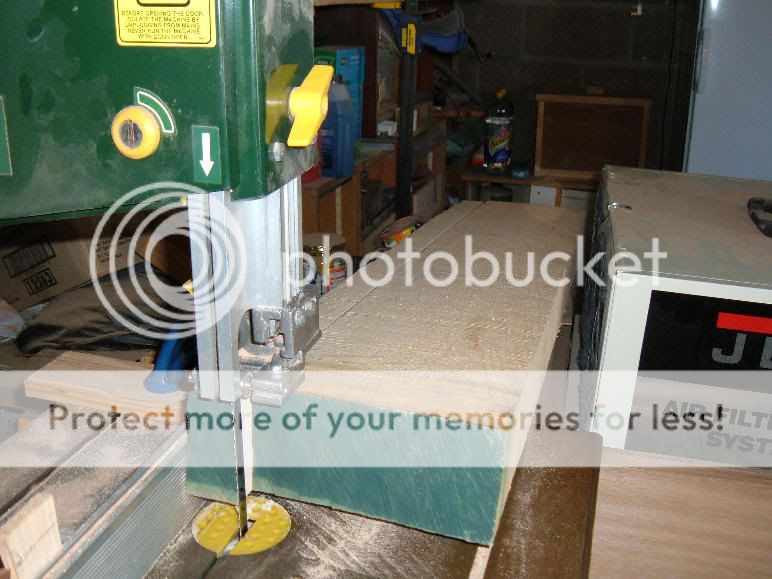
This timber is heavy (weighs around 47lbs. per cu.ft) so I supported the bandsaw fence to stop the fence drifting because of weight.

5w-4.jpg

Its also very dense and slow cutting but got a nice rip on the bandsaw.

6w-3.jpg


chopped the timber down to leg size and then put to the planer.

7w-3.jpg


Thicknessed the four legs to 1 5/16ths" so have got underway.

8w-3.jpg


Next job is to commence making a box arrangement to accommodate drawers.
 
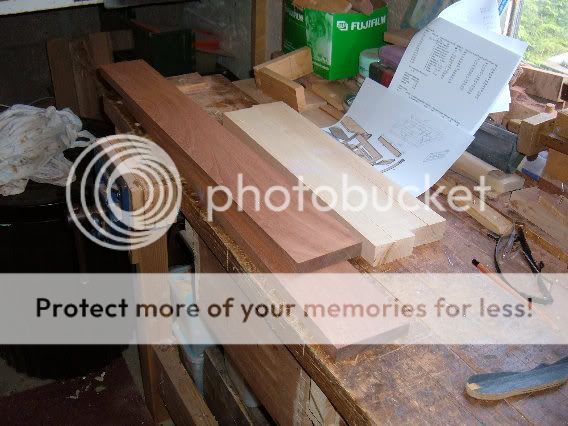
Colour change in mind, decided to use sapele for the main colour on top with maple insert.
The original colour idea doesn't co ordinate with other furniture in room.
 
Come to a halt.

9w-3.jpg


There is around 6 board feet over half a cubic foot of timber involved with the three surfaces top and bottom and is going to be to big a lump for such what is needed as this furniture piece.

This amount of timber shown does not contain all timber needed.

10w-4.jpg


So going to drop the existing drawer design and have another think.
 
OK, I have reduced the weight of the stand by around 20lbs by eliminating the box structure that was to accommodate the drawers, the laptop will store on some stretchers where original drawers were positioned. (the wife loves hovering and I didn't want the job of having to move furniture for her every day :wink: )

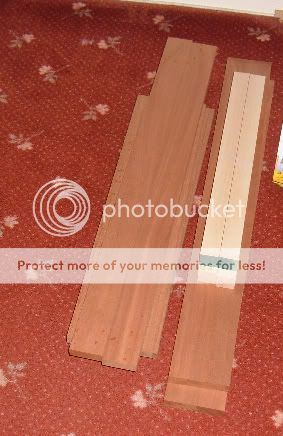
Got nearly all the dark timber (sapele) machined, white drawer fronts and a contrast white piece on table top still to prepare.

11w-3.jpg


dug this piece out of the scrap box and glued up, I hadn't got the heart to break into a big slab of sapele for this small piece.

12w-2.jpg


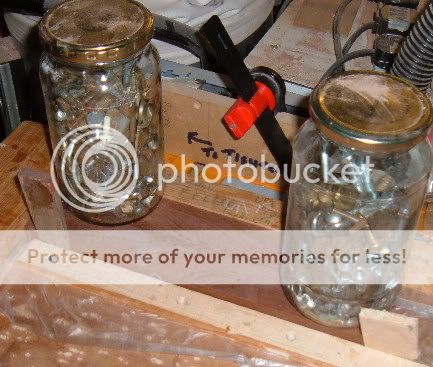
Brought the machined timber indoors out of the rain to keep it happy and don't want it to go stroppy on me.

13w-2.jpg
 
DW it's always worth chopping off the painted section of the board before moving to machining, the paint can be very hard and sometimes has foreign objects stuck to it, both of which are bad news for planer blades

Moving along nicely though
 
Ironballs thanks for the tip, (I shall need some more btw looking at the drawings) there is some wastage on those white bits fortunately, they are left on because I am inclined to have the dropsy and damage good ends. (also there was around 6 mm to spare on the board length)
 
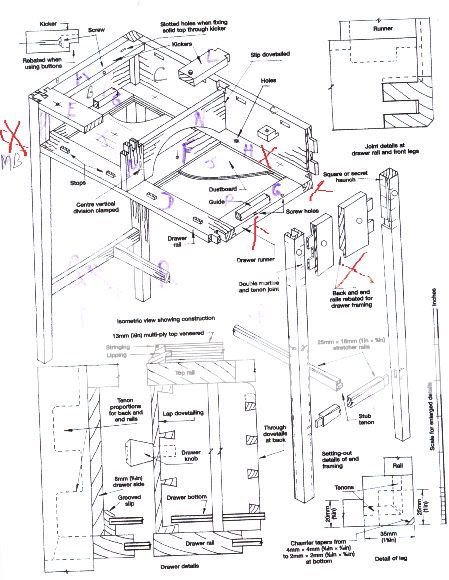
maindrawingpsp12w.jpg


As previously mentioned I have not done any carpentry of this kind for a few years and I have come to my first problem studying the drawing above.

I have marked with a red cross, they have created an angle at this rebate and I ask your advice, how do I produce this angle on the end rail (the one with the large double tenons? Also I assume I shall have to carve this angled rebate into the leg.

Is there another way perhaps?
 
I'm not sure what you mean about the angle, it all looks like 90 degree joints to me - very similar overall design to the table I built last year
 
Ironballs":gj1yaabr said:
I'm not sure what you mean about the angle, it all looks like 90 degree joints to me - very similar overall design to the table I built last year

Ironballs the underside of the three rails has a rebate but it is not a square one. Where the two red crosses show on the plan there is definitely an angle not square edge. the right hand end piece with the tenons on the book drawings definitely has an angled rebate on it bottom edge.
The order of construction in the book also refers to this angled edge. No instructions on carpentry however anywhere in the article, only suggests a balsa wood model is made.

Edit,, it appears the leg taper might be taking some carpentry?
 
Back
Top