Kitchen dresser

UKworkshop.co.uk

Help Support UKworkshop.co.uk:

This site may earn a commission from merchant affiliate links, including eBay, Amazon, and others.
Status
Not open for further replies.

MikeG.

Established Member
Joined
24 Aug 2008
Messages
10,172
Reaction score
704
Location
Essex/ Suffolk border
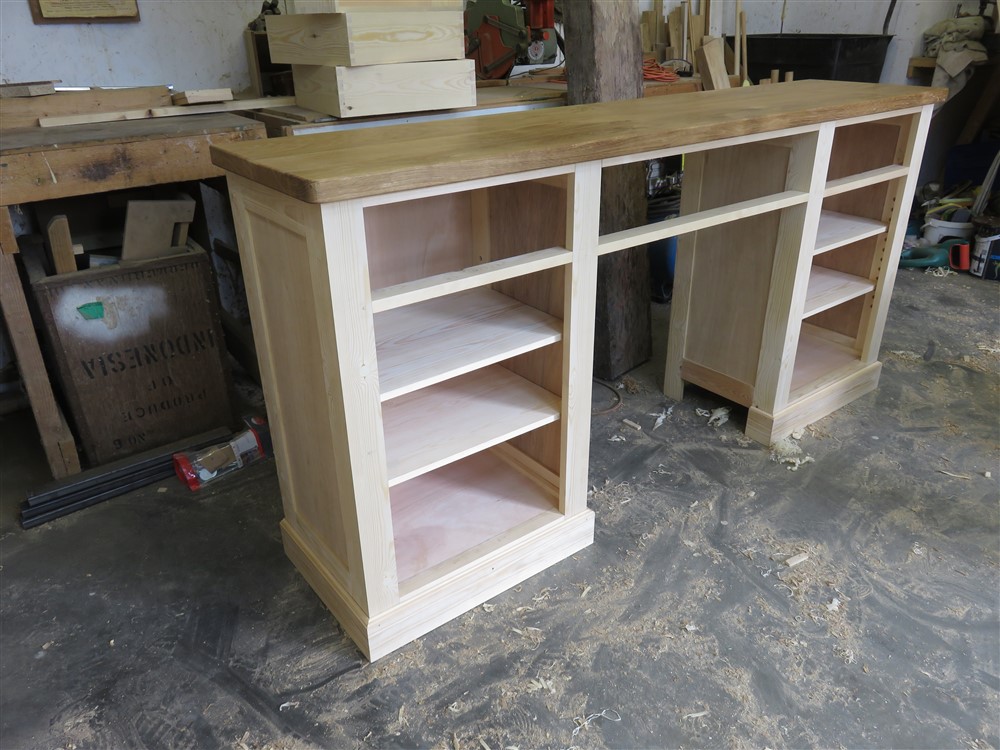
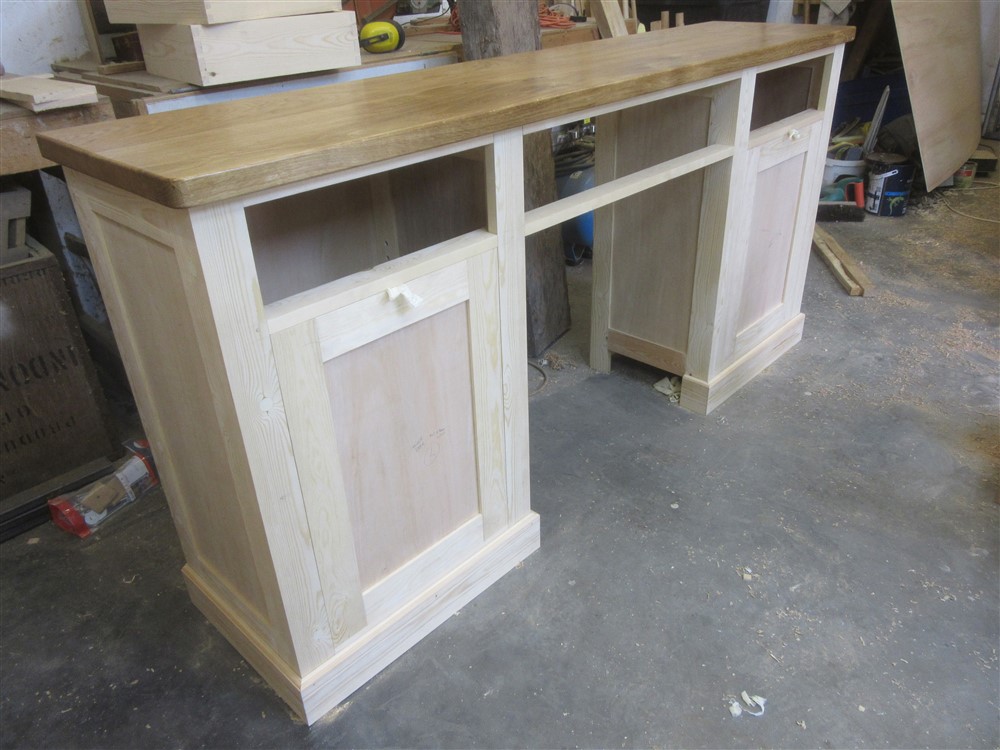
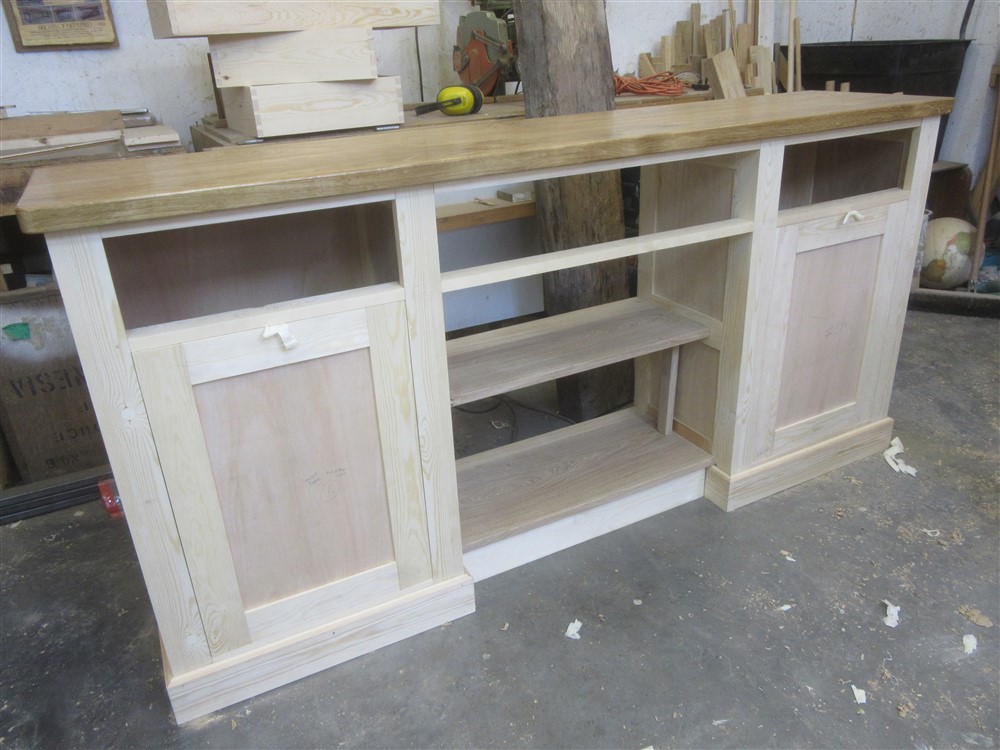
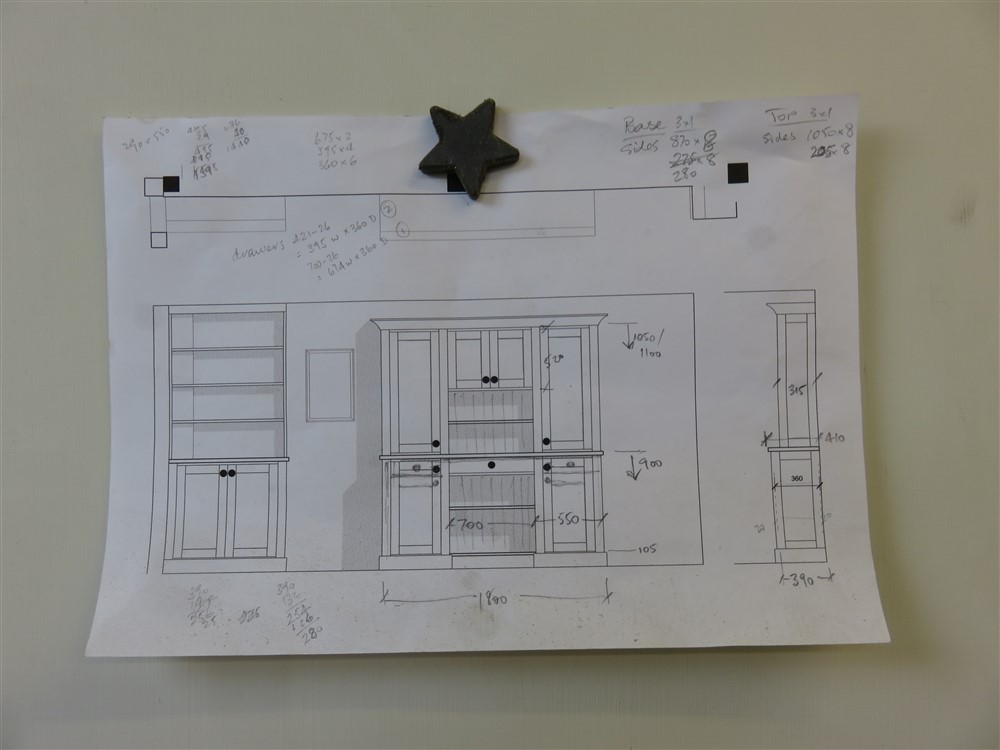
I've had a really bad back for a few weeks, so the various jobs that I've wanted to do have been on hold, and I have tottered out to the workshop now and then to plod on with an easy filler of a job..making a new dresser for the kitchen. This will be a 6 foot long dresser with upper and lower doors, some open shelves, and some drawers. It will be a mixture of oak and painted timber, and all of the structure is pine and ply Here's the drawing on my workshop tool cabinet door:
Ffmz6BA.jpg


You can see that the two outer parts of the upper part of the dresser sit directly on the worktop.

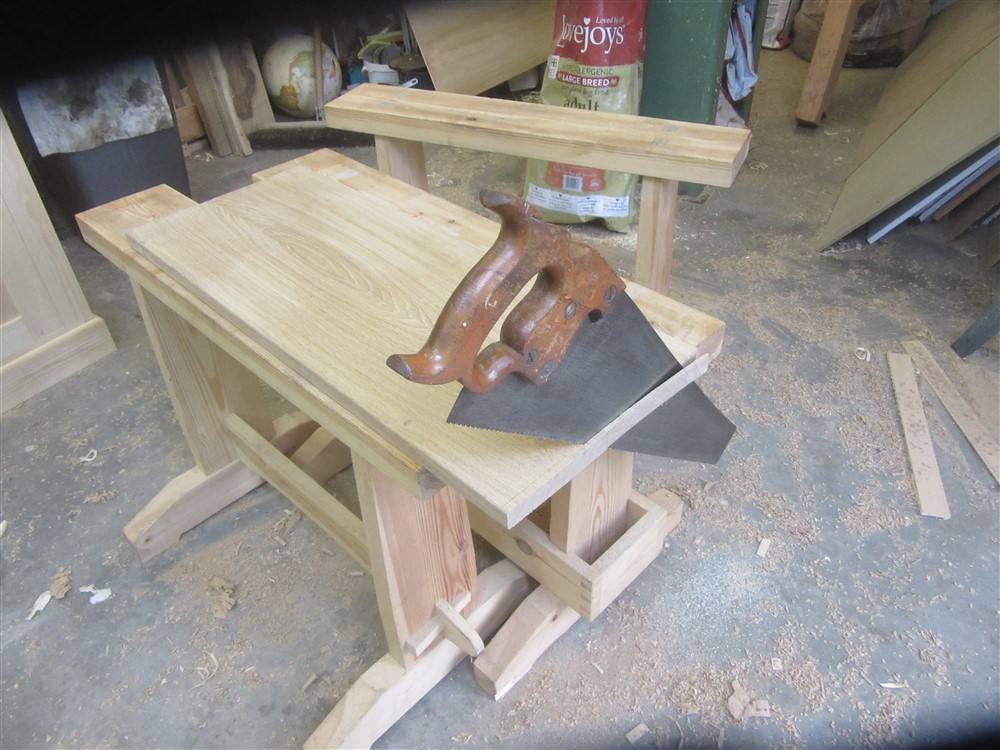
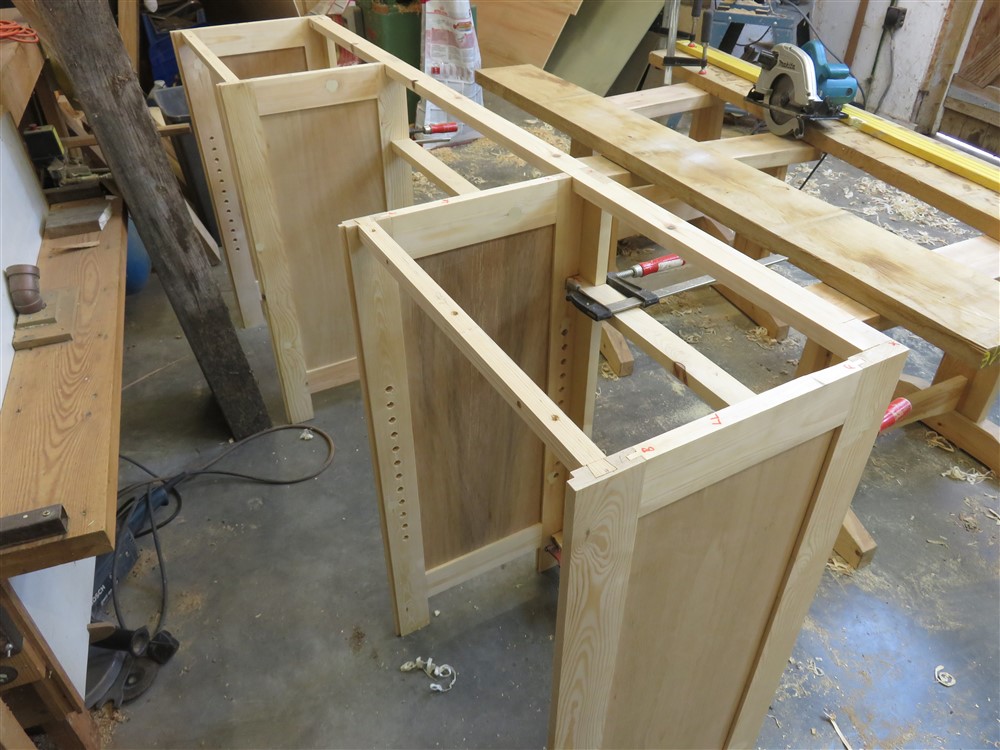
I didn't take many photos to start with as it is just cutting to length, putting in a groove, and making some little tongues. Standard paneling. Here's about the earliest:
RY0a7V1.jpg


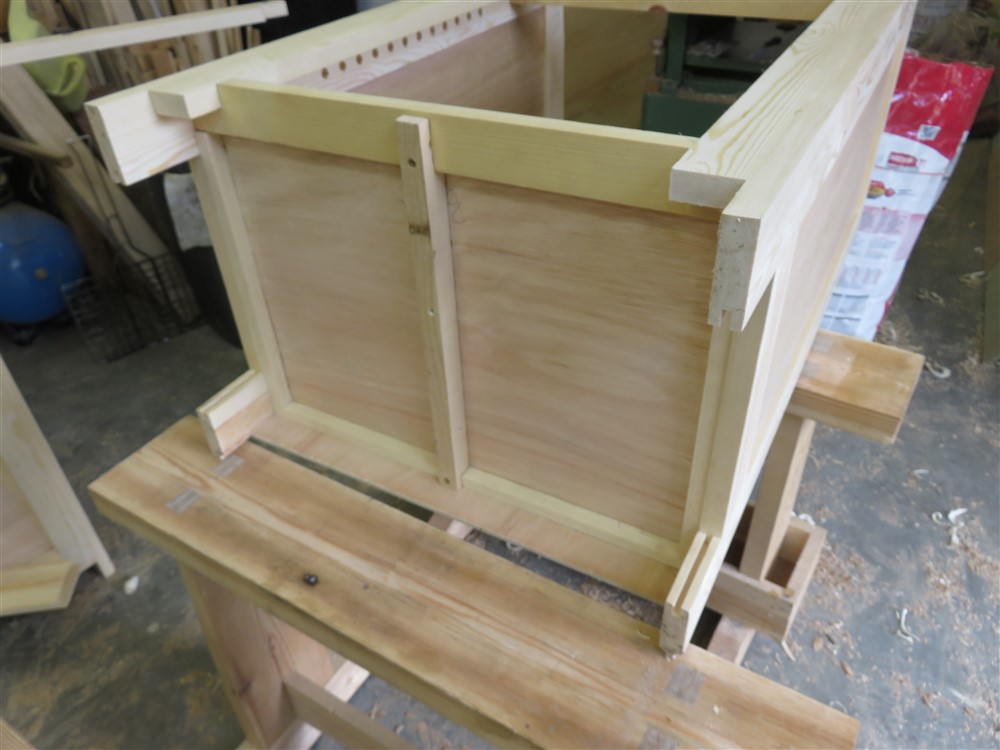
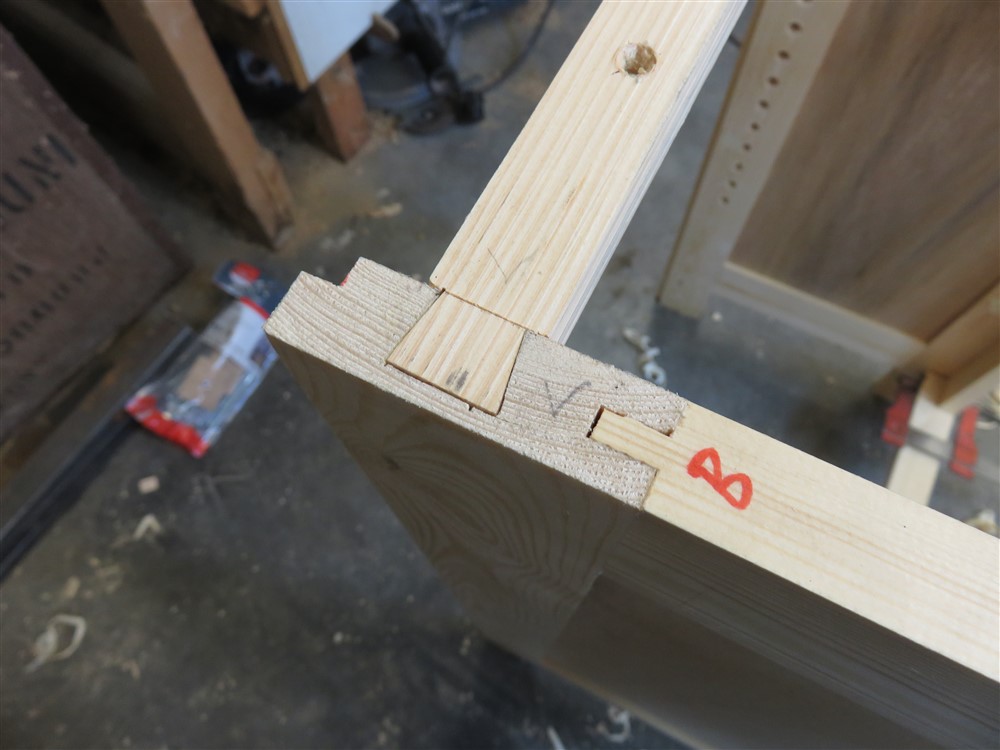
There's a little rail at the back to set the panels the right distance apart:
qOOUHQK.jpg


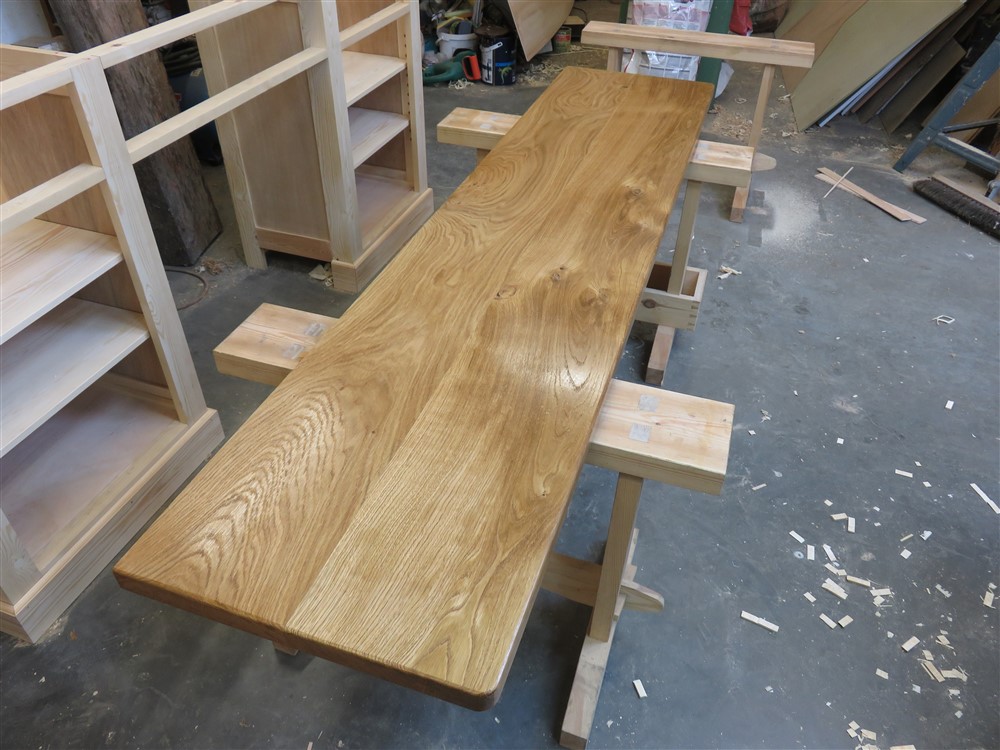
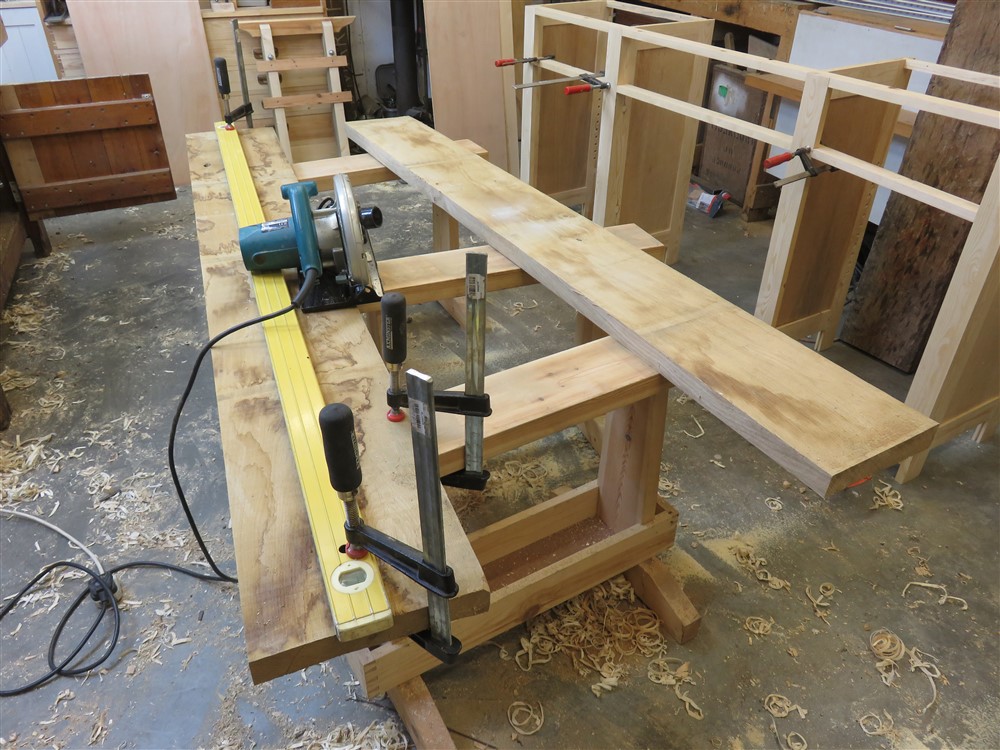
I had some 40mm oak planks, which I ripped to width:
3k06oVe.jpg


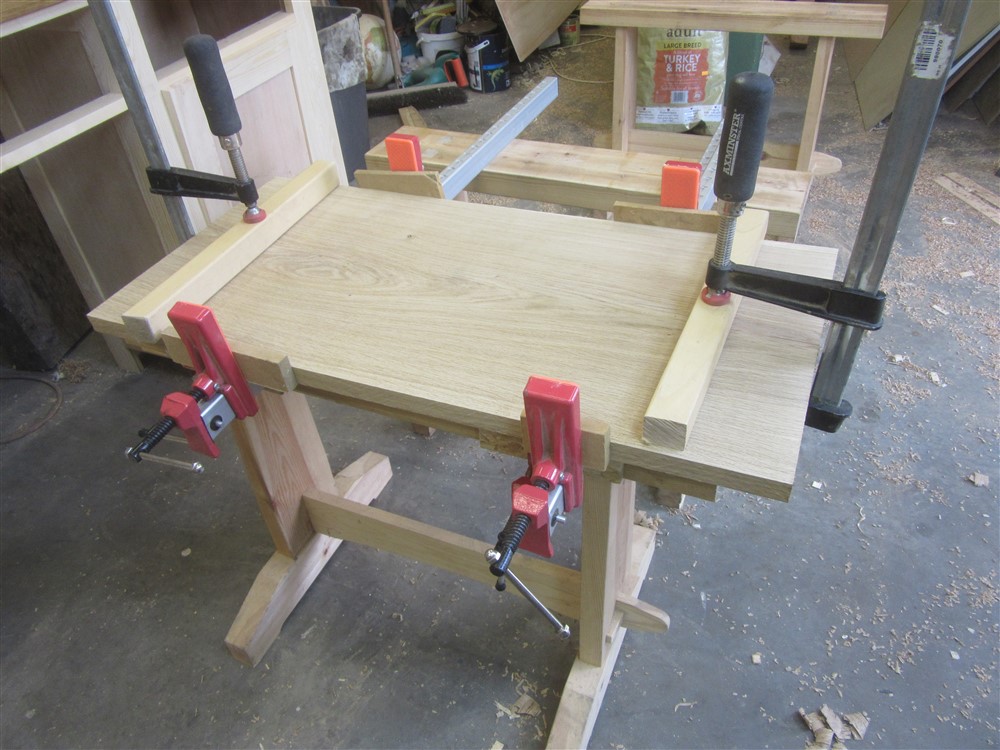
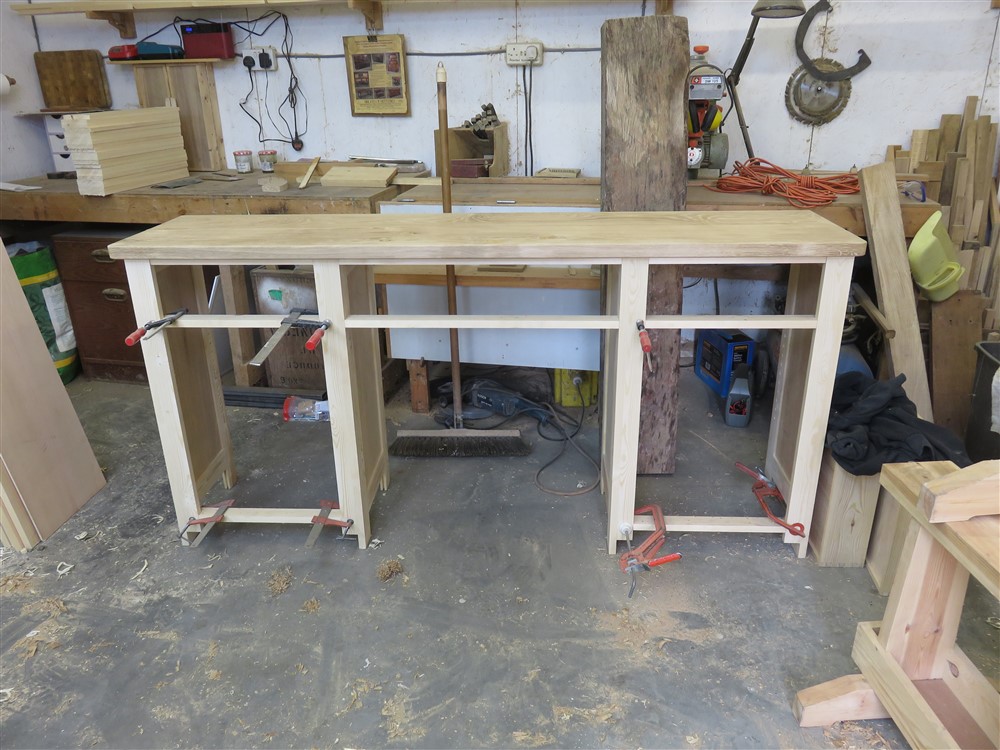
They took a bit of flattening as they were quite twisted, and too wide for my thicknesser. Hand planing wasn't great for my back, but they glued up nicely:
LBWxiFe.jpg


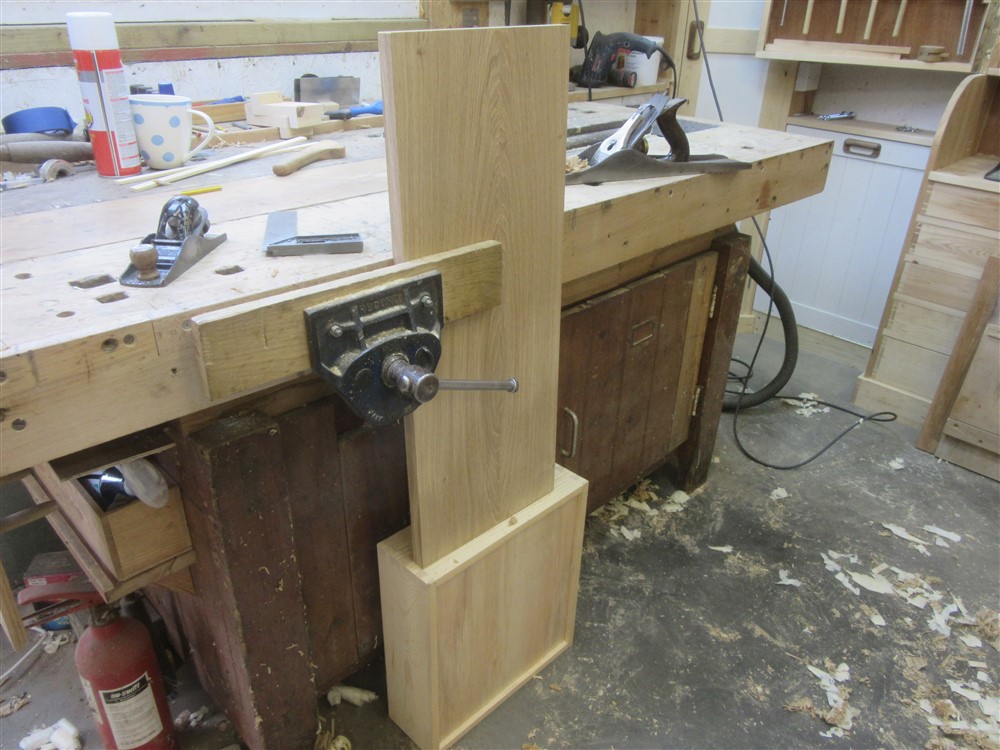
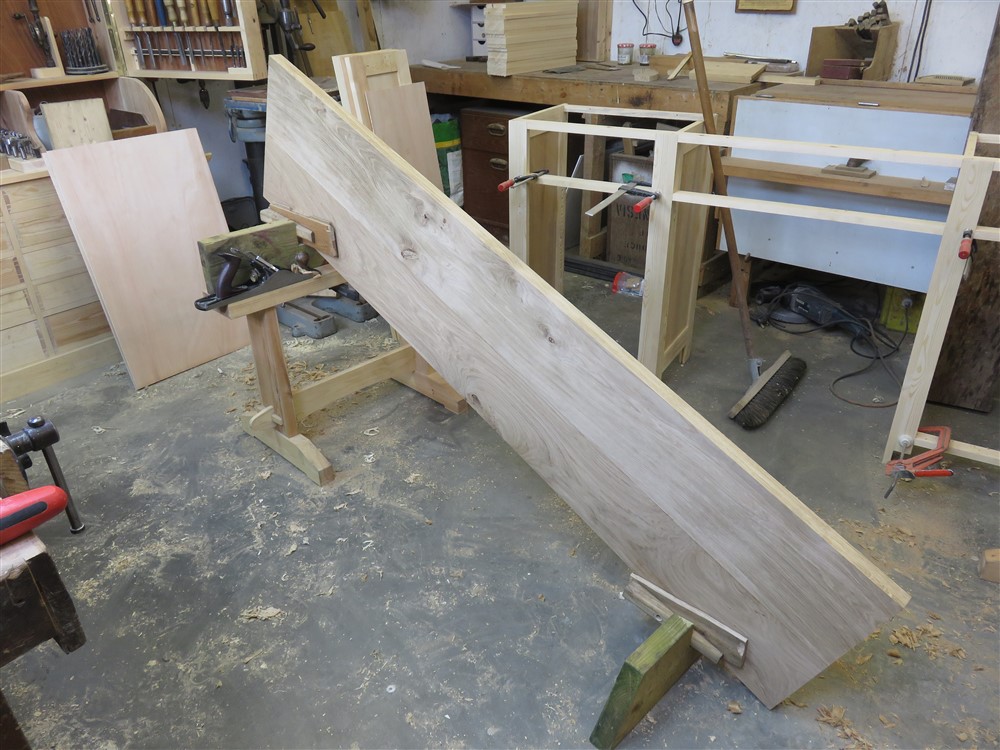
This is my door-holding jig pressed into service to hold the piece whilst I planed the end grain:
JwpEJ00.jpg


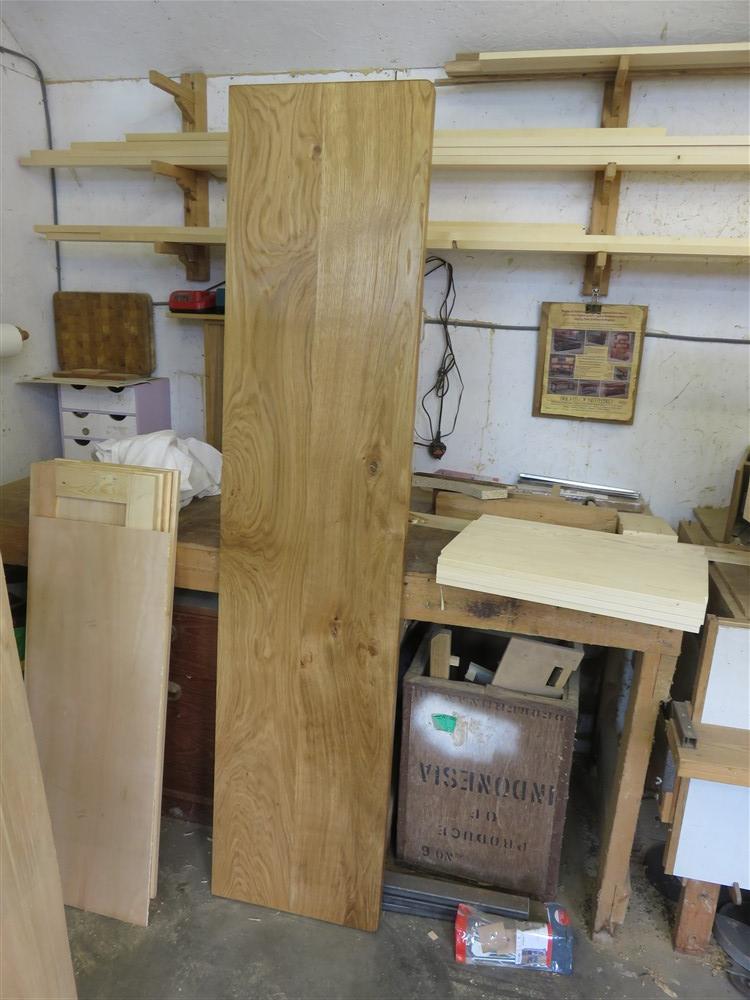
So far, it's had a couple of coats of oil/ thinner/ varnish mix, wiped off quickly:
B0Bwoub.jpg


8AAuSnN.jpg


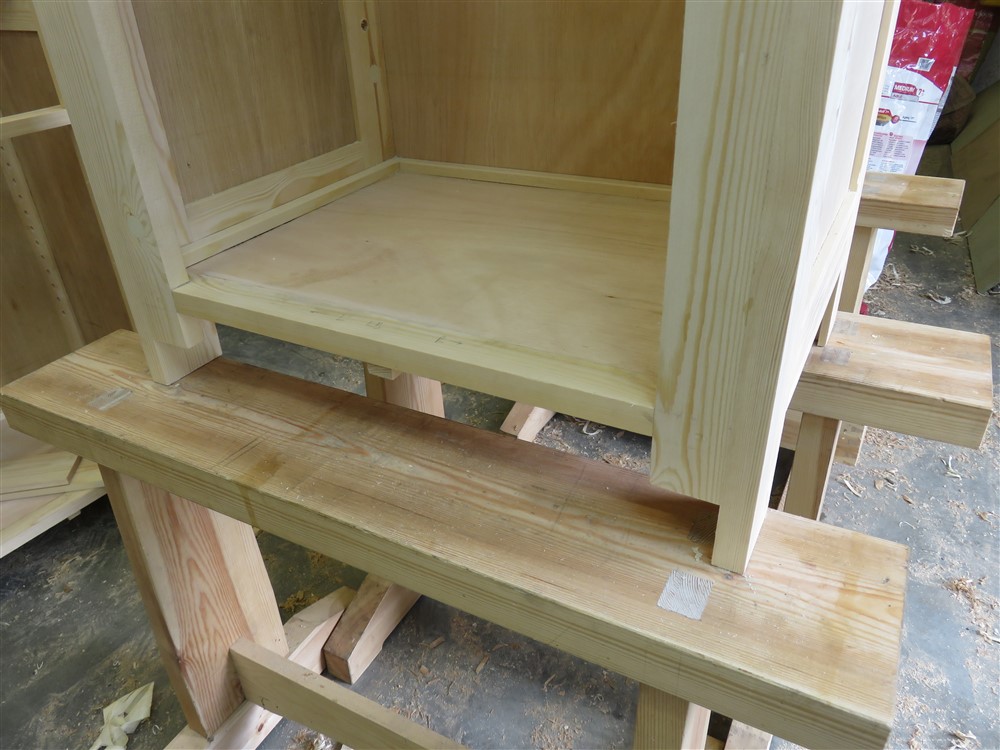
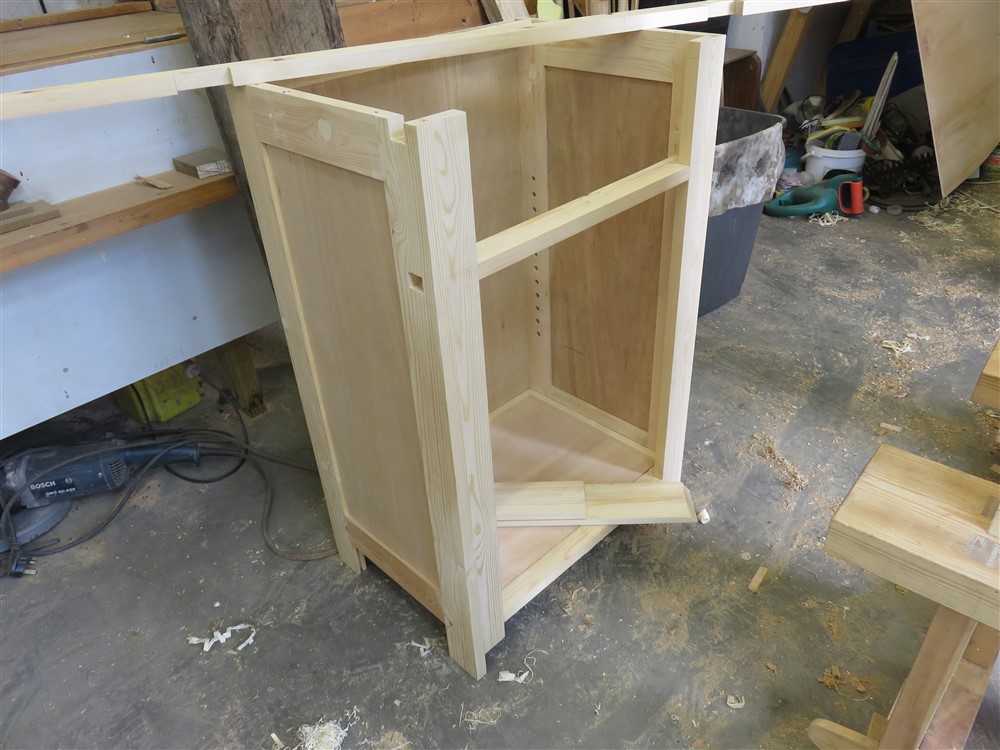
Back to the cabinets. After gluing them up, I inserted a ply floor:
BD0AkyF.jpg


isfbJH2.jpg


aSlg3su.jpg


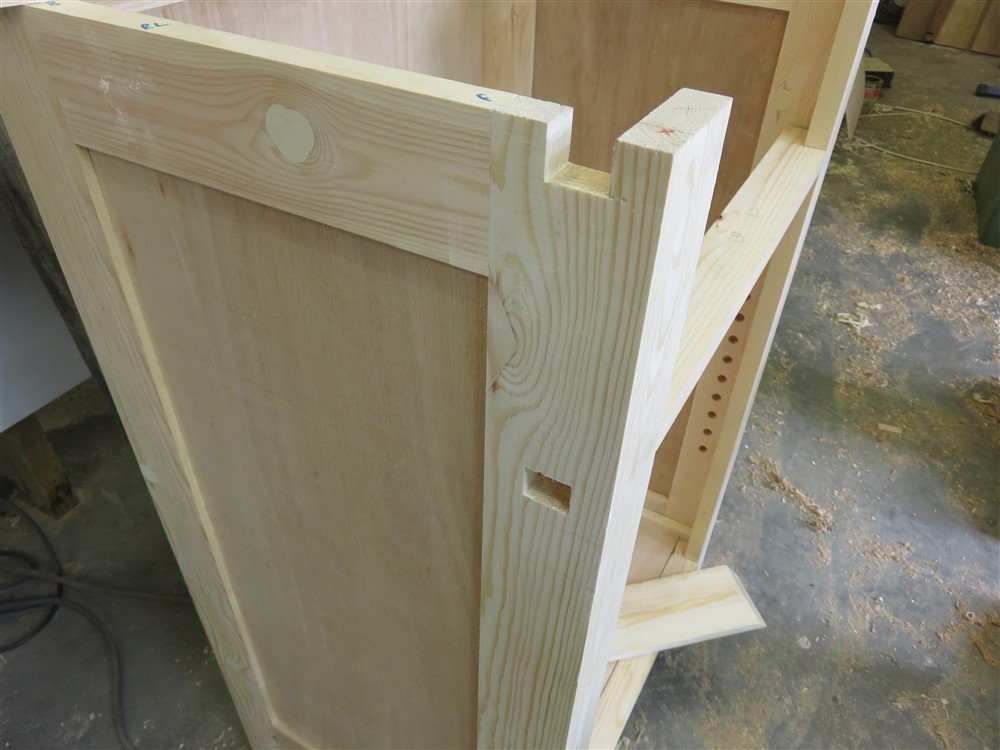
Here are a couple of the joints which will hold the whole thing together:
AVKlt9V.jpg


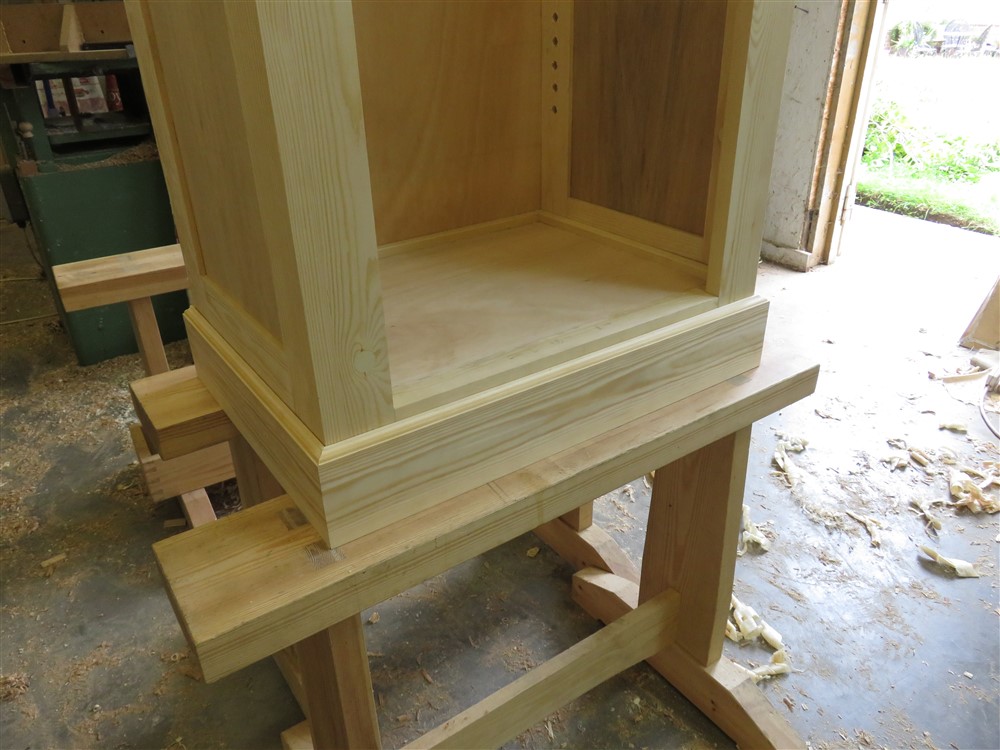
I cut a moulding on the top of some 95 x 18, and then mitred them to form the skirting:
n9UlaMg.jpg


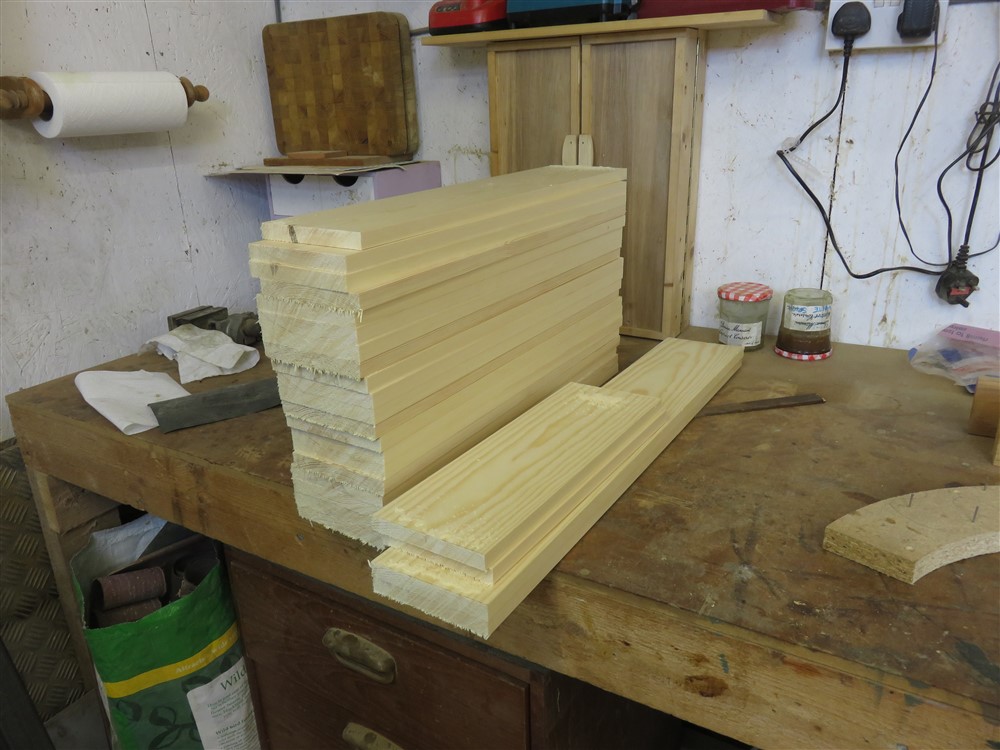
I cut lots of bits of 18mm stock (all sawing is by hand, BTW, as I can't get to my RAS, and it makes a mess anyway):
2WB0h8V.jpg


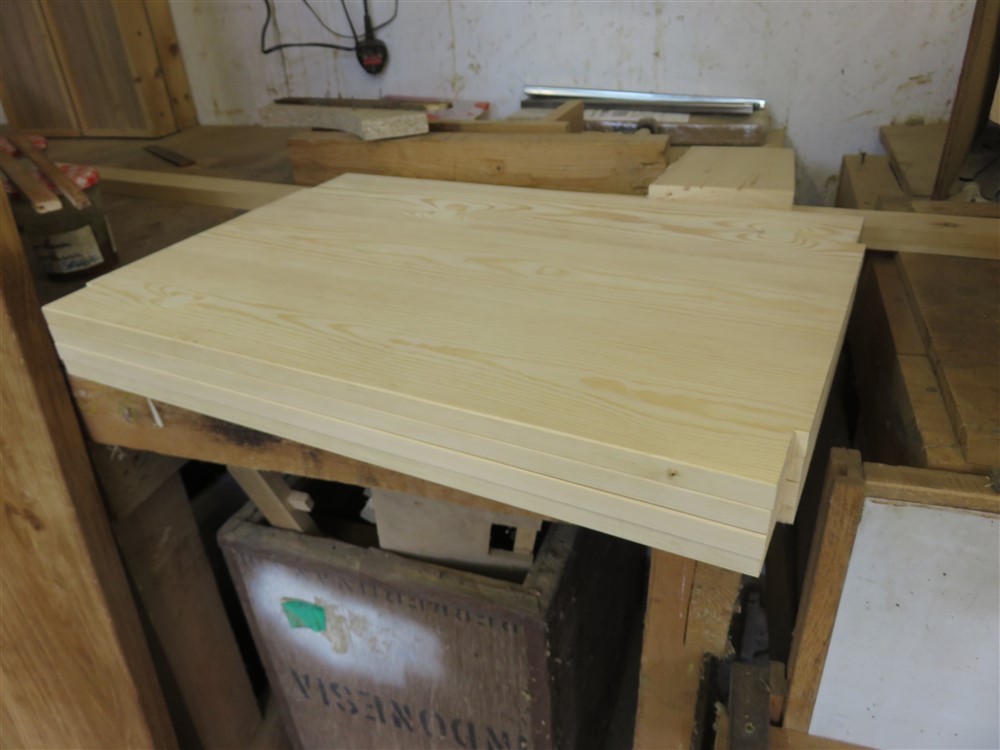
Then glued them together to form some shelves:
LP295sE.jpg


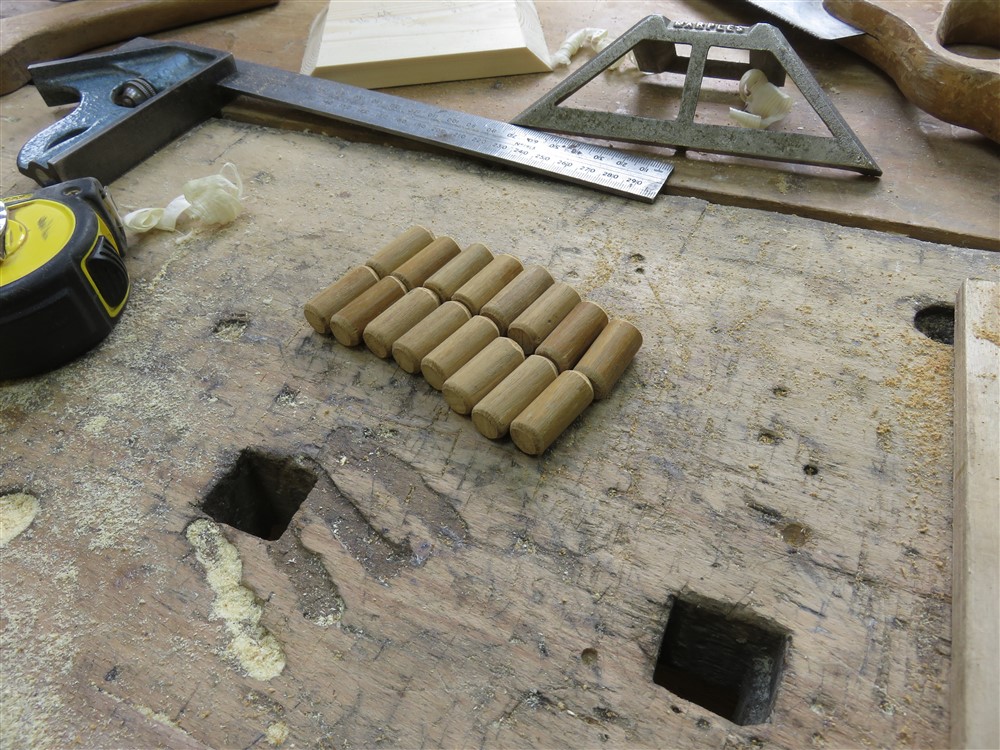
I had drilled lots of holes in the frames before assembly, so now I cut lots of bits of dowel to 30mm lengths to act as shelf supports:
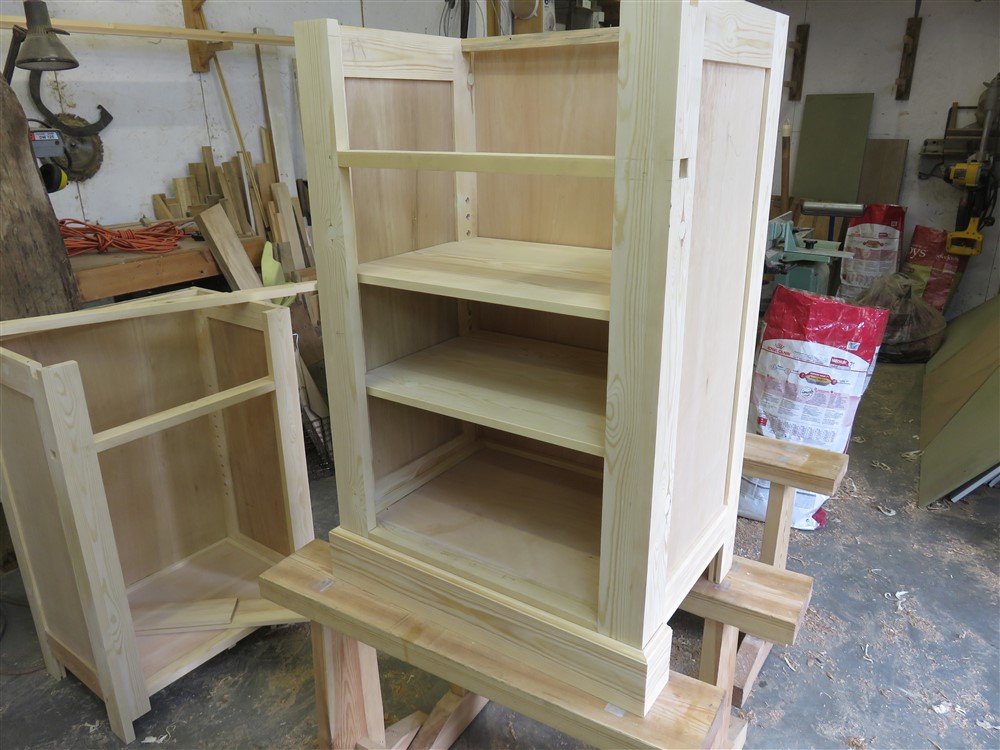
4nc2Duq.jpg


FM5IbC5.jpg


pzG61ct.jpg


Sometime back in the process I had made some drawer boxes. These will have some fronts planted on, and being a kitchen, they'll have runners:
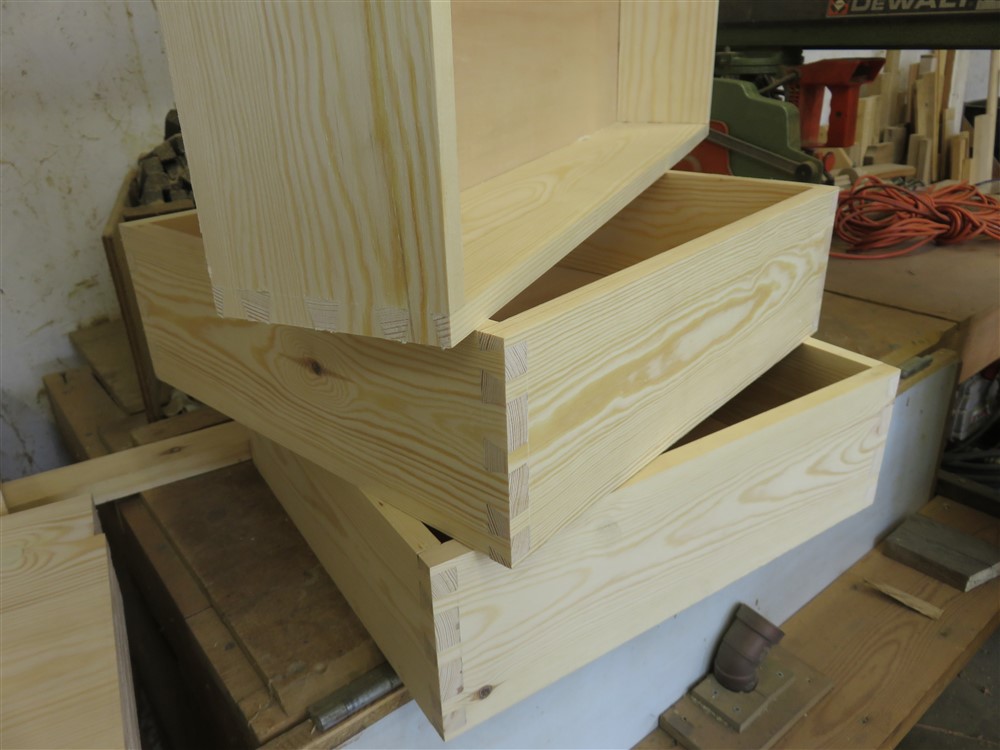
nJ6nbrX.jpg


Finally, I cut out some 70 x 20 for the lower doors:
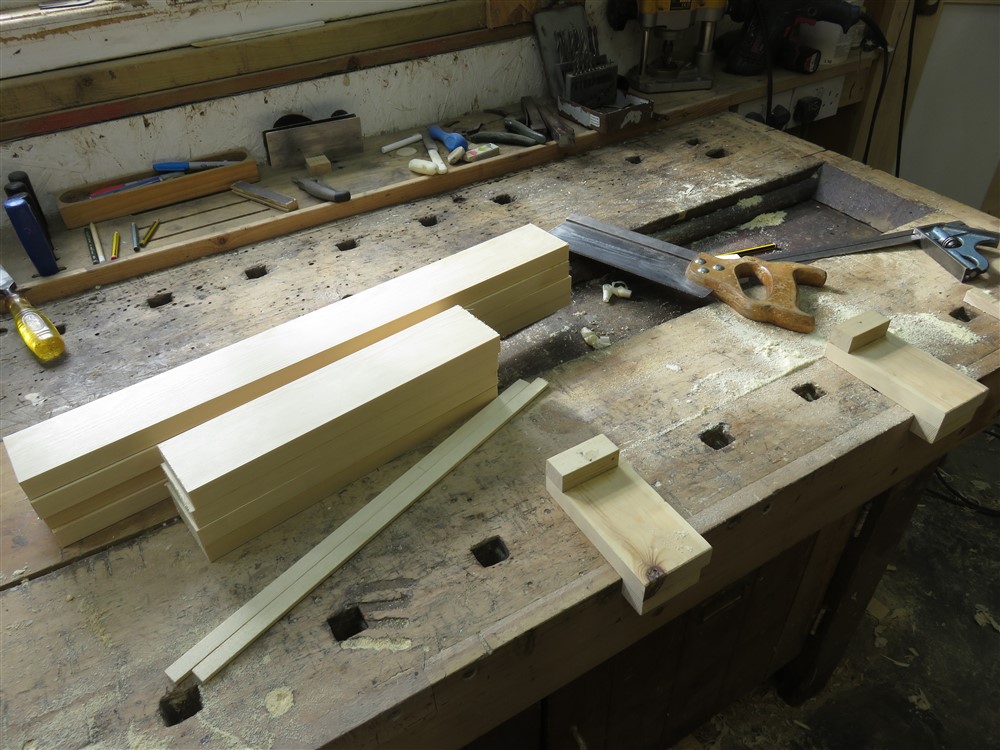
1loyqr3.jpg


That brings us about up to date. I'll update more regularly now that I've caught up.
 
Last edited:
You really annoy me Mike. You keep churning stuff out at lightening speed, even with a bad back. This is just not on.

I've always liked freestanding kitchen furniture. Very nice job there and tidy work.
 
I'm after suggestions for a little detail which has me bothered. At the bottom of the upper units, where they sit on the oak worktop, I am not sure whether to have the worktop on show inside the cupboard, or whether to have a bottom shelf at the base of that unit. I'd like to see the oak, but that would leave the sides of the unit unrestrained. What would you guys do?
 
I'm after suggestions for a little detail which has me bothered. At the bottom of the upper units, where they sit on the oak worktop, I am not sure whether to have the worktop on show inside the cupboard, or whether to have a bottom shelf at the base of that unit. I'd like to see the oak, but that would leave the sides of the unit unrestrained. What would you guys do?
You could always fix the bottom of the upper units to the oak with sliding dovetails? That would restrain the upper units and allow for the tangential expansion, but i would hope the longitudinal expansion would be minimal? The differential expansion of the two different materials along the sliding dovetail could be taken out by stopping the sliding dovetail short to the front face so that an inch or so of the upper unit is just sat on the surface of the oak, thus hiding any signs of the sliding dovetail? I’m no expert, but that’s what i would consider doing
 
I like the idea, but.......... I guess the thought of hacking 4 channels out of that nice oak worktop is a step too far for me. Whether I or someone else would ever use this unit without the top parts I don't know, but they certainly wouldn't if I cut sliding dovetails. I'll have a think.
 
I like the idea, but.......... I guess the thought of hacking 4 channels out of that nice oak worktop is a step too far for me. Whether I or someone else would ever use this unit without the top parts I don't know, but they certainly wouldn't if I cut sliding dovetails. I'll have a think.
It would be a shame to cut into the oak... but on the other hand a sliding dovetail would also help prevent the risk of the top bowing or warping. Otherwise, if you don’t want to penetrate the top face of the oak then you’d have to hide any fixing method of the top to bottom to the rear/wall face. Or maybe you could get away with only a 3” or 4” sliding dovetail to the rearmost portion of the oak, which will also make the upper units more realistically removable too... and maybe then if you don’t want the top units you could have some sort of 3-4” rear plinth detail to fit into those same sliding dovetails.
 
I think in the battle between oak and pine, there is only one winner. If the oak wants to bend, no puny bit of pine is going to get in its way! :)
 
You’ve got a point there.

All you really need is to prevent the upper units from wanting to tip over from being top heavy, so all you really need are small/short steel plates with a screw/fixing to both upper and lower units, probably around these four locations to the rear...

CED51625-1136-4A21-8FDD-00FB54B05A23.jpeg


May not be traditional, but atleast then it’s all the more flexible with whether you keep the upper units in place or not.
 
I am not sure whether to have the worktop on show inside the cupboard, or whether to have a bottom shelf at the base of that unit.

I'm thinking back to antique dressers that I've seen and also more contemporary versions that I've encountered in various workshops. In every case that I can recall there's always been a floor.

Very nice project by the way, kudos for tackling it so efficiently without a table saw.
 
A really interesting project Mike. I can't believe how quickly you get your work done. Puts me to shame with progress on my chest of drawers!!

John
 
No, that's not quite so. I have to prevent movement in the bottom ends of the side pieces which would effect the gaps around the doors.
As long as you have a fairly low shelf which is fixed in place to both side upper units then i wouldnt personally be too worried about the deflection of the side peices. As long as your joinery is robust (which it no doubt would be) then racking shouldnt be too much of an issue either. But i’ve never made a dresser like this before, so cant be 100% certain
 
Much easier to clean without the floor on the top units, that’s how I made some built in units recently, but a very different type of design
Aidan
 
Lovely work. I'm putting a few panel pins in a little voodoo doll each day, so it's good to see that it is slowing you down a tad... ;)

More seriously, we have a quite nice, commercially made dresser which is smaller than yours but structurally similar, though the upper part has a glazed cupboard rather than shelves The ends of the sides of the upper unit sit on top of the worktop without a bottom shelf but with a pair of intermediate blocks with the grain running side to side, a bit like brick footings. There are steel connecting plates at the back. And I am pretty sure there are some dowels in the ends of the shelf sides to provide positive location. I'm away from home at the moment but will post some pictures in a few days if you want. Plenty stable, but not fussy.
 
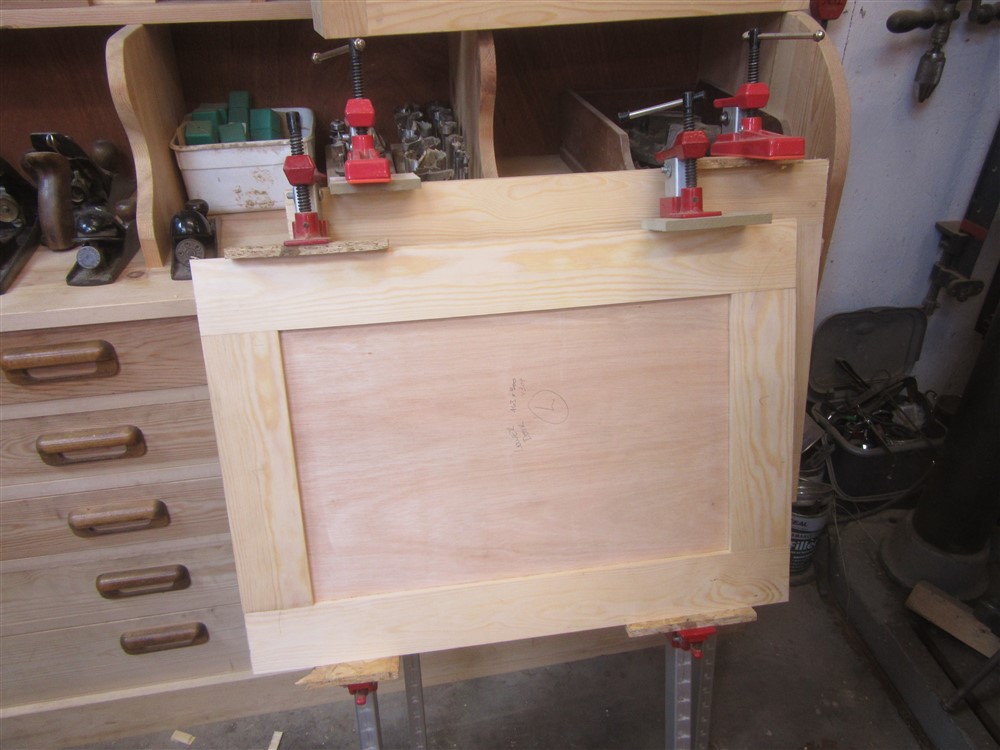
Last night I managed to glue up the lower doors, so this is what greeted me this afternoon when I got out to the workshop for a couple of hours:

imOkJ4u.jpg


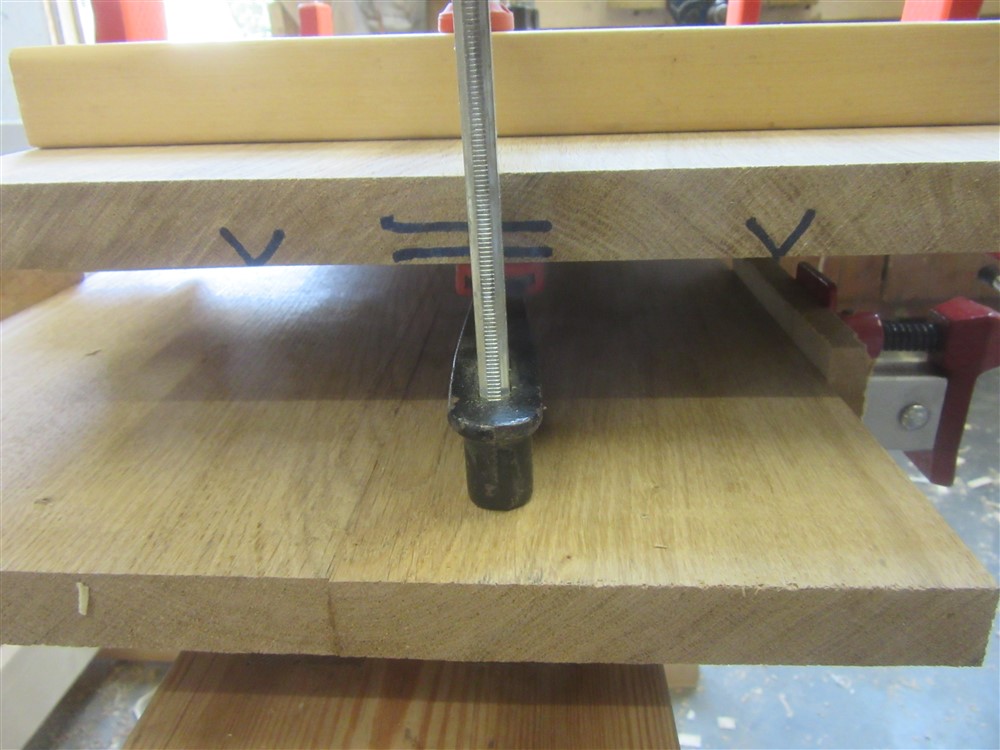
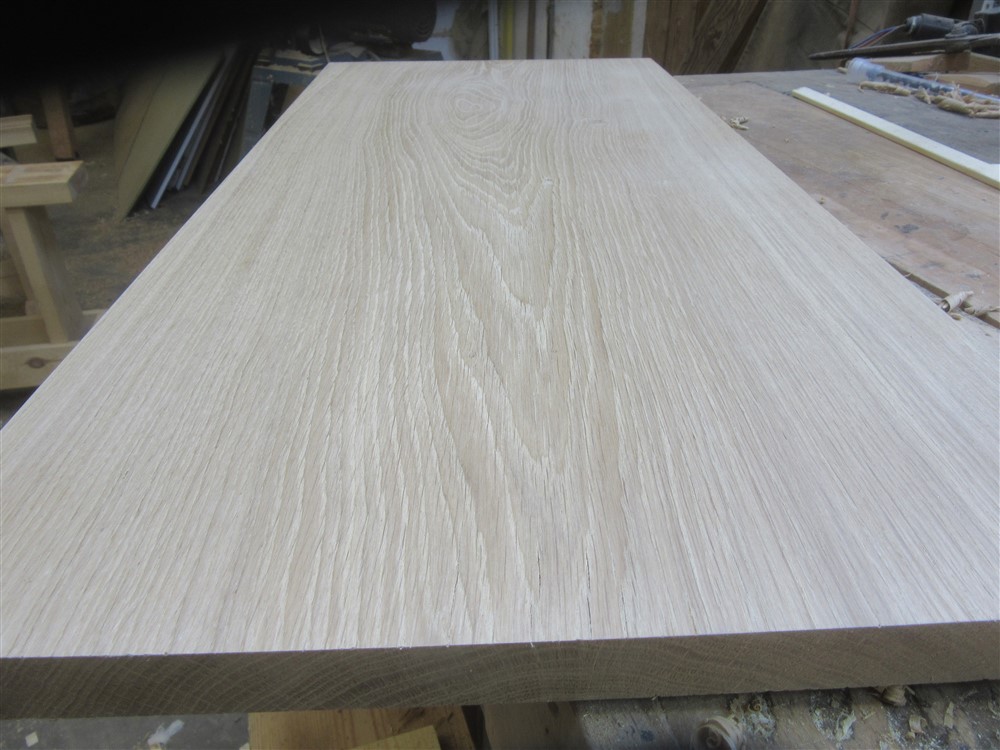
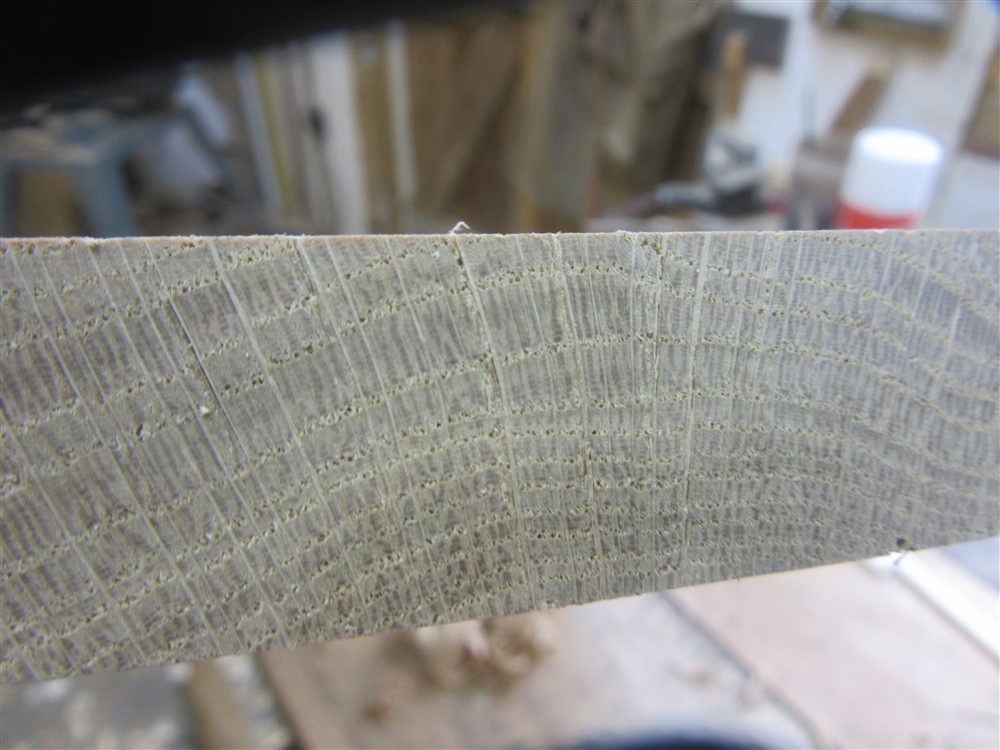
I had also glued up some inch oak boards to make 3 shelves. This was one solid board, but seriously cupped, so I ripped it at the high/ low point, flattened everything, and glued it all back together again:

G80RkiT.jpg


62XhWsK.jpg


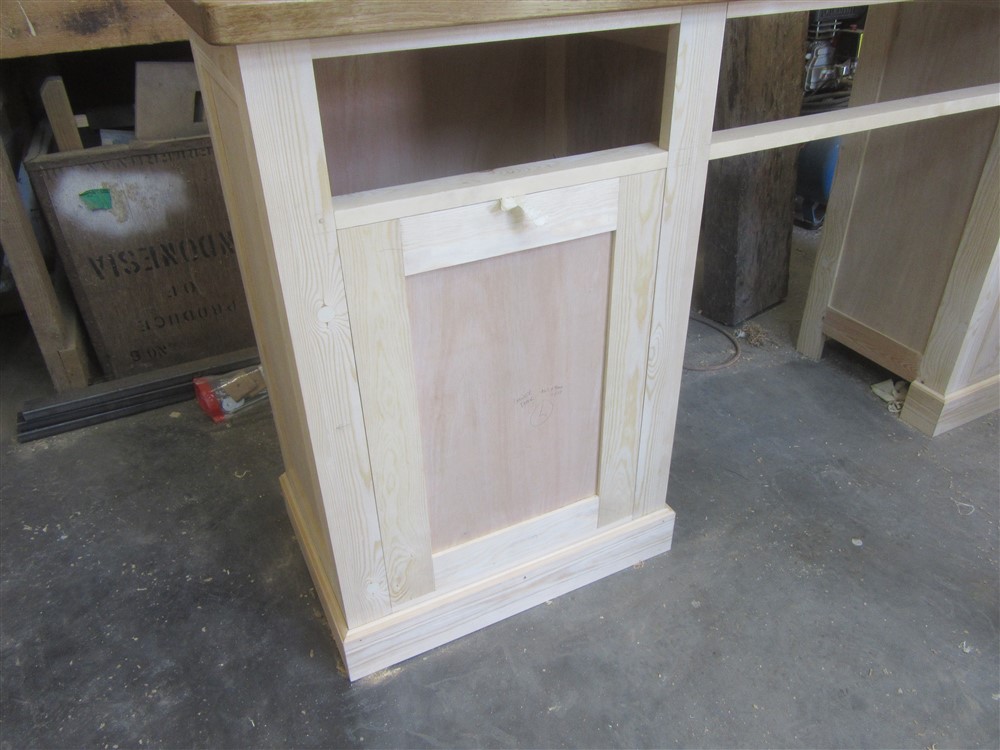
So, today I spent a few minutes with a number 6 sorting out the doors for a reasonable fit:

cEAt90A.jpg


7GbPnwm.jpg


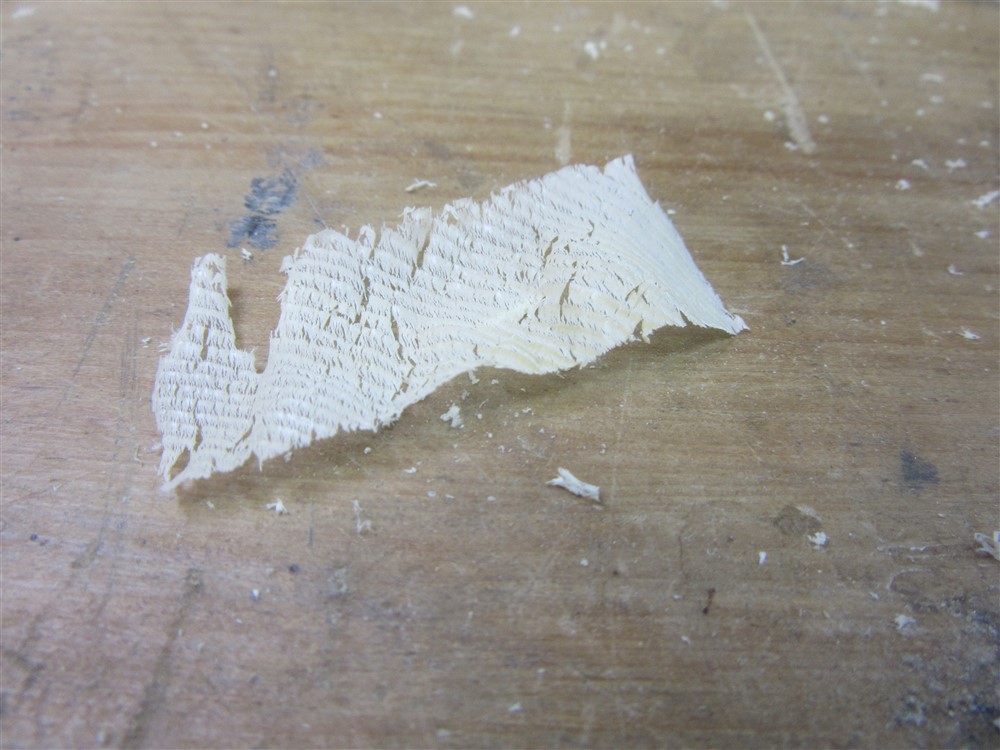
I know some of you like this stuff. This is an end grain shaving from the door, so my plane is working OK:

h2tuuvr.jpg


After cleaning up the oak shelves (can you see the join?). I was fairly pleased with this for a cut-'n-shut job:

Ww58V0t.jpg


o1mMkwV.jpg


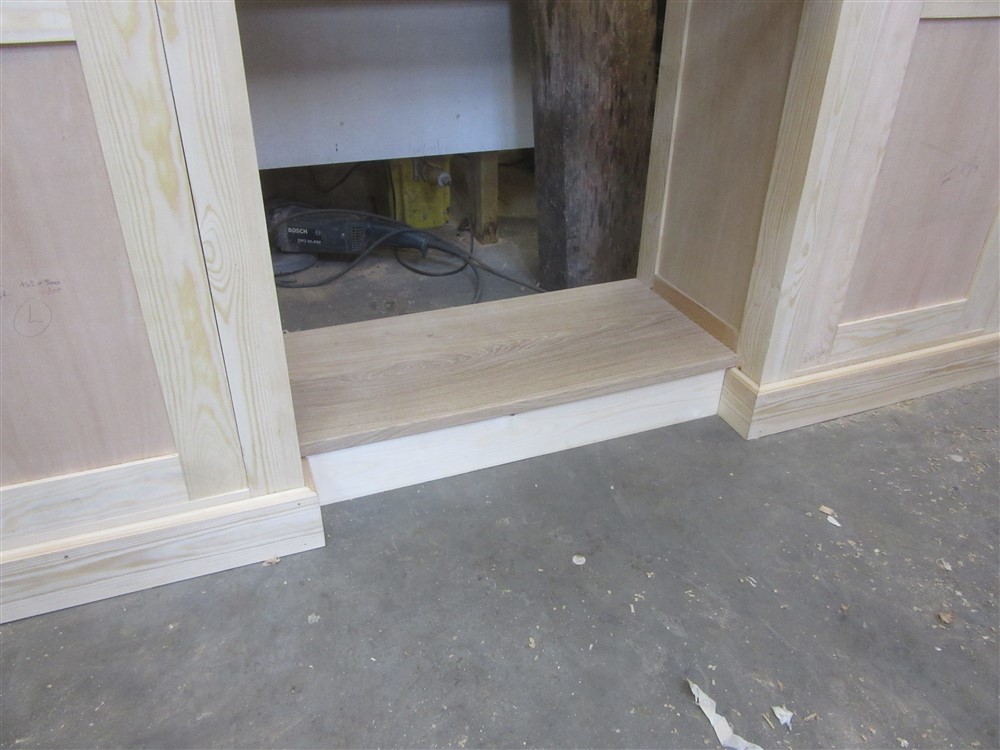
....I sneaked the lower one down to the line to fit:

zV0zmau.jpg


Then quick bit of skirting/ kickboard, to support it:

nQRn8iA.jpg


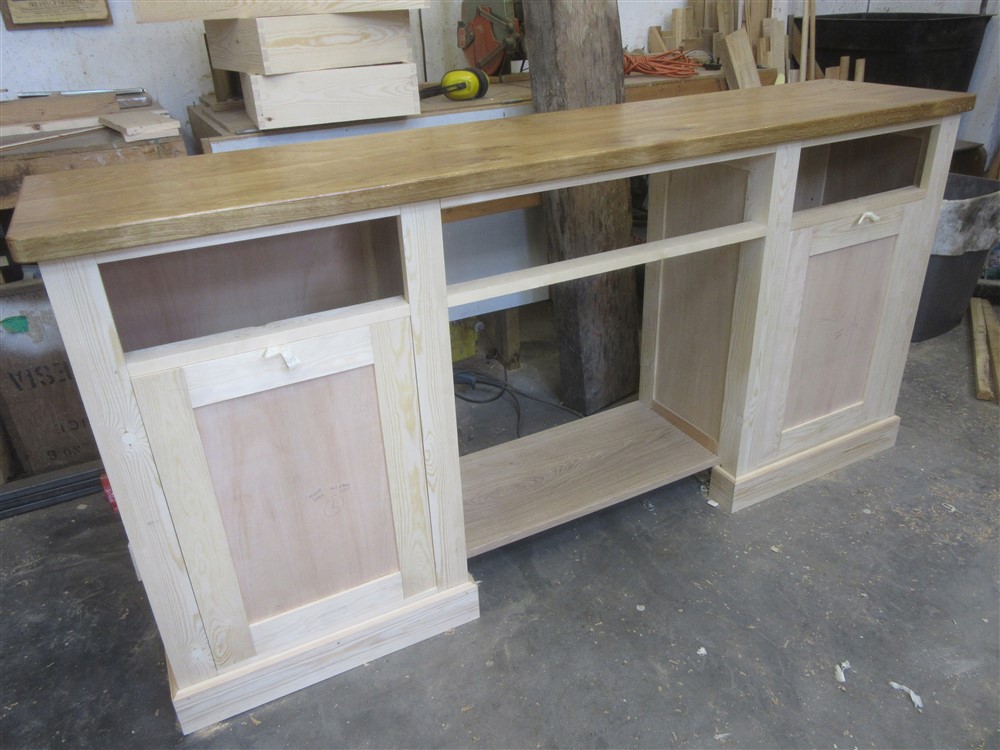
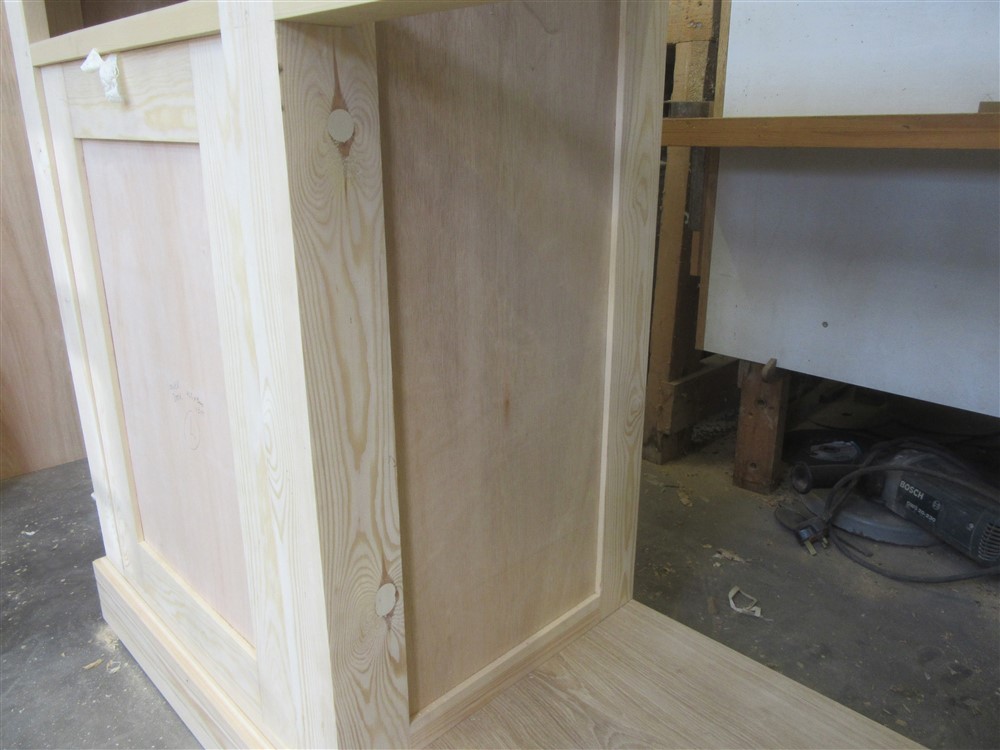
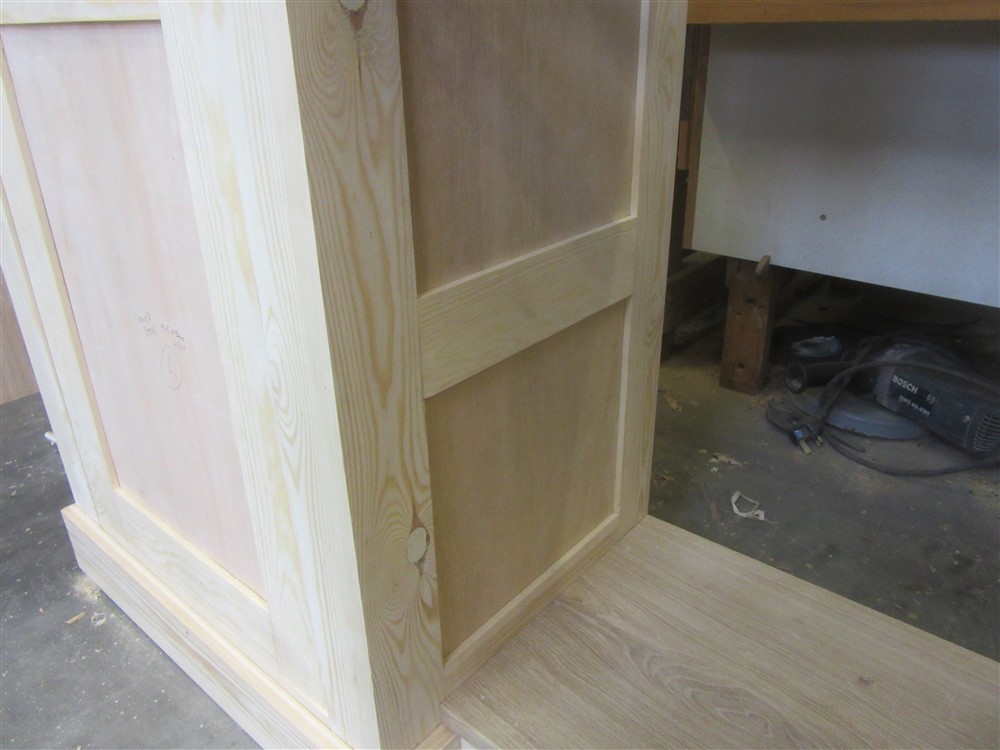
All of this is just sitting there loose, because if I assemble it in the workshop it will be a massive piece of furniture and I'd have to call up some help to get it in the house. So, the two cupboards will go into the house fully made up, and these shelves and infill bits will follow separately, to be glued in place in situ.

The upper shelf is going here:

UflYN3P.jpg


We can't have that! It has to be butting up against a frame member, or at least, what looks like one. So I did some re-sawing, some planing, and some shooting:

aapI2RZ.jpg


Again, that's sitting loose, because there's a bit of fancy work to do to it to hold the shelf. That'll be tomorrow. Meanwhile......cutting the shelf to length:

b91wZX0.jpg


And then planing it. This is why you make the drawers early in the process! :)

x85lwZ2.jpg


Propped in place. The middle one is a little high. I'll drop it 20 or 25mm tomorrow:

ONM5fBK.jpg
 
Last edited:
  • Like
Reactions: REN
.....I'm putting a few panel pins in a little voodoo doll each day, so it's good to see that it is slowing you down a tad... ;)....

Could you stick them somewhere other than my back? I'm getting tired of that. I know, gout. How about whacking some pins into my big toe instead. Anything but my damn back.....
 
Last edited:
Very nice work Mike. Especially for a couple of hours. I'd be pleased to do that in a couple of days....
 
Status
Not open for further replies.
Back
Top