I'll need something to put my tools in...

UKworkshop.co.uk

Help Support UKworkshop.co.uk:

This site may earn a commission from merchant affiliate links, including eBay, Amazon, and others.
Thanks John, i'll try and get a picture, it looks less like marks from something running over the surface and more like it was used as a worktop to beat something into submission. It's no bother but it is a puzzler!
 
Dandan":338u697l said:
Thanks John, i'll try and get a picture, it looks less like marks from something running over the surface and more like it was used as a worktop to beat something into submission. It's no bother but it is a puzzler!
Nothing done here Dan honest.

The sliding table section used a couple of times got rust through lack of use and storage
 
I must confess to a serious case of workshop envy - this is looking good enough to live in.

As for the doors, I much prefer the second option, with three doors all with middle rails. I know the others are symmetrical, but I still look at them and play 'spot the odd one out.' Also, middle rails will make them even stronger and help maintain those critical dimensions.
 
Thanks Andy, it's much appreciated.
At first the 3 middle rail option was my least favourite but i'm starting to come around to it, the side door has a lock rail too so it would help match them up all around, thanks for your opinion!

I little progress this weekend, I milled my first bits of timber! Quite a nerve wracking experience, probably made worse by me selecting the worst of the wood for this, the side door, my thinking being that I save the best bits for the more visible front doors.
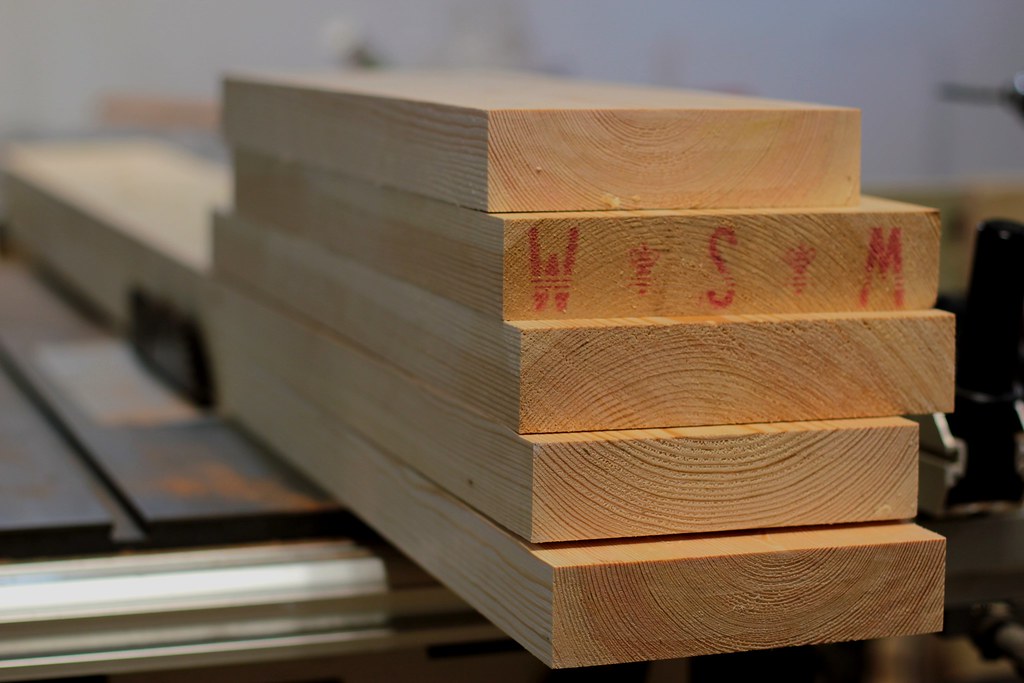
Below is a picture of the resulting pile of (mostly) square lumps of wood, i'm very pleased with this, I never thought i'd be able to actually 'make' my own bits of wood to build things with! The disconnect between a piece of tree and a finished piece of timber seemed huge to me before but the gap is definitely closing.
You can see the plank one up from the bottom is a bit sub-par, that was probably the worst of the original pieces and coincidentally the first one I milled. Should I be able to get twist out on a small-ish planer? The twist ran the full 2 metres so it exceeded the length of my planer, therefore it was very hard to keep it pushed down in the same orientation.
Oh, and I finally admitted defeat on my phone camera, you might have spotted the same dark smudges on all recent pictures, I broke the glass cover over the lense and so it's slowly getting more and more dirt stuck inside it, so i've finally cracked out the proper camera, should have done this a long time ago, sorry everyone!

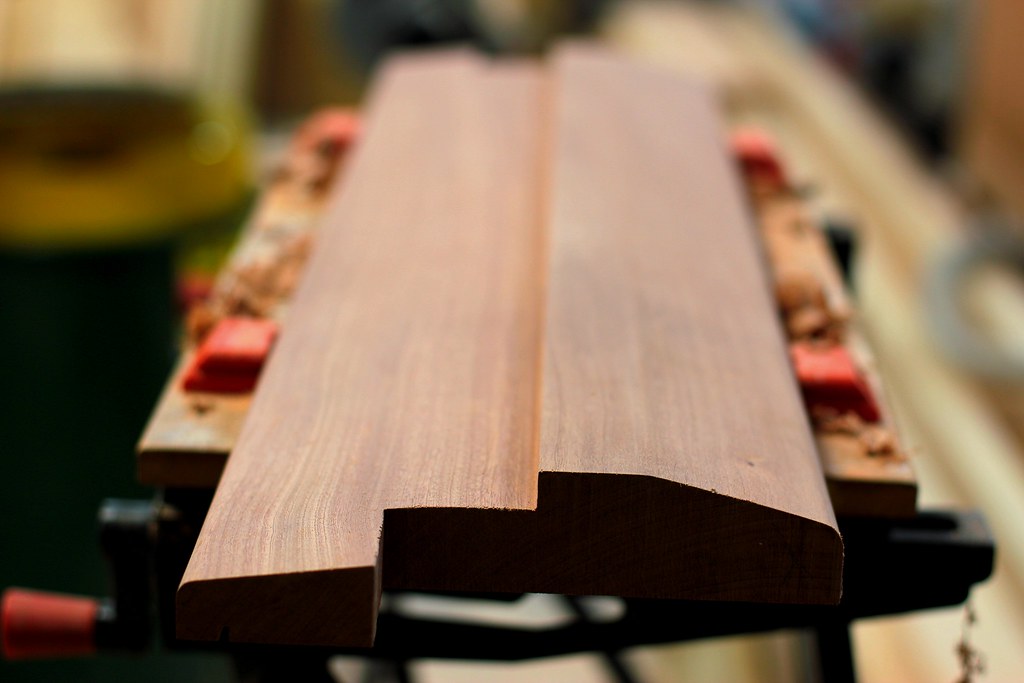
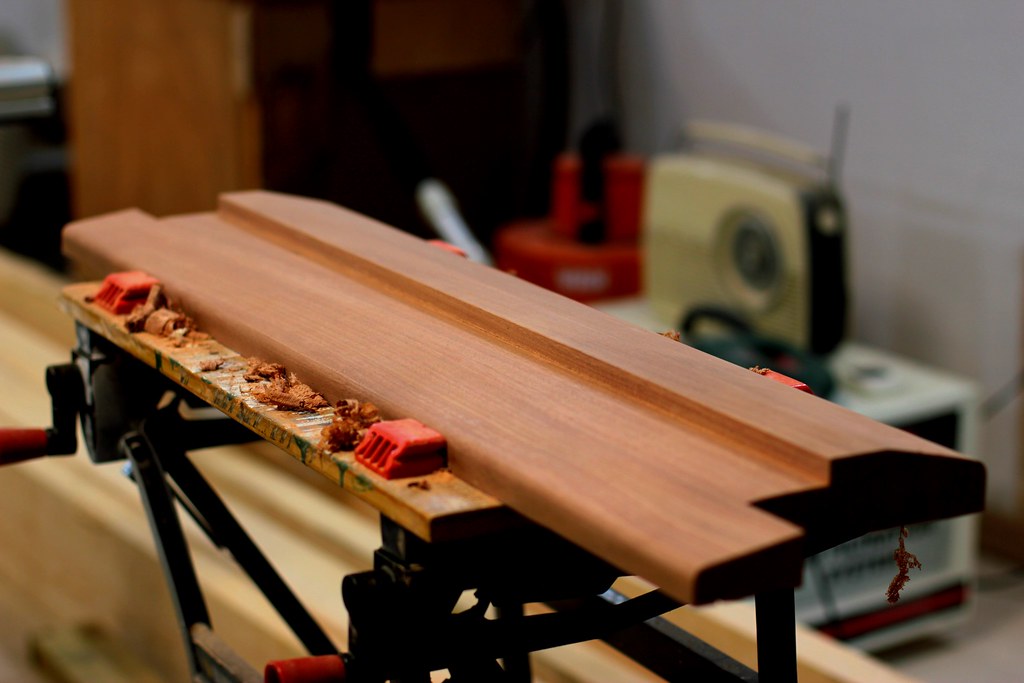
Next I made the threshold for the side door, this was mostly done on the table saw, angled cuts either side, then a bit of trenching and chiselling for the central rebate and then edges rounded on the router table. It took me all morning but I have to say i'm very pleased with it:


What should I use to finish it? I'd like a kind of oiled look to the finish but as it's exterior do I need a solid thick coat of varnish on it? The wood is Sapele. I have some more Linseed varnish coming, could I use that?

That's it for this weekend, i'm kind of avoiding hacking into my new planks to make the door out of fear of messing up all my good work thus far, but it will happen soon!

Oh, and I forgot how ridiculous proper lenses can be, this is what happens when you try to take a close-up at f1.4:


EDIT: Click images for much more pleasing full size versions
 
Dandan":22r5fv7m said:
You can see the plank one up from the bottom is a bit sub-par, that was probably the worst of the original pieces and coincidentally the first one I milled. Should I be able to get twist out on a small-ish planer? The twist ran the full 2 metres so it exceeded the length of my planer, therefore it was very hard to keep it pushed down in the same orientation.
Looking great.

BTW I find it's usually a good idea to get lengths of timber closer to their finished sizes before milling. I.e. if I have a badly twisted 2m length, but need two 80cm lengths I'll cut it into two 1m sections. The twist over the shorter sections is usually less severe, and it's easier to handle on the planer. Obviously there's more risk of snipe when it goes through the thicknesser, but a few fractions of a mm of snipe is better than twist.

Obviously if you need 2m lengths then... well.. yea ;)

EDIT: For finishes, Danish Oil should look good on sapele. Osmo also do some outdoor capable oils. Alternatively, I understand Le Tonkinois is the gold standard for protection, but I've never used it.
 
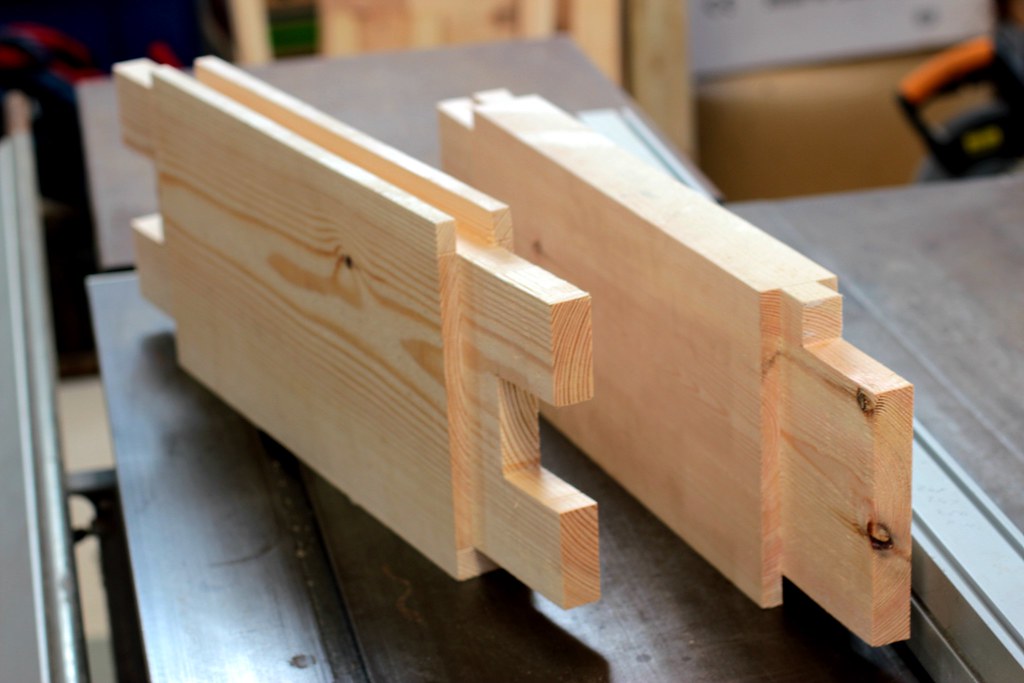
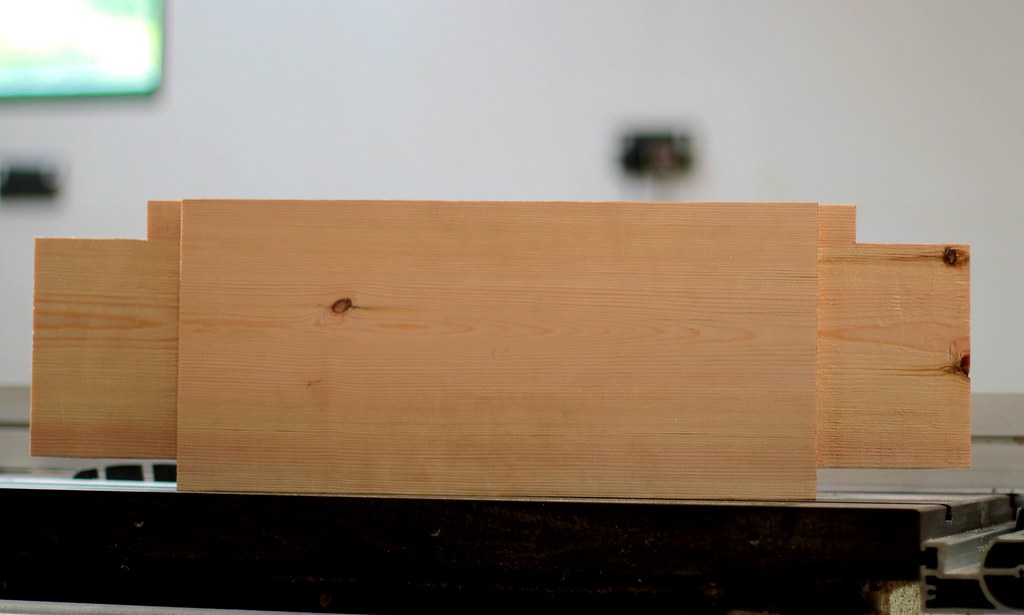
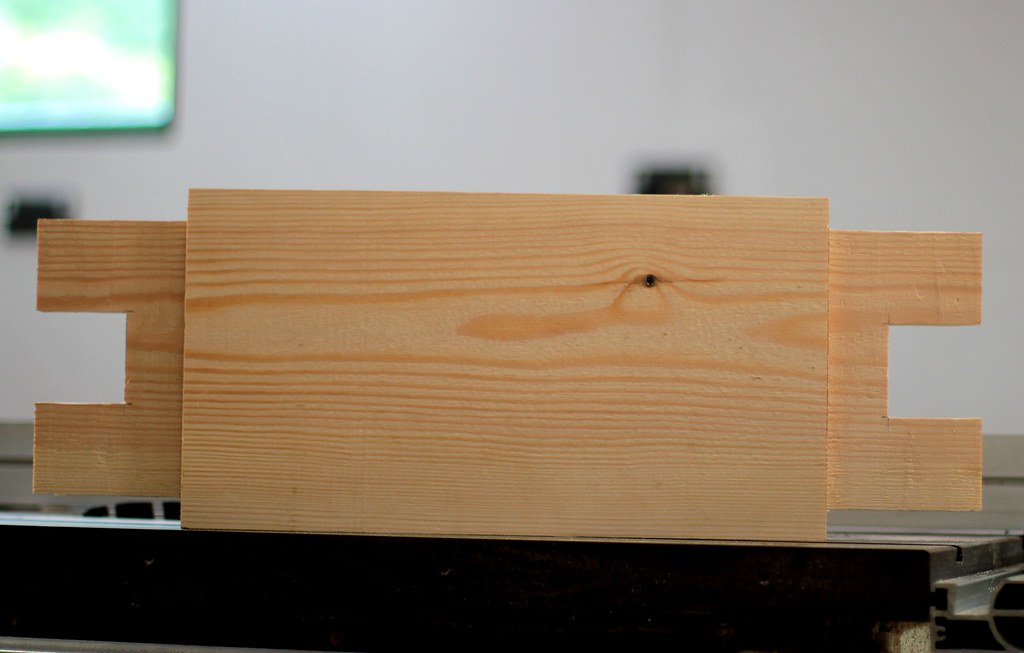
Little bit of progress this weekend, I went and bought myself a snazzy new car so it distracted me somewhat from the woodwork, but I did manage to tear myself away for long enough to cut the tenons on the top and middle rail.


As you can see they are pretty chunky, as are the stiles, it's all down to the size of the salvaged glass that I am putting in, but I like the chunky look, it will make the doors nice and heavy.


A question though, my tenons are currently 100mm long, do I need them to be that big? I want to save as much effort as I can when making the mortices but I also want to have good solid doors, so should I leave them at !00mm or could I get away with, say, 80mm? That's a lot of waste I won't have to dig out...
 
Dandan":qen9hcqw said:
Little bit of progress this weekend, I went and bought myself a snazzy new car so it distracted me somewhat from the woodwork, but I did manage to tear myself away for long enough to cut the tenons on the top and middle rail.


As you can see they are pretty chunky, as are the stiles, it's all down to the size of the salvaged glass that I am putting in, but I like the chunky look, it will make the doors nice and heavy.


A question though, my tenons are currently 100mm long, do I need them to be that big? I want to save as much effort as I can when making the mortices but I also want to have good solid doors, so should I leave them at !00mm or could I get away with, say, 80mm? That's a lot of waste I won't have to dig out...

Personally I'd always allow the tenons to go right through the stiles, then wedge them. Worse case scenerio the glue fails but the wedges hold it all together anyway.
Your tenons are looking really tidy !
I'd be inclined to reduce the width of your tenon (on the top rail) and increase the haunch size. The tiny bit of wood that's left on the stile where the haunch sits, is all that's stopping your rail from falling out- besides the glue obviously :lol:
Coley


Sent from my SM-G900F using Tapatalk
 
I had to re-read that a couple of times but I think I see what you mean, cut a bit more of the tenon away to make the haunch taller, and therefore leave more material on the top of the stile, am I right? I can do that, no problem.
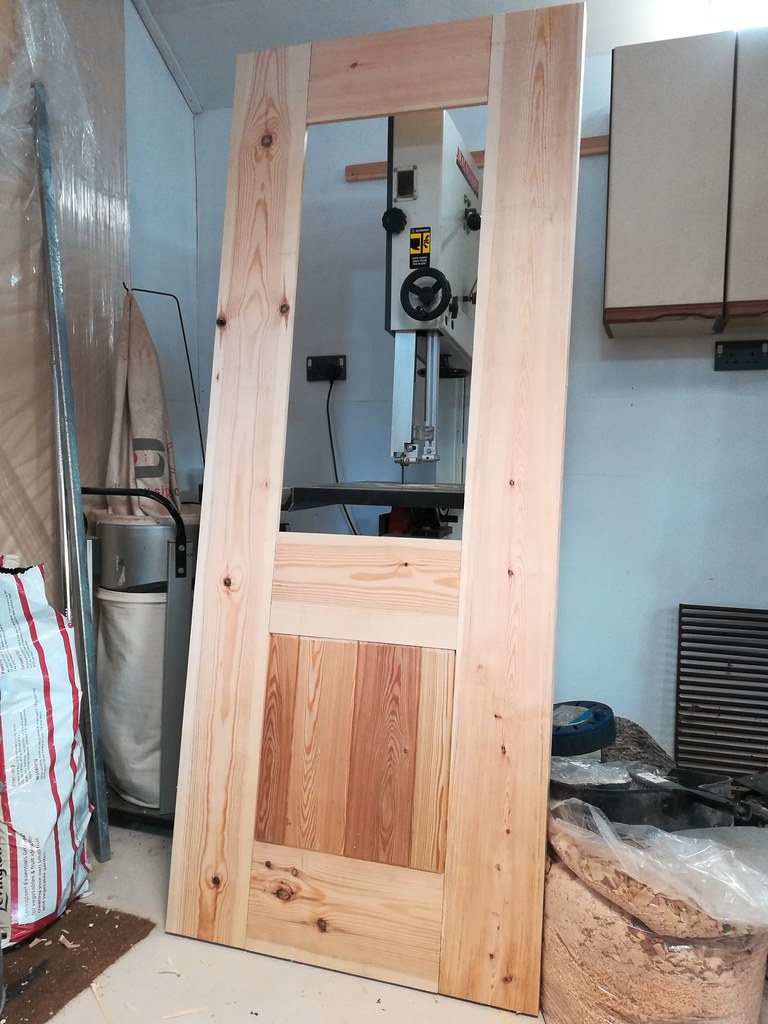
The issue with running the tenons all the way through the stiles is that on this door the stiles are a mighty 190mm wide! (and I've already cut my rails down, obviously) I could try to cut drafted motices and use a blind foxtail wedge but I think that might be a little above my skill level currently, I guess I'll just have to trust the glue!
 
Dandan":3uzsdy0c said:
I had to re-read that a couple of times but I think I see what you mean, cut a bit more of the tenon away to make the haunch taller, and therefore leave more material on the top of the stile, am I right? I can do that, no problem.

Yeah you're right [WINKING FACE]
People's opinion vary with wedged tenons.
I've always used them on windows and doors cause you end up with a larger glue area if they go right through. Wedging them is like leaving a load of sash clamps on, holding everything together.
Horses for courses.

Sent from my SM-G900F using Tapatalk
 
Hello strangers!
It's been a while, I'm just a busy boy at the moment, what with a new job and a holiday and various other stuff going on. My simple target of having doors on the workshop by winter might be a little less likely now, but i'll keep on chipping away at it. One thing I didn't do this year was to get the floor painted, i'm still umm-ing and ahh-ing over whether to screed it before painting to even out some of the irregularities but i'm not sure I want to commit to covering the whole thing and I don't know if just locally patching in the worst offenders would work long term.
Ah well, a problem for next year perhaps when I can once again rely on a weather window to be able to evict the entire contents of the workshop onto the driveway for a day.

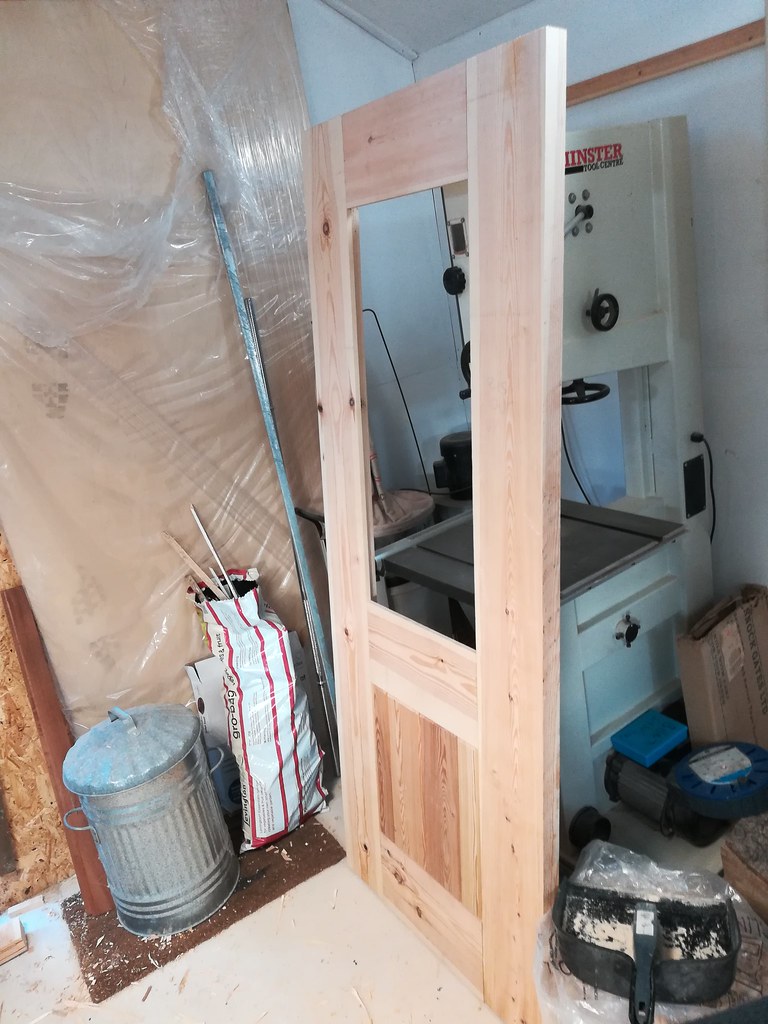
I have made some slow progress on the side door though, I finally committed to the glue up!
My mortice skills clearly need further development, as I found it very difficult to keep the sides of the mortice square, how do people go about this? What I ended up with was rail faces that weren't quite parallel to the stile faces. It would look fine face-on but if you laid it down on it's back (or front) face it would not sit flat on the floor, one or other corner would sit high. It wasn't much but it did mean that I needed to use a bit of persuasion in the glue up to try to get it to sit nice and flat.
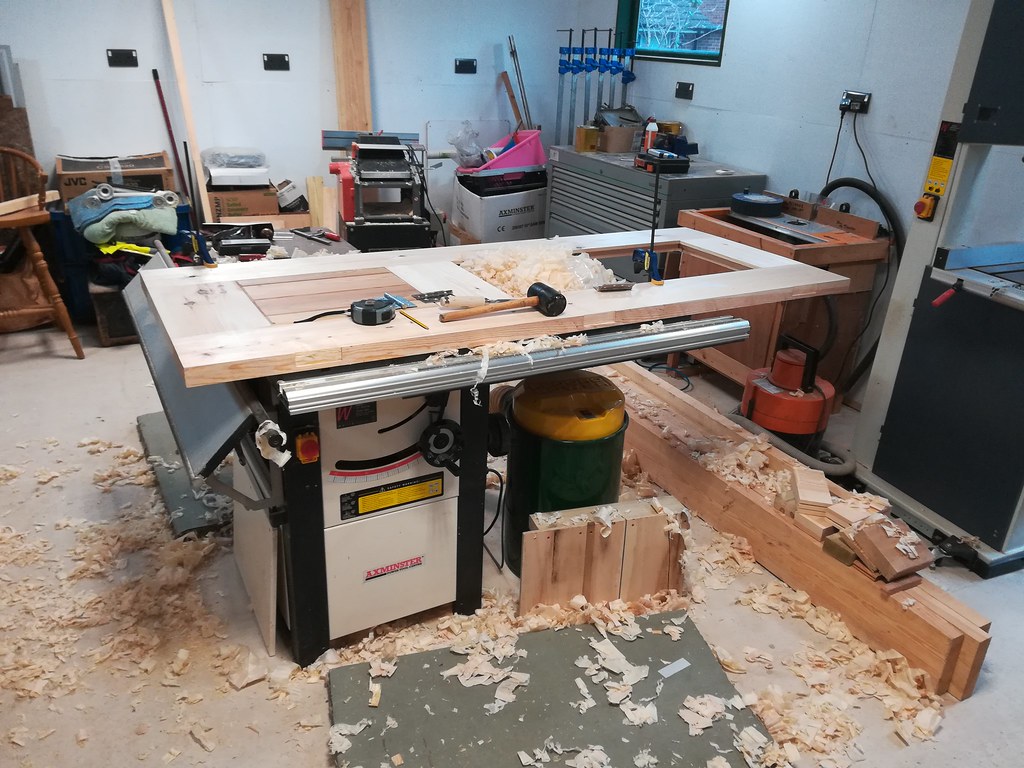
What I did was to glue all the joints, clamp each joint together side to side and check for square, then to fix the non-parallel-ness I laid the door on it's back onto three 2x4's (one behind each rail) that I had levelled up on the floor. Sure enough it rocked between two opposing corners so I put heavy weights on those corners to bring it flat, I guess that makes it a gravity clamp.
Like I say it wasn't far out, but after it had dried it seemed to stay nice and flat and didn't immediately spring out of shape and curl up like a leaf!


I even had what for me was a smart idea, instead of gluing the window into the channel that I had lovingly crafted, I turned the inside into a rebate so that I can secure the glass with nailed on strips to allow me to remove the glass if necessary in the future without destroying the door.
I need some door furniture now, I've been trying to get some UPVC multipoint style locks for the bi-folds on the front of the workshop but finding something to meet my exact requirements is turning out to be a real problem. I don't want to buy furniture for the side door separately in case they don't match, so I really need to find a solution for all the doors soon.
 
Dandan":15agf7c9 said:
My mortice skills clearly need further development, as I found it very difficult to keep the sides of the mortice square, how do people go about this? What I ended up with was rail faces that weren't quite parallel to the stile faces. It would look fine face-on but if you laid it down on it's back (or front) face it would not sit flat on the floor, one or other corner would sit high. It wasn't much but it did mean that I needed to use a bit of persuasion in the glue up to try to get it to sit nice and flat.
Your stock needs to be perfectly square for starters. It then depends on how you're cutting them; by machine it should be relatively easy to set everything up square, by hand... this may help: https://woodworkingmasterclasses.com/vi ... technique/

EDIT: Door looks good though
 
Hello all,
I know I've been quiet for a good while, but I'm still here and I'm still trying to get these doors finished! Too much climbing resulted in some golfer's elbow issues which I didn't want to exacerbate by doing DIY so i've not really been out to the workshop in the last 3 months or so. The elbow is on the mend now so I decided to risk it and crack on.
The good news is the door was still where I left it, the bad news is it isn't quite as flat as I remember...

So, whether it was like it all along, or whether 3 months of sitting around allowed it to shift a little I don't know, but either way the door now has one corner that falls away from being flat by quite some margin, i'd say about 10mm. I could see it wasn't quite perfect just by eye but it wasn't until I fitted the door frame and offered the door up that I realised just quite how far out it was.
The problem with the corner being low is that I can't plane extra material on, meaning I had to plane material off EVERYWHERE ELSE. I offered it up again and marked around the edge where I needed to remove material to get something resembling a good fit from the outside. It would result in an uneven thickness door but seeing as it was 45mm thick to start with, i'm not too fussed. Still, gave me a chance to work on my planing technique and have a fettle of some of my planes.


Something that hand planing taught me was that my planer/thicknesser is possibly not all it's cracked up to be, taking fine shavings with the plane showed some serious peaks and troughs along the stiles, as well as a very rough finish (when compared to the hand planed parts) so I think that needs some attention, although i've no idea who by, as I certainly don't know what i'm looking at!

A second offering up was much more acceptable, just a little to come off the bottom to square it up and it should be ready to test fit.
I bought normal door furniture instead of upvc multipoint stuff in the end, I think a good sturdy lock and some top and bottom slide bolts in the triple front doors will be enough of a deterrent for any opportunists, and I don't think there is enough value in the workshop for anyone to want to 'really' get in. If they were that desperate they could multi-tool a hole in the wall after all...

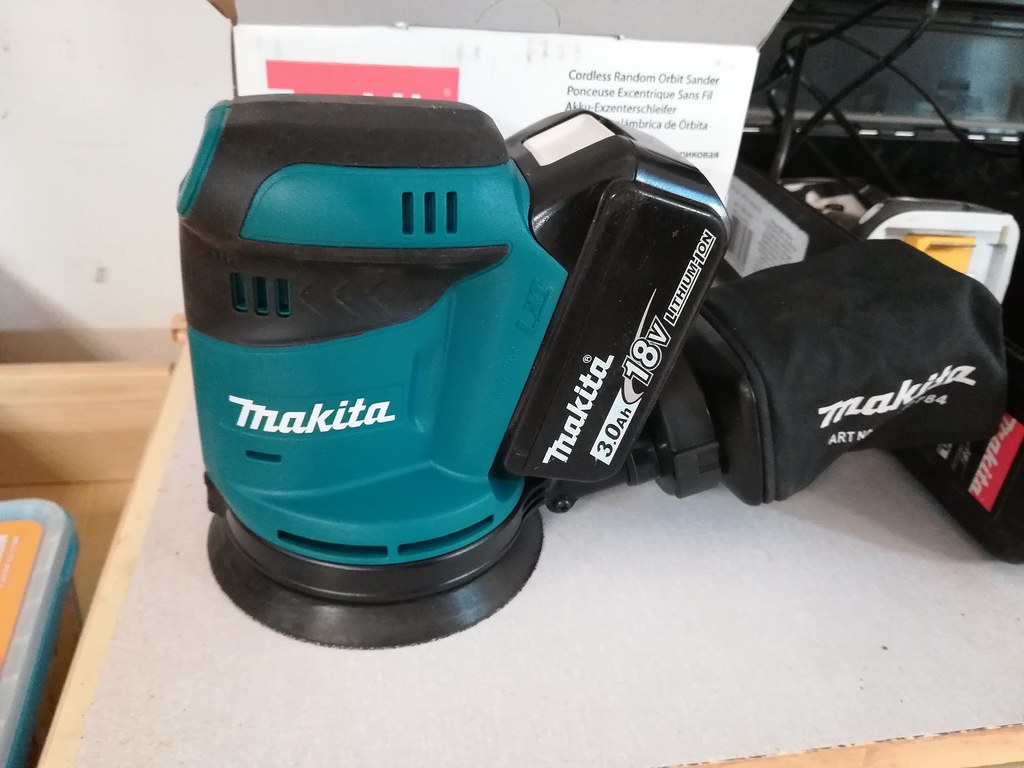
I also indulged in a new toy for prepping the door for varnish, another one to add to my Makita 18v collection...


That's it for now, i'll try to get some better pictures next weekend!
 
Hi. Dan, I note that members did not reply to your post and this morning the web/forum would not let me come into your latest post, some message that it did not exist or perhaps moved. I got in this morning by devious means.

Firstly re your problems with door.
I do not have much experience with soft wood and my old tools, I did not like softwood because of the resin in timber clogging up blades, and movement of timber across surfaces.
If you left the door for three months and it was not primed all sorts of timber movement most probably took place.
The planer blades have not been sharpened for sometime I suspect and pushing timber through planer at a speed might give some problems you mention perhaps.

Perhaps other members can comment with advice.

Hope your elbow recovers I know the experienced I called it RSI.
 
Thanks John,
I imagine the planer issues are all of my own making, the blades now probably need a good looking at as I have pretty much only put softwood through them so far.
I did notice while drilling holes for the hinges that some parts of the door are still soaked with sap (might have been a batch of particularly sappy wood, is that a thing?), so that may have transferred itself to the planer and caused some problems. I also had issues with my chisels becoming quite sticky when doing the motices which I wouldn't usually expect, so maybe i'm fighting excess sap on this job.
 
Dan when the weather warms up, get the good blade cleaned up and it might need a regrind perhaps, it is too cold imo to set up planer blades in comfort. I used to take 2/3 efforts sometimes, you will find the problems when you do this operation on the first occasion.
 
Me again, I bought a small space heater last weekend and progress has become remarkably more rapid, coincidence i'm sure, but it is nice to be able to feel my fingers whilst operating machinery...
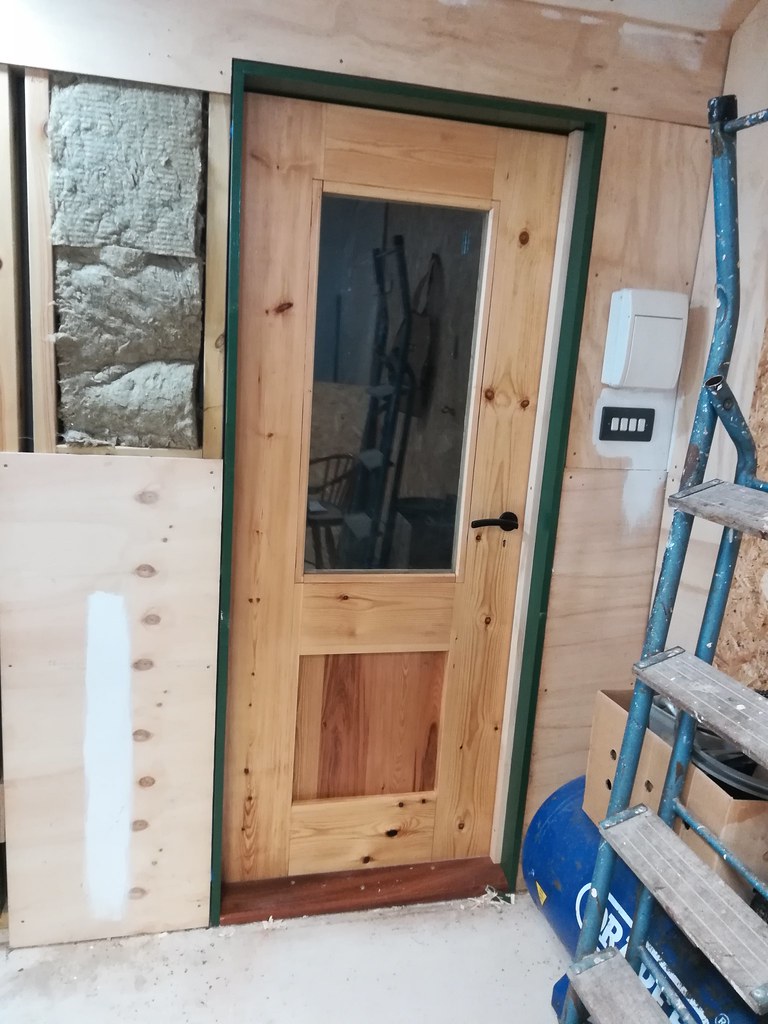
The side door is done, here it is from the inside less a few bits of door jamb:


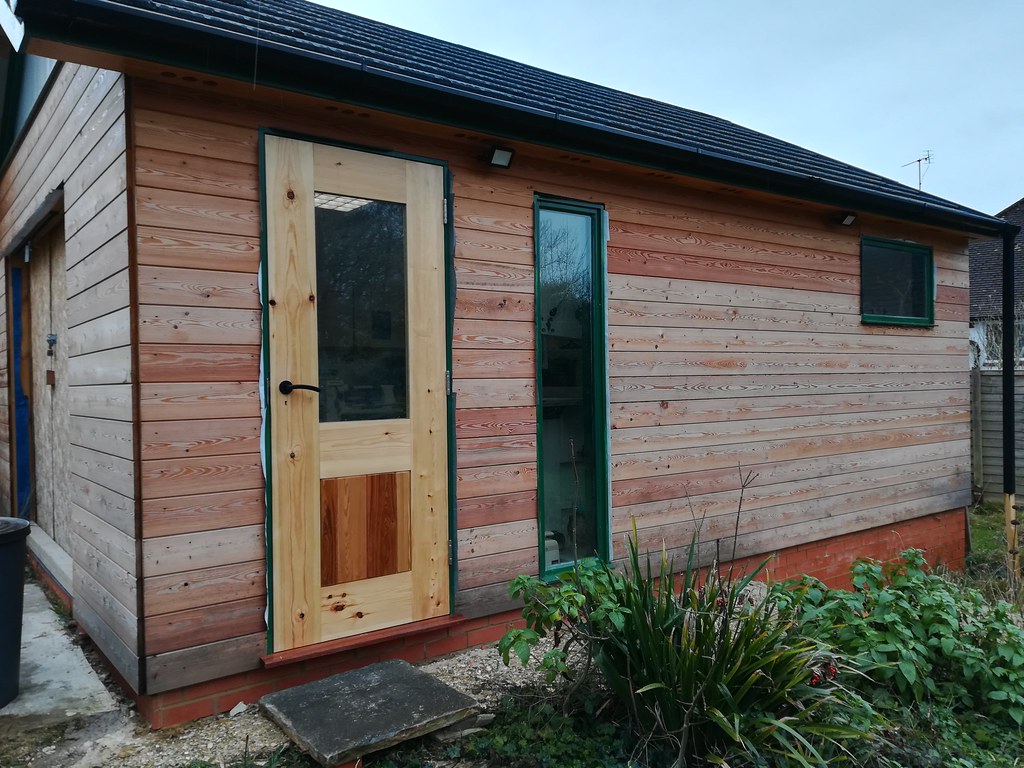
And the outside, finished bar an escutcheon and the frame trim:


Goes to show how much the cladding has faded in 12 months, the bottom panel of the new door uses the same cladding material as the walls...
I'm reasonably happy with the door for a first attempt, it was certainly a learning opportunity. The fit is nowhere near as good as it should be, but the finish is ok, and the closing action is spot on, it shuts with a really satisfying 'thunk'.

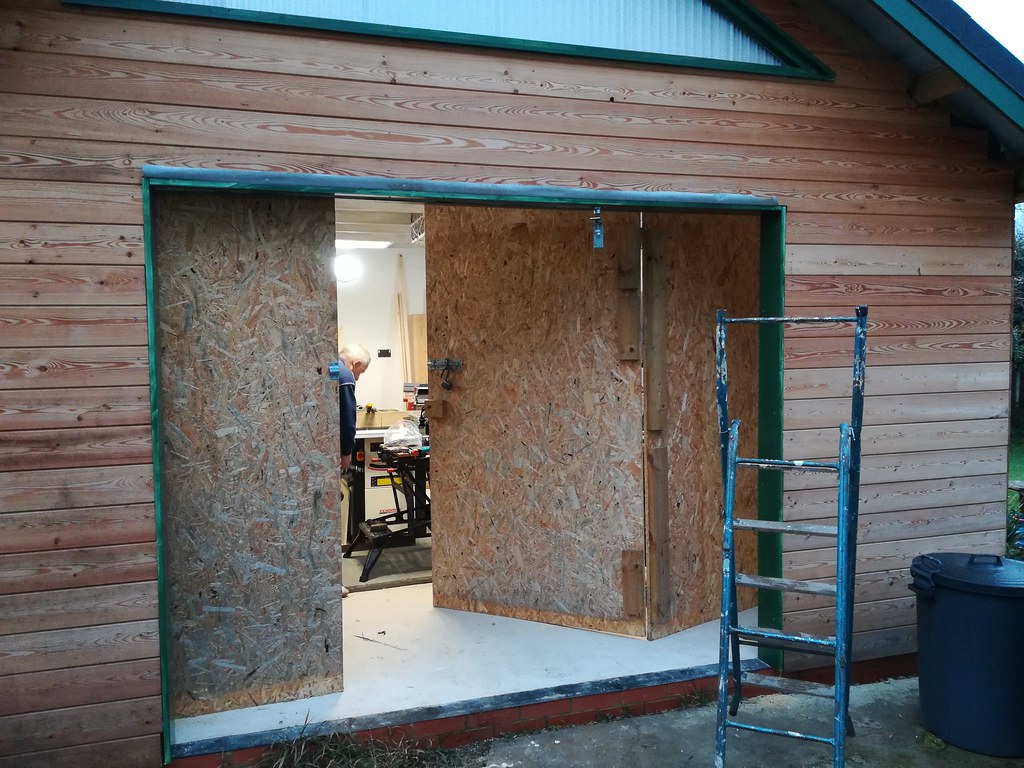
Next job was to install the frame for the big set of triple doors for the front. I had already fitted the upper sliding rail for the bi-fold part, so needed to work around that. The mistake I made with the side door frame was to fit it, take all the measurements for the door, then take the frame back down, paint it, and refit. It definitely didn't go back in the same the second time which is probably the cause of a lot of my fit issues. This time around I am fitting the frame once and leaving it in place, so the measurements I take for the door will (hopefully) remain correct!
I roped my dad in to help, it's one of those three handed jobs that goes so much quicker with an extra body to hold this or fetch that or measure this.
Here's the end result, a frame that is out of square across diagonals by 2mm, so even I should be able to make some doors to fit this:


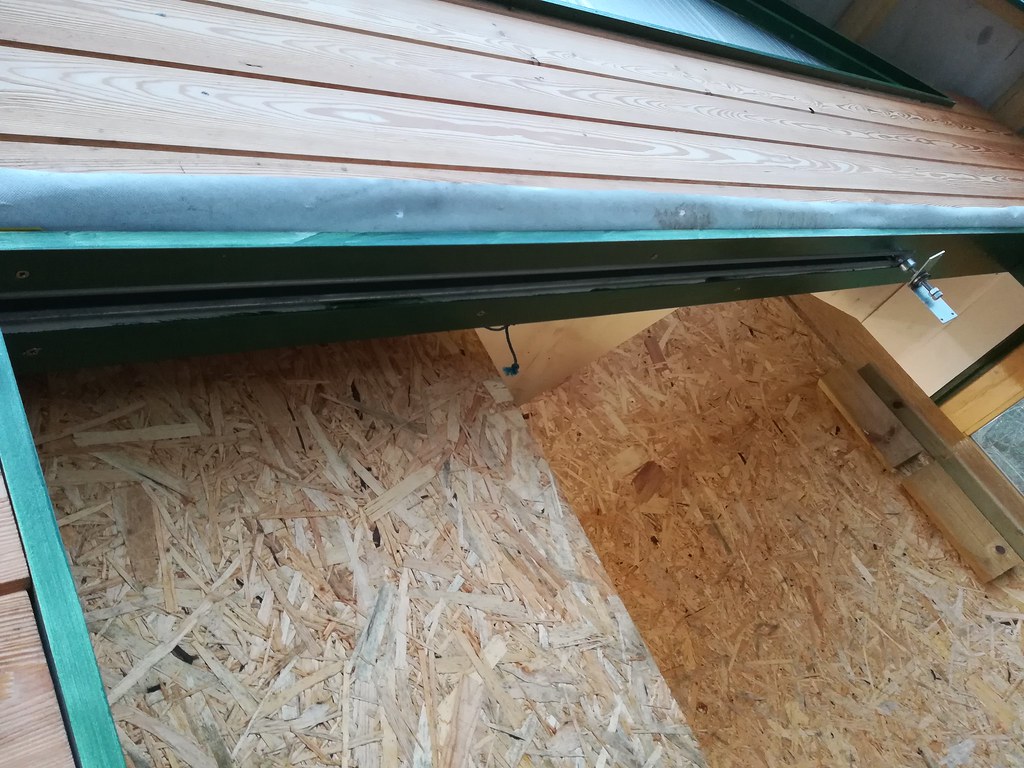
Here's the rail we had to work around and the evidence of me not painting bits that I thought wouldn't be seen, it's ok I can drop the rail to get in there with a paint brush later.


And that's that. I've rough cut the stiles for the doors so they will need to go through the planer/thicknesser if I can get it working a bit more happily, I can always rough them out on there and hand plane to finish them if absolutely necessary.
Before that I will make the threshold to finish the frame completely, including a rebate for the lower sliding rail. I'm hoping to have quite small gaps top and bottom when finished and I have to make sure I am going to be able to slot all of the hangers and runners into place when it comes to assembly, I think the kit is designed to leave open ends where you can slide stuff onto the rails, but i've enclosed everything to give smaller gaps, time will tell if that was a silly idea!
 
Well done Dan, I am sure we are all proud of you and wishing a happy completion. (but please gets some preservative splashed on before anymore woodwork, that would be my ideal next job.)
 
Thanks John, it's not picked up well on the camera but the door has 3 coats of Linseed Varnish on it so it should be well protected.
If you mean the cladding then it's supposed ot be self-protecting to a degree as it is larch, I don't want to interfere with the fading process as I'm hoping it will end up a nice silver-grey colour.
 
Back
Top