Dandan
Established Member
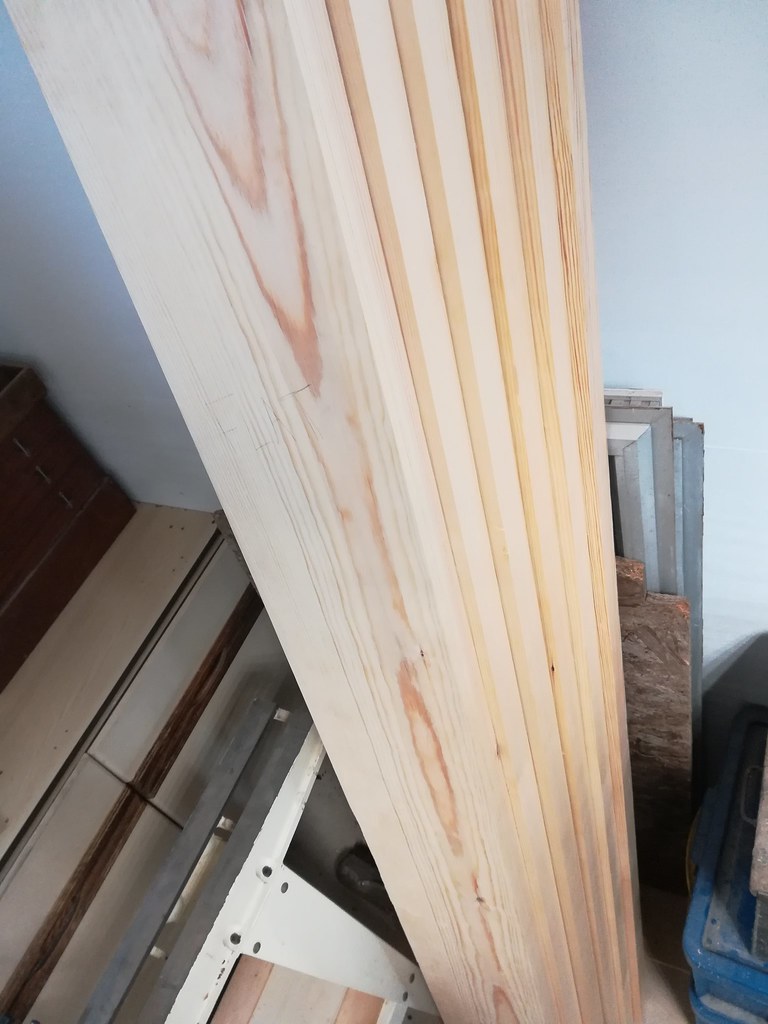
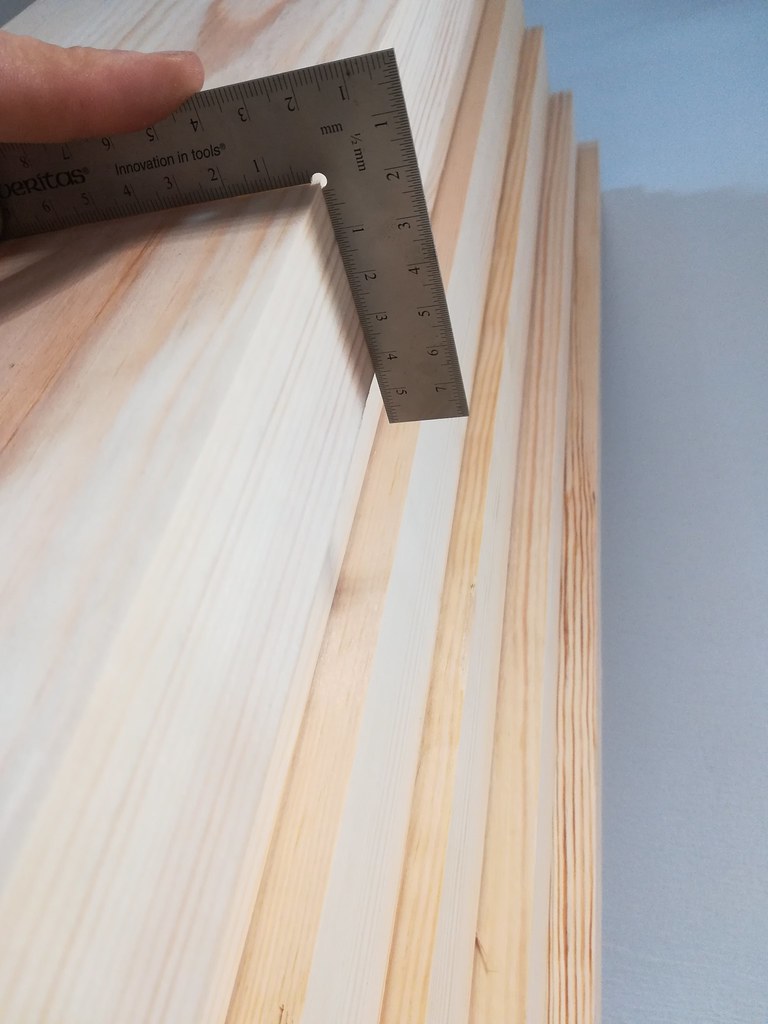
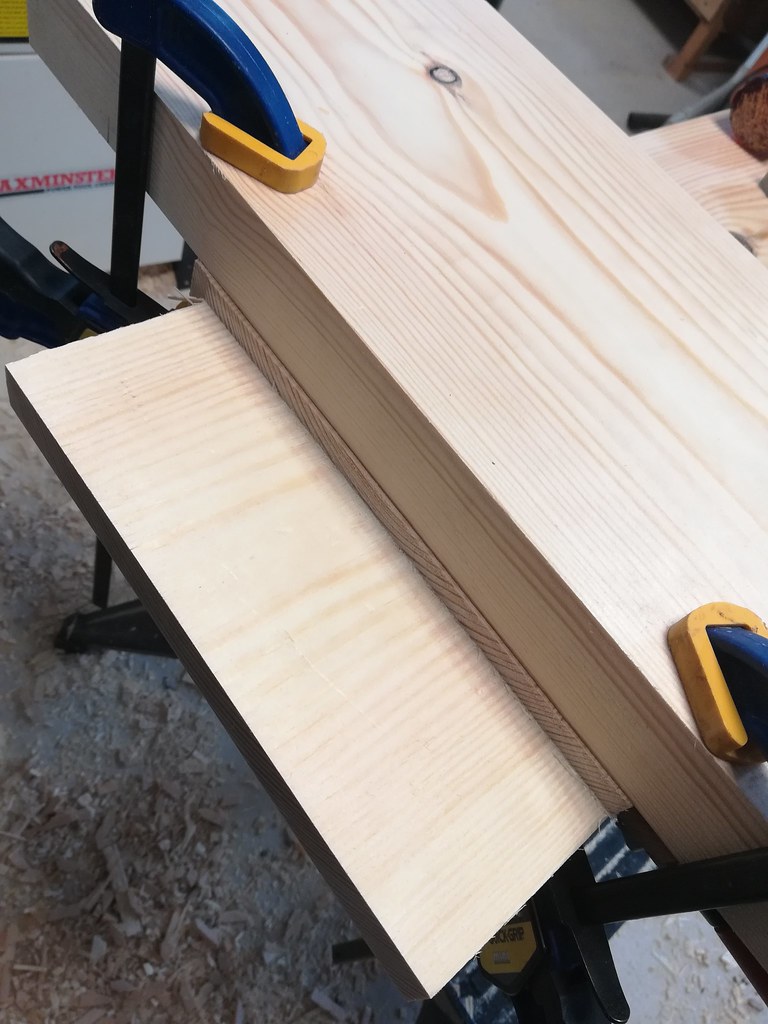
I found the time to have a good look at the planer last weekend, I changed out the blades for new ones, fiddled with everything that I could fiddle with, and got it running much more happily than before. My inability to use it properly however, is not adjustable by turning a screw, so I managed to plane down a twisted board to make it thinner, but still twisted...
I think the issue was the length of my plane surface versus the length of the board, with 2000mm long planks it's tricky not to rock the plank halfway and just keep planing the twist in! I decided with this length to hand plane the twist out to save it becoming firewood. It was a good excuse to dial in my big plane (I think it's a 6) and knock up some winding sticks, I quite enjoyed it to be honest.
I'll save the planing of the rest of the planks for when I have an extra pair of hands to see if we can't control things a bit better, so I went back to finishing off the threshold.
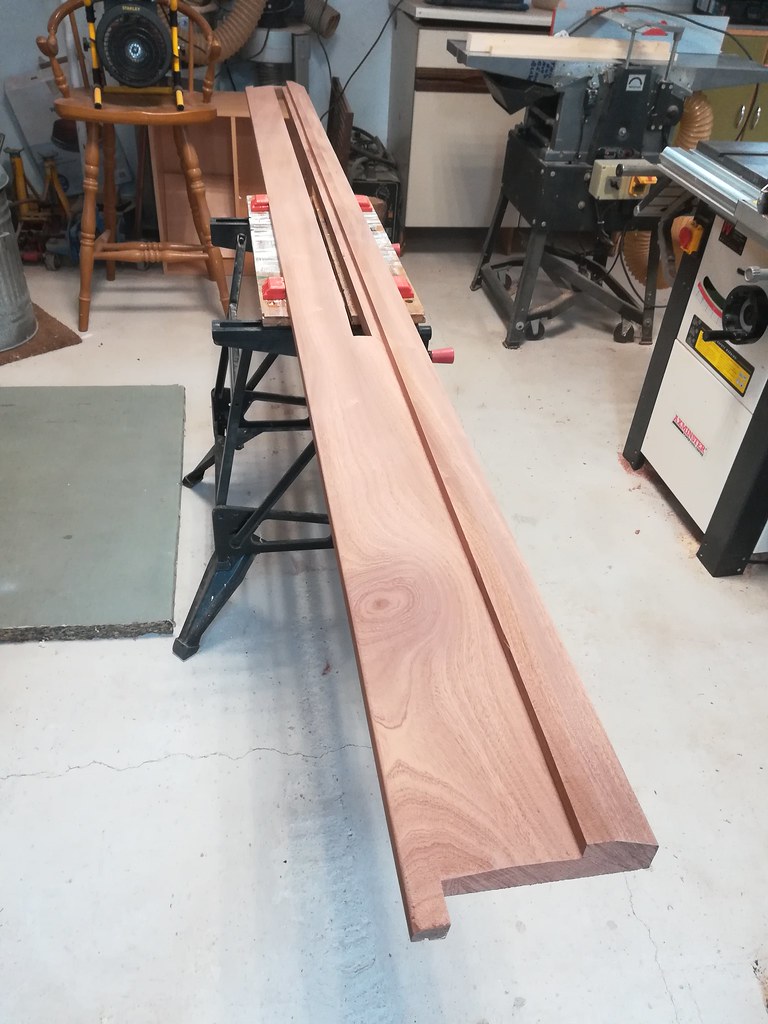
After cutting the slot for the bottom guide rail, I test fitted the threshold and realised that the part of the threshold on the outside of the guide rail is only supported by the tiniest sliver of brickwork underneath, the overhang is such that it's almost all floating in free space.
Clearly that's not going to last 5 minutes and I can't rely on gluing the guide rail in place to create enough support, that smacks of bodgery, or at least more bodgery than I am comfortable with.
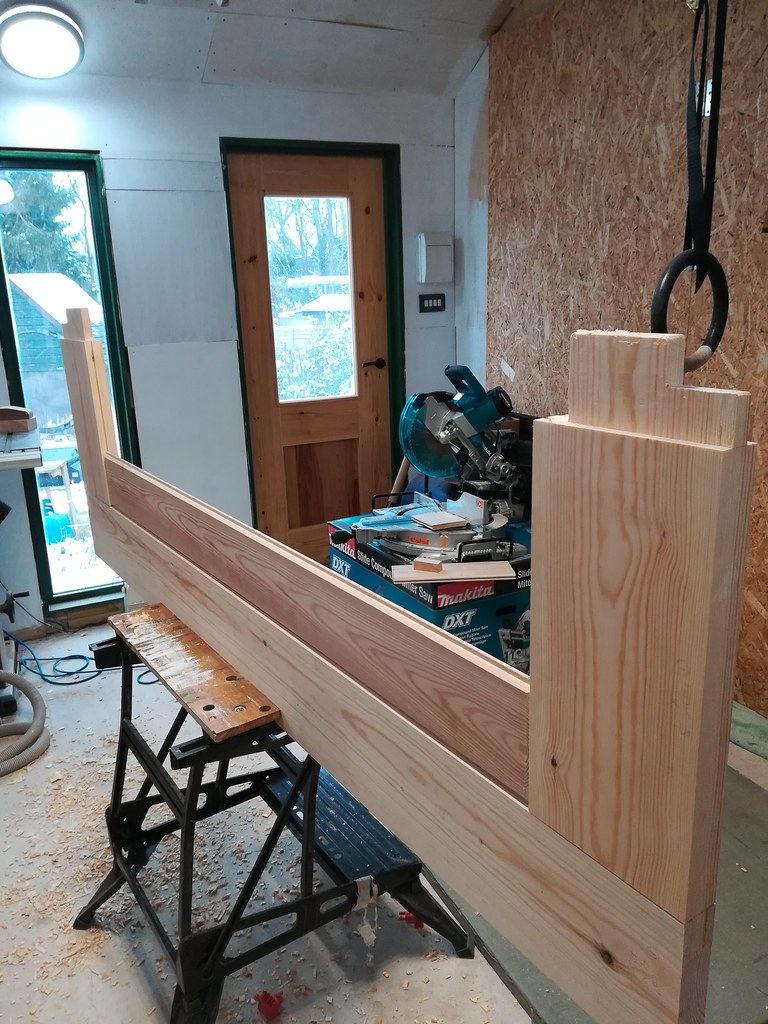
I decided to hack up some spare bits of the heavy gauge top rail and make some support brackets for underneath. The plus side of this is they set the height of the guide rail and give me something to screw the guide rail into, meaning I don't have to glue it all together. The material has a pressed form on the flat face (so it's not actually flat, it's a very shallow corrugation) and I left 10mm returns on the brackets so they are very stiff. A couple of routed slots and this ended up impressively sturdy, hurrah for cantilevers:
[url=https://flic.kr/p/EBTas8]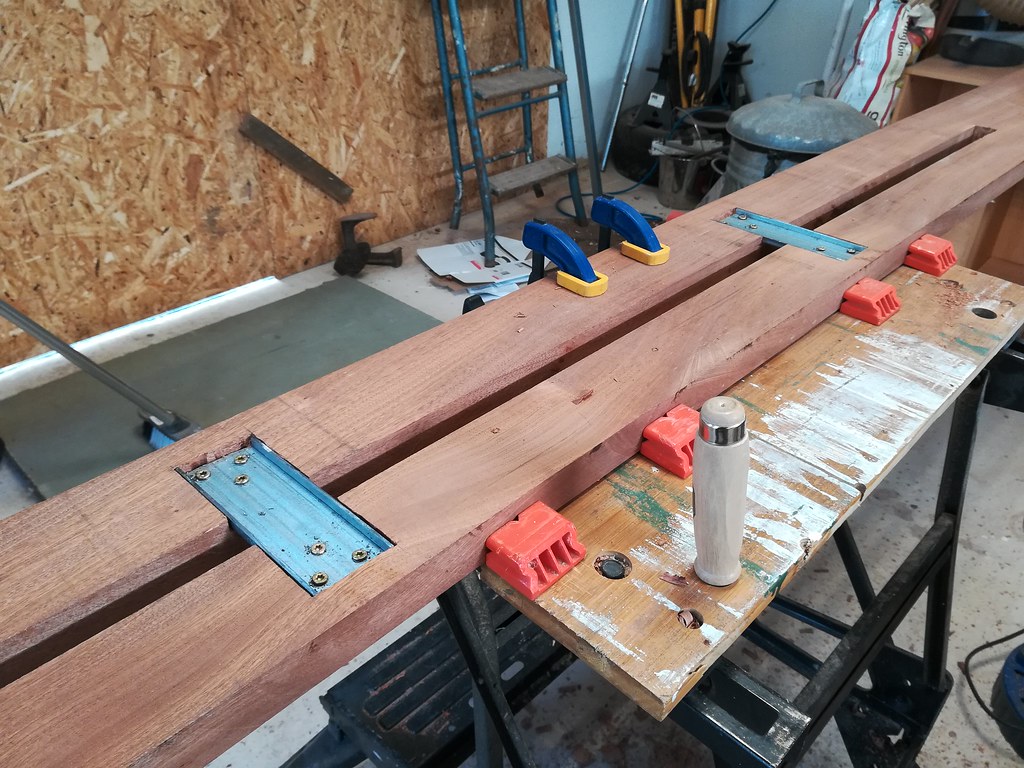
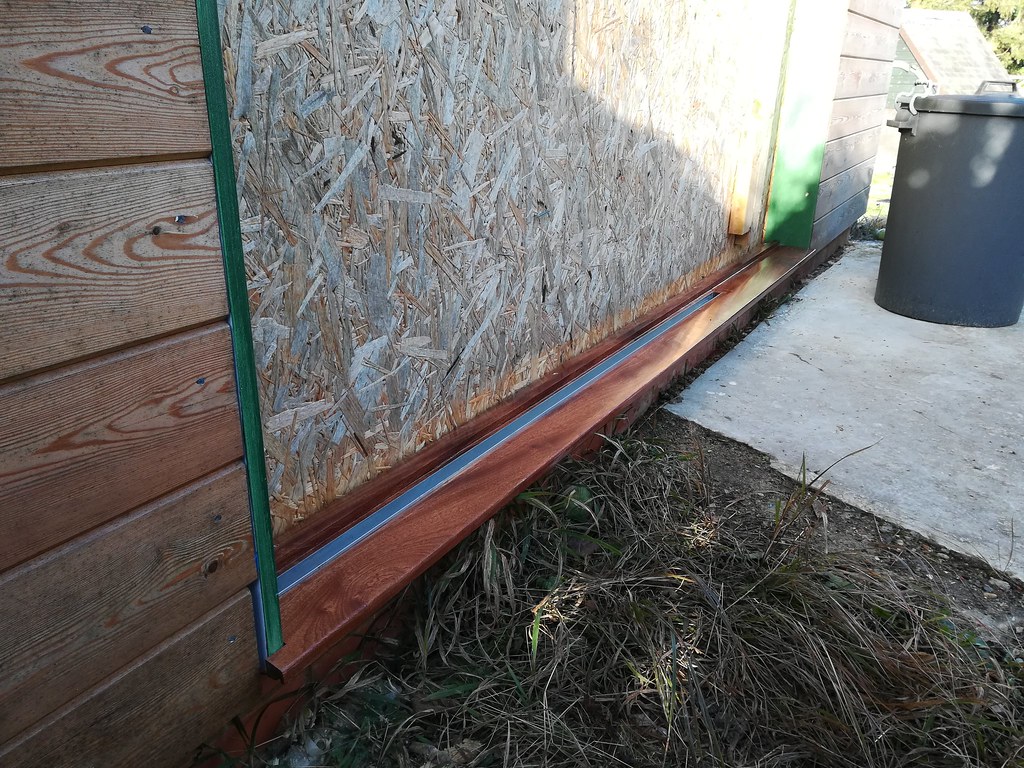
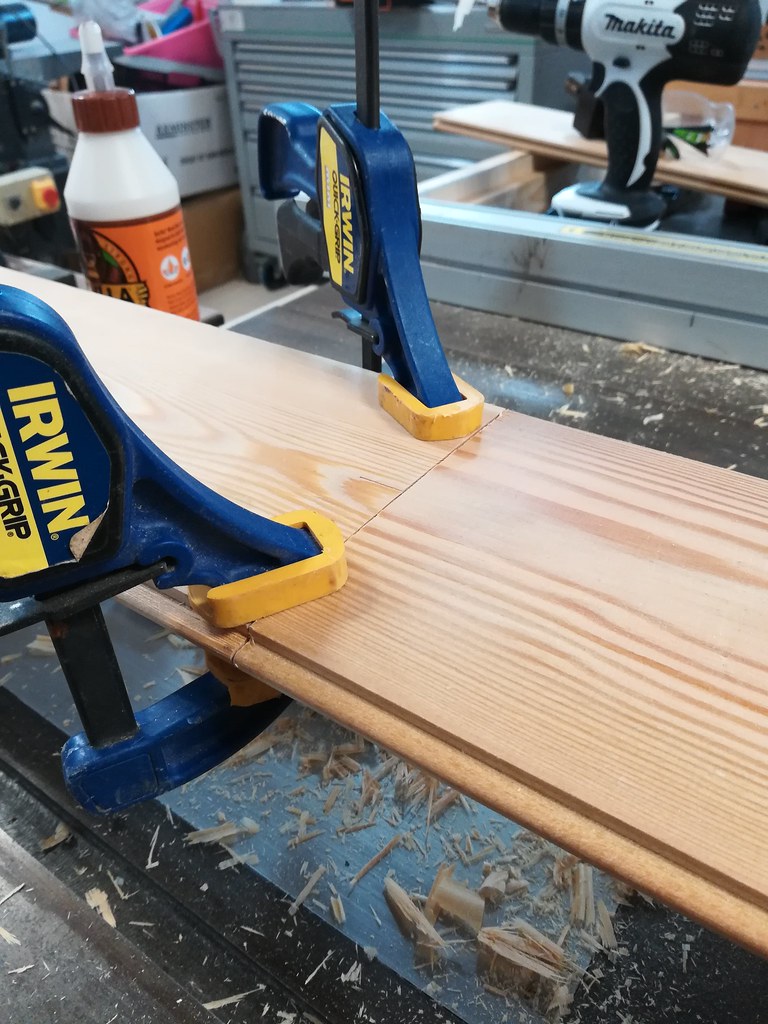
A test fit went well so I started to varnish the threshold, this bit of Sapele has a really nice feature right where the right hand personnel door will go so i'll get to see it every time I open the door:
[url=https://flic.kr/p/24gXTK6]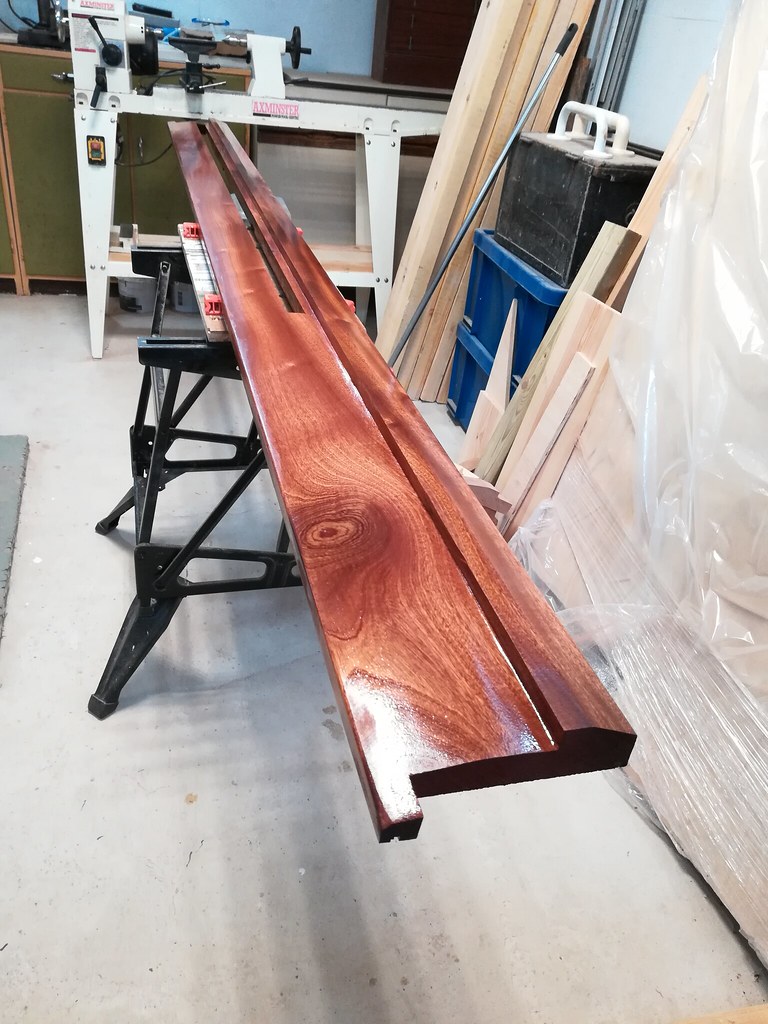
I'll finish the varnishing this week and get it fixed into place at the weekend. Then the entire frame will be set in place and I can take some accurate measurements to ensure the new door fit a fair bit better than my side door!
I think the issue was the length of my plane surface versus the length of the board, with 2000mm long planks it's tricky not to rock the plank halfway and just keep planing the twist in! I decided with this length to hand plane the twist out to save it becoming firewood. It was a good excuse to dial in my big plane (I think it's a 6) and knock up some winding sticks, I quite enjoyed it to be honest.
I'll save the planing of the rest of the planks for when I have an extra pair of hands to see if we can't control things a bit better, so I went back to finishing off the threshold.

After cutting the slot for the bottom guide rail, I test fitted the threshold and realised that the part of the threshold on the outside of the guide rail is only supported by the tiniest sliver of brickwork underneath, the overhang is such that it's almost all floating in free space.
Clearly that's not going to last 5 minutes and I can't rely on gluing the guide rail in place to create enough support, that smacks of bodgery, or at least more bodgery than I am comfortable with.
I decided to hack up some spare bits of the heavy gauge top rail and make some support brackets for underneath. The plus side of this is they set the height of the guide rail and give me something to screw the guide rail into, meaning I don't have to glue it all together. The material has a pressed form on the flat face (so it's not actually flat, it's a very shallow corrugation) and I left 10mm returns on the brackets so they are very stiff. A couple of routed slots and this ended up impressively sturdy, hurrah for cantilevers:
[url=https://flic.kr/p/EBTas8]

A test fit went well so I started to varnish the threshold, this bit of Sapele has a really nice feature right where the right hand personnel door will go so i'll get to see it every time I open the door:
[url=https://flic.kr/p/24gXTK6]

I'll finish the varnishing this week and get it fixed into place at the weekend. Then the entire frame will be set in place and I can take some accurate measurements to ensure the new door fit a fair bit better than my side door!


