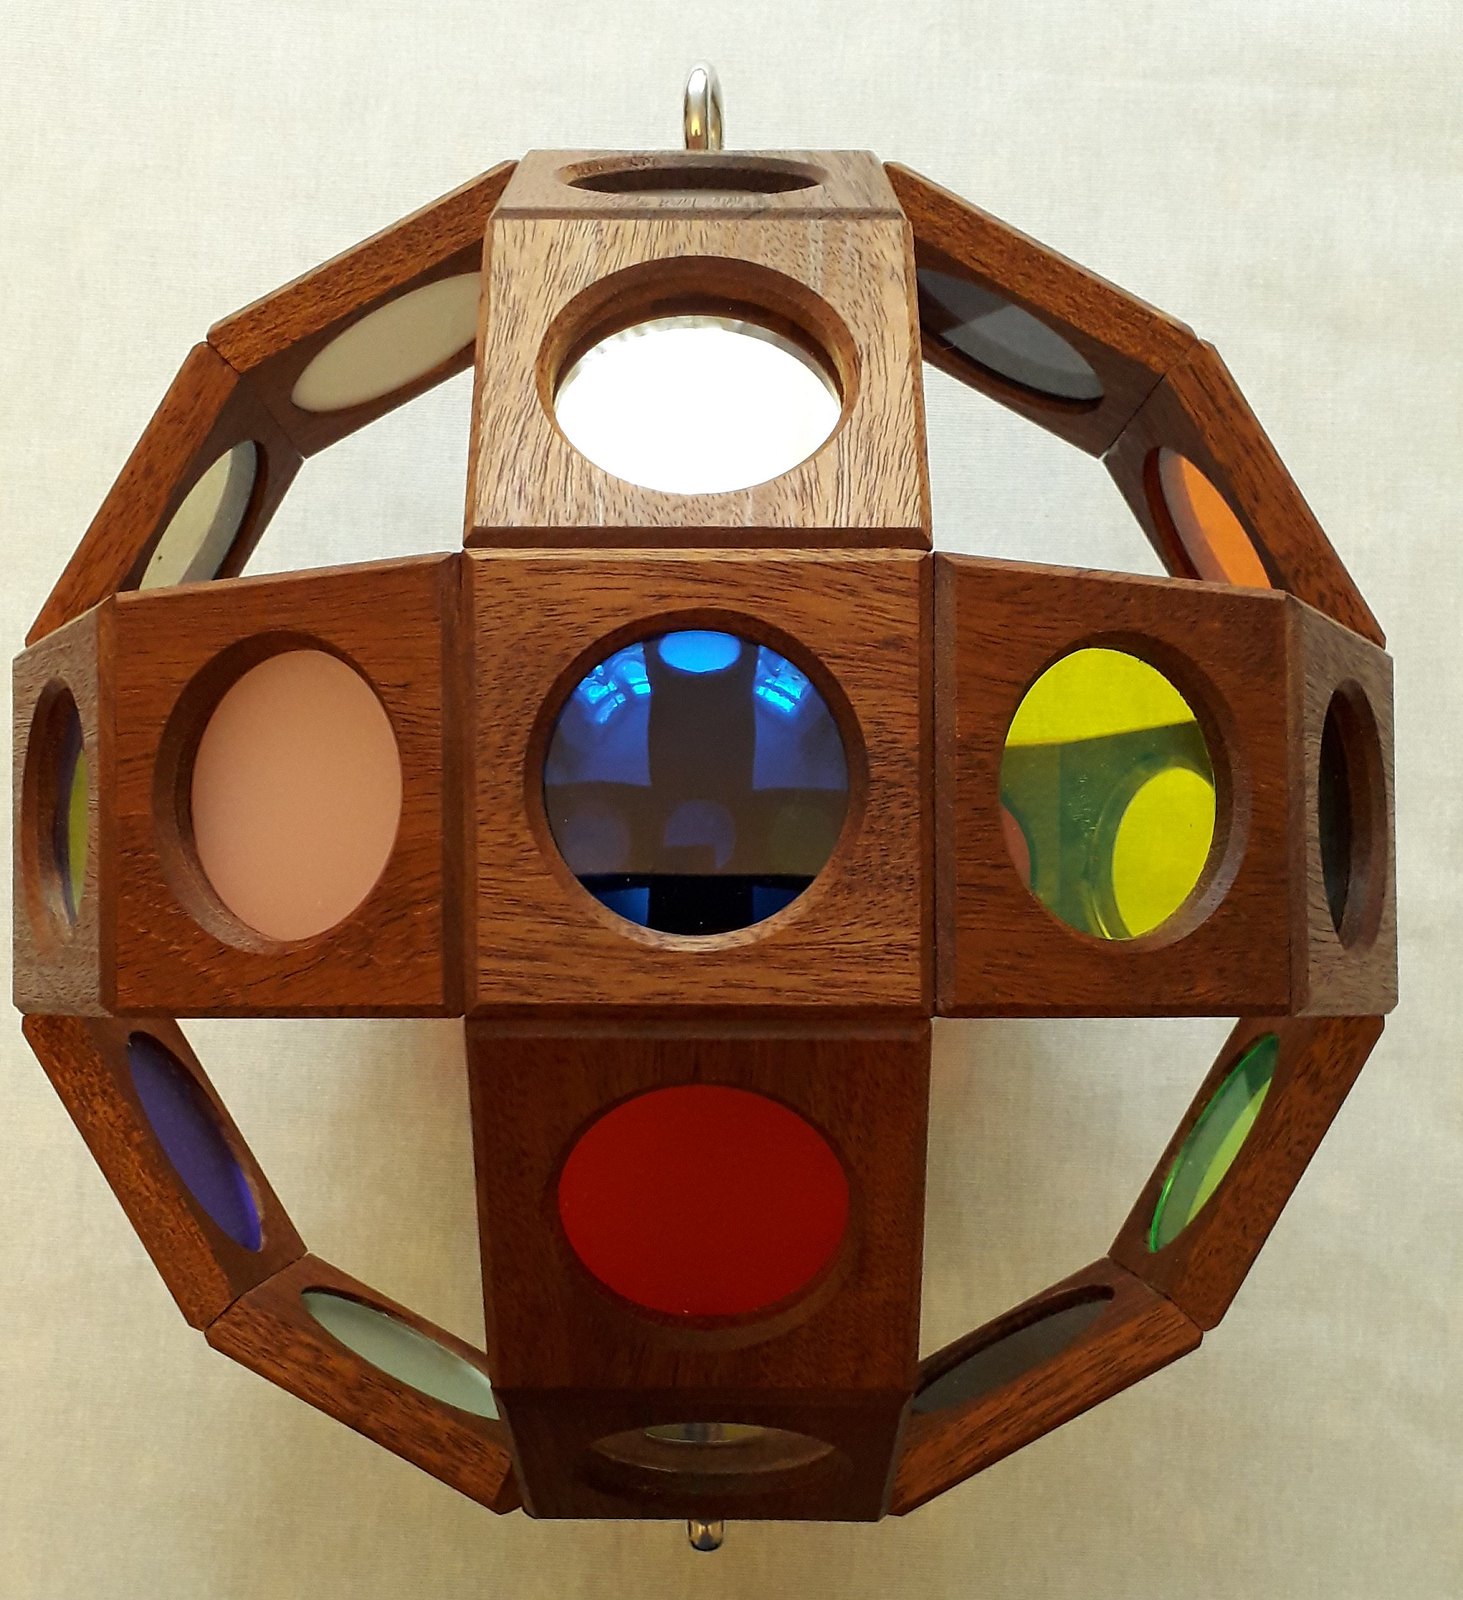
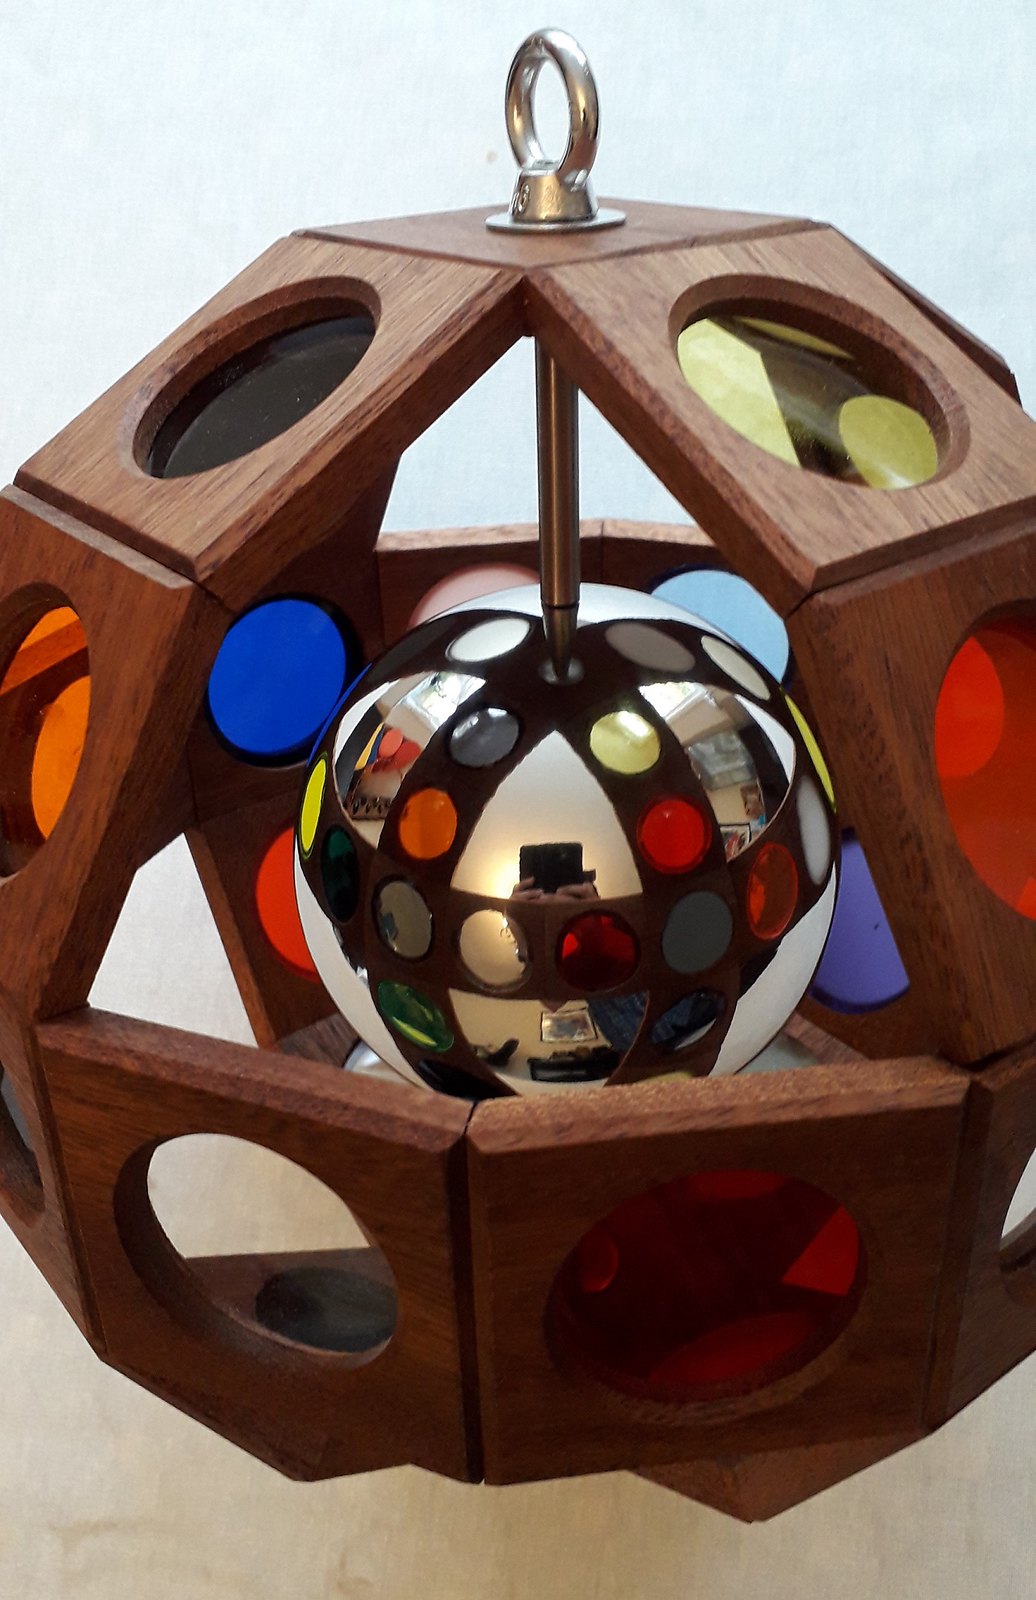
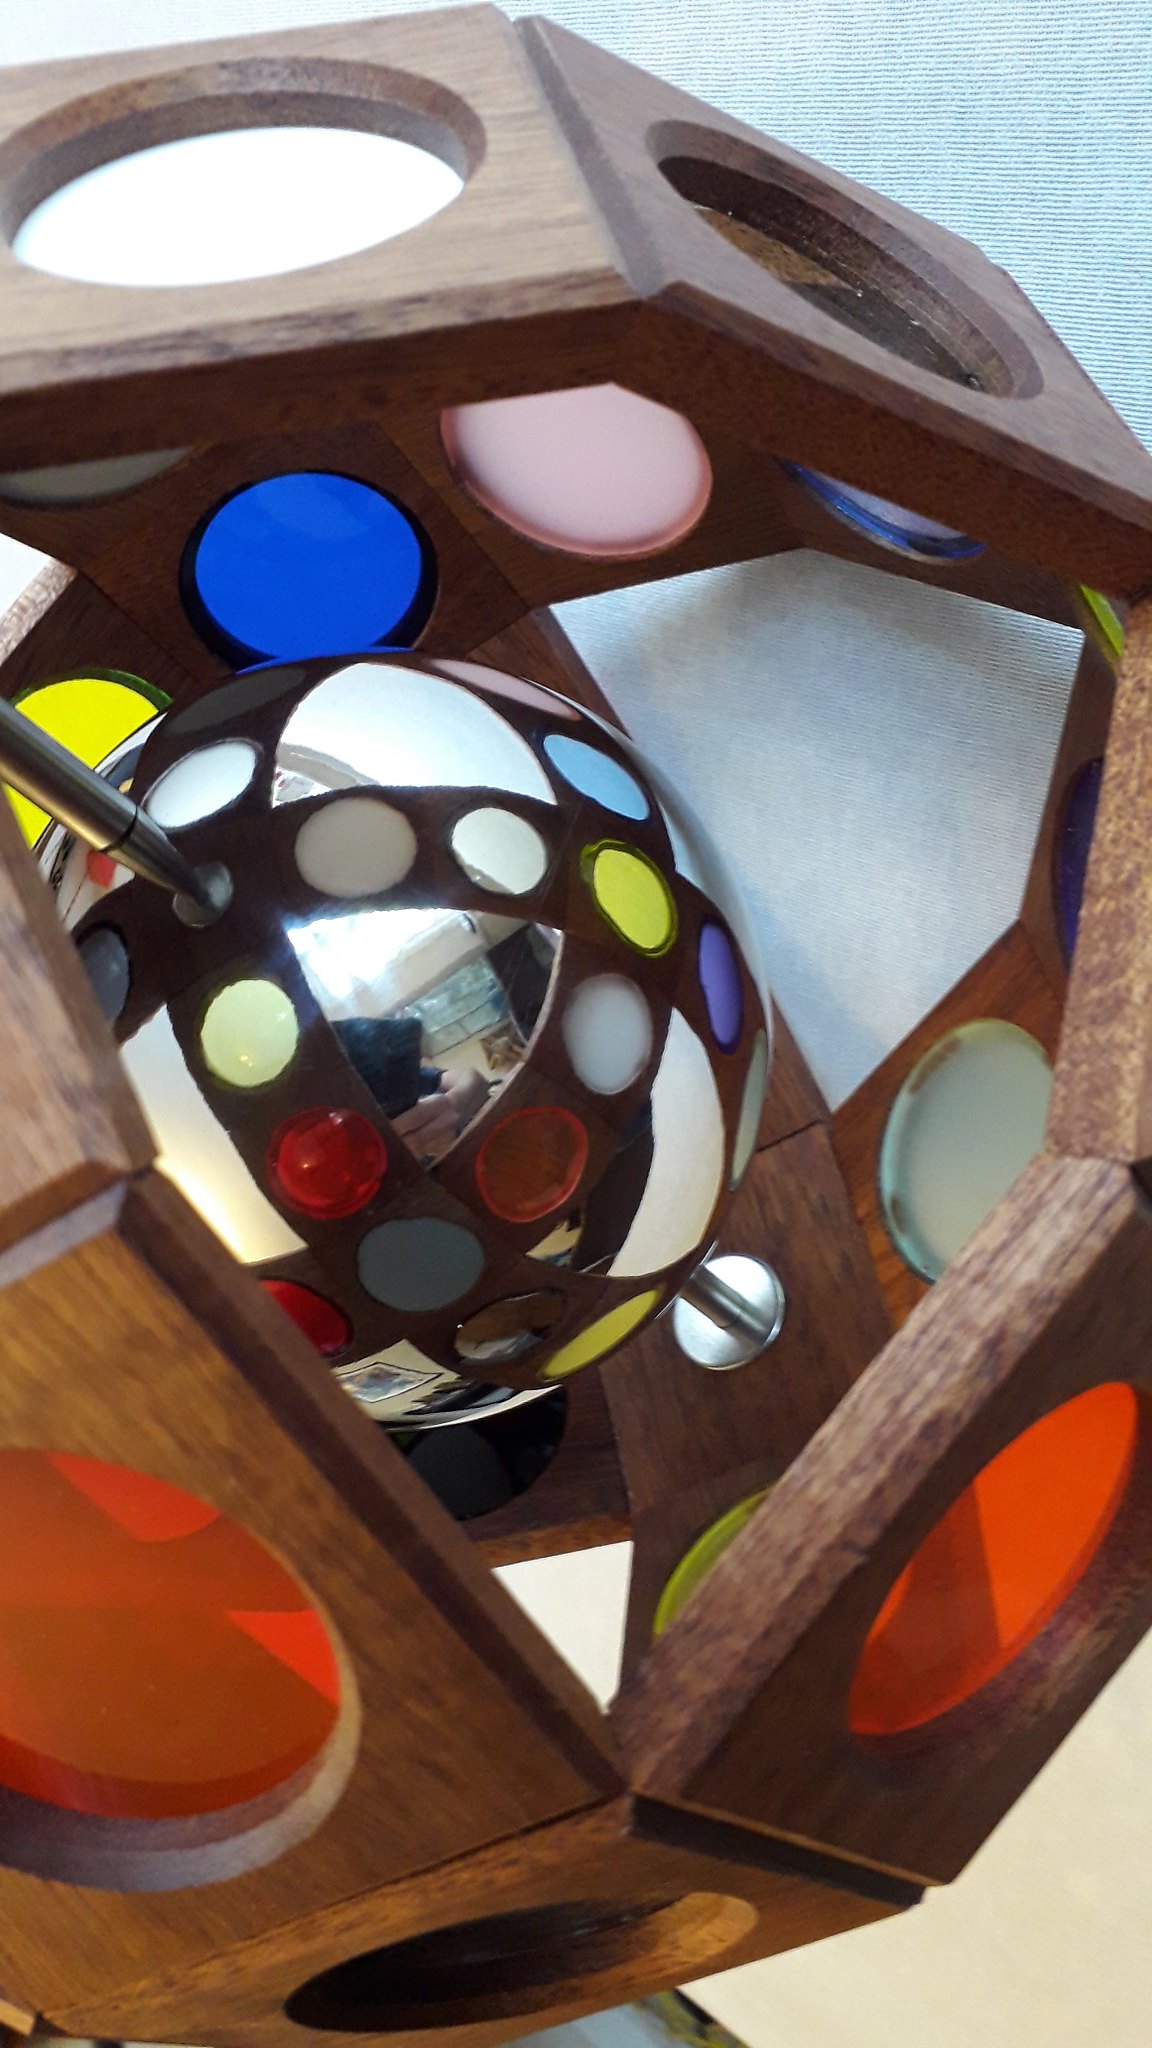
GeoBall – An exercise in (faking) accuracy

UKworkshop.co.uk

Help Support UKworkshop.co.uk:

This site may earn a commission from merchant affiliate links, including eBay, Amazon, and others.

pjm699

Established Member
Joined
18 Feb 2011
Messages
89
Reaction score
11
Location
Southampton
(My apologies - moved into projects from the wrong section previously)

Having recently been interested in geodesic shapes, I thought I would try something a bit different (to my normal stuff) for the impending arrival of my best man’s second daughter.

For once I think this might actually be of interest (even if it is only to enable laughter from the sidelines) so here we go.

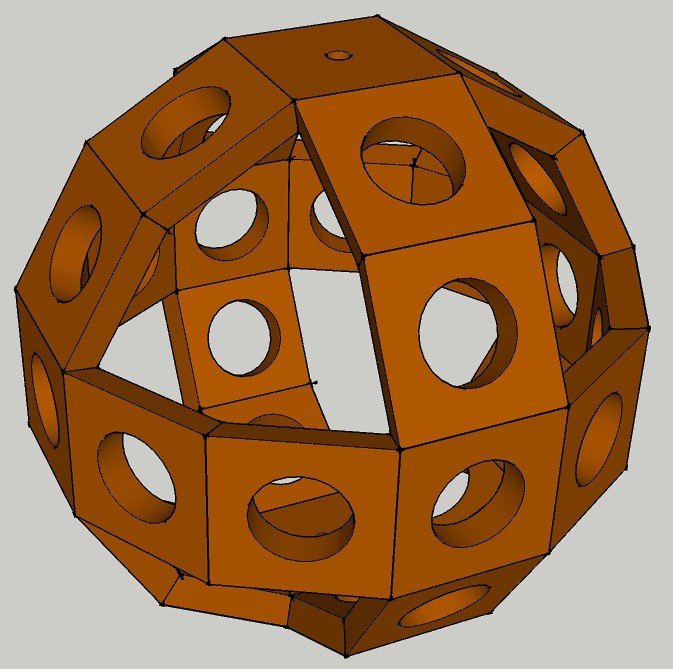
A quick peruse of Axminster’s book of dreams and I settled on a 12-sided 3D majobby which probably has a very long technical name but I shall call GeoBall (which is definitely is not but it does at least sound good!).

Somewhere between a cube and a Zocchihedron. (I had to look it up!)

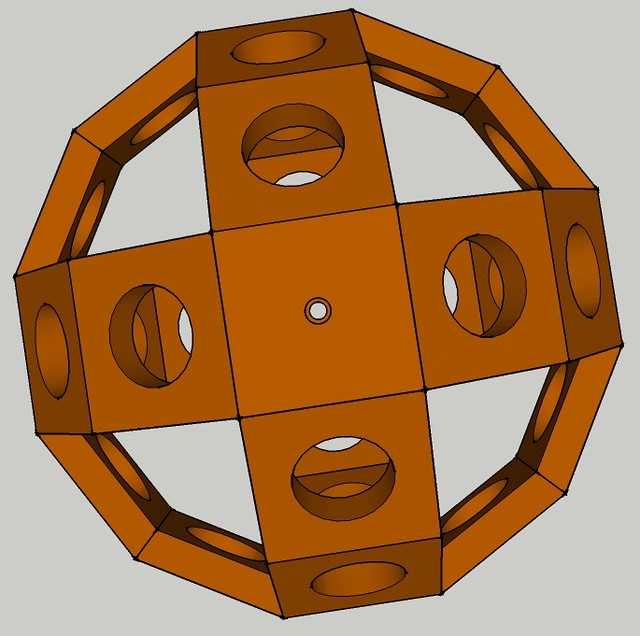
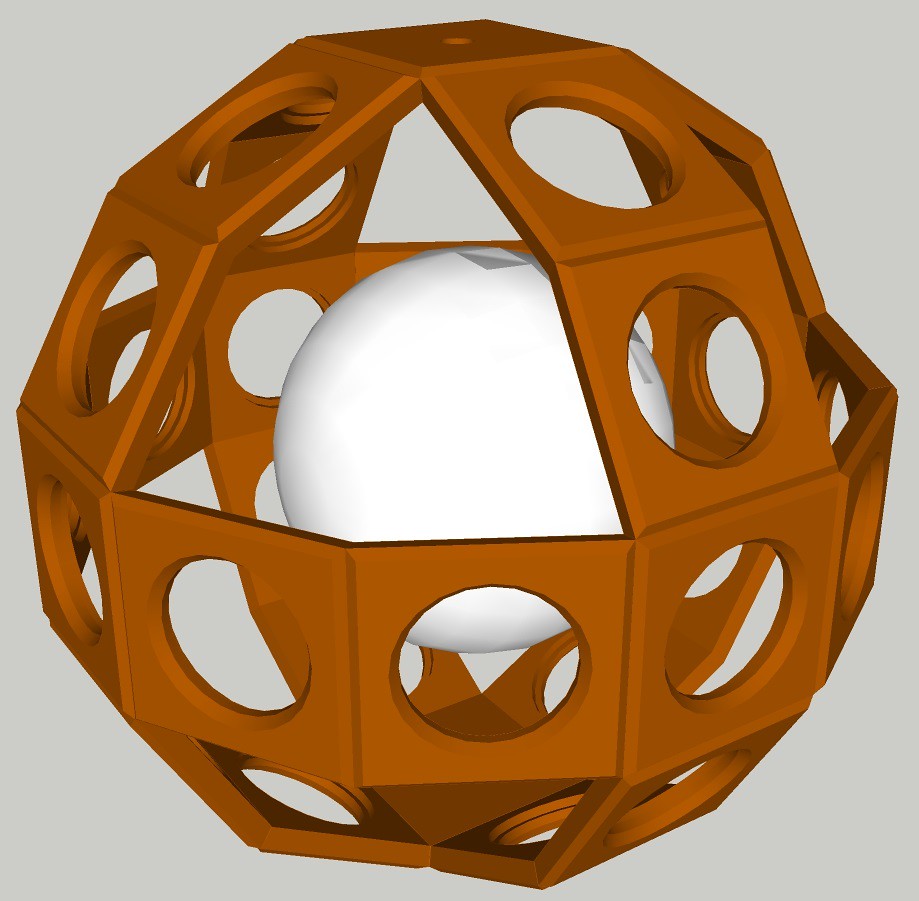
A quick delve into Draftsight (TM etc.) and then in Sketchup (TM yada yada) gave me the following.
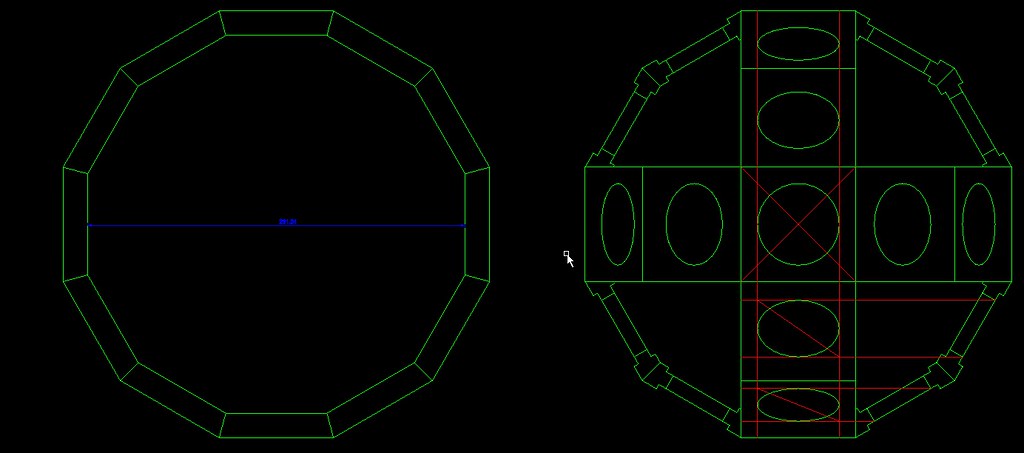
33744475868_043597e7a9_b.jpg


40655315473_87fa7ddb1e_b.jpg


46706289525_7dac6fc038_z.jpg


and now, a move from the virtual into the actual (and splintery) world.
 
Thing Bob? can't you tell, it's the main stabilizing component of the central gyropsphere of the chronographical tranducer for an Orwellian time mchine :p
 
Just to clarify, this is to be for a baby a bit like a mobile (but I did one of those for her big sister!)
Naturally it shall be well-enough constructed to spin in gyroscopic balance.

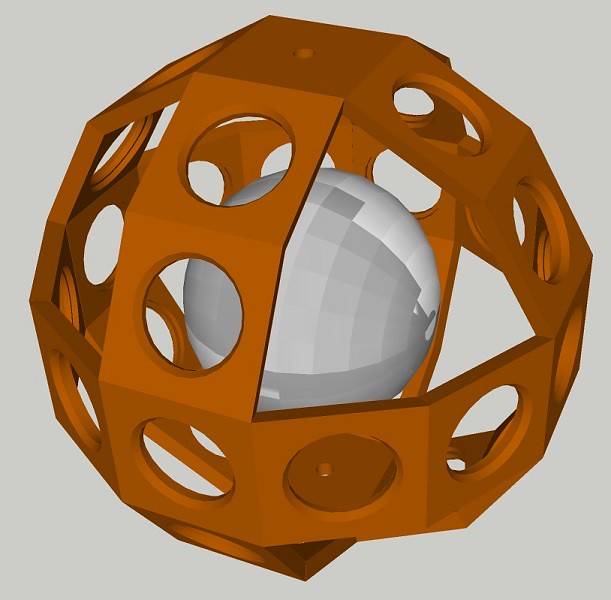
I am going to make the panels thinner so it looks a little less like a wrecking ball and there are going to be coloured acrylic in the holes and a mirrored sphere in the middle. Hopefully there will be lots of coloured light involved!

I have modified my model so it looks less horrible and have put in some of the routing (that is going to hide my many errors) as well so it seems less angular (if that makes sense). Sadly even if you select mirror for the sphere surface, it does not mirror.

47628067941_bde96fc323_z.jpg


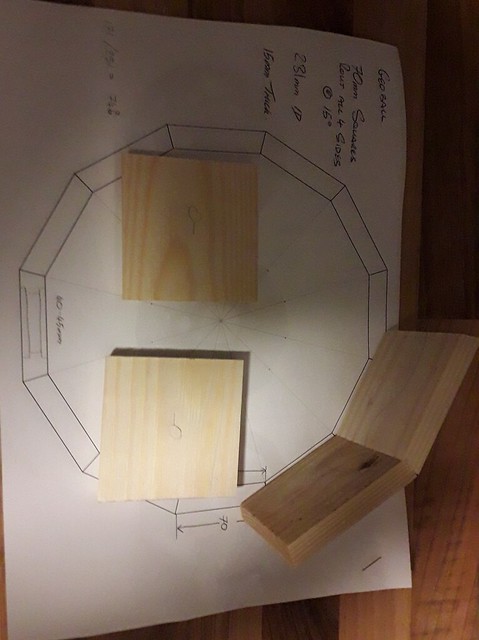
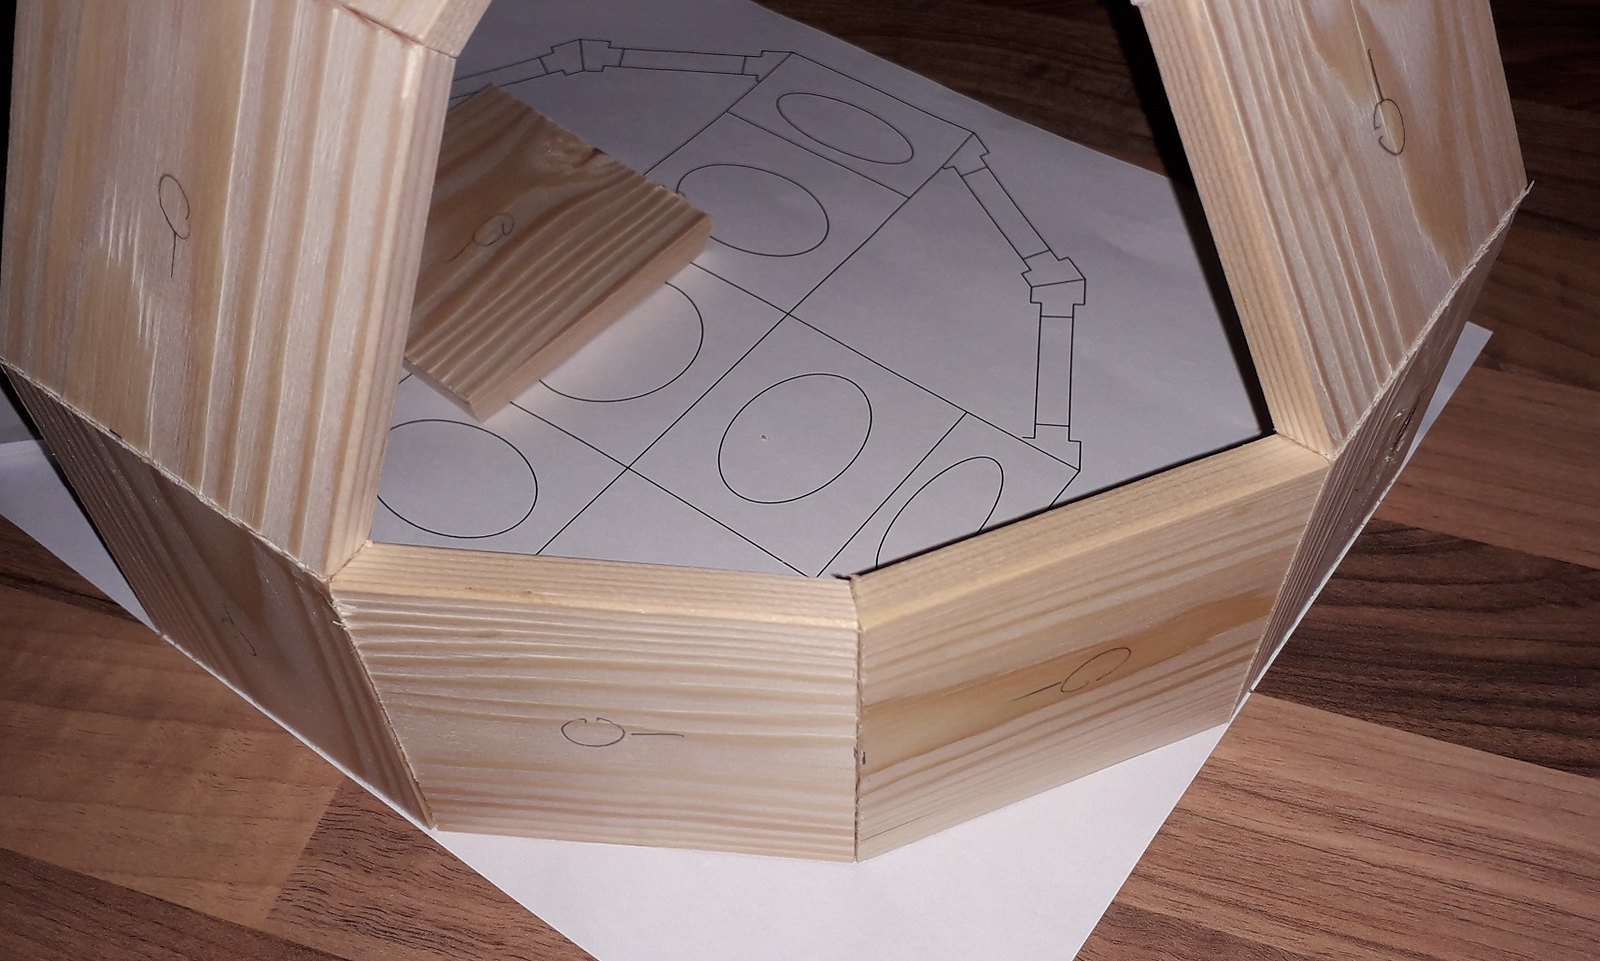
Being aware that this was going to be a slightly more delicate project than the ones I have undertaken thus far – I gave the concept a quick airing in scrap pine.

I used a printed plan of the ball to set the angles having routed the edges with axminster's lovely bevelling cutter and the glue-up was pretty swift.

40655315793_d191f24c37_z.jpg


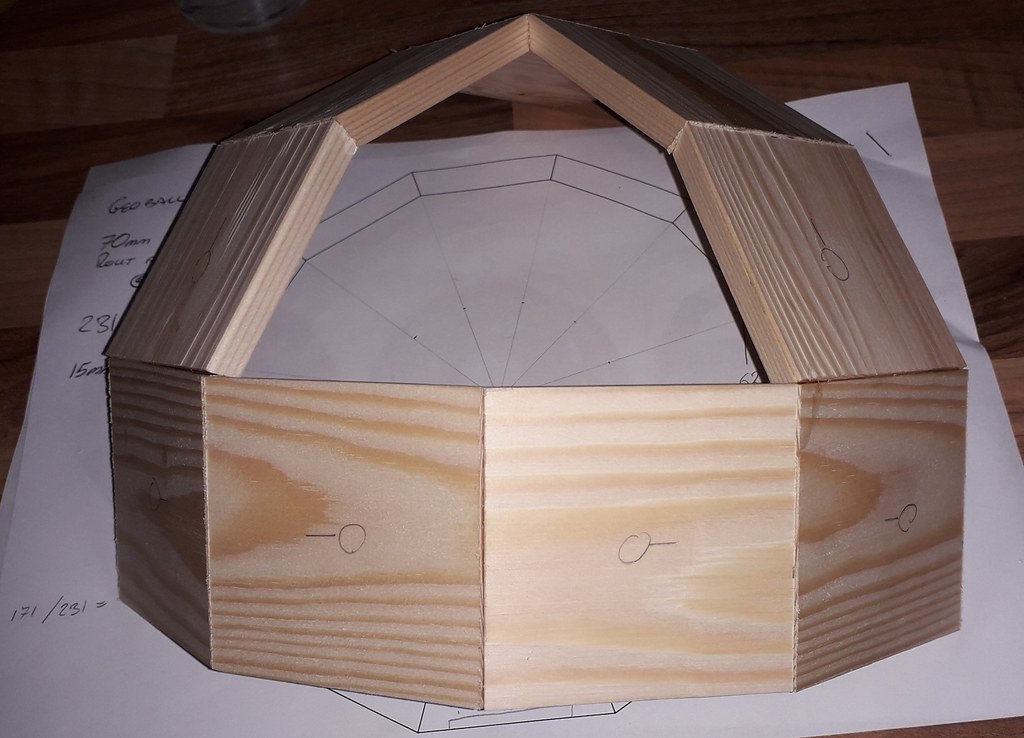
Screwfix's finest mitre bond answered the call and in no time at all – I had me a quadrant(?-octant{ish}thingy) and a sense that I might just get away with it.

46706289645_7a05d6827b_b.jpg


I folded the pieces from the outer edge inwards so any glue squeeze-out was on the inside of the ball. This also confirmed that facets of about 70mm should be reasonable without the final thing being enormous.

Amazingly the piece was pretty square so this gives me hope as I escape for the Easter break.

40655315653_13f03d9927_h.jpg
 
Well, the easter break gave me a chance to zoom on with the project and parts actually arrived on time for once. (installment 1 of BH weekend workings)

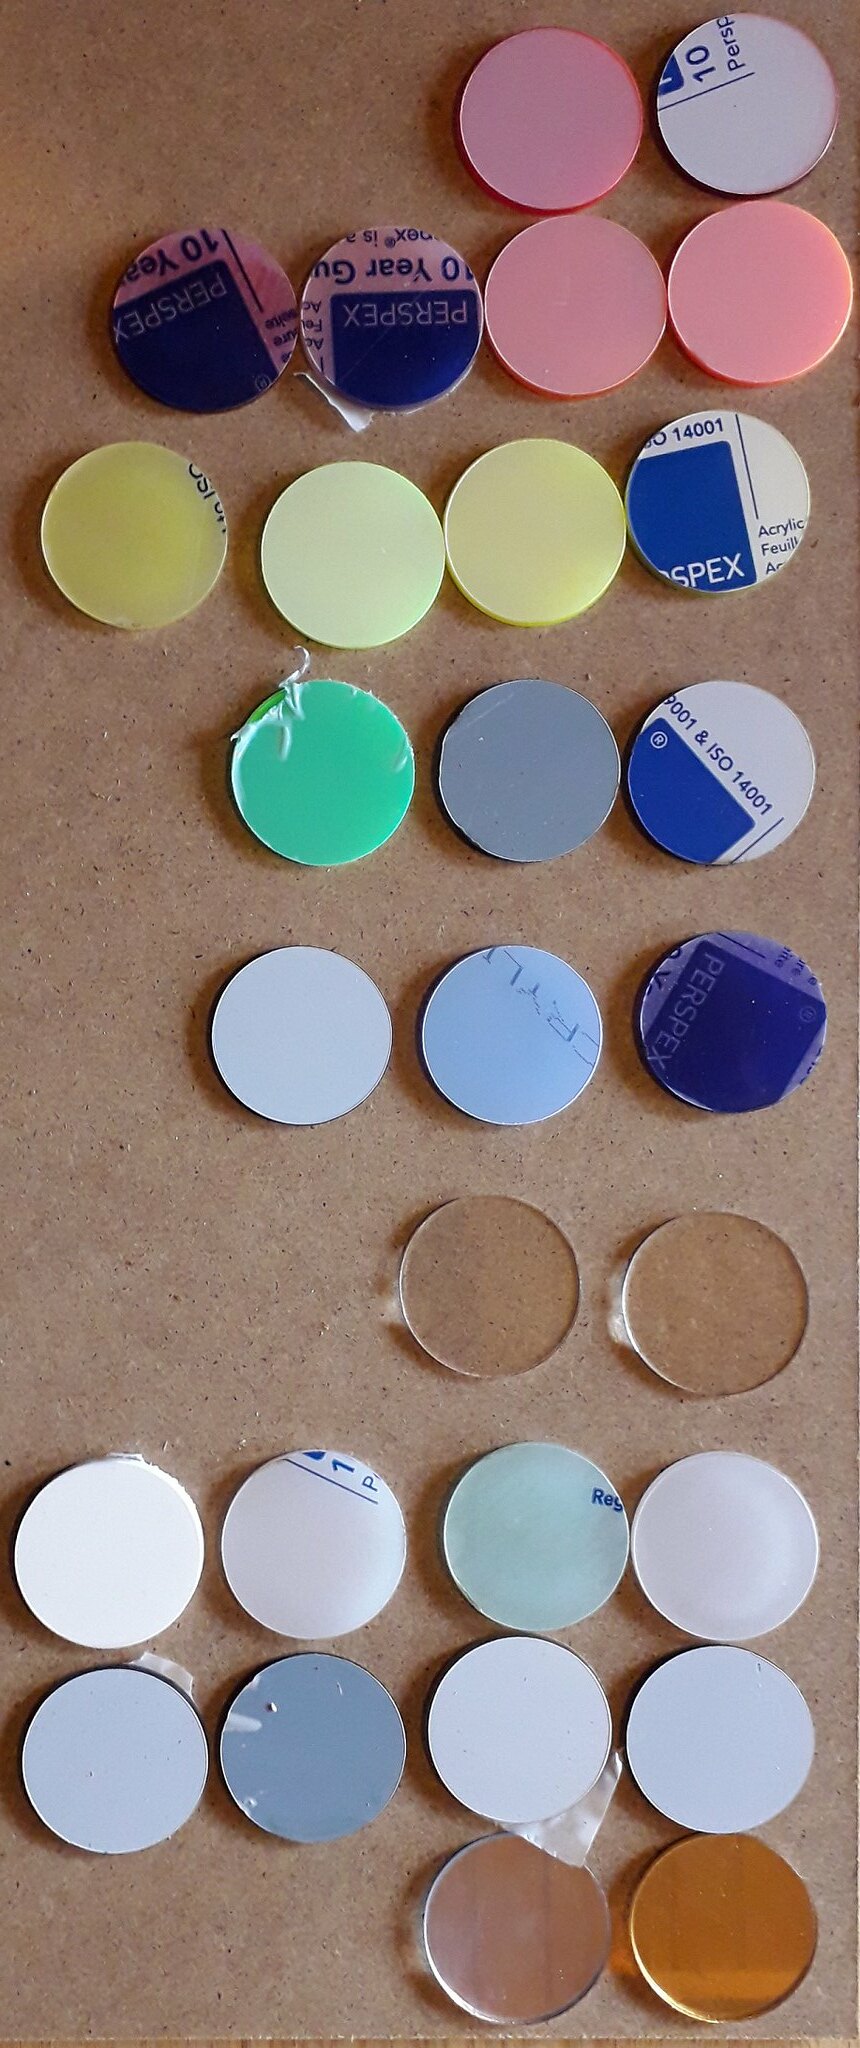
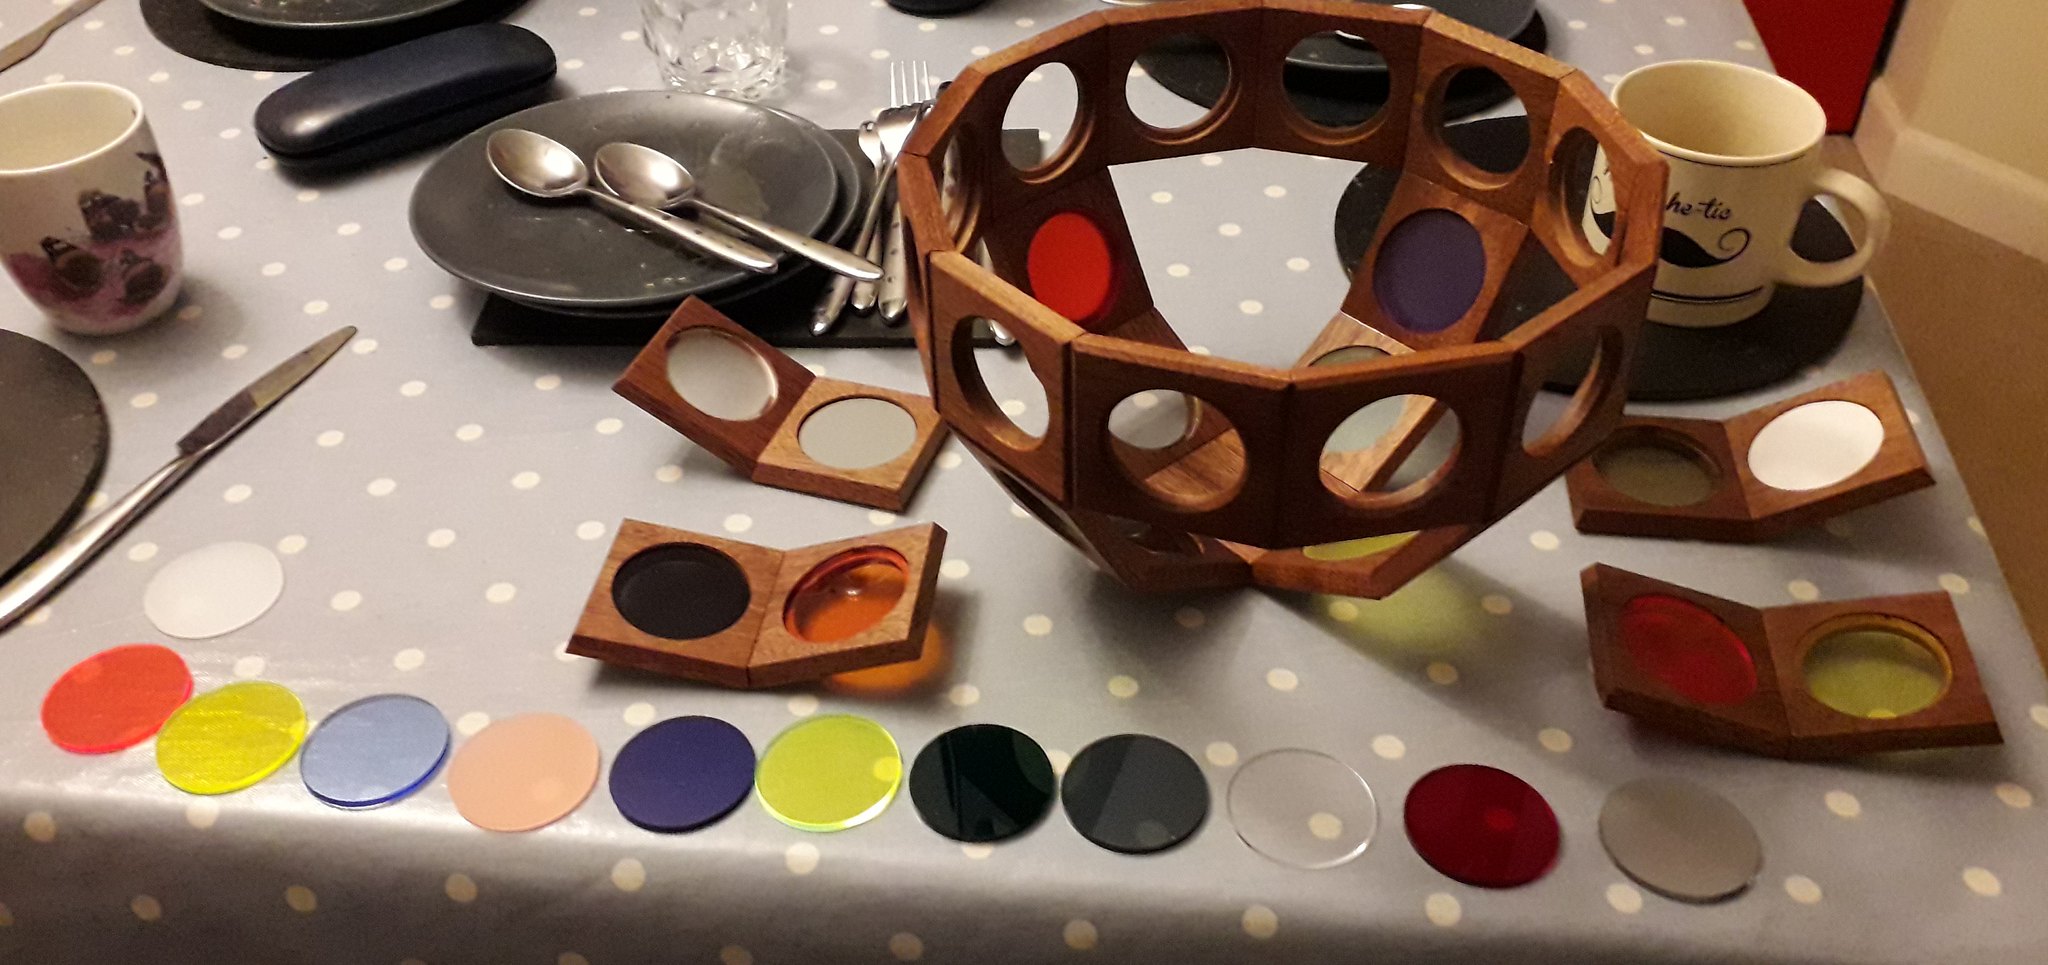
Plastics Online (to whom I am unconnected other than as a customer) can supply pre-cut discs for 50p each, but seeing as I know a chap what has a 'small' LAZER cutter I bought squares and spent a happy (if slightly aromatic) hour or so making 4 circles each out of squares for less than the price of a single circle (excluding time obviously).

47628858341_17d20b9a81_k.jpg

I hope that they are more different when I unwrap them – they looked very different in the sales images so in this I must trust.

{Irritatingly, I managed to miss one of my intended purchases of hue and so there are 2 squares [of the 28 with discs] that are going to have to be the same. I know this has overall, no effect whatsoever, but really annoyed me, but as I am not willing to pay another shipping fee, two the same it shall have to be, I will just have to make sure that they are nowhere near each other in the ‘random’ insertion!}

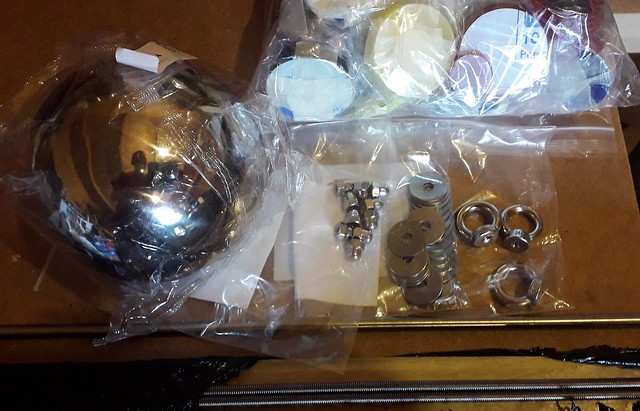
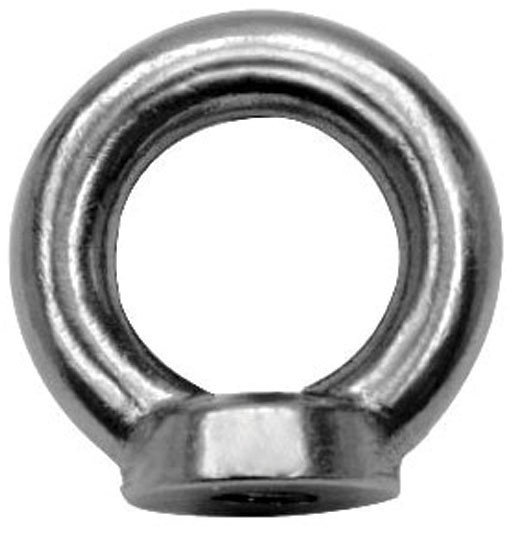
Thankfully, working for a company that makes all sorts of woojits -we do lots of orders to useful companies and therefore, having missed the last one, I put in my request for a few bits for the holding of the ball, namely stainless steel stud, dome nuts, washers and a eyenut or two. These duly turned up and were combined with a stainless tube and polished sphere (ish) from Ebay. I am going to make a decision about the sphere later – as long as I remember to put it in the ball as I glue it up because it is not going to fit through the holes if I forget!

40662498263_9d825e7086_z.jpg


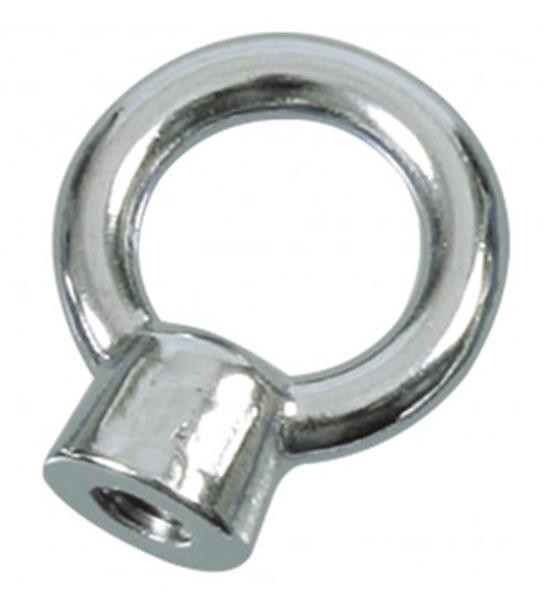
Upsettingly it seems that there are eye nuts and eyenuts and it appears that I had ordered the latter in lieu of the former which I actually wanted – again overall no effect but when you are planning on spending many many hours on something - a duff component is liable to cause severe trauma in the long run. Two eyenuts have therefore been consigned to the parts box and another one has been dug out from the back of the garage ( I knew there was one in there somewhere!) - not a swift task but once I was tied onto the safety line and my beloved belayed me into the cavernous depths – the task was accomplished in reasonably short order. The down side is that I got this one from Falmouth when I was down there and that’s about a 4 hour drive away – I think the internet might be called upon if I need another!

47576146812_0d1d565d45_z.jpg
47576146912_c1de66b912_z.jpg
 
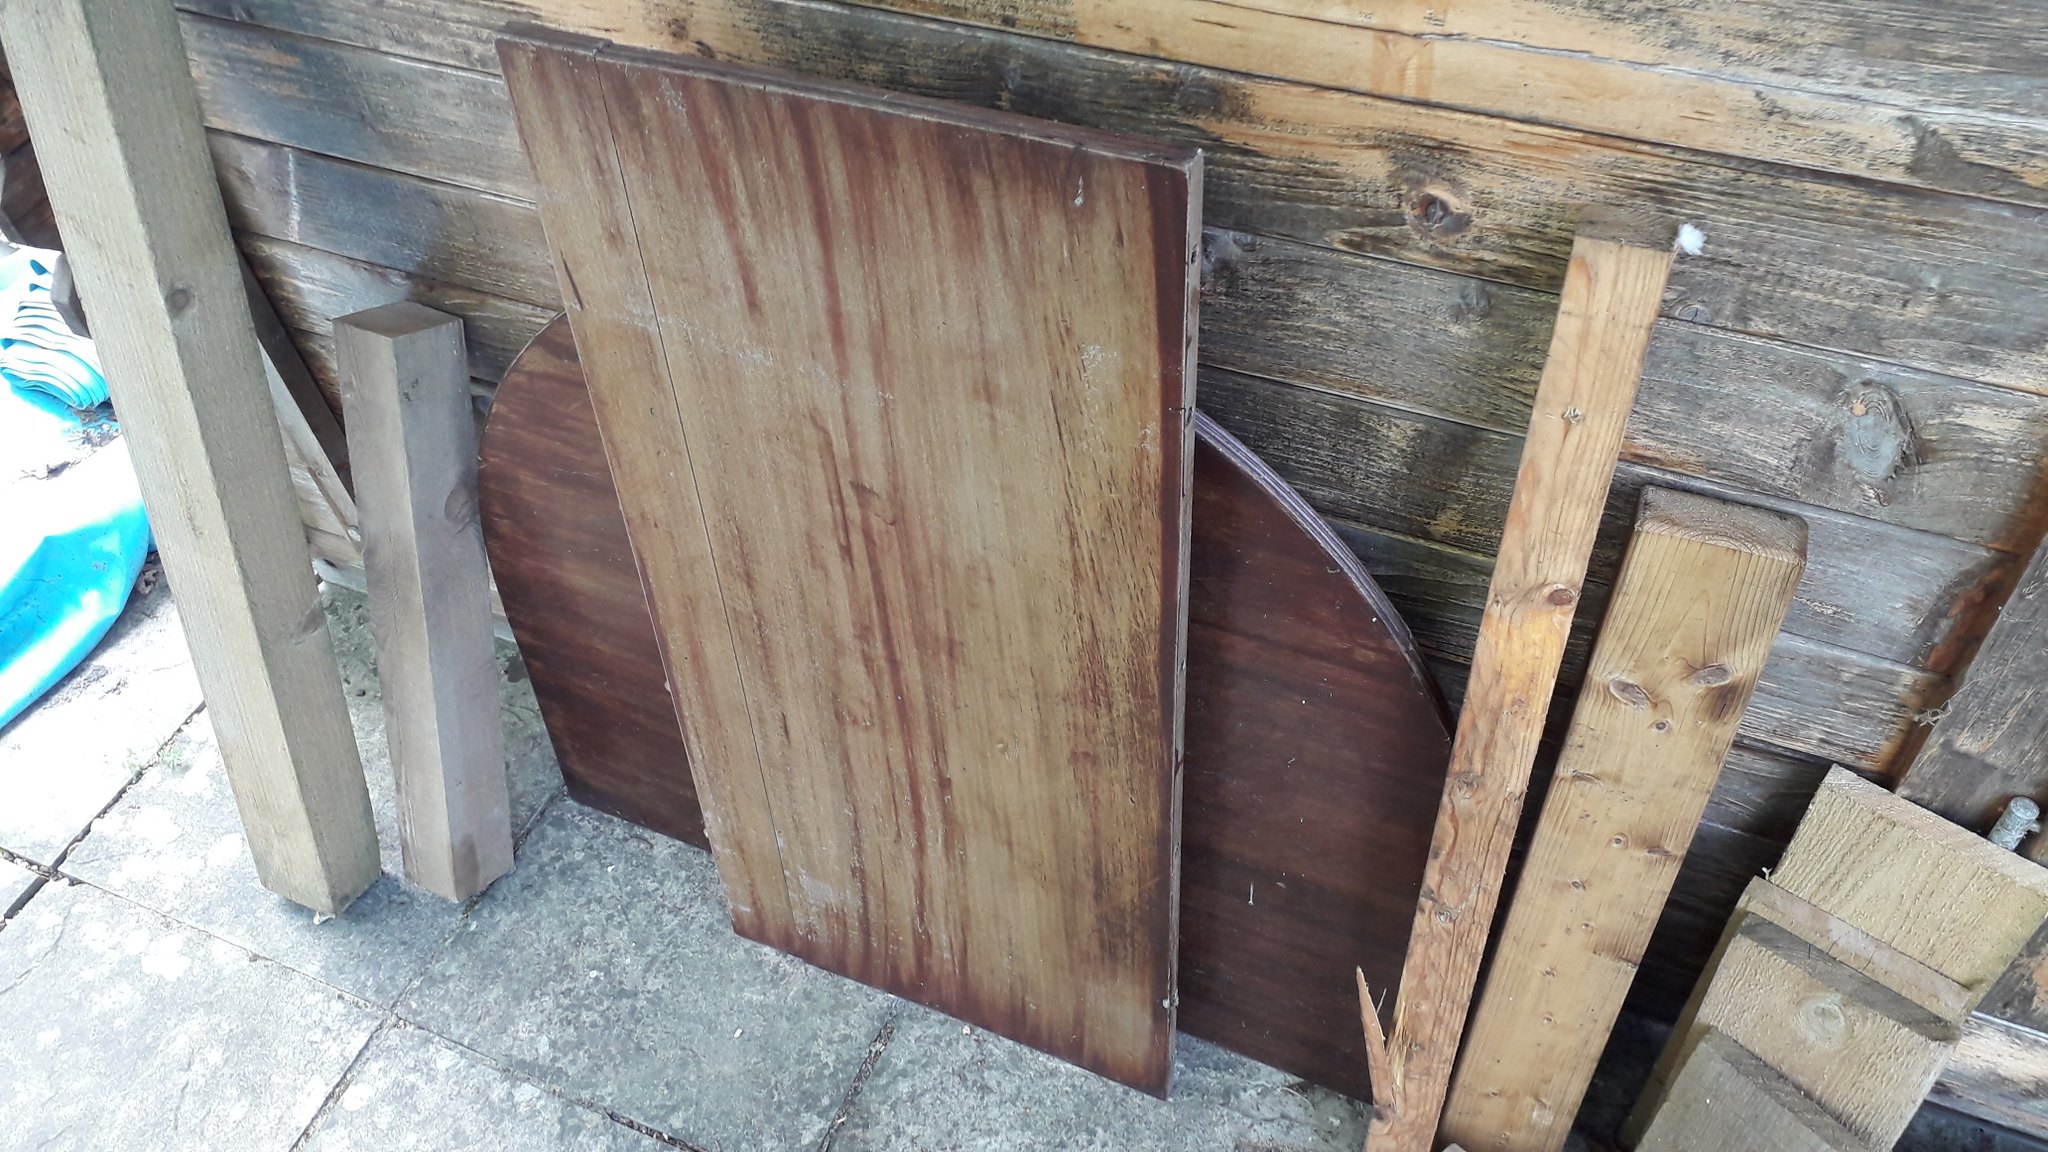
Having achieved for myself something of a reputation, a friend partook of a little skip diving for me (with the owner’s permission!) a while back and brought me an old table top which I think is mahogany.
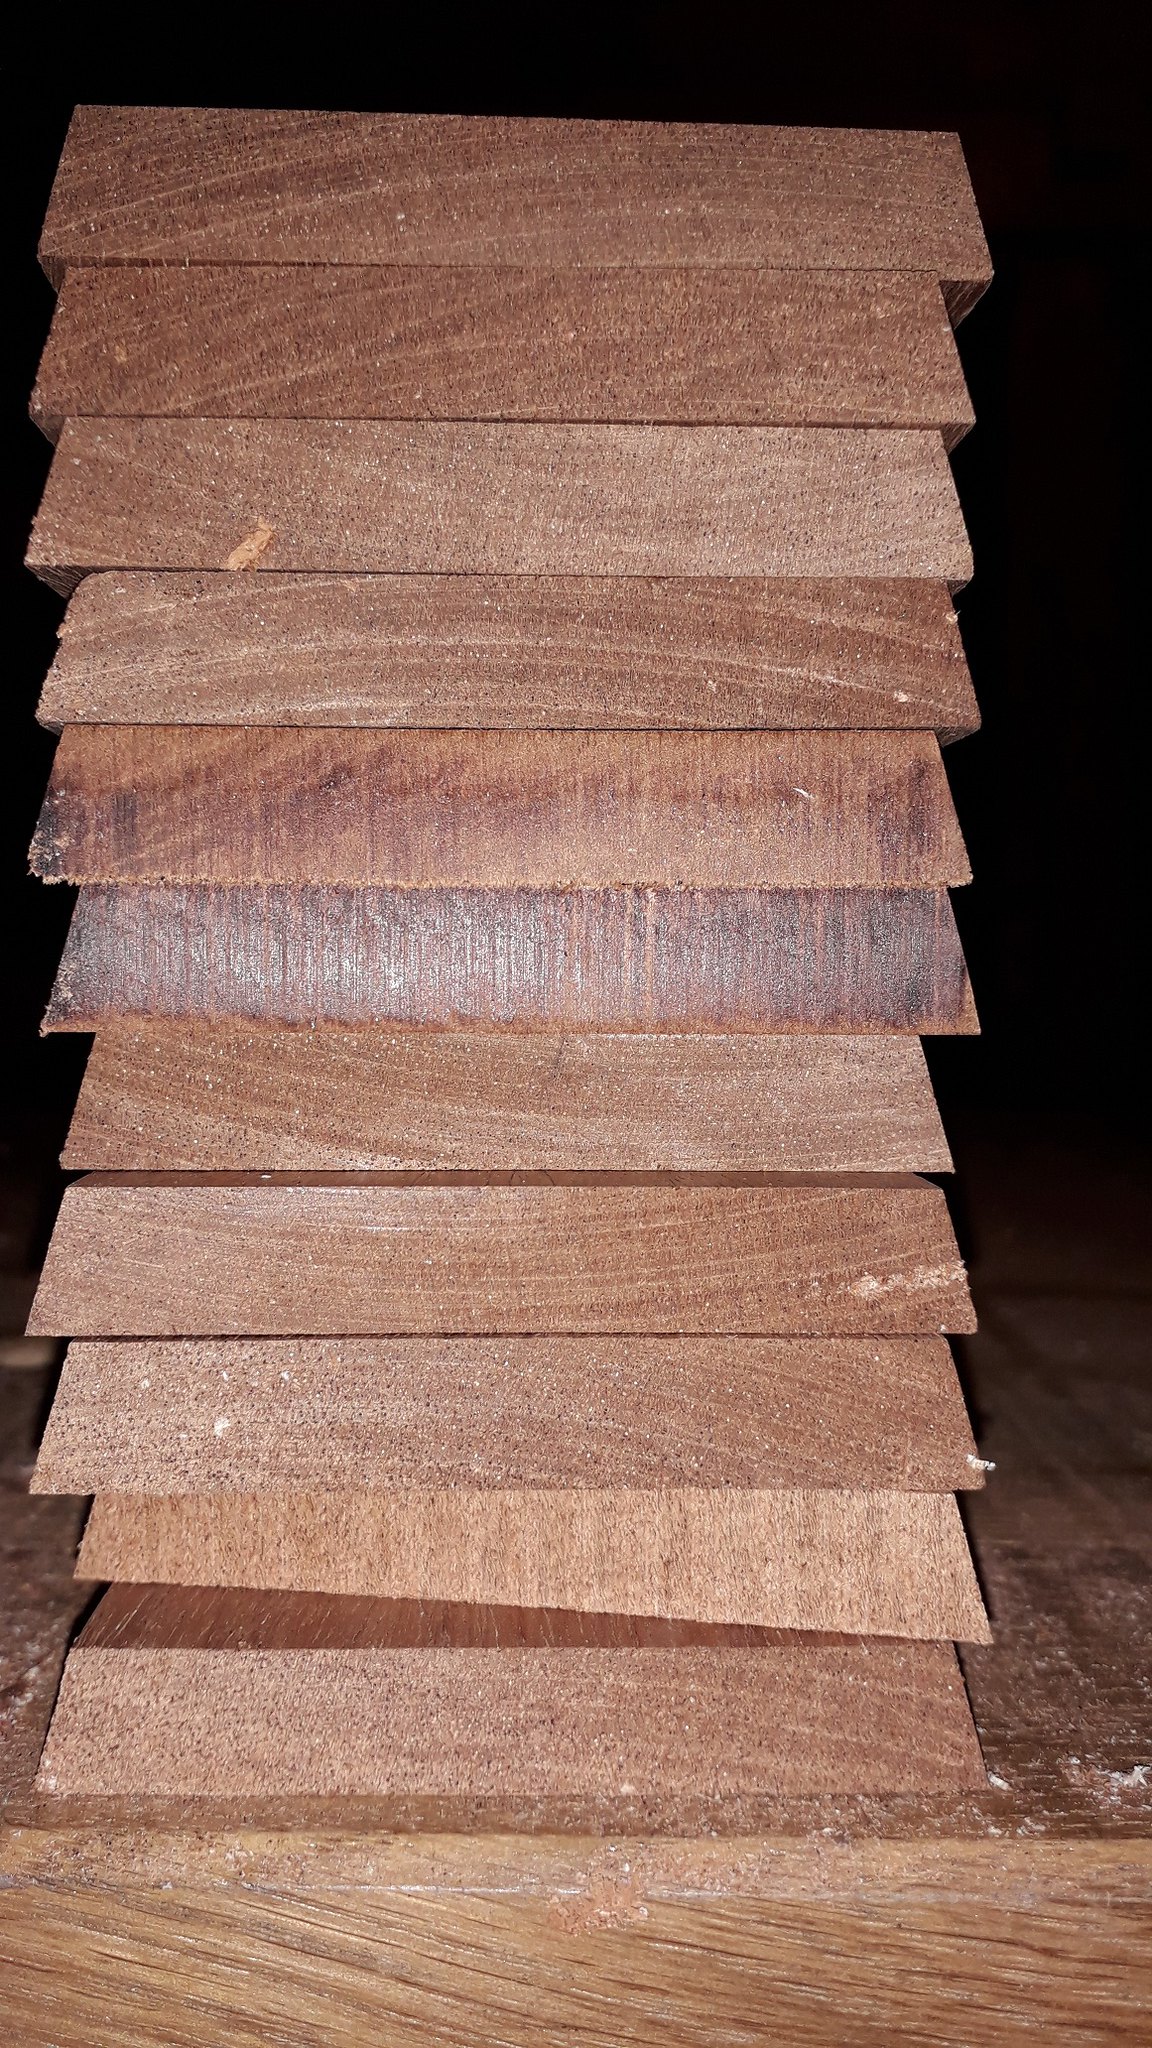
Onward we go then and let's attack the old table, cut into strips on the band saw and put through the thicknesser to give a final size.
70*9 it is and after an evening of dancing round the workbench, I have a stack of wood ready to go – and suddenly the buying prepared timber option seems less terrible – but this is re-cycling I guess and it is pleasing to make something new and (potentially) lovely out of something that was thrown away – much better I am certain that going for “energy recovery”
32733027387_857f747d76_k.jpg


This I thought would be perfect for this project; a reasonable size and not in need of too much preparation. Well, a good drum of shavings later and I am not so sure about the preparation comment but never mind. I also have some strips from an old door frame or similar in mahogany (and a slightly blunted band saw from where I missed an accursed nail) and it looks good, although very different in grain. I think perhaps a second ball might be in the offing (as long as the first does not finish me off!)

The next stage is marking it all out and avoiding the bits that I should have avoided with the band saw but did not. Amazingly for such a lot of timber( I thought there was loads when I started so there is still some table top left), there are only just enough to make the 2 balls I have planned once the dodgy bits are removed.

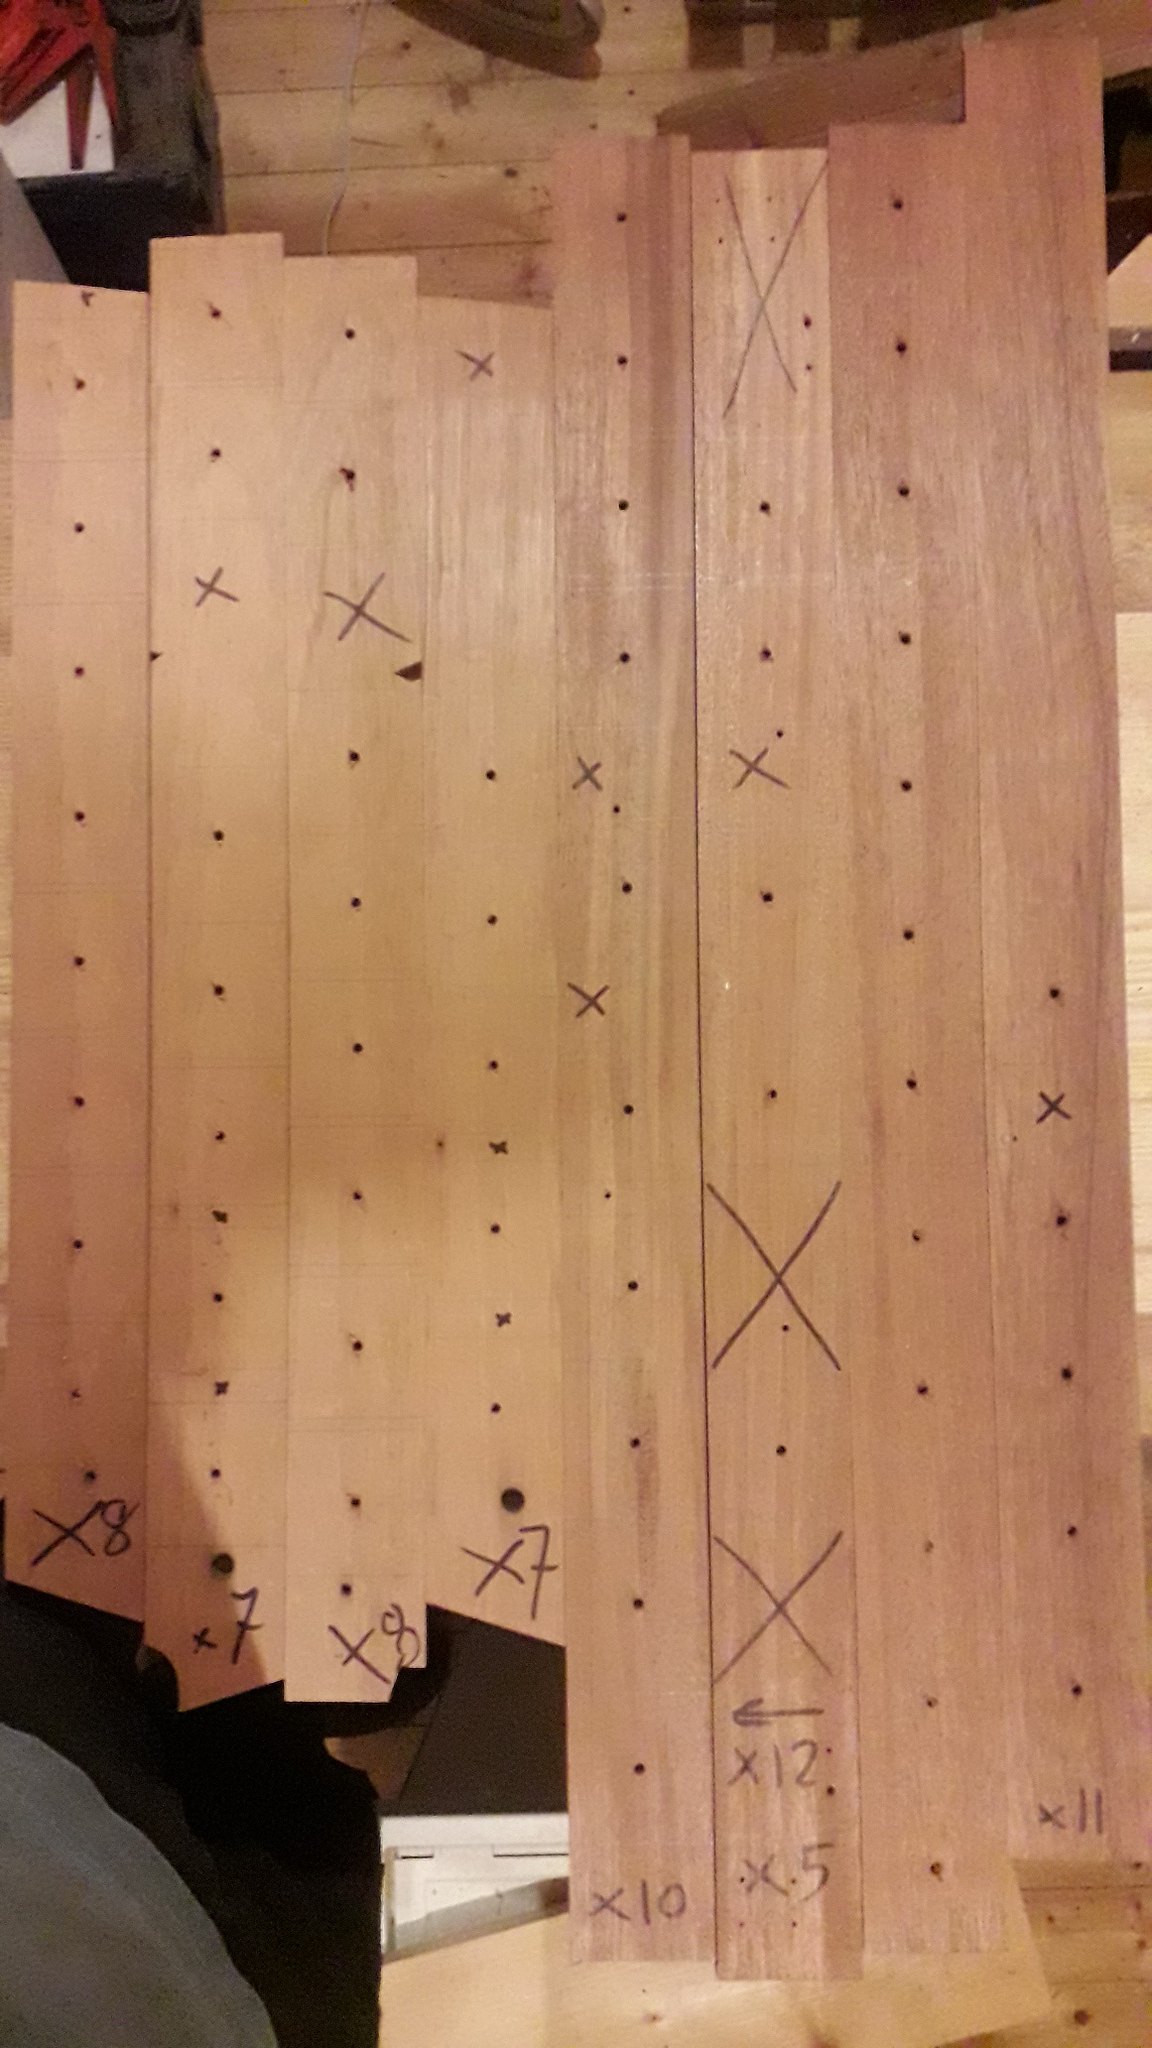
Next is marking-up the centres of each square for the drilling, a 5mm hole in each
40664050873_129eeb5b67_k.jpg


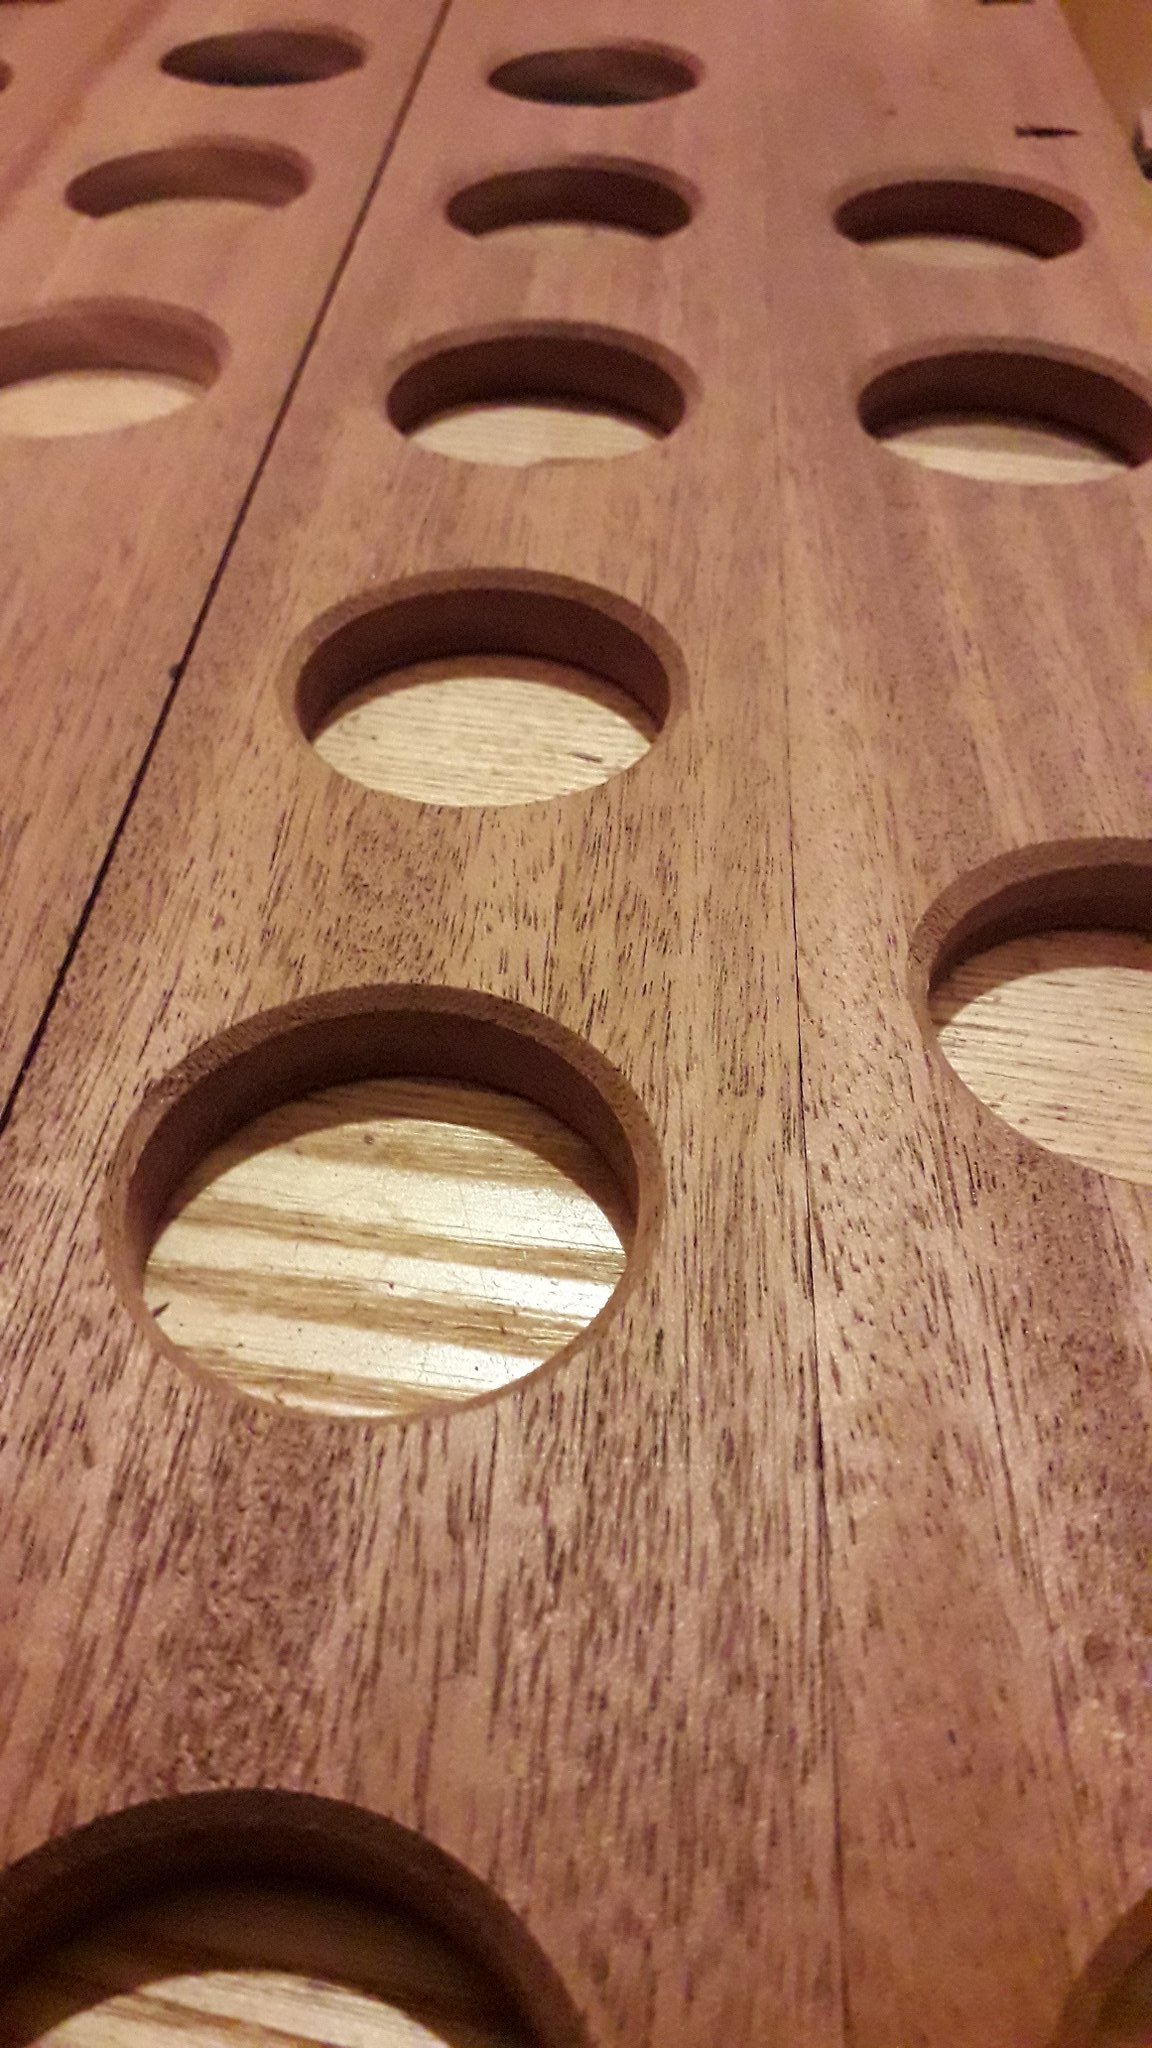
And then attack with a forstner bit with the screw removed – (5mm plain-stub in the centre) remembering to drill from both directions after messing up a couple by drilling through – but with the routing required I should be able to hide that.
47577707912_163a8e5d28_k.jpg

A quick conversation with middle management
40664089773_cfbf6e9ea8_k.jpg


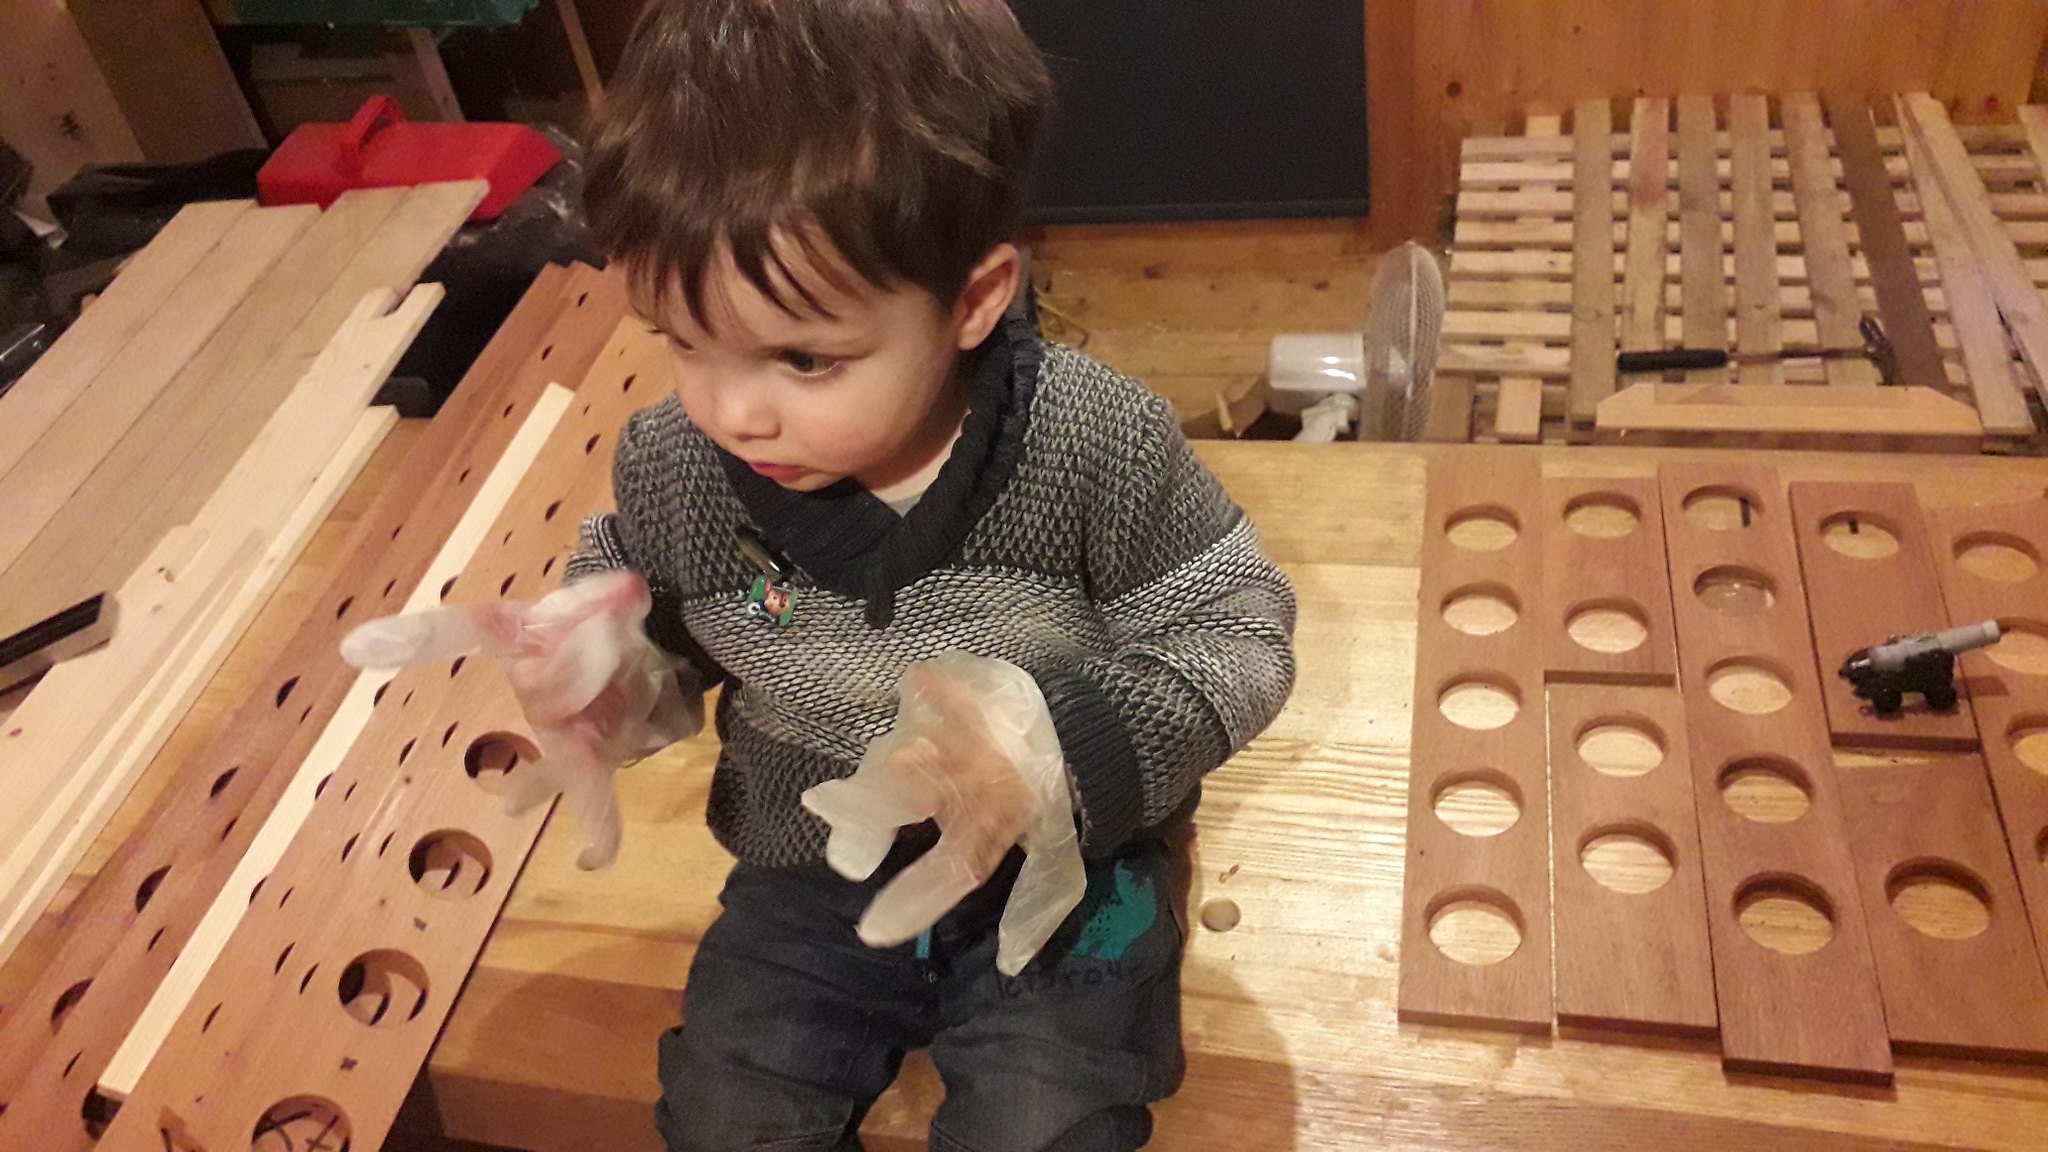
(who is a little early for finishing but shows keen!) and a quick break to try and work out how far small fingers can go without actually taking said fingers and giving them ideas. #2 is very practical and so helped with some drilling on the press (with ear covers and extraction on) before heading in for some Thomas the tank on the television with #1 who loathes getting his hands dirty (how are they so different?).
I think a high level switch (or series of them) to energise a contactor or set of relays and then break out distribution (on extensions to avoid part P) from there with a ‘hot’ socket for winter heater. I think this might have to be the next project as #2 loves machines and interesting buttons and it’s getting annoying unplugging everything before and after each use.
 
This next phase was in equal measure pleasing in its rhythm and annoying in that when I had finished, it looked like I had done nothing.
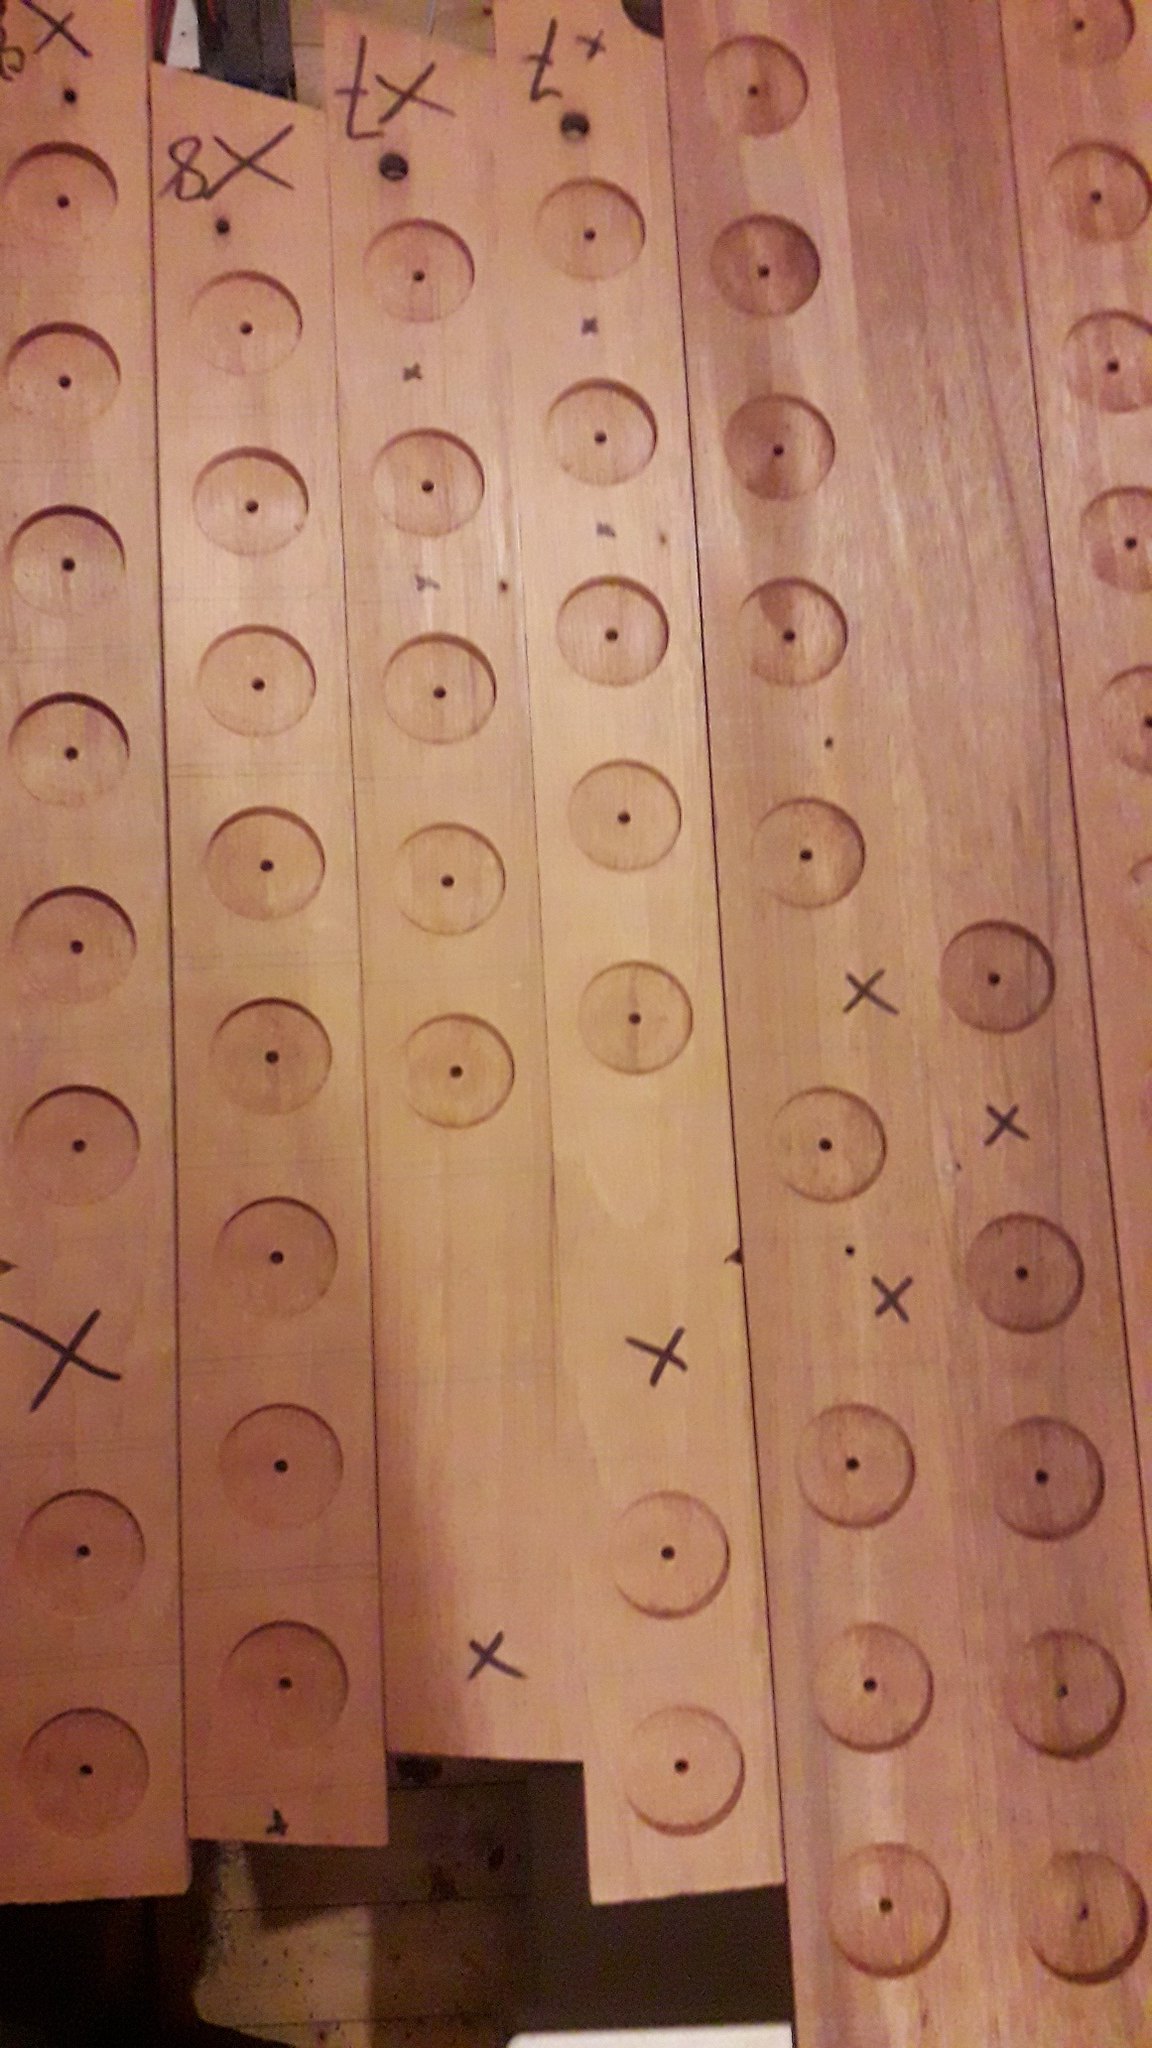
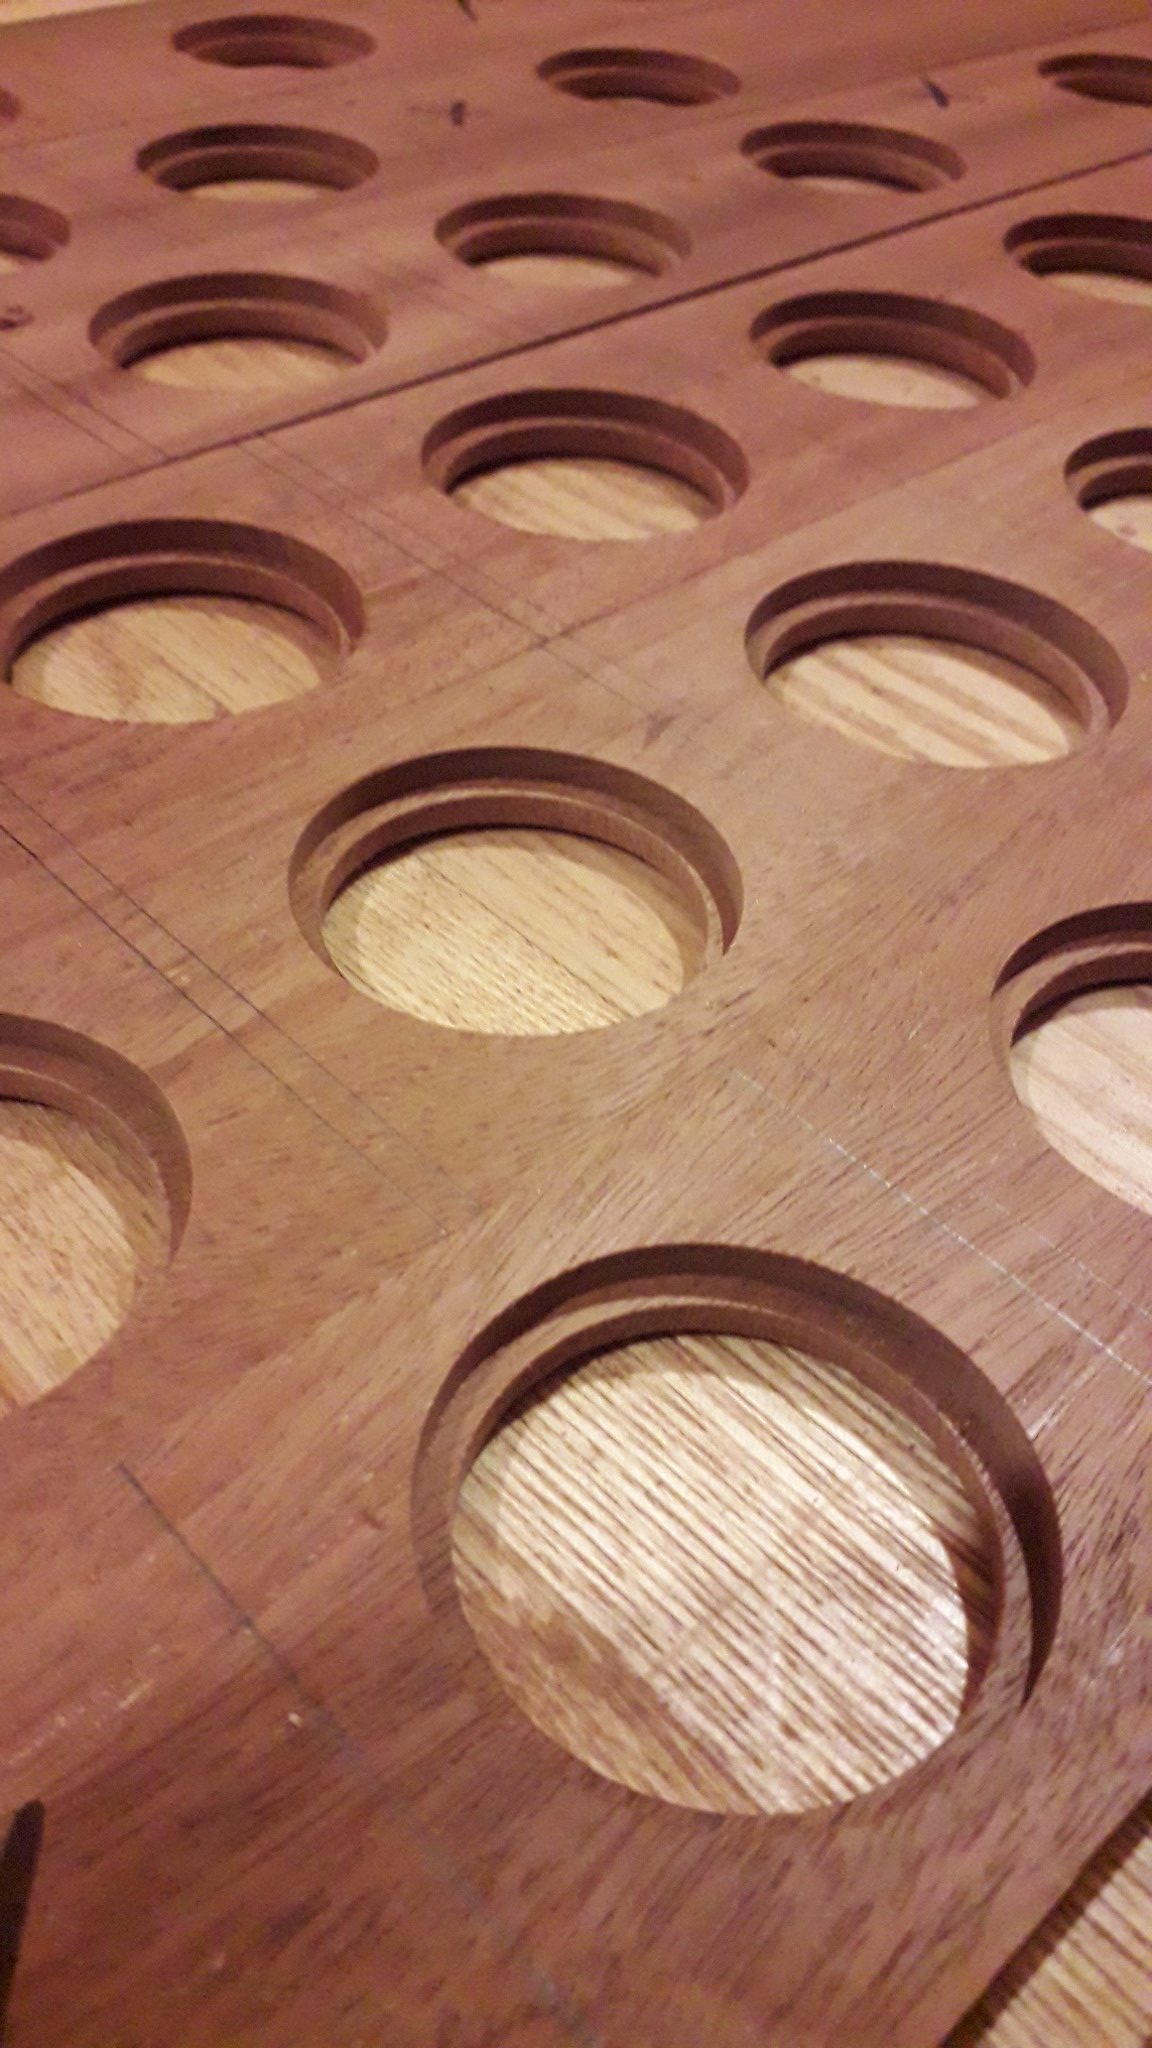
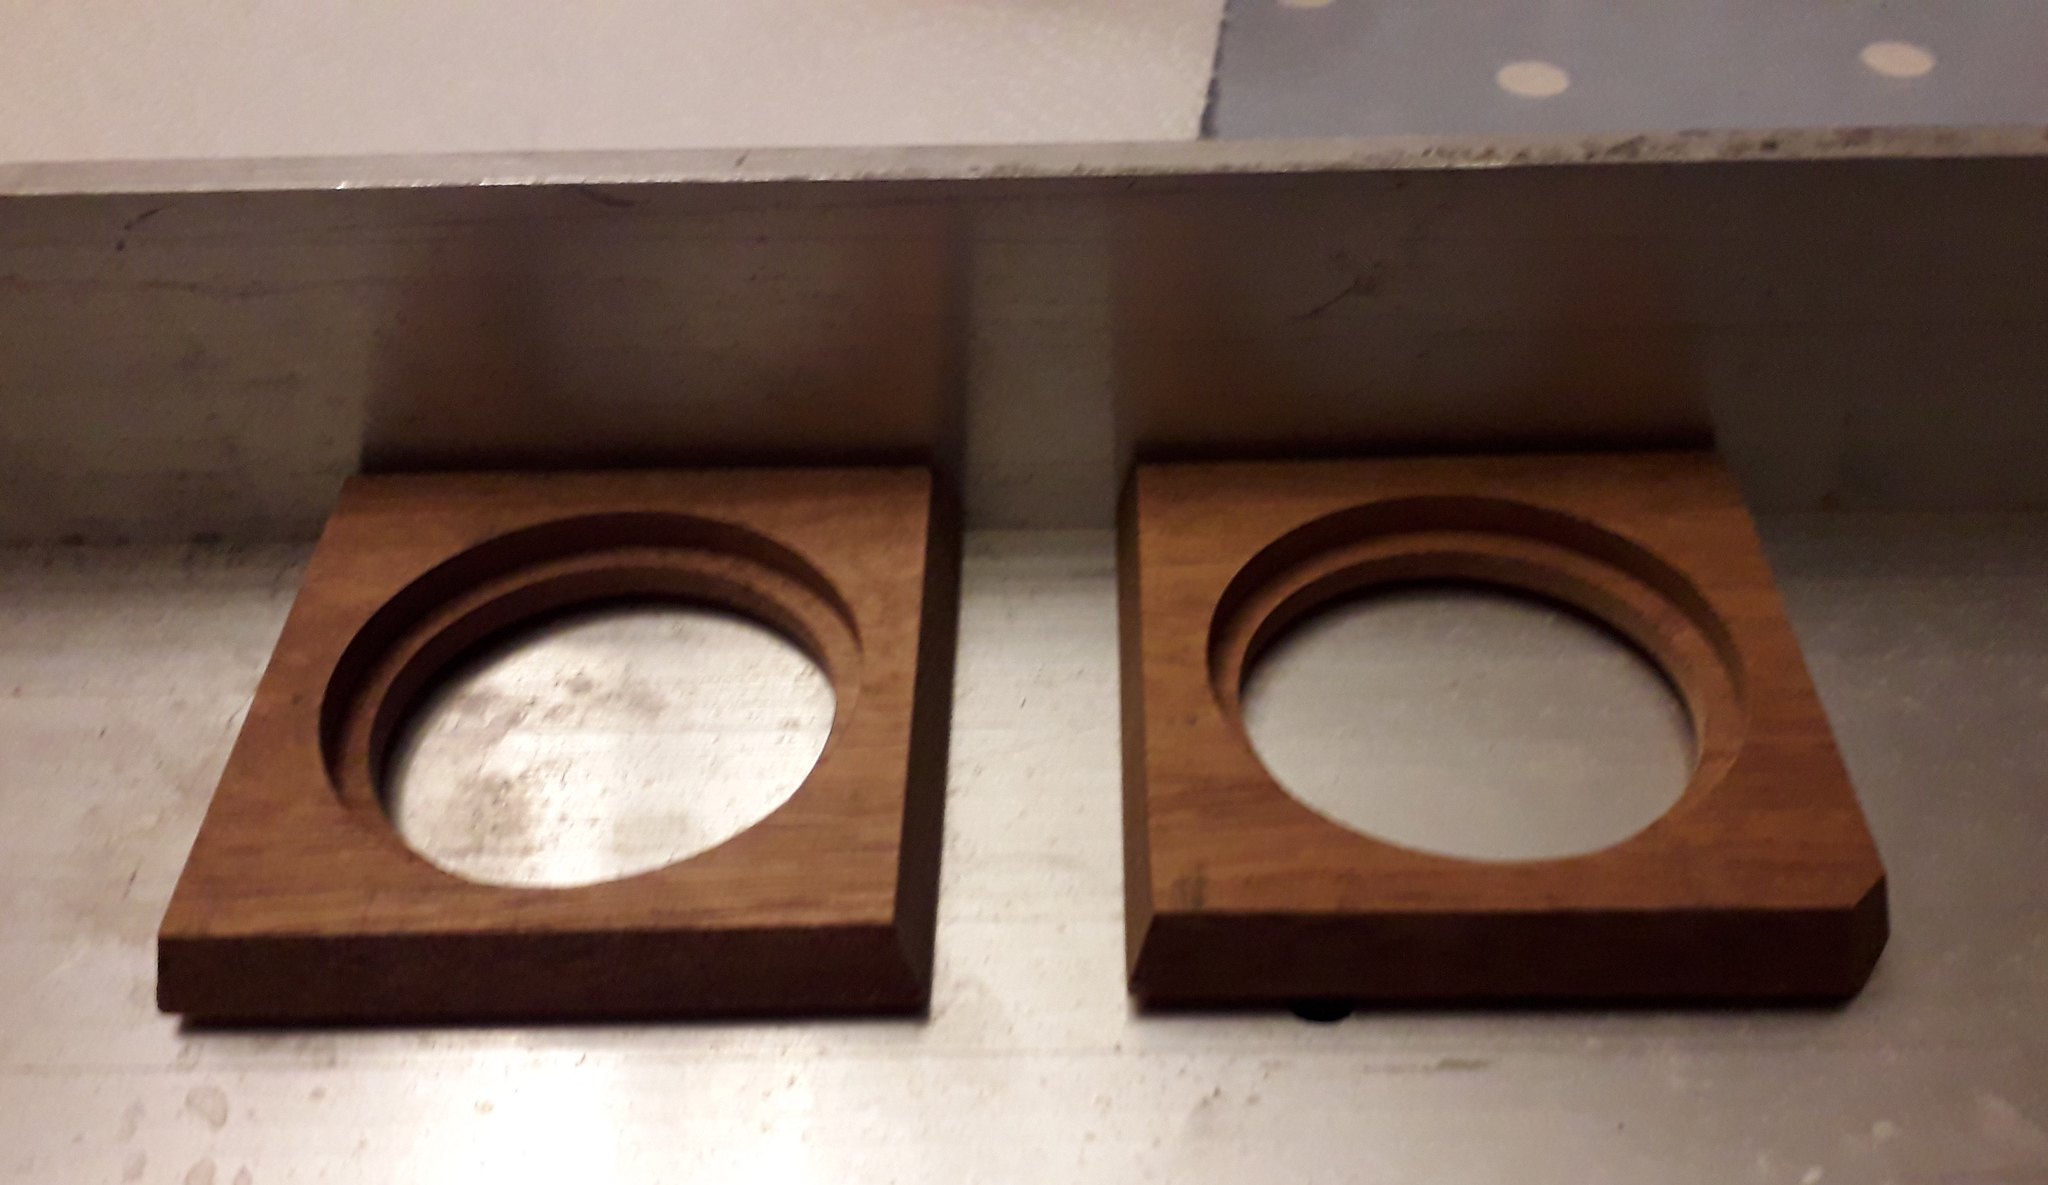
A chamfer round the front of each hole-remembering which side was the front as well!
40664139283_a04179ae1f_k.jpg

Rebates on the back of each hole (remembering to hide the tear out from my rubbishness previously).
40664139133_ccbdf5e9c0_k.jpg

Then – whilst the router in the table still survives (it sounds like the speed control is on the way out and this is the second one I have had in there – perhaps a descent router and table might be the way forward?) I will put the angle on the edges of the boards – on second-thoughts, perhaps the routers are fine and it’s me that kills them?!
40664139013_fcc7df8e9b_k.jpg

And thereby with an evening spent I have moved from having a pile of holey boards to having a pile of holey boards with wonky edges (more so than before) – at least we will be moving on to something that will feel like achievement shortly.
 
Thanks for sharing this.
It's an unusual project. I always enjoy reading about how someone encounters problems while making something, then finds a method that works, using the tools available - which you are doing, very well!
 
Today I move to lots of little bits of wood rather than a few big bits – very exciting – but lots of checking to do before that point. My chop saw is not the very finest so I will have to check over everything first.

40664138923_bd8cb8d3c4_k.jpg

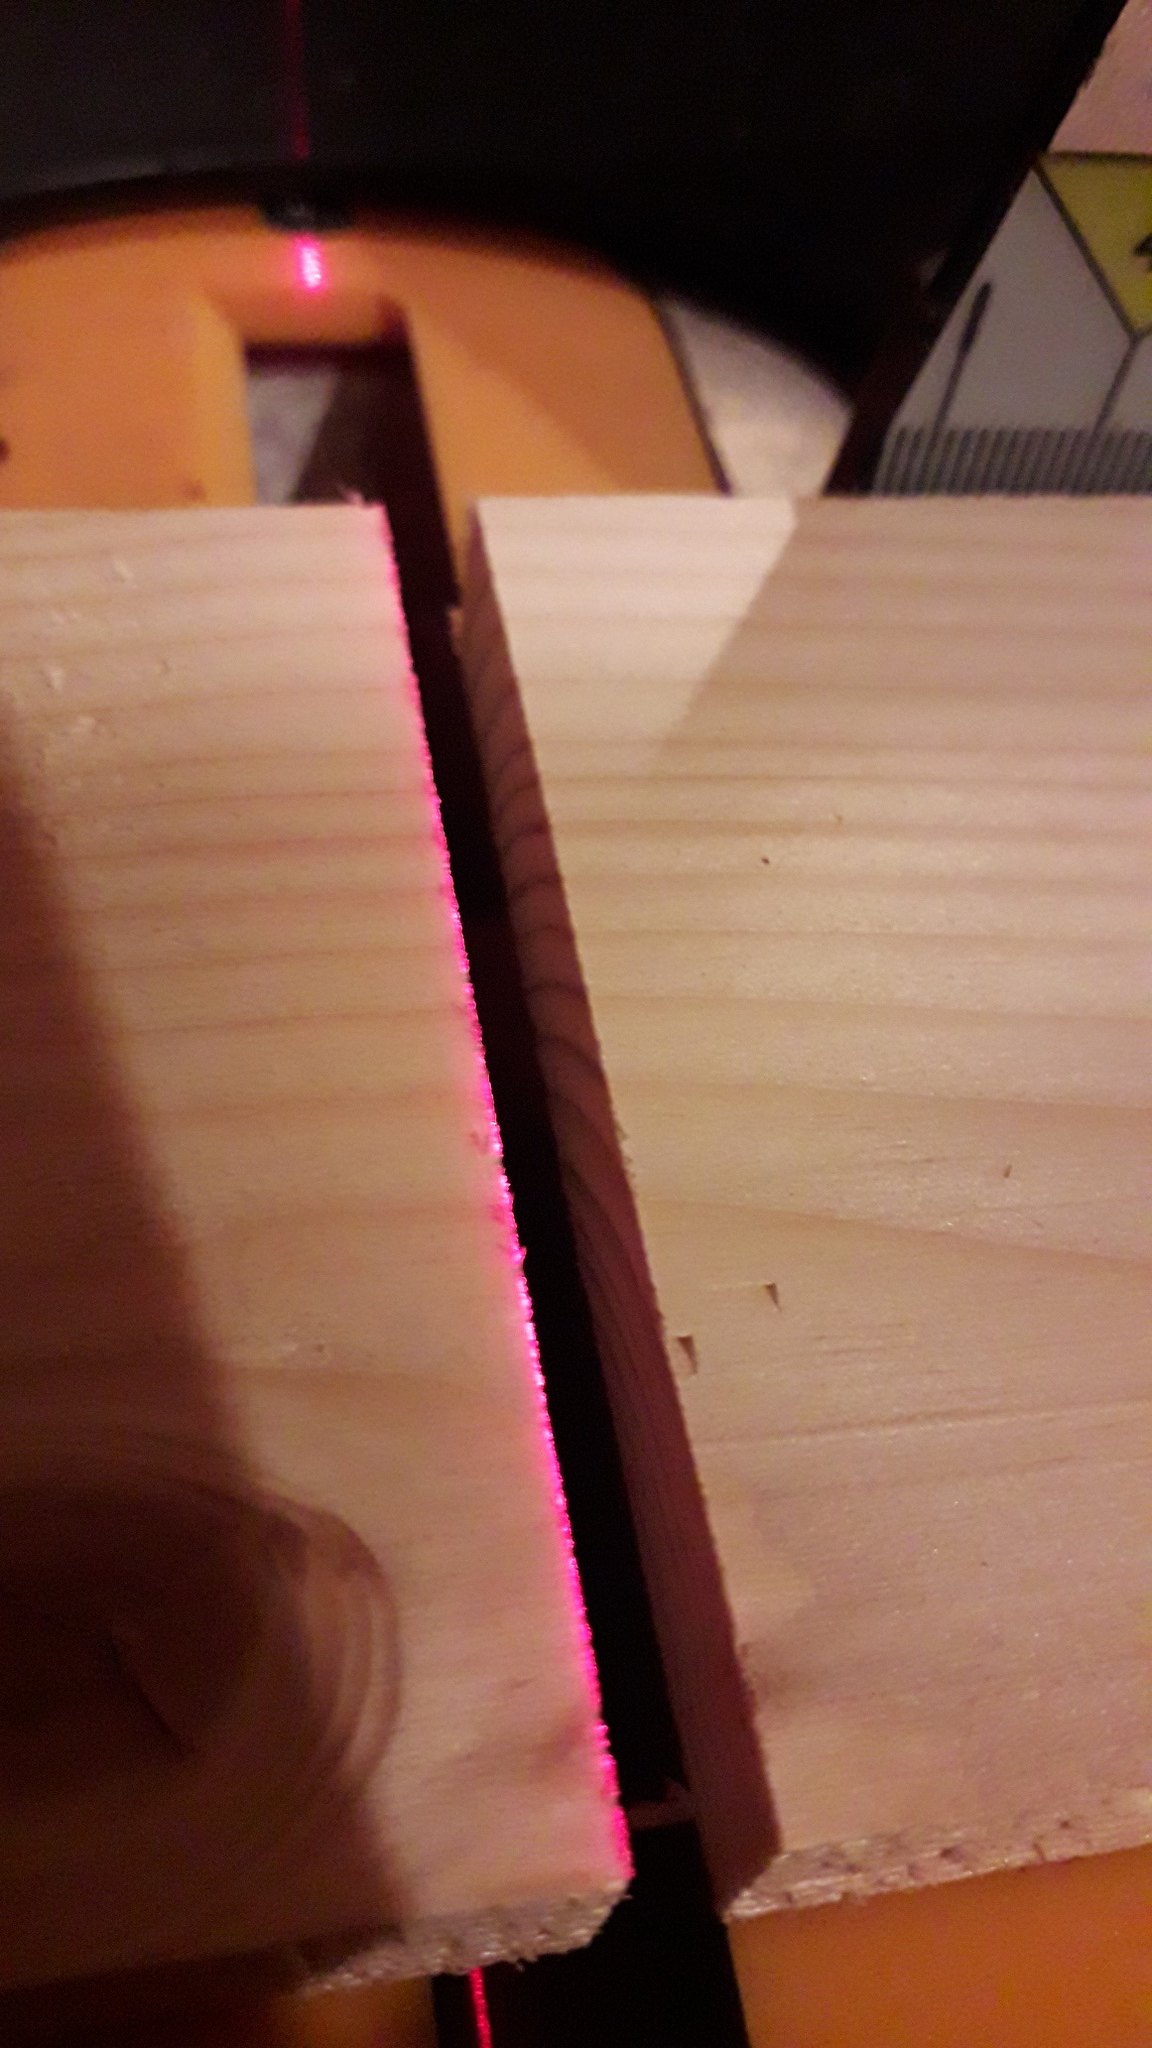
At least with a lazer on this one, I can make a cut and set the laser, turn over and re-check – I don’t normally use the laser but it is brilliant for this!
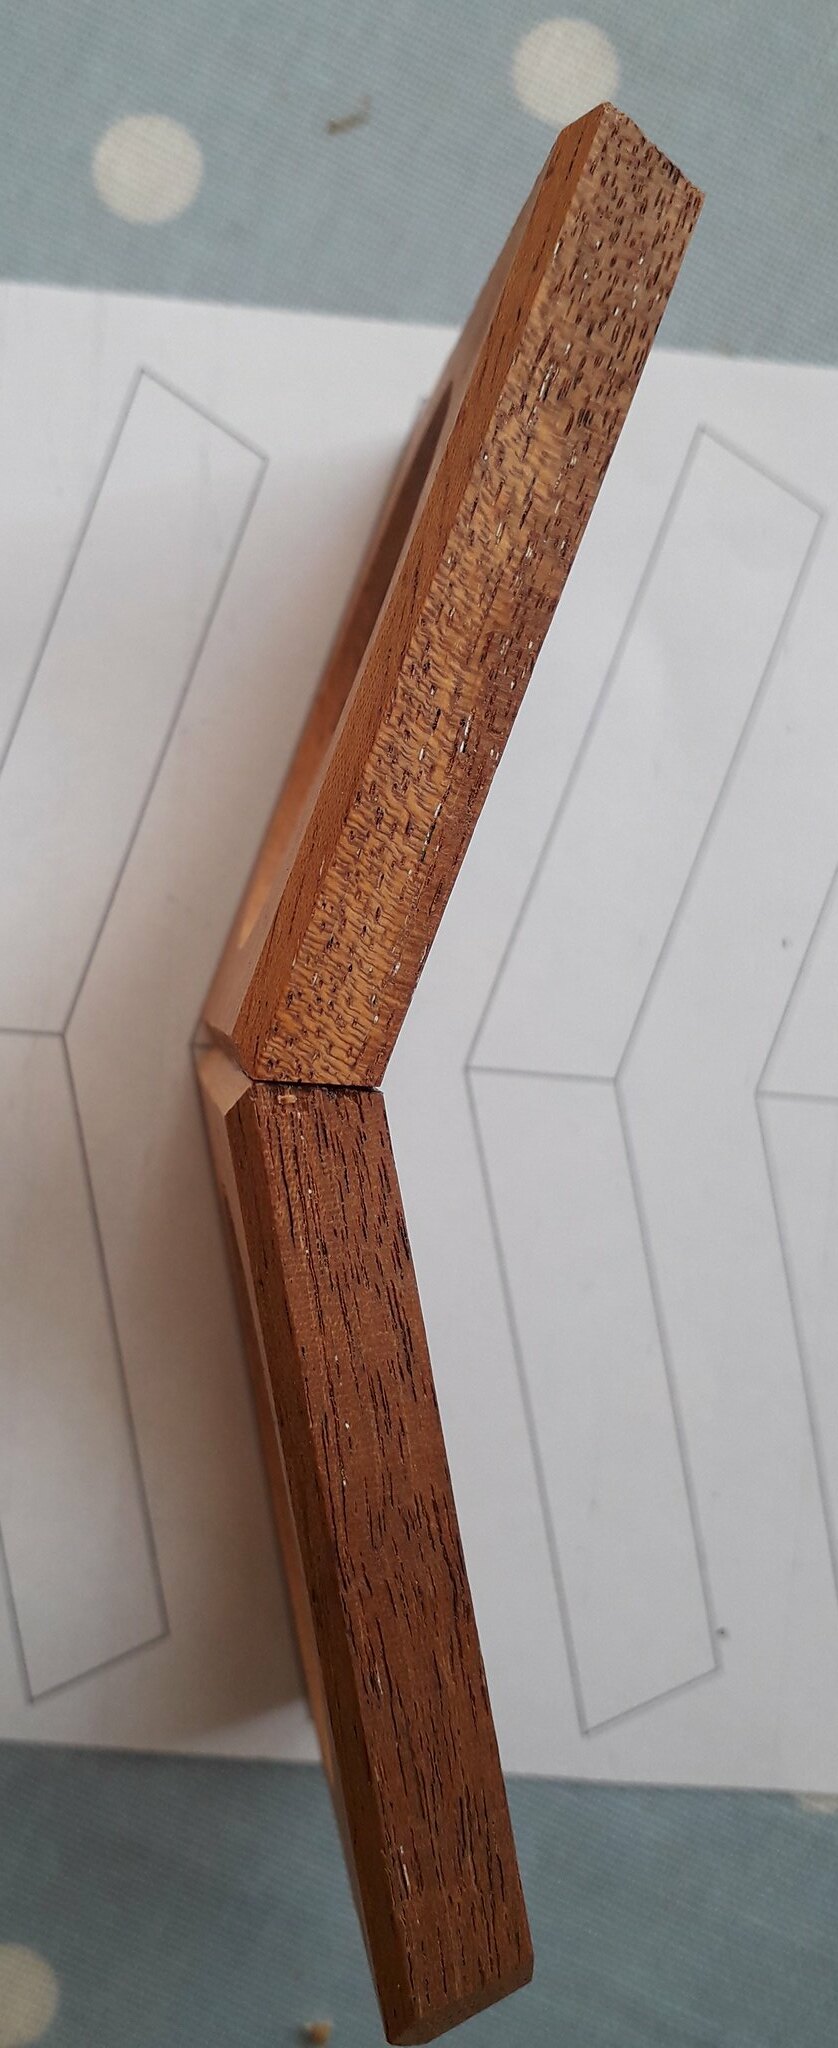
And just whilst I am feeling good, I realise that I have made a bit of an error, I checked everything for square across the boards but not the boards themselves which have a tiny parallelogram effect to them - which means that when I put the angles on the sides, depending on which way I had the boards, they are either fine, or slightly oversize.
32688145227_36c1aa9438_b.jpg

I have exaggerated the wonk in the image but you can see where there is going to be a problem so – before I can start chopping, everything goes back through the router again and the facets are now 68mm each. – thankfully nowt that was beyond salvage and I end the day with a heap of little squares of wood with holes in and slopey sides.

Another upset is that with the slight oversizeness - the circles are not exactly in the centre of some of the squares - you would think that this would not notice at <1mm but it does as everything is so close in a sort of concentric kind of effect. I think however that I can split the parts and the ones that are off-centre I shall use in the top and bottom rather than the central ring of the ball as then there will be a foreshortening effect on the holes which I can use to camouflage the error.
 
This project makes my head hurt!

Looking forward to seeing it finished though.
 
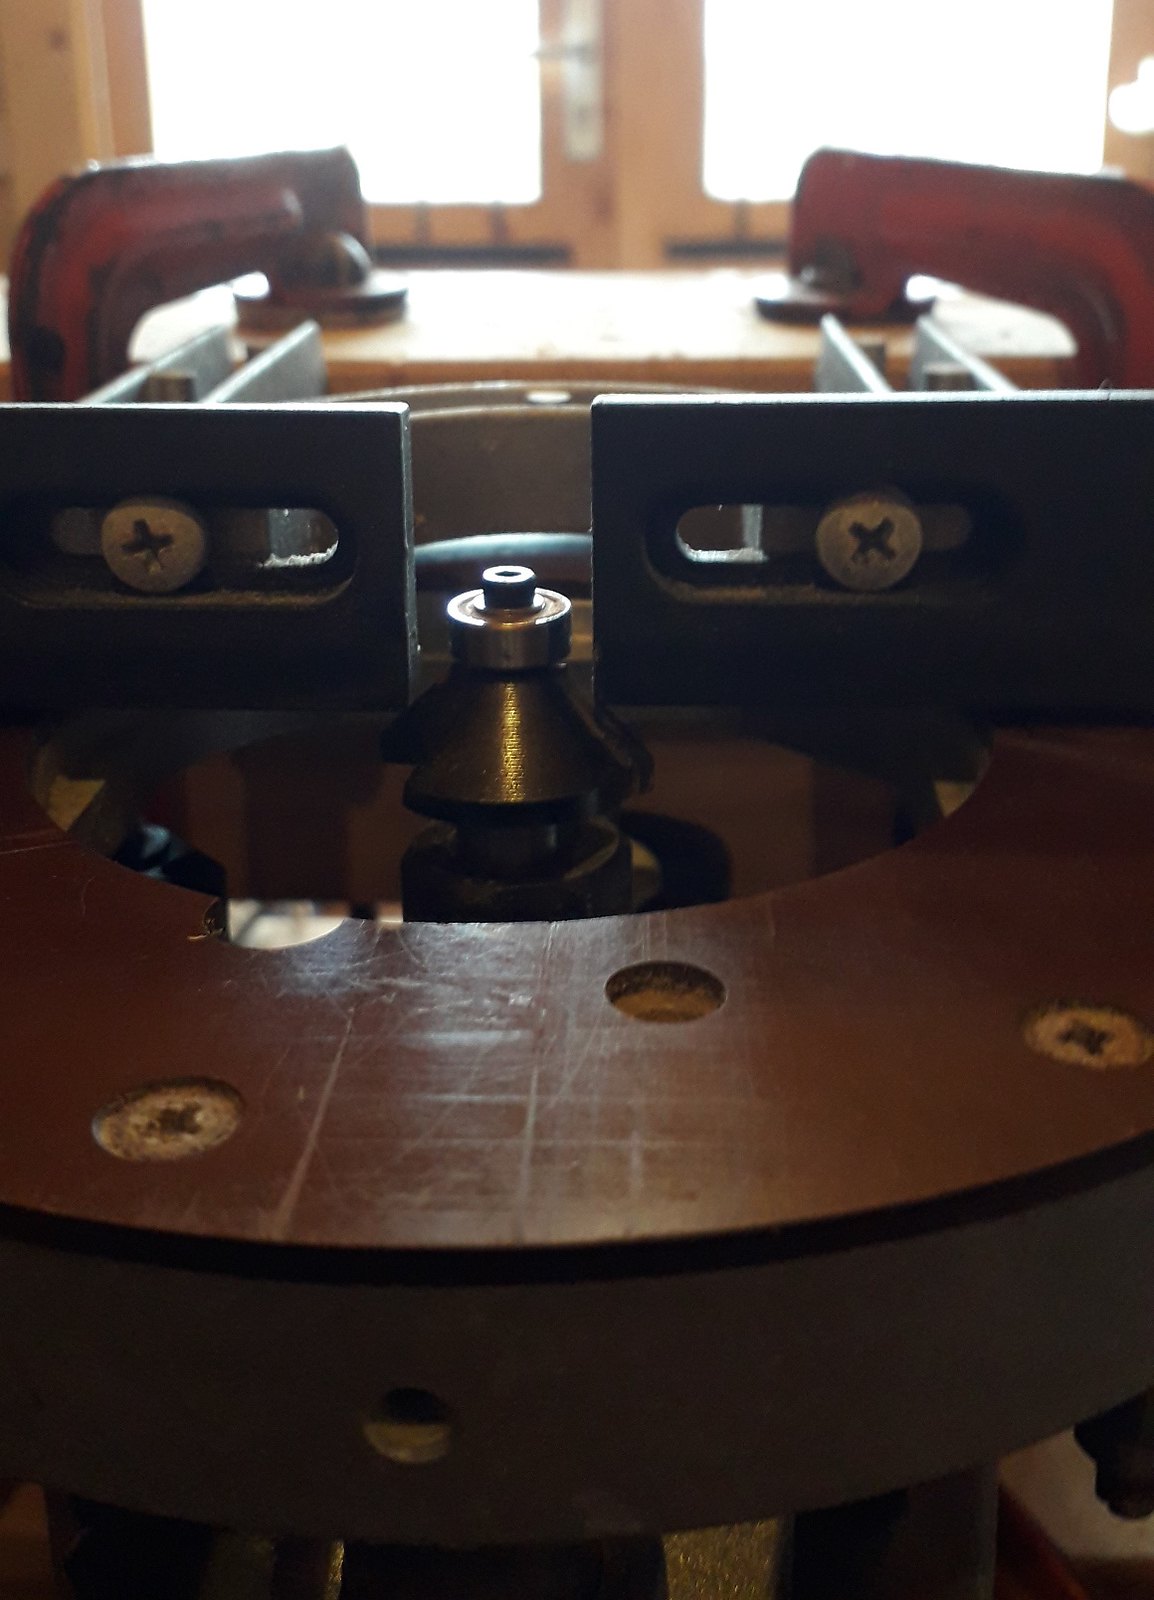
So; last night was a bit of a hiding inaccuracy kind of job. I spent a fair while sorting out the router table whereupon it gave out its magic smoke and that was the end of that. Pressed into service, the big hand router (which I thankfully have guide bars for) which was then clamped to the bench to chamfer all the outer edges.
47577775032_74460044f7_h.jpg

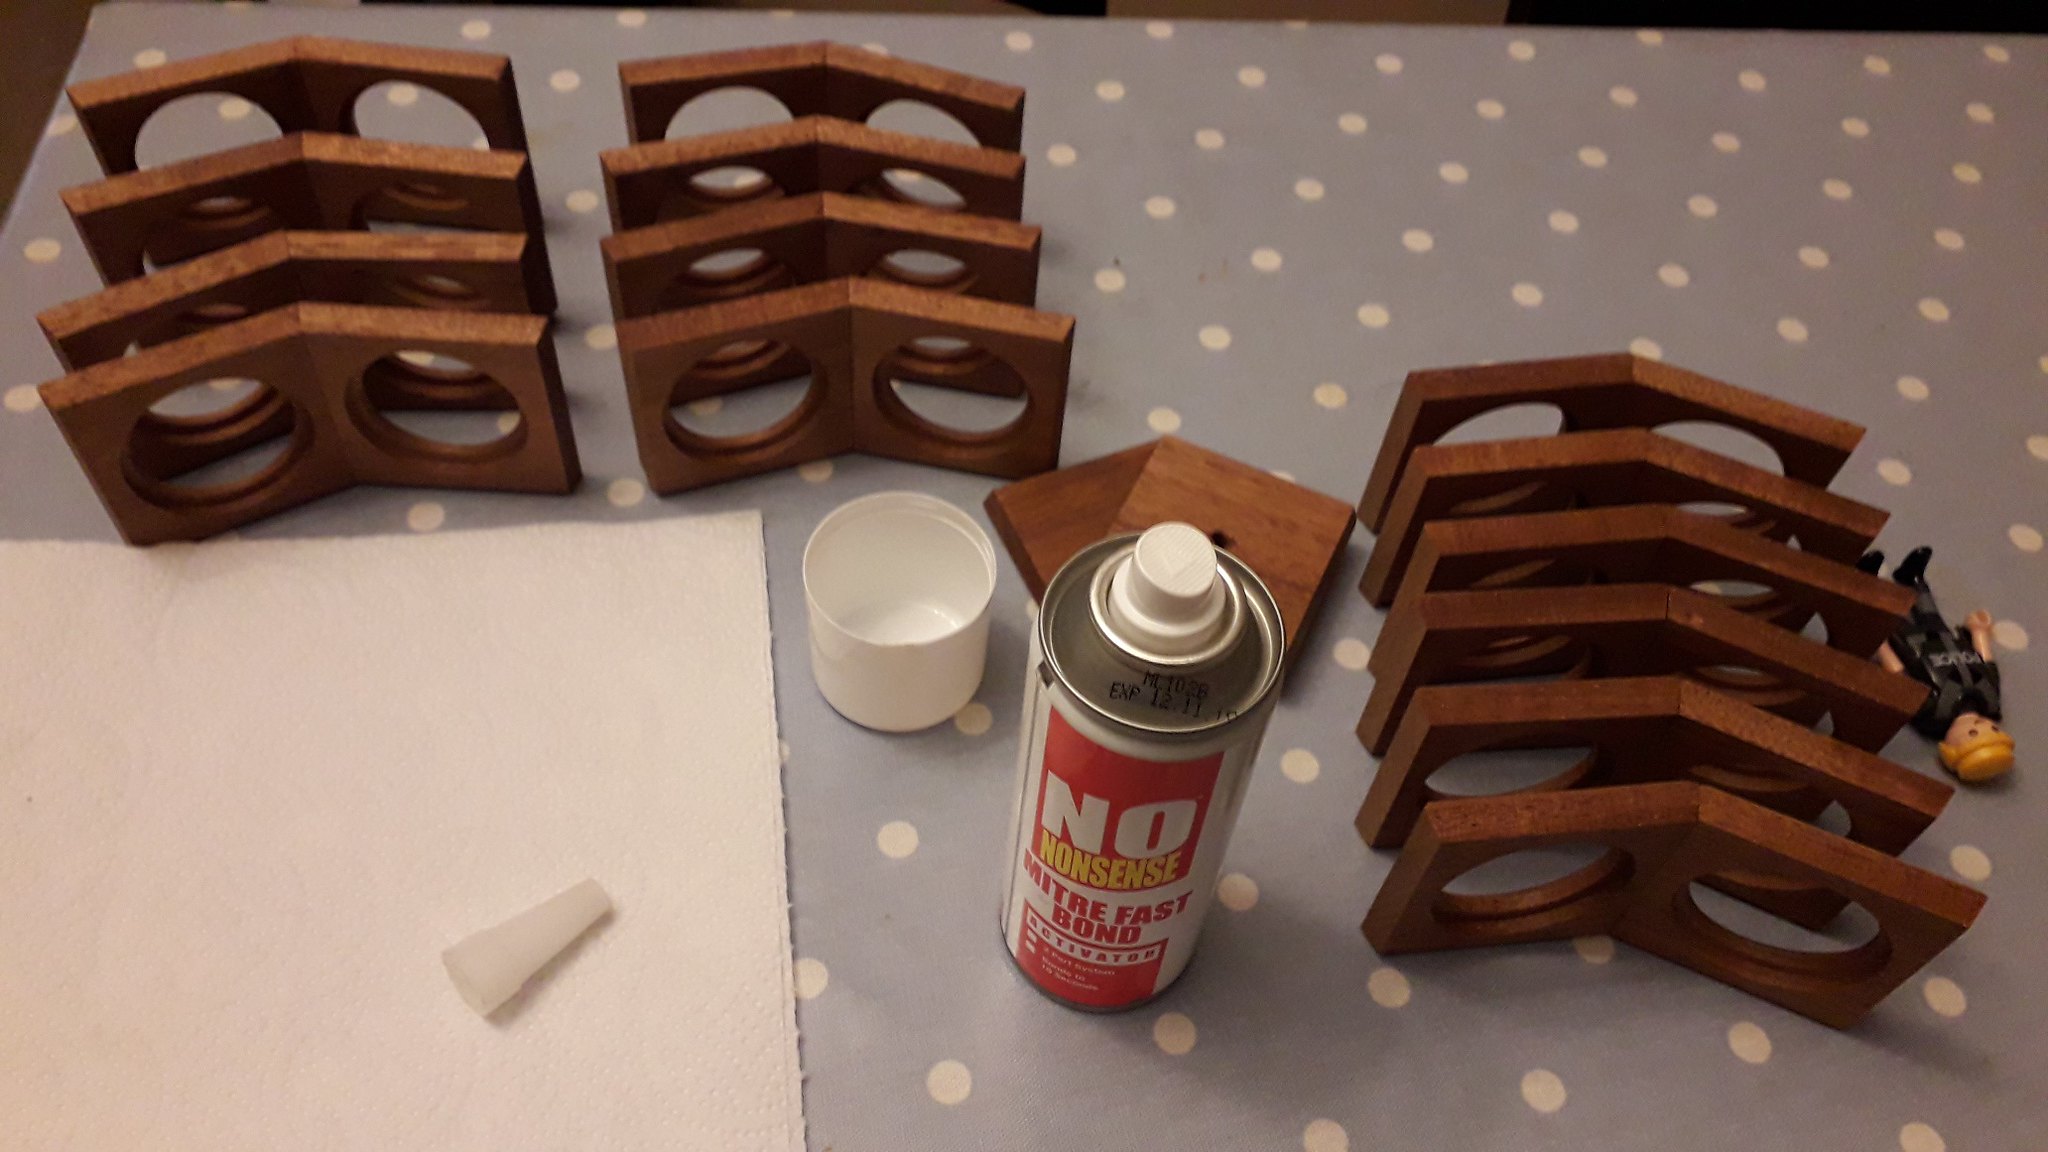
This actually worked out quite well as everything is so easily adjustable and at the end of the evening I have a pile of little squares with multi-slopey sides.
46906429874_f8388f4c80_k.jpg

Which I can then sort into two groups & I have concentric candidates for the central ring and those which I can hide the error (which is tiny but rather obvious) by making them the top and bottom.
40664256443_5fcccb0856_k.jpg

The theory now being that the edge chamfer will help to hide any errors in pretty much anything including the gluing-up which comes next!
47630680701_0f21195ac4_b.jpg

This looks really pleasing as well – I had originally thought to leave the outside sharp but even if I was not intent on hiding small errors- I think this looks much nicer!
 
Looking good. I'm really interested in this project especially the gluing up. Are you taking account of the end-to-end grain joints which will occur here and there?
Brian
 
I did wonder about this when I made my test piece. Being a CA glue I am hoping it will be alright. Everything is sort of braced from at least 2 directions so barring dropping it, I am hoping this will not be a factor. Time I guess will tell where we will fall on the art-firewood spectrum.
 
I am so down with the Kids! – Last night I sorted out the rest of the small pieces for the project including drilling the sphere which took forever!

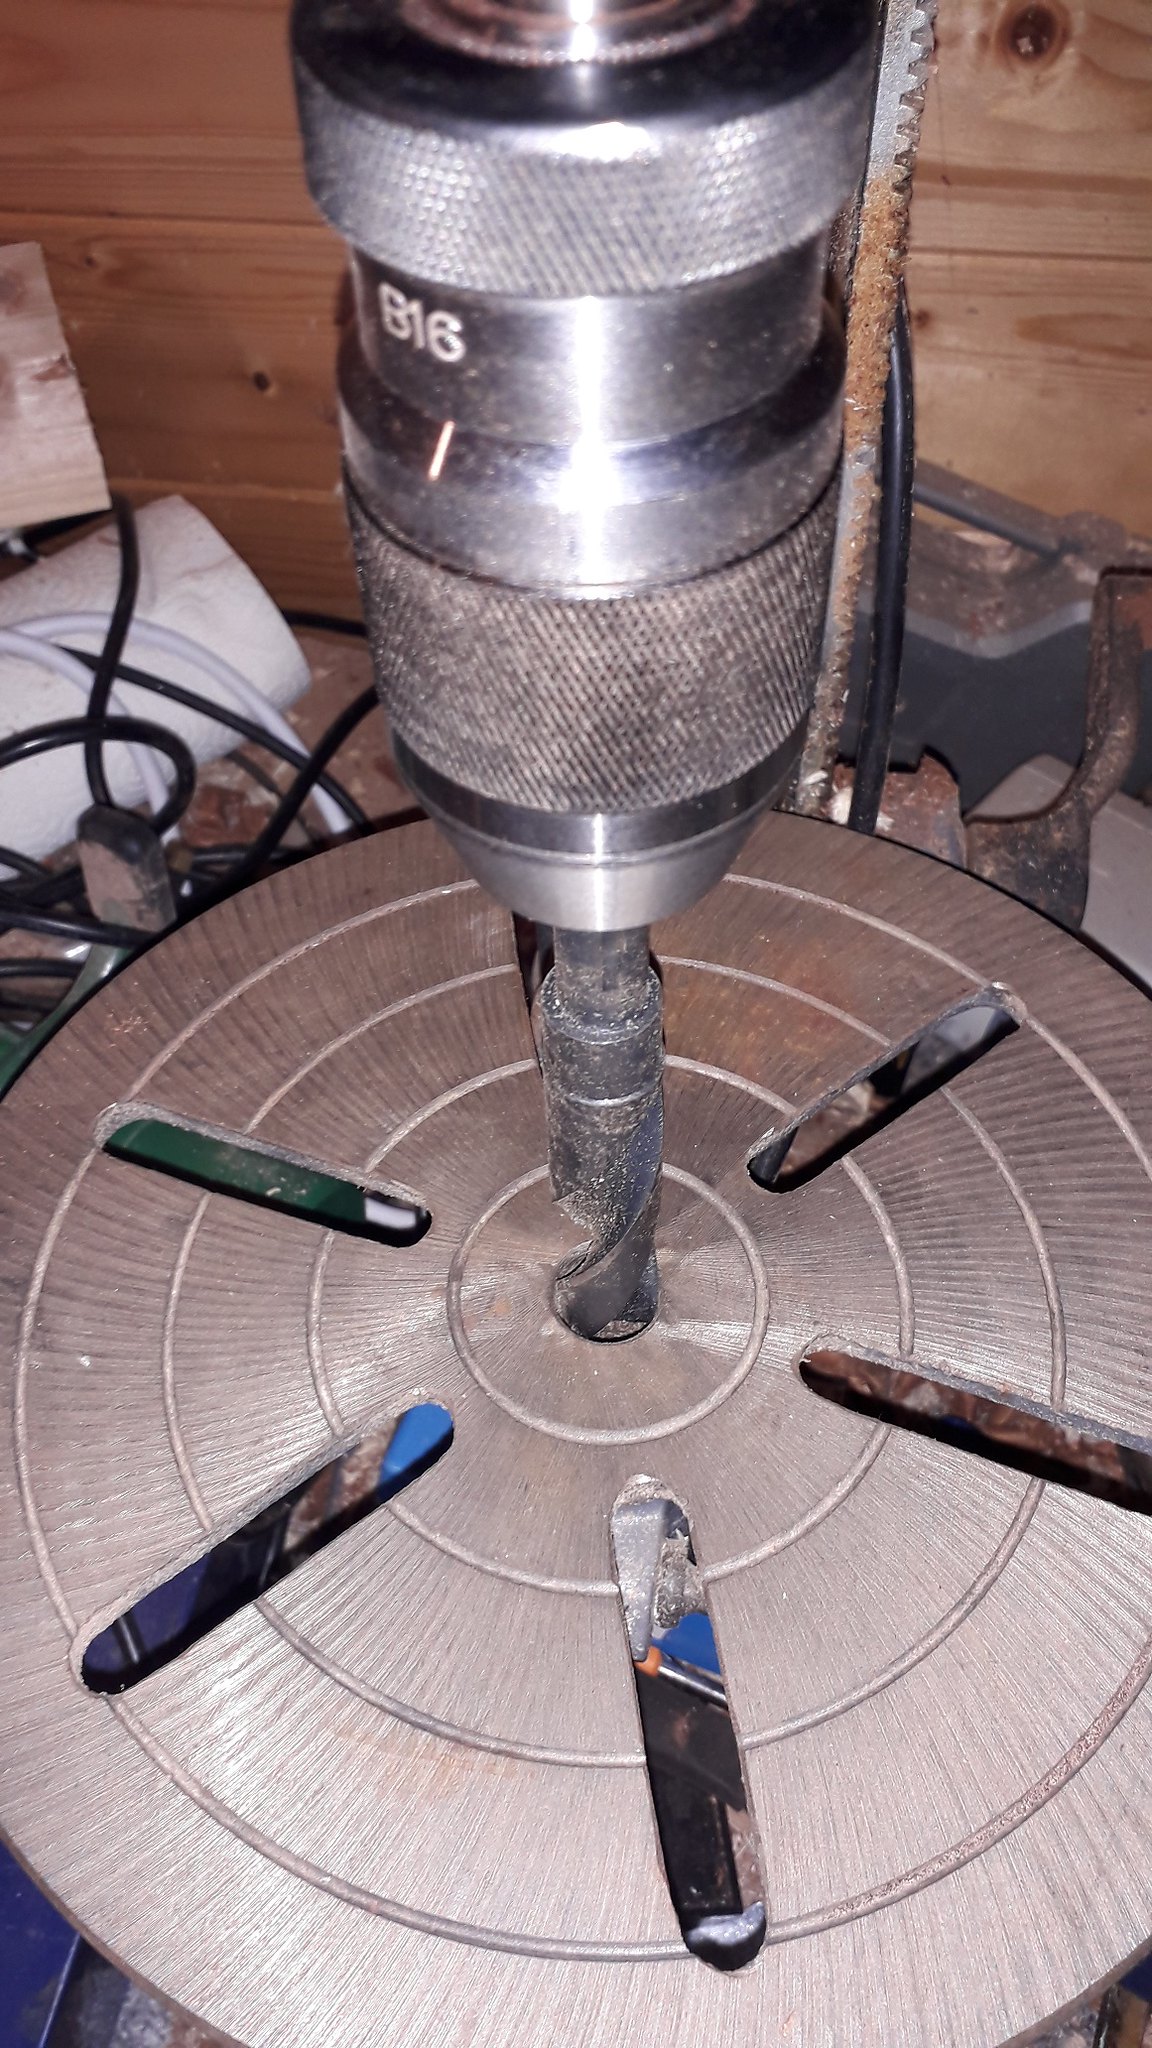
1 – centralise the table on the drill press (I’m not actually drilling through it!)

47704178431_615e600138_k.jpg


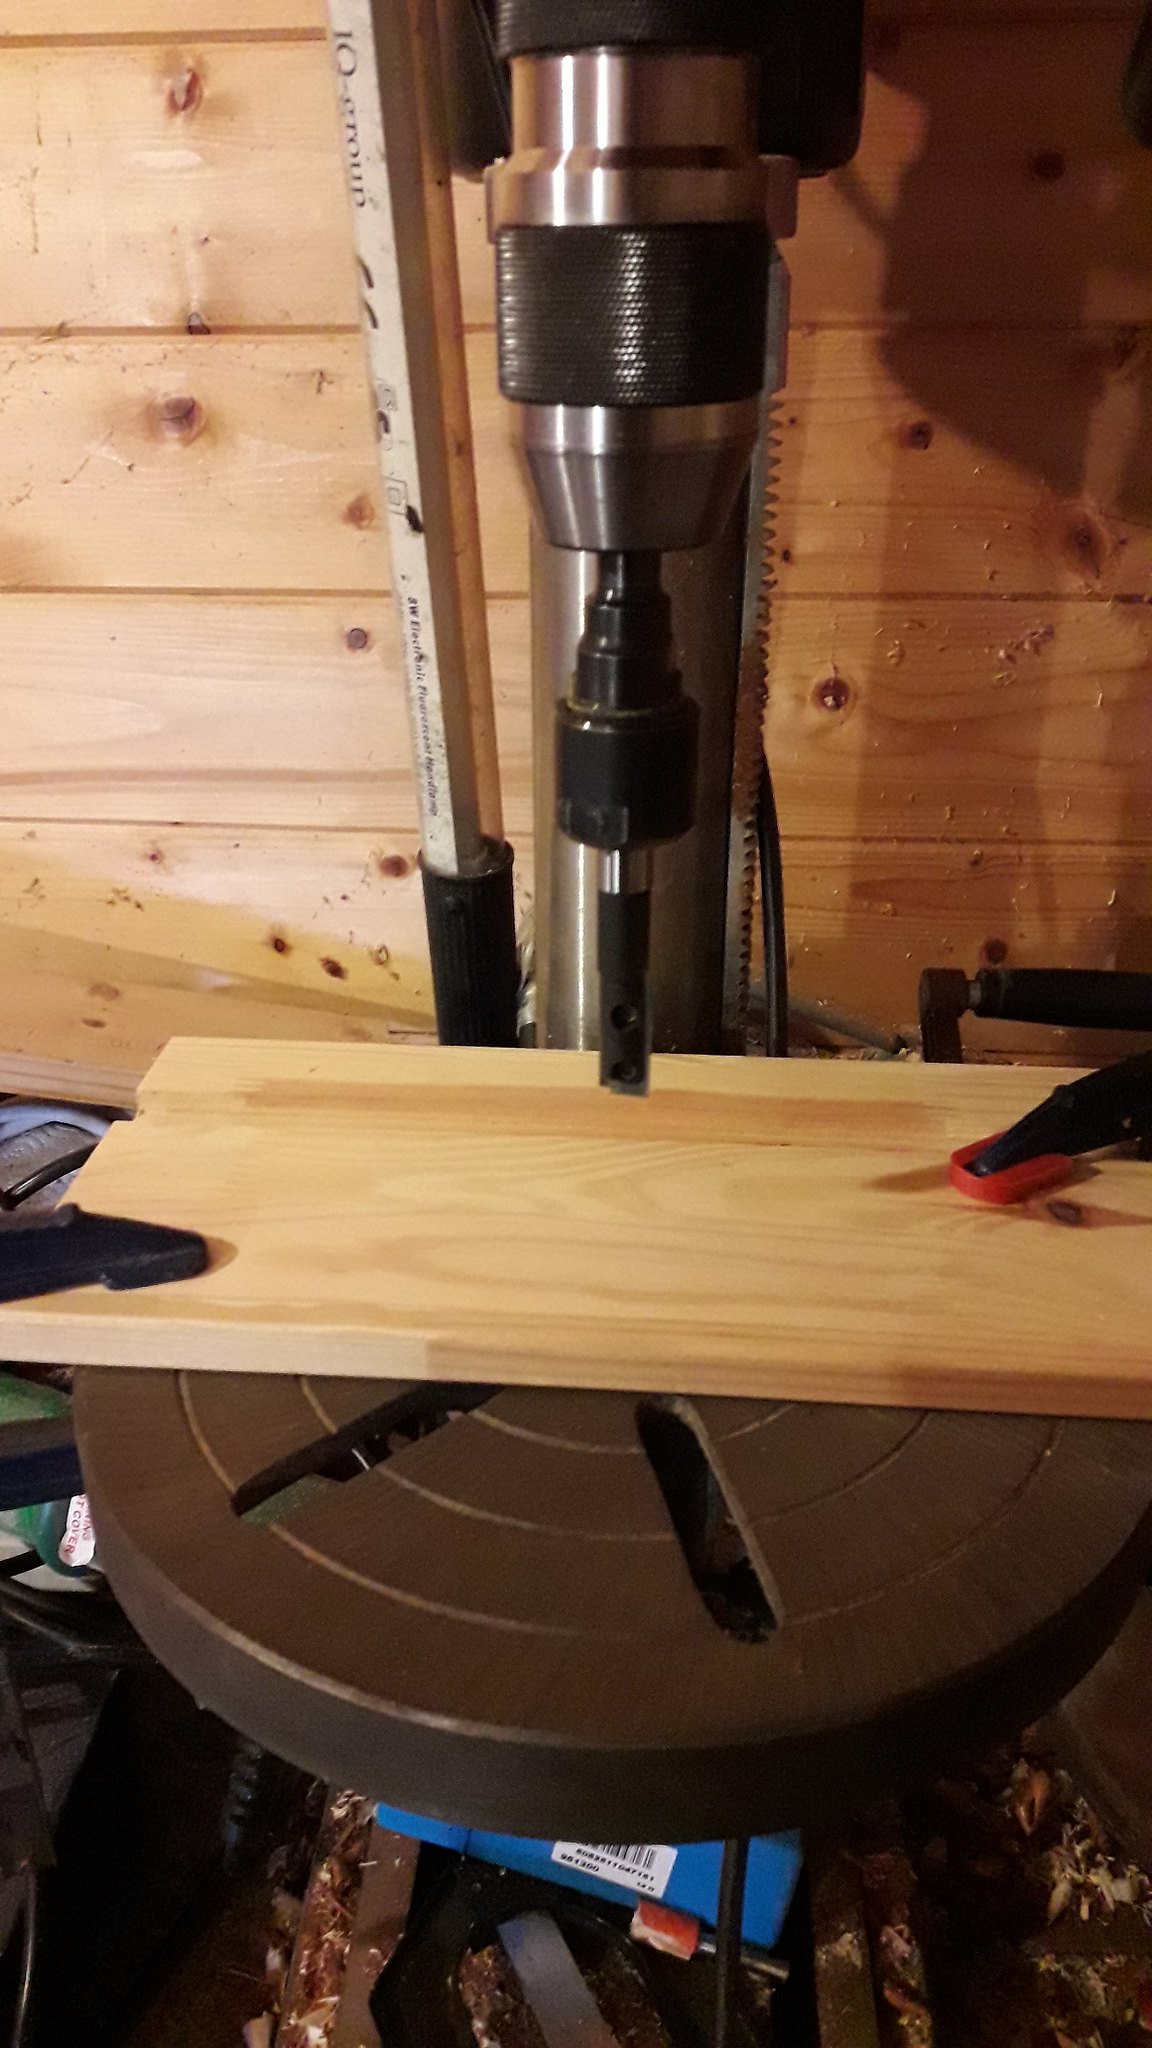
2- cut clearance hole in support piece (using a plunging router cutter and extension as nothing else I have goes down that far (not leaving a clean edge anyway)

33826854218_bcc66c3a73_k.jpg


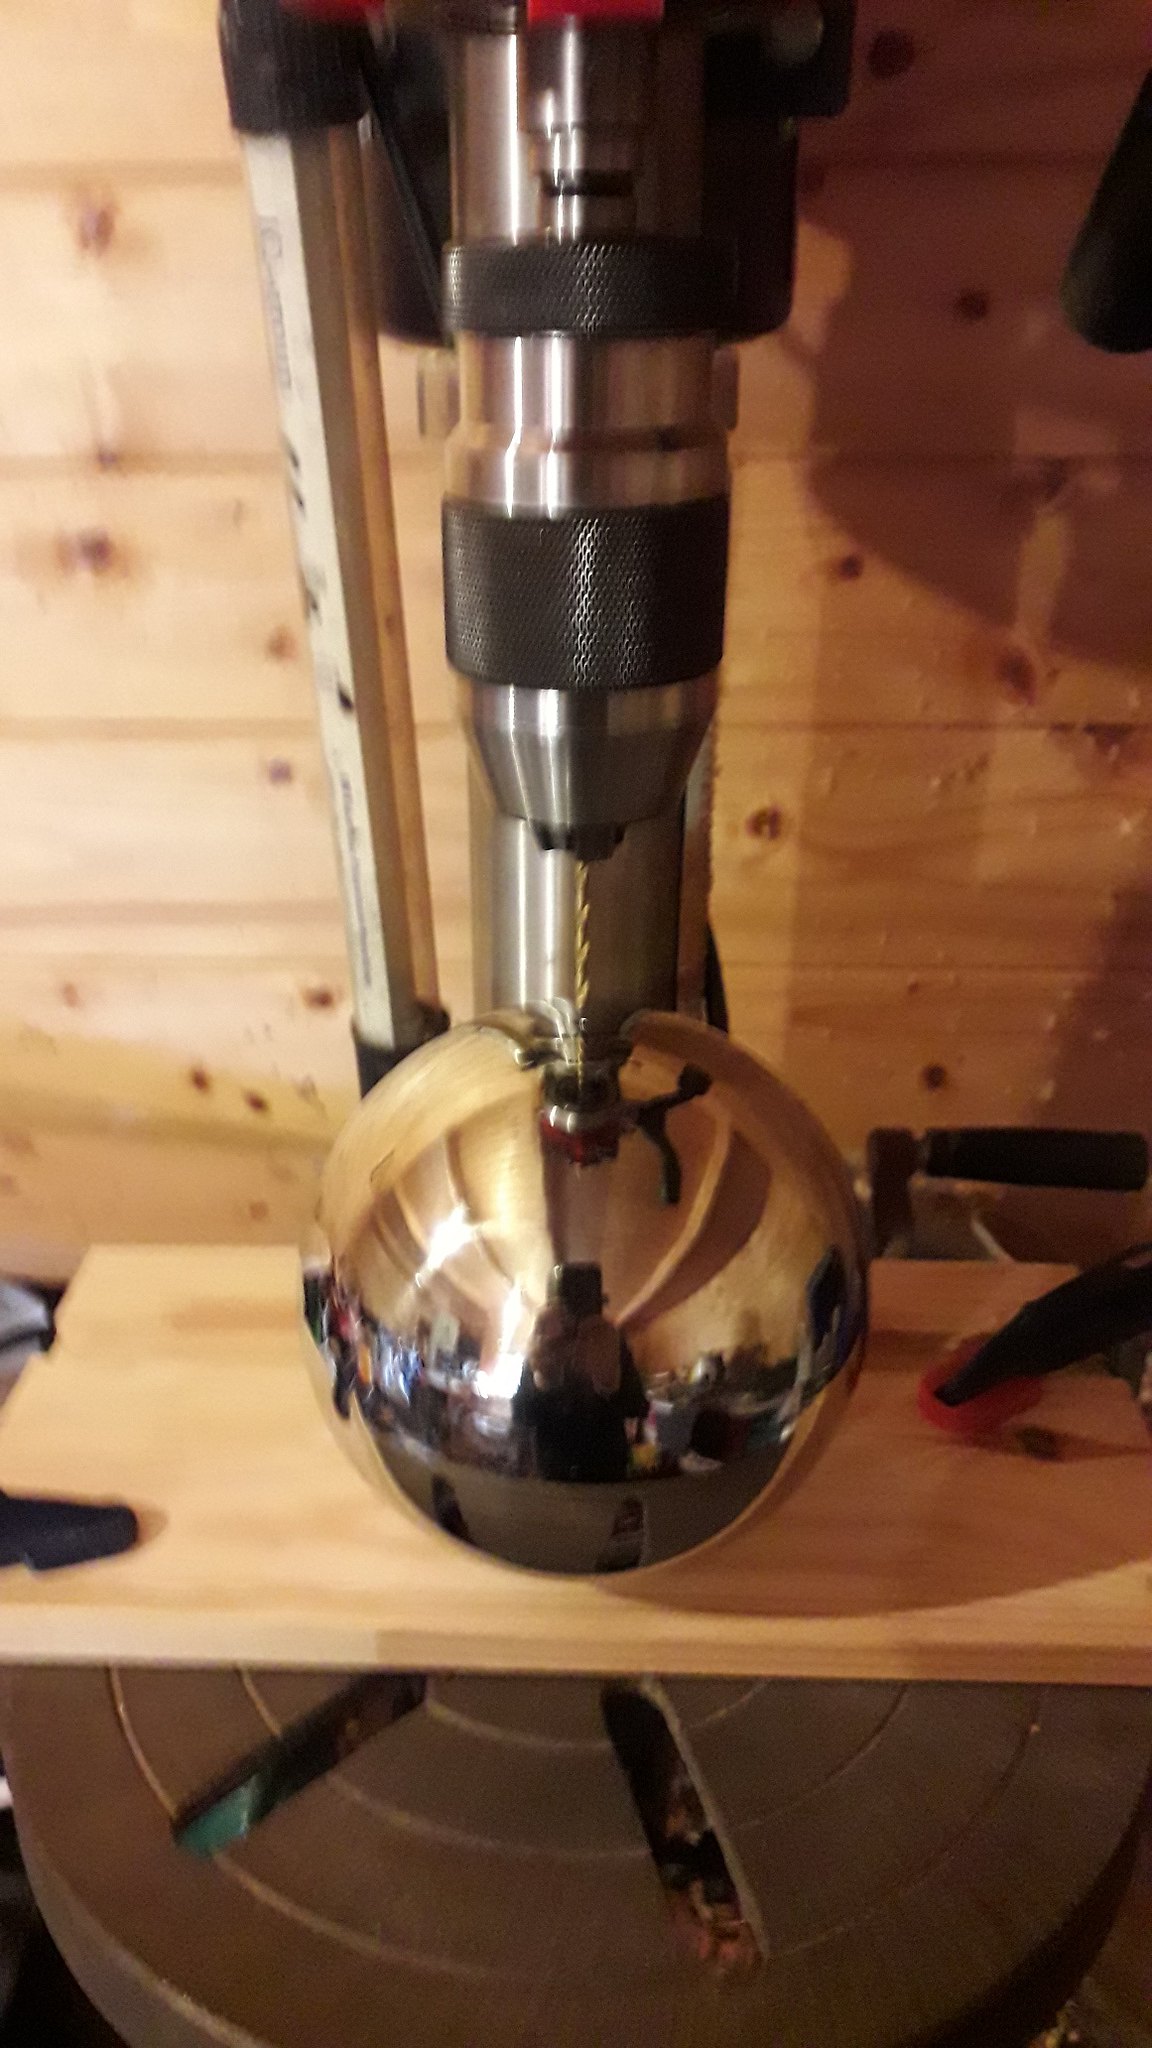
3- drill pilot-hole in sphere – (my apologies for the reflection – unintended consequence of stuff being mirrored) Even if you zoom in you can’t see my confusion! On the upside the workshop looks enormous so that will help fit everything in!

46788058455_b2d493d9b1_k.jpg


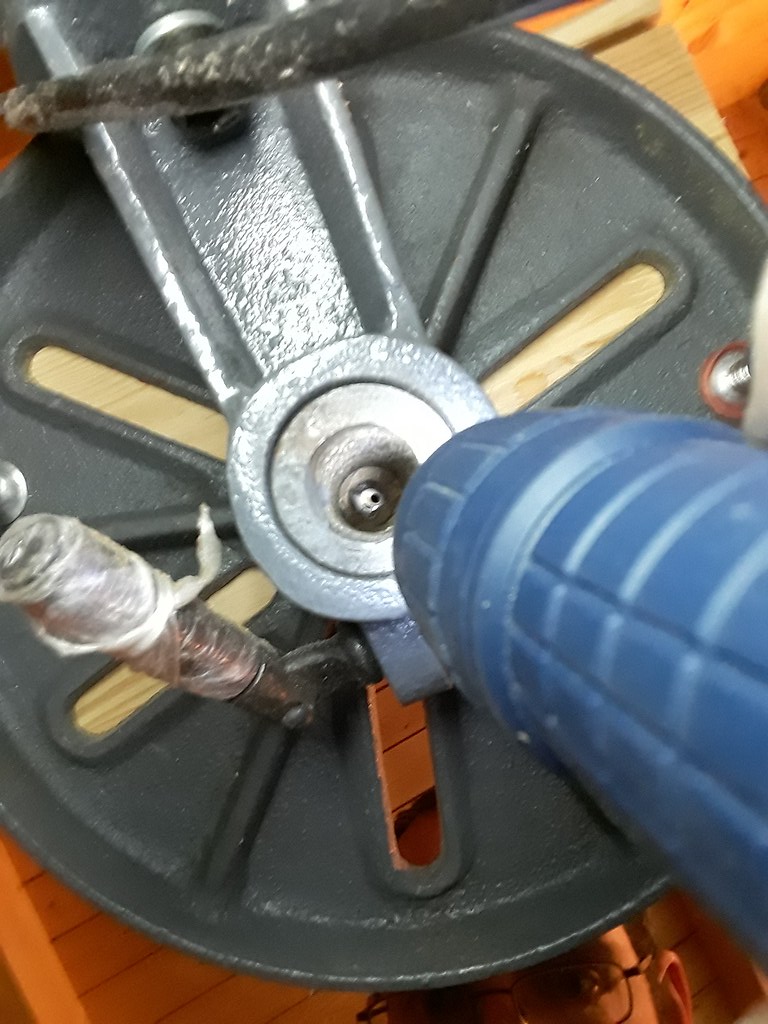
4- turn sphere over (and this is where we get all modern and technical) use selfie mode on Co. phone for the first time to see if the hole is centred under the sphere!

47704178071_fc9577fa06_b.jpg


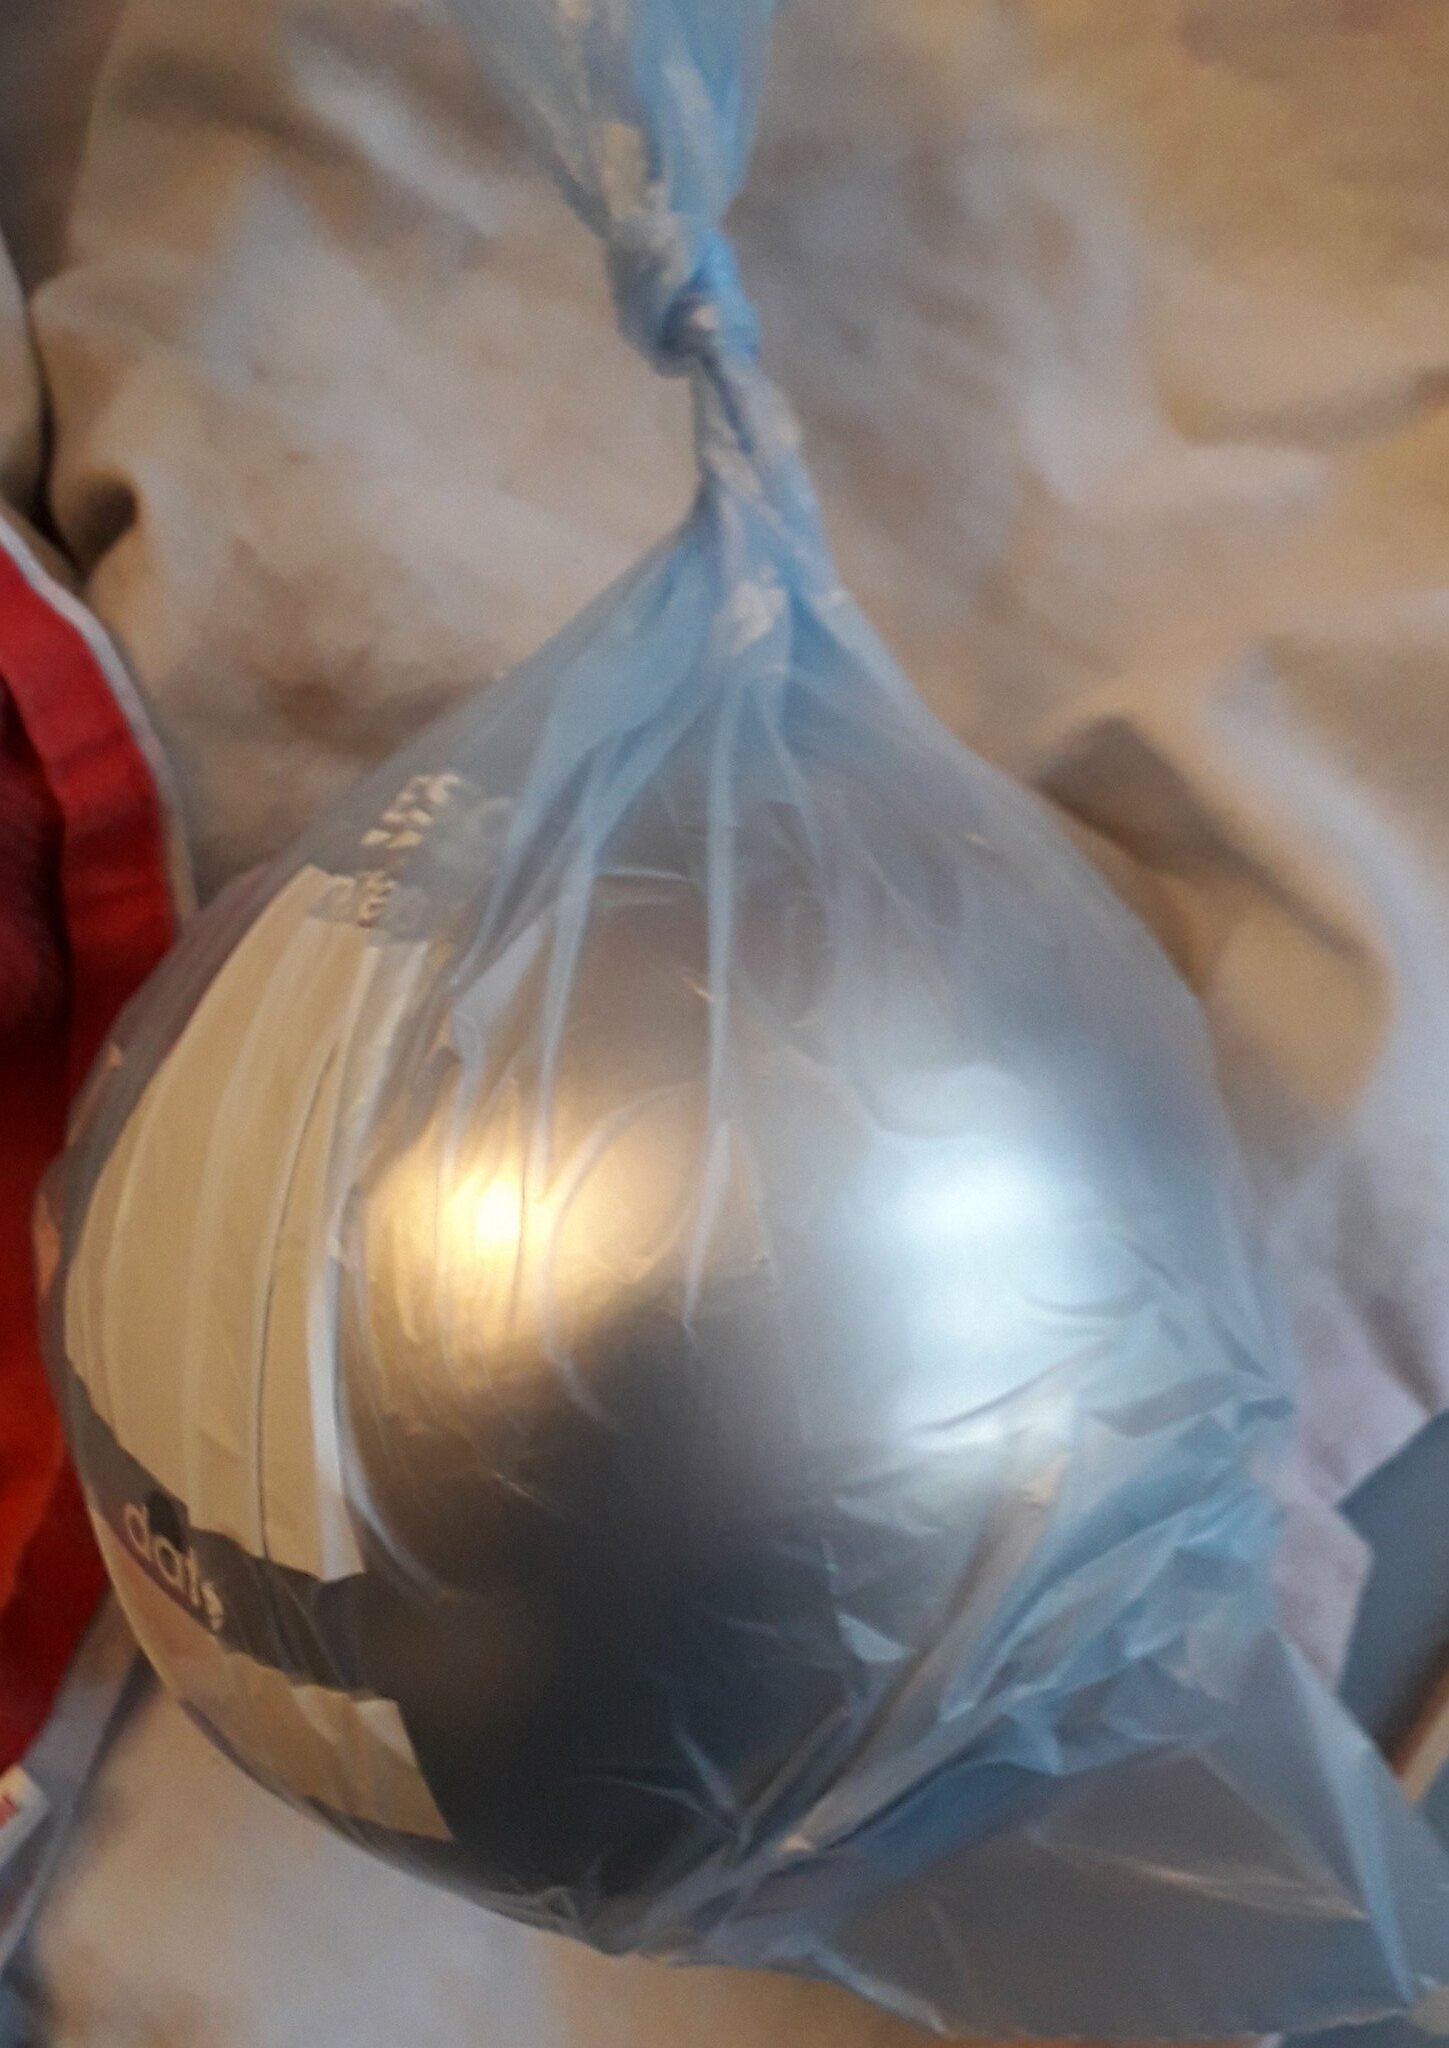
And a quick polish and bag it – I now have to try not to bash or scratch it on anything. The theory is that this will not be touched by human hand again. If this is not the case then one of the boys will have to clear the marks off as my hands do not fit into the ball when it is glued up.

47704178311_3e13f1073a_k.jpg


I cut the tube bits (for spacing the sphere inside the ball) and then put a chamfer on the inside (chatter-free countersink) so it would fit snugly against the ball rather than a square-cut end which would leave a little gap. Hopefully now we will be ready to glue-up and assemble.

So at the end of an evening’s work, I have 2 short tubes and 2 holes – how is that a reasonable amount of work for the time?

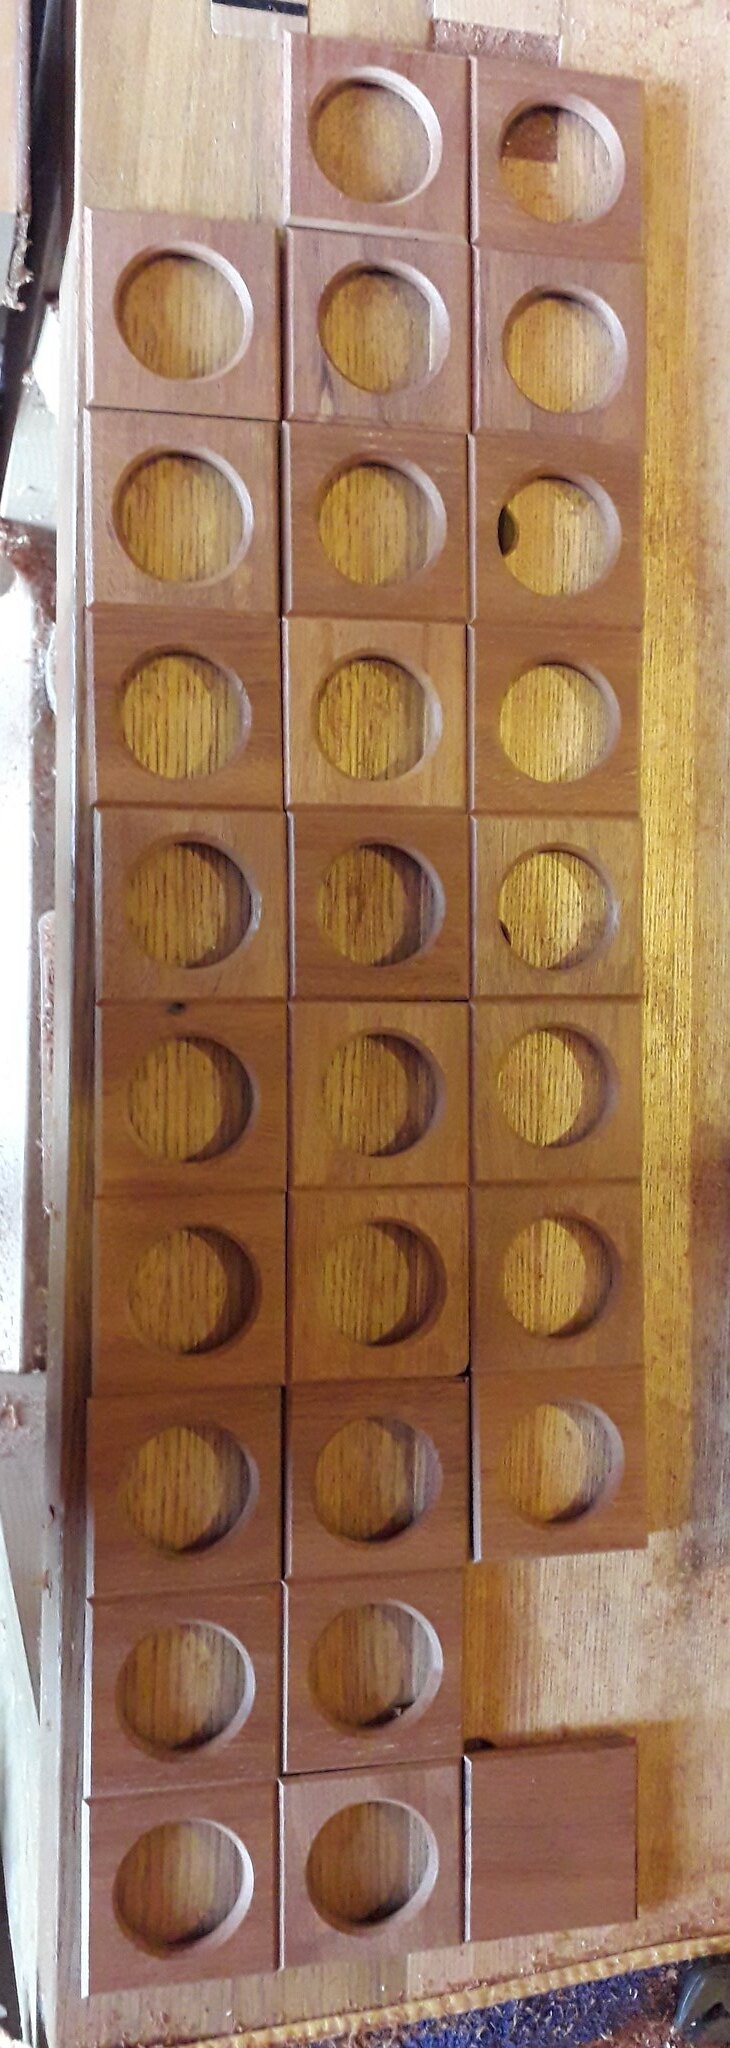
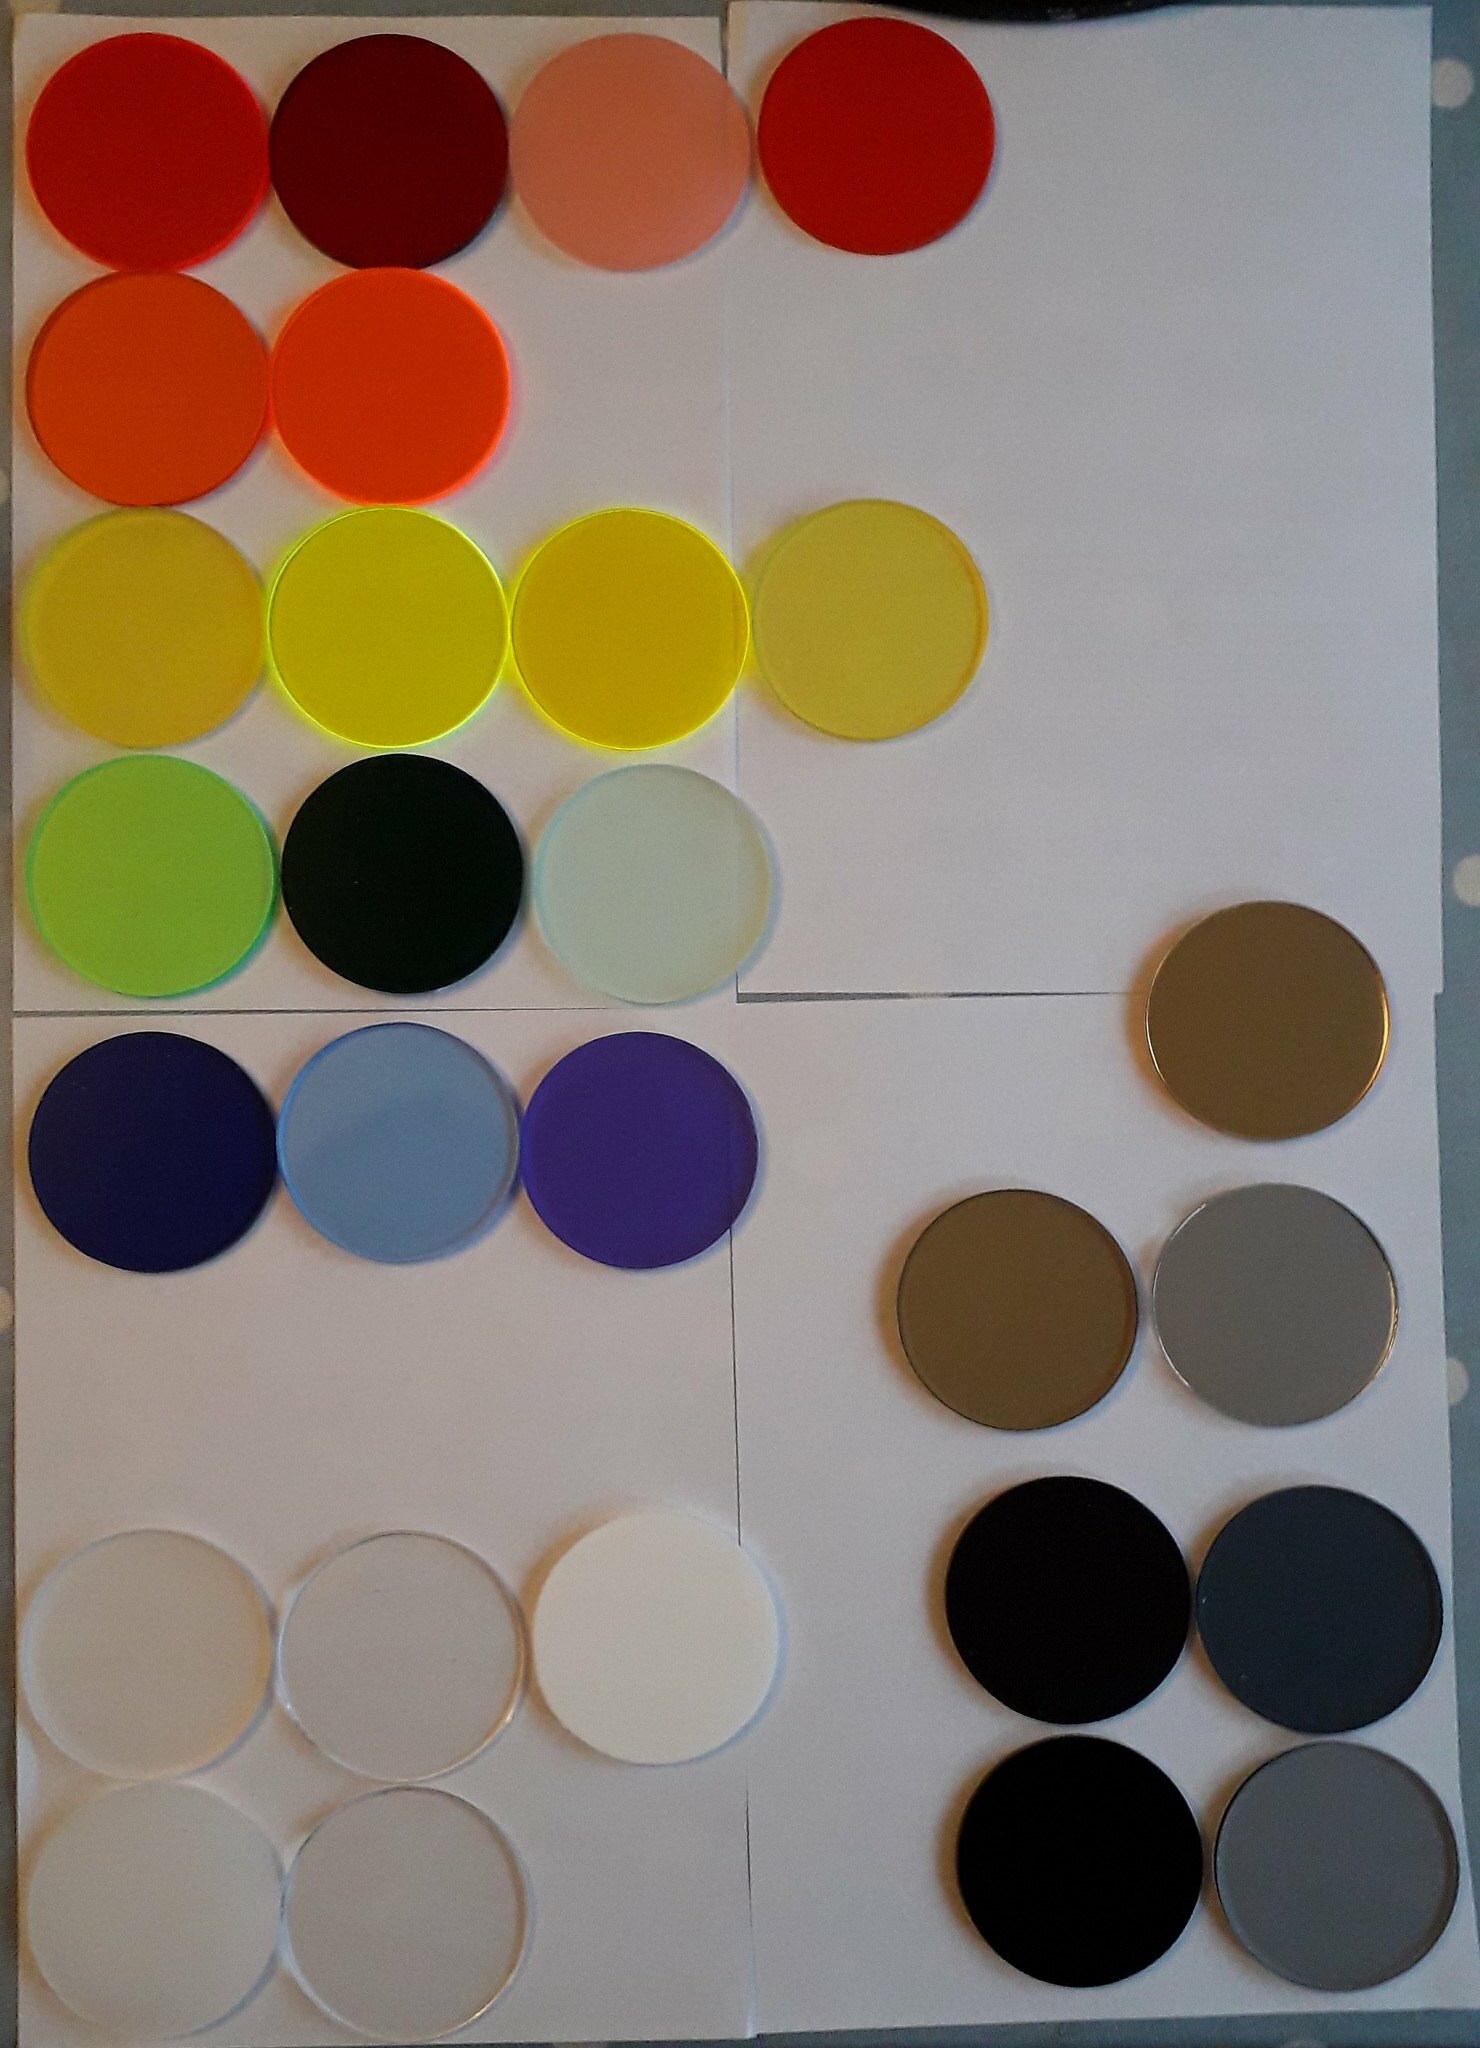
Inside to the warm and I stripped the plastic film off the discs so I feel like there is more progress


47704178261_81f4f507a9_k.jpg


Looking reasonable – some that look the same are actually frosted which you can’t see against the white. Will have to do a bit of ‘randomising’ on the colour placement.
 
I did myself down to other day – I cut a piece of stud as well as drilling a couple of holes – 25% increase in productivity – how’s that?
And here we go, big day today – I am breaking out the mitre bond again! – lots of typing but a couple of days over the weekend with assistance in and from many areas which means this is the last instalment.
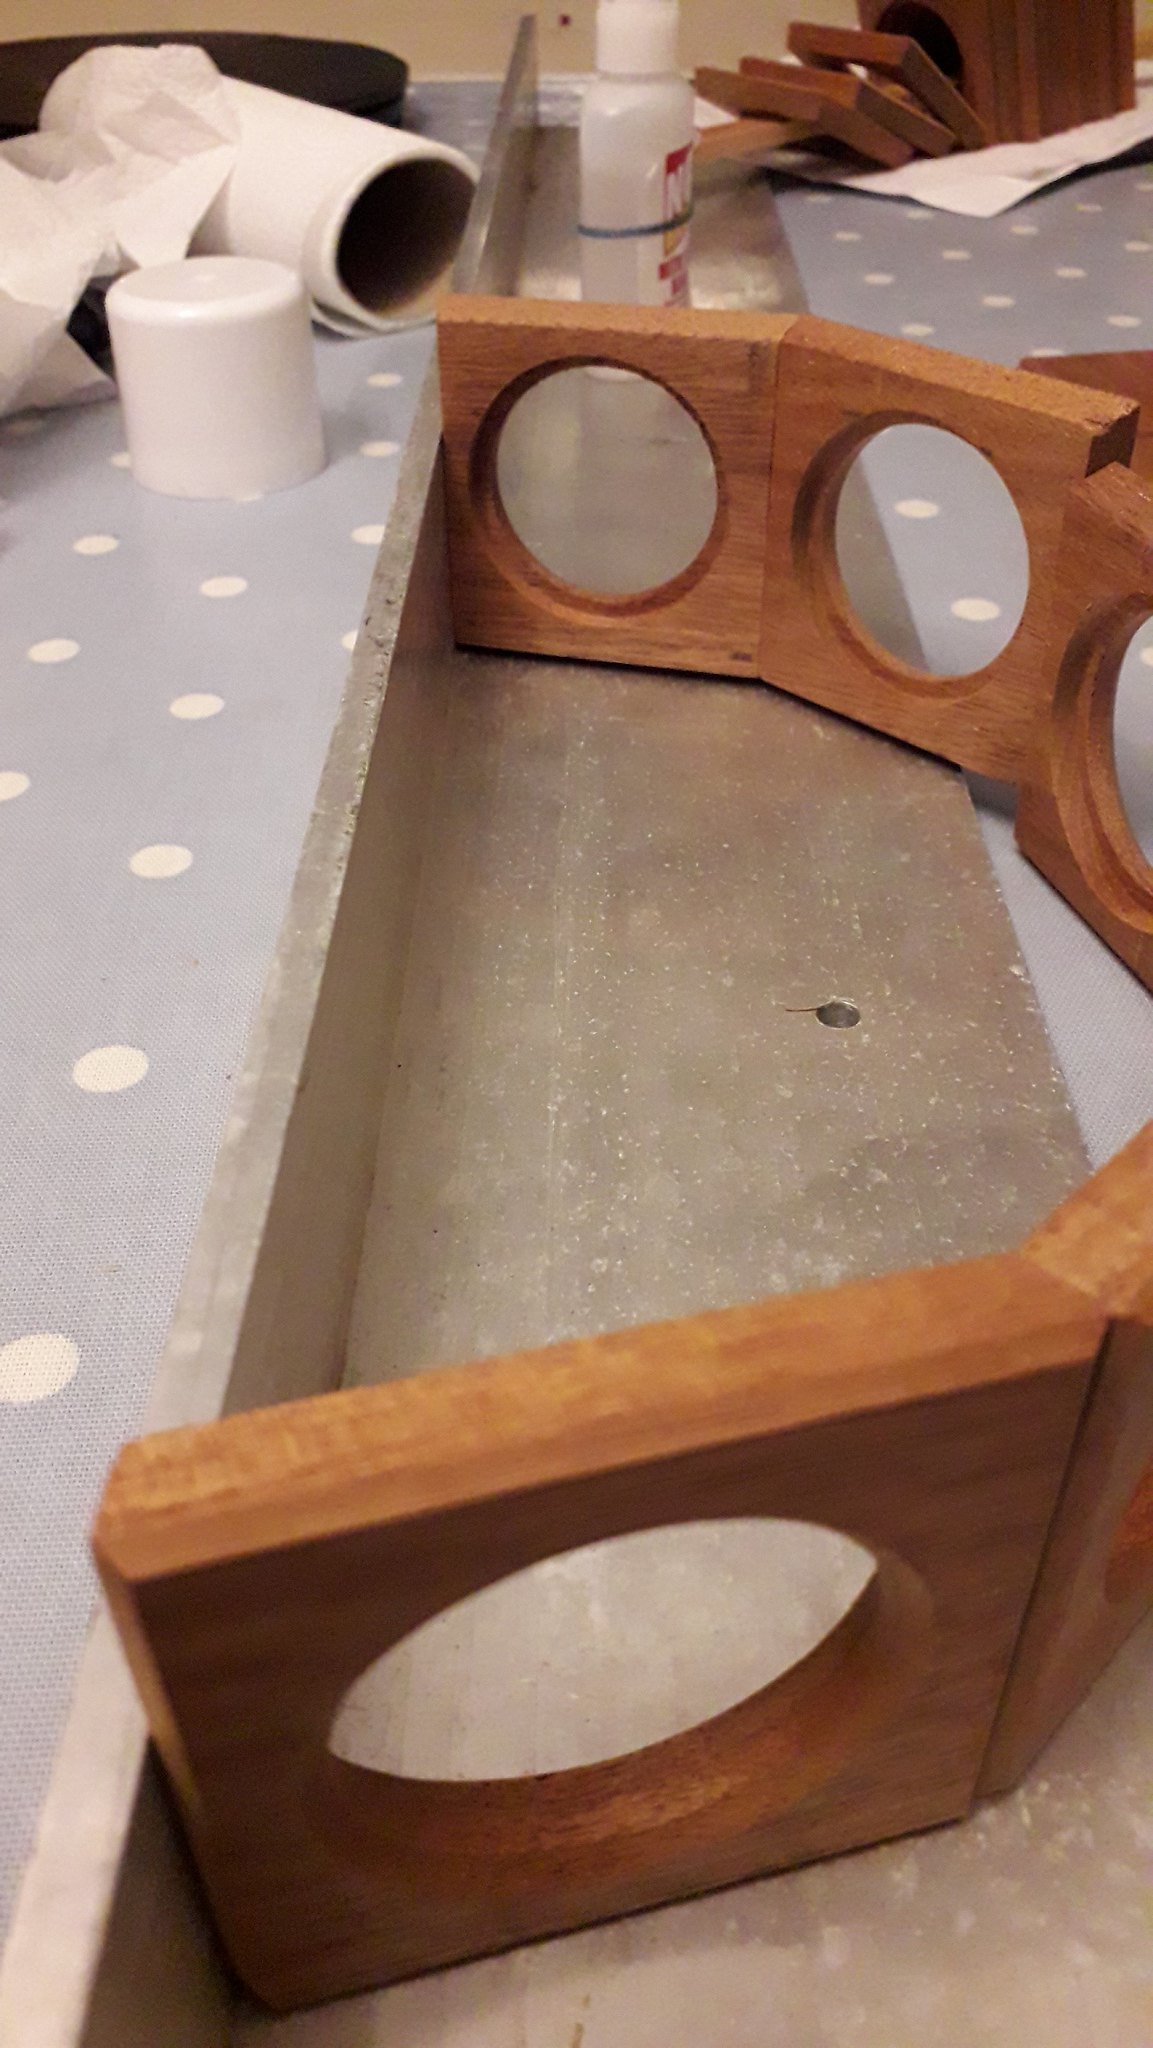
I have a bit of extruded angle that I have used for this kind of thing before so once more it has been pressed into service for keeping everything square.
32788783827_fcbee851ab_k.jpg

and then a set of 3 pairs (half a ring)
47679042062_d1019099d0_k.jpg

And then I realised that in my excitement, I had made a massive hash of things….I had glued to the angles on the wood rather than a reference angle – which was a fraction different. You know that comment you made (Yojevol) about end grain joints – well thank goodness for a bit of weakness, I then cracked all the joints made (I’m not sure I would have got away with this had they been side grain joints {all part of the plan obviously!}). It would have been nicely flat but not round if that makes sense and that (the roundness, not the sense) is going to be rather important to get the ends on neatly.
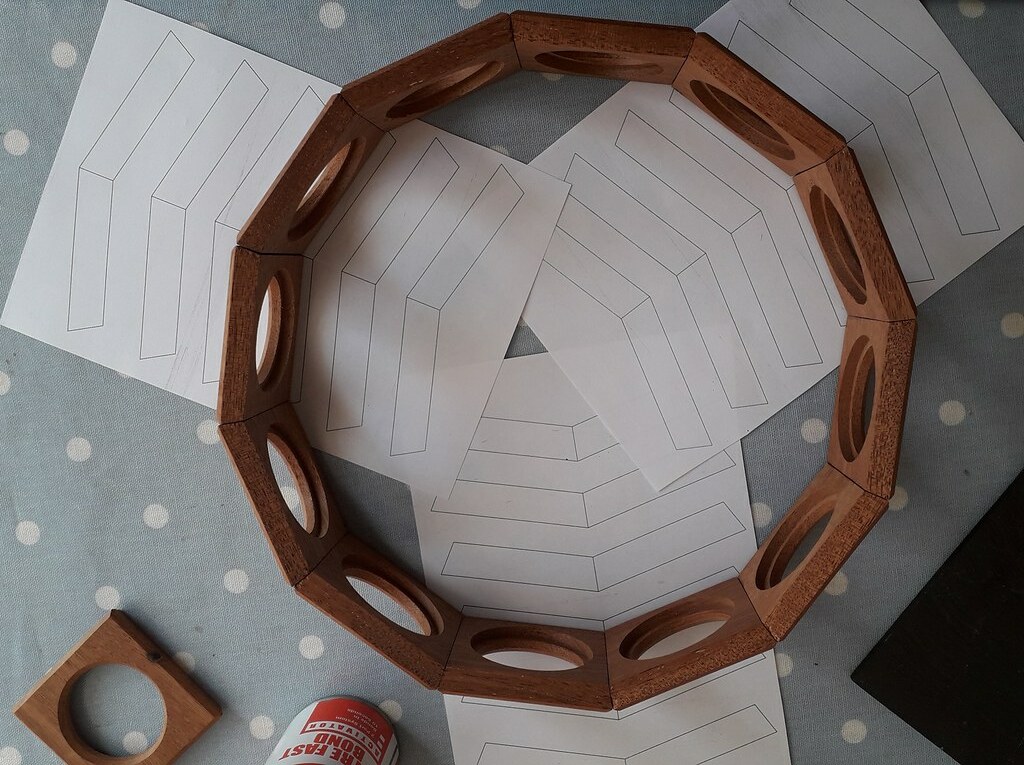
Then I cleaned up all the edges and started again, this time having printed some reference angles off draftsight to make sure it all behaved.
32788783557_a40ffcfab3_k.jpg

32788782877_bdde707a00_k.jpg

(I think the CA fumes may have got the policeman!)

4s and then a complete ring – now in the correct angling.
40765606063_94d6160825_b.jpg

Next bit is to get one end on – my parents have come down for #2s birthday so there are dad’s and my wife’s hands to assist me with the tricky bits and Mum’s to distract the boys and so we ended up with a sort of bowl arrangement.
Now I had a think (impressive he?) and decided to finish the project before it was done and then I could complete it when it was already finished and I would not have to bother with finishing it once it was completed – largely because my hands would be too big to go through the holes – especially with the sphere in there (assuming I remember to put it in there!
Everything down to the workshop for a coat of hardwood oil – but not on the faces that are still to be glued and not on the rebates where the acrylic is going to be glued and amazingly………I did it! Oil where there should be and none where there should not! It brings the colour of the timber out nicely.
47732390481_4eaeb1aaf5_h.jpg

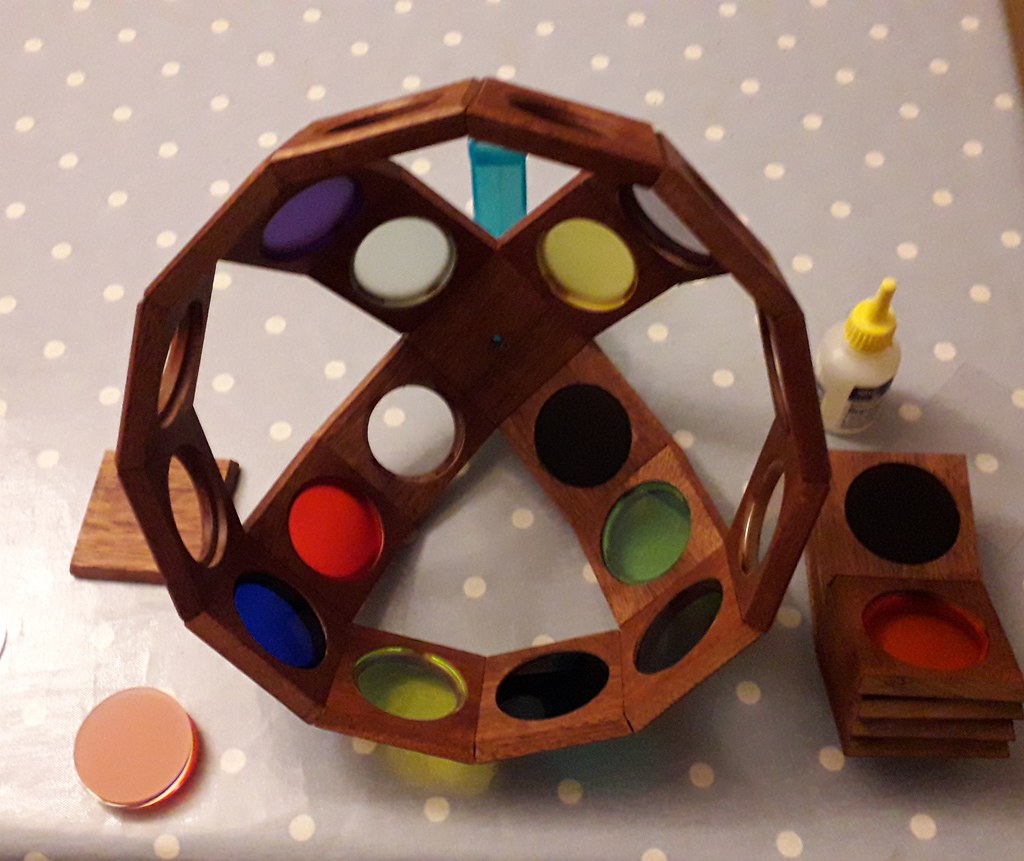
Back to the house (I’m allowed on the table if the work is clean! – and it is nice to have someone to talk to as well) and set out the acrylic discs in “random” arrangement, which takes a while to make sure that there are no reds or yellows next to each other et al.
46788058185_dcae0f3981_k.jpg

Glue them into the bowl and then onto the final loose pieces
32788783027_1e720985dc_b.jpg

The ball went in!!!!
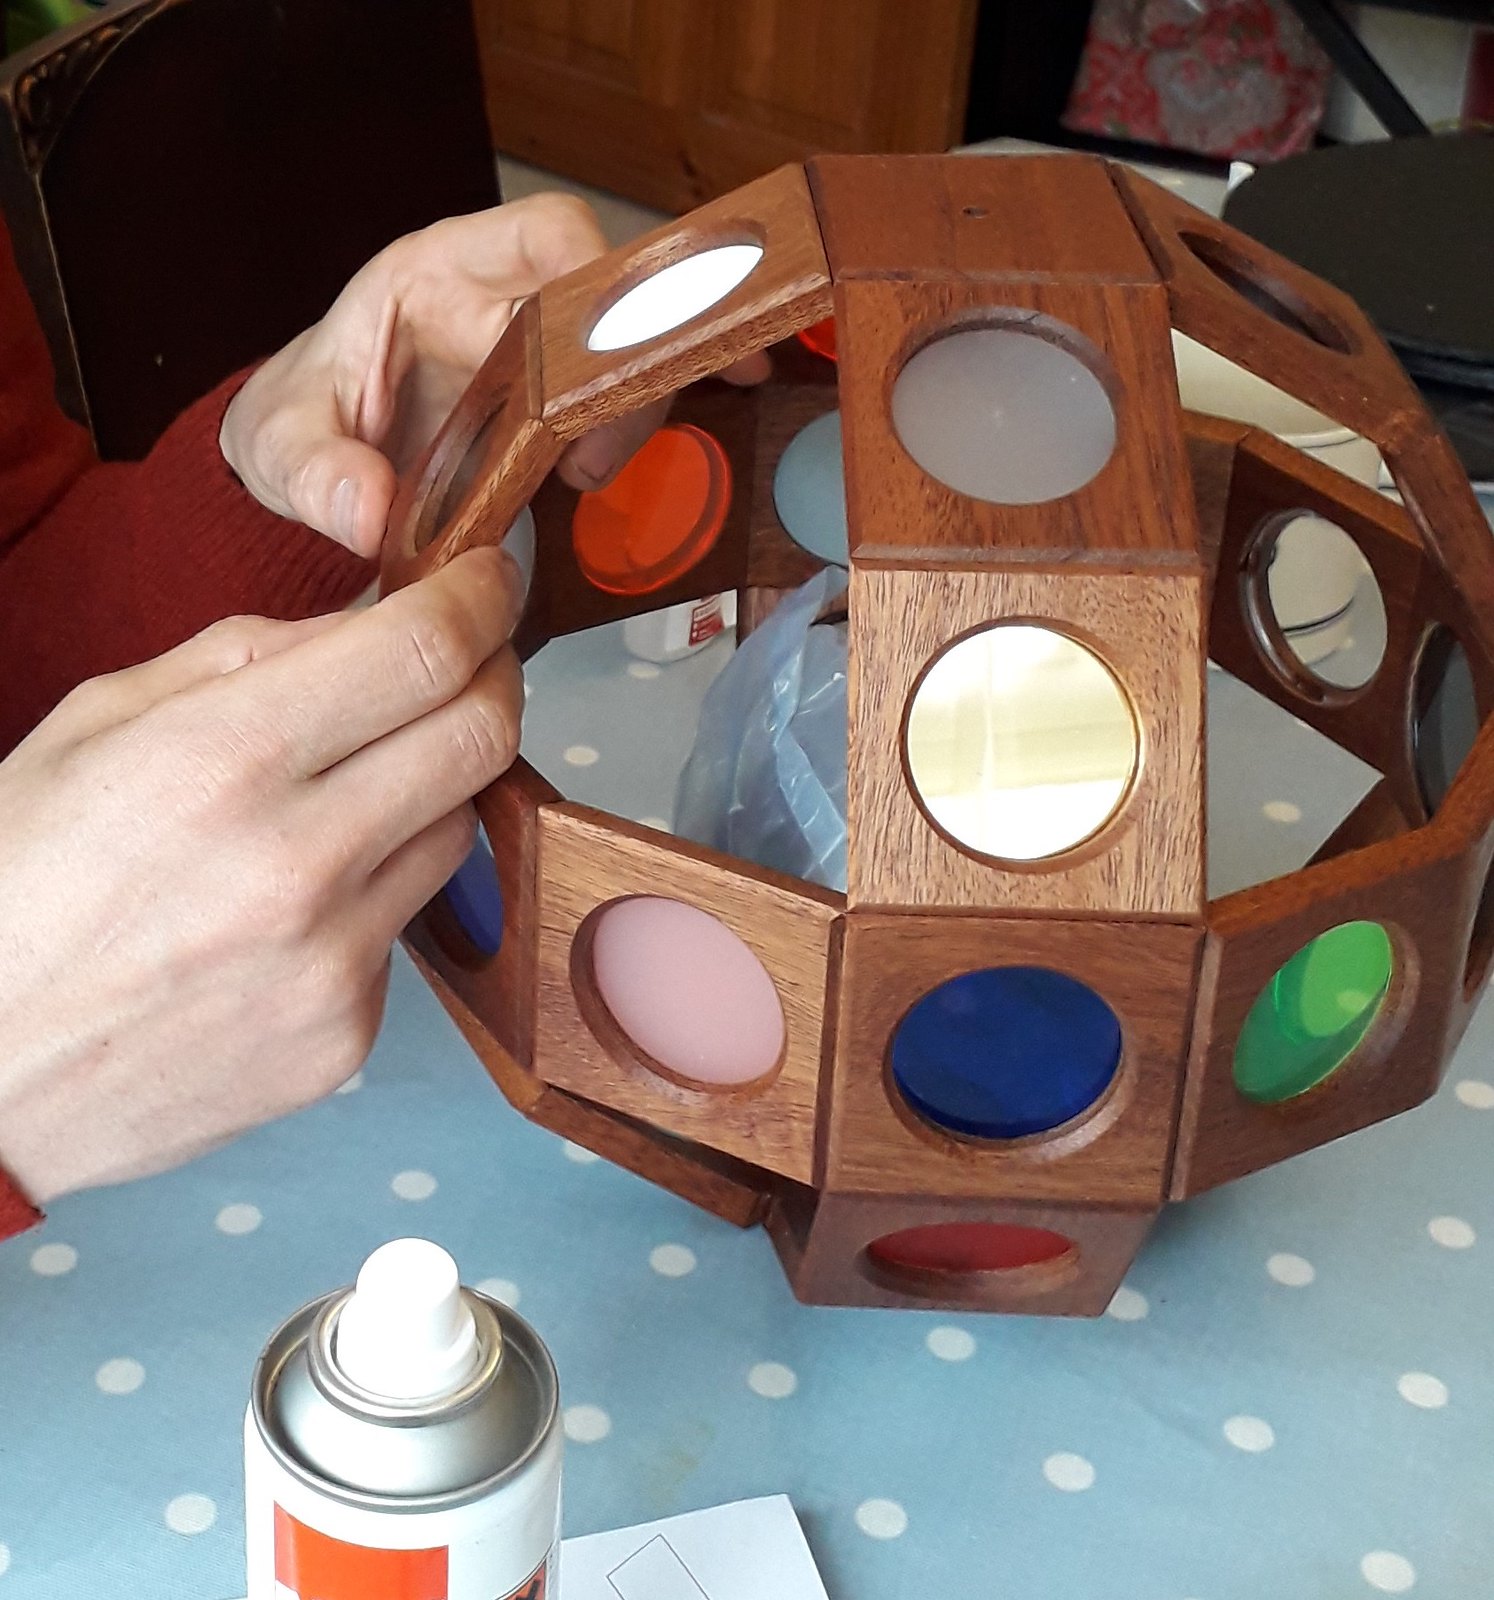
And the final panels glued into place – many hands make things light work (but tricky when you can’t see the wood for the hands!)
32788782827_e6b7933385_h.jpg

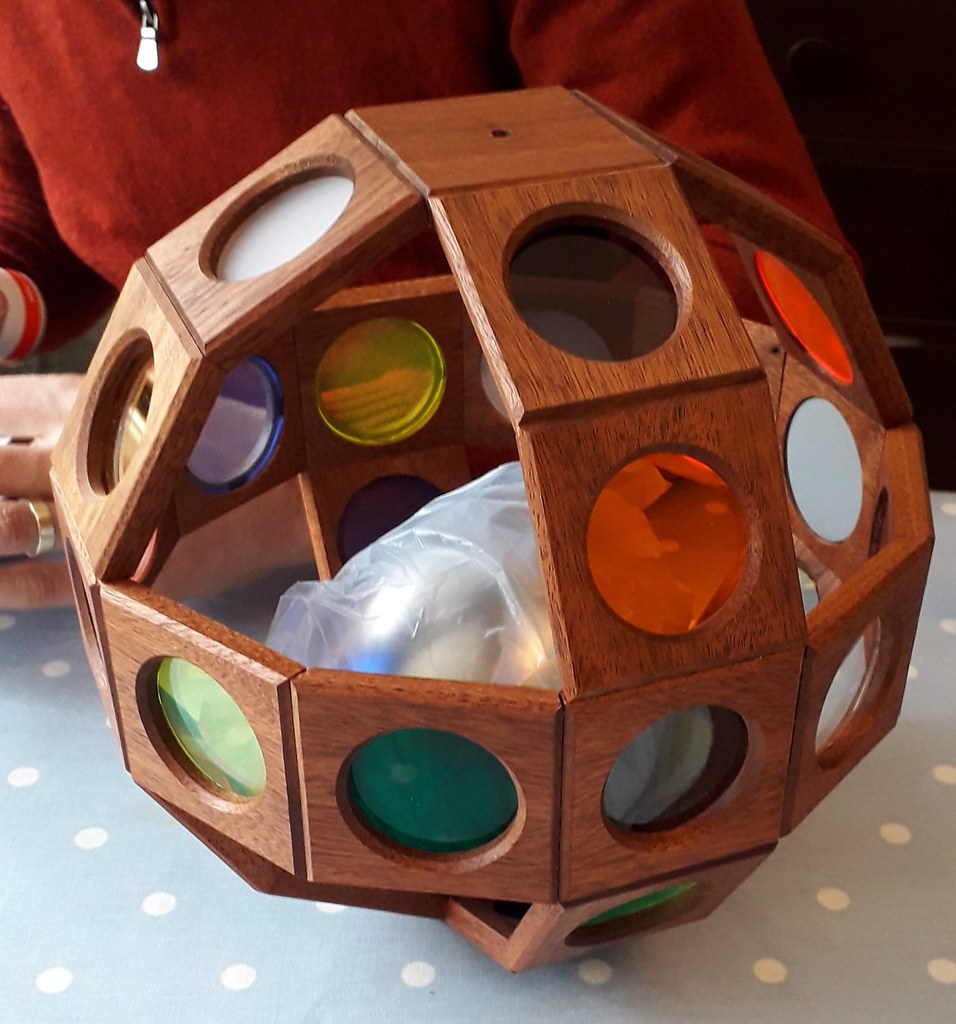
And I’m, with my able assistants, are nearly there – for some reason I think of a chicken with the bag of giblets inside when I see this one.
47679041602_52c93bf84e_b.jpg

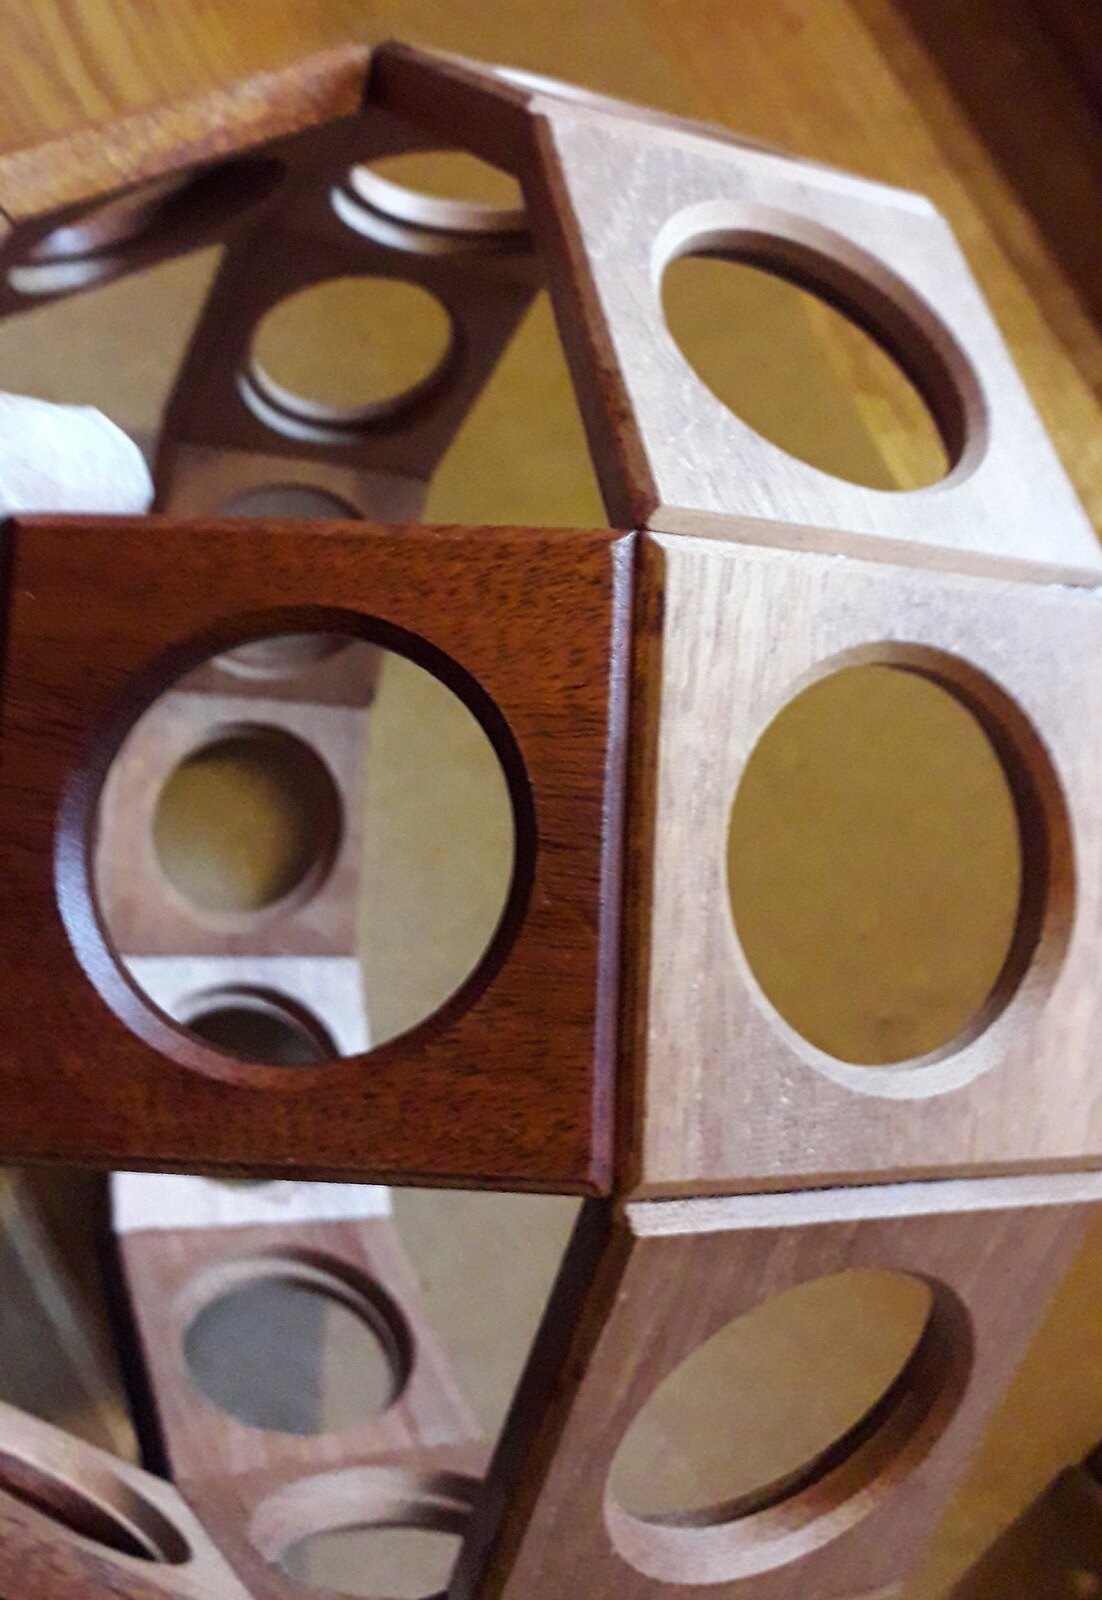
I inserted the threaded rod through the ball ends and then the spacers and the sphere (all without removing the bag) and bolted it up with the eye and dome nuts. It actually fits (excluding a tiny bit of play around the sphere) and so I tore off the bag (don’t touch it-don’t want finger prints on it) and there we go, nothing to it!
47704864621_b583fefc48_h.jpg

47704178141_7605af2ade_h.jpg

33826853858_91c70f3b24_k.jpg
 
That's a beauty!
Top marks for getting on and making it all work.

=D> =D> =D>

What's next? :D
 
I think a lie down in a darkened room, and getting on with all the other chores I've been ignoring.

Thanks for the support- it's much appreciated.

Woodgears.ca did faceted balls at some point so I think I'll give those a miss.

An extension on the boys' play area is on the cards I think. Hopefully I will get it done before they leave home.

Ironically the mitre saw at work also gave out it's magic smoke (on the apprentice) so we have upgraded it to a nice Bosch compound one (the saw, not the apprentice) which would have been so useful over the last couple of weeks. Hey-ho.
 

Latest posts

Back
Top