Anima - Box WIP

UKworkshop.co.uk

Help Support UKworkshop.co.uk:

This site may earn a commission from merchant affiliate links, including eBay, Amazon, and others.
The Plane.
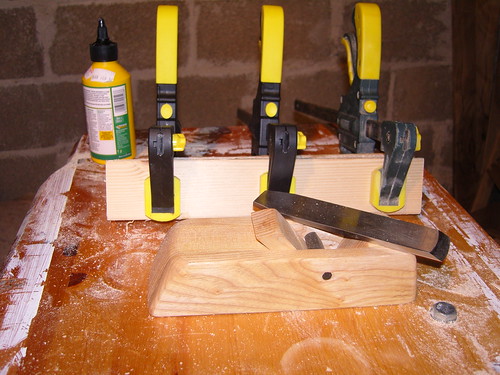
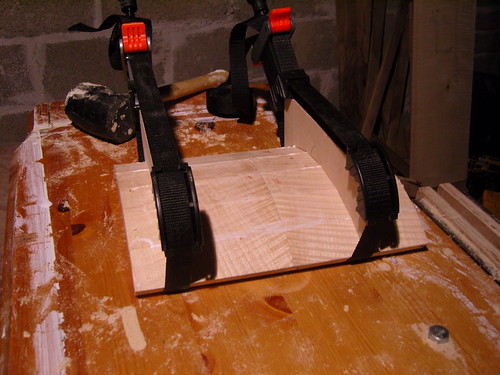
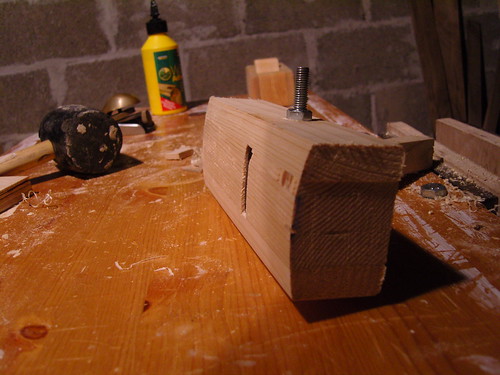
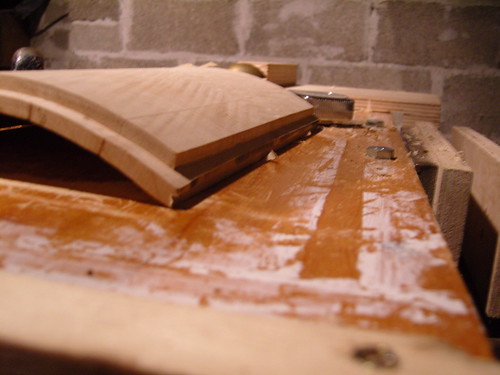
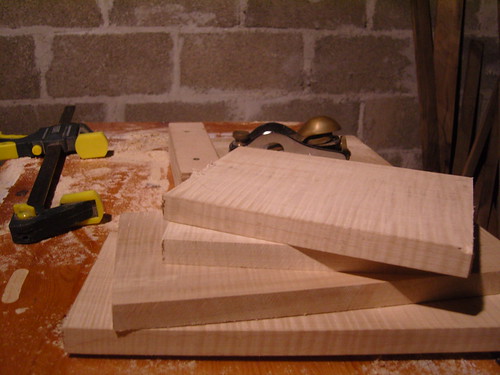
As discussed in a previous post I've decided to try and bodge a curved scraping plane. I glued a couple of pieces of scrap pine together and squared them up on the bandsaw. After cutting in half at different angles for the mouth and sandwiching between two full pieces of scrap I'm all glued up and just waiting for it to dry.
8491961665_b110519a52.jpg

I know its a poor photo but hopefully with some imagination and my Secret Santa gift next to it you can see what I'm trying to achieve.

The lid cont...
Anyway back to the important bit.

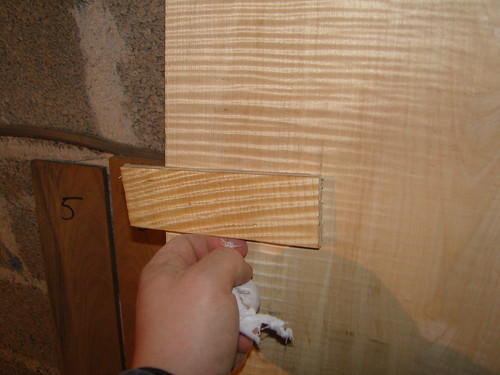
The jointed lid boards are now dry so its time to take the plunge and cut it in to strips.
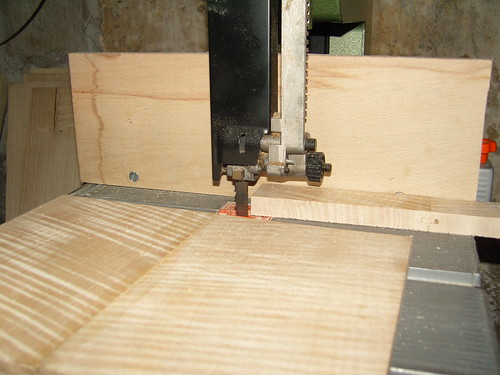
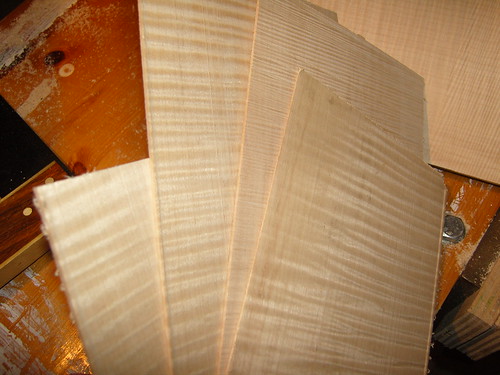
I decided the best way to go was to cut it into 6 x 40mm pieces and then cut the bevels after. Here you can see my home made rip fence; its a drastic improvement improvement on the silly little thing that came with it.
8493066430_3350499bb1.jpg


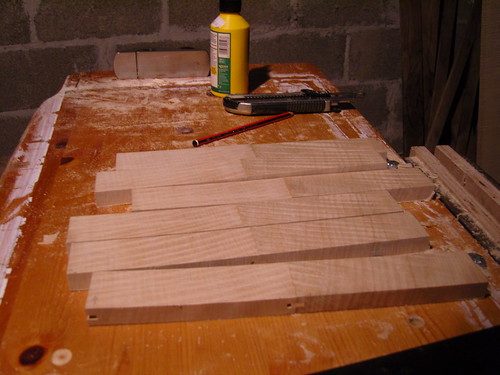
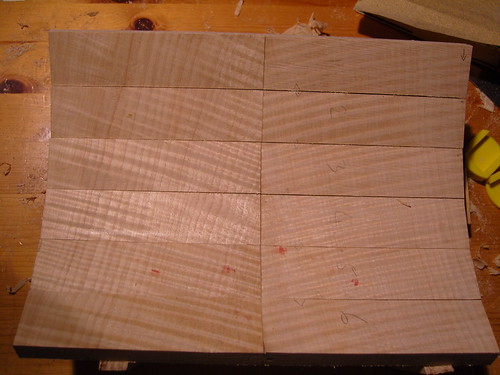
All six pieces laid out and numbered
8493071108_c18d14e0b2.jpg


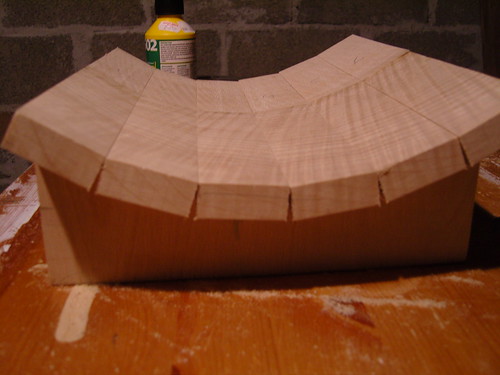
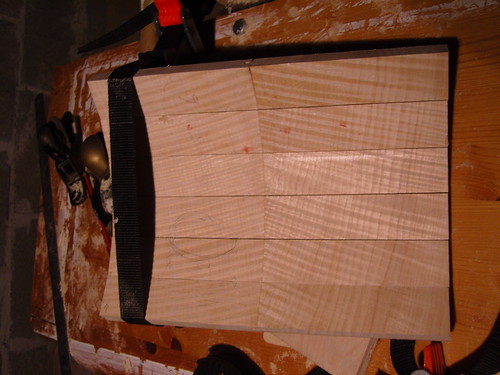
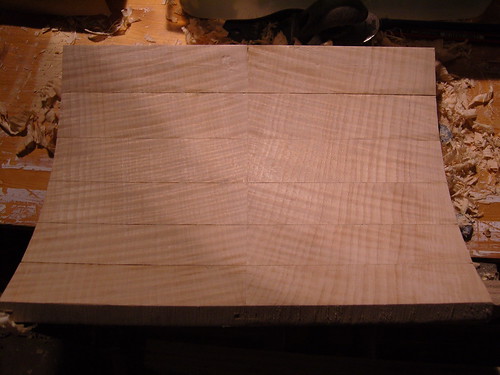
You can see the amount of bevel required to get them to fit once in the former. I reckon its just over 85deg so thats what I set the bandsaw for and the remaining fractions of degrees would be planed off.
8493088070_0676882ef8.jpg


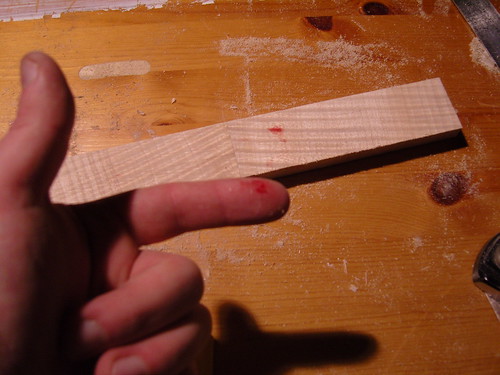
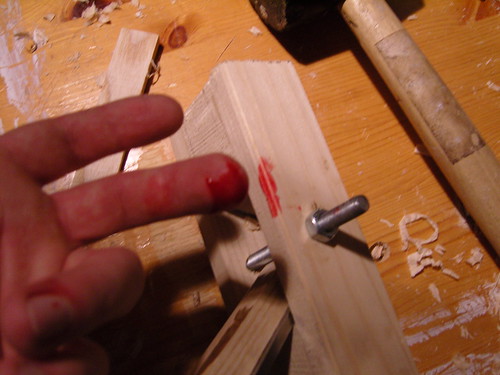
This is what happens if you forget that a rebate plane blade goes all the way across the sole and you catch it between the plane, vice and wood. I didn't even notice until blood was all of the wood. All I need now is some tears and the judges might award me some bonus points.
8491983387_262199f7af.jpg

8493094786_44cfb9c460.jpg


Planing was an absolute F***er. I never want to do it again. This timber fought me every inch of the way but in the end I got there and clamped it up dry.
8493102908_8ffc0d915e.jpg


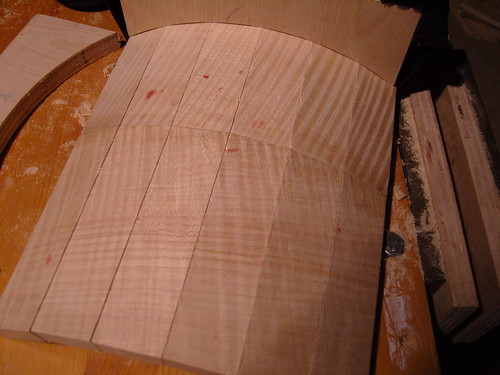
Hopefully you can still see the grain and pattern intact.
8492018701_d3f7a4bc8b.jpg


One small area on the inside where the boards don't quite fit so a little fettling needed which with this timber is a lot harder than it sounds. (another poor photo sorry)
8492005785_e3515e2c53.jpg


All glued up and drying.
8491998137_4cd71128b8.jpg


I haven't decided yet whether I want the 'V' in the lid heading towards me as you look at the box or away, I suspect it will be towards.

The next step will be to smooth out the lid and route a small rebate around the edges so I can measure up precisely for the sides of the box. Currently I'm on track for the mandated size but there isn't any room for router disasters.

I'm also testing a square finished with danish oil. Whilst the ripple is great it also yellows the timber a fair bit so I'm thinking lacquer might be the way forward. I'm only 2 coats in at the moment so once the last ones on I'll post a pic for everyone.

Thats all folks.
 
the Americans seem to be a fan of wiping over an amber water based stain to pop the grain on maples. might be worth researching- it would be a shame to yellow it. Transtint is one that i have seen mentioned, but you cannot get it this side of the pond! here is one link http://www.targetcoatings.com/forum/vie ... t=1268,you either love the effect or hate it.
 
Cheers barkwind, there's a few on the bay as well. I'm just trying to bodge my own as an experiment really, in the likely event that it doesn't work Ill have to investigate buying one.

Marcros, Iv just bought some clear (supper blonde) shellac flakes to get that high gloss look on the image I posted at the beginning of the thread. Dying the wood underneath it hadn't occurred to me... Ummmmm ill give it some thought. To be honest finishing is not really something I do alot of. Most of projects stay as bare wood as I find it messy, tedious and fickle so like a coward I tend to just avoid it. I am well and truly out of my comfort zone on finishing this project.
 
The plane finished

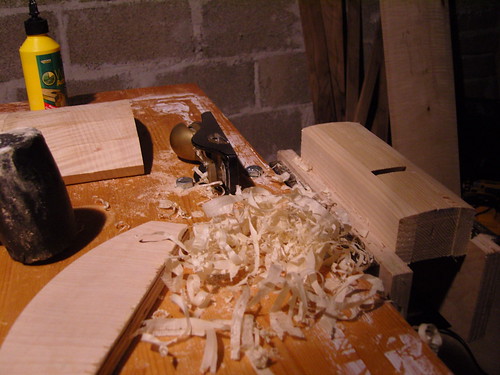
The scrap pine sandwich is dry so I decided to trim and plane it to shape using the plywood formers as a guide.
8497424787_24fa69484c.jpg


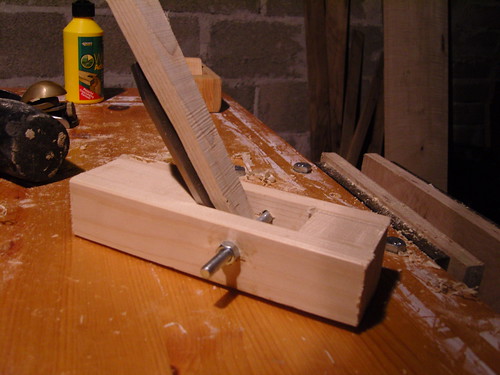
I used a coach bolt to assist in wedging the blade in with a scrap piece of waney. I don't think mr Philly has anything to worry about.
8498571850_c19d621cde.jpg


Ugly as sin but hey, its about the wood not the tools.
8498567994_335627e7e5.jpg


Anyway enough of that distraction, back to the box to give it a test drive...

The lid cont...
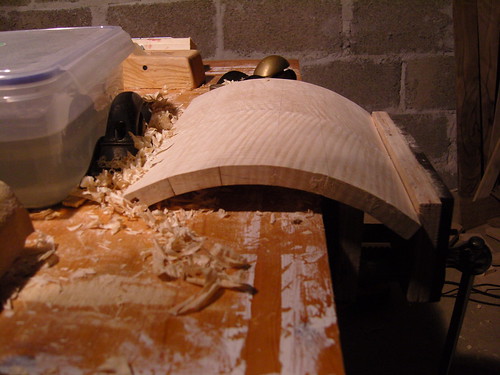
Believe it or not but it worked and heres the proof.
8497456415_c7fbd177a9.jpg


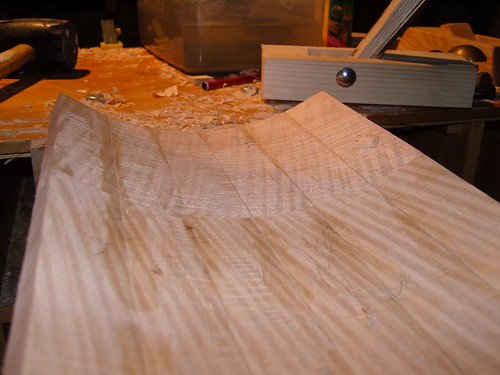
Now don't get me wrong it isn't perfect and it does behaves like a scrub plane (no surprise) but it does get the job done. Mind you the blade has to be blindingly sharp to stop it tearing chunks out. I had to hone it 3 times in total just to do the inside.

And yes, I did it again. In my excitement at the success I 'juggled' it from one hand to the other and caught it in the other. Like a tit I cut the finger next to the one I cut last time. Typing this update is very difficult.
8497460403_e74383f4ed.jpg


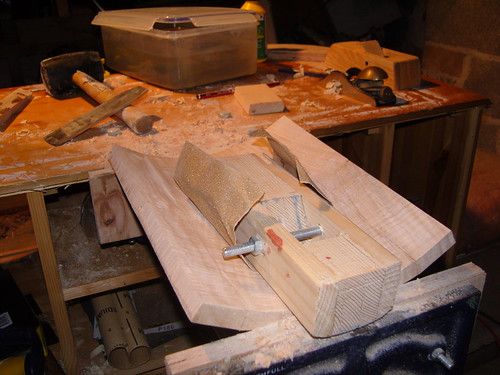
Using the plane carcass as a sanding block I tidied up the the inside with super rough paper.
8498532144_a3b186262b.jpg

And yes my bench is an old TV unit on stilts. Ugly but functional.

I then planed up the outside of the lid.
8497452781_524451a9a5.jpg

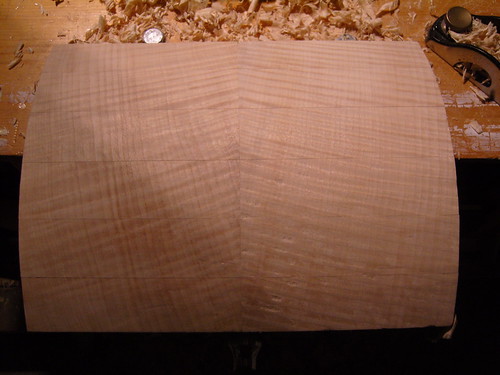
As you can see the joins are still visible but I gave them a quick sand and they faded a bit. The lesson here is that coopering is really a technique for darker woods...obvious now I think about it but hey I'm learning.

Here is the inside planed up but before sanding. Notice the joins again look horrendous in the photo but no where near as bad in real life, I promise. I only have one light source hence the one camera angle in the pics and shadows along join lines.
8498548096_279fd0e338.jpg


Heres a pic showing the grain pattern complete with tear out marks and shadows. Rough sanding only half done.
8497440561_b2c235cc15.jpg


I've decided to leave the bulk of the sanding till the end so I can do the whole box in one.

If I'm honest, I'm a little worried about the join marks. I was aware that they would always be visible but didn't really appreciate the extent of it. Thankfullly the more I sand the more the disappear so we will see. We live and learn I spose.

The finish

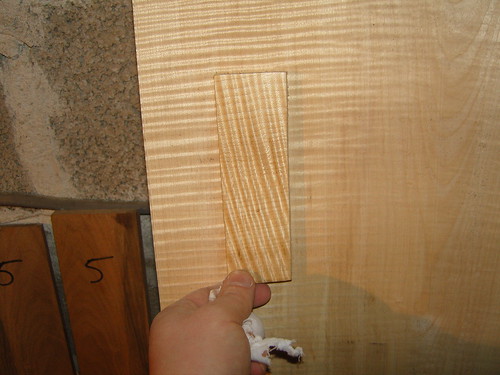
Here is the piece of scrap with 3 coats of danish oil. Slight yellowing but not too bad. I'm kind of keen on the smooth finish achieved with shellac so I've got a bag of clear stuff awaiting mixing. I need some advice on combining finishes but thats for the finish forum.
8497433123_79e3993c5e.jpg

8497437147_b98b6a3deb.jpg


Thats all folks.
 
Looking good here now :)

I will see if i can find the link again. I came across on finishing curly maple. I can't post the pic of the finished article as it doesn't belong to me. But think they just mentioned using clear lacquer to finish the maple. And it was a damn fine finish on it and the maple was certainly popped :)

EDIT

Found it

http://www.google.co.uk/url?sa=i&rct=j& ... 6245083869
 
I'm sold on that finish.

I'll mix up my shellac tomorrow, give it a couple of days to dissolve and maybe I'll have a test bit going by next weekend.
 
I found what equates to a 1/2 lb cut built up with about 5 applications gave me better results than 3applications of a 1lb cut :)

Nice depth and shine to my plane handles :)
 
Great WIP with blood and guts! Less blood now please but carry on with the guts bit, curved lid, making a plane, the timber you have chosen etc its all beyond what i'd of attempted for my first box so thanks for making me reconsider that defeatist attitude!

Dean
 
Don't be put off. If I was a diver I would be one that aims for technical scores as opposed to execution. I added the blood for sympathy.

There are already mistakes but I've learnt a lesson from each of them. When I'm done I intend to post a cut list and the pointers so you(or anyone) can do it better than I have managed.
 
Anima":1bdo2my3 said:
Don't be put off. If I was a diver I would be one that aims for technical scores as opposed to execution. I added the blood for sympathy.

There are already mistakes but I've learnt a lesson from each of them. When I'm done I intend to post a cut list and the pointers so you(or anyone) can do it better than I have managed.

That is a great idea. thank you for thinking of the other members
 
Anima":11mkacmu said:
Don't be put off. .

Quite the oposite! In my head i was going to get a few bits of scrap and just try a couple of joints out, the more i read posts like yours though it's clear that's a silly idea!

Anyway looking forward to the next bit........
 
DMF":31q9zb8v said:
Anima":31q9zb8v said:
Don't be put off. .

Quite the oposite! In my head i was going to get a few bits of scrap and just try a couple of joints out, the more i read posts like yours though it's clear that's a silly idea!

Anyway looking forward to the next bit........

I always say the best way to learn is do.

So get those scraps and practice. In fact if the other members/mods don't mind? I suggest you join in ( unofficially) and build a box along side us, letting us help you as you go :)
 
looking good and loving the wip

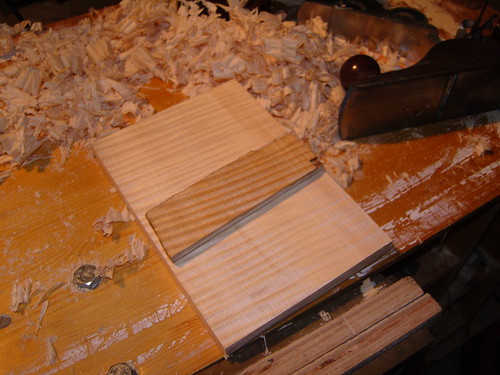
for the body - have you thought about mitres with dovetailed splines?

i've not read the rules but it might count and that way you could keep your original mitre plan

i've never done them myself though!!

cheers
 
stoatyboy":1keymnov said:
looking good and loving the wip

for the body - have you thought about mitres with dovetailed splines?

i've not read the rules but it might count and that way you could keep your original mitre plan

i've never done them myself though!!

cheers

Be interested to know how you'd do them
 
Melinda_dd":1r9qks64 said:
stoatyboy":1r9qks64 said:
looking good and loving the wip

for the body - have you thought about mitres with dovetailed splines?

i've not read the rules but it might count and that way you could keep your original mitre plan

i've never done them myself though!!

cheers

Be interested to know how you'd do them
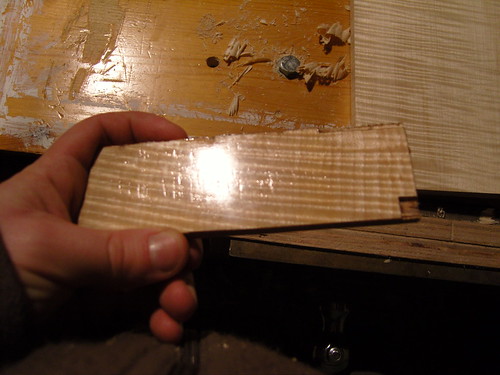
Shows you in this

http://www.youtube.com/watch?v=fT_5fV2yMlA

Just don't fall asleep watching him :lol:
 
The Shellac

Well I've tested the shellac. I applied around 6 layers of a thin mix of shellac and meths with a rubber. I sanded down between layers with 600 grit wet and dry which enabled me to get a really smooth finish. I'm slightly put off by the yellowing which appears worse in the pictures than in real life, but the grain is 'popped' and the wood has a wet look. I've got no idea how that chap obtained the clear finish in the link that Carl posted.

8525188526_abcf3c9227.jpg

8524067417_cc6ed473c5.jpg


I got the flakes from this site because it seemed the most reasonable price for an experiment.
http://www.ockenden-timber.co.uk/

I'll give this some more thought...

The box
I finished off the lid for now by routing some rebates around the edges ready to be inserted into the sides. To make the transition in different grain directions easier on the eye I think I might put a thin band of walnut in the lid.

There is almost certainly an easier way of doing this but where the lid meets the sides at funny angles on the front and back I had to do some smaller rebates. I had a bit of a nightmare with the router if truth be told. The cutter was brand new but the timber blunted it straightaway.

8524062393_78ab37ace4.jpg

It looks a bit messy but there is a plan I promise.

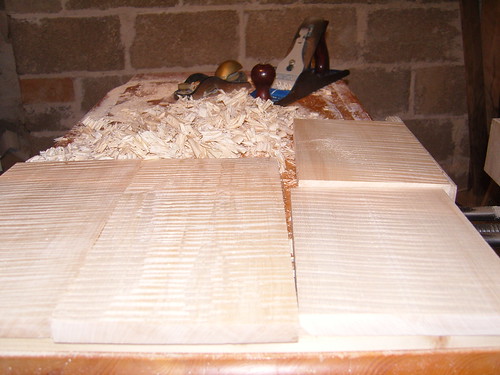
With the lid done I measured up and cut the sides. I then squared them up on the shooting board in preparation for ripping to thickness.
8524089419_6cdfbda29b.jpg


Ripped to thickness on the bandsaw I'm left with some veneers. Handy for the base I think.
8524083821_462139ccb7.jpg


I then planed the sides smooth.
8525193460_d65aba202c.jpg


This really chewed up the plane blades so frequent sharpening is key. I now have some scrapers prepared so the next post should include some pics of that.

The next stage now is start cutting the joints followed by routing the rebates for the base and lid to sit in. Progress is being made but I'm conscious of time running out.

As always comments and suggestions are most welcome, in particular getting a clear shellac finish.
 
Looking good still :)

Which shellac are you using? You can get 2 types of clear. Blonde and a super blonde shellac. Not sure how clear the lemon shellac is?
 

Latest posts

Back
Top