Workshop Design - well it's a build really.

UKworkshop.co.uk

Help Support UKworkshop.co.uk:

This site may earn a commission from merchant affiliate links, including eBay, Amazon, and others.
Your getting there mate. When are you going to finish the roof? Rosemarys look great but there is so many per sq M they really are time consuming to fit. It's worth the extra effort though.
I assume the outside is rendered- are you doing this yourself also?
 
Mattty":33g1q3cu said:
Your getting there mate. When are you going to finish the roof? Rosemarys look great but there is so many per sq M they really are time consuming to fit. It's worth the extra effort though.
I assume the outside is rendered- are you doing this yourself also?

Just finished glazing the remaining 2 casements.

Hoping to start on the remainder of the roof this coming weekend. Hopefully get the door glazed tomorrow and locks done on Thursday - got to go down to Brum to collect Wifey and Kids late Friday, which gives me Sat & Sun to do the roof.

There are a fair nbr of tiles stacked on the rear roof - probably less than 25% of what is needed, but it's a start. With Rosemarys only every 5th row is nailed (as is the eaves, verges and tops) the rest aren't so once you get a rythm, it's relatively quick. Teh biggest headache will be getting them up there - as a 1 man band. But free exercise and savinng cash - so can't be bad.

The outside will be rendered with limestone chippings to match the house. That'll have to wait until the adjacent garage (new) is built and then look to render both at once. At this point I'm intending to have a go as getting someone in might not be cheap & I'm against slave labour (even if it offers). PP want a test panel - so will probably screw a 4'x3' cement board to the wall and give it a go. Probably do than soonish - that way I'll get an idea of how it will age - i.e. do the test panel before the garage & then once the garage is finished, I'll know how the render will look in say 6 months time.
 
Does stuff ever go to plan - not in my world.

Sat - got the last 2 holes glazed in the door and the beading fitted. Then had to trim them as the were cut oversize. Had an offcut around 3mm thick from a 3"x2" - so using that as a spacer, put a new blade in the Fein MM and cut a way, tidying up with some 80g Abranet. Then on with some primer.

galzed_1.jpg


The primer is a little lighter than the topcoat - another lot of primer and then hopefully the topcoat. Chopped up some s\s offcuts into 4" lengths and having drilled the holes in the hinge side of the door, hammered them in. Then drilled out some slightly oversize hole in the metal jamb for them to engage.

hinge_pins.jpg


Fitted the deadlock in the stile and then came time for the rectangular cutout in the jamb - started off with a pair of 13mm holes and then the hard part. A combination of files, die grinders and the Awesome Aldi dremel-clone with some mini cutting discs and what felt like a lifetime later - we have,

jamb_cutout1.jpg


Just some cutting residue to wipe off the frame\seal. I have one more to do higher up for the tubular\mortice latch - which I really don't want to do! Stooped over the above effort for ages - aches and pains really set in this morning. :oops:
 
Right an update:

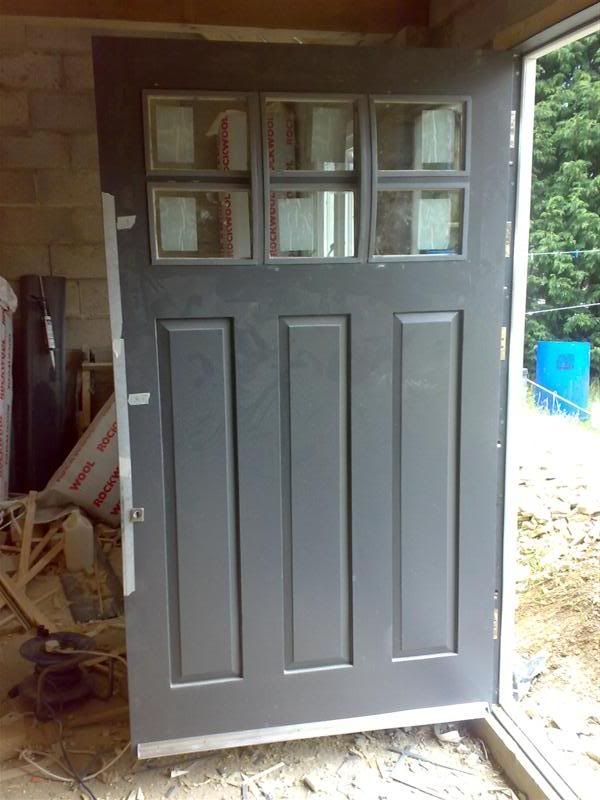
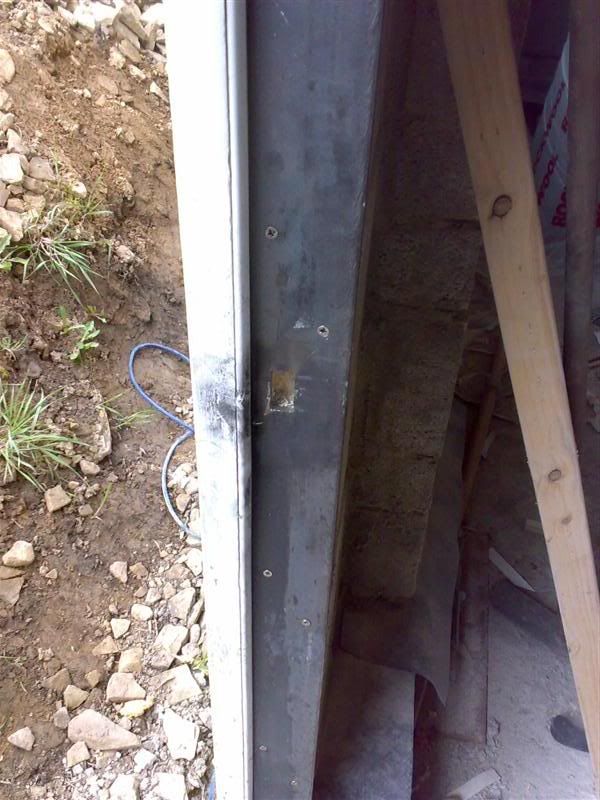
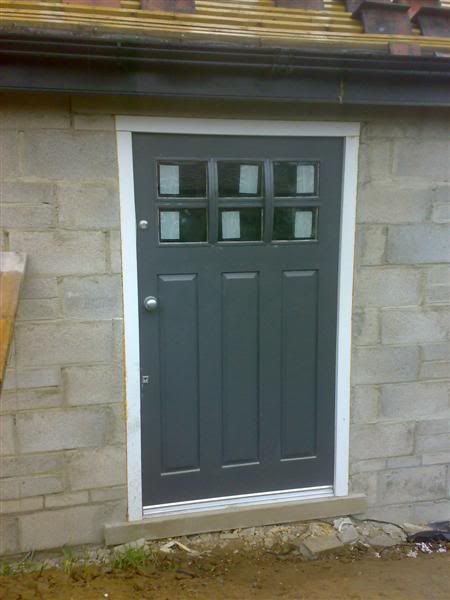
Spent most of the week faffing about with cutting square holes in steel jambs and fitting locks, as well as handles. The 2 ironmongers I used supplied single spring latches and when I came to use it with unsprung door furniture - well a quick trip to Screwfix soon resolved that. :oops:

No real WIP unfortunately - I'm sure you'll understand, square holes in situ in 5mm steel isn't the easiest thing to do, here's the end result,

door_finished.jpg


Now the only problem is Wifey saying, "The workshop door looks really nice. Why has your workshop got a door that looks a million times better than our front door?" (Front door isn't rubbish tho!)

"I think one exactly like that in that egg dart blue would look just right as our front door!" Go figure!

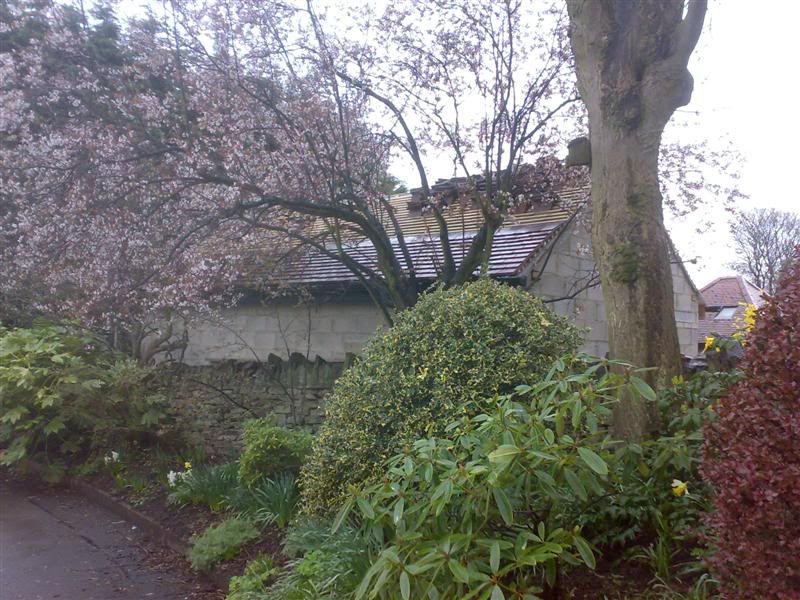
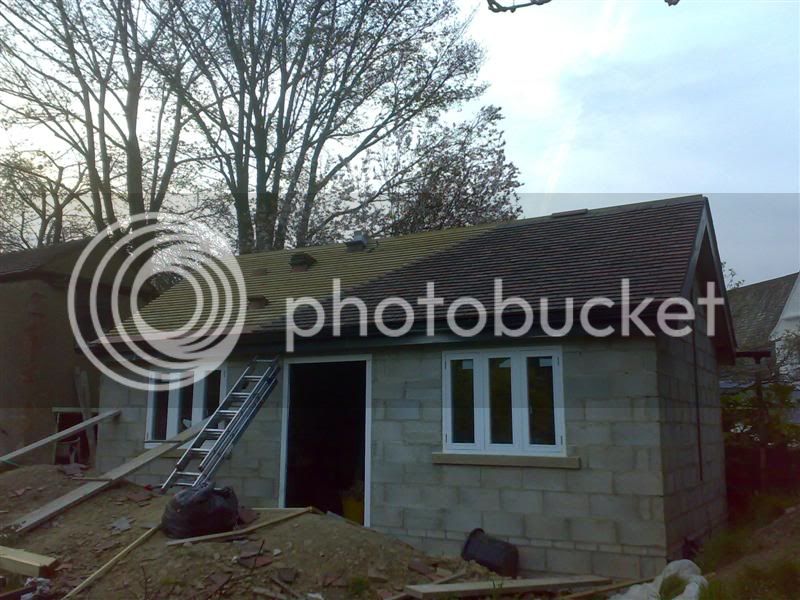
Spent Sat tidying up the workshop - binned all the rubbish and bagged up all the offcuts (next door have wood burner) then stacked more tiles on the roof, thought I'd better get into it gently! My arms already look like they've been done over by a demented cat!

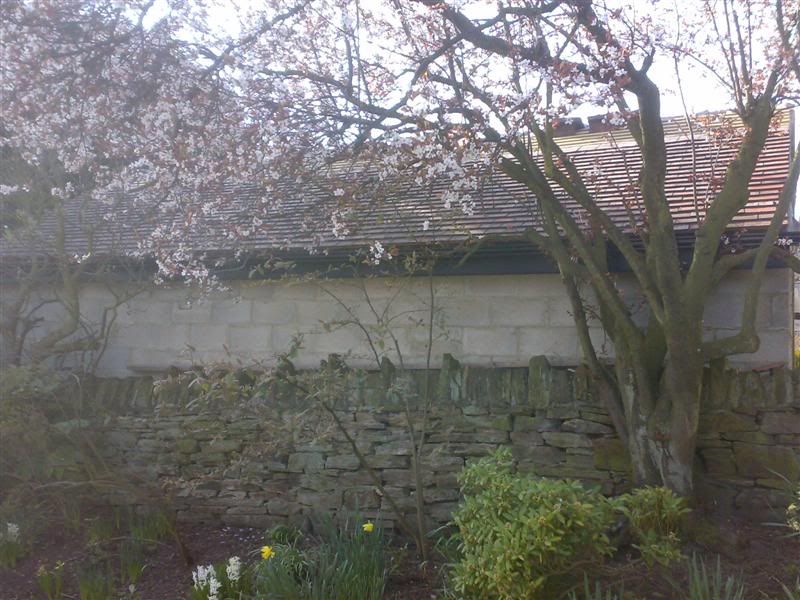
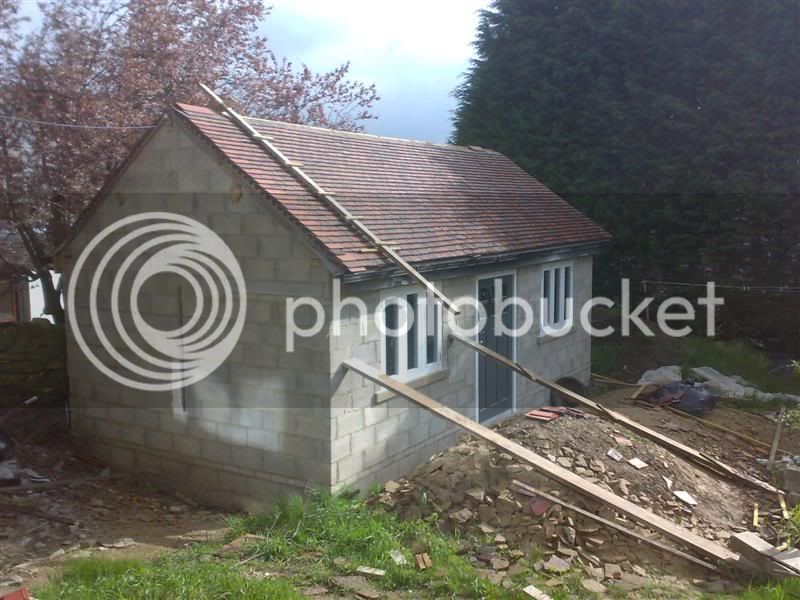
Laid out the eaves course - just to check how many etc. then started in the bottom right hand corner

diagonal.jpg


Now that's when things started to go off plan. I nailed the 1st main course of tiles, then instead of the 5th one - ended up doing the 7th one. Don't really know what happened there. Might have happened around tea break time! :oops:

Then looked at it a bit closer and using a length of lath sideways on (i.e. 1" thick" realised the "joints" were starting to go all over the place! Now a 1\4" deviation is fine - but the odd ones approaching 1" were not.

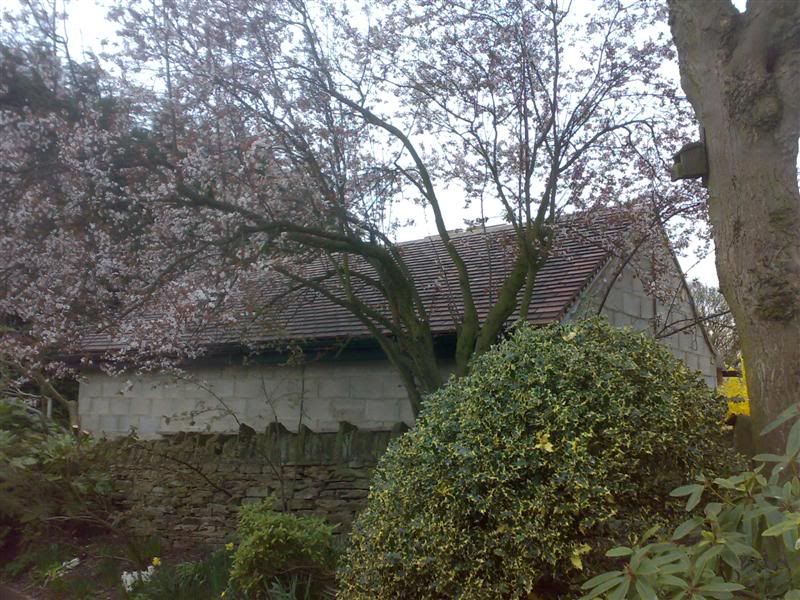
Sat there for a while - then went sod it - pulled everything off to the 5th row (re-stacking them) and started again. This time laying a whole row out and then moving on. I appreciate it might not be orthodox but so much of this build hasn't been, so I can live with it.
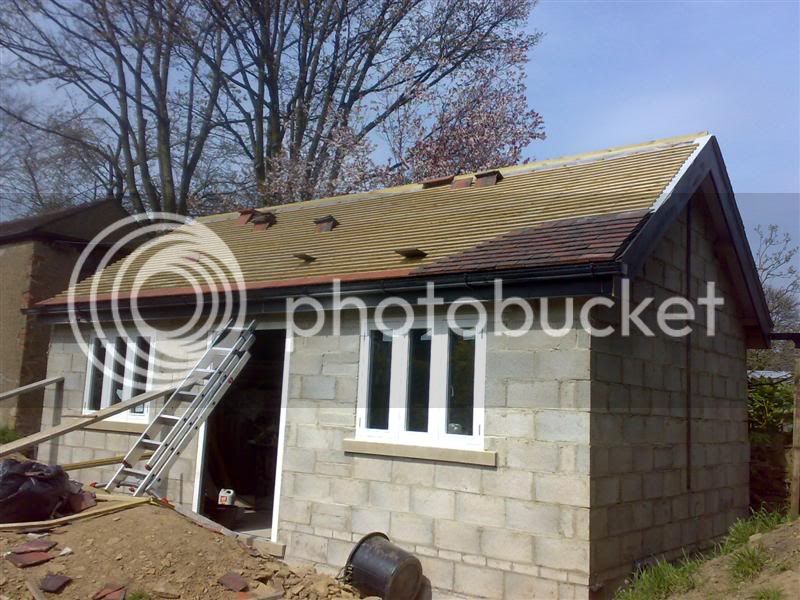
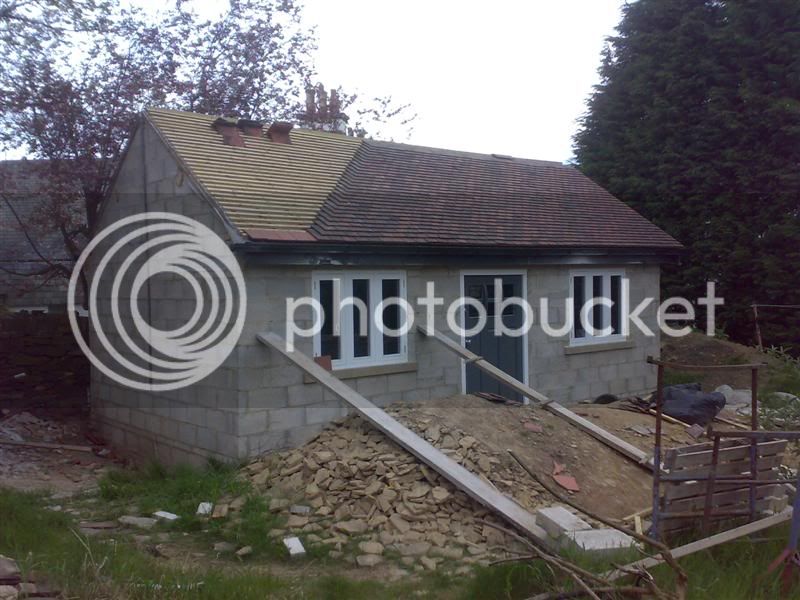
Ended up with this,

rows_1.jpg


Both verges aren't fully nailed in - they'll both have to be stripped back - one for the join between both buildings and lead soakers and the cloaked one for the lime mix to be bedded in. Not the ideal order of things - but when you are on your own - as long as it works out in the end - not mega fussed.

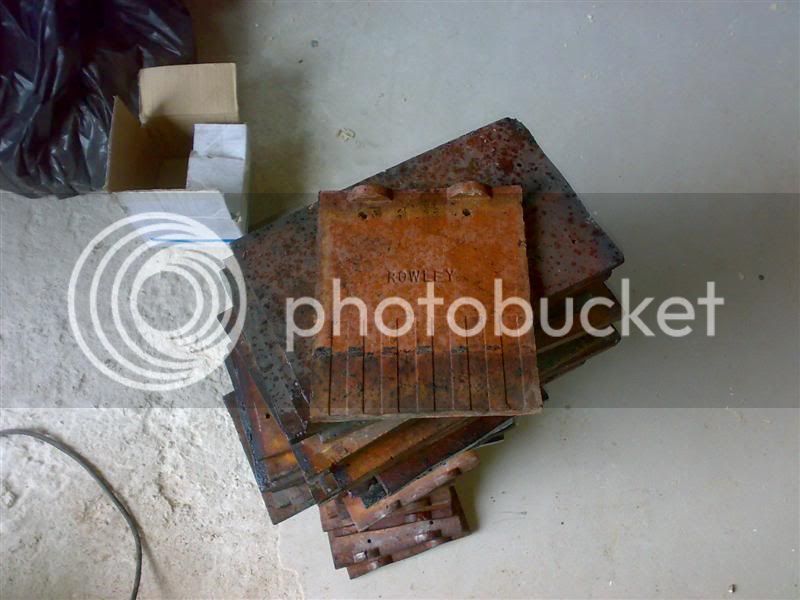
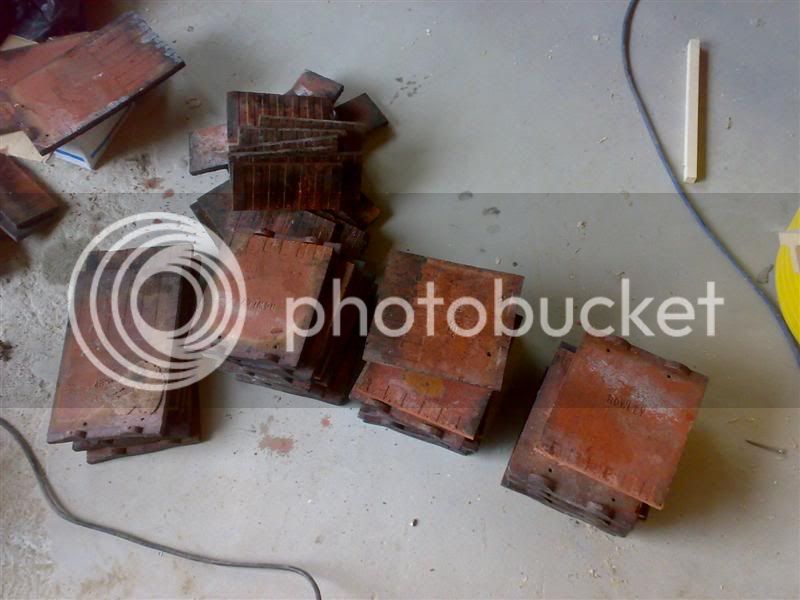
Thankfully one of the biggest saving graces is that the tiles (reclaimed) - almost all have both nibs which makes it so much easier.
 
Update: Managed to get 10 more rows on in the last 2 evenings. It seems to be about 5 rows per evening and then stack some more for the next day. I'm around 6 rows from the tops so might finish the back this evening.

getting_there.jpg


Thankfully, I don't suffer from hayfever or it would be hard work sat up there in amongst cherry blossoms!
 
mtr1":2dwgbqab said:
Looks cracking, how are you heating it dibs out of interest.

With 4" of Kingspan in the roof\floor and 4" of Rockwool in the walls - add maybe a couple of layers of clothing and a hoodie - I'm hoping not to have to heat it to be honest.

I did toy with the idea of a wood burning stove - but shelved the idea due not being too keen on having a potentially unattended fire in the workshop. Open to suggestions\advice.

Update: Did some more last night - might get an evening off, although I doubt it for some reason. :roll:

rear_done.jpg


Thankfully the ridge tiles I'd bought off the bay fit and even tho they are new, they blend in colour-wise very well. Got one of the dry ridge kits out - a Marley one. 6M kit with metal brackets to go on\near the apex of every rafter pair. Rafters every 16" apart, 10 brackets in the kit - HTF is that supposed to work. Going to give Marley Tech services a ring today and ask - :roll:

Decided to sod the brackets and as the ridge beam pokes above the rafter apex - just going to extend that upwards and screw the ridges (using the connector pieces) into that. The extra piece of timber will be covered with a roll of whatever comes in the box - so shouldn't have any issues.

With a bit of luck and good weather might get the roof finished this weekend - assuming I don't sleep in. :wink:
 
I think with all that insulation you could get away with a electric one(just on for a bit), but you can't beat a woodburner. People put them in their homes after all, and leave them unattended. As long as they are fitted right shouldn't be a problem, I'm definitely fitting one in mine.
 
A woodburners not a problem providing you don't leave anything combustible near it (common sense) and its pretty much sealed so its not as if anythings gonna fall out of it onto a concrete floor and light up your workshop.
 
Update - Sat started with the following,

started_front.jpg


I'd laid out the eaves tiles on Fri eve - just in case I needed any more and Sat morning would be the only time to get any.

After a few intermissions (i.e. domestic chores - I'm sure those of you with young children know what I mean - :wink:) we have,

sat_finish.jpg


Then onto Sunday - (after another slight sleep in) got some more stacked up on the roof, got a another 2 diagonals done,

sunday.jpg


Then the heavens opened up. Hung about in the doorway for a bit - did check to see that the water drains correctly into the gutter and doesn't overshoot - it does nicely.

So went and serviced the Audi instead - getting wet at ground level is preferable to getting soaked on a roof!

Thanks for the advice about the woodburner - I'm half tempted to put a chimney "thing" on the left hand side of the shop (as in photos), but because the new garage would abut it - it would actually be in the garage gable. It would look right as well. Could easily feed the woodburner out of that.

The plans are getting a re-submission, it appears someone who was tasked with putting a side door and 2 high level windows didn't stick them on the plans. Additional windows\doors require Consent - but I'm sure I could get the chimney in under an Amendment.
 
what a great wip thread dibs :D
looks a great build and will be a superb workshop
i have really enjoyed your wip :D
thanks paul
 
This is coming along very nicely!
Workshop of my dreams... One day. One fine day...

I would get a woodburning stove. It's rather nice to have some heat!
 
Thats looking really good Dibs. Rosemarys really do look great on a roof.

PS- Peel the glazing stickers off asap. UV light seems to turn the glue on them from easy peel to araldite.
 
Mattty":2cv84djo said:
Thats looking really good Dibs. Rosemarys really do look great on a roof.

PS- Peel the glazing stickers off asap. UV light seems to turn the glue on them from easy peel to araldite.

Thanks - peeled them off yesterday evening and thankfully they came straight off.

Did some more yesterday evening. I'm finding that if I do a diagonal 2 tiles wide - it feels quicker but is still manageable.

almost_done_1.jpg


Might get the rest on this evening if I'm lucky. I don't have enough reclaimed tops so might have to get the old wet tile cutter out and cut some full length ones down. Picked up a few more ridge tiles so might just get the roof totally finished this weekend.
 
Hey Dibs - that is magnificent :mrgreen: :mrgreen: :evil: :evil:

:D :D :D really!

=D> =D>

Look forward to seeing the final touches

Dave
 
I have to say i think the workshop builds and just seeing other people's shops more interesting then the woodworking threads. Twenty some years in the trade i'm no longer surprised by much. But gearing up a shop or installing a ducting system, simply wiring the shop gets me excited. I've loved this thread, my second favorite build. The door looks fantastic by the way!!!
 
Really appreciate the kind words & encouragement chaps!

It's been going on for almost 11 months and at times it feels like a prison sentence. Although I have to say - doing the roof is somewhat therapeutic. Hitting that many nails does wonders for the day's stresses! :lol:

Update: On Wed I almost got the remaining tiles on, but the then realised that the eaves course should have had the tile & half (and not the 1st main course) so things ended up slightly short.

So yesterday finished off the main tiling, shuffled the tile & halfs down a course and counted the tops. Needed around 90, but had 60 so out with the old wet tile cutter. Here's the start,

tops_start.jpg


and 20 mins later we have

tops_cut.jpg


Then after a bit of bodgering - as my roof ladders won't be back till the weekend,

almost_finished.jpg


Will be bedding the verge tiles (far end ones) in lime mortar this weekend and fitting the ridge tiles with the dry ridge kits.

Then onto the inside - DPM, flooring, insulation (walls, floor & roof), etc.
 
Back
Top