Workshop Design - well it's a build really.

UKworkshop.co.uk

Help Support UKworkshop.co.uk:

This site may earn a commission from merchant affiliate links, including eBay, Amazon, and others.
trousers":2m4itsi2 said:
my thoughts on tanking are to always do it on the outside

My thoughts too, except that its a bit late in the day. Should have been sorted at DPC stage before blockwork was started.
Which is why plan B is easier, ie tank internally, so no taking down of drystone walls etc.
Dibs, that system I suggested will cost way less than you are proposing to spend on other measures, and is guaranteed to hold back 10m head of water. I've used it on several contracts (including my own w'shop) so I know it works.

which methods that? I've just used chromprufe from toolstation (10 quid for a large tin) for internal tanking and its doing well thus far.

Unless there was a lot of water pressure behind the wall or it was easier to tank externally I'd do it again.
 
billybuntus":36drgpcp said:
trousers":36drgpcp said:
my thoughts on tanking are to always do it on the outside

My thoughts too, except that its a bit late in the day. Should have been sorted at DPC stage before blockwork was started.
Which is why plan B is easier, ie tank internally, so no taking down of drystone walls etc.
Dibs, that system I suggested will cost way less than you are proposing to spend on other measures, and is guaranteed to hold back 10m head of water. I've used it on several contracts (including my own w'shop) so I know it works.

which methods that? I've just used chromprufe from toolstation (10 quid for a large tin) for internal tanking and its doing well thus far.

Unless there was a lot of water pressure behind the wall or it was easier to tank externally I'd do it again.

I think Trousers meant the following,

trousers":36drgpcp said:
Hi Dibs

Decodex doesn't come up on a search of LP site?
Why not make things easier for yourself and use a (brush applied) system applied internally, eg Hey'di from Sovereign Chemicals.

After having a think - this could be a plan,

1. trim the DPC on the back wall (cut off the bit that comes into the building.
2. cut some of the mortar out of the horizontal joint (say 10mm deep)
3. use barrier mortar (or similar) to "plug" the horizontal joint
4. use Hey'di or similar on the inside of the back wall.

Although I'm inclined to pause at 3 to see how things go. Now the Heydi stuff (barrier mortar, plug mortar and Hey'di) isn't cheap, so I think (hope) there might be mileage in trying the simple things 1st,

1. clean out the gap,
2. reduce the wall height in places to get a better look at what is happening & if it rains perhaps sprinkle some food\trace dye into the gap to see if it comes in.
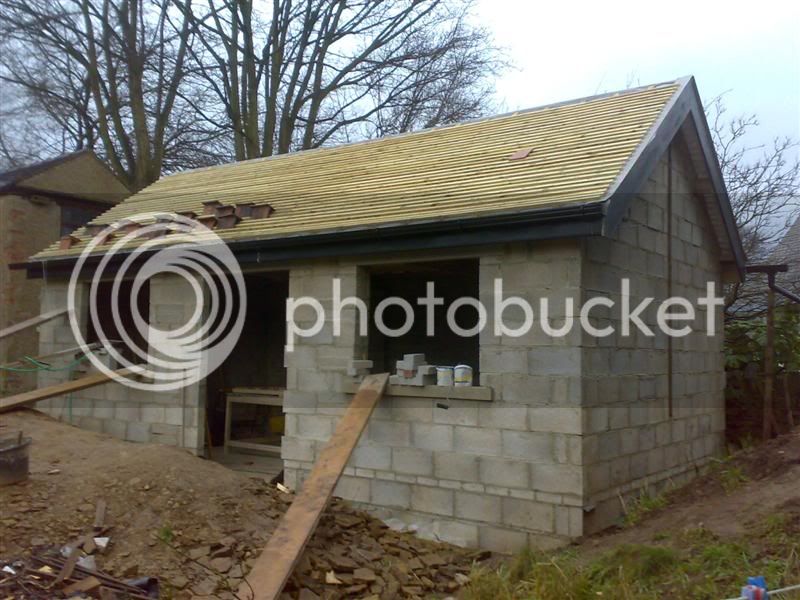
3. reduce the height of the soil on the other side to the base of the wall. [will discuss this with the neighbours tomorrow]

One thought that did occur is if after reducing the soil height on the other side - would a perforated pipe (land drain) at the base of the wall (if not a tad lower) on the other side help? This would only involving digging a smallish trench (I think).
 
Not quite the same problem but I had a ground level shed at the bottom of a slopping garden, mainly clay so little drainage.

I used 4" perforated pipe in a 2ft square trench filled with pea shingle to re route the water away from the shed.

I have other land drains that I laid and put geotextile matting in the trench first to stop the pipe getting clogged with silt but this one I did bare and so far (2yrs) its running away well.
 
Dibs

Don't prat about with taking a look at what is happening/dyes etc.
It's obvious what is happening.
Your rear wall dpc is on top of that concrete butress, and any water that lands on the concrete is going to soak thro the blockwork or joints as it has nowhere else to go.
It's poor design and the only way to get over it is to tank the inside of the wall/concrete above and below that horizontal dpc (so that it is continuous with the floor dpc) so that you form a continuous barrier.
If you can reduce or preferably eliminate the amount of water getting on the concrete in the first place then that would be an absolute priority.
You may even find then that a bomb proof solution like hey'di is uneccessary, and synthaprufe or similar will give you the insurance you need.
 
trousers":l171g7yz said:
Dibs

Don't prat about with taking a look at what is happening/dyes etc.
It's obvious what is happening.
Your rear wall dpc is on top of that concrete butress, and any water that lands on the concrete is going to soak thro the blockwork or joints as it has nowhere else to go.
It's poor design and the only way to get over it is to tank the inside of the wall/concrete above and below that horizontal dpc (so that it is continuous with the floor dpc) so that you form a continuous barrier.
If you can reduce or preferably eliminate the amount of water getting on the concrete in the first place then that would be an absolute priority.
You may even find then that a bomb proof solution like hey'di is uneccessary, and synthaprufe or similar will give you the insurance you need.

With the rear gutters on now - I would say that a great deal of the water getting onto the concrete buttress has been elimanated. The gutters over hang by around 10". Whereas before the Tyvek was emptying it all down the gap - all 21m2 of it

The only means that exist is for water coming thru the wall. Now this could either be rain hitting the wall and coming thru it or from the higher level soil on the other side. Suppose I do have to wait till it rains again to get a better idea of how much the "flow" has been reduced.

I would prefer a bomb proof solution simply from the perspective that once the inner stud, insulation, etc. is in place - I don't want a problem growing unseen.
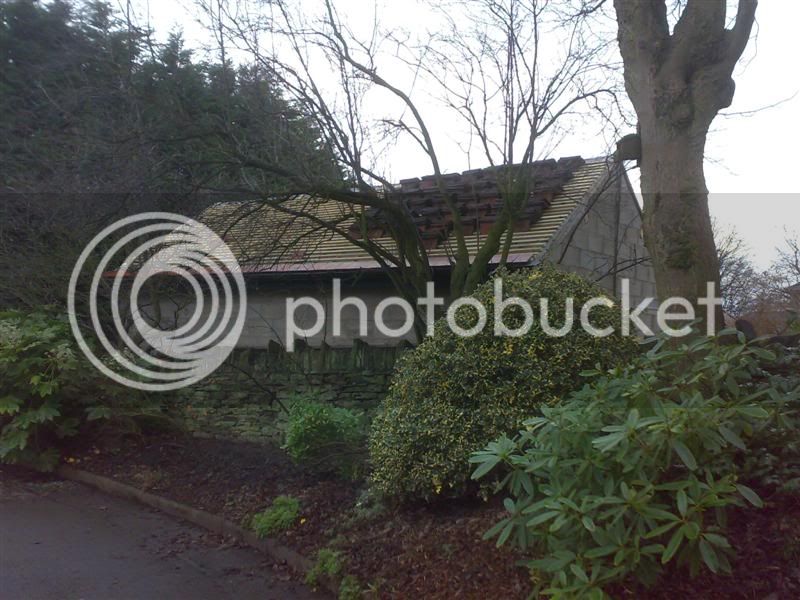
From a design perspective - would it have been better to have had a taller buttress - i.e. past the soil level on the other side? Or detailed the joint better? Or with a channel for the water to drain away\down?
 
I don't want a problem growing unseen.

I'd definately agree with that!

With respect to "what would it have been better to do", hindsight is a marvellous thing. At the design stage you have to consider what you are up against and specify accordingly. In your case, the concrete butress and close proximity of the drystone wall have not helped your cause.

I always start from the perspective that, if at all possible, the horizontal wall dpc is 150mm above any external ground level. Then, inside the building, any floor membrane is sealed to the wall dpc so that it forms a continuous barrier.
This is the ideal, but not always possible. So, in your shop, the wall dpc in the rear wall would be at least 150mm above the butress or any other ground level, and inside the floor membrane will come up the wall to seal with the wall dpc. If that means that 1200guage polythene is not a practical option, you've got to look elsewhere for a solution.

Without dribbling on here, I could pm you a solution for your particular shop if you felt you needed some help. I'm sure tho' that you could, with a few minutes pondering, see the way forward for yourself. Much more satisfying to nail the problem yourself I would have thought :wink: [/quote]
 
trousers":2dq4o6w8 said:
I don't want a problem growing unseen.

I'd definately agree with that!

With respect to "what would it have been better to do", hindsight is a marvellous thing. At the design stage you have to consider what you are up against and specify accordingly. In your case, the concrete butress and close proximity of the drystone wall have not helped your cause.

I always start from the perspective that, if at all possible, the horizontal wall dpc is 150mm above any external ground level. Then, inside the building, any floor membrane is sealed to the wall dpc so that it forms a continuous barrier.
This is the ideal, but not always possible. So, in your shop, the wall dpc in the rear wall would be at least 150mm above the butress or any other ground level, and inside the floor membrane will come up the wall to seal with the wall dpc. If that means that 1200guage polythene is not a practical option, you've got to look elsewhere for a solution.

Without dribbling on here, I could pm you a solution for your particular shop if you felt you needed some help. I'm sure tho' that you could, with a few minutes pondering, see the way forward for yourself. Much more satisfying to nail the problem yourself I would have thought :wink:

Thanks - the sentence of yours that I've highlighted, it says enough. Yes hindsight is a wonderful thing.

I suppose as it my first build - I don't feel too bad with this slight little hiccup.

Tomorrow, I'm going to have a little chat with next door about reducing the soil level on the other side and then monitor the siutation for a while or at least until it rains. Shouldn't take more than an hr or so to recue the soil level. Probably be a good break from roofing.

I've got plenty to be getting on with interms of tiling, windows and door - so will just keep an eye on matters for a while - which should give me an idea of whether I need a lightweight solution or a heavyweight one.

The advice is much appreciated!!
 
Didn't really do much today - faffing about getting a domino and then the bits and pieces for a 8'x4' glue up bench.

It's rained heavily today and did last night - bizarre for once I was grateful for it. Checked inside and no water is coming thru the rear DPC. Did also have a chat with the neighbours and they have no objection to me lowering the soil in a few places on teh other side of the drystone wall. As it's a zero cost option will get on with it at some point in teh next few days and monitor things.

In the meantime hope to get all the laths on tomorrow and the cement board undercloak on the gable ladder side. Also need to count the nbr of tile & halfs (reclaimed) I have as Planning will probably be a stickler. As long as there's enough for the gable ladder side, I'm not to bothered if I fit new ones on the other side - and then when the garage is built those tiles will have to come off for the soakers, etc. Will source the additional reclaimed tile & halfs before then.
 
Progress:

Got the laths done yesterday - bloody tiring and my ar*se aches from sitting on the laths.

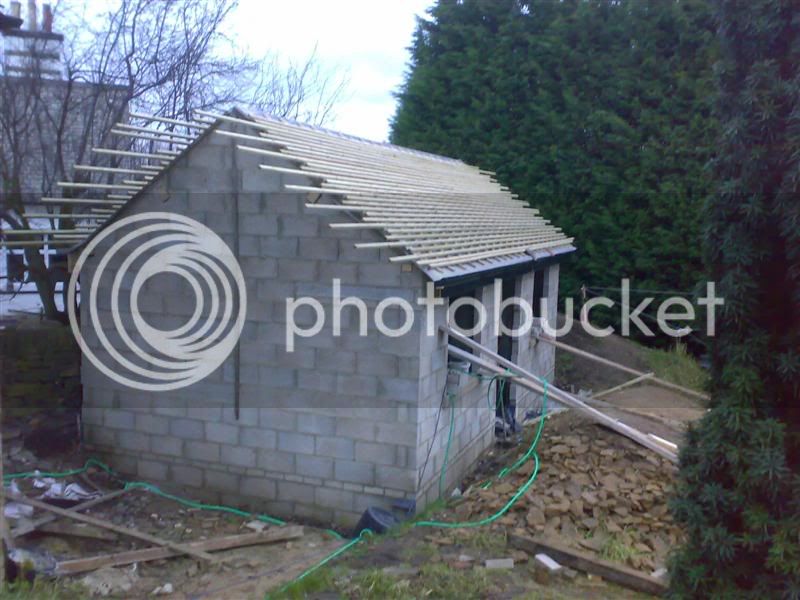
laths_done.jpg


Just got the bottom ones on each side (the one that supports the bottom of the eaves tile and the top 2 - but I've deliberately left the top 2 off to ensure I don't end up having issues with the dry ridge kit. i.e. fit them when test fitting the dry ridge kit.

I had a look inside and noticed something on the rear wall in a few places,

wall_salts.jpg


Sorry for the crap picture - it looks like some sort of effervensence\salts coming thru. Only in one or 2 places and only the mortar joints.

Anything to bear in mind\be concerened about?
 
Just had a read through your thread as I am planning to build another workshop of my own next spring.

Fortunately I am going with a wooden workshop, roughly 7m x 4m if I can get away with it. It won't be as permanent as your but with luck should have it up in a week or so fingers crossed.

I built a garden wall a couple of years ago and suffered from the white crystalisation coming through the brick work. I brushed it off and sprayed it with 50- 50 mix white vinegar and water, the problem hasn't returned. The green colour would indicate some form of damp I would have thought though.
 
it looks like some sort of effervensence\salts coming thru. Only in one or 2 places and only the mortar joints.

Anything to bear in mind\be concerened about?

Usually happens when the blocks are very wet before (or during) laying.
Excess water drains to the bottom of the block (which is quite porous)taking dissolved alkaline salts with it. When it gets to a relatively impervious bed joint it migrates with the salts to the surface, evaporates, and leaves the salts behind.
It will dry out eventually, and you can brush most of it off.
Not a problem, unless there's lots of it and you are planning to plaster/render the wall.
 
Thanks chaps - not intending to plaster\render so will just leave it and brush it off at some point, and there isn't really much of it. Just wondered what it was\how it came about.
 
Update - no picies unfortunately. I reduced the soil on the other side of the drystone wall in a few places. So will see if that hopefully makes a difference. Also cleaned out the gap between the back wall and the drystone wall - man that was hard work.

Currently knocking up the assembly table (8'x4') with the domino.
 
I think your efforts will be well rewarded as the dampness would permiate through the wall, particularly as it is only single skin.

You must be looking forward to getting in there and doing some woodwork after all this time.
 
Update

Friday:

Knocked up a support frame to fix to the roof bars of the A4, so that when I want the odd sheet of 8'x4' or two, I don't have to pay as much for delivery as for the materials. Seeing as the timber yard is about 5 miles away - worked a treat getting 2 sheets of ply and 1 sheet of 6mm mdf for my assembly table.

Saturday:

After errands and similar for TDC - got on site for around mid-day. Trimmed all the laths to size and nailed the last lath into place (the one that supports the bottom of the eaves tile). Also closed off the counter-batton space with S\S flymesh.

Sunday:

Couldn't escape for ever - bloody tedious. Collecting piles of Rosemary tiles from the patio, walk down the garden, stack them on the front of the roof, get on the roof, stack them on the back (just below the ridge), get on the other side and stack them nearer to where they will be used.

some_tiles.jpg


Oh - and here's some I did earlier.


some_earlier.jpg


I also laid out the row of eaves tiles - just to check for spacing etc.

Also nailed the cement board in place for the mortar undercloak. No more tiling till the weekend realistically - so will be cracking on with the windows and Domino.
 
If you want a really nice job, pop that cementitious board off and replace it with a row of half slates, or, better still (if you've got the room) clay plain tiles. It makes such a difference to the finished look!

Mike
 
Mike Garnham":28ywt7bu said:
If you want a really nice job, pop that cementitious board off and replace it with a row of half slates, or, better still (if you've got the room) clay plain tiles. It makes such a difference to the finished look!

Mike

Hhmm. Will have a ponder. I suspect there isn't quite enough room for plane tiles. Slate perhaps. However, there is a profiled bit of timber which is fitted under the cement board to cover the join - on the house anyway. Looked perfectly fine to me. But will have a Google for images of what you are referring to.

I suspect I have at least 2 full days of "loading" the roof with tiles, prior to it becoming an issue. Mind you I plan to tile the back roof from it's right hand bottom corner - leaving the gable ladder end alone till the end. And doing the front roof from the left hand bottom corner. That way the gable ladder - i.e. mortared bit, can all be done at the same tile with lime mortar. Which potentially gives a little more time before I have to decide.
 
Very little has happened with the shop itself - other than had all the insulation delivered for the inner skin (rockwool batts) as Selco were doing an offer too good to refuse, but meant buying it well in advance. It's stacked infront of the windows.

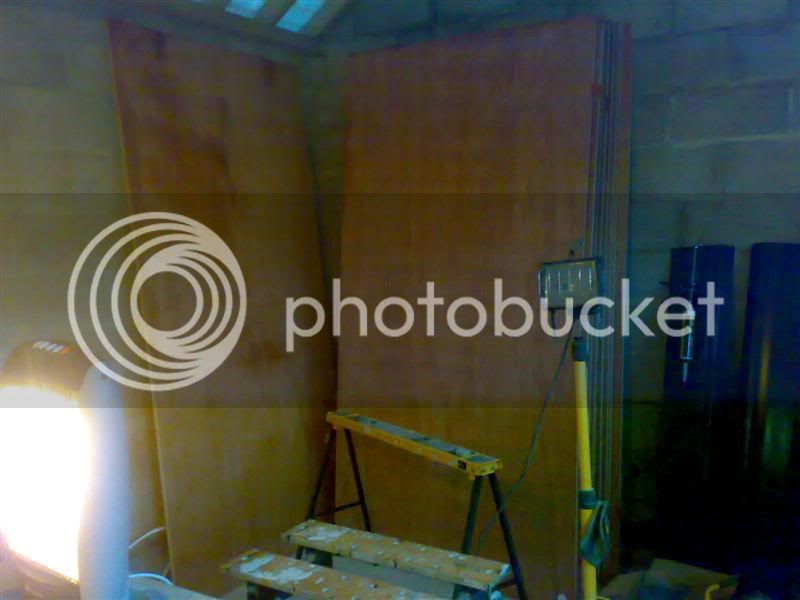
Also bought all the Ply (18mm hardwood) for the flooring as Selco were doing it for £13.99 per sheet, so thought what the hell. Bought a few extra sheets - as no doubt it will come in handy for stuff.

plywood.jpg


Now just need to finish the windows and door, before the weather improves, so I can get on with the tiles.
 
Update - finally getting somewhere.

Time to fit the windows and doors (I'm not updating the other threads - as it's all coming together in this one). For those that have missed the window thread,

https://www.ukworkshop.co.uk/forums/work ... 37462.html

and the door thread,

https://www.ukworkshop.co.uk/forums/brac ... 36877.html

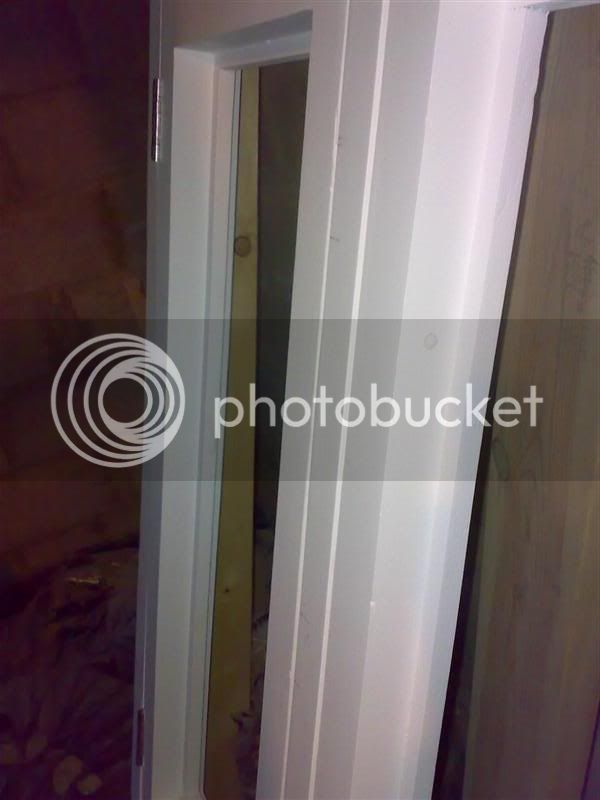
Had a slight snag with one window it had bowed slightly,

bow.jpg


If you look at the hinge side - roughly mid point you should be able to see that the casement is proud of the frame. It was the same on both sides. Off it came and 5 mins with a plane and it was better, but that had removed the paint - so another day or so and re-painted. Swapped the hinges over to new ones as the ones on the windows got painted in the painted in the end. :oops:

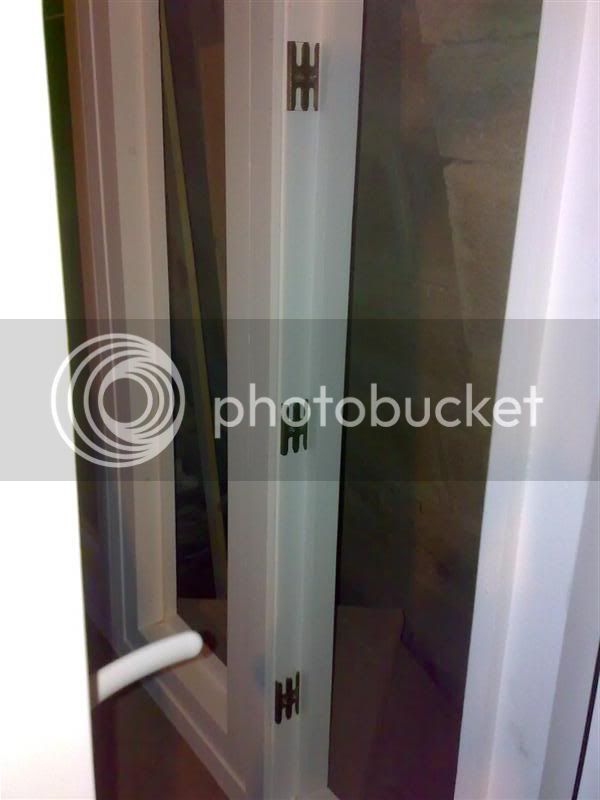
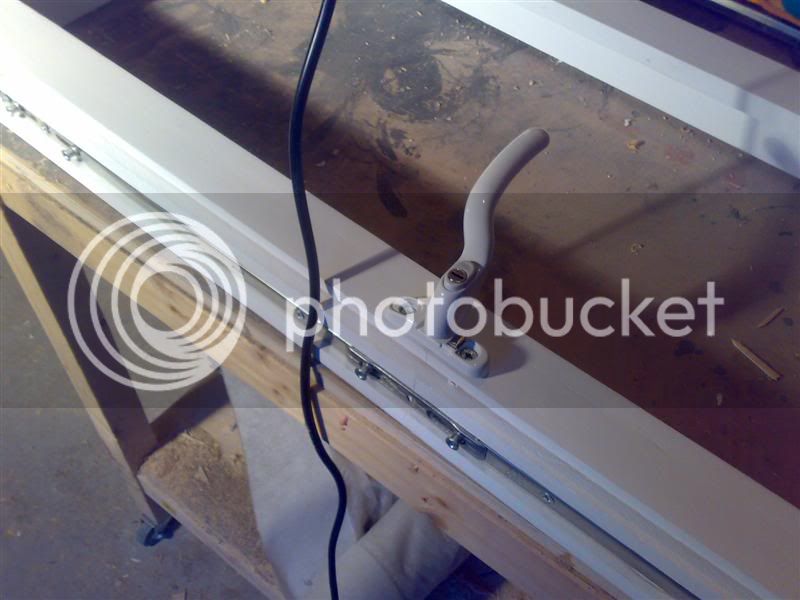
Time to fit the hardware and fettle stuff. Fitting the espag keeps - but of trial and error, using small screws.

keeps.jpg


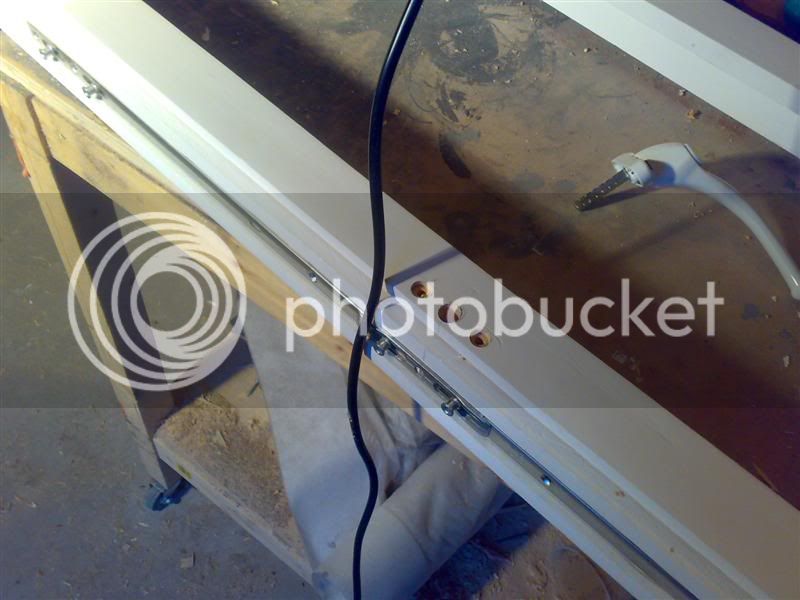
Drilling the holes for the handle - a jig would have made life so easy, but with only 4 casements, didn't seem such a priority.

handle_holes.jpg


Did end up putting the driver on the lowest torque setting and then having to back the screw off a tad otherwise the mechanism was a tad stiff.

handles.jpg


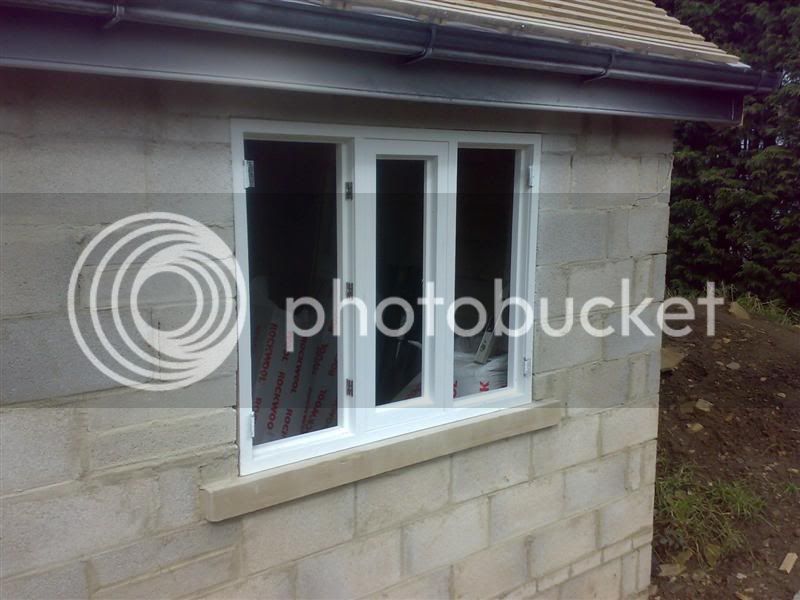
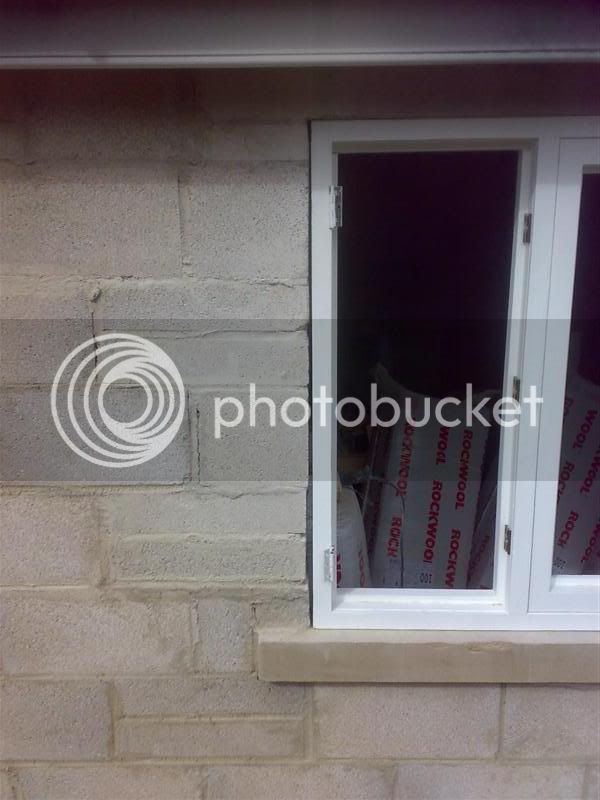
The window openings were almost square - so a little trimming with an angle grinder we have,

fitted_1.jpg


I don't think it's too bad,

fitted_1a.jpg


Fitted with the Rapierstar fixings - I suppose one has to use the remaining 180 or so somewhere. :lol:

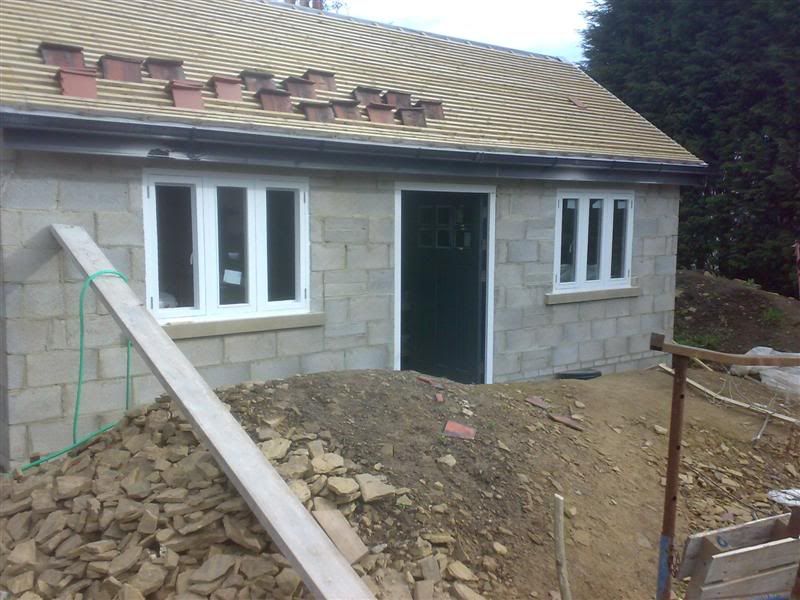
Managed to get 4 of them glazed yesterday,

4_glazed.jpg


One casement had warped and needed some persuasion to close - I won't be opening that one any time soon and made the choice to glaze it. It would delay things to remake it now - whereas fitting it closes the shop up and I can replace it at my leisure.

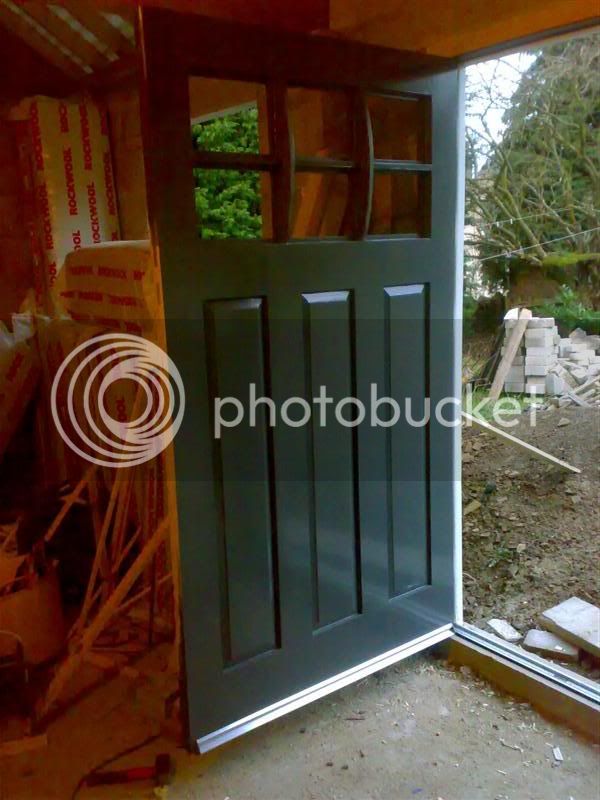
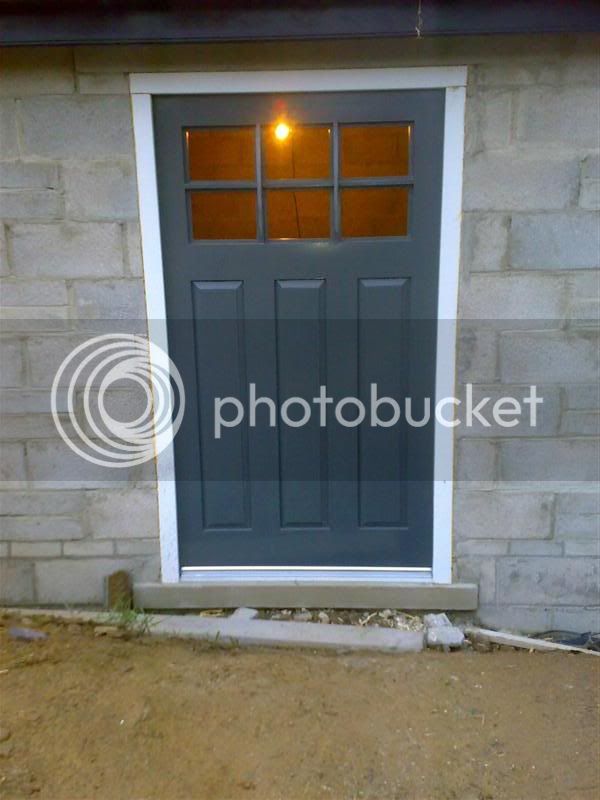
Got the door fitted earlier and got the aluminium weatherbar fitted. The hinges ended up with 6 & 9 (top & bottom), 3rd midpoint (approx) and the 4th one between top and 3rd. 3rd and 4th were adjusted so that the gaps between top\4th and 3rd\4th were the same - due to the placement of the middle rail - the hinges shuffled upwards slightly. Appreciate they might not be to everyone's liking - but for some reason - this arrangement of hinges looks right to me. And more importantly the door swings perfectly - so I'm chuffed.

door1.jpg


door2.jpg


Hopefully glaze the remaining 2 casements this evening and see if I can make a start on fitting the deadlock and glazing the door. It's a bit of a faff as the glazing bars either side of the curved verticals will be finally shaped when fitted. Got a nice mushroom mortice knob on Sunday in brushed s\s - so should look good - 2.5" diameter, which feels about right. Got mortice catch (if that's what they are called) choice of 3.37" or 3" - doesn't centre the knob in either case - but 3" is the closest.
 
Just spent some time looking through the thread - fantastic work. That is going to be one very cosy woodshop. Looking forward to seeing the rest.
 

Latest posts

Back
Top