You are using an out of date browser. It may not display this or other websites correctly.
You should upgrade or use an alternative browser.
You should upgrade or use an alternative browser.
wadkin MJ restoration
- Thread starter wallace
- Start date

Help Support UKworkshop.co.uk:
This site may earn a commission from merchant affiliate
links, including eBay, Amazon, and others.
That chain join looks like overkill of the ninth degree! But wonderful.
wallace
Established Member
Hi Andy, yes its getting the full monty. It came with a nice old monster motor but when it fell over it took the brunt of the fall and has a crack in the casing. I haven't investigated it yet.
wallace
Established Member
I degreased and dismantled the gearbox. That must be the most messy job I've done on a machine. My degreaser was pants so I opted for petrol which worked a treat.

There was one set of gears I could not work out how to remove so they got left in.

All clean ready for some paint

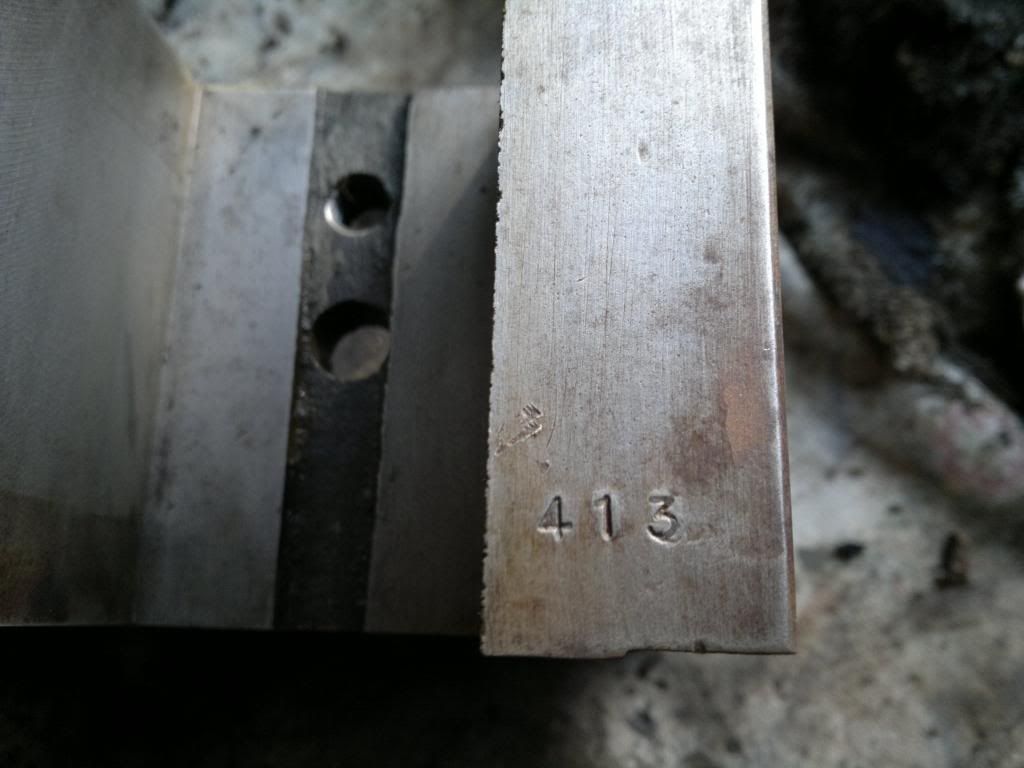
Everything on the gearbox is stamped with a 10


There was a small chain which was on a cog at one end and then just riding on a bare shaft at the other, maybe its to move oil around?


There was one set of gears I could not work out how to remove so they got left in.

All clean ready for some paint

Everything on the gearbox is stamped with a 10


There was a small chain which was on a cog at one end and then just riding on a bare shaft at the other, maybe its to move oil around?

Myfordman
In Remembrance 25/12/24 -- AKA 9Fingers
Oil would be more normal for a chain drive as lubricant has to penetrate into the rollers etc. Grease would simply get pushed out of the way.
Grease could of been used in ignorance or maybe as a method of managing a leak at some time.
MM
Grease could of been used in ignorance or maybe as a method of managing a leak at some time.
MM
wallace
Established Member
I removed the feed rollers and cleaned

They are quite rusty so are going in the barrel. There is a quite deep scratch on the roller and some pitting, will this affect the performance. I was thinking of giving it a skim.

The roller assembly came up pretty well
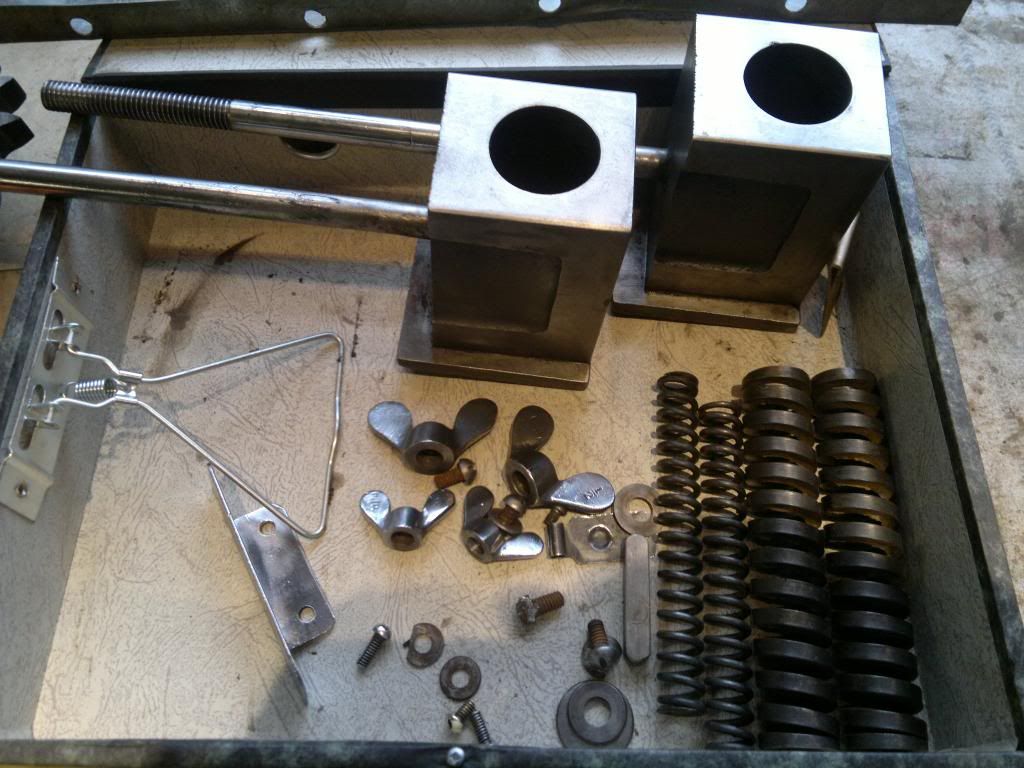

This is the piece that was broken I will be welding it soon.

The piece near the cutter head does not seem to be original wadkin

Next I started to remove the head. Its quite a heavy lump.

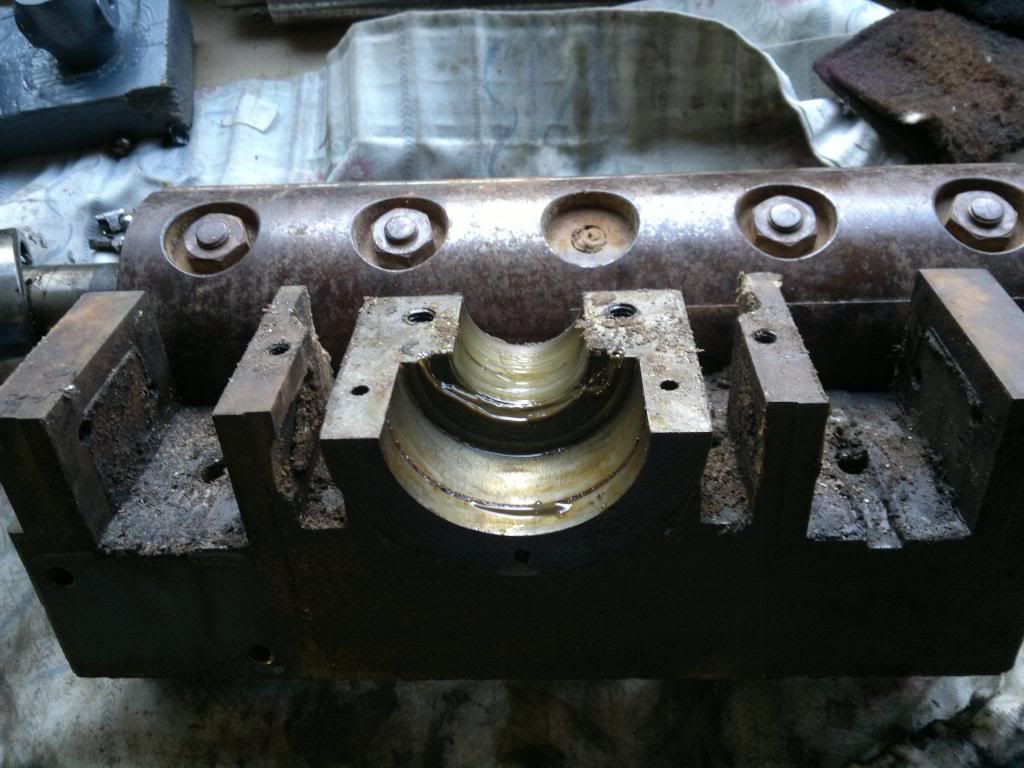
One bearing looks ok and one side is toast
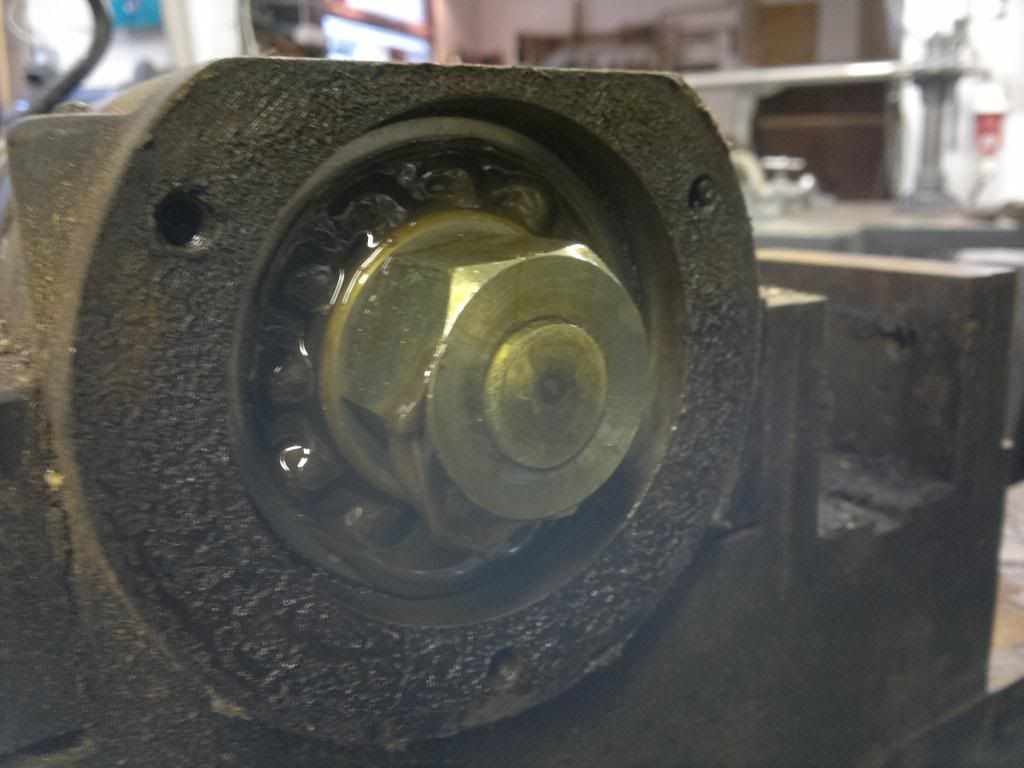
This is the first time I have opened a wadkin machine and found knackered bearings


They are quite rusty so are going in the barrel. There is a quite deep scratch on the roller and some pitting, will this affect the performance. I was thinking of giving it a skim.

The roller assembly came up pretty well


This is the piece that was broken I will be welding it soon.

The piece near the cutter head does not seem to be original wadkin

Next I started to remove the head. Its quite a heavy lump.

One bearing looks ok and one side is toast

This is the first time I have opened a wadkin machine and found knackered bearings


£17.99 (£1.80 / count)
£27.44 (£2.74 / count)
3M 8822 Disposable-fine dust mask FFP2 (10-pack)
Amazon.co.uk

£12.50 (£1.25 / count)
£14.45 (£1.44 / count)
JSP M632 FFP3moulded Disposable Dustmask (Box of 10) One Size suitable for Construction, DIY, Industrial, Sanding, dust protection 99 Percent particle filtration Conforms and Complies to EN 149
Amazon.co.uk

£26.99 (£1.35 / count)
VEVOX® FFP2 Dust Mask - Set of 20 - Valved Face Masks - Respirator - Protection e.g. for Construction, Building Work, Sanding, Woodworking, Fine Dusts, Aersoles or Particles
SLSK Ventures GmbH (UK)

£19.46 (£3.89 / count)
£19.99 (£4.00 / count)
Stealth Lite Pro FFP3 Face Masks UK Certified Dust Mask. 99.99% particle filtration, air filter reusable face mask. FFP3 Mask -7 day use per Construction, Woodworking, DIY and Welding Mask
Amazon.co.uk
Cheshirechappie
Established Member
Just a wee tip on assessing the rolling element bearings - thoroughly clean the one that appears to be good, and inspect the surfaces of both inner and outer races for any evidence of spalling (tiny bits missing). Do the same with the balls, too (you don't want spalling of the balls). If you find ANY evidence of it, change the bearing - it's in the early stages of failing.
It might be wise to change both bearings anyway, as a matter of course. That cutter block is a big lump, and the better the condition of the bearings, the better the finish you'll get in service.
It might be wise to change both bearings anyway, as a matter of course. That cutter block is a big lump, and the better the condition of the bearings, the better the finish you'll get in service.
wallace
Established Member
Thanks for that. If theres any sign of wear I will be replacing. I suspect that they wont be cheap but like you say its not worth the risk with that big lump spinning.
wallace
Established Member
This is one of the pressure rollers after a night in the barrel.

And after a bit elbow grease
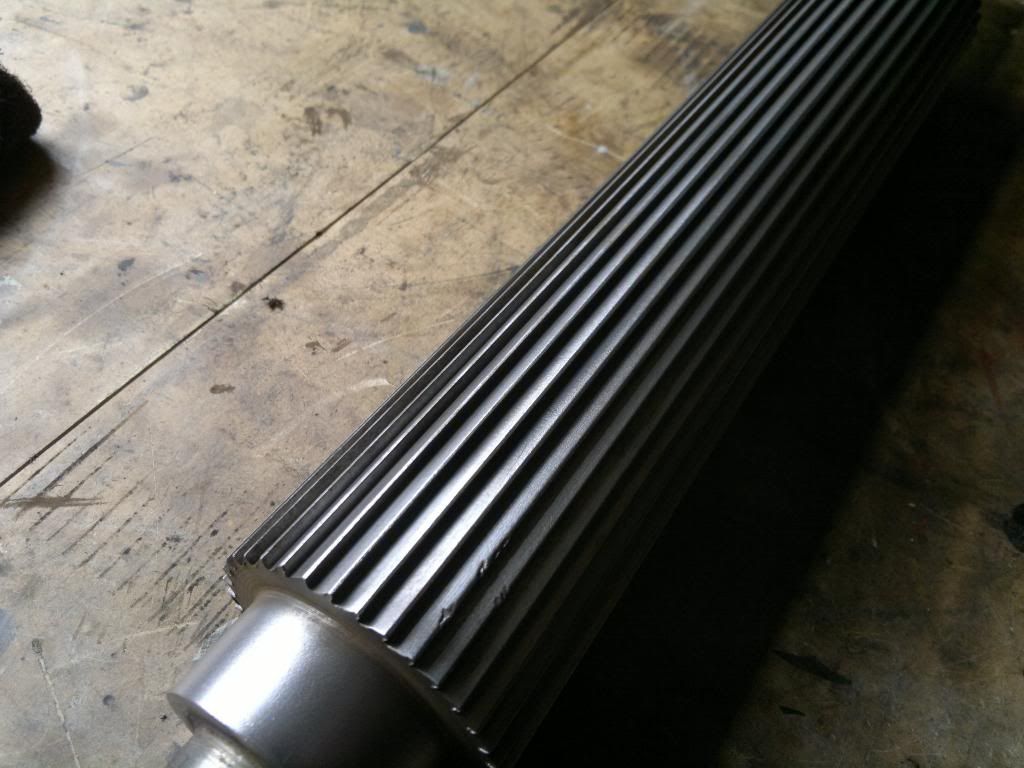
Some of the chain guards, pulley wheel and gearbox primed and read for the enamel coats

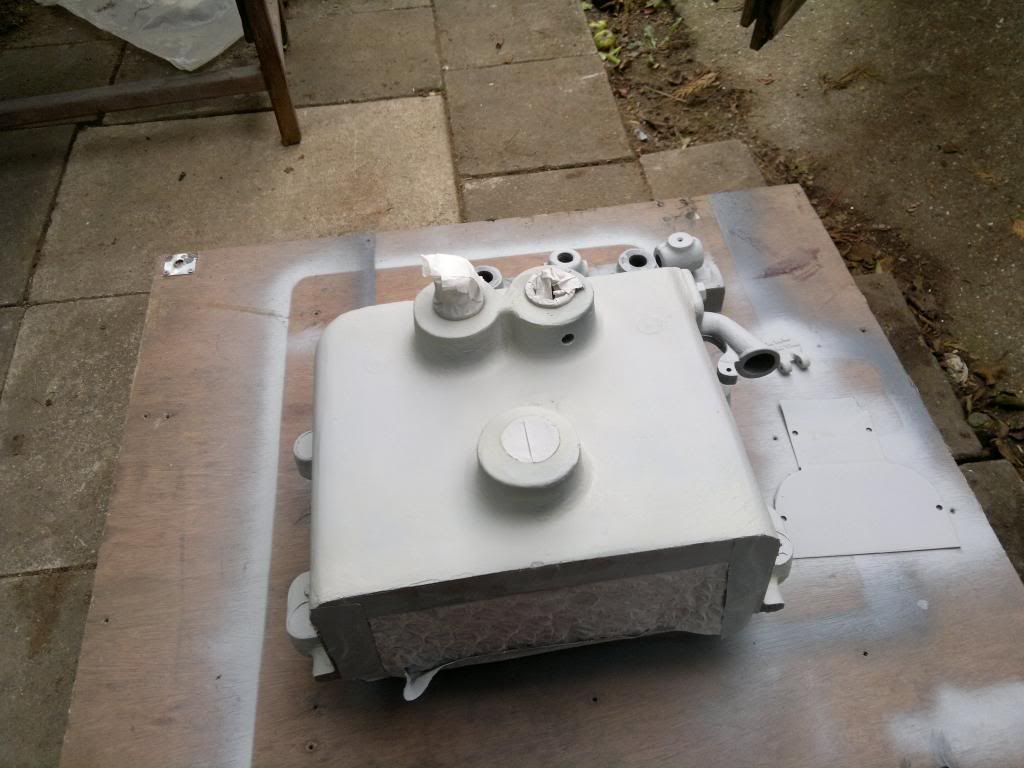


Got some good news about the bearings, there not as big as I thought so for skf there £54 each or I can go for steel caged for £33

And after a bit elbow grease

Some of the chain guards, pulley wheel and gearbox primed and read for the enamel coats


Got some good news about the bearings, there not as big as I thought so for skf there £54 each or I can go for steel caged for £33
wallace
Established Member
the_g_ster
Established Member
This is great to see.
That was clearly made with a huge amount of over engineering to it. Hope you get some good service out of it once fixed up.
That was clearly made with a huge amount of over engineering to it. Hope you get some good service out of it once fixed up.
wallace
Established Member
wallace
Established Member
Cheshirechappie
Established Member
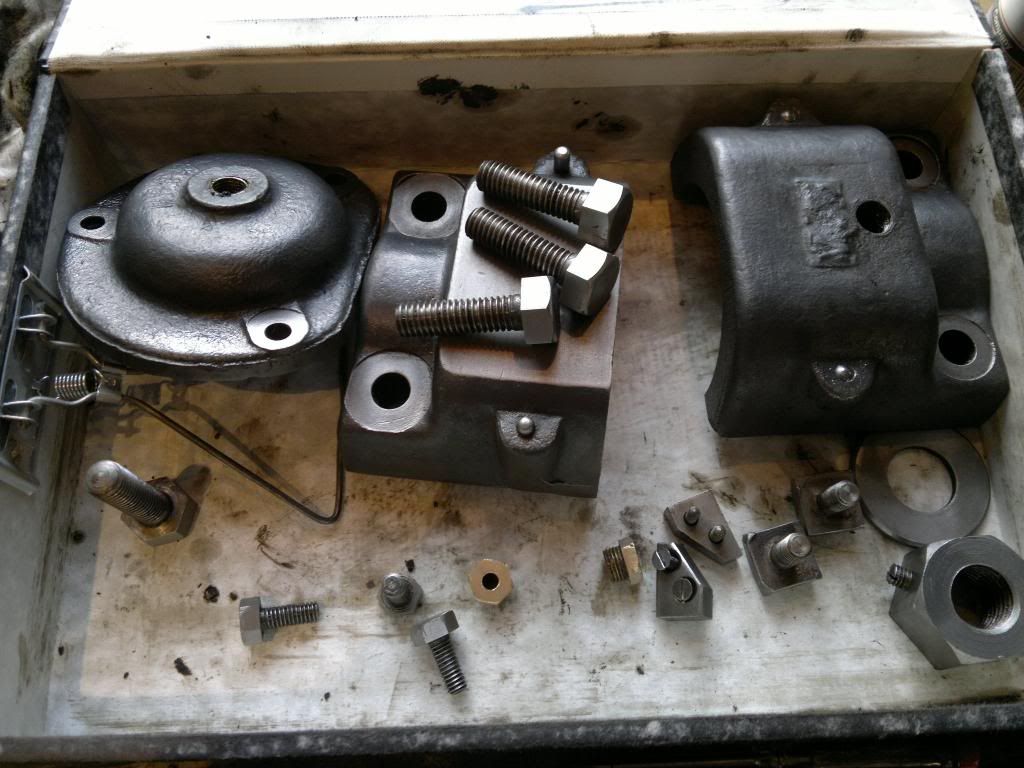
You remember I was banging on about 'spalling' in connection with rolling element bearings a few posts ago - well, the balls on the right hand side of the last picture show classic (and quite advanced) signs of it. Lots of little bits missing from the surface. It wouldn't surprise me at all if the contact paths on the inner and outer races displayed similar symptoms. The little bits of metal that chip out get mixed up with the lubricant in the bearing, and just make things worse.
That's a life-expired bearing, that is!
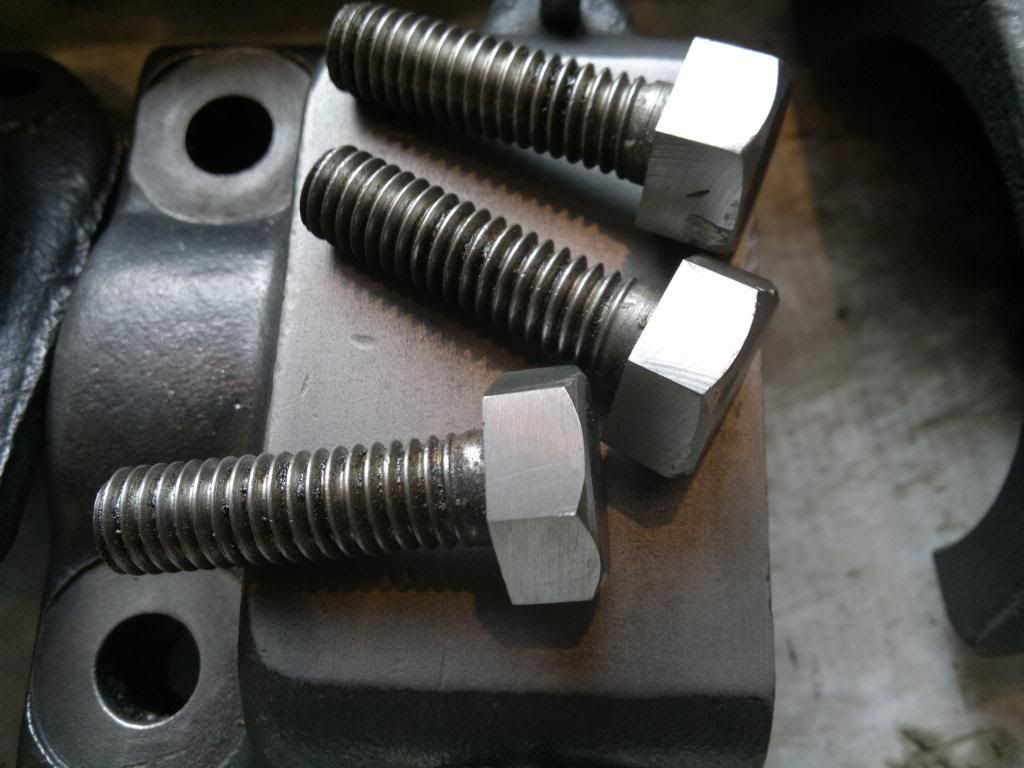
PS - Good tip about keeping bolts with the holes they came out of - bolts of the same thread and length 'ought' to be interchangable, but on older kit, that's not always the case.
That's a life-expired bearing, that is!
PS - Good tip about keeping bolts with the holes they came out of - bolts of the same thread and length 'ought' to be interchangable, but on older kit, that's not always the case.
wallace
Established Member
I took the thicknessing table off, a bit rusty but not bad. I did the usual shave then 120 grit at right angle to length then wire wheel followed by scrubber thing.

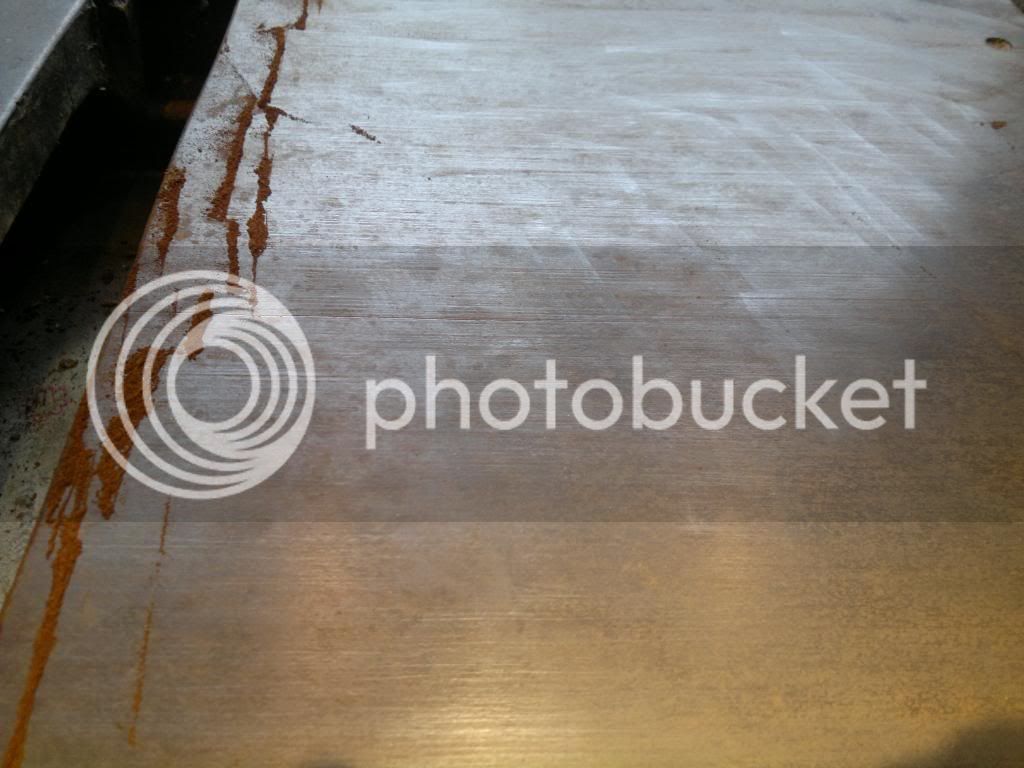
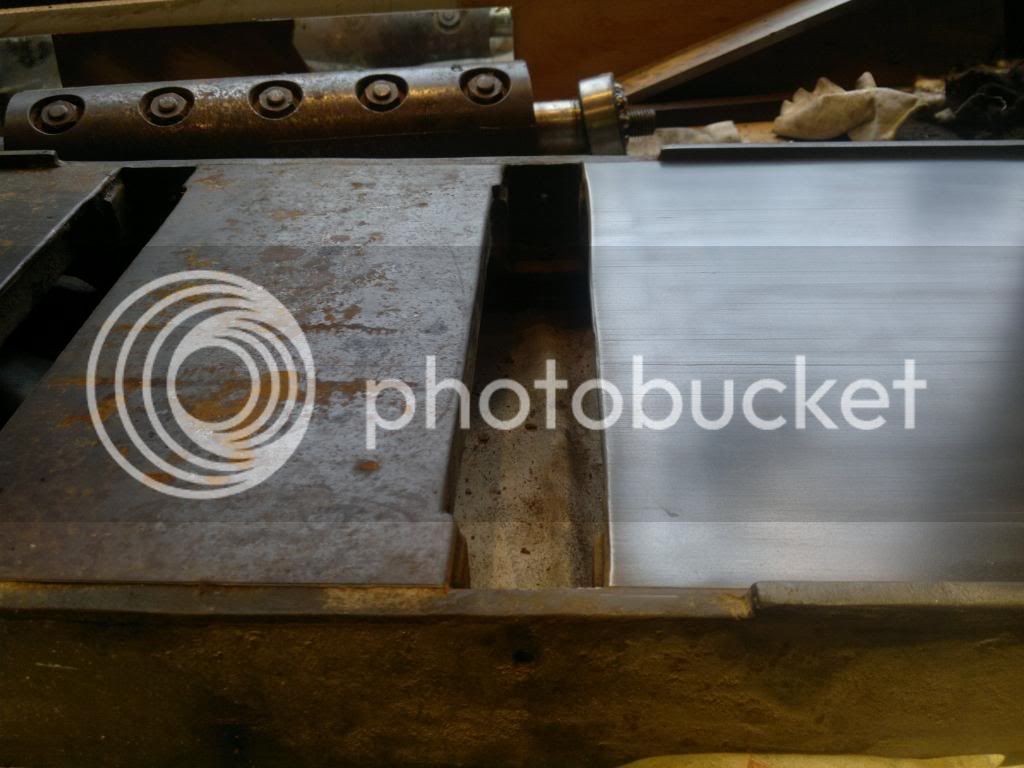
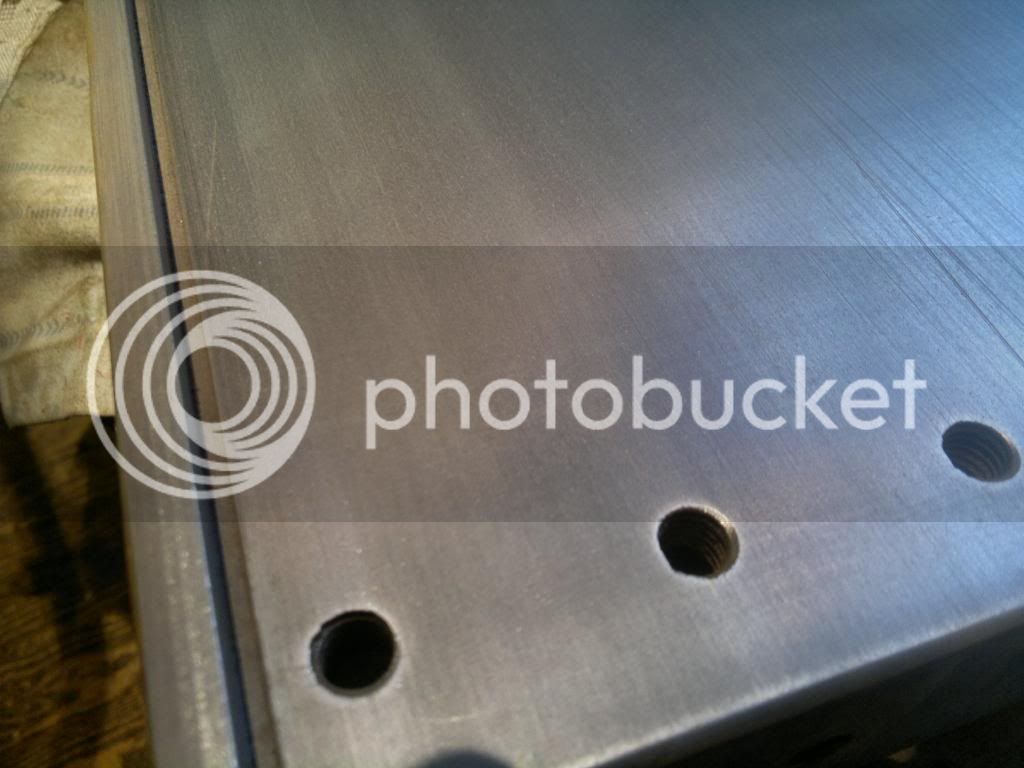

I then tried to get the main column out of the body.

It was pretty stuck and I did not want to force the gears, So I cleaned it and soaked it in oil and left it for the night

I tried various ways to get it out from rigging the block and tackle up and pulling to levering with a length of wood. In the end I gave it a couple of wacks with a sledge hammer put loads of oil on it and let it be. When I came back to it a couple of days later I put the gear and handle back on and it moved straight away.


I then tried to get the main column out of the body.

It was pretty stuck and I did not want to force the gears, So I cleaned it and soaked it in oil and left it for the night

I tried various ways to get it out from rigging the block and tackle up and pulling to levering with a length of wood. In the end I gave it a couple of wacks with a sledge hammer put loads of oil on it and let it be. When I came back to it a couple of days later I put the gear and handle back on and it moved straight away.

wallace
Established Member
I assembled the table, I'm not sure where the rollers should be set. Do they have to be level with either side of the table or proud? Any advice.
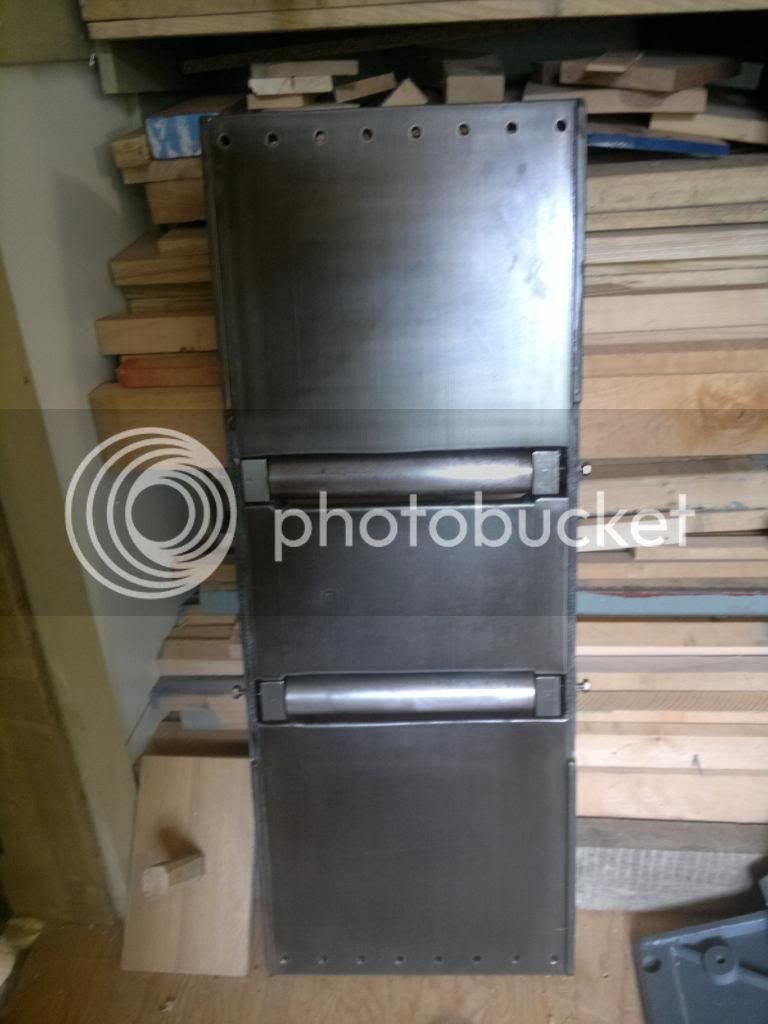
The column spent the night in the barrel and cleaned up nicely
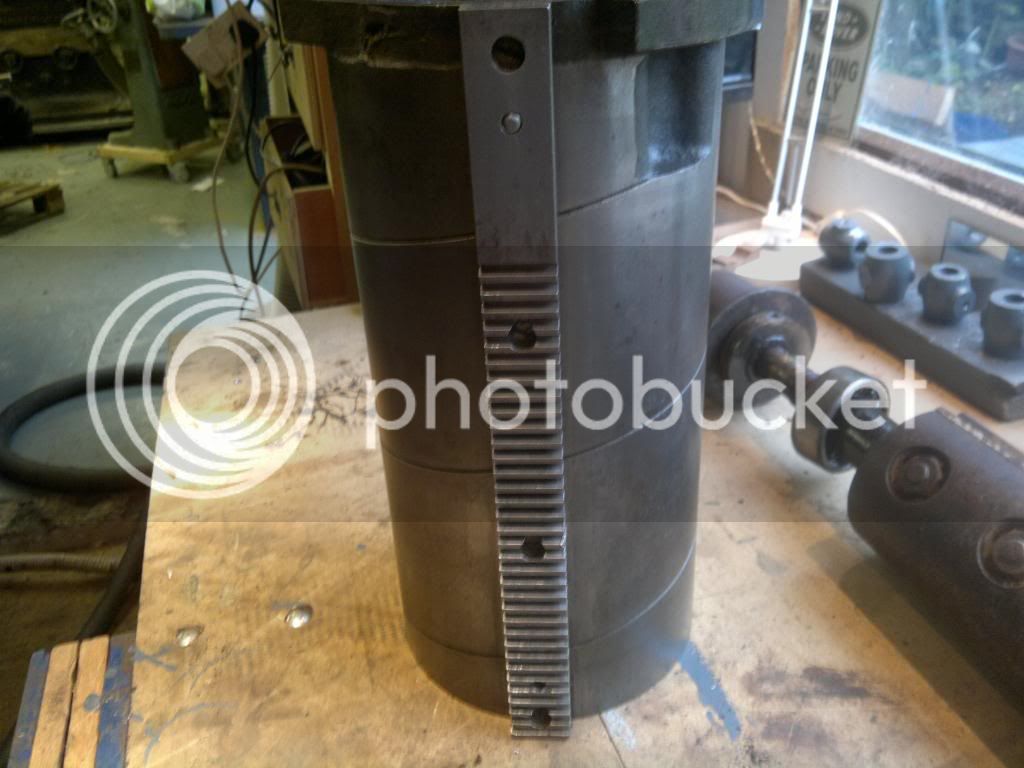
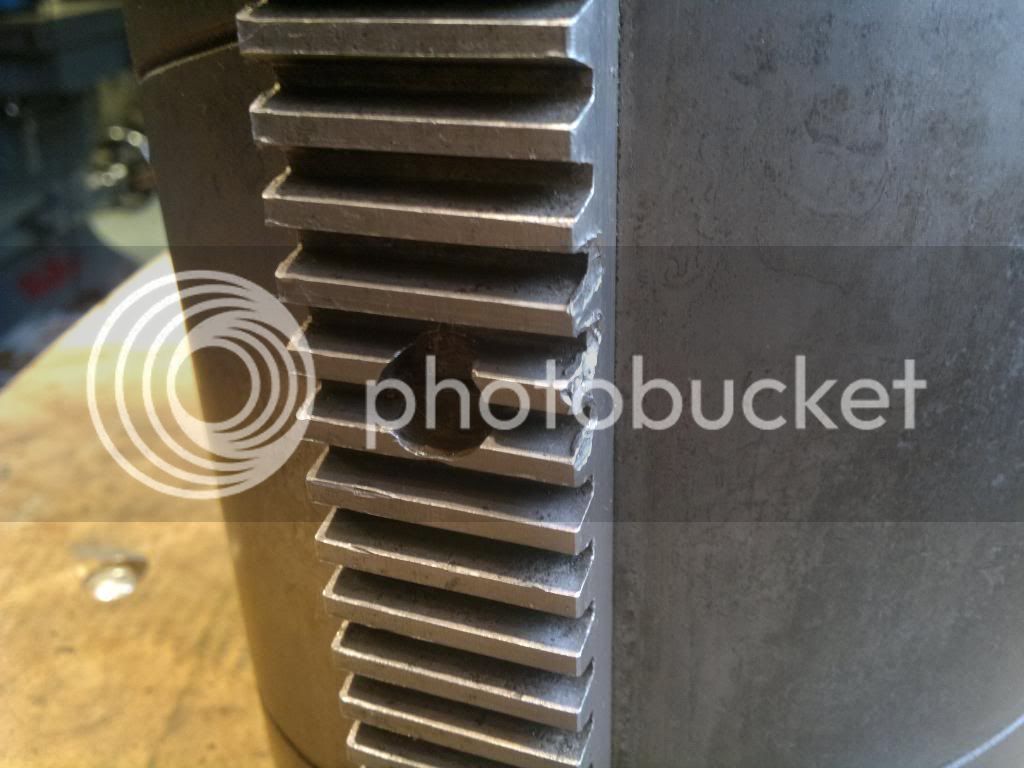
There is a little damage
Next I moved onto the gear assembly, this has been taken to bits in the past because it has signs of some dodgy treatment and a bolt had been used as a securing pin.


The column spent the night in the barrel and cleaned up nicely

There is a little damage

Next I moved onto the gear assembly, this has been taken to bits in the past because it has signs of some dodgy treatment and a bolt had been used as a securing pin.


wallace
Established Member
I had a spray day today.

This was a tight squeeze to get it out
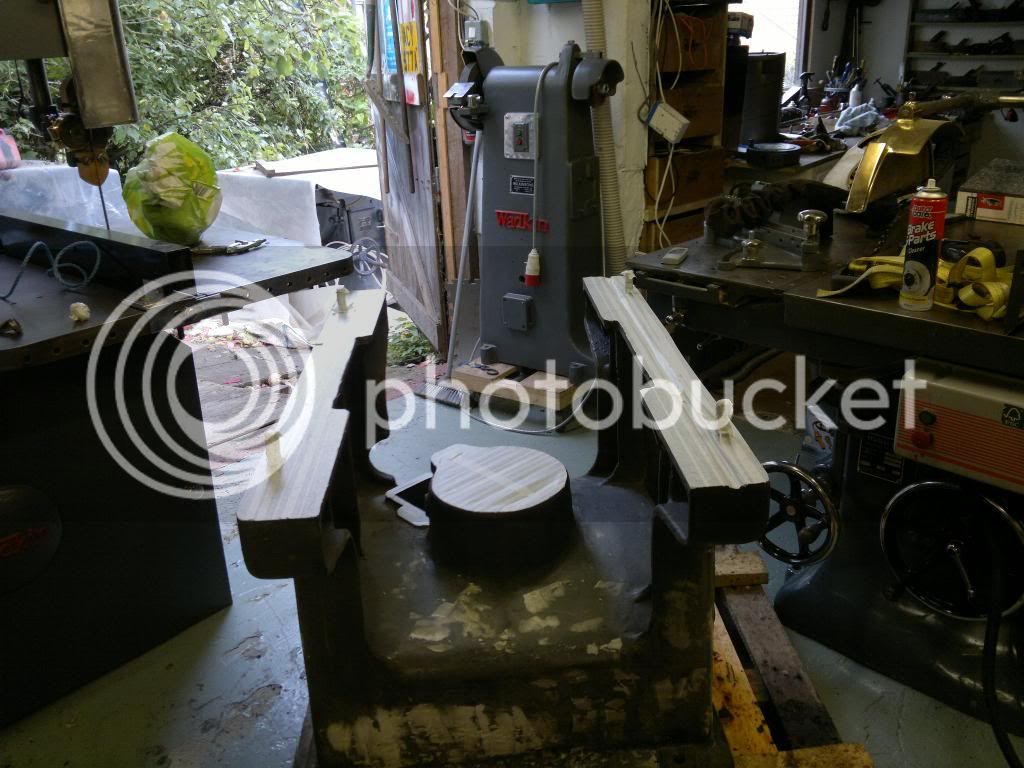
Things got the usual zinc prime and a good few coats of QD enamel, next time I must remember not to spray when its windy I had apples dropping on my head. The good thing about the enamel is you can spray one side and by the time you've done one side the other is ready for another coat.


This was a tight squeeze to get it out

Things got the usual zinc prime and a good few coats of QD enamel, next time I must remember not to spray when its windy I had apples dropping on my head. The good thing about the enamel is you can spray one side and by the time you've done one side the other is ready for another coat.


nathandavies
Established Member
nice work as ever Wallace, are you still noting the hours taken? have you welded the cast yet?


