Toybox seat WIP

UKworkshop.co.uk

Help Support UKworkshop.co.uk:

This site may earn a commission from merchant affiliate links, including eBay, Amazon, and others.

mailee

Established Member
Joined
26 Jun 2005
Messages
5,502
Reaction score
4
Location
grimsby Humberside
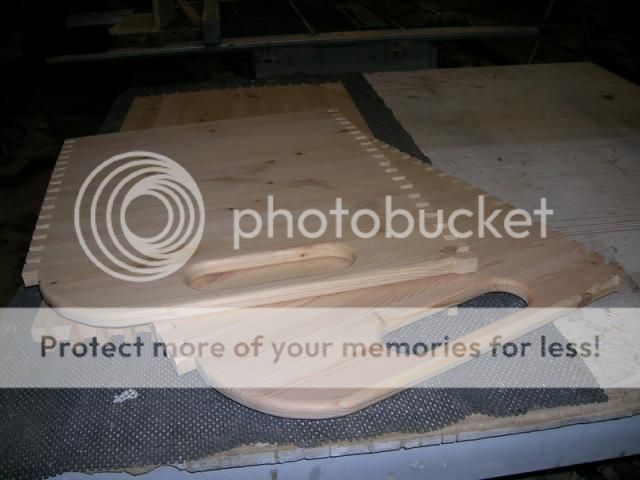
Just started another 'quickie' job so I thought it might be worth a WIP this time. It is a toybox seat in Pine this time. It has been a while since I used the dovetail jig so I dusted it off and ran a test piece. Once I was happy with it I got on with cutting the pieces.
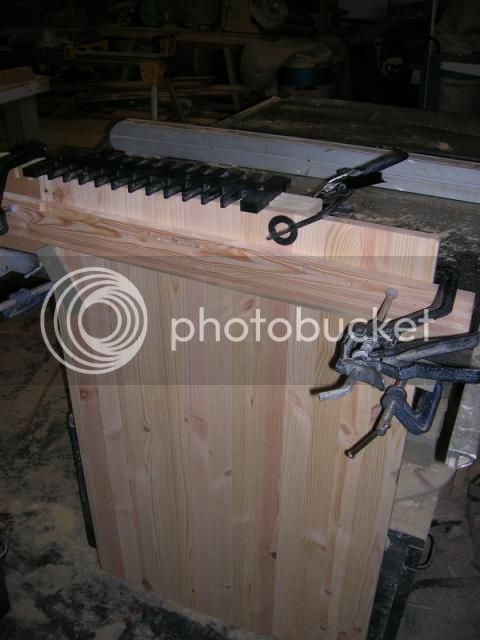
Glad to say I still remembered how to use it. :lol: After cutting the pins on the ends I cut the tails on the front and back pieces carefully marking out where each one would fit.
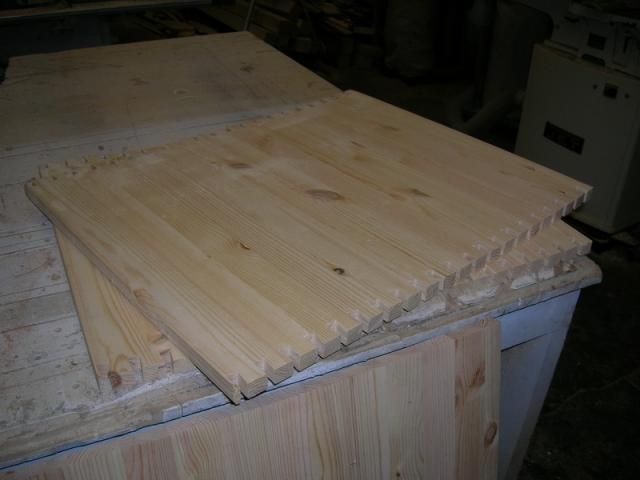
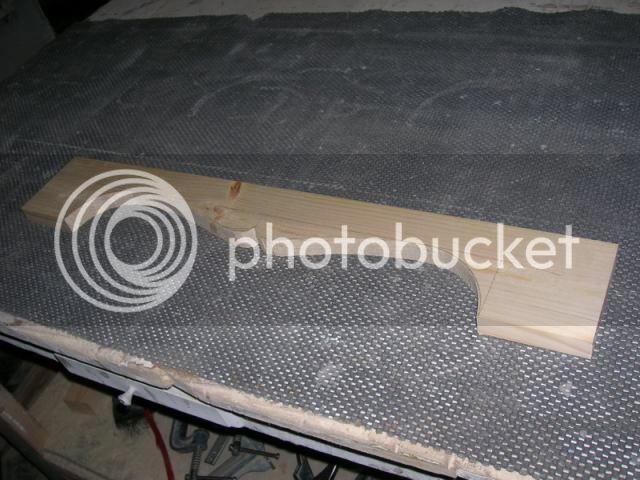
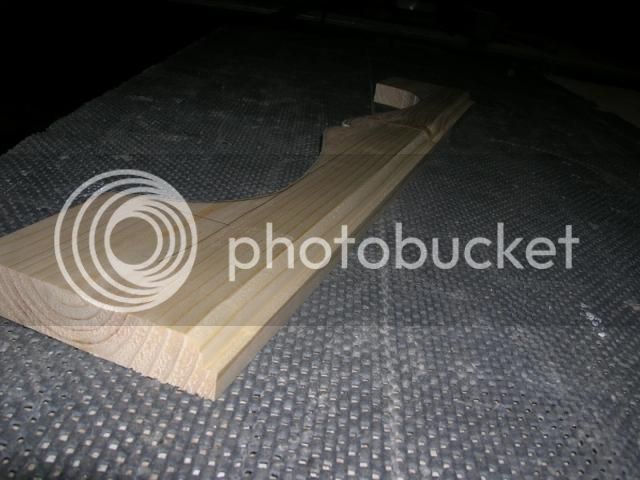
I then set about cutting a curve and hand holes on each end. Then a run around the edge with a half round cutter to soften the edge.
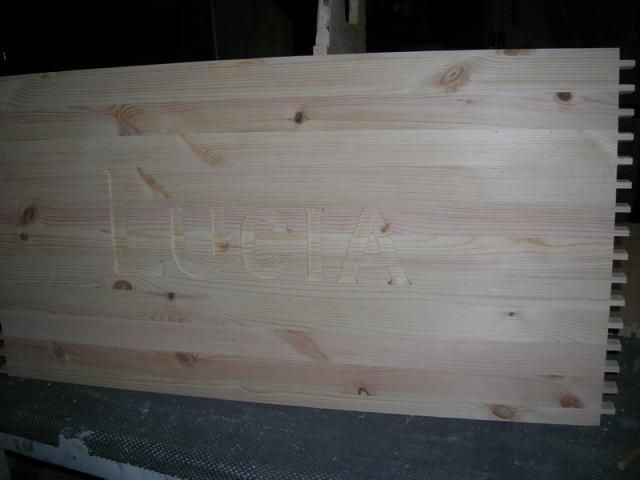
my customer wanted the child's name on it so it was out with the router again to 'carve' the name on the front piece.
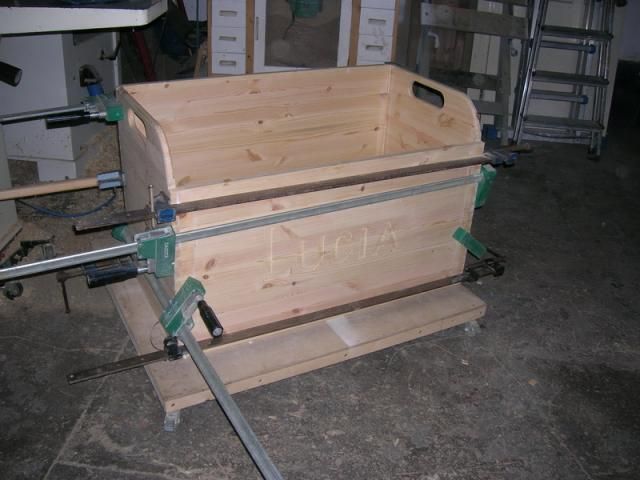
With the name on and a light sanding I then got it in a glue up.
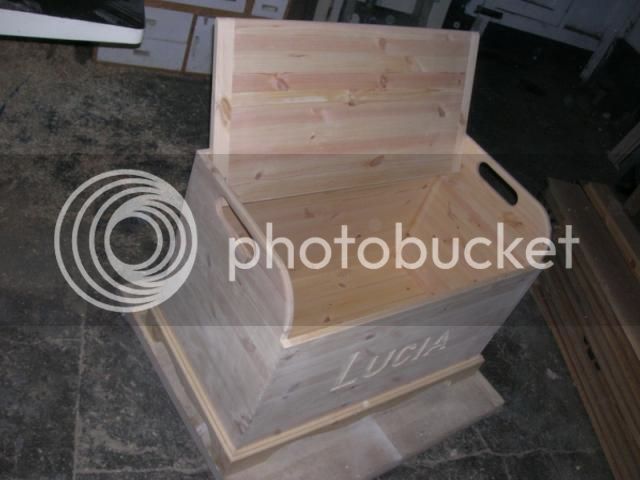
Tomorrow I shall make the top and the plinth and put the base in.....hopefully. :D
 
Looking good Alan :) When you say freehand, did you right the name and then just went round it with the router? Also, :) are the pine boards glued together or jointed and glued? Looking forward to more piccies :)
 
Thanks Pete. I draw the letters onto the panel and then rout them out freehand. The trick is to score around the letters first with a sharp craft knife and then rout them in small steps gradually increasing the depth of cut. With the scoring when the cutter gets close to the line the waste just peels away giving a pretty clean line. The panel is a laminated one bought from my timber merchants in a 10' x 2' sheet. HTH.
 
I've learnt something new Allan, I had no idea you could buy it in laminated sheets to that size. I'm going to have to try doing a name freehand, what size cutter have you found works best?
 
Glad to be of help Pete. I use a 3mm cutter for cutting to the lines but have a larger one for hogging out the larger waste. i usually use two routers with the cutters set up in each. Another little tip if you are making the letters in relief is to use a chisel on the back ground like a cabinet scraper holding it vertical and scraping to smooth out any lines left by the router cutter. HTH.
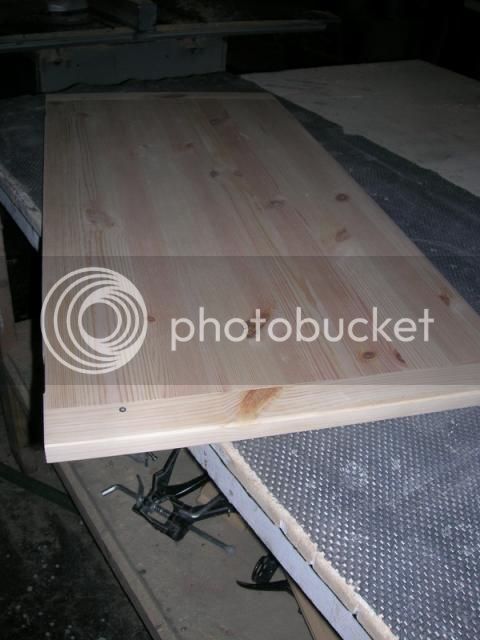
Well the day went as planned today. :D I got the top cut to size and routed a tongue on each end for the breadboard ends. I cut the slots in the end pieces with Bob's famous shaker door jig and then assembled them. I glued the front edge and placed a screw into a slotted hole at the back.
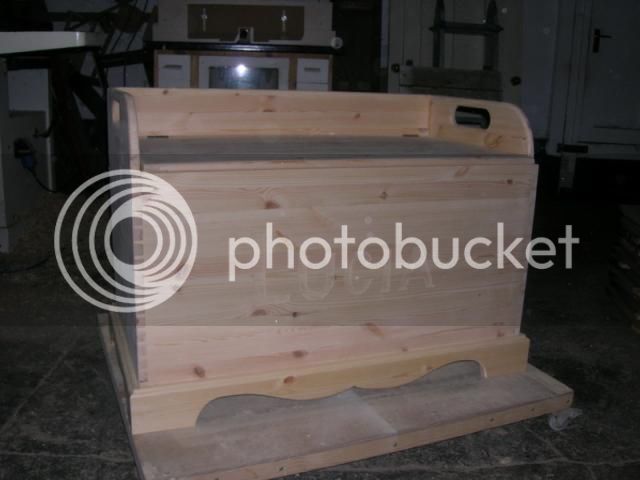
I then made a start on the plinth. Cutting out the shape on the bandsaw.

Then all four of them were sanded on the bobbin sander, (Ok my pillar drill with a drum on it :oops: )
I added a moulded top to them on the router table with a half round fitted.

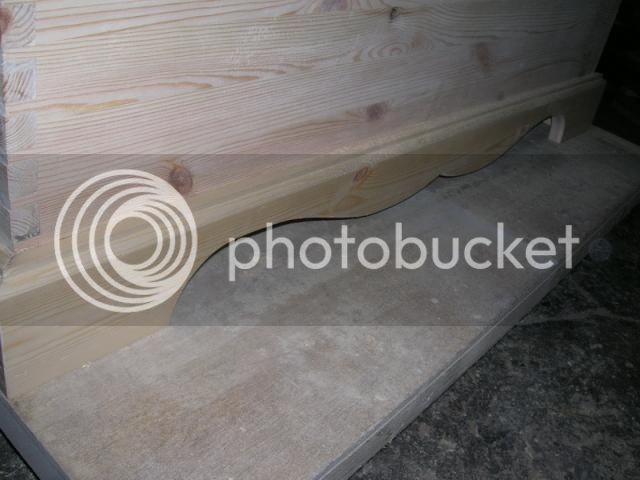
After running the router round the bottom profiled edge to ease off the sharpness I mitred each of the pieces and fitted them to the box.

Back to the top now it was out of the clamps and after a quick sanding I got it hinged and in place.

I finished off with a hand sanding around all the fiddly bits ready for a finish.

Just waiting for the soft close stays to arrive now but will put a finish on it in the meantime. (Customer wants a wishy washy white?) :?
 
Thanks for the tips Alan, really appreciated, and as Woodmonkey said, looks great :D
 
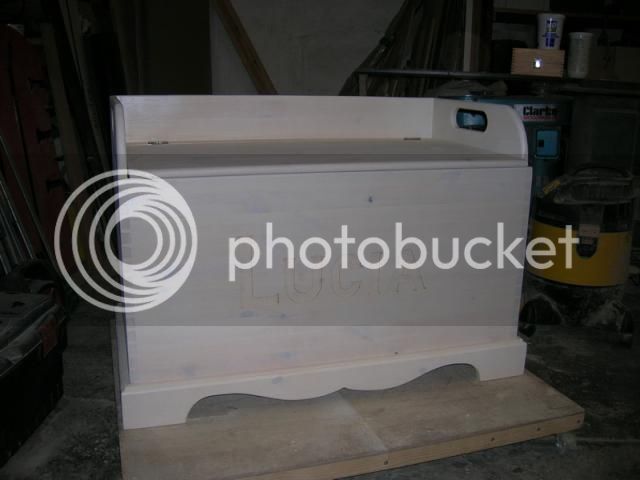
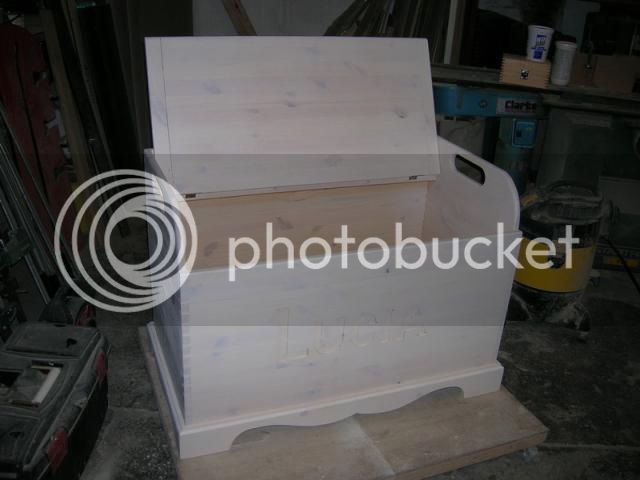
Got this completely finished today. The soft close stays arrived so I had a break from machining the Oak and got it fitted. Here is the wishy washy white finish.


Well back to the Oak now. :D
 
I see what you mean about a wishy washy white Alan, were you not tempted to do the name in a solid white, or would that be a big no no? :)
 
Very nice, not sure about the colour but 'the customer is always right'.

As someone said above you always make these things sound so easy.

Really like the design, practical and well made.

Mick
 

Latest posts

Back
Top