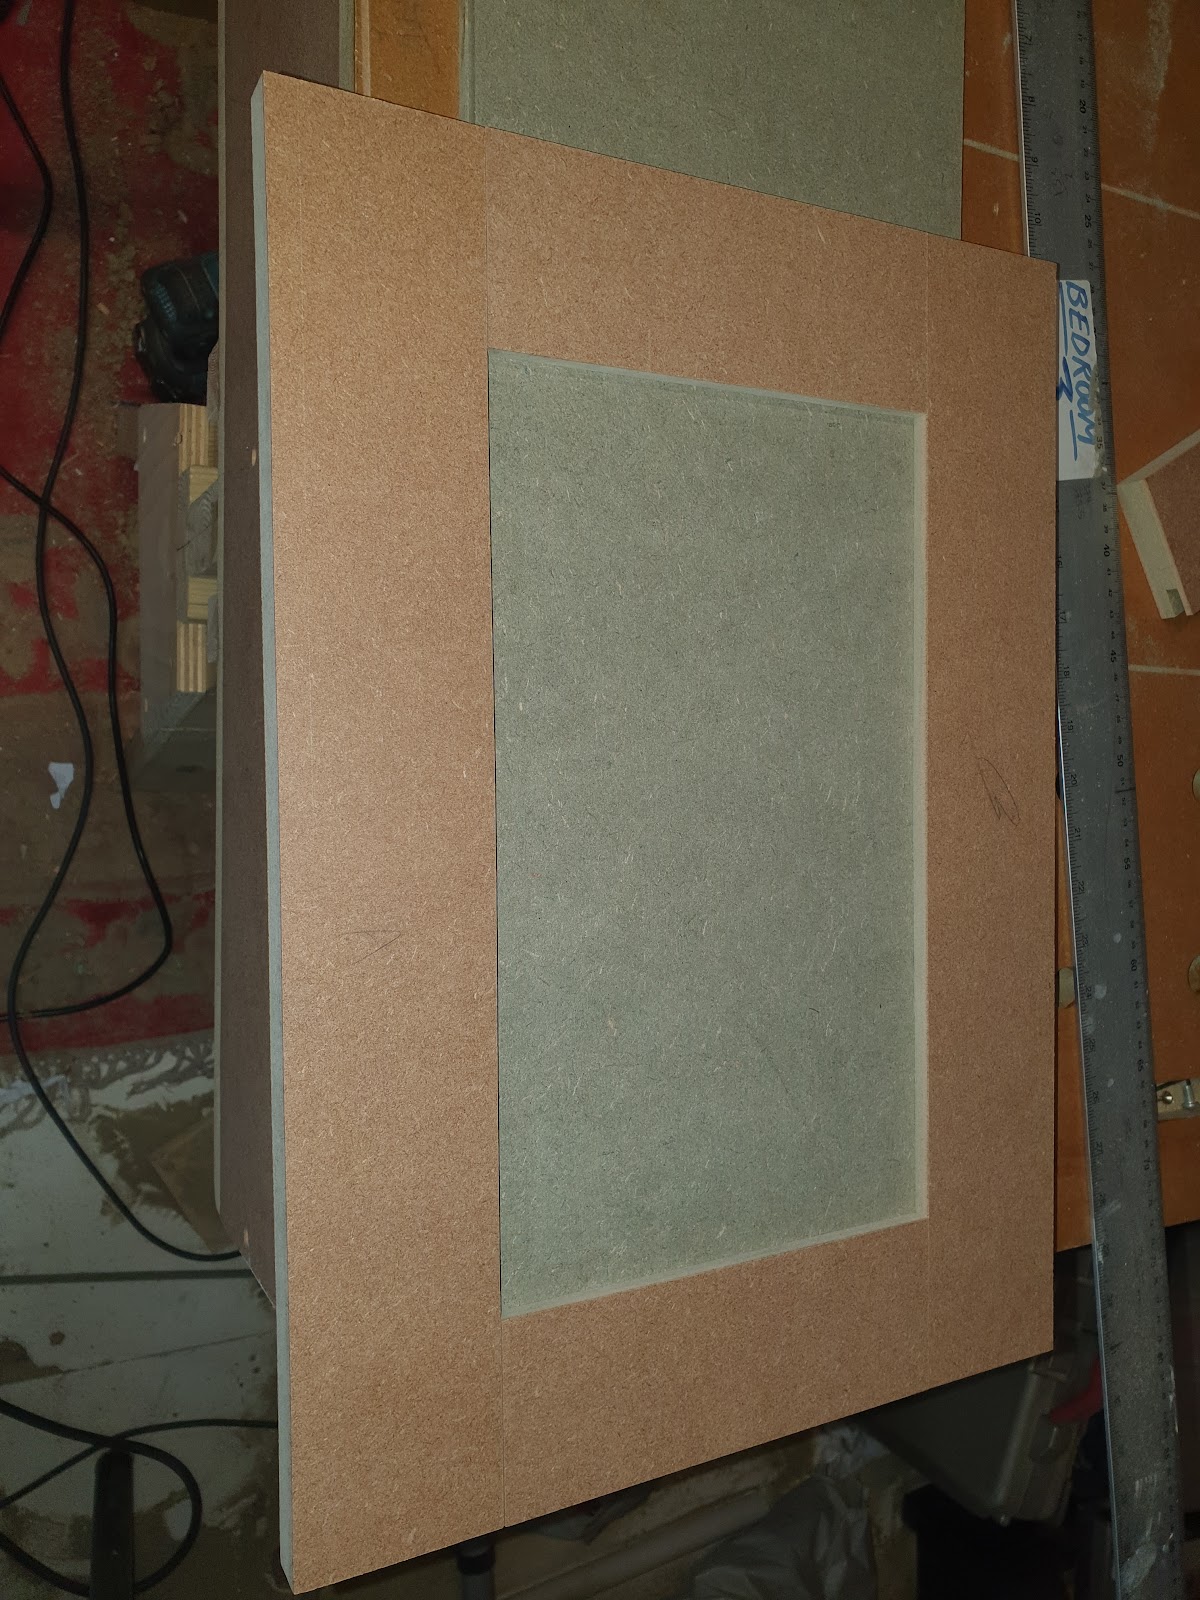
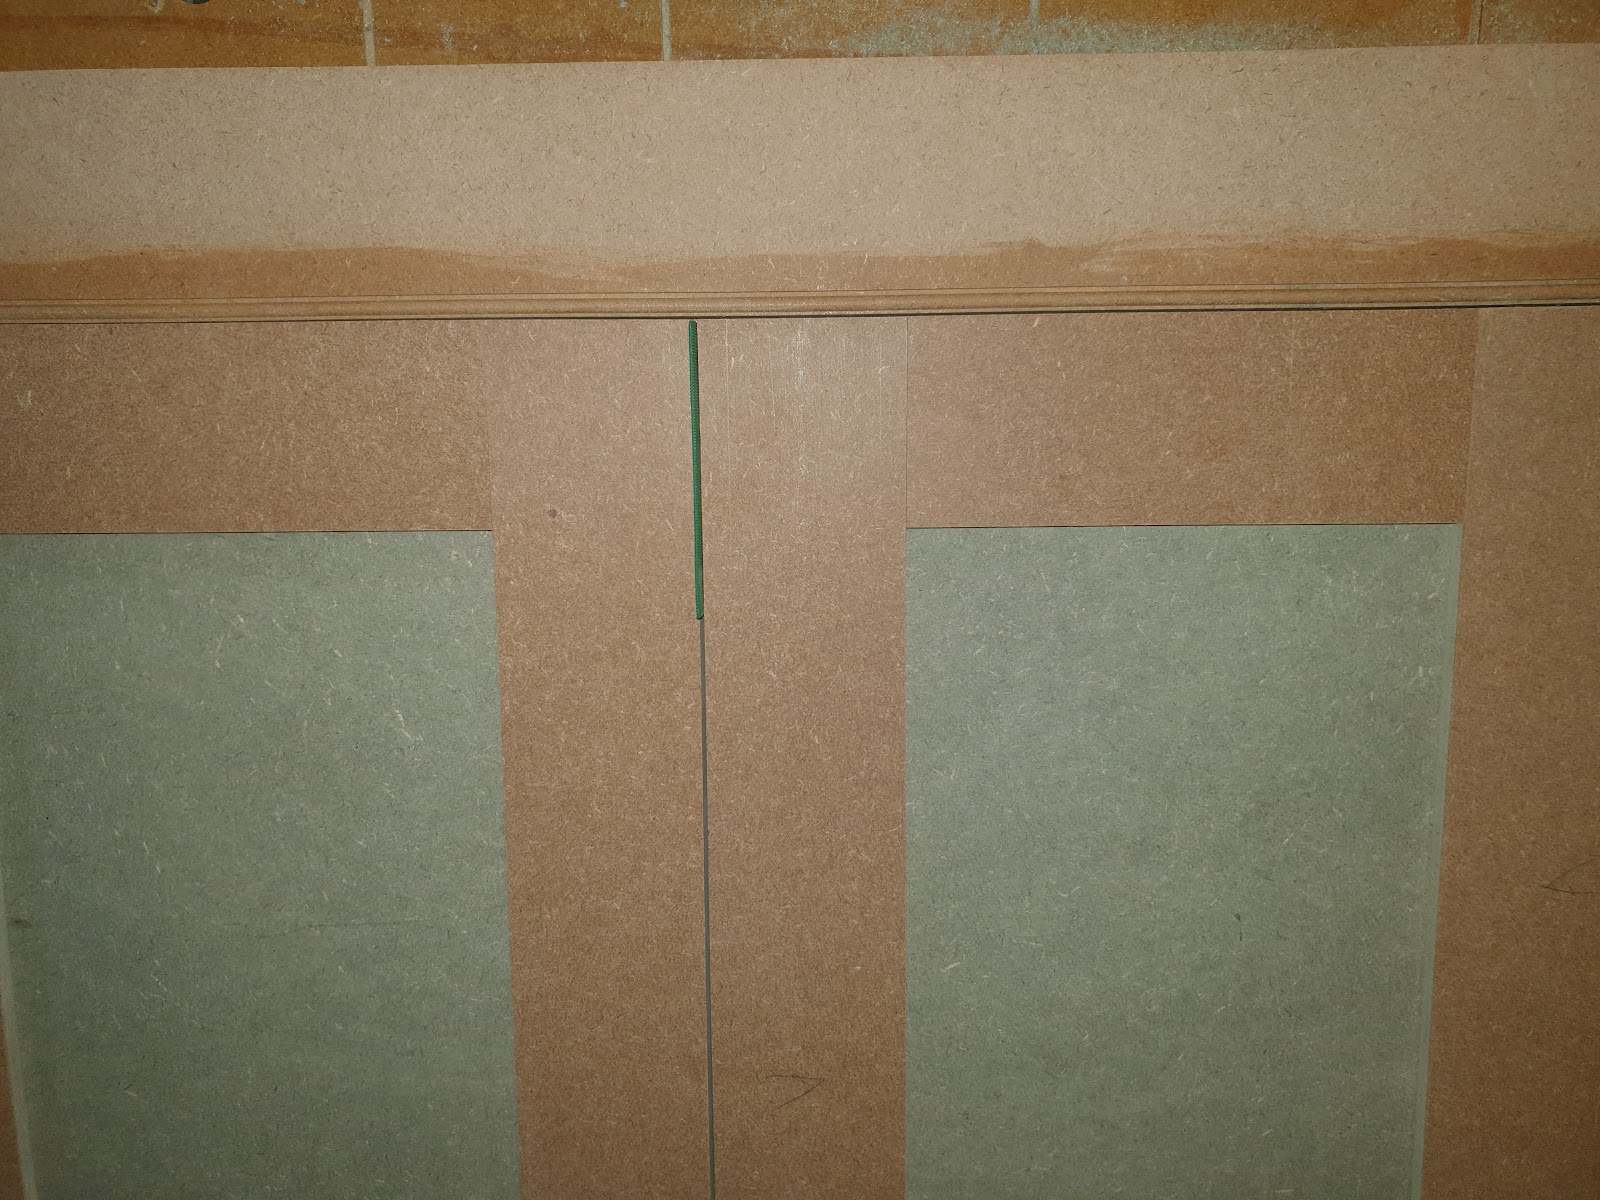
Top cupboards (completed)

UKworkshop.co.uk

Help Support UKworkshop.co.uk:

This site may earn a commission from merchant affiliate links, including eBay, Amazon, and others.

sammy.se

Established Member
Joined
3 Aug 2014
Messages
1,663
Reaction score
316
Location
London
Hi All,

Here is a write up of a couple of top cupboards I recently completed. This was my first 5 piece door / shaker type build, and only the second built-in cupboard I have ever done. (The first was a couple of solid pine doors and frame over an alcove).

Lots of lessons learned, which I will go into, but I am pleased with the end result.


The space I am building in is above an existing landing cupboard, most likely built when the (victorian) house was made.

Typical of this type of house, there was not a 90 degree angle in sight, and the walls, ceiling and base were all out of square. I debated whether to build a full carcass, or just frame in the upright panels, to squeeze out those extra few cubic inches of storage, and save on material, given that the wall and ceiling were sound. I went with framing in, rather than building a full carcass:
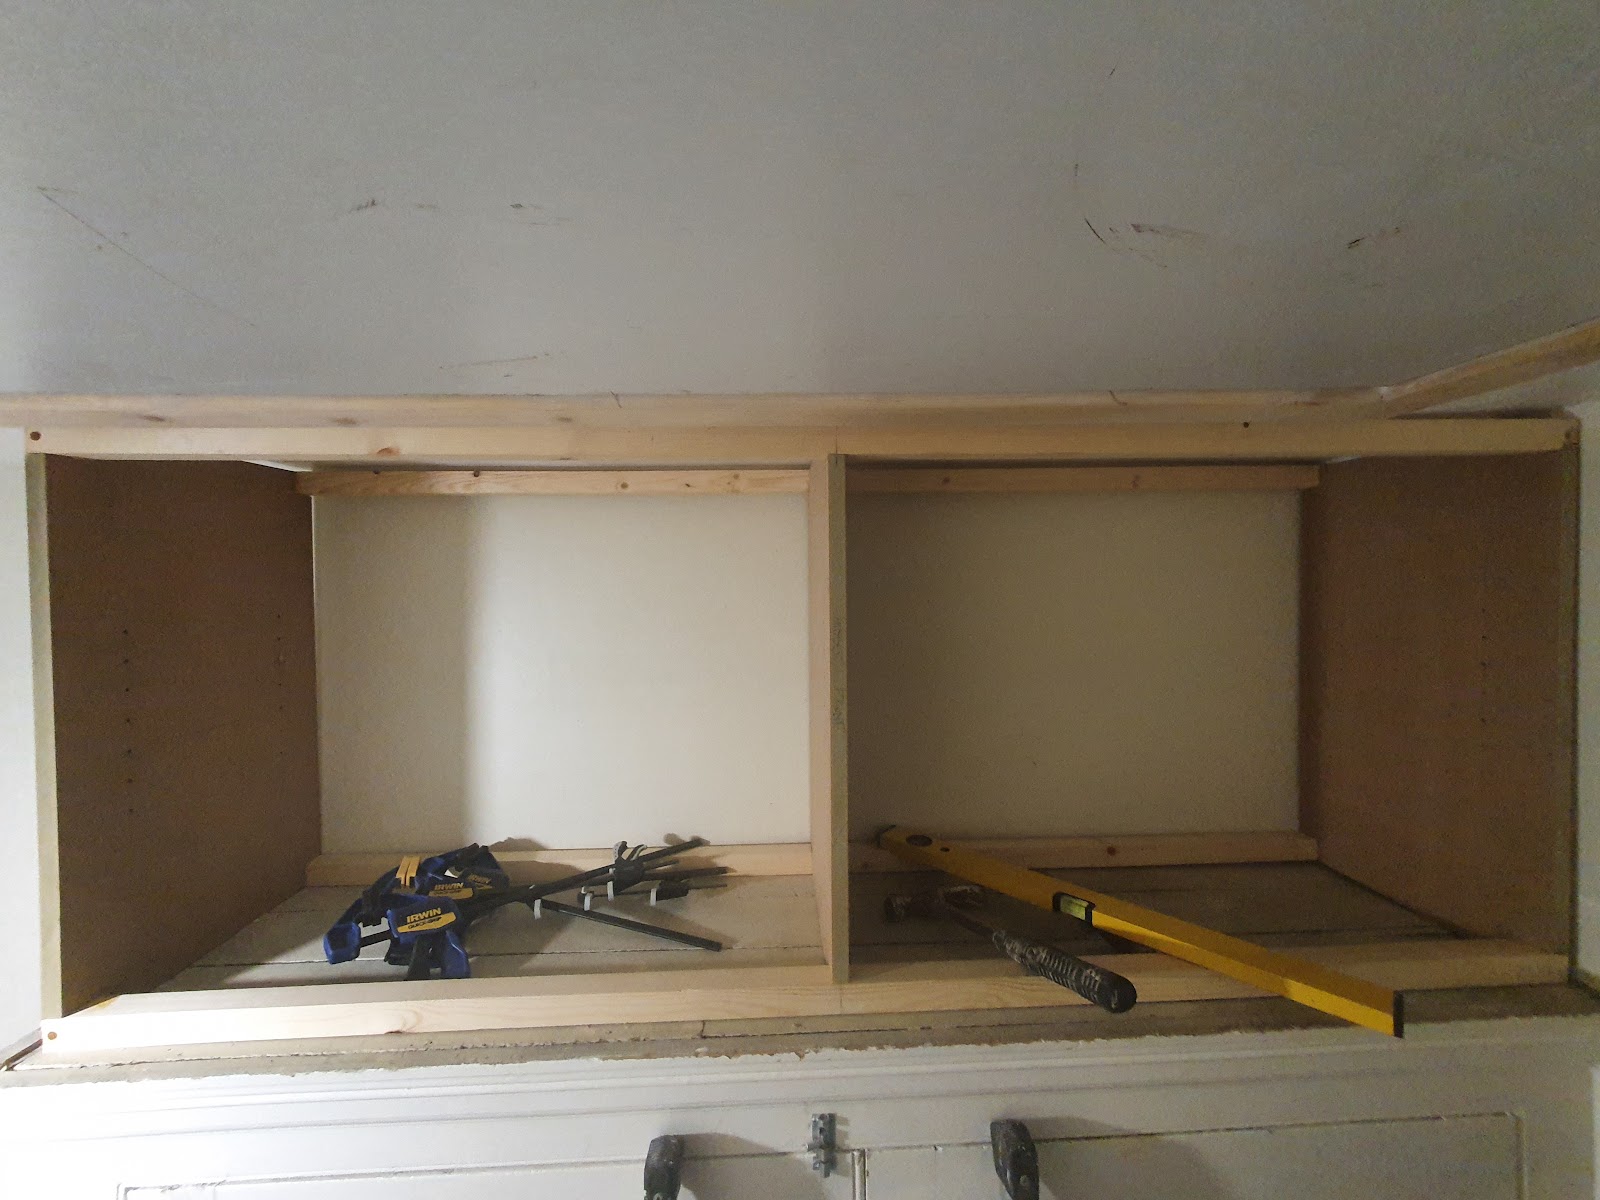
GqQDF86jvADnPu9S96hE5KyIWlWx0KcS29bRTsktHqKgNua2YJ78Kj5UR60g7mq9nYIC0hb5Ryed1VzYSPtafqrPj9IOXZcmgXo_V8rMUQcDRjiZ8VOphsauO9Bk3ZvwDCPIrq3W


Each of the three uprights are different depths, because of the wonky wall.


Lessons learned:

1/ In hindsight, I should have just built a nice, square carcass. Yes, it would have cost me a bit of space and a bit of material, but the hassle of covering gaps, painting, wasn’t worth it. Next time, I will just build a carcass and it will make the whole process easier.

Next up, I started on the end panel. My aim was to make it match the original cupboard, made of tongue and groove solid wood:
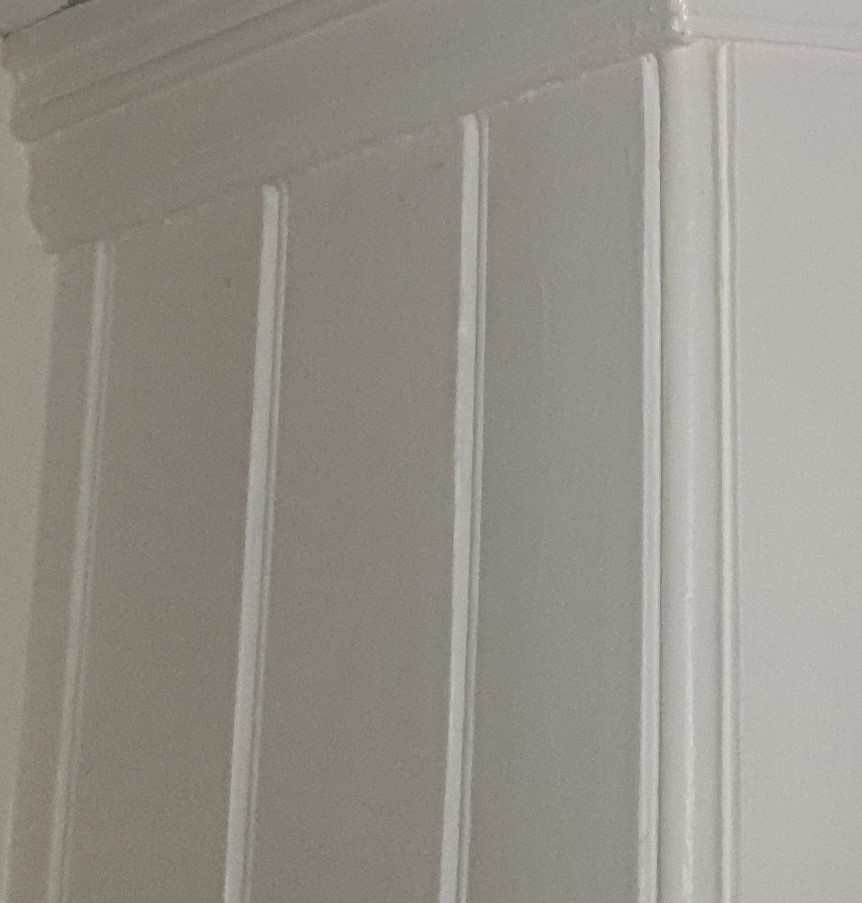
xtXJLAwRfw6TzqF_pYBPvcVQFbjrVVkKbKtNrShw3d7BnUtXR7rUC6fO1MnWhtVdHpVOQyzpRim8p-2SJYjHhSNVgN7xjNVbB4lip7kPUUUW8DaAnp6Ckl3D88j_3-i-tfP_N1De


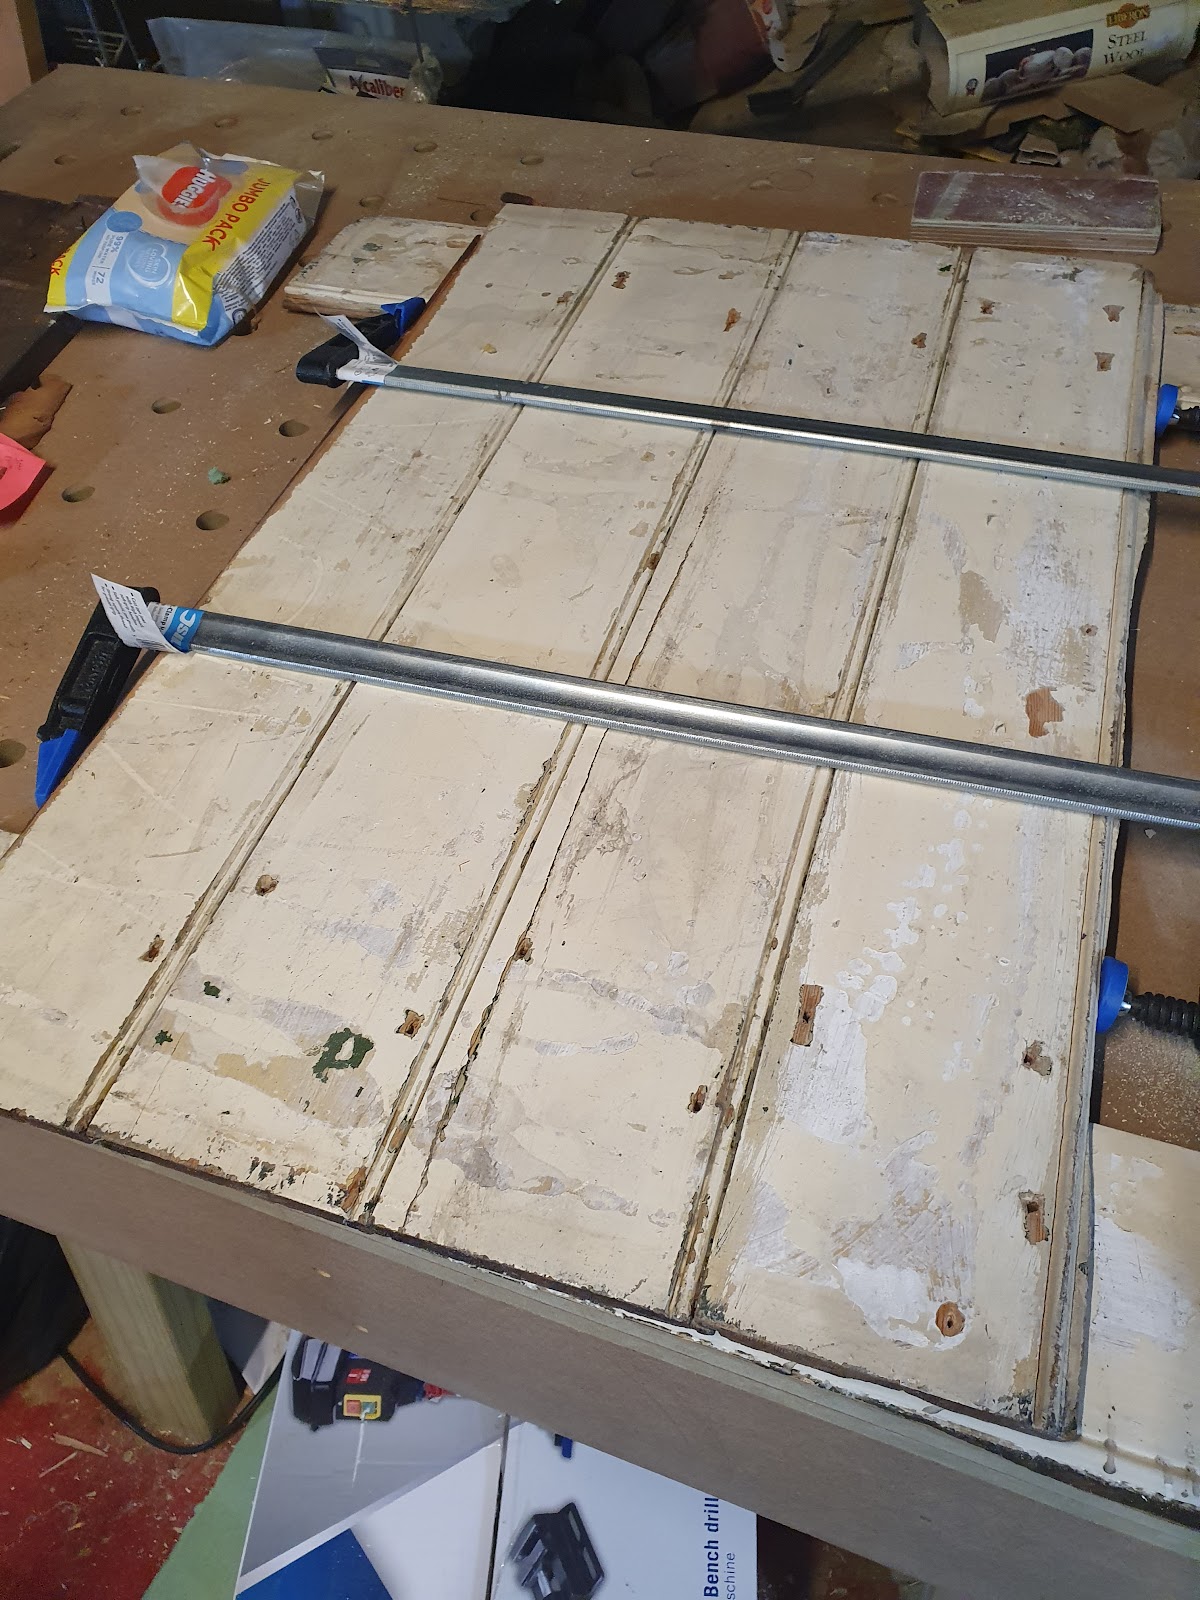
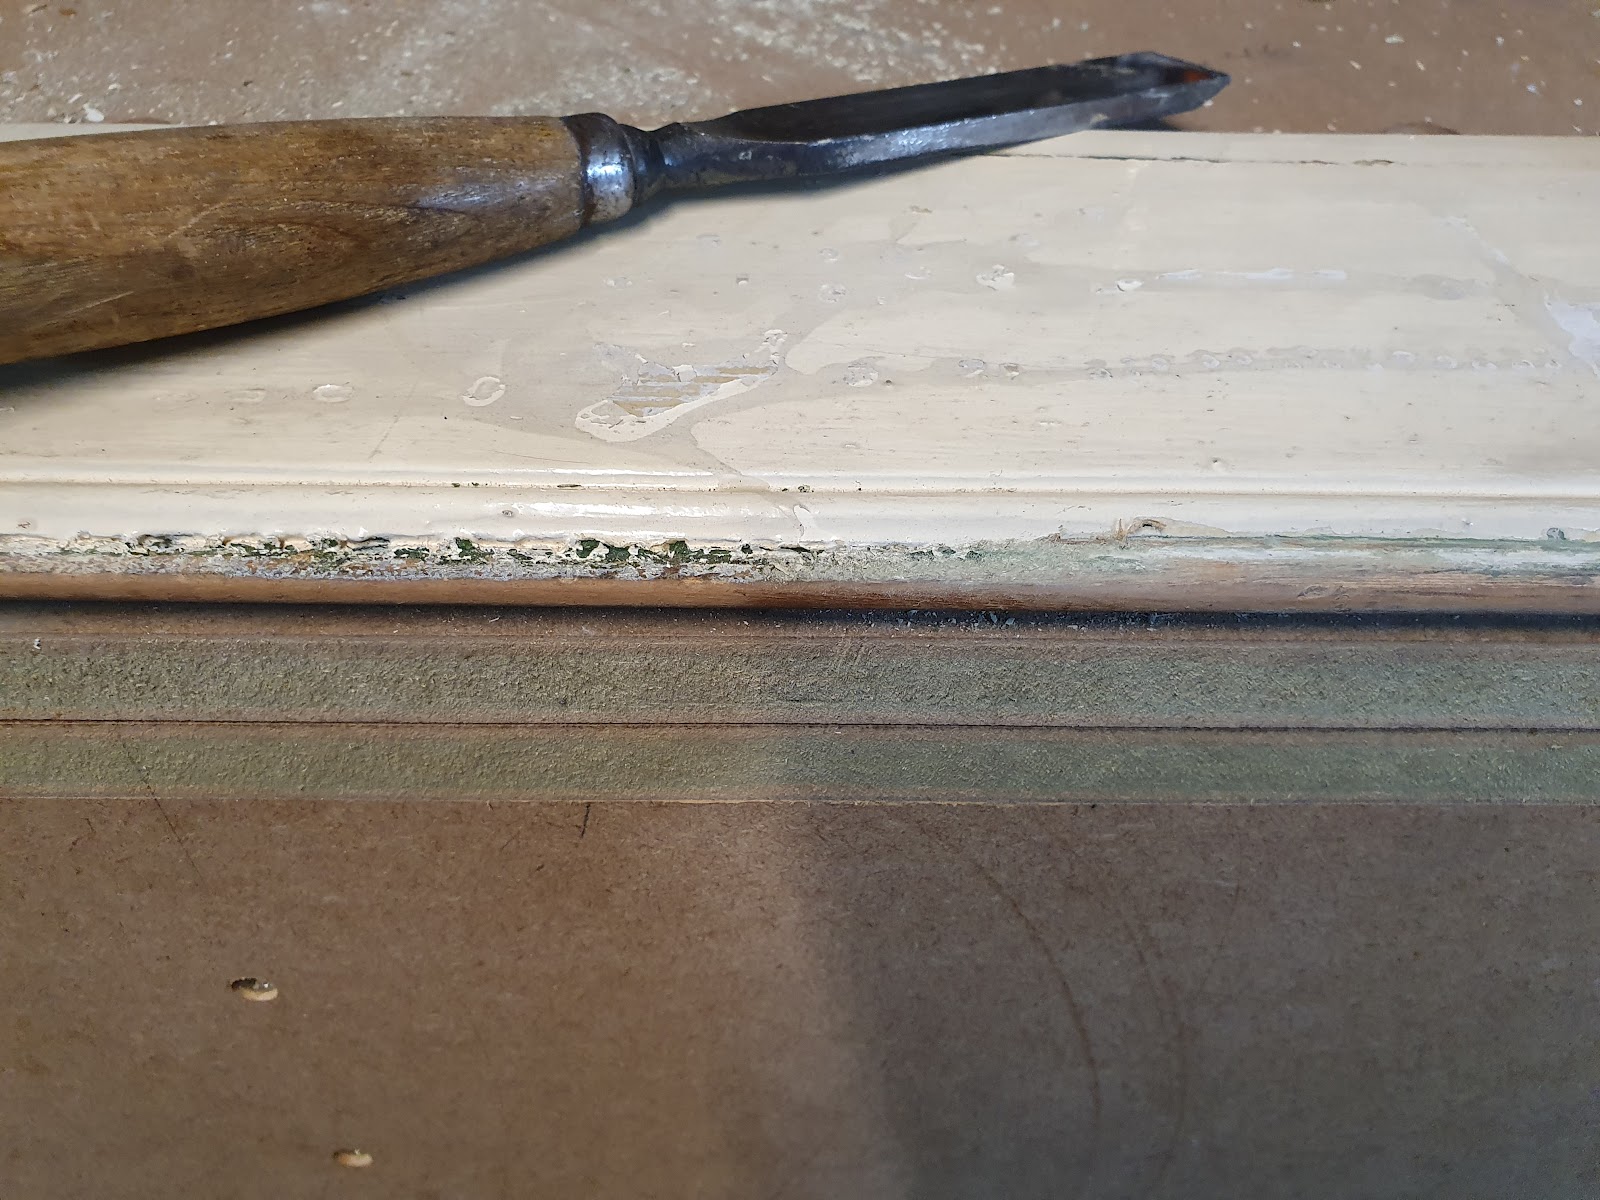
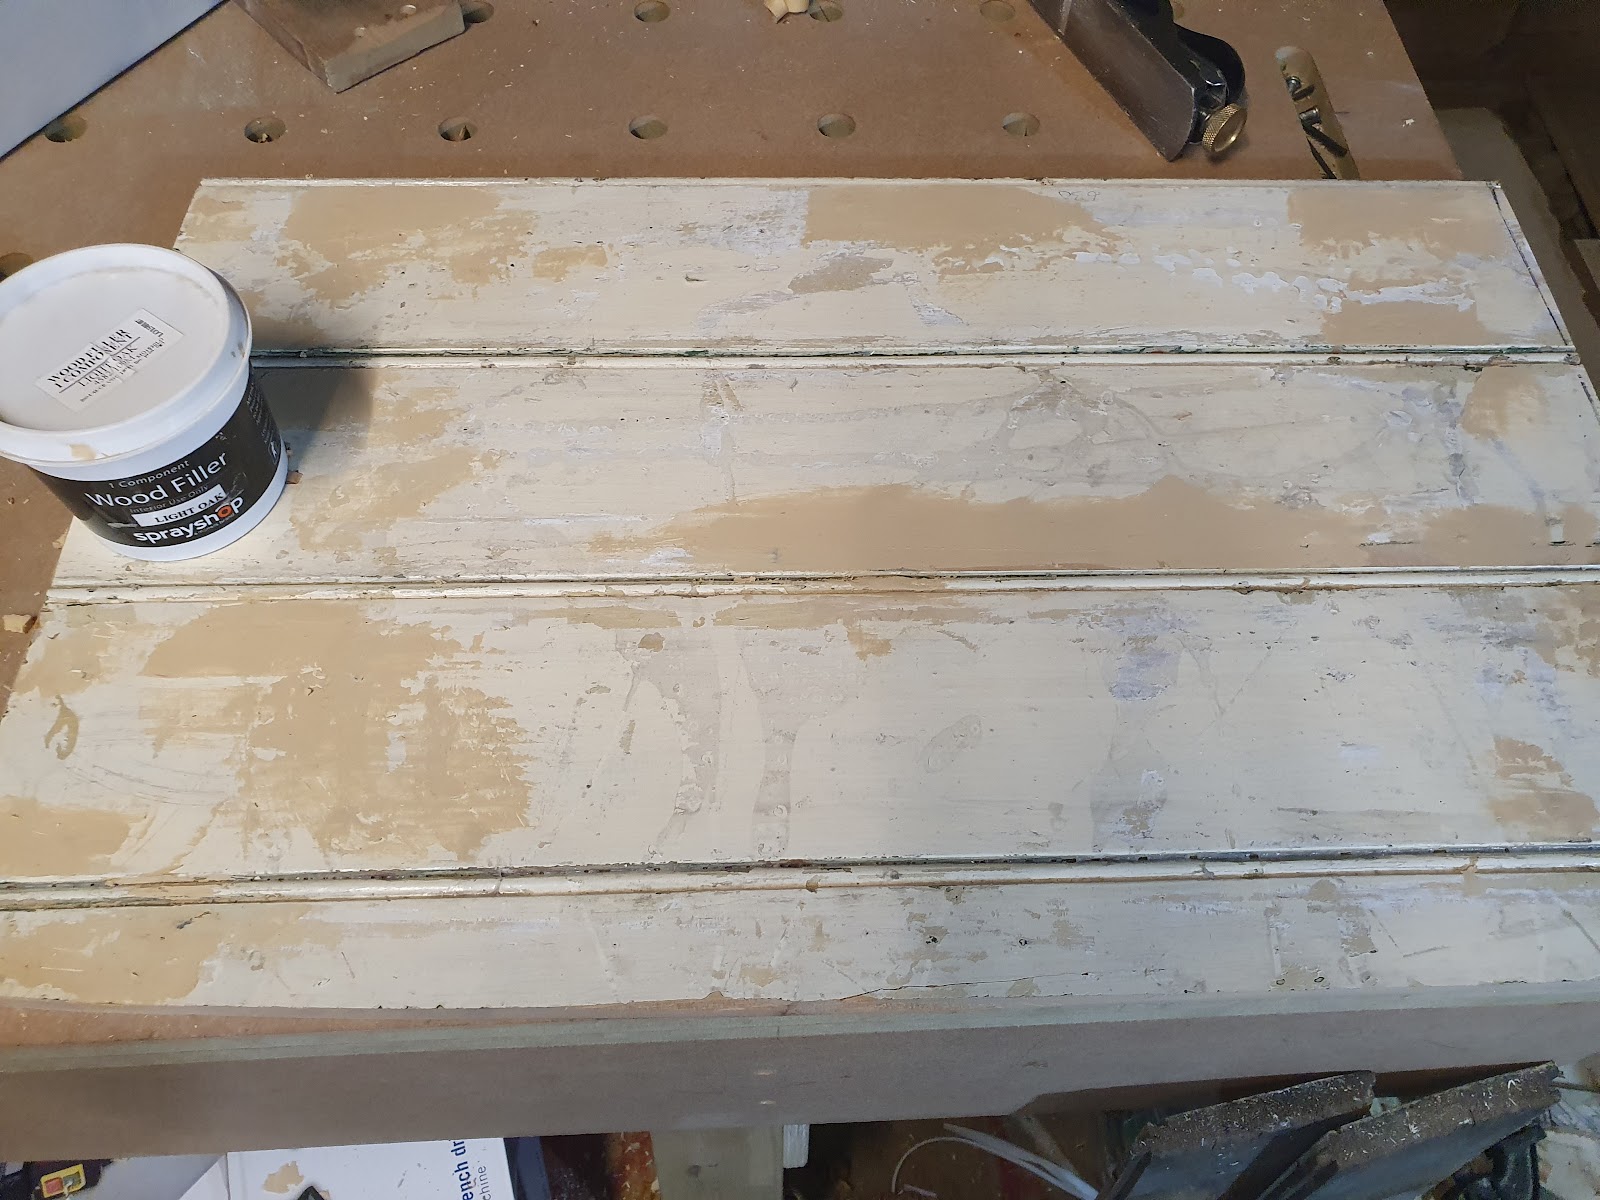
Luckily, I had hoarded erm... kept some original tongue and groove timber from an old loft hatch in the house. Perfect. So with a bit of cleaning up, filling, glueing, and sawing, I had a perfectly aligned and matching end panel:

<End Panel 1>
3oJQTw3QeKAZDWRodPJsMZezyRUTPez9724OQQLYtkus8pHwF90pLmEiHiAQoqONLDq8Xo-r4BoSFZex7DjJAOIoW6qkRTyWvkJfDwpIpJQVJUGazrL7B-xkwlebPFCNr3mEDXnV


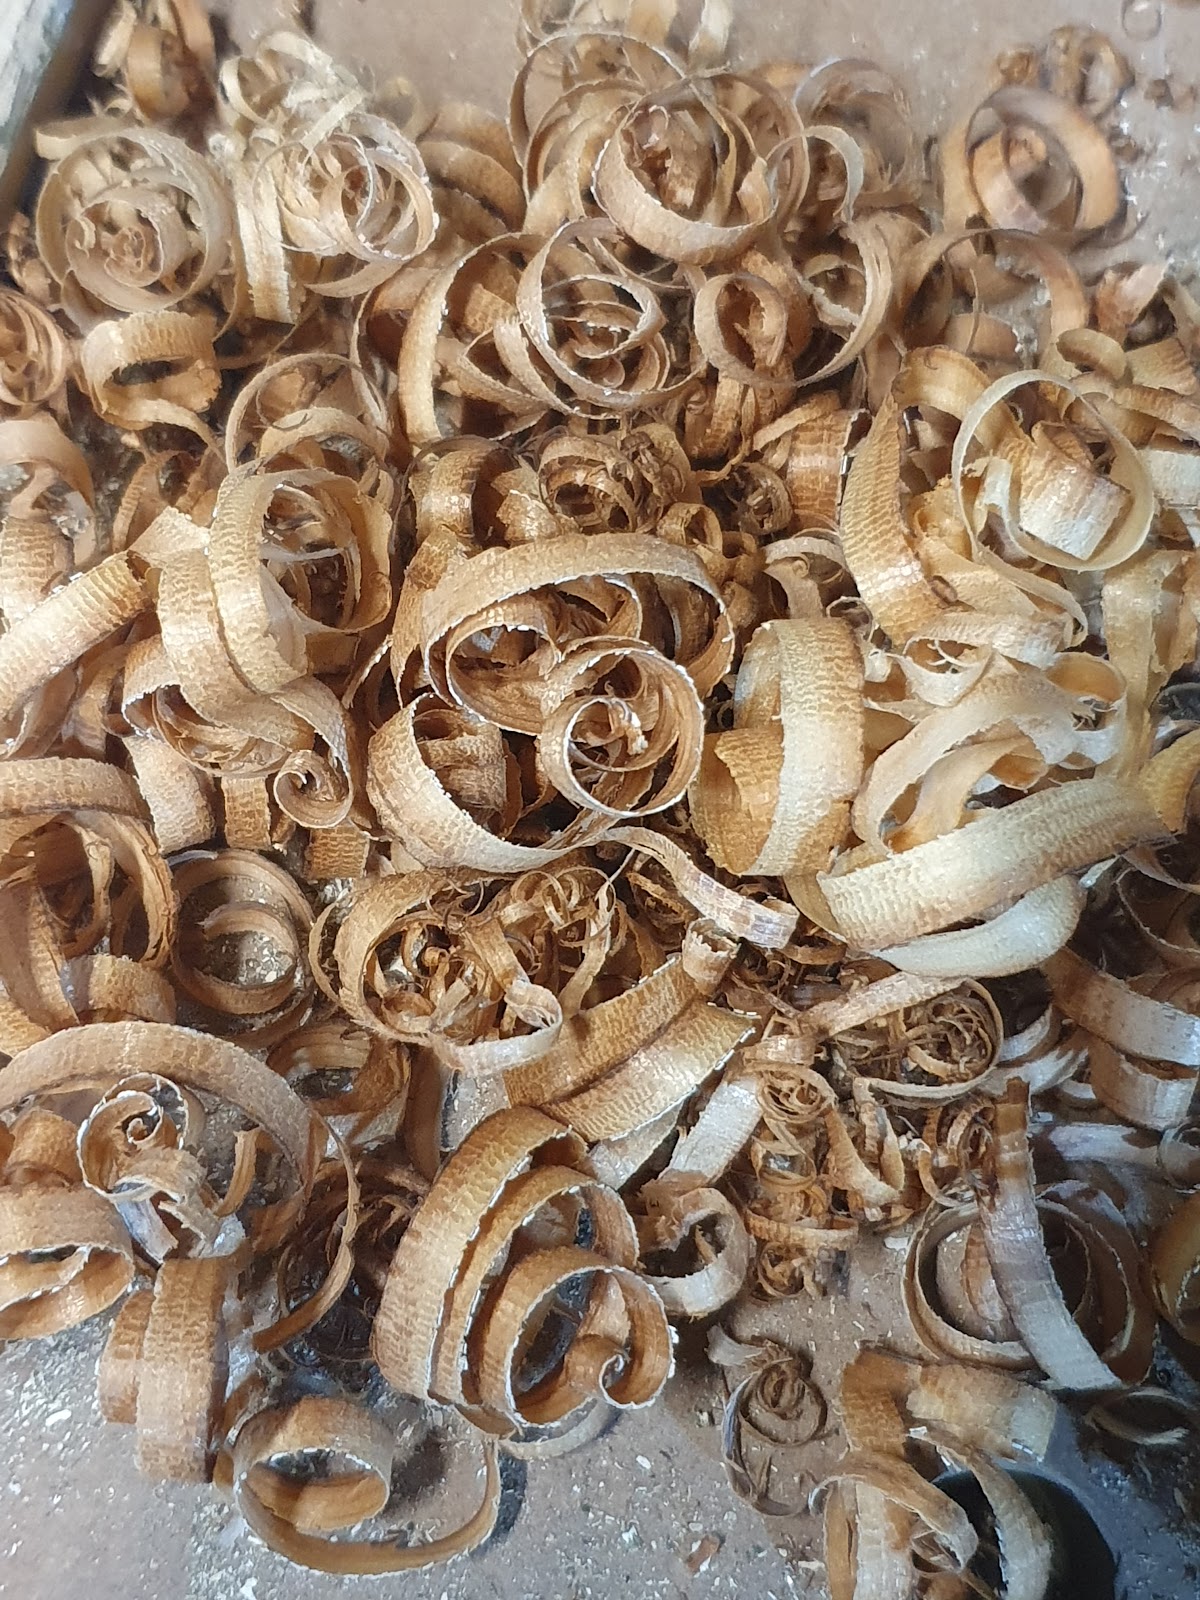
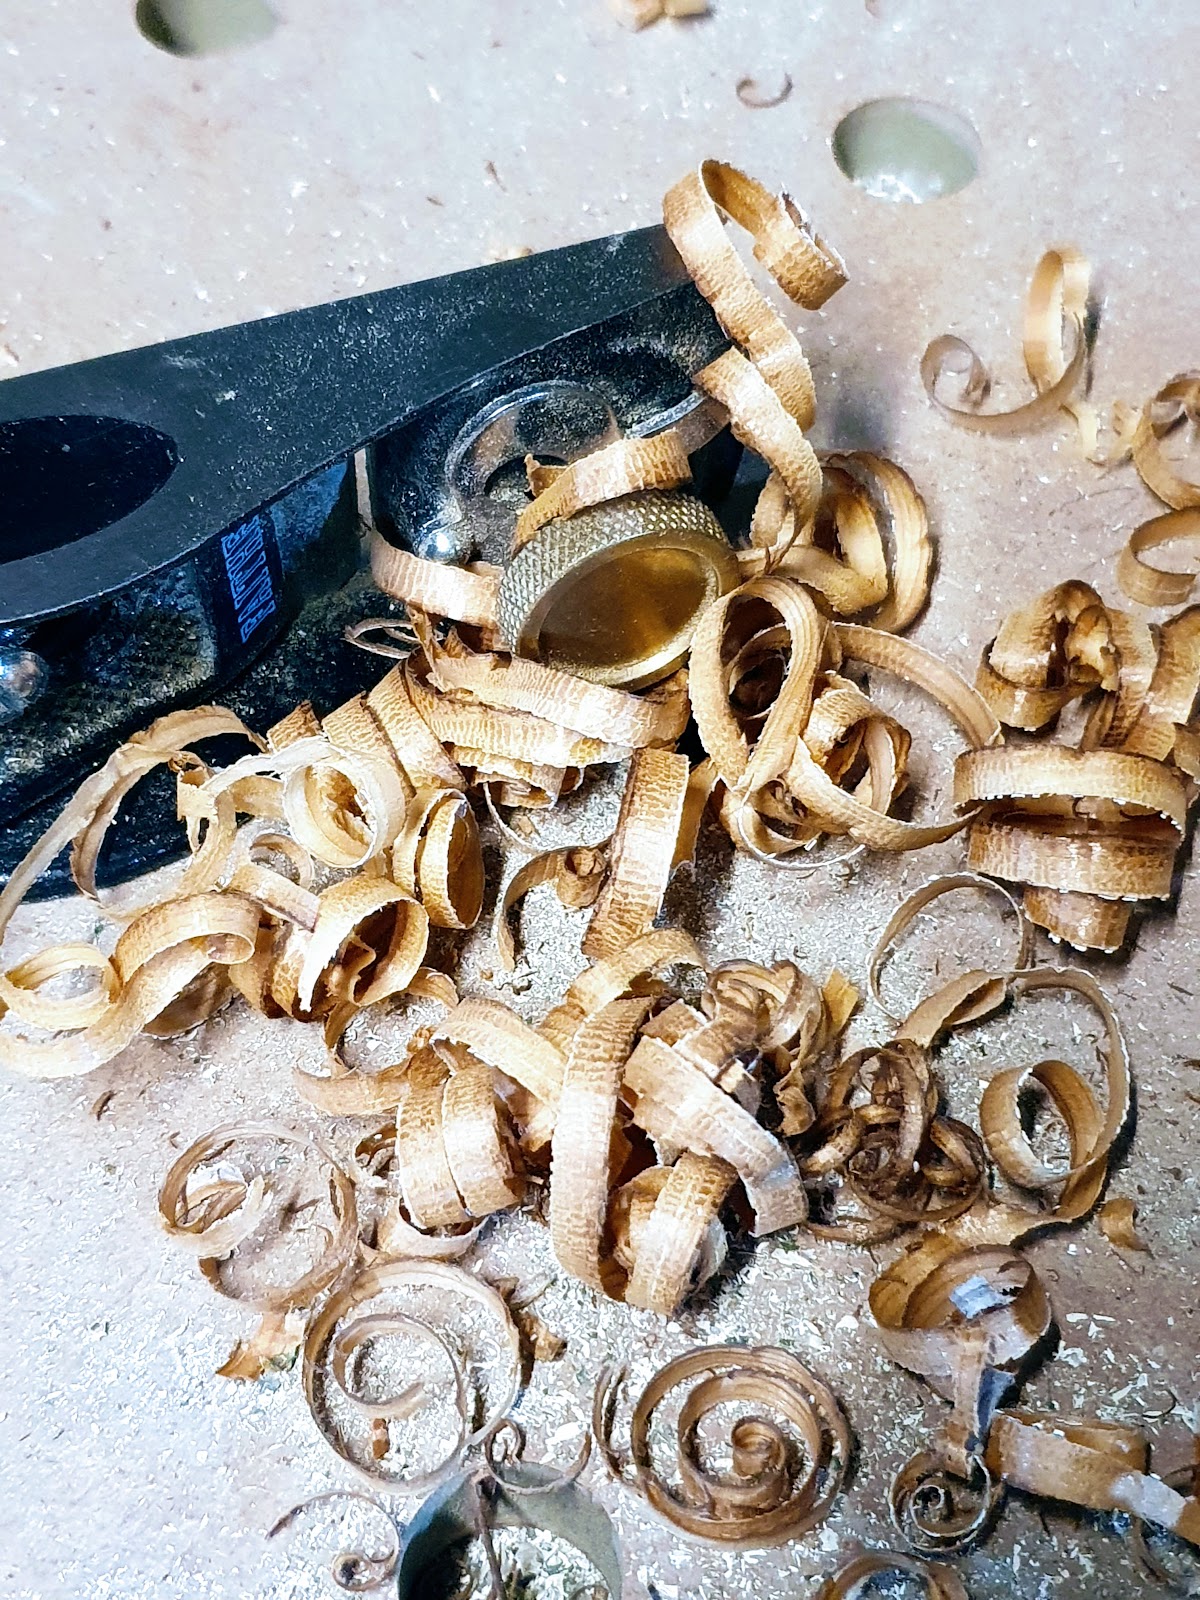
Mmmmm, this 120 year old wood smells good, and the shavings looks nice too!
AdtXOnw3wvmcUvl9BGu6MKqn9eHzwuS0JHiUkDJ8r6wjPafAgEu1OqzpaCXWS6vLpZmvlNvRUAz7A72gVhl0RvHxs4IXFIlfeqxO4R0Oa1mWUmlO1ipHzTwez5IWjREpmLIKcFO5


PiS3PTHsn4Ro1aypKekYuKWdXuQzMrlJ275r0eJ4NWbHY7pqiIZEECNr6SnwuWsWrpmcMFcD9ezgJ3Mahlj6r7V3HrimvVSnqe0fnd0rRL6jAG1y7TbHIiQ-r7ZWaaM0Ea74GHKS


QuaJ1U0i1JarN8xYZ4LgO-46QnjOlZIo8xQKiunxY_Fl2dbrXlJRWilktyj1YHAnr1RfMOrNT3hDqd0ZB4fDD6fWPHYmrIGj-Gz9WXCPWlXZkhvXu65bZxFiZLNMWEvvBfy-vCxM


Handy Hint - Huggies baby wipes are great for cleaning glue and a lot of other things! They are unscented and mainly just water.

I used some Morrels one-part wood filler (Light oak coloured, which is what I had on hand). I like it - goes on easily and doesn’t shrink too much, and sands quite nicely)

0t649gZuxU25X6y3iPtzHgXkpwNXdSu61XvHXyuqoeu2lK3n32IktlMZuDzg8THLIRoFm5MfzaYGAqG_4EnpKcevJuJNrFt1kMRMKIqe814iujoS9hoNJI3yVNidDFHJ7AsoTdKW


Now onto the face frames!

When I was in the US at the beginning of the year I picked up a Kreg beading and notching bit, which were significantly cheaper over there. These are the ones:

Kreg PRS4205 1/4-Inch by 2-Inch Notching Bit: Amazon.co.uk: DIY & Tools

And

Kreg PRS4250 1/4-Inch Standard Beading Bit: Amazon.co.uk: DIY & Tools


I didn’t buy the jig - which I think is ridiculously expensive (£350) for what it is:
Kreg Precision Beaded Face-Frame System

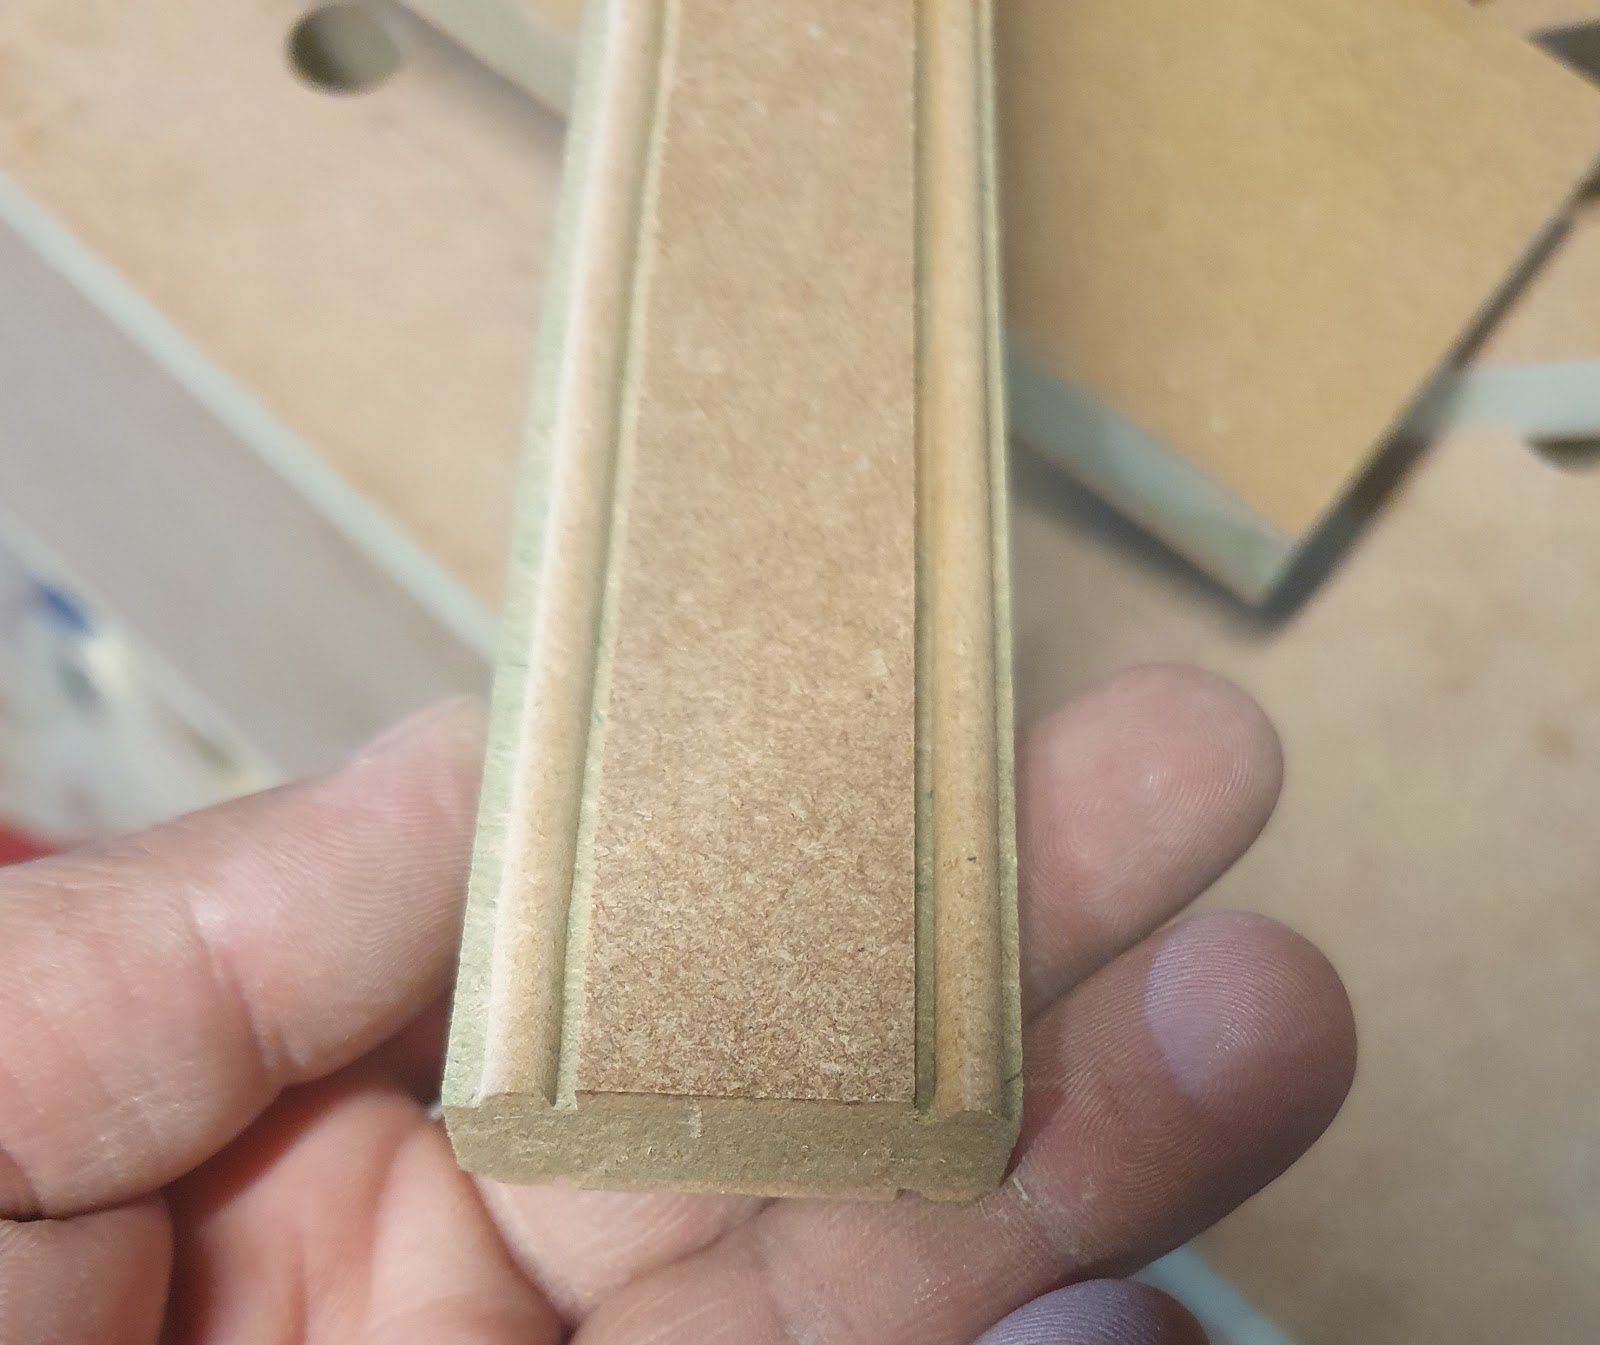
First off, testing the beading. I’m using 18mm Medite MRMDF for the face frame. It machined very well. I debated whether to have a quirk alongside the bead, or not. In the end, I decided for the quirk. The quirk on the left edge was far too big, but I settled on the one on the right - looked nicely balanced.

554rBlEeyGLmcPBqNsartFBl9wQc5erjmLF3zzRXIJhMjs0cE_IP-wl-3-CjmTORQTRAyYtUQpg7YewQvbrk_Z-3qhljQWMUFfRMaWy03e0TjP9eoxiesrUlm-X_BhfZ9YQslNL-


Lesson learned: The MRMDF took the beading very well indeed, but the beading was VERY fragile - any small knock and the MDF would just peel apart. I had to think of something to make this more durable.


Next came the notching for the stiles!
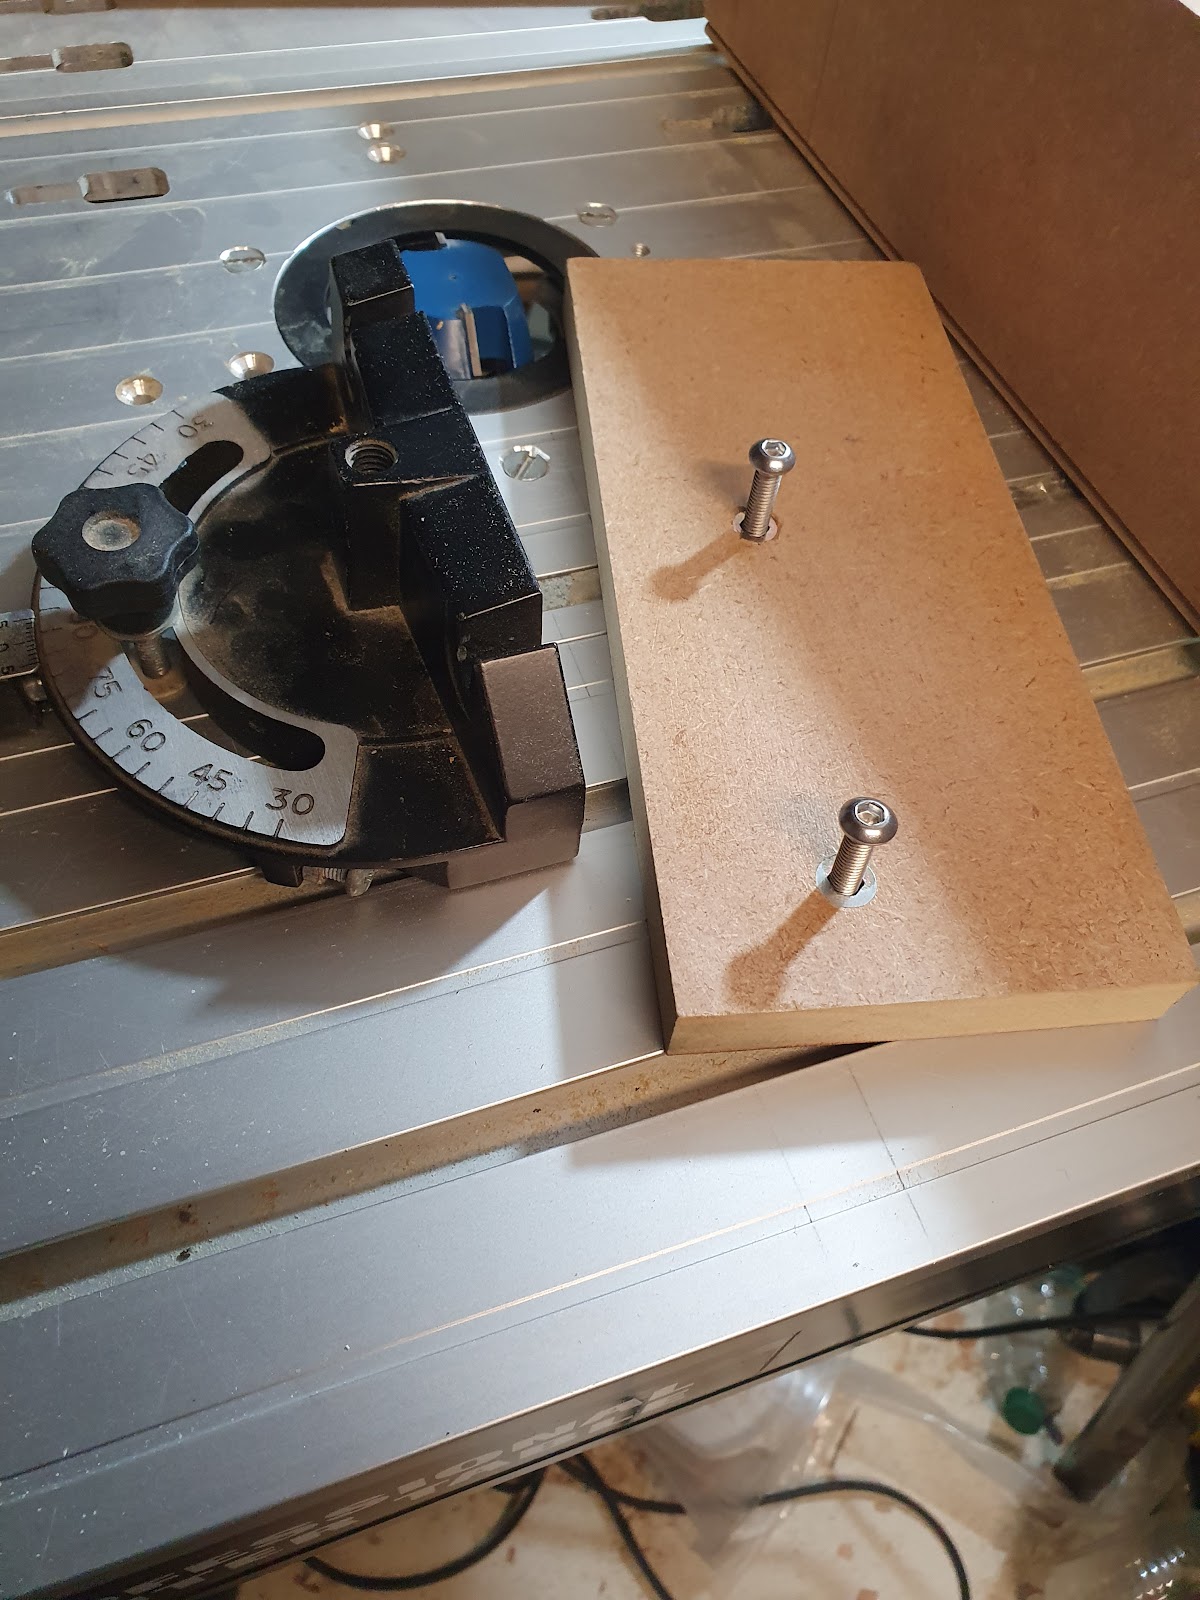
At first I just used the mitre gauge on the router table to notch the rails, but this wasn’t very stable or accurate with longer pieces:

ykLWNdSWuggpXT3xOh6Bsk5dnUNpLVmuKulrI8lsyw76IbgBzHq3mFaf2nX35CAoJhxunCU0kKuzgtbvzfxYeM6rmcJByPZCX4zXYgVpWdm-vPLx4HBQHMwVASthESquahjA5cAP


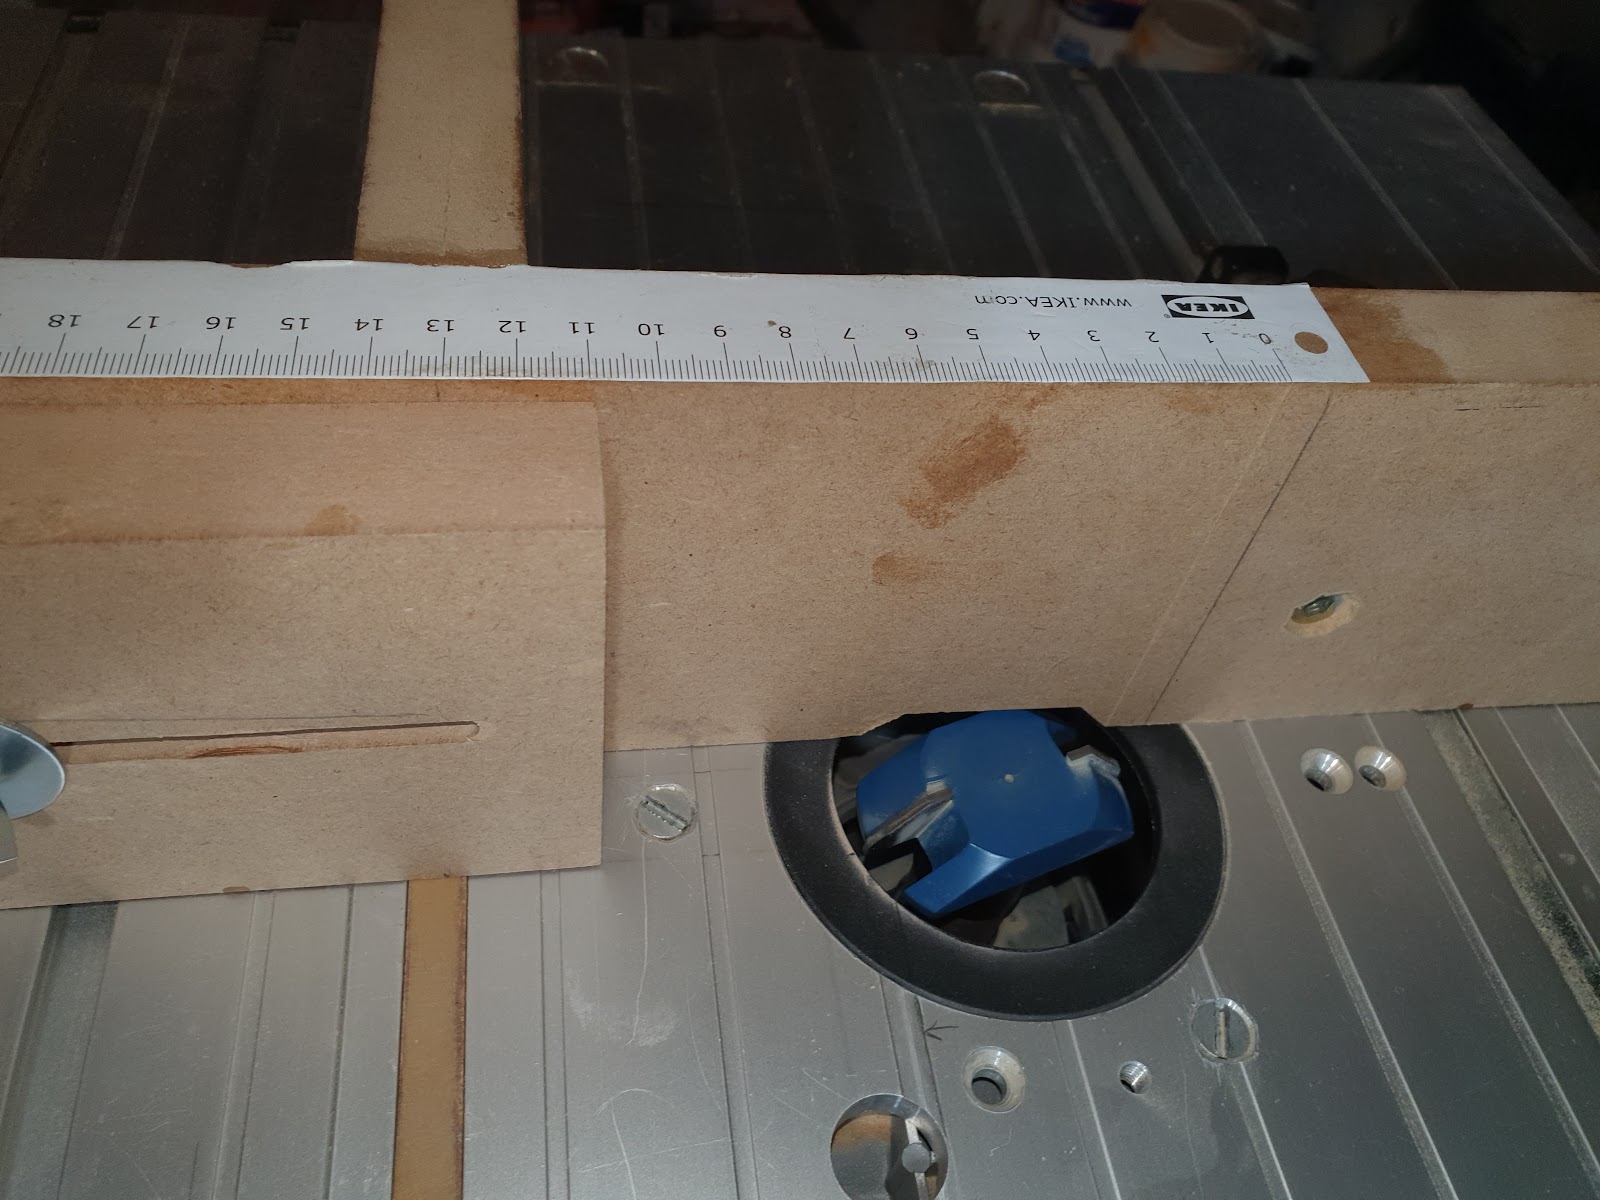
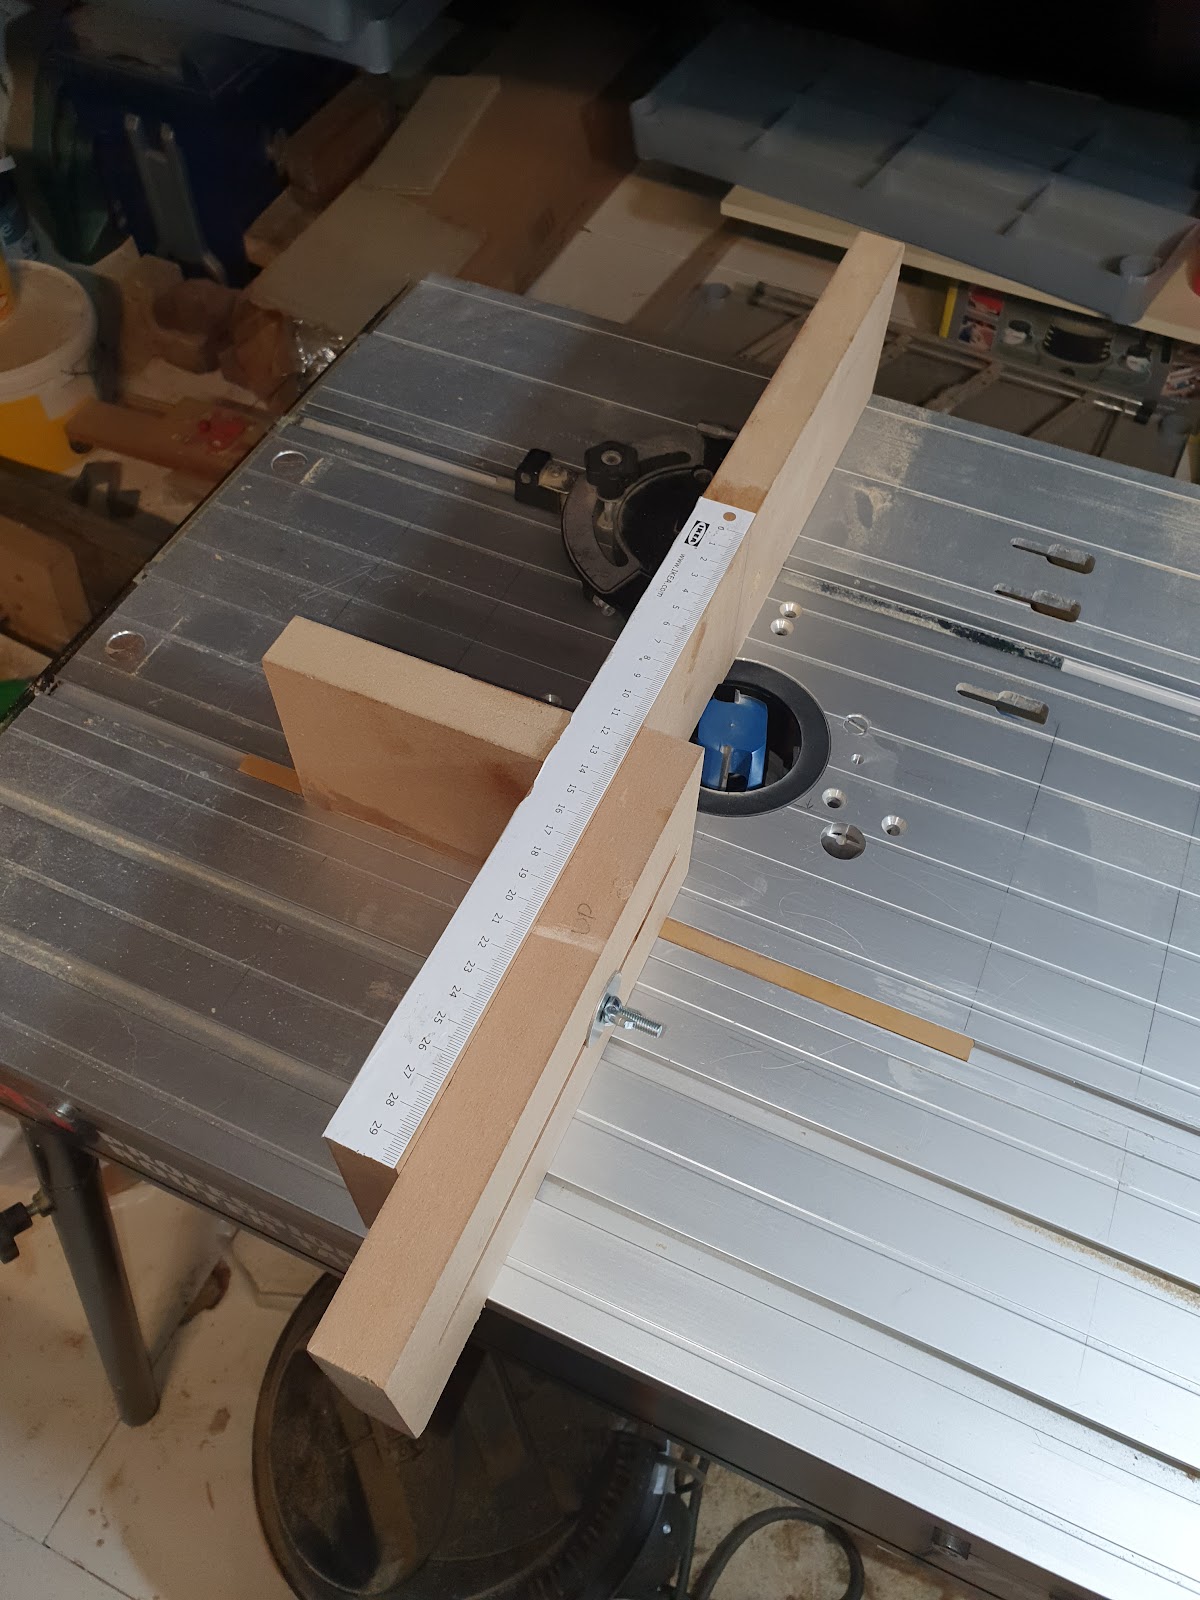
I decided I needed a full width sled, that used two t-tracks so that it holds larger rails perfectly square as it’s pushed over the notching bit. I found some scrap MDF and started building my own simple jig, (and save myself £350):

I added a sliding stop for accurate adjustments.
Handy Hint - the disposable Ikea paper measuring tapes are great for attaching to jigs, and other devices. Bit of Pritt Stick (which doesn’t make the paper soggy), and...:
1TuMY5hJVZkoWJa7NeklvDkIYoz6CsHkpXnysqDFcpFeToJtdM51Rwk1jUKMNmyIyLkMbuWvfsyT9DXSQHdNGgVFHy3ZUAvoF3wMUXOmmyHs3HcKQXz9diiP9jeHBLfCM3dLFgh2

unYhjCDyZ_768KoYKotq2fcyjHGdFP4wLSYcoeiN7Xu45zpATccfPTdsUTEgaEHwStw__yZbB_qxt9FGIrhdsjPPIvoNVSomt5hz_h13FcB5Ory85wqDySYs-yUcL9GQaFM77tpI


What I later added (and not pictured) is some Perspex over the central area, just as a guard to keep my hands away from the cutter as I move it.

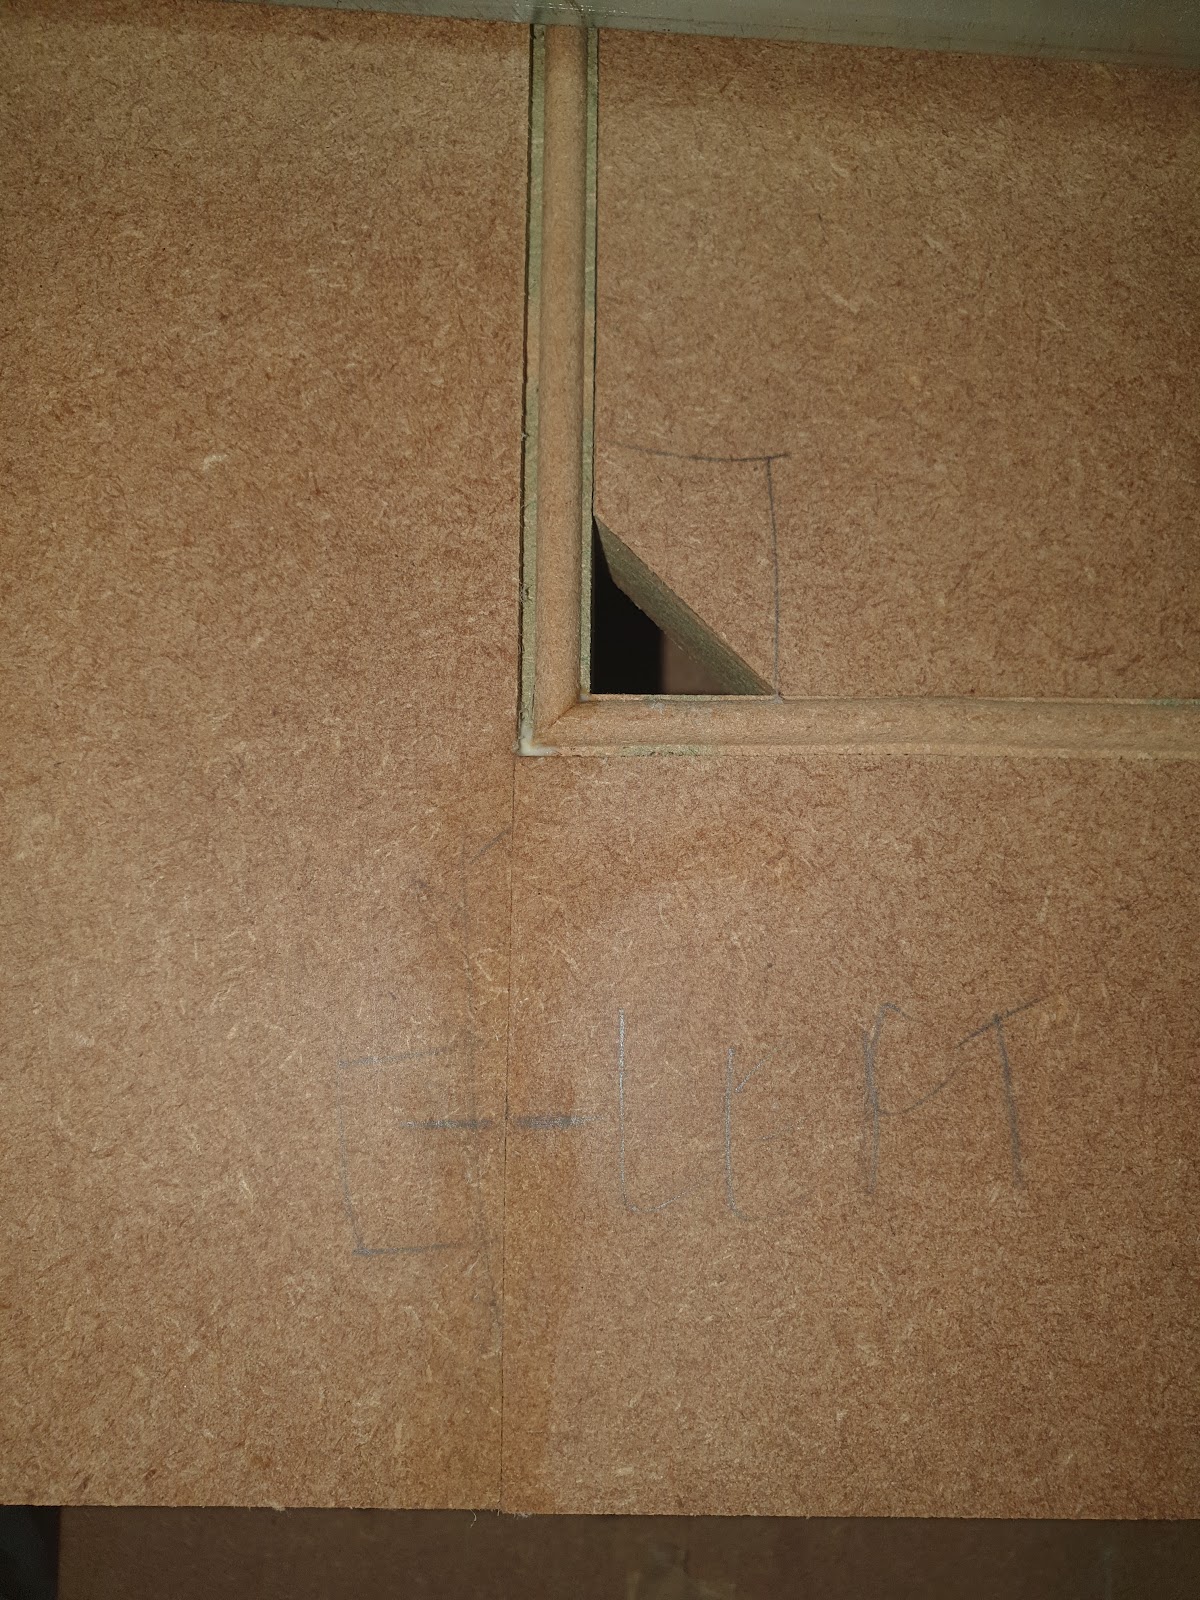
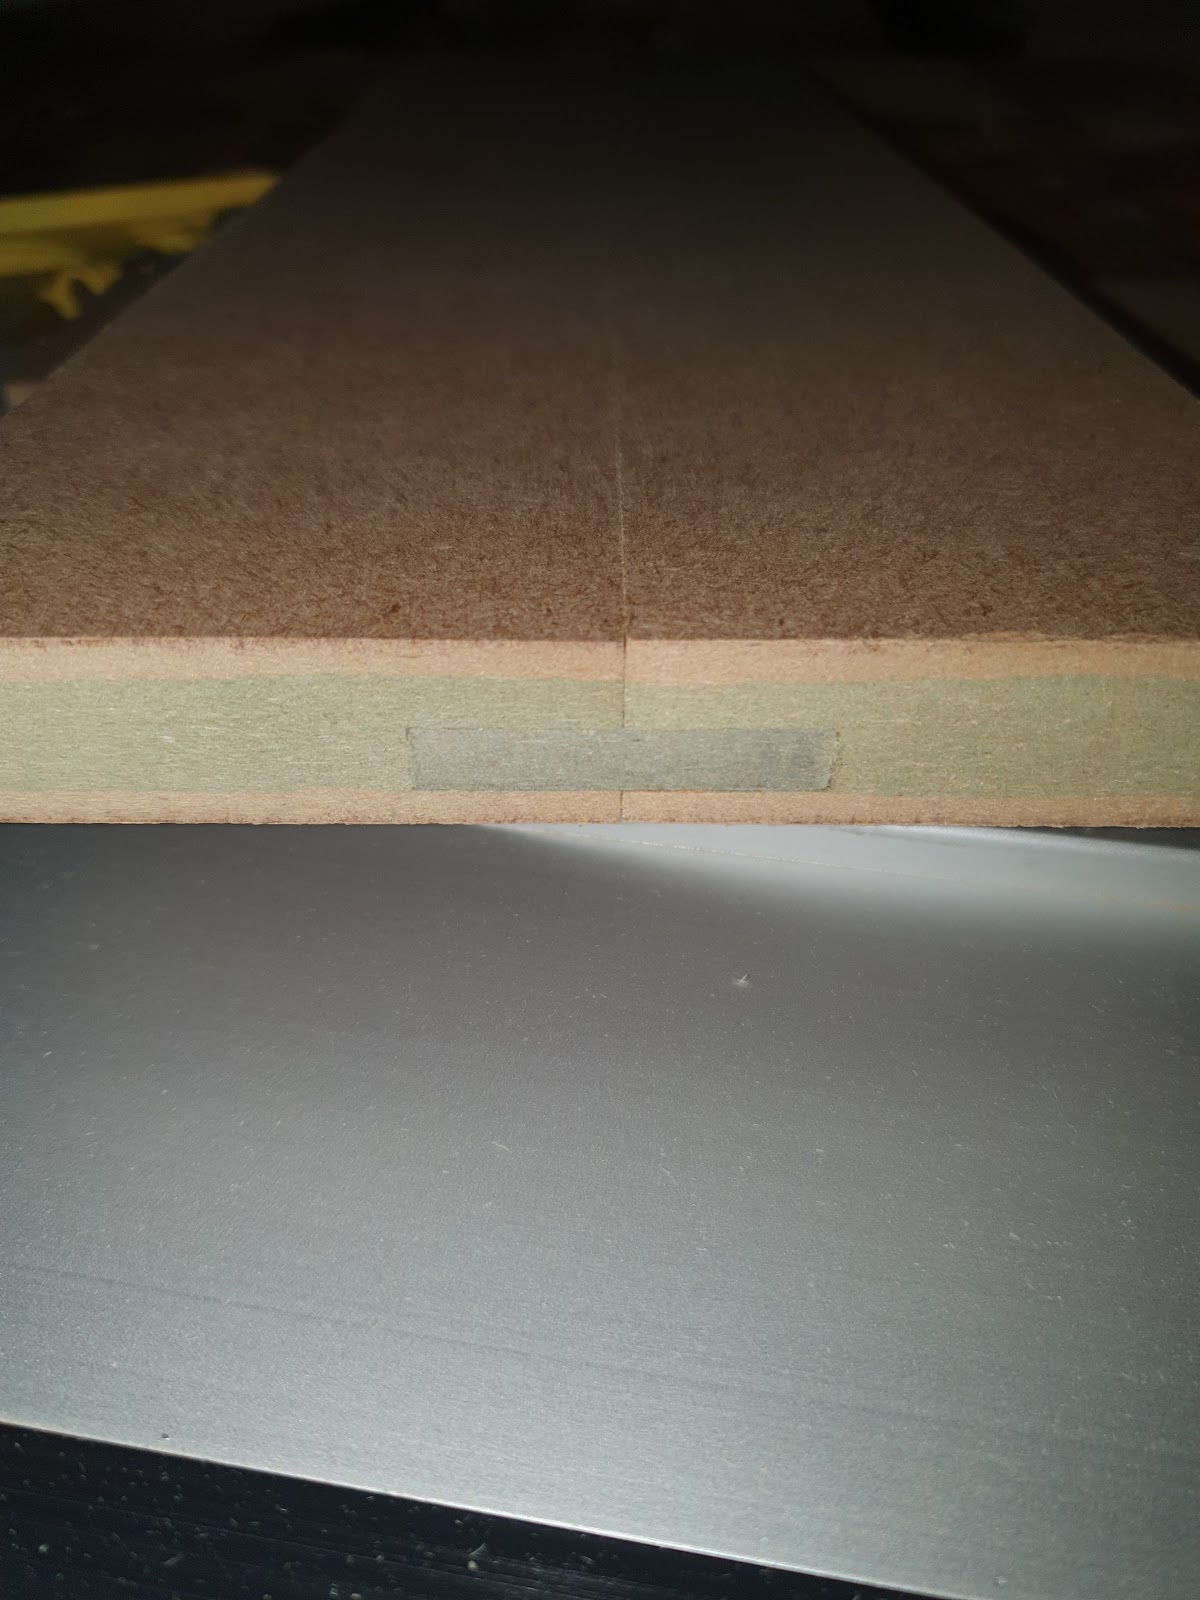
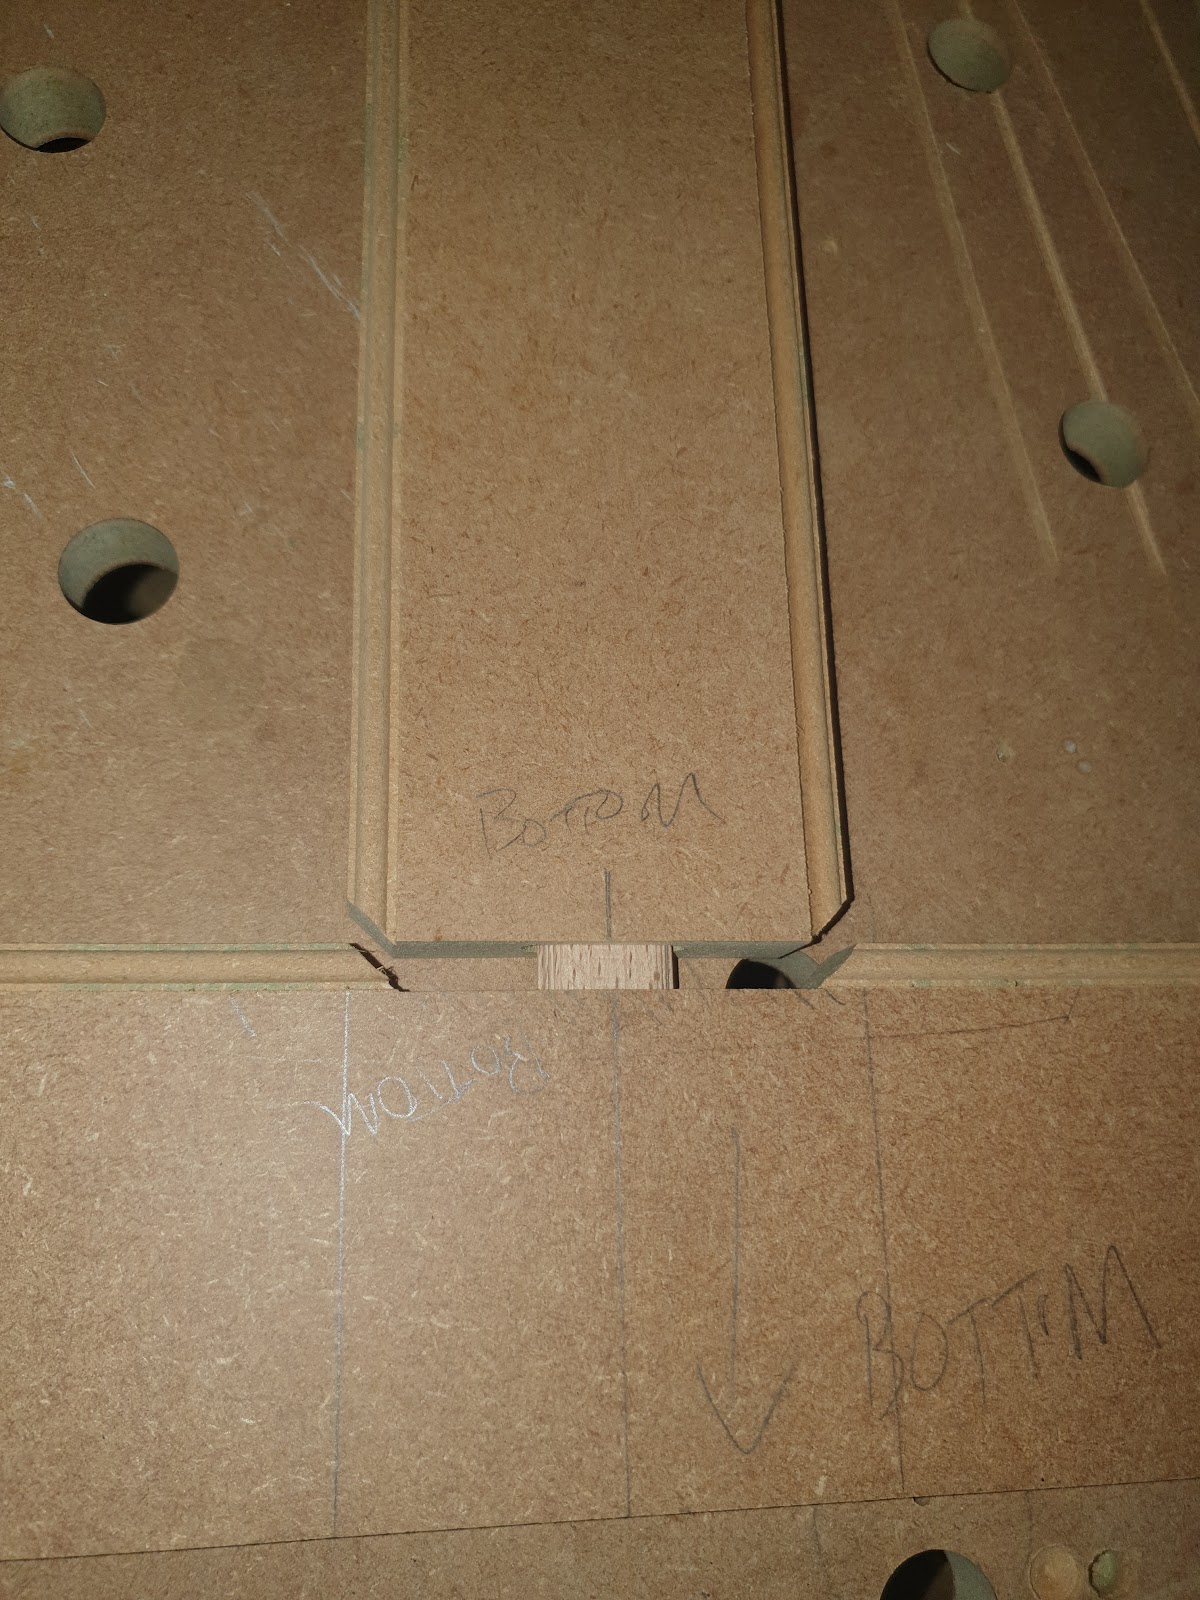
Before I notched the rails, I domino’d the rails and stiles, cutting the mortices a bit deeper to account for the notch depth. The 45 degree ends of the stiles were cut on a mitre saw. It went together quite well:
TJYIASEOKapihf-EjmWoUsdZT2xmQkj-b5a6dqX5leSwupg7dSFPKnv2UxR-O-ayZ5M80ZZ7ngQTQaZsqXqeymkjEZ4m_A4J26JzR0qEW_BgNjEuUd9R0A9AfXycQKe3ta1io2KS


CZHMmWtG8OXCNQmAtsbrLTxr3VKY7CNfn-xPE8XKe9phbBU4Edk8CQsCOOoYLF4af5l5REGVNcoXfrYkWRlY3DNLTZW6iD3DwaG419Q4WkqM07O3bujthhKcESGayAXCF5wexf26


Lessons learned: I used a 5x30mm domino - I should have used a larger one, like a 8x40m, to make the frame more rigid. I also tried pocket holes - which caused the MDF to bulge. User error I suspect, I need to practice that more.

Glue up time!
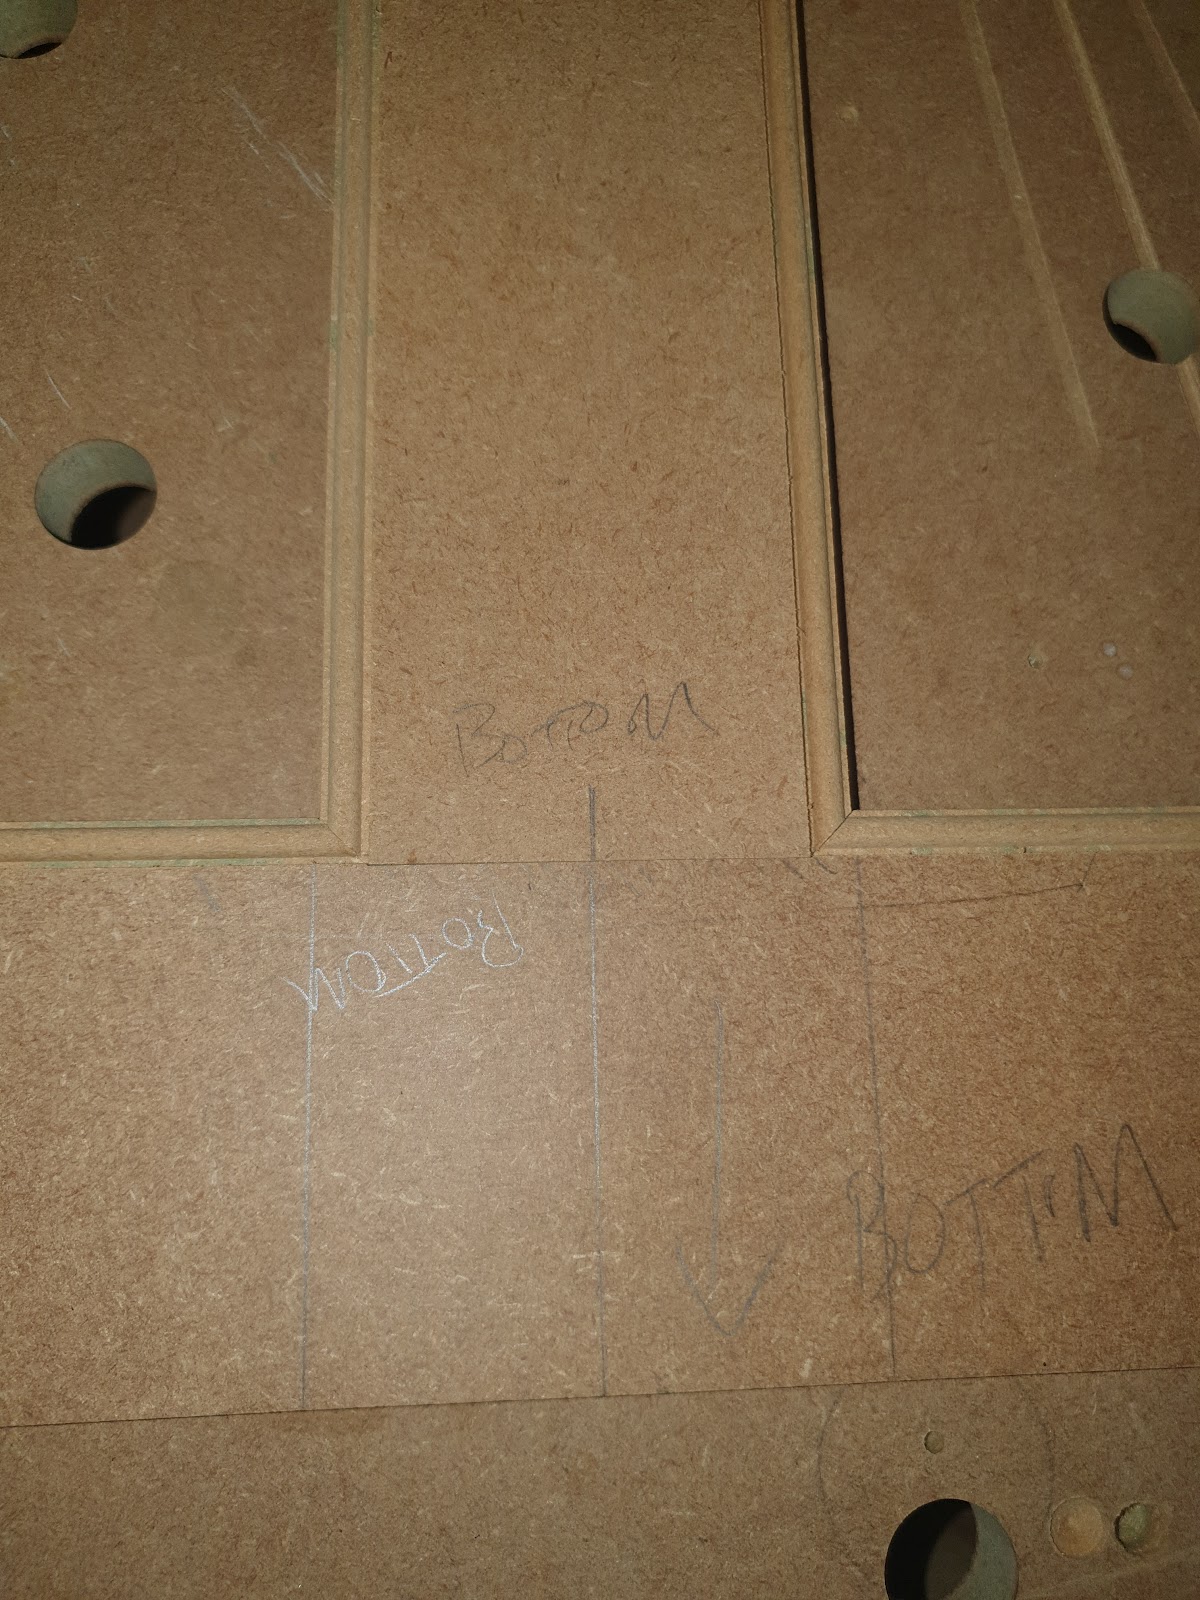
I do not have enough clamps or clamping squares to do the whole frame at once, so I started with the middle:
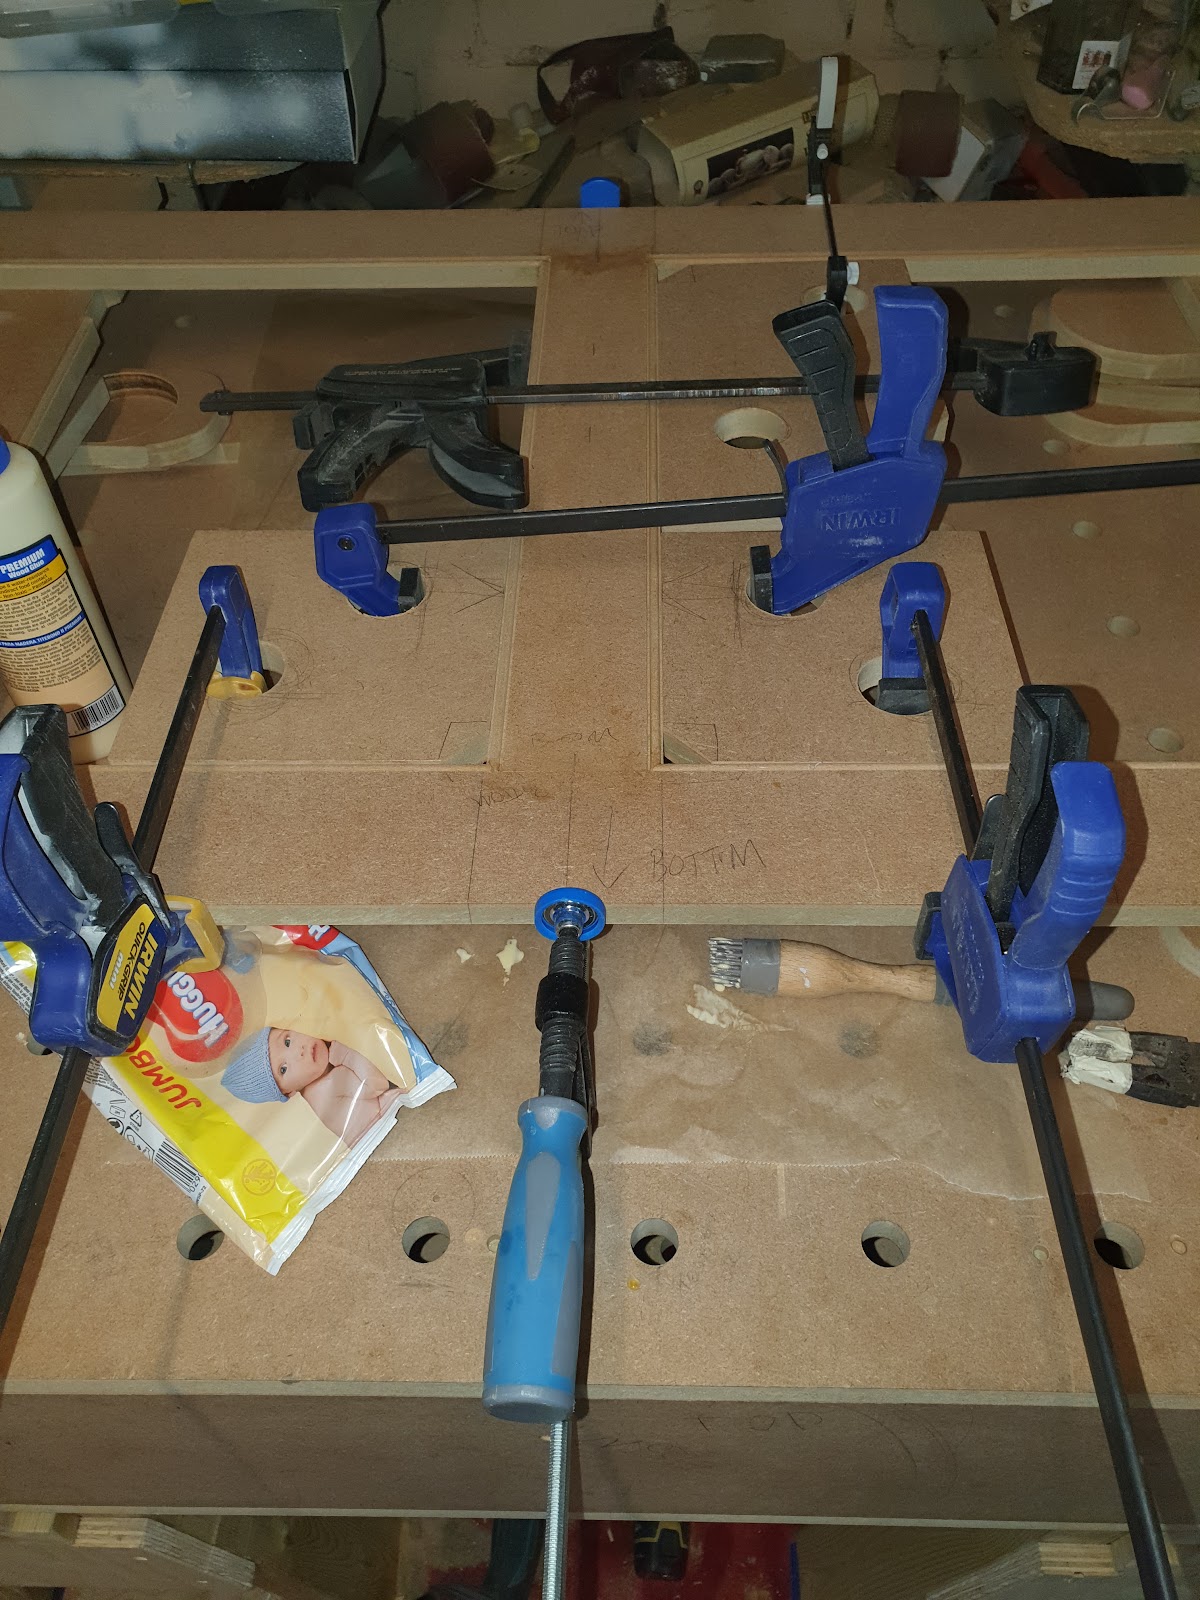
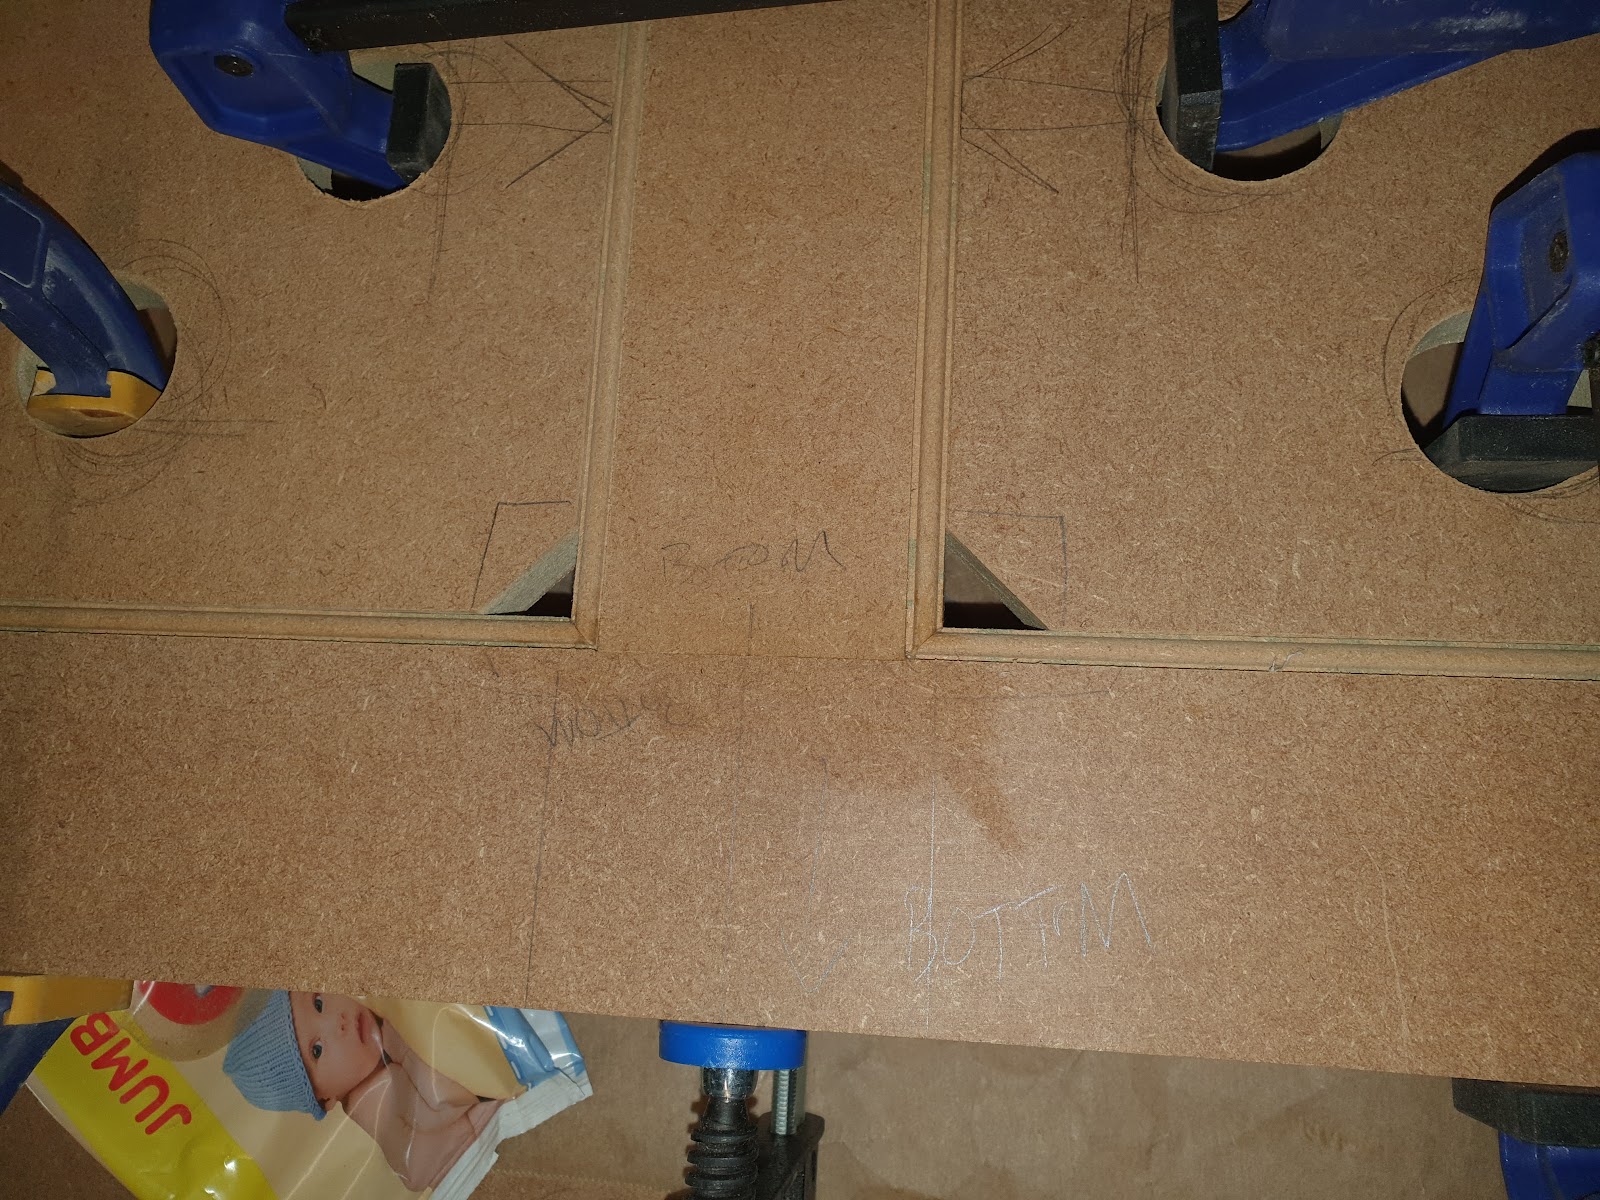
khHf51VoI3wG64Kj19OlciUWiDc3xPnG1r_fSbxdXrb1TVnMh4fjWqsJzzXPdEuCNqM4nGho-yE1Qb55oHWyiWLaiBPsRKsI6DEfclNs4joD54Oczu1toPQ0Fjg-y-WhpDmcAgv6


fCkJp2-V2akFcJy6u6w8fAscpMwtCU32p_i9rQb2D-FYOJ7NdjOGYFOwM49-_R0vtm_nUZ3drfwmm9R3SAqr_IuYEBLduD5Lys5zZneYh4WV_bvmJnT_YRfN8kg8E3MNO2s3ejNb


Then the ends:

clNyaSVXMGvbSxRjUPOso9UVwVWpXImYL9sBN8y40NxPIx9-0F6q6uF95VyYEuv4etbPNZhsXW85FaN57DASB_V3AM9V8AsS90zVH5ks14a8zYBHrj7g0WxPBB7pnwWvTUDoYzWu


A light sanding and the joints looked good!
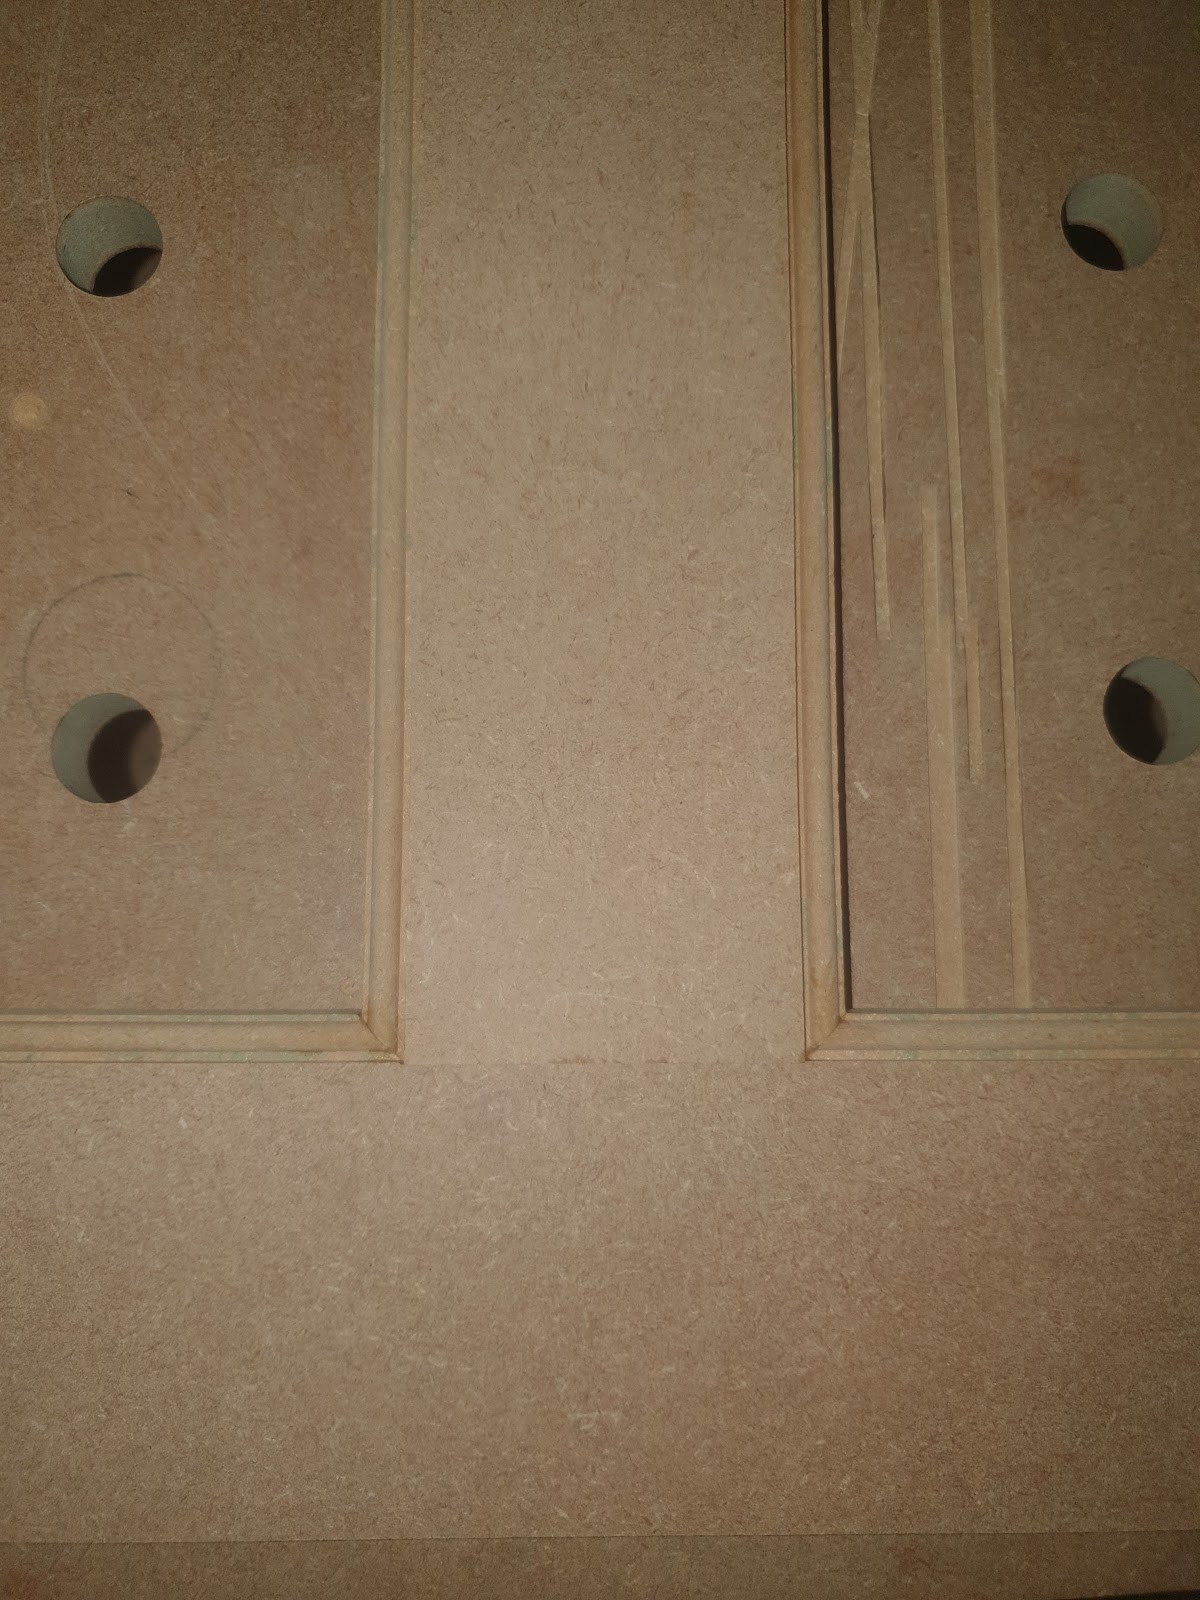
hwSQx7Pi3J0PsjjE1lKPAE0ohiLbQn2_lPdUc-B7lmHomGxWYzOIa1caq1_LhmiVgjzkNaMycsH7Zm0L4V9yuegPPl_rYmc-waOcgT2YxHZPy9Xk7450BwPYycn3cpnG0i6iB1Ee


One corner was not so good (the pocket holed joint) - so filler helped me out:
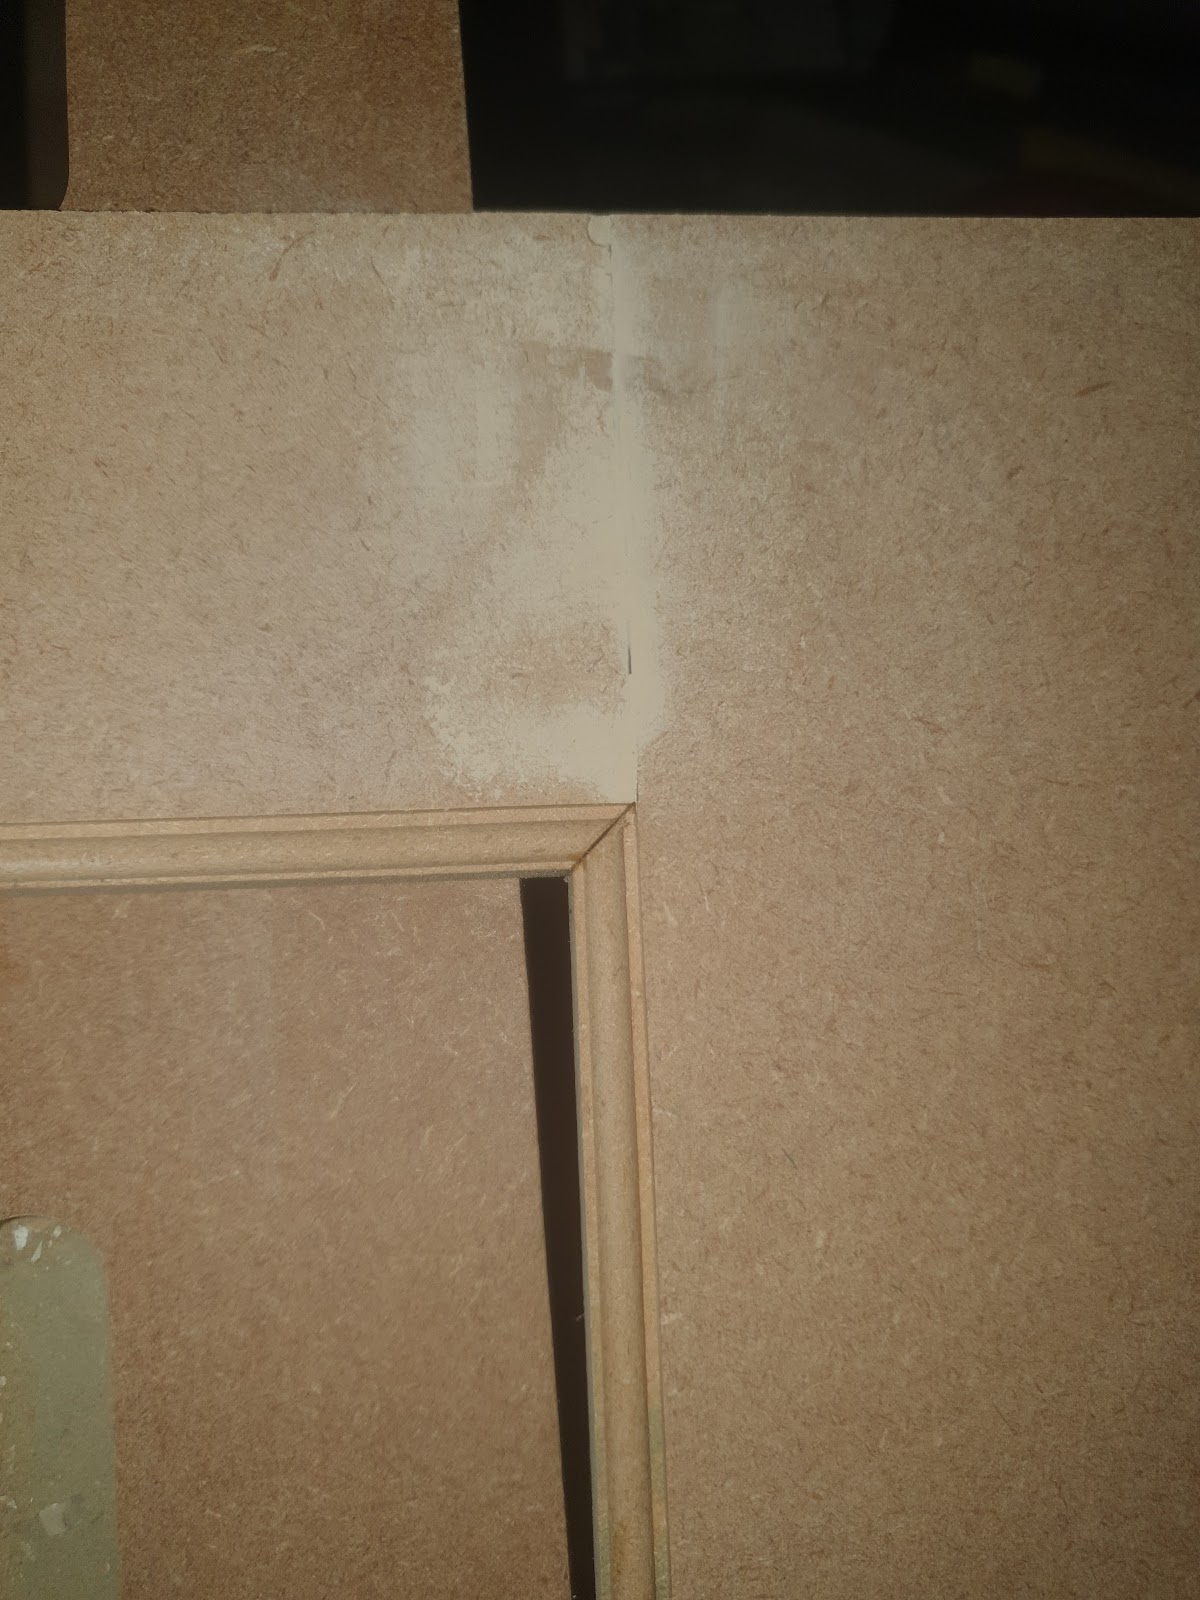
r9bCyPJcIs_xNbMFBFTNrhNrQ_Cv-ZWyh1bZeM3ndpMa1f6jdkxvwO3R2BTyZUgILnZ7OpvbOf1CUnCoTdClDSNbaEP0pE6Pp4_SpPB_ellsdtzWapcWhIHcahOsb4zvpTpESOjb


Now, back to the bead. I decided to saturate the bead with cellulose sanding sealer, to give it some strength. A couple of coats soaked right in, and hardly raised the grain. A bit of denibbing and it was totally fine:
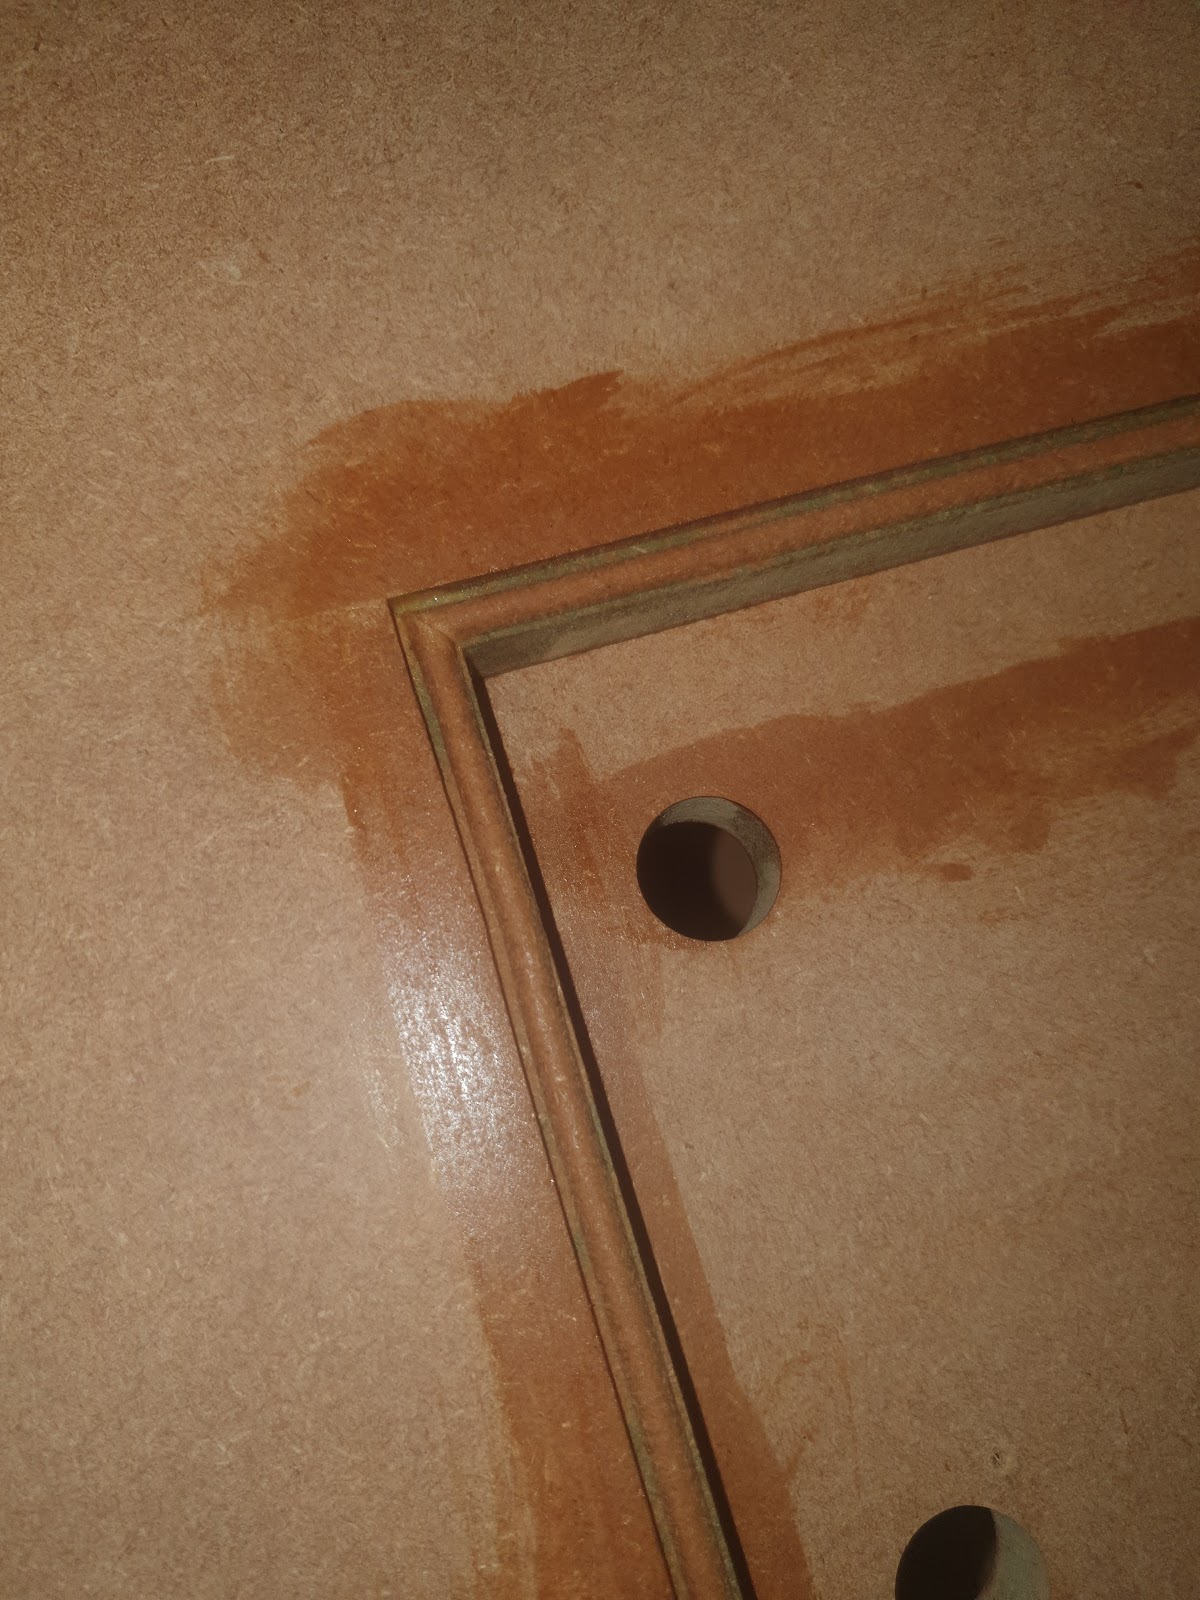

I3wCtbyYPpKMt5Svo3TwvH1NIAbNGC_QH_v0IRuB8xbkf96nqy9CzEuxr3dU5rAsZQ_Boak-bONCEikBzfkr0fTxDHmFEmzn8goCXa5y6H5i-88LrC3o0qF2AL6OSUZ1-p5D5bqT


Side note:
I was adjusting the fence on my dewalt mitre saw and noticed that the bolts holding the fence were some sort of triangular bolt:
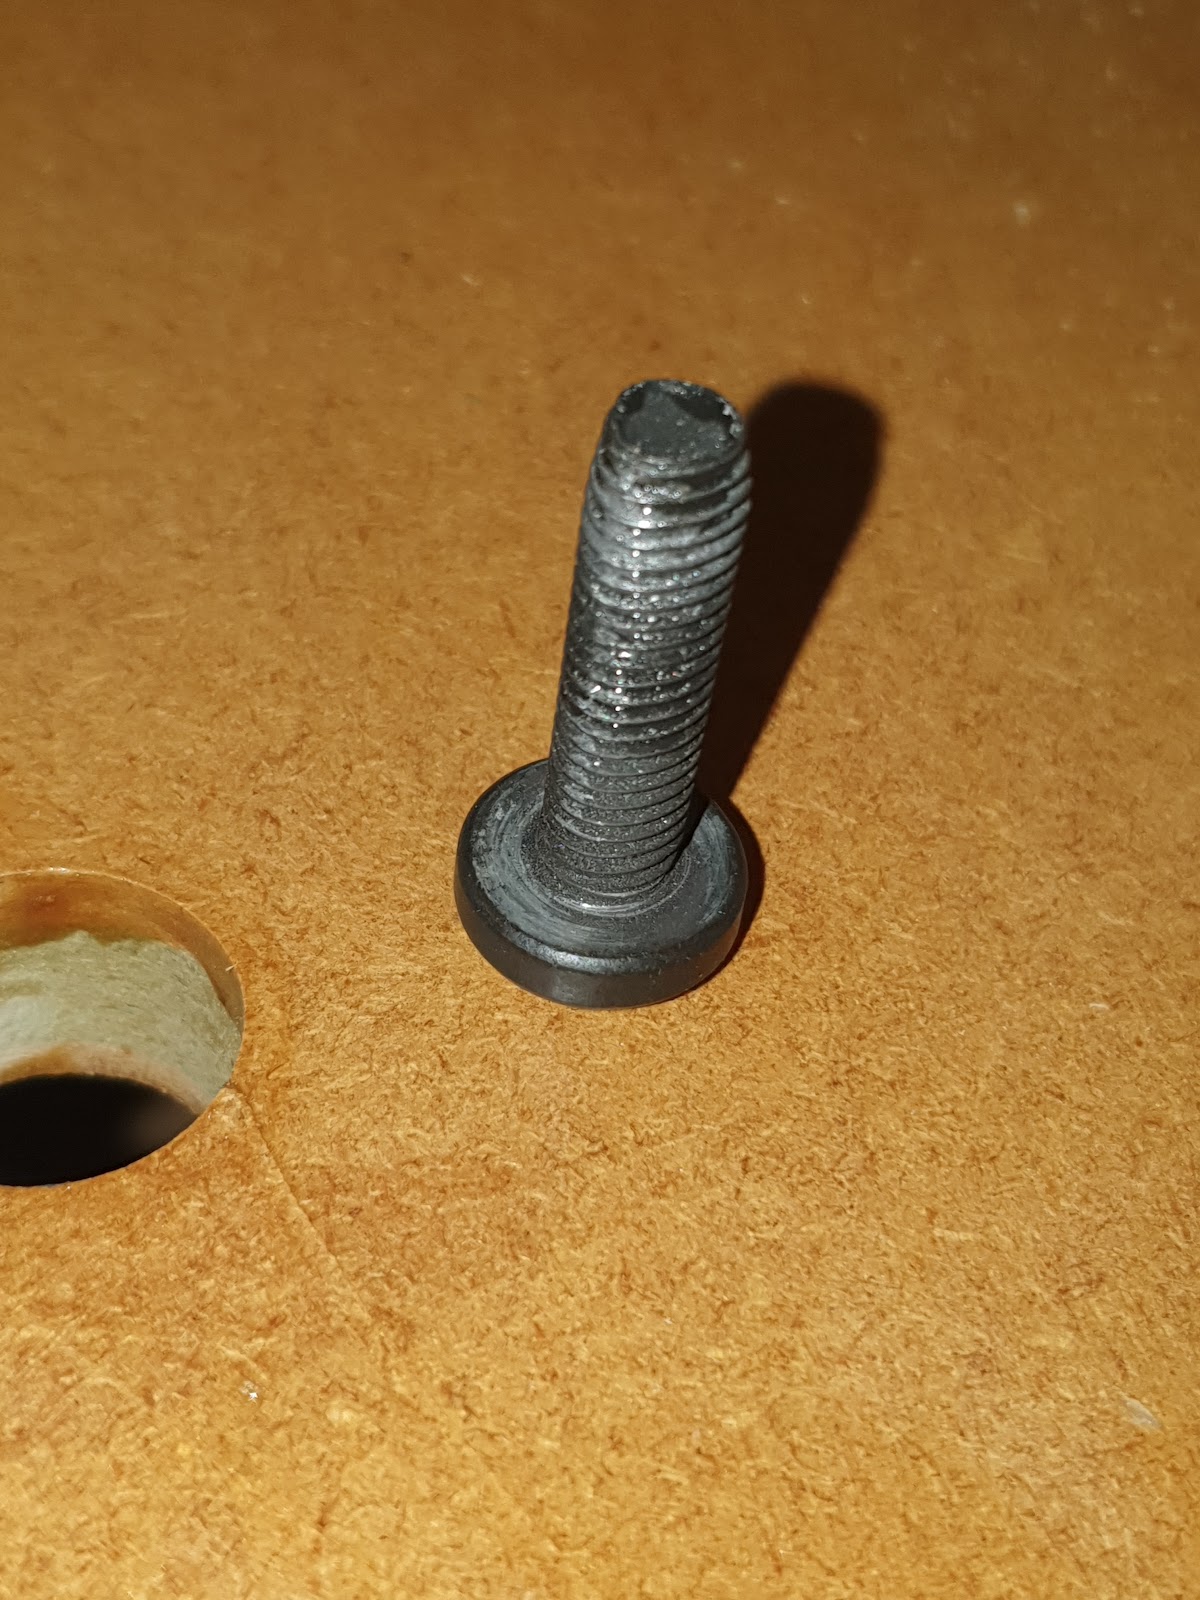
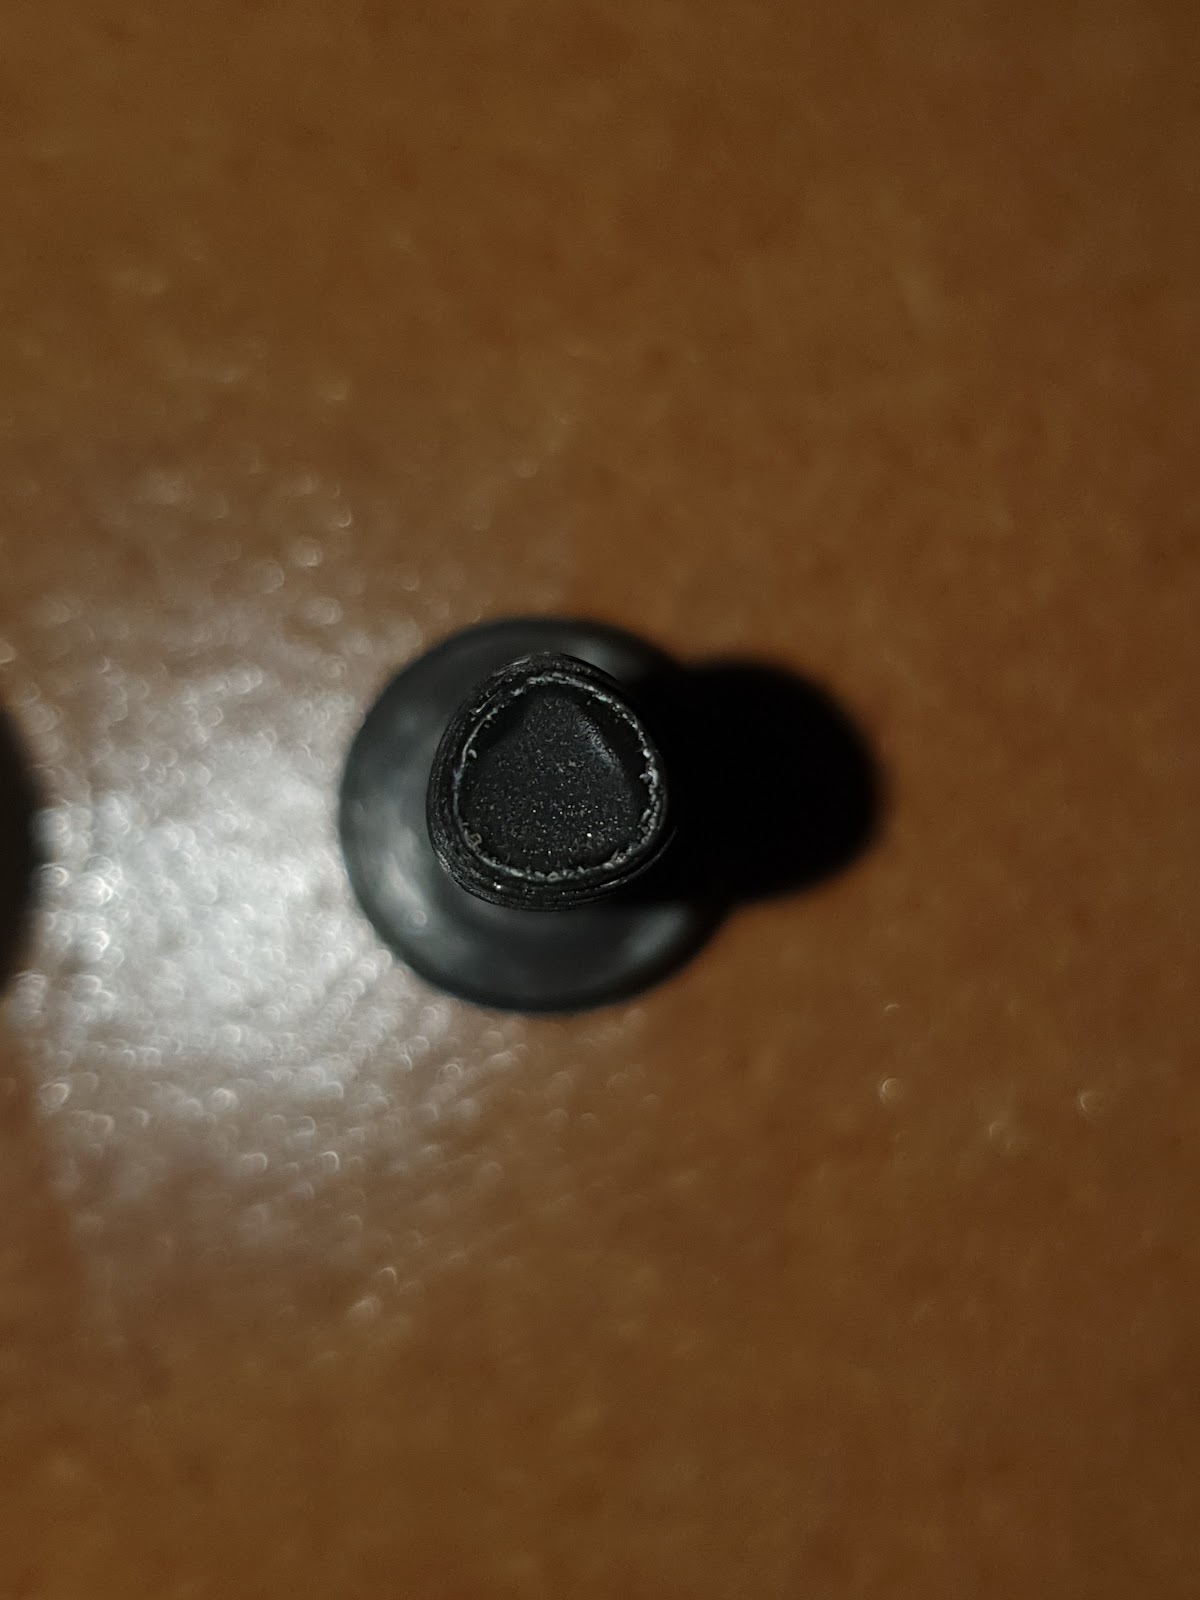
LRRP0sTkJPkbTs8CHxnSqpOt3NtdseSZdI3ACdqh3iazXQrAvrn7p2C0lVkm9F9ecWipgdVdmL1lA-t909gB0vVcgTbICHRpBgFTAQfsIrx1EBYxIksthPXTLMc3VR3YEsXjQW7G


fxcujC8Zrnq7XCCysHwmfMUOQAqn1O8r1W2FTCvi5608-CFjTEJMIY2c_s9go77-Lz9U1z0MckuvenKUJgt6SLrVhoMpHsfa4UiPDFhOXnCpR17Xxmma0pAYNmfTw89IyG5cYuR4


Does anyone know what these are called, and why they are used in this application?

Next I started on the doors.
18mm MRMDF again, since the doors are small, I didn’t need to go to 22mm thick.
The frames are 70mm wide, and will take a 6mm panel. These were made a la @petermillard and his very helpful videos:
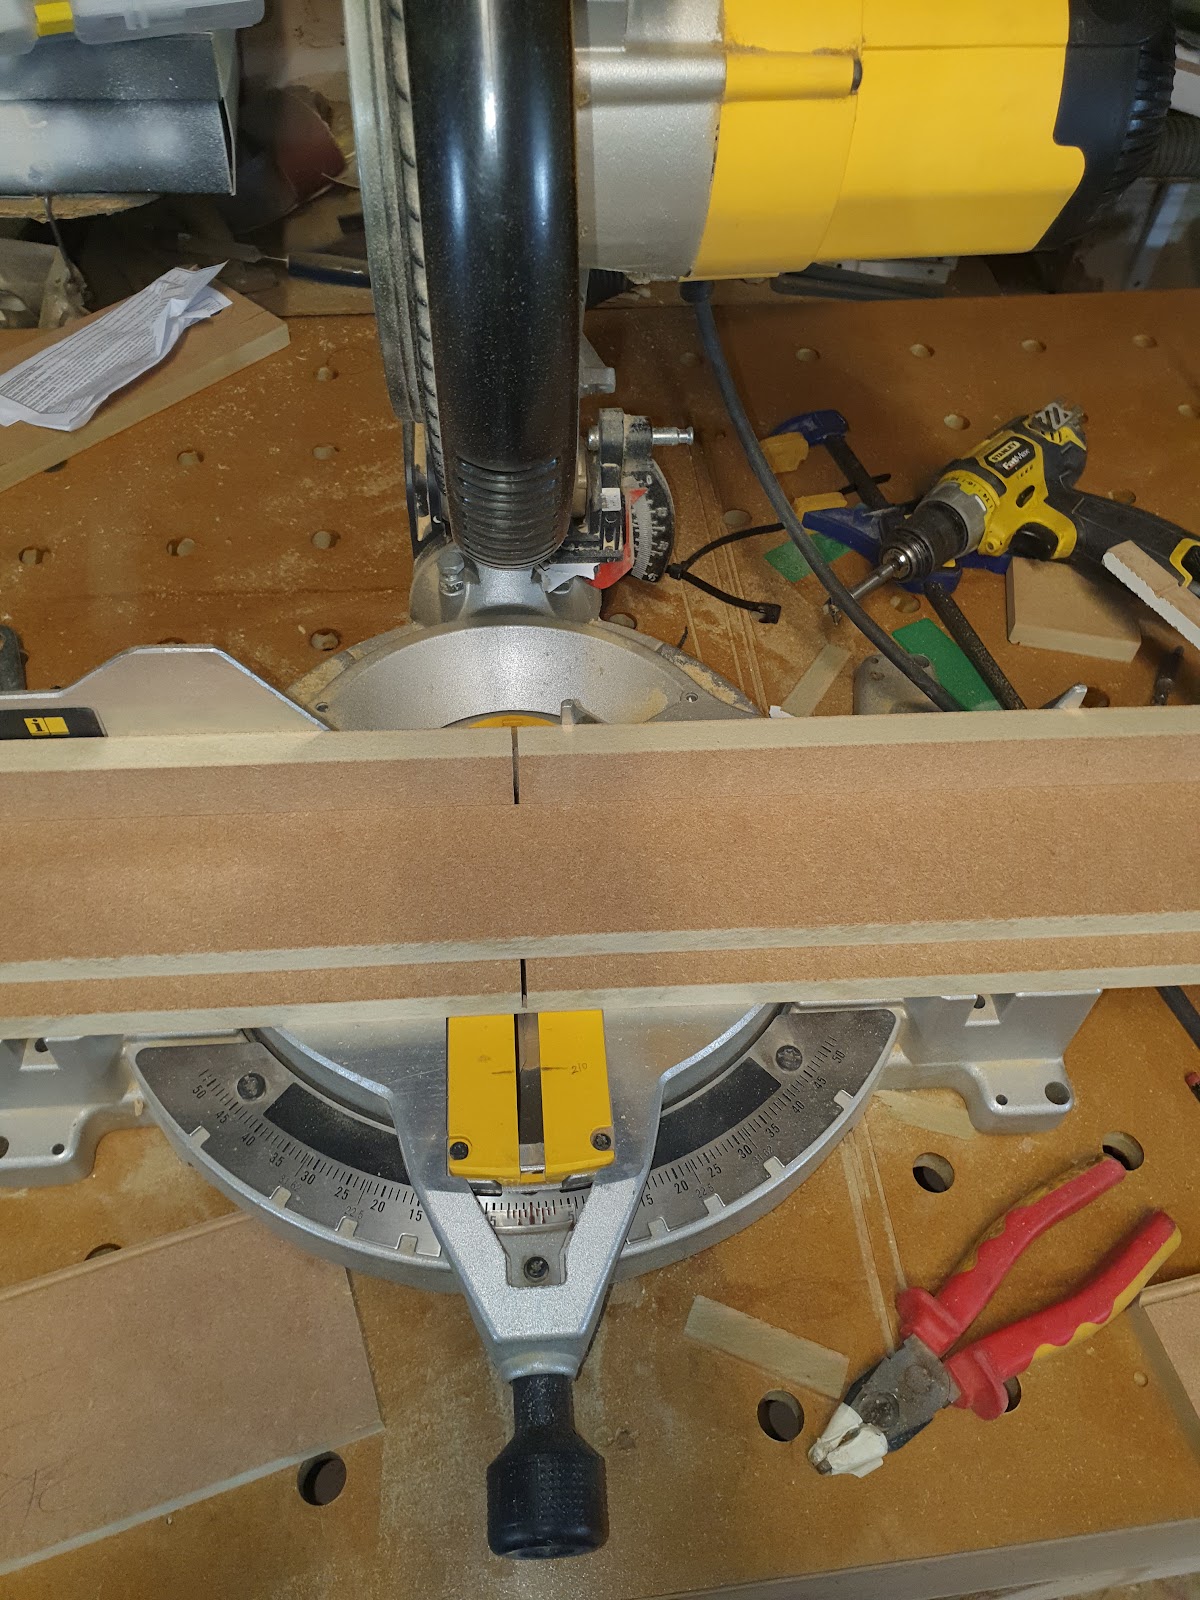
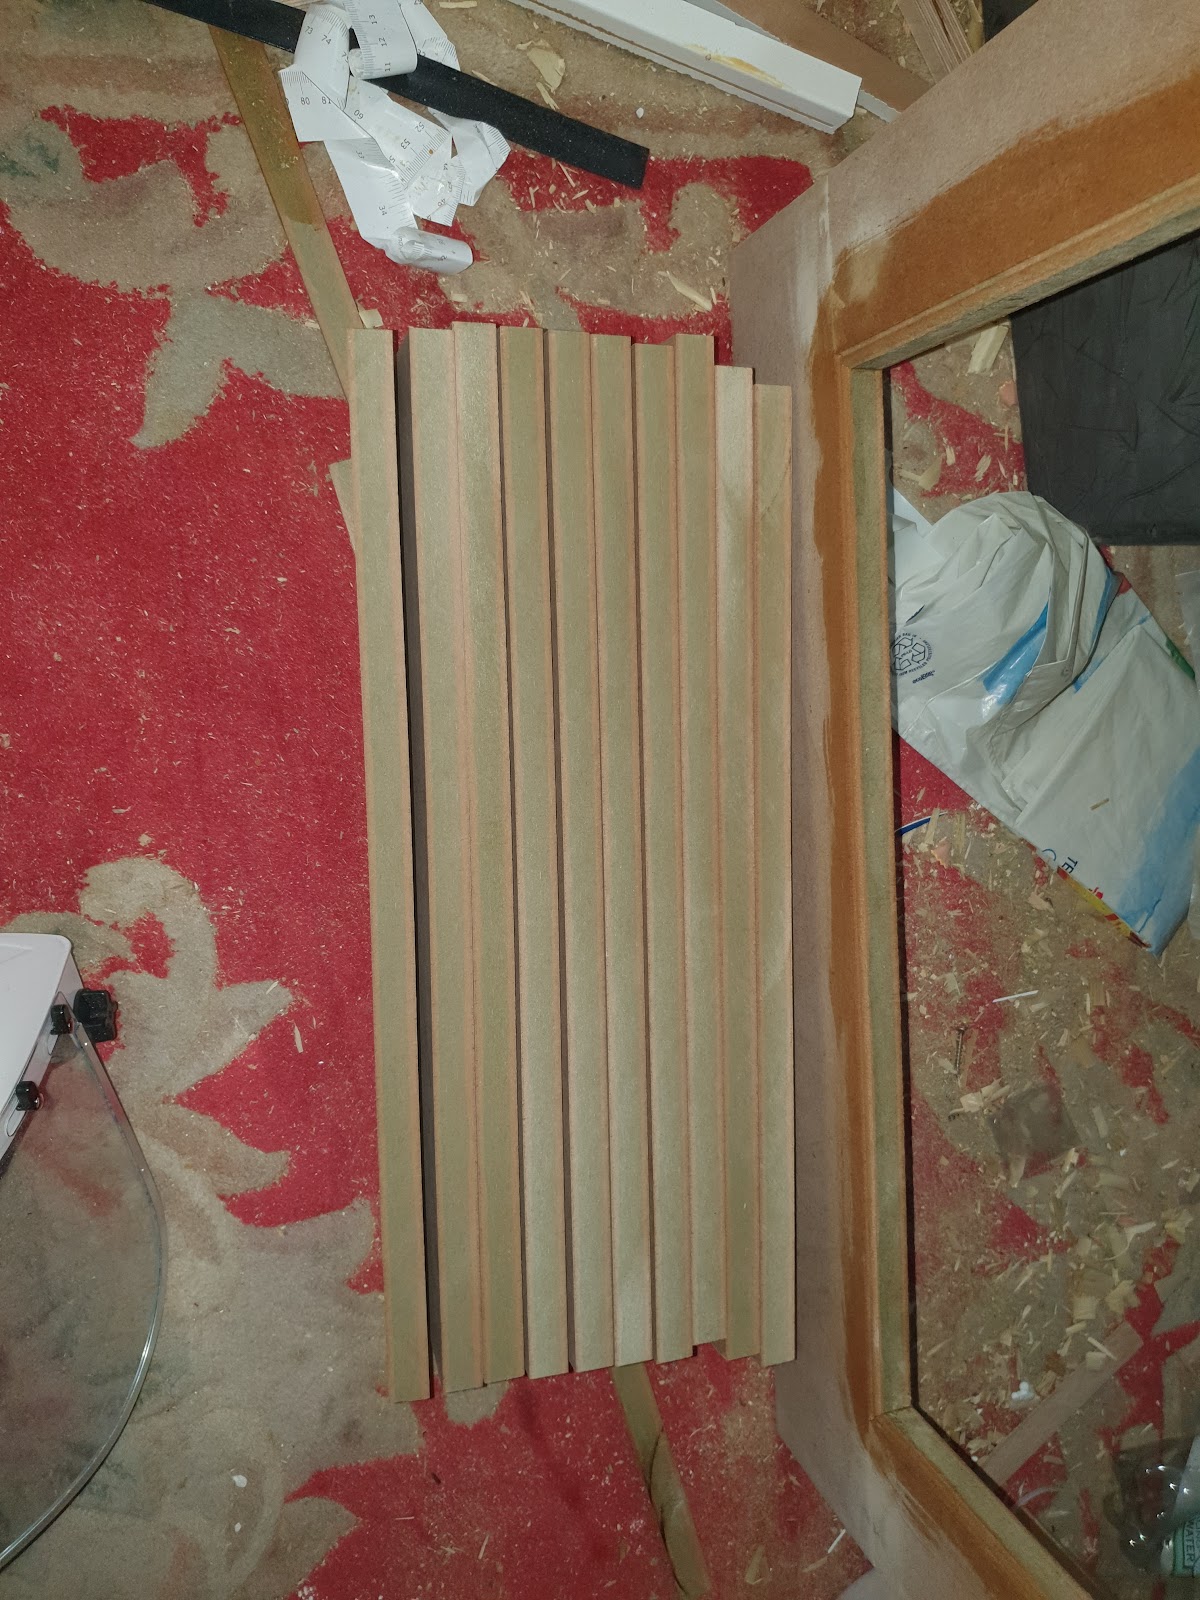
pbTgp5-ACLcmGtJ4kGyTDhUisKJMj0bs_Canzwa2ItRqt8Hofn6uhTcLVXazFPBrVmJRHWk7QovjP-zSeKHSZjOTGnayzRxNhNc5DQIImCByVhlsr8RsjswU3n1F9twl_Js_a5AE
zahpgbMy6xW14YdoRVlq_oI5WV2EVEzPyDnFd4UBaeYhC3JVg3eoF--G2nZ1UOd7Sj1q7T8l4rVhIZ2OprBkzndw6vPfzjvQloLSzNyEuyshDREG8vpGW4zDlYAgrKNw5EOt3FFq


D6G0nCzRL66aoNiwtpWZ54-bhU0kfdj-LT75QzlUHSYI9DQq-hap4NPtTyNF90IGXHz1SEFjkouEXfDgZQxmjG01w5M6oV417mAz0l8IqELQBLb6-FiHNRmowjFZAR56zPK8jFXX

yN_lcz5wYNkUYM6At1QkFsnw5Kby9-BEXexH3YagTyuA86_NrZIUTHve-483D0c1cJGetpdhrSU43-XOutLsBzIeFXFyF9dvF4JXY51R55Acc2gv1Y_0zERmqfRm-h3a3chtvWF6


I debated how to dimension the doors. Should I make them oversize then trim? Should I allow for a larger gap, to account for the paint?

In the end, I decided to make them to the exact size I wanted - with a 1.5mm gap.
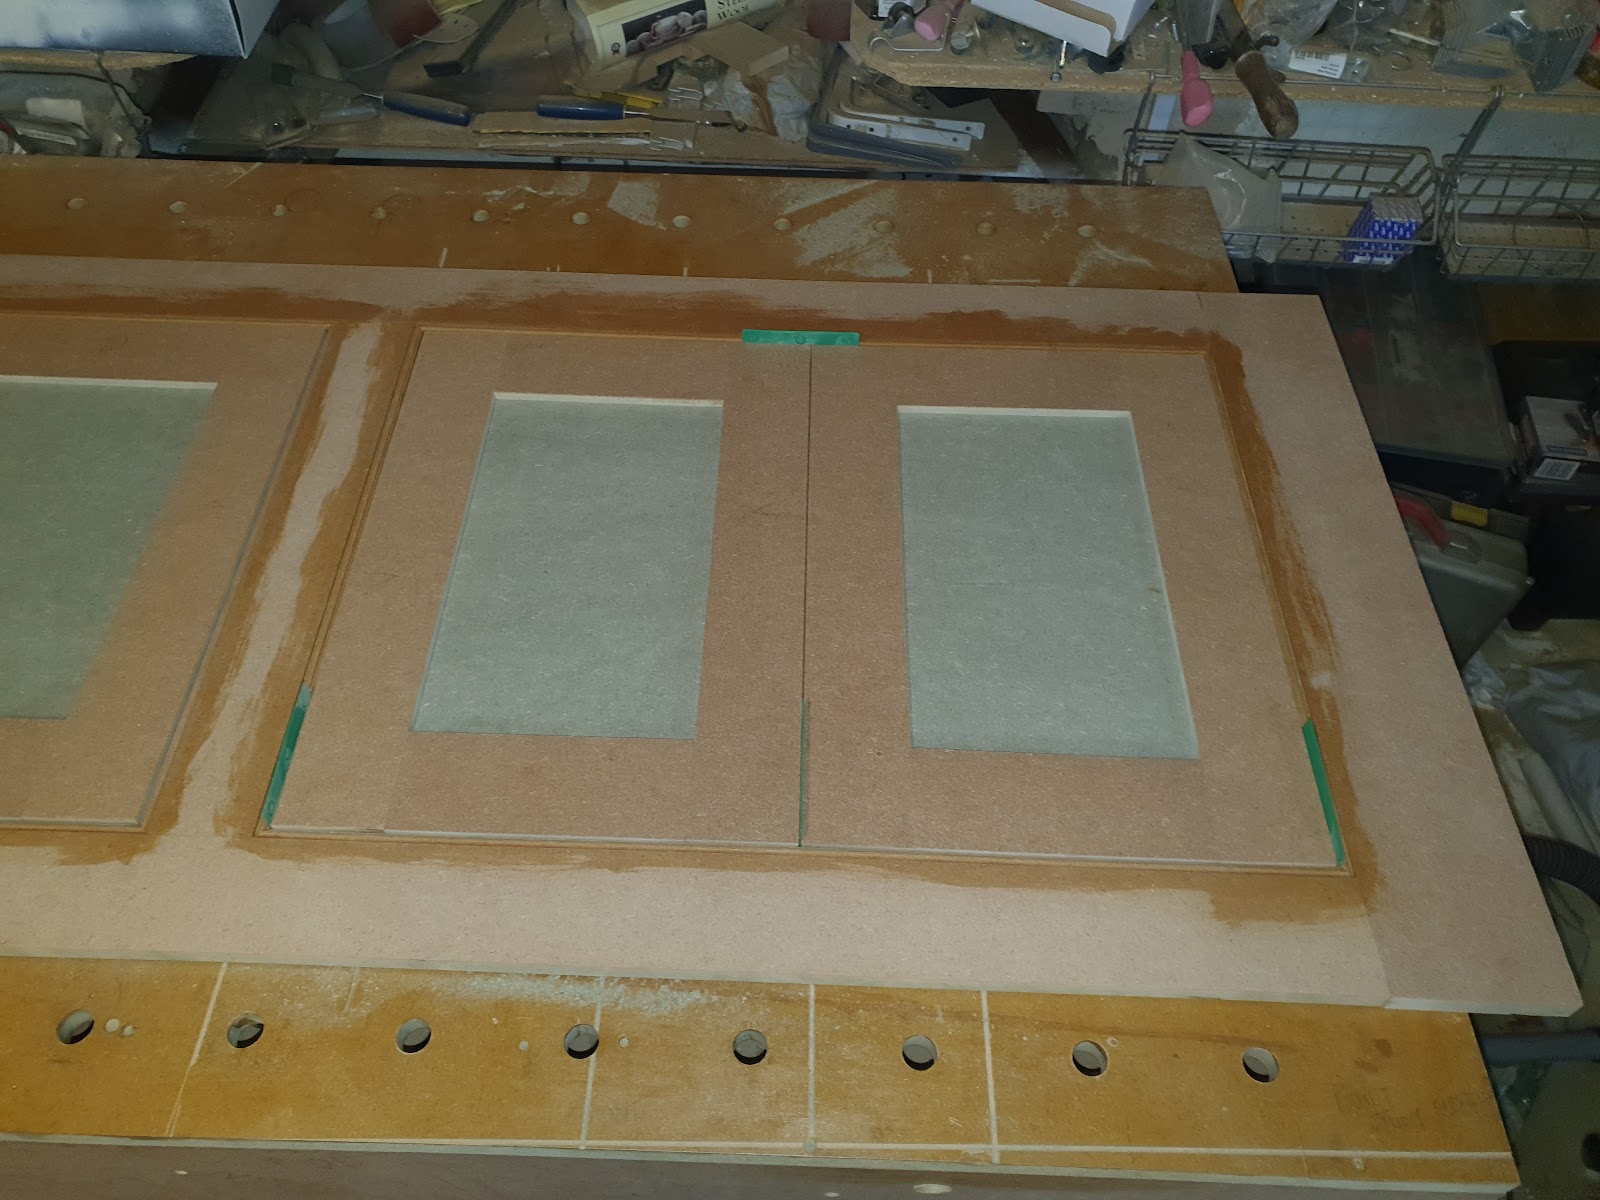

cC8oEh_BqVhZ3l09S2TkeV8M0D3PexrmxZil_VmJy855XkDvsmpaL9zqFHJZEAkZjrCZDN7nHL66LIM98h5j31CiSZ-Rp_o58D4CX_98hicihIMxt5uJ1P9lyqoxemU1b1UFr7BD
bWysNpC9QqE9WQBJh1oZmV3riSVBw9RNeKBW8kLDEQUXFRKI8YN0oqQhvvQCAj3okE1J6YTcuIH29pt-6tNYW_vBCTzcsEQfKjHRlze0I2OTLqk9ZW3rp1TvYyHFF_6V4RzoIpXe
 
Next up: Hinges.

I wanted to inset the door, below the face frame by about 3mm, so that it all flowed a bit more nicely with the bead and the quirk. Following some experimentation and advice from this thread, I settled on letting the hinge in the door only, and the depth and position.


T9_oV2fKPjPCLr1kjDU9-OqjDK16LP_Ae4k898Blk2XL8hfw-wqEqOVUir62_3n3WVmtQgiEIEeuGOPE5VemQe3UJtH3_won9ucGTYUfaohcEOx9nT06ynGnjtqYhJAJu7RV2P4G

FVyEz9QD669VgGQs2XVhvktqEV-Laiv5fYBlHkKLZ0sc2KX9pse4OmQC3cYnPtRIK1hLl-AueI1Ot8uDo-QlPmmInFRP9_LFzGrqSk9l0-zAvtGtd6FgFHR35IQo_aaoqRQcqETo


IFrFaVPDvB_fg6h5rTlTIKk9xOfgo5oPFfYWfwJB8Ek73oBEjxV6Uv8K3-fcS5DIrm0WfoJM4mqKP-1vKomc4s6wHMNcGZj-MYejvMb0KXTNsxMhod3F8OR7UZUu7bSDBPyHyZIj


AKqMt8EZoLmdUviBZ9BPVKd1Qolm7B2P0Uyr6cd5PrFqMSSP1hjHwVv_9QuOyyZH0fK_3XNwU1g5g3ovpcI_ffLKtkBXLJjf89D6t7WFpcjmqU3BAkwlGKIUHb6E5jW7vv8KNrAL


L6TDY8UCJatFXyvvO9ClejiyZfX_Os6DZvpu2NKe3YZflcl2lKrZIg256dsOL1qLlfNwbpFi2VYfA02FQEPerve_AXb35pH0iBoaX5d_WJv3qgBoKjMY_Y-a61XLfqAJlaxc36qv


agwlZ4UQ3npKUZfqSafPJ3VWzv6t1JkTbQ5EG0zGEqZeXvMWW28ry04qL8fKM_PxxZIXG33k9JYOOo2tzrM-AezC2_18JGI2qjVEFmJl5RaK9ERWIR-s4Qf4lZGUVCsB-E05UxoU


I used these hinges from Screwfix:

Butt Hinge 64 x 35mm 2 Pack

They were very good quality for the price. For the cabinets planned in other parts of the house, I will likely get some Simonswerk hinges. But for these cupboards, these hinges were perfect.


I had seen a couple of videos on how to make cheap hinges look better - ideas from Matt Eslea and Ian Parker. So with a bit of time on my hands, I gave it a go:


This is how they look out of the packet:


GmbyUyB8QicX9HkAgLl24G_-sSyZbKvHLHo8K41DwjQuH-LOXyZvGvaxhOJqJQPXU4-bNeI6mskBbpYOne09LUNgD2W0ktCCJh4f9YtjlDFpLSEqN6c73To_rvx0AeuKOJpgfmPc


I chamfered the ends of the hinge. This idea was taken from Ian Parker:

PEQNk78UML6yPdU4TNfOWxu-yZPIyUVnSLsqqsRU3ZG2iwh01YjYsA9_m8S6EN7pPFize0ngE3cGY7IDxKTYX_nvHwMJVMzLL8mGmII-SOlFXJasXIvYXIQZ3QWslNztRYMp_Zno


Sanding using a 120 grit foam block:

99yreSMeaC0X-To5NkkQ4AxNwnLYhOBaXY0RnR58m3l-H5vOEJWe5bbYLYQ4xt1hzRV02r8rTXswL-_AFRP3PNsk9ncYTJfslyRDhpEM9Mrb2fIvQcHb67nAo6-mmKTYO_uapPKH


And then onto a polishing mop on the pillar drill. I used Meguirs car polish.

wN9O2Pio2cfbXIGqSoqqvogcLN-lnyYc_EXjZrQelrd42xlRk7236LiOI2XztiLpWJm7wuKv77zHXg__lc4KqNF_jg16VQs7iC36mbM3JD_tai90DsFII9rkuWPYZZdOHk7SZrPc


I wasn’t happy with the first polishing:


4v6JXJBDCD4oRLSOpuaFQQZoK1RdMm5dKc_yDTRW3RqvNPYxK10DmeRFWzcf4x0_XdbGPbAvb6km1indgSyXy7c23QPoWj_WrowmnUp2JEuhU_09M5RwaPYzxi6zcIkbH46I7UGV


So I decided to use some 1200 grit wet and dry, and gave the polishing another try:


4tTNJCCgFrrjgQ_nTN3Y0usQ553iTbPy4lB5pJOqvPRsA7BL0CU1i74E9rWme_U1hCDhHoZE0idQDqTRTOXxgfqNnof_dyKL1H9WhK8JTKNrjaU2BasQB05BA_cqgRaT_1ocd9nB


Muuuuuch better.

Before and after:

yilPpjyWpF3Cdedwd18-n6N3d7e58quDtJwCUyKf1grdHRbXaUGgQqmi3nN5itUoQhNOW-U1TwtWlkIipB4foWfJ-SPjSsJMd7FWoDoB94l2ucIF84pkqHrN10CMbmLnFVfNdaxC


Not bad for a £1.35 hinge (not counting my hourly labour rate, which would make them worth about £4.3million).
 
PAINTING!

I sanded the doors and frame - including edges - to 240 grit.
I applied a spirit based Crown primer (which I had for years) with brush and roller.

Two coats did the job, with a light 180 sanding in between, and I had no issue with the MRMDF edges (which I know is a popular topic).

Lesson learned: I need to take it more easy with the power sander. I did take off more than I wanted/needed near the edges, which was disappointing. But I know better for next time.


ehe56D-MflNVqBxaMK3z-DSweGQfwP0BsnZmm4ftoOMAYta9Snh7tWhHVsJqBigtXKrz3ej3fnP9RD71aT72Iw-vzyornDGO1YLhqiQBHHXAoLLlf3Z-F5K_JNRuATStMYvxPhKz

xKO9rKkwtEjuP07xCy3dSoakMrsdxmpltey-pKI7aA8sVg_trAzqyQ1lOX86-sDTLF52__SYXl3SLRLQIv8qxfQOhB3JD6pRF2bWG6nsXtCmhIOFYlvXMkNu-jC3nOt_7Ws0mB_s


7iYEkr5zPEAgS2BNuYOs1GrrSKUy4GuTZF-SntEL4gv405Fo8kZREU65D6YwyaSwp7c2qttb-ZRs3otlkMts-Yu6bPTzTMmq9a3W2ClKk0xPu2YEZN6QARoELGjwK4R8jyzXvqS2


I purchased some ogee moulding from Wickes, which perfectly matched what I had on my existing cupboards and doors. I primed and then cut to fit:


0rtUBmRBOhNF7V9QBNav4EBDoUFktmnRLdRxPx0RpAwVg4XkADuHJk5Rtbrgyc3njYWe482dMHkTlQ80m3OlBDdrvsncDXFnOuPV70Jq4jorfyOGVXQ4MWoD_st7ljxExqMw3rd6


2FzWoapMyPzFrLxWMkAkqjGVZjKZvLH6uuv93vZU--IWOdEk00utzOfjI1Aa6xG-kAggTiHMlHg3wBMrnhslzeSME4dHfGWwYNWyQHMNthiJJCjSFigVZvSQcxsFFm6OswX149lv


I had some perfect, smooth, cuts. But for some of the cuts, one side was rough and had tear out. I don’t know why, I think I was quite consistent in my cutting method on the mitre saw.


I9oZiI3T_9UAoPuu1CEY30VGAz3rhgWaRPRwYzCmfIUhYN6JeIQWT2D2obFq8JeZJxK0M-1N1Xwd5ku7monT_RwUHz_ZjODFDcO2KLD8CRaxtSfyDTfHl-jxg4JV6h-bW3JdQaDD
 
Does anyone know what these are called, and why they are used in this application?
They are 'Tri-Lobe' self-tapping screws - ie. drill a 'core' hole but don't tap the thread just force the screw in and it 'forms' its own thread. They will be hardened and intended for thin(ish) ductile sheet material only. It saves manufacturing time.
 
Last edited:
Nice build Sammy! Shoot video next time & start a channel! 👍👍 Re the tearout on the moulding, it’s to do with the direction of cut - sometimes you need to flip the moulding over on its face to get a clean cut - I’ve used an offcut of the moulding for support and it‘s worked well. 👌
 
Nice write up .....grate looking job.....
decided to buy that bead cutter, make the job look oldyworldy.....

as said above, those bolts are used in an untapped hole......always in American made machines n stuff.....
Particularly things like ride on mower etc....it's so unskilled workers can get things bolted up fast....
just ram em in the hole and pull the trigger on the gun......
In my experience they tend to be a UNC thread...
because those bolts are practically imposs to buy in Europe (for decent money) I kept the Triangular bolts for other projects, replacing them with standard UNC......
 
They are 'Tri-Lobe' self-tapping screws - ie. drill a 'core' hole but don't tap the thread just force the screw in and it 'forms' its own thread. They will be hardened and intended for thin(ish) ductile sheet material only. It saves manufacturing time.

Thanks J-G. The female material in this case was a cast aluminium mitre saw bed, but it still makes sense, since that bolt would tap the softer metal.
 
Nice build Sammy! Shoot video next time & start a channel! 👍👍 Re the tearout on the moulding, it’s to do with the direction of cut - sometimes you need to flip the moulding over on its face to get a clean cut - I’ve used an offcut of the moulding for support and it‘s worked well. 👌

Thanks Peter! I have borrowed many of your teachings on this build, so thank you for that!
My own channel?! maybe I will - would be fun. I'm enjoying writing up this WIP, so maybe I would enjoy video making too :)

And thanks for the moulding tip - I'll try that next time.
 
Great work - very impressed with the doors.

Where are the other cabinets going to be?


Thank you Mr Stanleymonkey!

My next project is going to be similar top cupboards, but in the kitchen. I want to use solid pine/redwood for the beaded frames, instead of MRMDF (just for some variety and learning). I expect some movement, but will go with a 2mm gap around the doors to prevent binding. The doors will again be made with MRMDF.

Then after that, will be a kitchen corner cupboard.

All of this is training and a warm up for a BIG project in the dining room, which will be a full wall, floor to ceiling, dresser/cabinet build. That will be a large, expensive, visible project so am getting practice in with other projects before I tackle that one.
 
With everything primed, I re-tested the layout, with shims to check for gaps. Everything looked good so far. Even with a lot of checking-for-square as I built the frame and doors, there were some tiny variances (by tiny I reckon under 0.5mm at the worst). By the time the top coats were on, I would end up with a gap between 1mm~1.25mm. My over-sanding did expose some corners that I had accidently rounded over slightly (argh!).

I shuffled the doors around until I found a configuration that made the gaps as even as possible, and marked everything so that I remembered where they go.
EbH9K7DM0Pksc3MLMflaw3GDNl5i1u6NWJDg5n_uIhmOX0PZnK0Sby8OL04MOWqPfSGlefWUoVchchmhXMjGuyNkCj39yqdcvfQ4tB2rOiGG2UFSed80H0gyDV6mrtxMhmIqS2d6

6LWUuEHJhfksRvQbVsEIp1wj4zcVw5h--IFlpwfQiLZVt5SRY7gYxKatBuqtFDQ2IfbALfjAOV5SYqysjOoC9Kub51ymv9sSowtQcB6oE2mchvQ4A7A1uaob0IWX9iSNb4wlEJ1m


Now I can cut the hinge mortices in the door.
I was a bit nervous, but a simple jig worked a treat.

3gFqpV8YlW44z2GBe98SV3HYlWLp8NLxYtayxMd0H2rgNktVkEZ-rxfgf8-xVE4WiM1RRae5Yg6Co1kztmBGf6c-c38aC6IV9ndVsMY4ntqBi_s9Td-BU5qv6sZ7Lq1xKp4bAFwZ


I used some small offcuts of birch ply, stuck to an MDF board with super glue. I held the ply firmly against the edges of a hinge, to get a nice tight outline. I then added more pieces of ply to provide support for the router base. Next time I’ll use slightly bigger pieces.

The screws with washers go through an 8mm oversized hole in the MDF board, into the softwood fence. The oversized holes allow me to micro adjust the jig, and vary the hinge position. Once I was happy with the test cuts, a couple of woodscrews through the board into the fence prevents further movement.

The softwood fence is clamped to the door either side, and the palm router with guided trim cutter does it’s thing.

With the hinges in, I re-tested the fit and all looked good.

VSSxrE0tBVNWpVBkAPKGndaEZsVEbQybDVpmz8cjVHXm_Yjc6Svy9tFdnJeZdWfEN1E-JdxLHiIoRuVrPt8TntrBzhTRWy_9Co4NdeD_bbIT6O4CsU9sc3aaKINSoJdy1pzfq4Zs

U_098aLP7mZgGHZGBJZLP2HY8ZTjFq5rc-oxO1PxC29_Y4fLNxeleFFN1dovrJhqvYzU8dD-ktSjuqZC784OyOCzlkvRzS-tCJz7gUsTQ79IbyOvB4zDktNos8TKygWPFyefp59r


P0POOEZl0I1LZpgO-vglZpH4Eue74jm123UXL8sZJi0GAotxomX2AUnamqv-oIfyIZZR1vPIpQZQghL2zKS5iAchBr-C1MzTKNLyEbG_K-8-LHgwqlqiaIelAOJg9EvvXXkVvmgF


At this point, I reckon I should have screwed the hinges to the frame and doors. I didn’t do that, I just relied on friction fitting and shims.
I think I should have done this because when the hinges are pulled in tightly with the screws, you see what the gaps will really look like once installed without shims, and I would have the chance to correct/trim the doors.

Before I start painting the top coats, I re-visited the carcass and installed some simple 6mm MDF edging to cover up the gaps. PVA and a small nail gun did the job nicely.


Tl3NoCwEfWZzDpyOlDlyzoqVG99hTVddokKptsM5lcpxSXY9EndCu_UGB6Zb5yOd8BS_wz-sIr2_M4YHoDBlvQWMMtWyKC0xYTk4wuK6eQe90Wmt3Niqqzuwlq3E7znb0ZDYyFtY


Not very pretty, but good enough for this particular cupboard.

You’ll also see the 5mm shelf pin holes I drilled before installing the carcass. Just drilled free hand, no jig since it’s only a handful of holes on each panel.

Inside the cupboard, I decided to use some white Dulux gloss I’ve had lying around. Might as well use that up. A quick stir and it still seems good (and whiffy). This over two coats of primer.

I also made a shelf for each side. 18mm MRMDF wouldn't sag in this case, since the span was small. I rounded over the edge using a palm router and roundover bit, and it gave a nice bullnose. Again, no issue with the MRMDF taking the shape, or with fluffy grain.


qGRWrUilKoGGtc4LNSiNHoNLlMkWC4MYLeslvCypvUhD_MQzAFszxy051YG3p4DkUuhD97NYWFV2Hnjbg5EBs-WDqNTOOWfKqyZG3Cd5vBJ9TNdT9kVVJ7sCM3ocpDKDQJjxF6t_


The gloss was applied with brush and a foam roller. Some slight orange peel, but that’s ok with me - as long as the texture was even throughout, I’m happy.

The shelf pin holes needed re-drilling after painting. A slight pain, but not a big deal.


Onto the frame and door top coats.

I wanted an eggshell finish, and initially just thought of doing an off-white colour. I visited the local Crown decorating centre, and with lots of umming and arring I bought a tin of trade acrylic eggshell, in white. I decided I was going to mix up the colour I wanted myself!!

It was a risk - chemically speaking - so I just went ahead and hoped for the best.
I used a small amount of Little Greene Absolute Mat Emulsion dark teal, Bedec MSP “Dark Grey” satin, and Bedec MSP “Soft Thyme” satin.

With my sophisticated mixing tool (pencil and cable ties) I whipped up a lovely Farrow & Ball looking colour, which I was happy with. It was a bolder choice than my initial off-white idea, but it would go very nicely with brass.

A quick experiment on some offcuts, and the paint seemed to take well. It also didn’t separate in the pot, another good sign.


Xlw5GDB7MHfYGAycRoQQVPxC6DcqJSiaU5LIkBLXL5RjfnI5Ng_Bs2G7C-9BjzPFGygVggJx8bQtjlbDliyhFKwrqHk1kFmosB1dOmqbaB-Oe3ClWSexmAj4QvhsFfcGL_op2oix

WV4METk4kYNSO0kUgJP-1U3gy0aFFiIwyVX4jQSZDroZmhHhnoS71XEXv9wPhRXU0CI6n582BTSwuAASgSTMHQ2eu8-zUcfq1I0lSrPjSHSalf60fczHQpdCzNzF3CtmILlfhzzt


With that, I started painting the frame and doors.

I’ve tried a lot of paintbrushes (and am still trying new ones), but this one has been particularly impressive at giving a smooth finish. I painted my uPVC windows with them and they gave a very nice finish. I was skeptical given the price (£3.99) but it was very good indeed:

Seagull Handy Brush Mini Handle Paint Brush 2in

I wanted an even finish, and settled on having a foam rollered finish, rather than brushstrokes. I wouldn’t quite call it ‘orange peel’... it’s a finer grained texture.

The brush was great for getting into the corners, beading and moulding, and the foam roller was used for all the flat surfaces.
(For future projects, I will be trying brush and spray finishes).
vjg4hp-dtHJaur8D4ZVv3-PytPX8JmVd3W2oHe1Te-fm_VrQNcbxdg8bO2eGxXXqnIKGSeioUTDgN2cxRmJ3NYXi0QAeJOENFAZQDSgVjjsrH4mLoaWSsn-FWPHB1H7husAKewwu


BrIsVU8Bw8UoEDHhAddcLXGJfGwDbC5iobHPy2_mimFT0w6RFHEuBPkJl6zDWl4yBT730mkWtXzOlwZ-gJsdySRoBbtCMQNXsBnTBJtO6uUe6XJ9P1R4_K9c-1yCYrhZt-klBzRh


I was careful to brush and roll out the paint very evenly, and without overloading, to make sure it was an even texture. I started with corners and moulding, then rolled the flat surfaces to blend everything in.

The end panel was deliberately not sanded to a fine finish, and I brushed it to match the ‘patina’ of the existing end-panel finish. (and you can see my sophisticated mixing device here too)


tx49Ybb4QAZQDkoMfOBoQEkoVM8CHD3W8MTL1fgATaWCU-Qc7Cg_f_QSY2liI-BERNPKXMe1UJNmr1xSuFf5z1P3NViofz4_4L9bGaySiVc1cr5yBC5QLXObencyFpH0eymbVoZC


I denibbed by hand between coats, with a well used 240 grit disc, vacuuming all dust before the next coat.

In case it’s of interest to anyone, my hand sanding tools of choice were a sanding block made with sanding belts, double sided tape and block of MDF; Mirka sanding discs for the higher grits; and these rather good Festool foam 120 grit sanding blocks - which I had got for £4 on Prime day (normal price is £5). They are also made in the UK.

https://www.amazon.co.uk/Festool-201084-GRANAT-Abrasive-Sponge/dp/B01F4RPWBA/

DSNOwM4vt7Fx41ZbyyIW0hhaO07UyAFAV8_3p9DldrBtYA7pT5-OJYGjzxxcrexSHQ_Ska8HWIBkTw6zkscWgxunDfLKIISiu41CuC7gfuME96xhpvyLOu1MJfWYSWfzMjnPLmCK
 
The Install (final part)

With the inside of the cupboard painted, as well as the doors and face frame, it was time for the install.

First thing was to scribe the end panel and face frame to the walls.

I initially used a compass on the end panel, it didn’t go too well, but filler hides a multitude of sins.

I decided to make a quick scribe block. Super quick and easy to make, with a few different widths and a pencil sized hole, it worked really well on the face frame.

d71T9-LknUOjJtGL3vQxzm7ZtJa73QgsVMhjVwUqdzOo186E_6S9V1rF3Bxe_i7juh-0_6NSExsBTSoVNuv3x9HY_J013DmWFY999i8vDpT0mgoX5iERyvisSxAtQAhBPeeB4gXP


With the frame levelled up, I scribed it nice and snug to the wall on the right.

C0A31ryJygQHFJFCSFDGsmYREXWgNjqbFz0DzqmHAfb5j8xzKzttAsylfKcKhftQilwO9Sf6NljzHHtfoD7XZcUQ-mkjqPaKPMDaZBzzz2ZdezdTFBmqkU7KWnlKAM_tpNb9D4JA


Next came attaching the frame to the carcass. I debated using biscuits, dominos and in the end I decided I was overcomplicating it. I could just drive a couple screws through the horizontal batons of the carcass! So that, with lots of glue, is what I did.

c5yFpM1DAS9xSxhW789W2n72n8PDCNURvZs2TX2VcZRnHJb90_kZXStbzZNlZBt99OL-UPS5gGEuSQaQiavoDwnJLOEGUWTWU3TnR5ZxuNlktonBlf5nBqBkv1hYf3GD6OoXEzKl


Now I can hang the doors. I had previously marked up the screw holes for the hinges in the face frame, and drilled a 2mm pilot hole. The screws are 3x30mm MDF screws. Not the prettiest, but would do very well for this cupboard.

tb6ueikSlpF_q3do2ixPP7y-fTgQ2GDsJ-0B-mPvVErz8SkSJqMZmKO7Dr6IKkbl2Wekk7kZOlEngHd80vgk1jTuCM0iCsuI7cSPGvAt4kKwRWNn9PSzg3jU1a-ANq-RJbVbFYth


bnijFB3pQSdOyxviqmh3HKBveLFszJXyno_JuiZKGSvIcd16DCawK92WYeHIdk2tcVHcG_CxBKSxjlZRdezx5RAuHFrwgdkfIEO8SkGKZfaIb-ntd9uI-o12bVnDSJ_D2FgWeOQB


With the hinges attached to the door, I offered it up to the frame and screwed them in place.
I’m aware that using screws into MDF ‘end grain’ could end in tears, but in the spirit of finding out for myself I proceeded, but prepared to repair with dowel inserts into the doors and frames should it go bad in future.

And so on, until all four doors were hung:

oQIgJB3S_qIGURbAtFdQX4ZS_l2lGZKuMVL6ncaSg9HVECktqqcbQUiBJhjCYf4fgYa5GJRpjR-drfRsuUyINKvEk_4s49PQ_PPYWh1RqK8nIf7xnPdkeUyu5Q-ZKr4r9PRthCCb


Next came the door knobs.

I used these 30mm brass knobs from Toolstation, which I think are excellent value for simple, solid brass knobs, at £1.17 each:

https://www.toolstation.com/victorian-brass-knob/p73544
They come in two parts.

hQc1pWNQyuL5R_TTIS8F1S-5qCxnH66IGF56Ey9nkepyUDI9PxZzR2hN5xQ0COJkh4B6REUPp8gIshsGieft-rMX_vKzWG4YZZZuXCIV75ON9-_czkkx00xAVOzBsljBuQ_EIeDd


To fit, simply a hole in the door, using a simple drill guide to keep everything straight, with a countersink for the screwhead. A dab of paint to make it less conspicuous.


0qBD4vNfYF1QWgK7-6VDjk4YmW3fqobbLnkZWsstE1bV0mFqjL0Gj5P658FIfR5vMXhZIl8lQzoH6RI7ZWUpc_XZG8X8hhwRjIrKh8f29yZzsZc7b-i3vAyXx_qRI74341-irObv

a4iZ71JOpGCmwDkffbGMIcJ_mcgmpOH8vsEoWlCc0OpjA5vt8KP9RSEPlTZ5TH2RrXyEIbRs5a5Ig-kf1wYVQVcj_R9iY-KpfkvOquSl2Qtg4vC0Jn7yzmOkSeLlkVCsmn-tGIMb


I did find that one knob did not have a perfectly straight screw hole, which meant that the knob was a bit wonky when screwed in. A little bit of force straightened that out.

The brass goes really well with this colour, in my opinion.

lmmNdTKKg9BW2JwYWYPXVqyLLjYsudz4LpK9hOIlPQn7Qt0cOqI3p-Domh-8vYcDRGaWaet5EDCfZSViJuVgieYLwlqUk5sY7imdIIy82v57h9IfifTwFU0oeGv9yVoTPqwNYGQY


Next, the door stops and magnetic catches.


The door was inset, so I used these cranked door stops from Hafele (233.07.600):

I bought them from Solmer, in Essex. A gem of a supplier - carrying the usual branded cabinet hardware and lighting setups, but also some less expensive alternatives from Eastern Europe (might not be less expensive after Jan 1st, not sure).

Metal Cabinet Door Stopper With Crank


FDi_i4-CrK4vaUZ_PcXQCUi8QFNE1_Uh6x1uzufdFUOxs6nHqjOcxDYNy4BC7aXBoW6vmoTQqIBEn-6DUeVBel1rUub9W5XOLdFK9hnatzS_na3z4JDGDQeSJJYjZr2Ox5LM-BJO


The crank did not provide enough inset depth, so I shimmed it out with some card until the doors stopped at the perfect position.


Now the magnets.

I used these countersunk neodymium ring magnets, 12mm diameter, with a 3mm hole.

20-200PCS Strong Countersunk Ring Magnets 12 x 3mm Hole 3mm Rare Earth Neodymium | eBay

They are not very strong - ok for these small doors, but anything bigger and I would use purpose made cabinet magnets, or larger magnets, or I would use a north/south magnet combination for extra grab - as helpfully suggested by @doctor Bob and others in other threads.

Using this great value 12mm drill bit from screwfix (£2.19), I experimented on the countersink required for the magnet:

Brad Point Wood Bit 12 x 151mm


mYbf_BU-PL71aRysXqdmEsiTxj7S1Xuc0Kfx0twaP_X2e_YyFoojbGAtPtWQ7TPasb21n-McDDA_2q9x3bbJBftKWqaZds1GIWErSXvOEs4PvEDTo5kqvOZLWsr5BQ1WlhqSnYgs


Once I was happy, I drilled these into the door, making sure they aligned to the door stays. Another dab of paint.


lPXOQ44b6whdv8t79twYOdRSYWH38DwBU9OryljZDz1qABOvKm2CCxsUhuBfaMbrRbX8cD_ZnBWoPmH66Wkr47_UyLOYmxkex3bxSzKBtI5xDs_VWf6eYYg3V1lOLsw8Nstf3iUX

And that was the last part of the build!!

I’m very pleased with the outcome, but I wish I had screwed in the doors during the ‘dry fit’, before the install. With the hinges screwed in and pulled up tight, it exposed some unevenness in the gaps that wasn’t apparent when I just used the shims. Going forward, I shall make the doors slightly oversize (i.e. with zero gap), and fit them so I can create/adjust the gaps as needed.

I’m most pleased with how the polished brass knobs and hinges go with the colour, and how the end panel came out - it looks like part of the original build.

Here are some shots of the finished article:


Ctdzy2BpL6bJyGNyWUWmljtNEjyMwHajPaKbfdq049qU5TAi1iYUct_-ANzpsafYngAZN4S6zaG1K4SRFONoD2Gj-2AGJQekLBRhE6rt-tJFhA-ZHWEleS9xyjmphCMtXx2QXBSX


bTb501RiSMxx5kPJYY_Vq1AKNEZRWI_HD-IedvlACMR-5vDDKiD9eis9wBM8rJFLt0dKWcD23FnggOOBmZyUP3epuSjOWDU5PpoDXeZUmgXm30slq1WUZq4Px8S61IKwA8f3mfsQ


vmQpkZy4xSJ5BJf5ZHB0ITY8bdh0jn_Rbj4V3ERoYy9y63QXZIIYvNoxKYqcAsKQx4OMPdp7oeBq4OuQ-7PB1Zt6eqXNXI-4G5NWQZ7H4Y91I8zUx6170ga1iUlh372au6xtPPme
jFiWQfhyGqH60sGfEflTyq6f6SKbfHeyXSQuG8ONAt5aN_cTrm8pwbfsnzGG82R4TZXCVAkLh7rmAxV75mItwTVeR_G5ATMeJGYbkFPhOfvq0M_DD1y93mLUo2qFrae6V5nGrJAx


OBsPqnrHen98_ihj3ofDrP70UCYDrZHBY9BDDtNX9Ra0-ZSAefUk3Wiaz7jkhlZ5NuRRDtKTNq77ba-3BqaYh4UzqhZDch681dW329PFWLENKFCgSMAYEUrtja0XGtdMvvbKZTxO


5WCH0lj08Jb5FzuAddp_5a1Wcf-MvVKvlHAjQ4WVbZ2zHSSBLMv_fxlIBGFlxJbEYuAcS11HbcCPRTGoNvkYs3KFdG00kjv-jOl0sM_UpGFLcJx_7mHDjFLqHs9ujZmivceLg8Lh


4a4WpbOBTQGRiQhC_uCGcxxP6mNsm-Z0DZW9MJ1UNL7wsBFVOS0S6jP8bp7GMDpHNL3idj49Tv4bHPxkVzvecmVNEK6DdSC7bsrwvIkDVCM-EqFOyh0kYxFcLlSp051z3CFiKR_1


k9aiXnLP0QoWN9OmwYcNrmKccuoQ3mGi3KlNdikyVTxdW-rjvRduT9BZrDAUA086u0eBcYd2Da-38YoWEQa4Bcm7h8bwOpeQmrWoC9iV5545GCwiT6nUySrKjHdiXs7p295EoEYi
 

Latest posts

Back
Top