Tool Cabinet - FINISHED

UKworkshop.co.uk

Help Support UKworkshop.co.uk:

This site may earn a commission from merchant affiliate links, including eBay, Amazon, and others.
Good choice in shaping the dividers. I agree that it looks a lot less pigeon hole-like. :)
 
Waka":yc9cxpfw said:
I thought I'd better show this again so you guys don't think I've forgotten about it. I have to say I haven't done very much over the last 3 or 4 months, I've been busy on other things.

One thing I have had made and thats the drawer handles, these were kindly turned by Tam on the turning forum. I'm very pleased with the end result and a big thank you to Tam for helping me out.
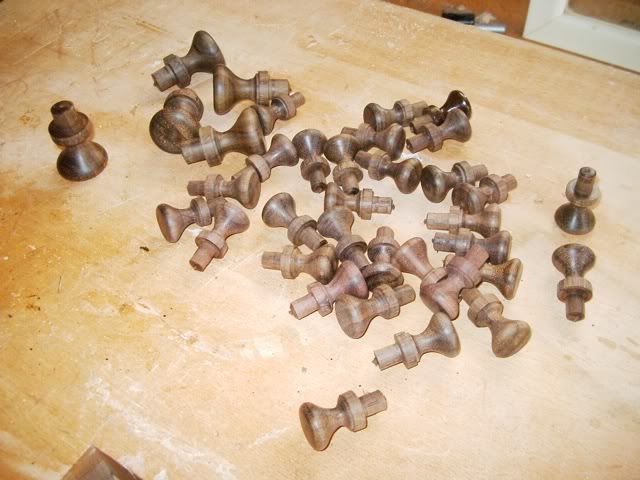
IMGP3044.jpg


I do hope to continue with the top section soon although I've not really finalized the design.

Hope you enjoy.

This is exactly what I can't do! Grrrrr

Who is this mysterious Tam? Doth he venture to the square and straight side?

Aidan
 
TheTiddles":2wd7u8y8 said:
Waka":2wd7u8y8 said:
I thought I'd better show this again so you guys don't think I've forgotten about it. I have to say I haven't done very much over the last 3 or 4 months, I've been busy on other things.

One thing I have had made and thats the drawer handles, these were kindly turned by Tam on the turning forum. I'm very pleased with the end result and a big thank you to Tam for helping me out.

IMGP3044.jpg


I do hope to continue with the top section soon although I've not really finalized the design.

Hope you enjoy.

This is exactly what I can't do! Grrrrr

Who is this mysterious Tam? Doth he venture to the square and straight side?

Aidan

Hi Aidan

tam's screen name is TEP

and i would guess that he just did them by eye or maybe with a cardboard cutout template for shape and size - knobs arent difficult for someonme experienced with spinny things - he probably used either a skew chisel or a spindle gouge and a 3/8s parting tool
 
Hi Tony.

Welcome back to the grindstone at long last. Who'd have a busy life eh! :lol:
 
Made a little progress this week, managed to get the bottom drawer of the top section completed. I wasn't sure how I was going to fit this, but in the end decided on another push to open/close drawer runner.

It works fine and is a nice snug fit in to the housing.
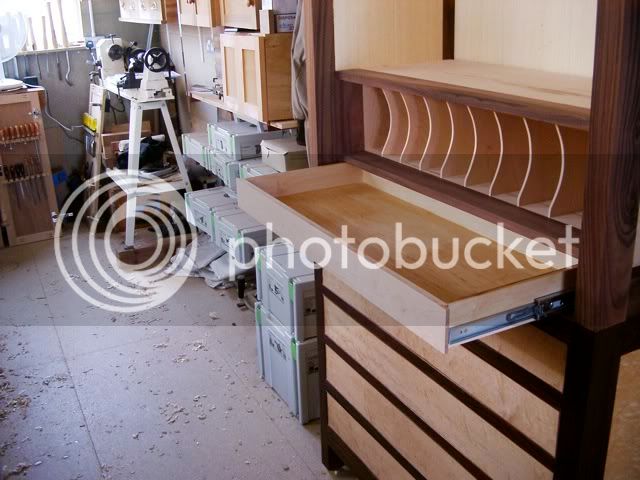
IMGP3060.jpg


IMGP3061.jpg


Before I go any further I think I'm going to shellac the top part of the cabinet, then I have to decide how I'm going to fit all the drawers into the top part.

Hope you enjoy.
 
Waka":s3k2oghd said:
Made a little progress this week, managed to get the bottom drawer of the top section completed. I wasn't sure how I was going to fit this, but in the end decided on another push to open/close drawer runner.

It works fine and is a nice snug fit in to the housing.
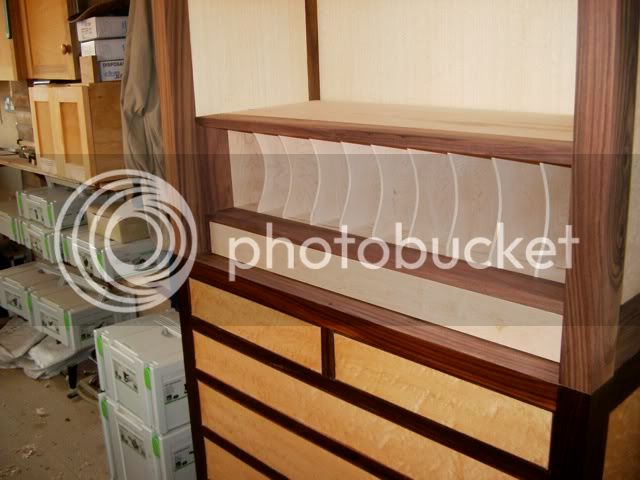
IMGP3060.jpg


IMGP3061.jpg


Before I go any further I think I'm going to shellac the top part of the cabinet, then I have to decide how I'm going to fit all the drawers into the top part.

Hope you enjoy.
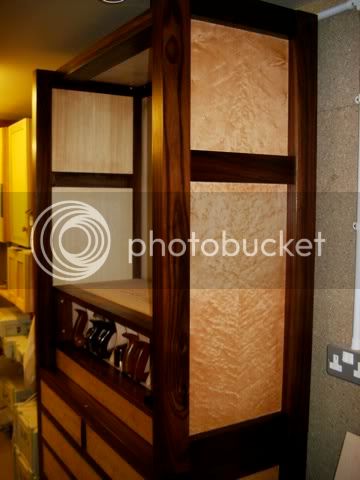
Looking excellent mate, really nice. :D

I really do like the curve detail to the doveholes, makes a real difference over straight dividers.
 
Since my last post this afternoon I've popped the grain on the birds eye mapel panels for the top section and also the drawer front. I have added about 10 coats of blond shellac to the panels and frame, this hasn't come up too bad. Tomorrow I'll give it a couple of coats of wax to finish it off.

IMGP3062.jpg


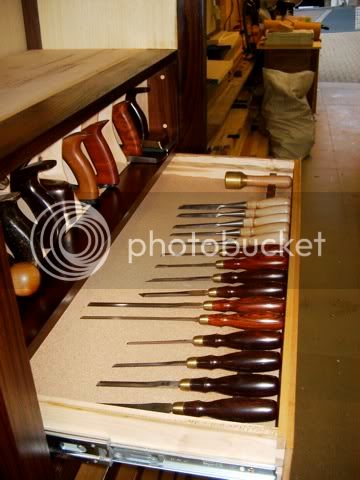
I have placed cork in between the pigeon holes to protect the base of the planes, these are now in their permanent position. It really feels like progress when I can start putting the tools in their intended place.

IMGP3063.jpg


The drawer has also been lined with cork. The bar holding the chisels is of rose wood and all I've done here is file out the recess for the handles, it seems to work quite well. I will be doing the same in the first two drawers above the planes for the remaining chisels.

IMGP3064.jpg


Now its time for the thinking cap to decide on how I'm going to do the rest of the drawers, I've roughly worked out the there will be about 20 of varying sizes. These will only go up to the top of the first panel, any higher and I won't be able to see in them.
 
Having now decided how to fit the drawers I can move ahead with drawer construction.
Andy Rae who made the original cabinet used the base of the drawer as the runner, these fitted into slots within the framework. I have decided to go for full extension drawer runners. There will be a total of 12 drawers in the upper section with dimensions of 15 3/4 x 12 5/8 x 2 3/4, these dimensions will incorporate all the tools I intend to place in the drawers.

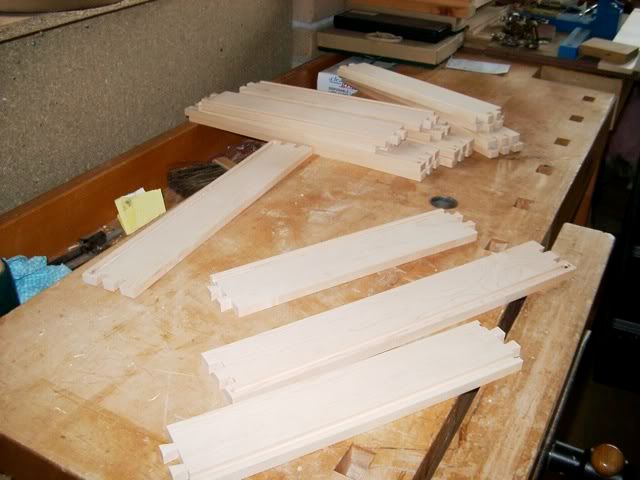
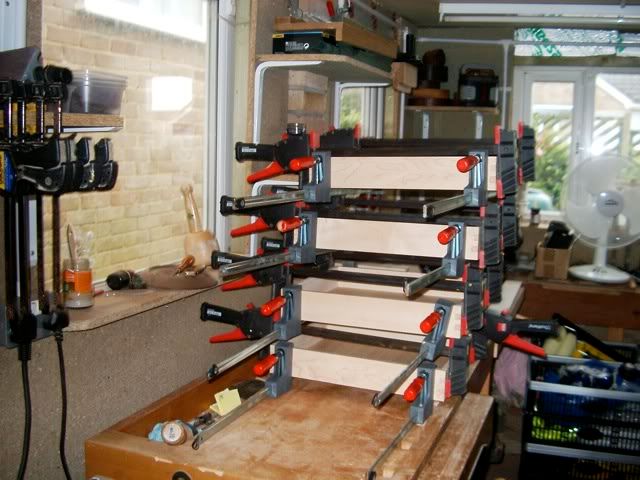
First set of 4 with the dovetails hand cut.

IMGP3070.jpg


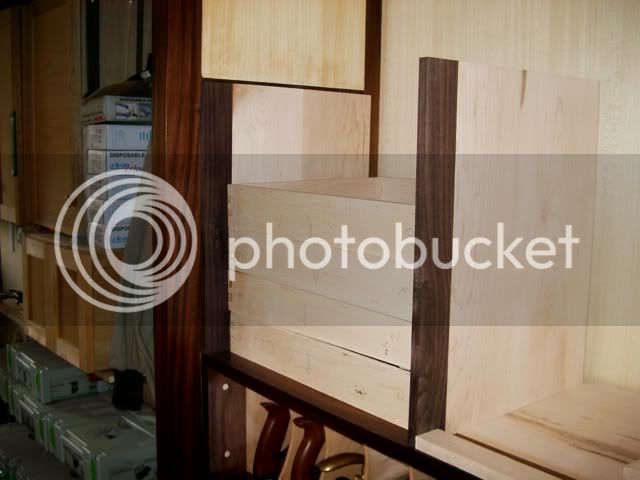
What I've done here is just to place them in position so I can get an idea of what it will look like, so far I feel happy that it will look OK.

IMGP3071.jpg


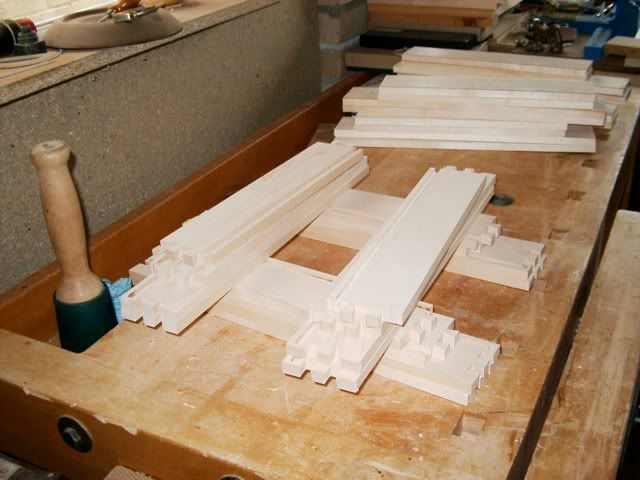
Another set of 4 drawers with the dovetails cut and ready for assembly, at the back you can see the other drawers cut to size but not yet worked on.

IMGP3072.jpg


Second set of 4 drawers assembled, now just the last 4 to work on.

IMGP3073.jpg
 
hi tony

spare a thought in the unlikely event of all the upper drawers being opened at any one time, to the balance of the upper cabinet depending on what you intend to place weight wise in them .hc
 
HC

Very good point, the bulk of the heavy stuff will be in the lower part and although the drawer runners are capable of taking 35kg its very unlikely that they'll have anything like that.
 
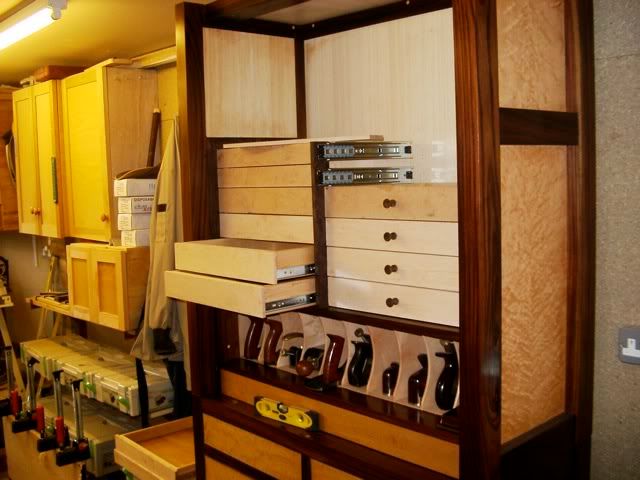
Made some significant progress over the last two days, managed to get the draws in place, add the door fronts and this morning I have attached the door knobs.
I think its gone better than I thought it would.

IMGP3089.jpg


IMGP3090.jpg


IMGP3092.jpg


You can see that the bottom 3 drawers on each side are slightly lighter than the top 3, its all birds eye mapel but unfortunately I couldn't get enough of the darker, I'm hoping that the lower ones will darken as I add the numerous coats of shellac.

IMGP3091.jpg


Next stage is to put the shelf in above the drawers, this is gluing up at the moment and will be tomorrows task. I'm not to sure what I'm going to keep in the top part above the drawers, when I decide I'll either just have the one shelf or maybe two. I thought I'd use the brass inserts and shelve supports so I can move them as required.

Because I have less drawers than I originally thought, I have a number of rosewood door knobs spare, I think about a dozen. I'd bee happy to part with these free gratis to anyone who is contemplating a tool cabinet project.
 

Latest posts

Back
Top