Timber Porch Build W.I.P

UKworkshop.co.uk

Help Support UKworkshop.co.uk:

This site may earn a commission from merchant affiliate links, including eBay, Amazon, and others.

markblue777

Established Member
Joined
2 Dec 2013
Messages
488
Reaction score
1
Location
Waltham Cross
Hey all,

So as you may have seen I have posted a few questions up of building my timber porch and after much investigating online and reading some books (the information to be used going forward in a house extension as well) I have actually made a start.

What I am intending to build is a timber framed porch that will sit on 3 courses of brick on a concrete slab and finished in a softwood cladding. It is under permitted development and without the need for building regs but obviously making sure it is built safe.

I was intending on building on strip foundations but after digging a few test holes I found a number of pipes close to the surface and after posting here and on another couple of forums and doing some further research I have gone down the reinforced concrete slab route.

Going for a minimum thickness of 100mm hardcore (but as of the first lot I put down will be more 150mm thick)
Then a layer of sand, insulation, DPM and then 100-150mm concrete on top.

I am also keeping track of time spent on this and a cost break down so I can see at the end of it how much it cost me and the actual hours I spent on it.

Day 1
Today was spent breaking ground and smashing up the concrete that was there for the path
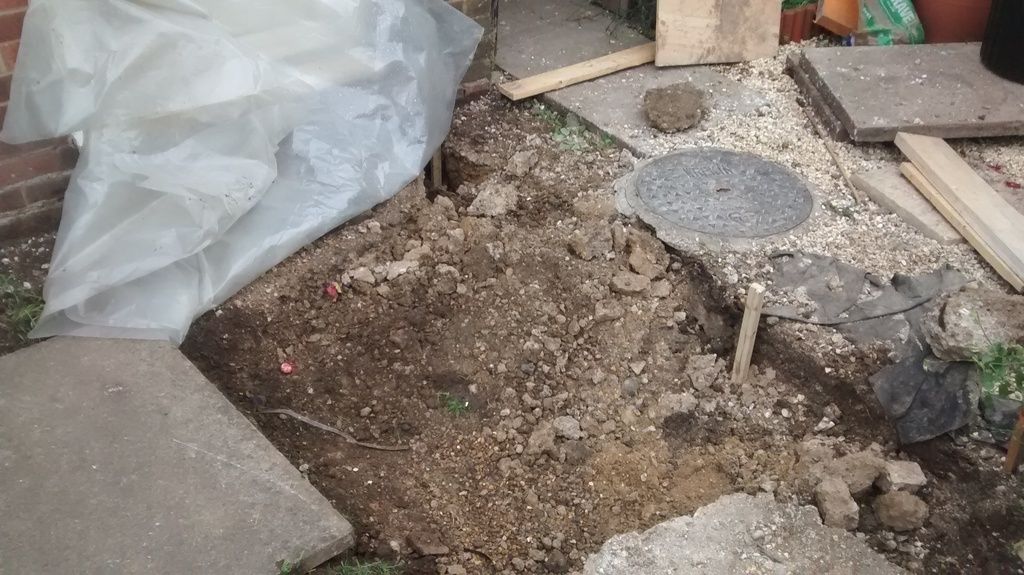
IMG_20150904_133449546_zpsgzc0f77z.jpg


After filling a number of rubble bags I done a quick dump run to empty a few (can only take 7 bags a month to the dump so I have to use 3 dumps that are close to me and just leave a few days so they dont clock on and ban me for the month)

Whilst out I visited the builders surplus place we have near us and got a 3.3m 9x2 and some breeze blocks. These will be used for shuttering and a temporary step respectively.

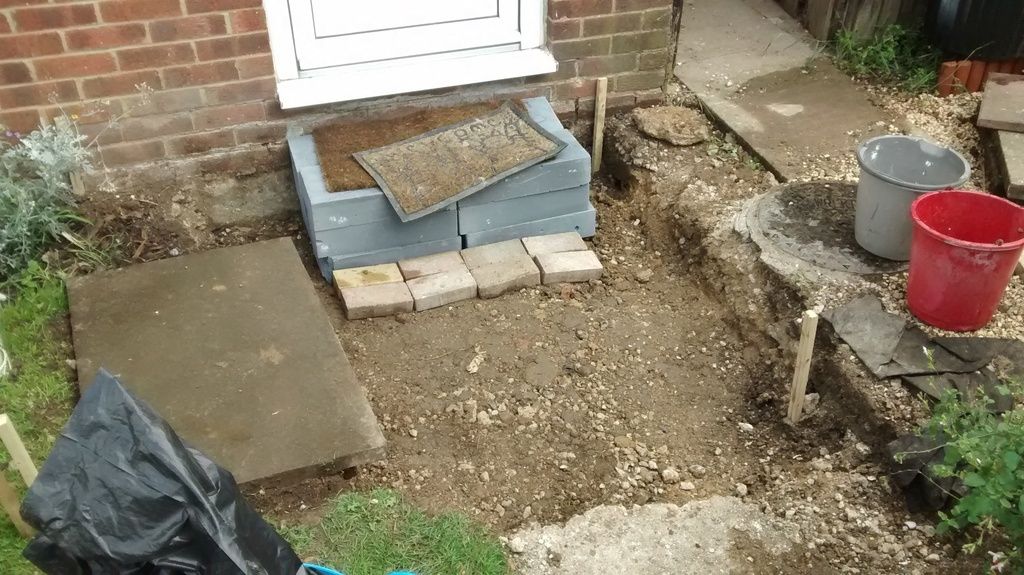
by the end of the day the hole looked like this
IMG_20150905_133511788_zpsm7d66nvs.jpg


The large slab on the left is what was on the path way before and it is covering up a small bit of digging i done to mark out the area to be excavated (and to allow a walk way where we would not get caked in mud.

Day 2
Woke up this morning hoping to get a start on getting the rest of the mud out but it was raining a little so I left it and took a few more bags of soil down the the dump. on the way home the rain stopped annd I stopped in wickes and got a couple of decking boards to use as shuttering (i jointed the boards together and trimmed as needed to get the width i needed)

After much more digging and more bags filled (as well as a few buckets of soil redistributed around the back garden)
I got the hole how I needed it.

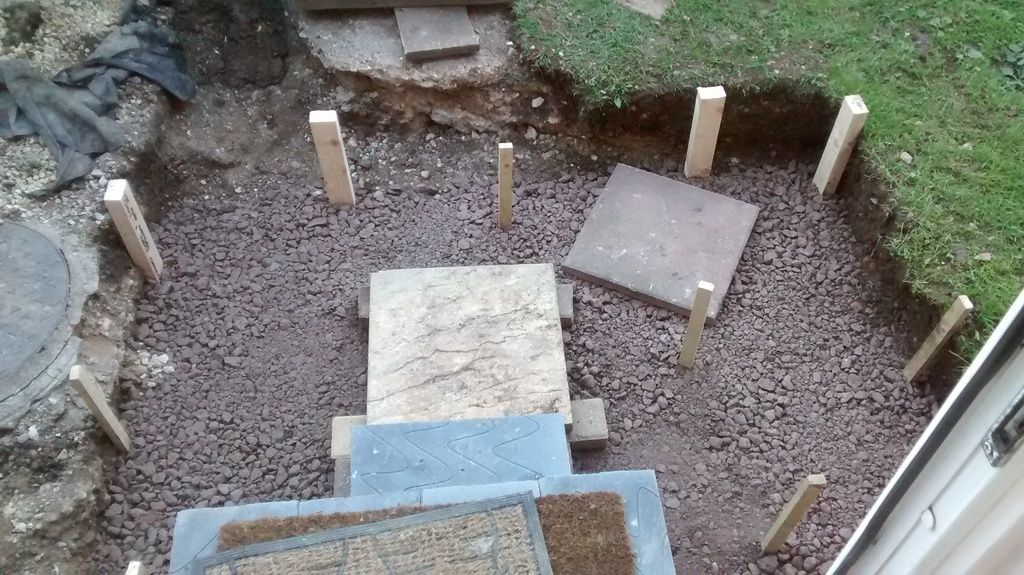
I then started to peg it out to work the levels and get the fixing points for the shuttering. I also distributed and few extra pegs around to ensure the level across.

I was going to call it a day there (6pm by this point after starting at 1:30pm) but my dad came round and we went to wickes to get the hardcore to start laying down. So with an improvised tamper I emptied 10 bags of hardcore in the hole to start getting it level.

By 7 this is what I had at the end of the day
IMG_20150905_192053920_zpsddnkrh2e.jpg


So tomorrows plan is to fix the shuttering and go and get some more bags of hardcore and get that all compacted and level and then sand, insulation and DPM. This is the plan as long as my unborn child does not want to make an appearance as it is his official due date tomorrow, which in that case this plan will be out the window haha.

I will keep you updated (on all fronts).

Cheers
Mark
 
Day 3

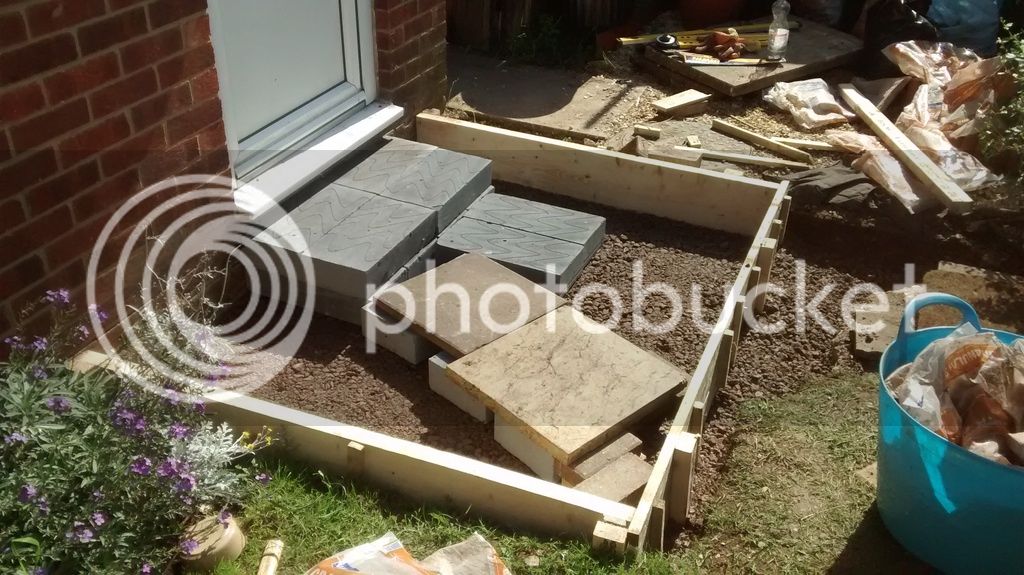
So a new day so some more work done. After a quick dump run to get rid of a few more bags I went to wickes to get 15 more hardcore bags.

When I got back my dad had come round to give me a hand levelling the hardcore off and installing the shuttering. After using the 15 bags and installing the shuttering I needed some more bags so I got another 10 bags of hardcore. After levelling them bags off the hardcore was all placed and compacted.

So in total I have used 875kg of hardcore, did not think it would be that much, but after the compacting you can see where it goes and I would rather do it correctly than cutting costs unnecessarily.

It would have been cheaper to get the large jumbo bag but at the end of the day only by a tenner and I would not have been able to get it completed this weekend.

So here is the image of how it looked at the end of todays work (done about 3 hours in total, with travel time to wickes in the middle)

IMG_20150906_132734987_zpsiixy8zbj.jpg


I am now just hoping the weather stays nice and it does not rain. Next weekend I am hoping to be able to do the sand, dpm and the concreting, but it is all being played by ear seeing as the baby could appear at any time now

Cheers
Mark
 
Day 4

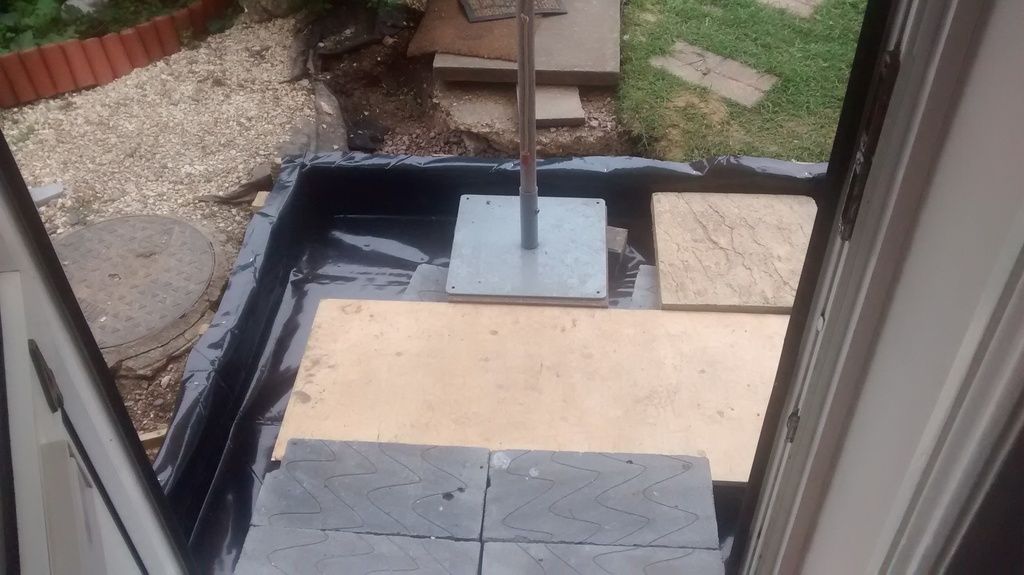
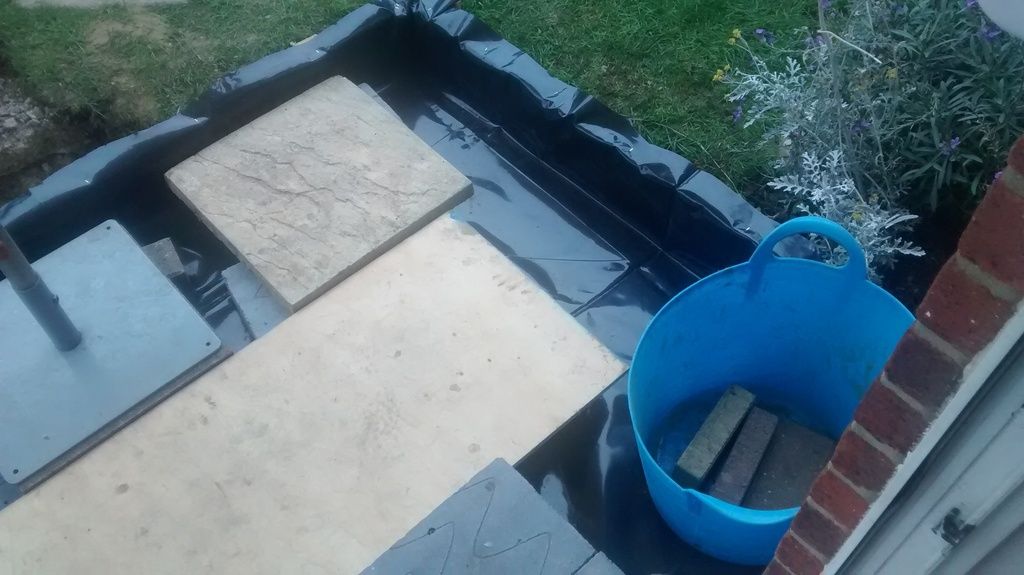
So done a bit more for a couple of hours today. My dad came round in the morning and helped me lay a 10mm layer of sand down and the damp proof membrane. So it is now all ready for the concrete pour tomorrow.

IMG_20150913_120440620_zpsjblh9joo.jpg


IMG_20150913_120431945_zpsnk10byjr.jpg


I have the garden umbrella anchored down outside to help protect it from the rain if it does. Hoping the weather stays good though.

Cheers
Mark
 
Hope the weather stays fine for you Mark. Know what you mean about hardcore (and concrete) - I can never get the quantities right either. Watching with interest :)

Cheers

Paul
 
Cheers Paul,
Hoping the tonne bag of ballast ordered and the 7 bags of cement will be enough. According to calculations it should be so fingers crossed haha

Mark
 
Day 5

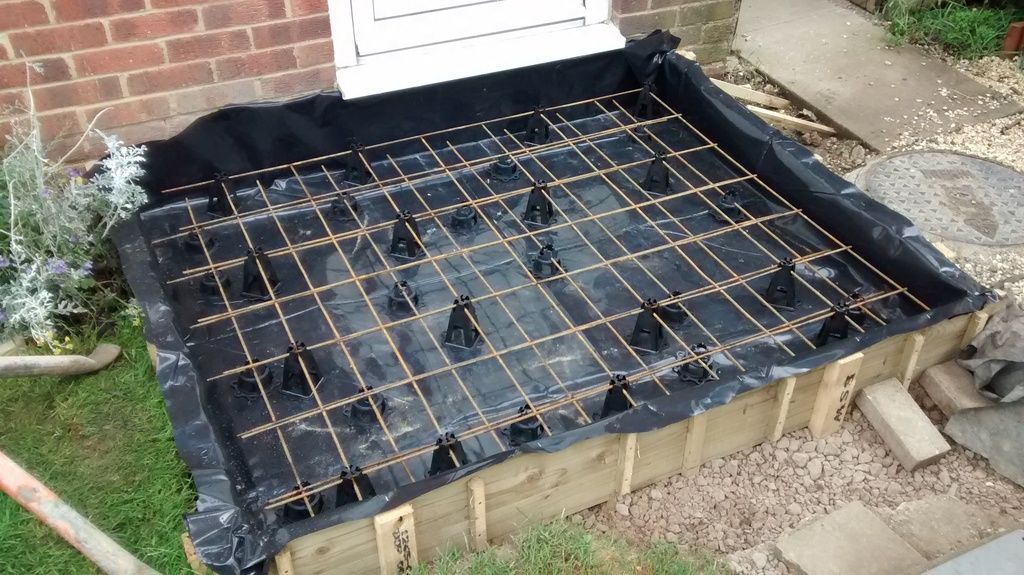
So today was the pour. My dad got around at 9:30 with the mixer and I put down the reinforcement mesh.

IMG_20150914_100017923_zpsu7yezbaz.jpg


As we started it decided to rain so we had a long process of pouring, spreading and then recovering to protect it. I would have had a few more images of the actual pour and spreading but due to the weather it was a all hands on deck situation.

Whilst pouring though I had a bit of 2x2 and tampered the area to get the air out and help it spread within the mesh. we noticed quite a bit of water coming to the top (believe that was part the rain and maybe over watering a mix) and so we done a couple of mixes a little bit dryer and it seemed to correct this issue.

Once we finished the pour we floated the top off with a bit of timber and tamped it down, also dragging off some of the water that had floated to the surface at the same time. We done this about 3 times giving about 10-15 minutes in between each smoothing.

I was going to leave it open so it could dry but I could see a cloud in the distance and decided to cover it with my dads help. after we covered it the heavens opened again so feeling good we did cover it.

Lifting the corner of the tarp up a couple hours after and it is starting to harden, so fingers crossed it is going well. I may give it a couple more hours and then trail it off again to give it like a final polish. But then again if the weather is crap I won't be doing that. The floor is not the final finished floor so it is not to bad if I cannot trail it off.

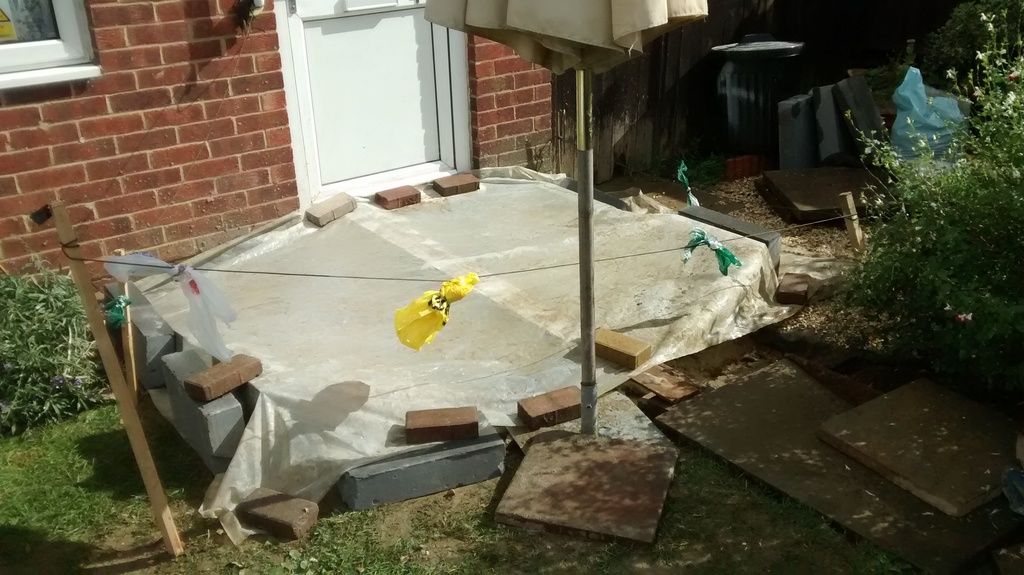
Here is an image of it all tarped up and I am hoping it is protecting it from the rain enough and allowing it to dry. We did lay it so there is a gap between the tarp and the slab so the wind should be able to cycle through it to help dry it out.

IMG_20150914_141634062_zpsnl9huuni.jpg


Cheers
Mark
 
hi, that's a very heavy duty porch base. I am also deciding how to best reinstate my porch which I knocked down 2 weeks ago due to rot and damp. It was horrible and only 1m2.
Looking forward to seeing what you come up with.
The water on the concrete if not rain will be bleed water, It arises if the mix is too wet (makes easy pouring) or if it has been worked too much before it has started to cure. Over working tends to bring too much cement content to the surface and weakens the top layer. The top 2-3mm will probably turn powdery and wear away quickly.
This happened too me before so researched after the matter so I don't do it again. The rest of the pour will be solid in time but curing takes forever. You were right to cover the slab after it was done but it does not need airflow to dry, in fact it needs the water in order to cure. If the water content evaporates the concrete will not reach full strength.
Looking forward to the rest of the WIP
 
Ah cheers cammy. I thought it was bleed through. Looking at it this morning it is starting to harden so going the right way. Looking to put the 2 courses of brick work on tomorrow afternoon or Thursday depending on weather, seems like it will be Thursday judging by forecast.

Going to take tarp off later to see how it is all going overall and then recover. Will try and get a picture if I remember

Cheers
Mark
 
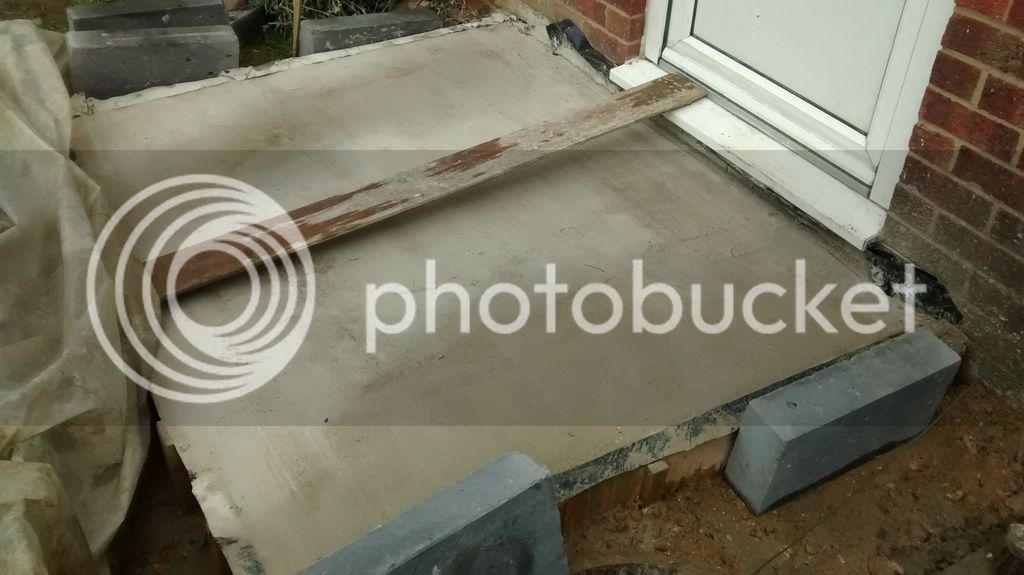
Well today I took the cover off as the sky had cleared a bit and I wanted to see the progress.

So below are the results, and for a first attempt I don't think it went to bad.

A couple of low spots but it is not the finished floor that will be seen so after the brick courses goes down and dpm goes over it, I will then put a self levelling compound on it and it should sort it all out

IMG_20150915_153521669_zpswcorfesg.jpg


IMG_20150915_153455664_zpst585pkf8.jpg


It looks a bit wet in a couple of places as some water had got under the tarp, so that is just the residue left from sweeping it off.

feeling around and a quick run over it feels solid but wont be doing anything on it until tomorrow afternoon so it has had a full 48 hours to harden.
 
on that point though Will.

On the slab I put one course of brick down and then the DPC goes on that and then another course and that is my final height of brick, then the timber frame will sit on that. Should a DPM not go over that first course and under the DPC. From what I read it should but I may just be reading the information wrong.

Maybe I don't need this as my slab is above ground height and has the DPM under it already.

I'm just wondering as the 2 courses of brick will be within the porch and gone over with plasterboard. Does this have any effect, should the brick be sealed or is this a non issue in my situation.

Cheers
Mark
 
Day 6

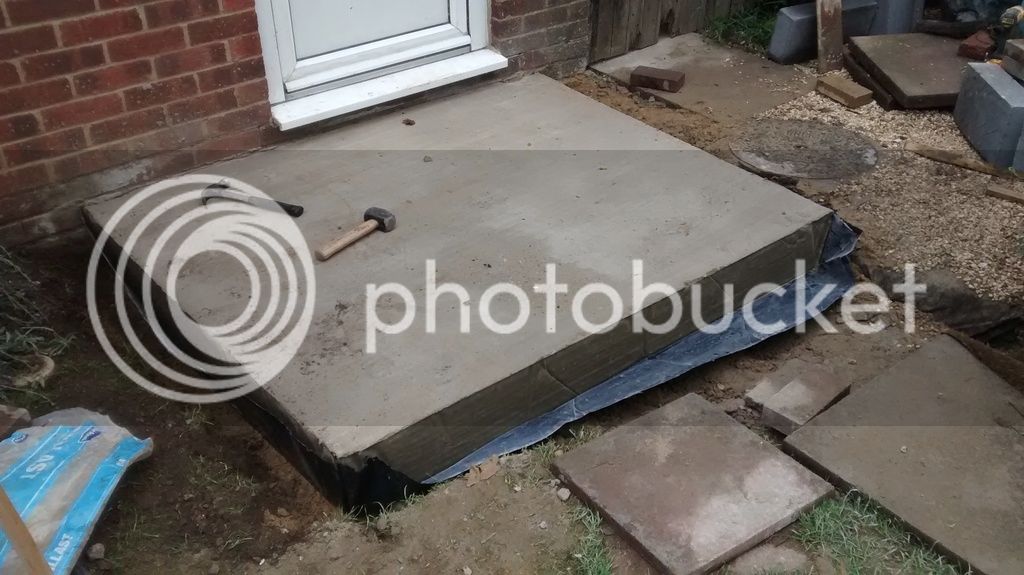
So today I took the form work off of the concrete and went around the outside of the slab with some motor to render the side and get rid of any indent defects (the indents were caused by the dpm not sitting flush fully).

I also re-pointed under the door seal and across the rear of the concrete slab to ensure no water can get down behind it.

I also put some mortar around the inspection chamber to secure the lid down again as digging around it dislodged what was there.

I only have a picture though of when the shuttering came off as it started to rain so I wanted to cover it all up. hopefully the weather will dry out soon and I can get another couple of pictures. and put them up here.

IMG_20150916_104409813_zps3umonrch.jpg


Cheers
Mark
 
Glad the weather allowed you to lay your base Mark. The DPM would normally, I believe, be taken up the sides and tucked under the DPC to keep everything at ground level watertight. Looking at your pictures I don't think you have enough DPM around your slab to do that. As your slab is above ground level I'm sure this isn't a disaster - you would need to install another piece of membrane in between the two (DPM and DPC) somehow. I'm sure someone who knows about these things can advise on how to seal this.

What is going to happen on the outside Mark? I only ask because there will presumably be an area of DPM left exposed to possible physical damage - or will your cladding material extend below the brickwork to cover it?

Enjoying this one - keep posting (hammer)

Paul

EDIT - I've just been looking at Mike G's workshop WIP and see that his DPM is simply cut off at ground level. Because the slab, like yours, is mostly above ground it stays dry. So you don't have a problem :) (Mike explains all this on about P.3 of his WIP).
 
Hey Paul,
Yeah, I did trim the DPM down the the base of the slab. as in my next updated (coming shortly) will show how I intend to put pea shingle around for drainage.
Cheers
Mark
 
Day 7

Although today was nice all day I had a few other task's to attend to before I could do anything with the porch. So this evening I was able to spend a few hours working on it.

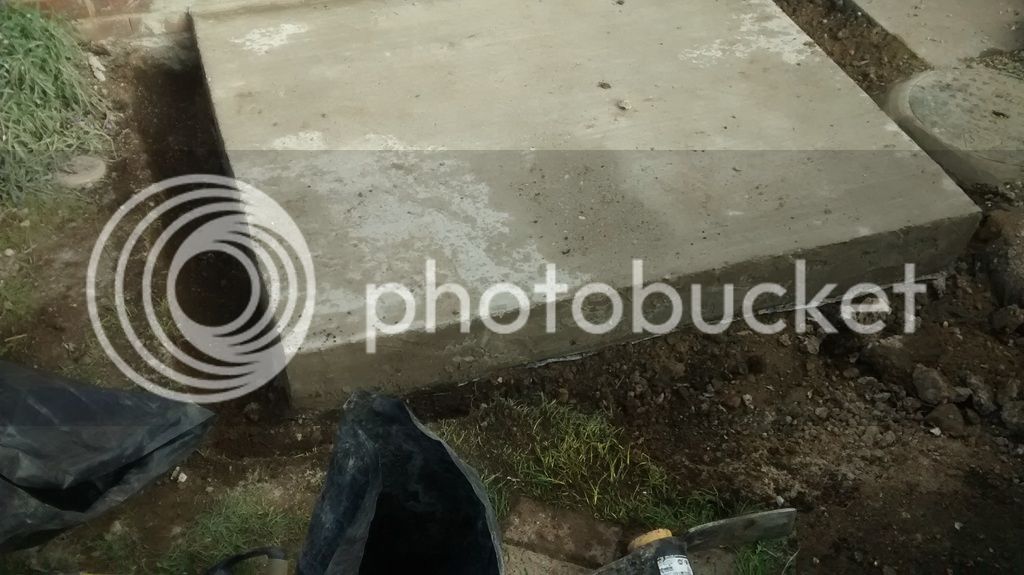
The first task was to dig out a bit of a trench all around the slab for space for the pea shingle to go around.

IMG_20150917_161319734_zpsqhd9n5fx.jpg


after the digging was done, I had some help with distributing the pea shingle from the step daughter.

IMG_20150917_173024092_zpsoqlb0lnj.jpg


IMG_20150917_173046823_zpsfy5mbjg9.jpg


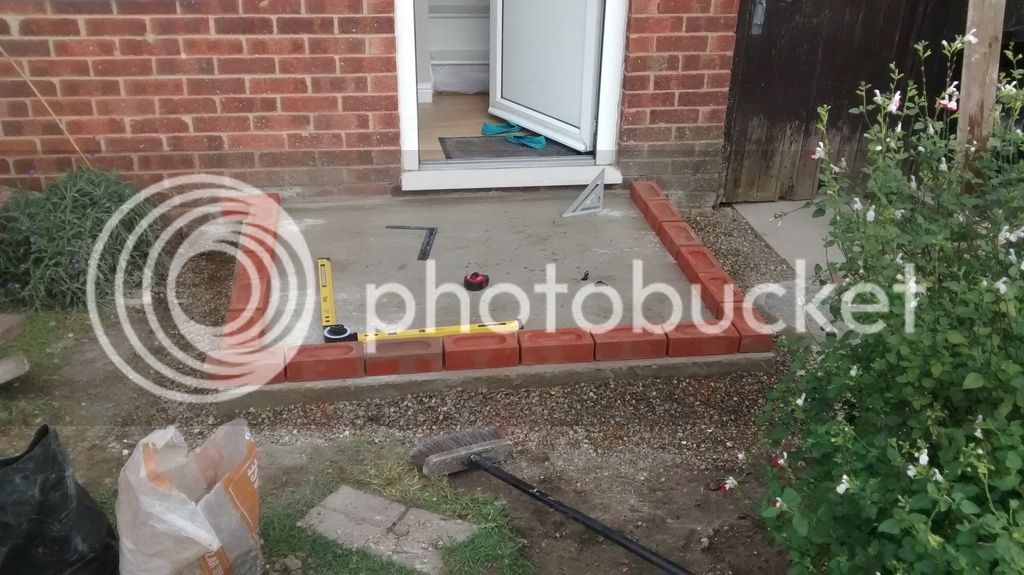
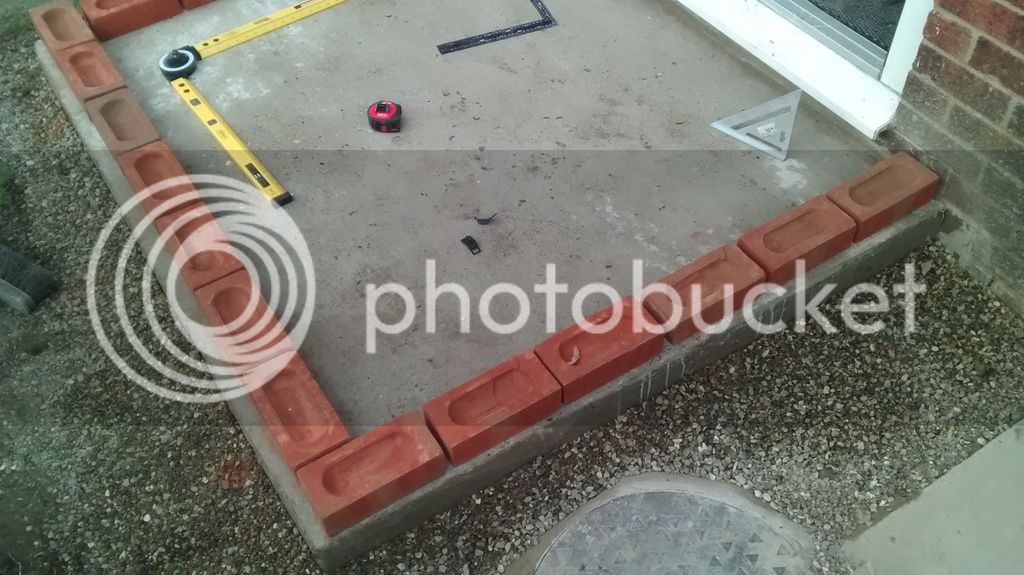
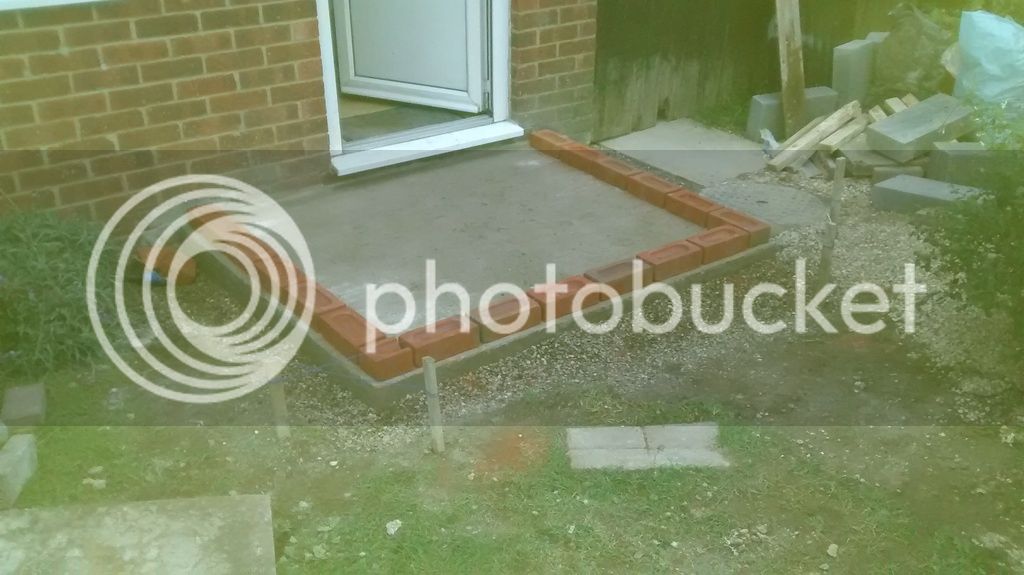
Finally I spent about 1 hour and a half faffing with the bricks until they looked correct with the rest of the house. Although the lines are not 90 degree's to each other I think they are right as visually it looks correct.

What does everyone else do in this situation? do you do it visually? the diagonals are 213.5 one way to 214.5 the other but to get them matching kicks it out and visually it seems wrong.

The end result was this, hopefully the weather is fine tomorrow and I can get them bedded down along with the DPC and second and final course.

IMG_20150917_190500191_zpsj867aabl.jpg
 
It looks much better now it's filled in around the slab.
An outer "lip" on the concrete slab, formed by placing the bricks where you have renders the proposed underbrick dpc useless as the capillary action will allow rain and water elements to track to inside and habitable area.
Do away with the 2 cuts on the l/h side, end up with cuts against the existing wall each side on you're second course.
You need to Work out how to protect the concrete slab from frost and ground heave,
Why cut the dpm and expose the slab edges to rain/water ingress? makes the dpm Rather pointless.
Regards Rodders
 
Hi rod,
My thought was that the DPM could have water go between it and the slab and that could cause more issues with freezing.

So I dug the soil out around the slab and filled with the pea shingle. Should I remove the shingle, and lap some DPM to what is left at the bottom and bring it up the side of the slab and then back fill with the shingle again?

As for the bricks on the edge I can't do this as the slab is not the correct size. It is larger at the back than the front by a few cm as I only noticed to late that the left framing timber was bowed and I took the 90 degree measurement off the house which is out of sync and should have done it from the other shuttering ( lesson learned to always triple check)

What I was going to do is use mortar to create a slope off the bricks that will fall over the edge of the slab.

When the timber goes on the brick work, it will over hang slightly as im using 5x2's. Then batten and cladding will bring it over the slab so run off should happen away from the slab.

I may also extend cladding down to almost the top of the slab so the majority of the brick will be covered.

For protecting could I not just use some bitchamen (i think thats right) paint on the brick and lower mortar to waterproof it?

Cheers
Mark
 
For the sides of the slab you could paint on a SBR slurry, This will waterproof the sides and can be tinted to the same colour as the bricks. The slurry is just Portland cement mixed with an additive called SBR It is very good stuff. £17-20 a gallon. It is used in tanking slurries and will also help bond the screed you were putting over the slab.
http://www.pavingexpert.com/concrete.htm
http://www.pavingexpert.com/dpc01.htm
Try this website it is very useful. half way down the page is some diagrams for garage bases and how the dpm/dpc are layed out. The site is huge so spend a good amount of time looking through.
 
Back
Top