The UKW Infill Project

UKworkshop.co.uk

Help Support UKworkshop.co.uk:

This site may earn a commission from merchant affiliate links, including eBay, Amazon, and others.
Cheers Pedder...from you that is some comment! 8) I do think we share the same interest in wonderful woods and grain...the uniqueness is what I look for...everyone can use mahogany or rosewood! :mrgreen: :wink:

Richard my friend...after the wonders you worked with steel...I cannot let this thing be "ordinary"! If this doesn't work it comes out again...until it's perfect...nothing but that will be accepted!

Indeed Douglas...that tail is a "you can take it off but you can't put it on" tail.

It will be nowhere near that long...I just made it that way for now until I know how long it needs to be to be "right". I predict half at least will be cut off and rounded.

Last evening at work tonight so I will be able to concentrate on this and the smoother a little more now.

Cheers

Jim
 
Hello Jim,

I have finished today to stitch your left-handed handlemaker rasp. There is still quite some operations to do (heat treatment, etc.) but I should be able to ship it to you before the end of next week.
Regards,

Noel
 
Liogier":eec9csx8 said:
Hello Jim,

I have finished today to stitch your left-handed handlemaker rasp. There is still quite some operations to do (heat treatment, etc.) but I should be able to ship it to you before the end of next week.
Regards,

Noel

Great news Noel....I look forward to trying it out on this handle.

Take your time...the best things can't be rushed! :wink:

Jim
 
Jim - saw a piece of phosphor bronze at the Warwick MEX show today.
Noggin Ends had a 1" x 2" x 3" for the princely sum of £34!

Rod
 
Harbo":2c3fg033 said:
Jim - saw a piece of phosphor bronze at the Warwick MEX show today.
Noggin Ends had a 1" x 2" x 3" for the princely sum of £34!

Rod

Hi Rod

Thanks for the tip mate...

That piece is a tiny bit too small for what I need (width-wise) but I will email them to see if they have a piece.

Cheers

Jim
 
A couple of months have passed during which time I concentrated on practising on the Scottish Infill Smoother...and the triple checking you have to do to get the infill tight and following the contour. Today I thought of the mistake I made...and was determined not to make the same mistake here.

There are a couple of things aiding me...firstly and foremost...Richard's engineering skills are far greater than the old cast smoother body....and so there is no variation in the geometry anywhere.

Secondly this is not overstuffed so it is a bit easier...but not by much...it's all very easy to think you can relax at any time!

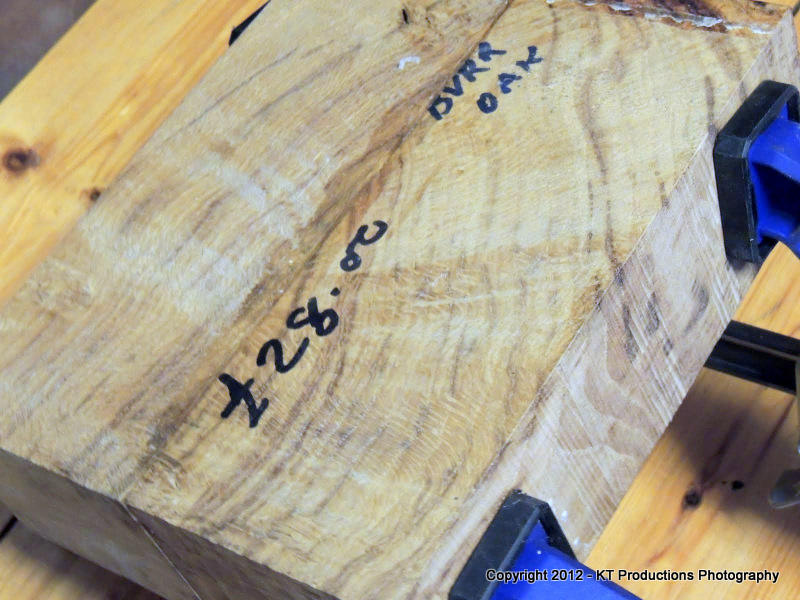
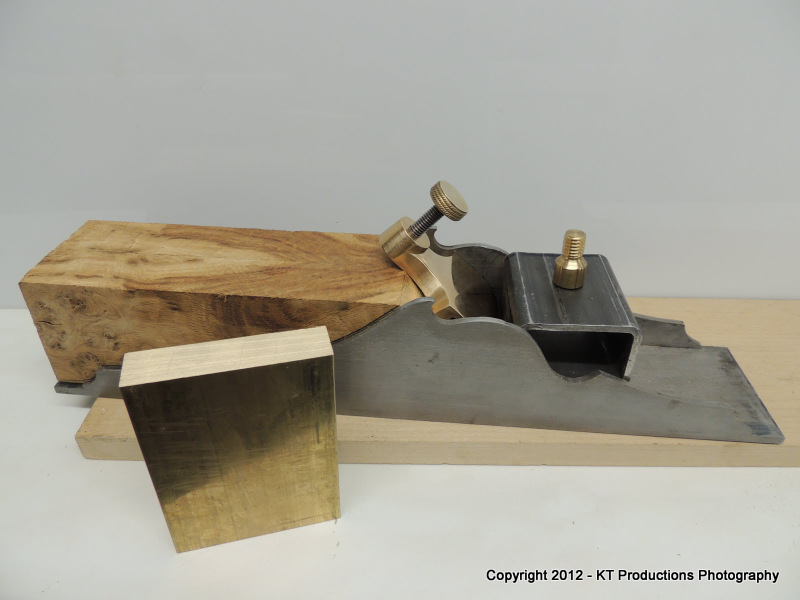
Anyway...yesterday...the first thing I had to do was to join the two halves of the tail infill section so they were hardened by today.....

DSCN0957.JPG


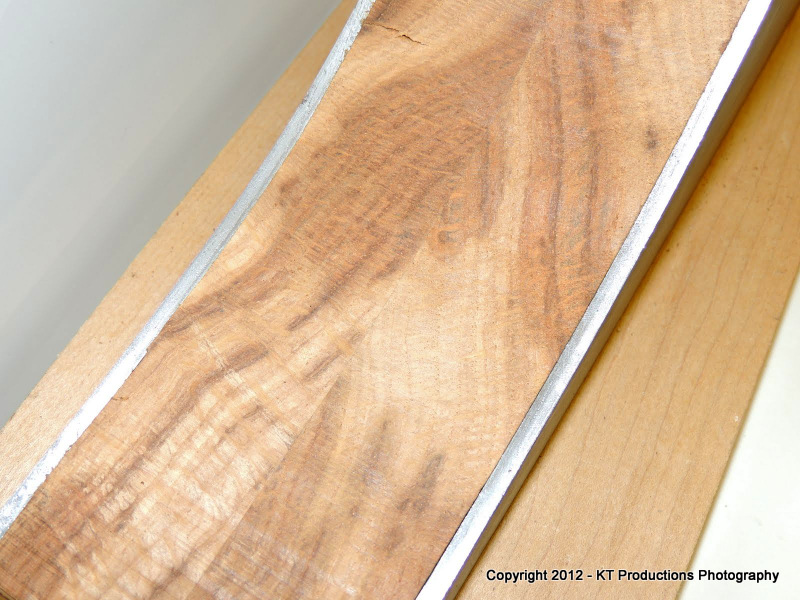
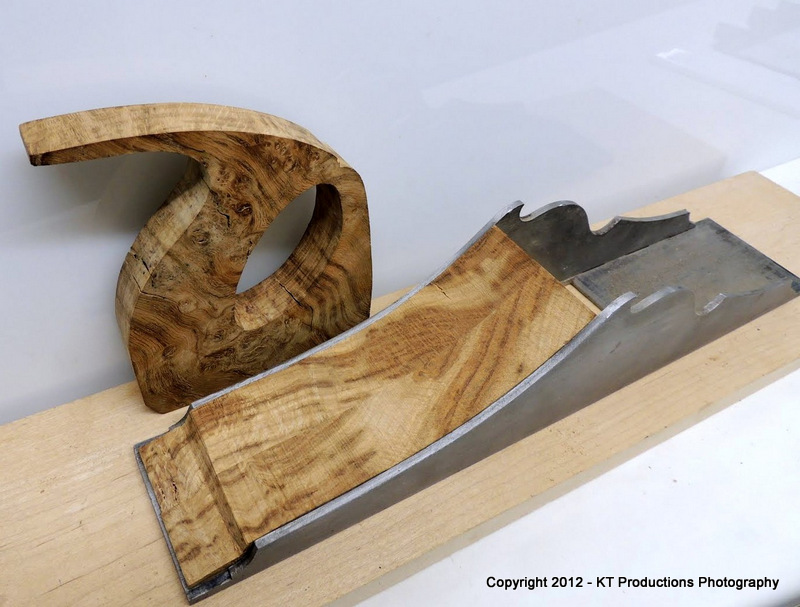
This was not done to ease the making of the mortice, rather to get a bookmatched finish on the wood. The burr is such a crazy grain though that whatever you try to do...bookmatching is a gamble.....whatever is inside is a present just waiting to be opened...good or bad!

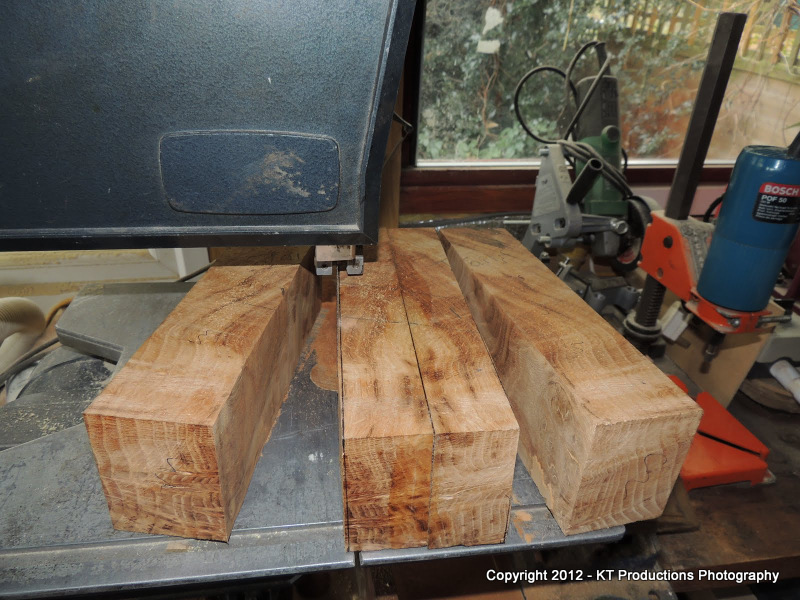
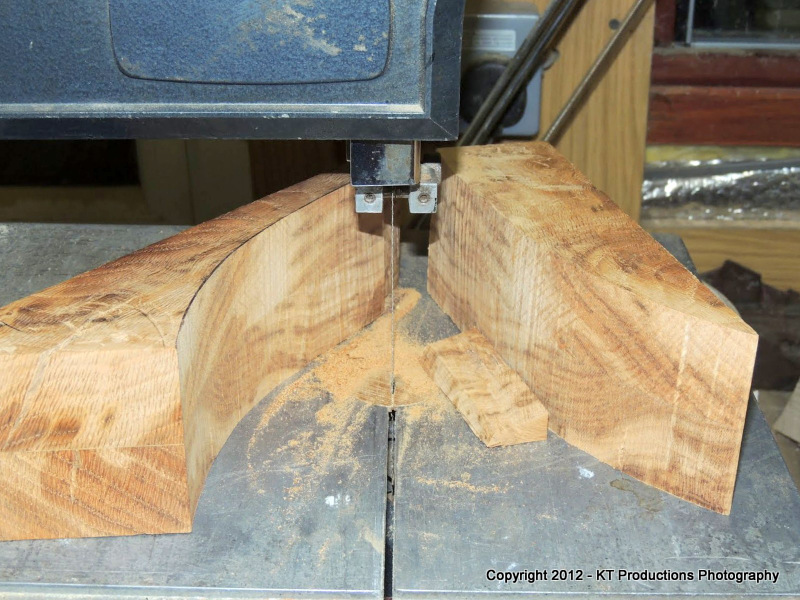
The blocks were way oversized...as you can see....

DSCN0969.JPG


...but again...that old Burgess made swift work of the two "off cuts!!"

We are still about 8mm over here...4mm each side so that I can slowly creep up on the exact width. A fraction of a mm out means you get a sloppy fit rather than a tight fit.

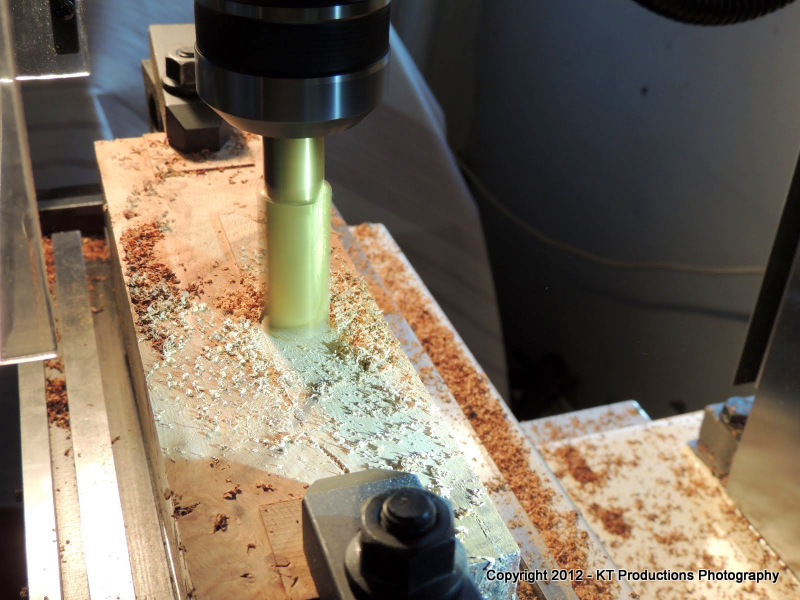
I then took most of the excess off with the mill on one side only....

DSCN0972.JPG


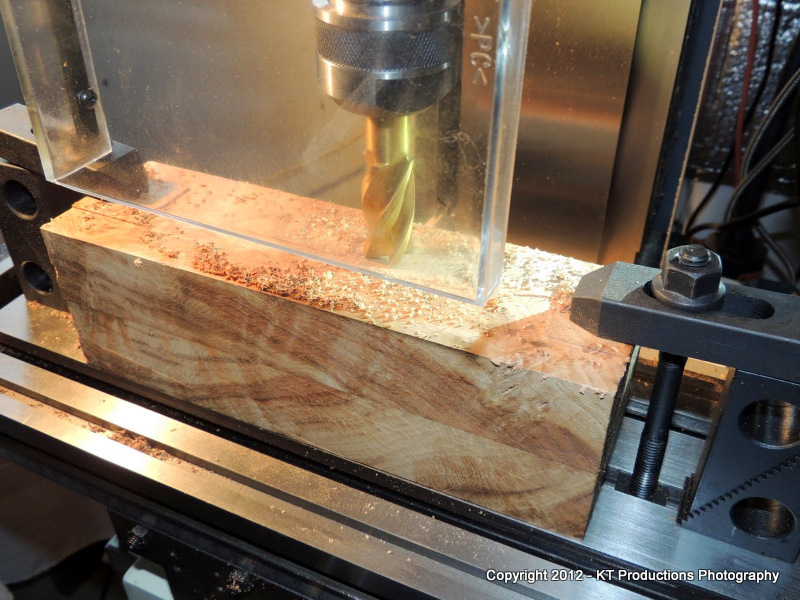
This gave me a reference side which was perfectly flattened....and then I used that size to make the opposite side exactly parallel....

DSCN0976.JPG


I wanted to do this to ensure it fitted perfectly but I then made the base at exact right angles using this little beauty....

DSCN0990.JPG


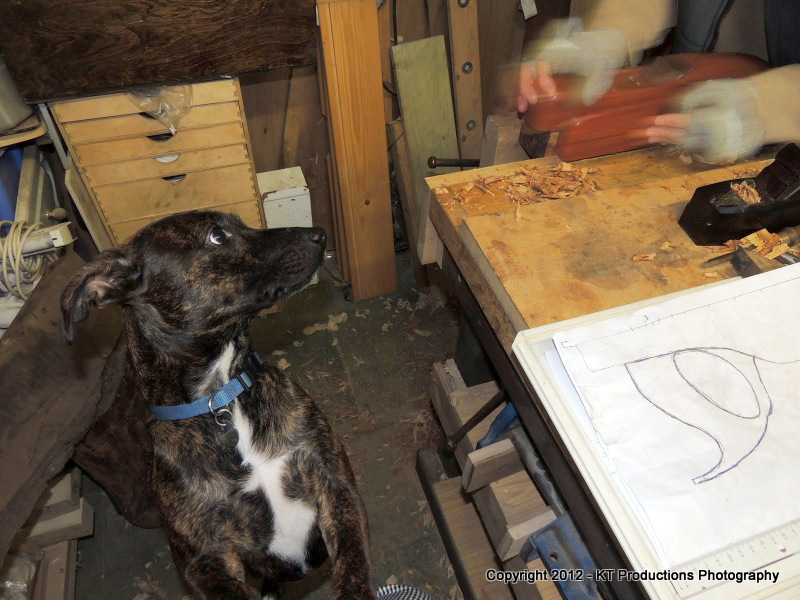
A bit wide for a jointer...so once I squared up one side I took the fence off and levelled the other side....

...ALFIE was not impressed...this is a long plane to come at you from left field!!!

DSCN0989.JPG


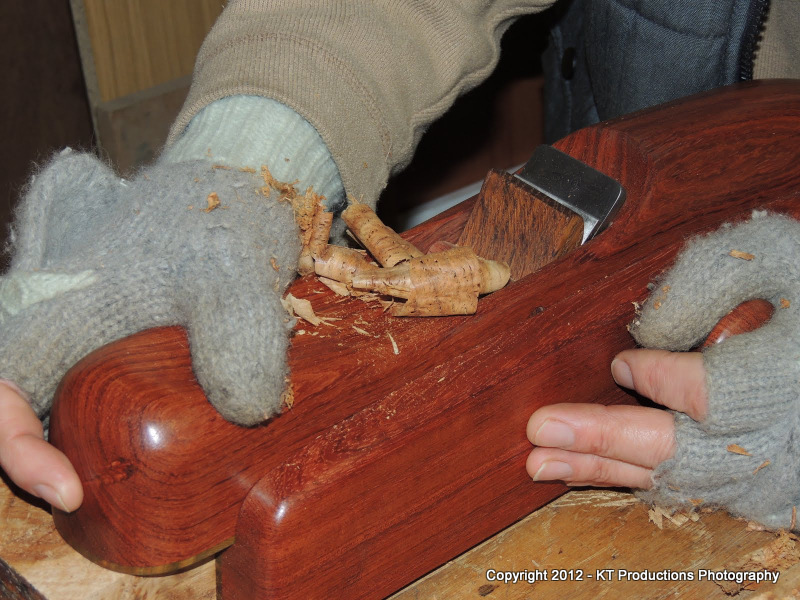
After that I smoothed the whole lot using my other gem from Phil.....

DSCN0985.JPG


It didn't even blink through all of the burr and between the two of these marvels...gave me the third side...flat and square.

The final side needed no finishing as this will be cut away later as you will see.

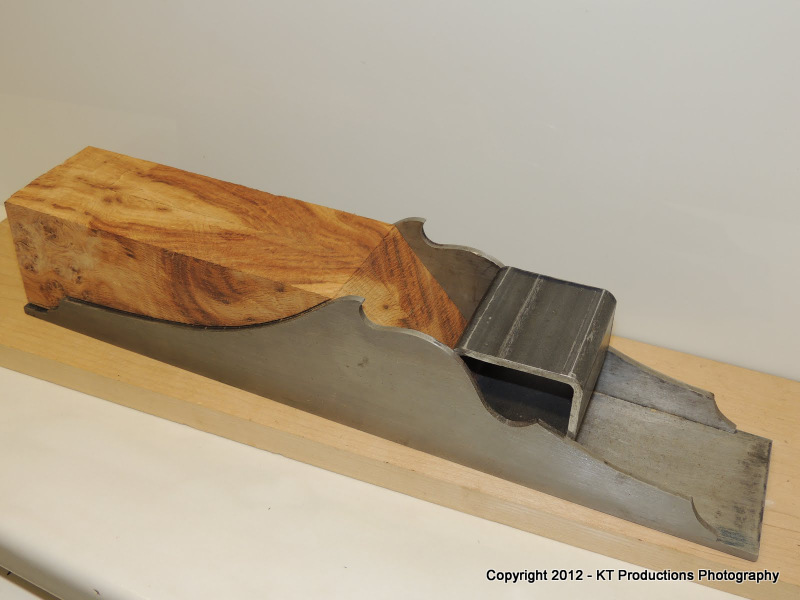
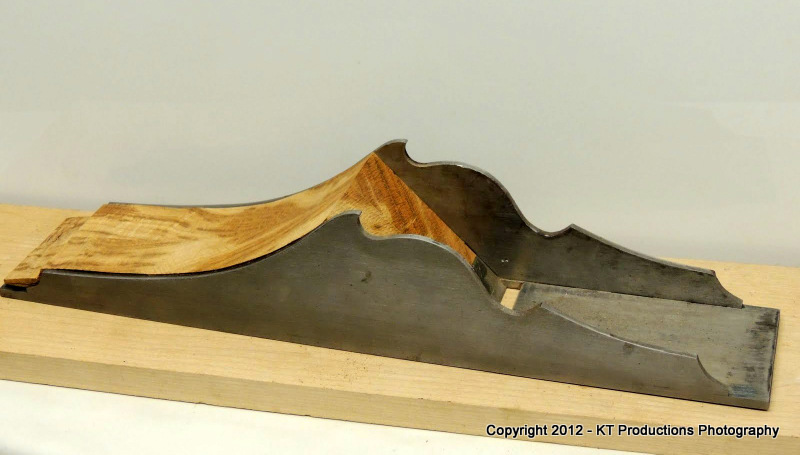
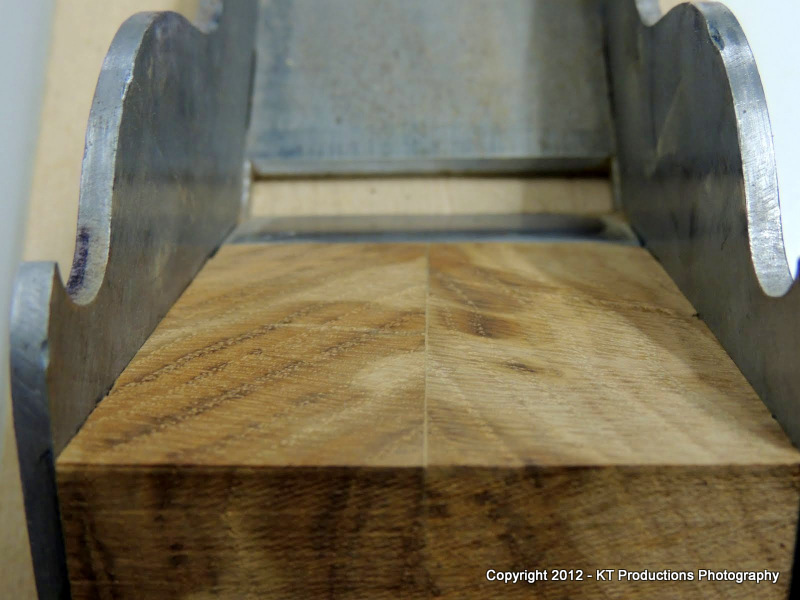
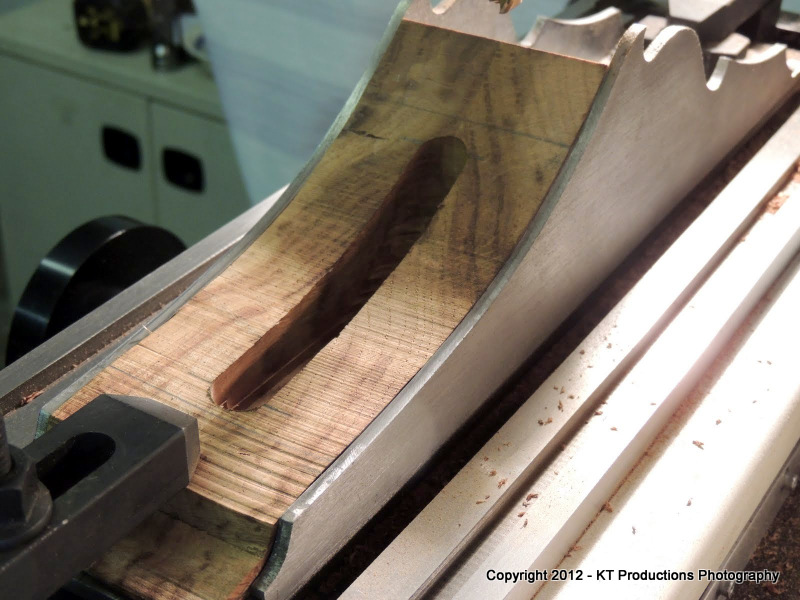
Now to test fit....it was a bit of a struggle and involved quite a large mallet but it went in perfectly....

DSCN1005.JPG


This is exactly the fit I wanted...certainly not loose but not too tight so that it forced the sides out of parallel...the steel spacer was just held in place...Perfect!

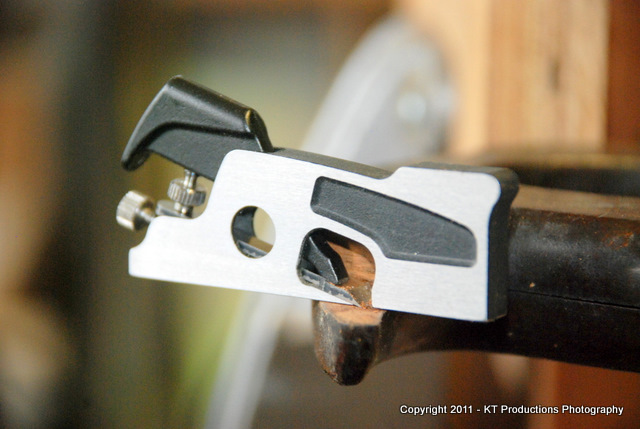
Oh...and I tested the angles on the other lever cap...it's a bit small but you get the idea. And look! The brass arrived for the real one!

DSCN1008.JPG


I finally sourced a superb place...Mallard Metals in Brum....and it only cost £40 courier delivered inc. VAT.

A major find this place and superb blokes there who listened to all I needed and came up with the goods. This is machinable and will end up the closest colour to gunmetal when it's finished! Result!

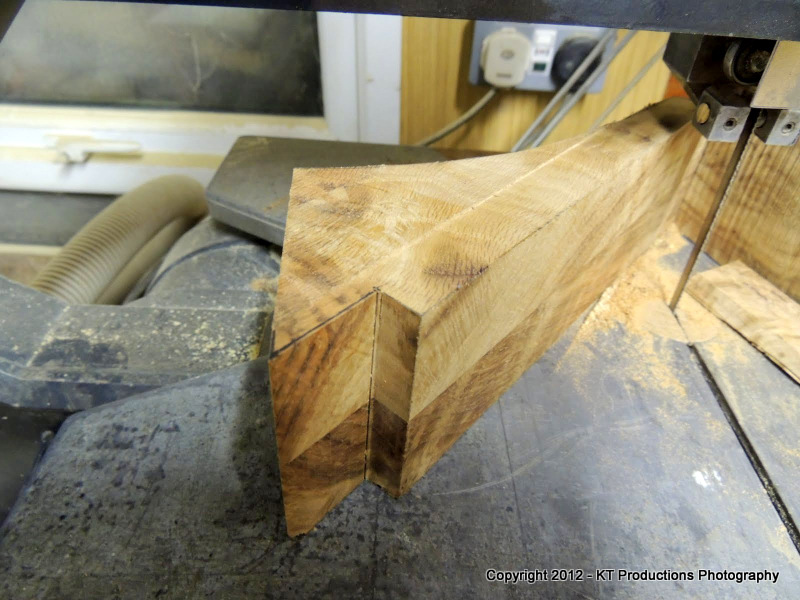
So after a few cups of coffee to steady my nerves...I bit the bullet...trusted in the Burgess and hit the final cuts...

DSCN1012.JPG


The dreaded curve! And it came up trumps yet again. It was crying near the end but this blade has cut loads of really hard wood lately...so it may need changing soon.....but before I did...how about cutting the notch for the bed insert....

DSCN1013.JPG


This is a Trojan bit of kit you know. I wouldn't swap it for all the gizmos in China now!

So...did it fit...you bet it did....

DSCN1014.JPG


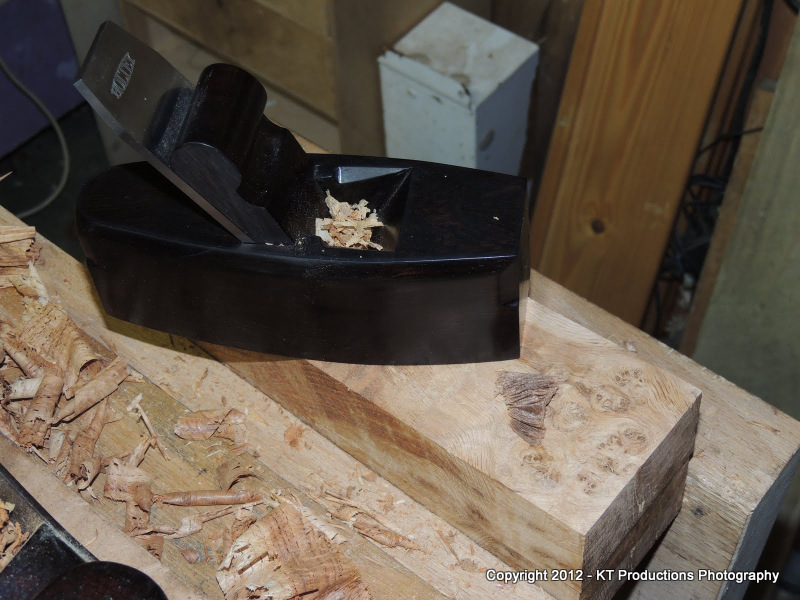
This is really going to polish up beautifully..........

DSCN1019.JPG


.......once I've cut the mortice and stepped tenon for the handle....

DSCN1022.JPG


Notice here how much the handle has darkened just sitting there for a few months relative to the fresh cut wood.

Oh...and I checked the bed too....

DSCN1021.JPG


There are a few cracks and chips which is to be expected but these are hidden and will be filled with resin anyway.

The worst bit is over now....so I can concentrate on that lever cap...and the knob. Now that I have the mill...that's going to be a breeze!

More later once I've defrosted!!

Oh.....did you like the gloves! They are Annie's and she's not that impressed as being hairy wool...they seem to have acquired a few shavings today...

I told her...sometimes you have to make sacrifices to achieve the results under adverse conditions! :mrgreen:

That didn't help!!! :oops:

Jim
 
What a beautiful bit of infill. Seems a shame to have to chop a big hole in it. Good job there's a lovely handle to go into the hole. :)

Any thoughts about the bun?

You just beat me to it with the brass - Emma has next week off and we plan to go into Snow Hill on the train ( hope its name has not become literal by then) with a good carrier bag and see what off cuts are hanging about at Keatley Non-Ferrous.

What thickness brass did you decide on btw??
 
Hi Richard

I was a bit disappointed at first because parts of this section were quite plain and bookmatching didn't really stand a chance as there was a lot of transition at this point to get a true mirror image. However...just where the handle mortice will be cut is the boring bit and then the sides of that will be in harmony...so that worked out OK in the end.

Also...I want the handle itself to stand out...this is where most of the burr is. I have some filling to do first with some dark brown coloured resin.

The bun will be traditional...along the lines of the ones S&S make...wedding cake I think it's called. I want to do the iron and cap iron...plus lever cap first...have a bit of a break from the woodwork and play with the mill. I need to fire up the kiln so I want to make a whole batch of irons at once to push a few projects through....some replacement irons for other planes and some marking knives I have in the planning stage.

The brass is 3/4" thick...3" x 4".

This is thinner than I thought at first and is still way over. It wasn't until I got the one from Andy he picked up at Bristol Designs for me that I was able to confirm that would be thick enough. Just shaving off 1/4" removes a lot of costly brass from the price...about £20 by the look of it....and that matters. I am even keeping all the milling from the work I do now...sell it back it's so expensive!

No work today...the weather is horrendous here....where is all this water coming from!???? I tell ya...if the local council impose a hosepipe ban this year I will personally go down their offices and insert a very large sprinkler where the sun doesn't shine either!!! :mrgreen:

Cheers mate

Jimi
 
Nice job Jim

What grade of brass did you get - was it priced by the Kg - most of the bits at the ME Shows seem to be priced that way?

Rod
 
Harbo":3ihwg8n9 said:
Nice job Jim

What grade of brass did you get - was it priced by the Kg - most of the bits at the ME Shows seem to be priced that way?

Rod

Hi Rod

That was a casting from Bristol Designs....really machined well but I have no idea what the composition was.

The lump I bought for Richard's infill....was CZ121 which is very free machining. It looks about the perfect colour too...we shall see.

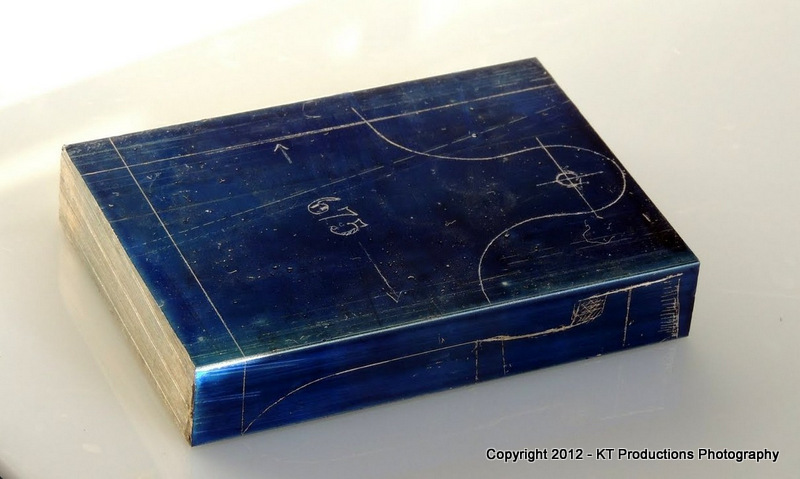
I have just blued it up so will do all the marking up now the rain has stopped and the temperature risen slightly. I really can't wait to get all my insulation in place so that I can spend more time in the shop. It's about 1/4 way there!

Take care

Jim
 
Hi, Jim

That mill will come in handy for cuting the handle mortice.
I used epoxy with ground instant coffee to fill the knots in my pippy oak, but Araldite went off extremly quickly, just after I had mixed it, so I had to use cheap Wilcos epoxy which went off at the normal rate.

Pete
 
Pete Maddex":r5t3wh3z said:
Hi, Jim

That mill will come in handy for cuting the handle mortice.
I used epoxy with ground instant coffee to fill the knots in my pippy oak, but Araldite went off extremly quickly, just after I had mixed it, so I had to use cheap Wilcos epoxy which went off at the normal rate.

Pete

Hi Pete

Thanks mate...that is a handy tip..I probably would have wasted the Araldite I have.

I'll get some cheap stuff...though Wilkinsons don't appear to have it on their website...I'll see if Annie can check when she goes into town.

I have some Davids Isopon resin...I'll do a test with that today.

Richard....any chance of measuring the thickness and the length of the brass lever cap on your plane please?

I want to make sure I get the geometry right...

Jim
 
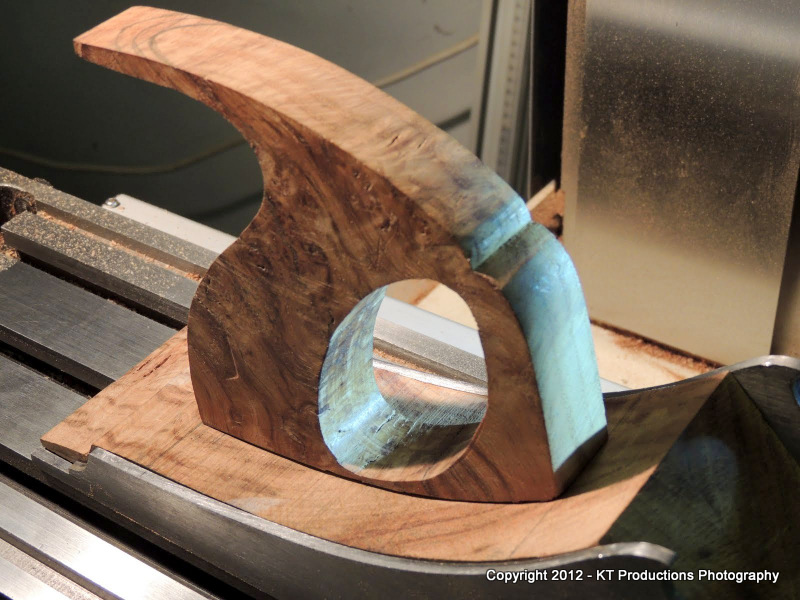
Since the weather warmed up a bit after dark (yeah really!!)....and it stopped raining...I decided to turn nocturnal and fit the handle.

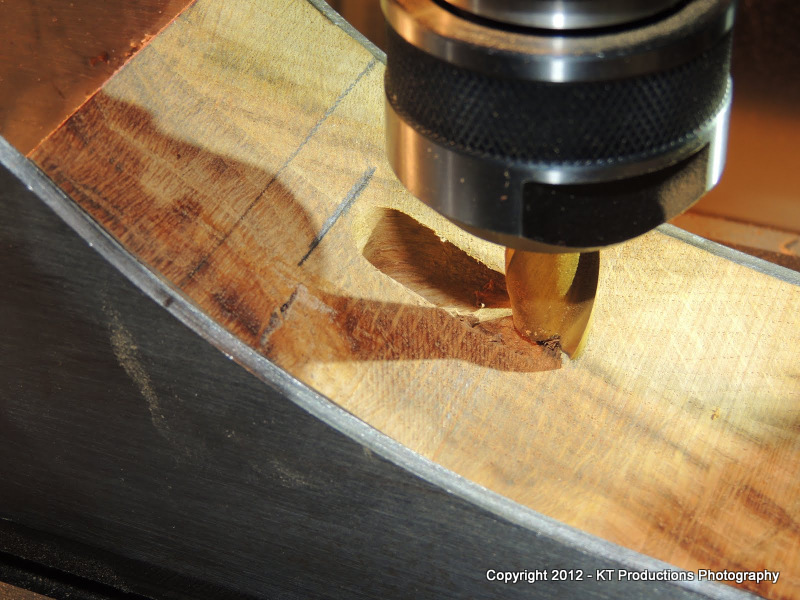
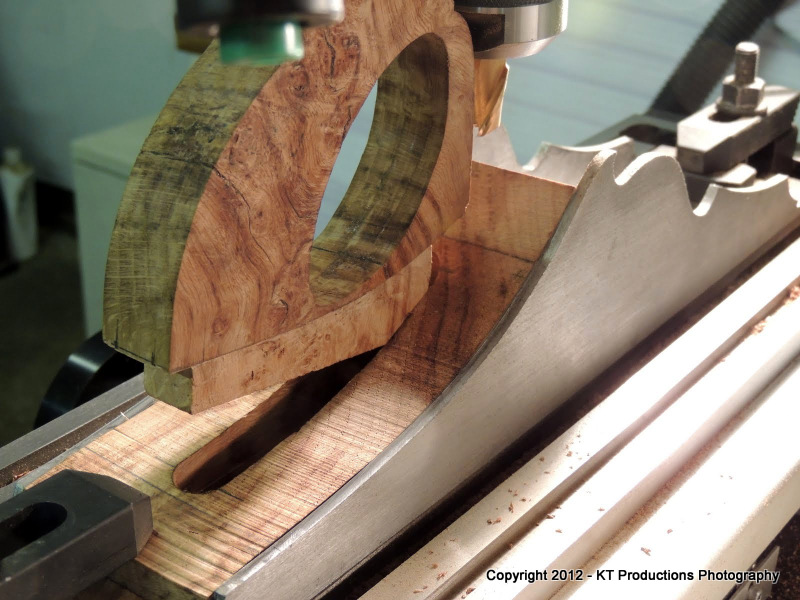
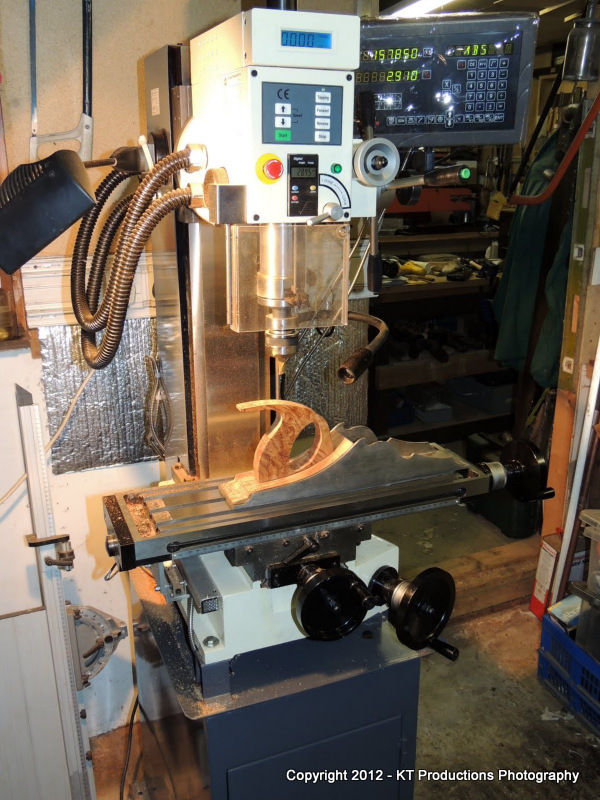
As you said Pete...the mill is the machine for making accurate mortice and tenon joints where they really must fit perfectly!

So...here we go...

DSCN1025.JPG


I made the step in the tenon such that it left just over 14mm for the actual tenon....which allowed me to use a stock mill diameter to cut the mortice...

DSCN1044.JPG


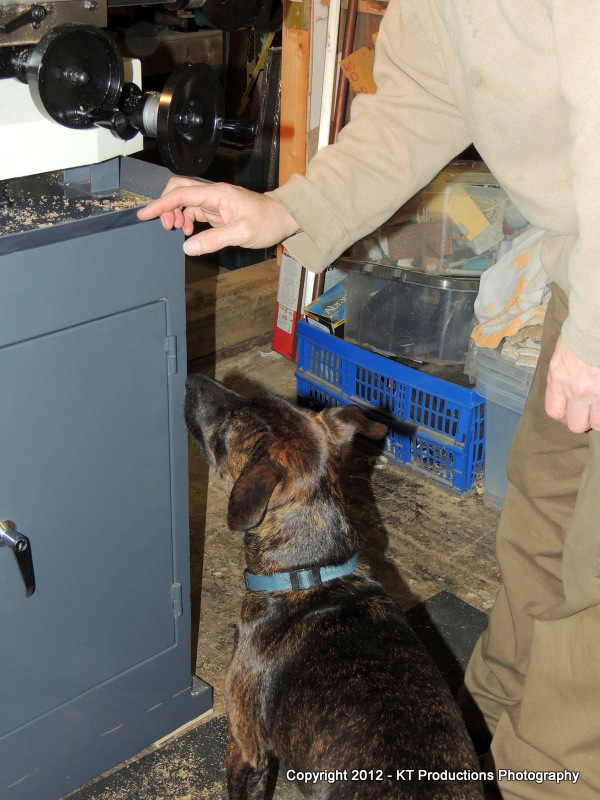
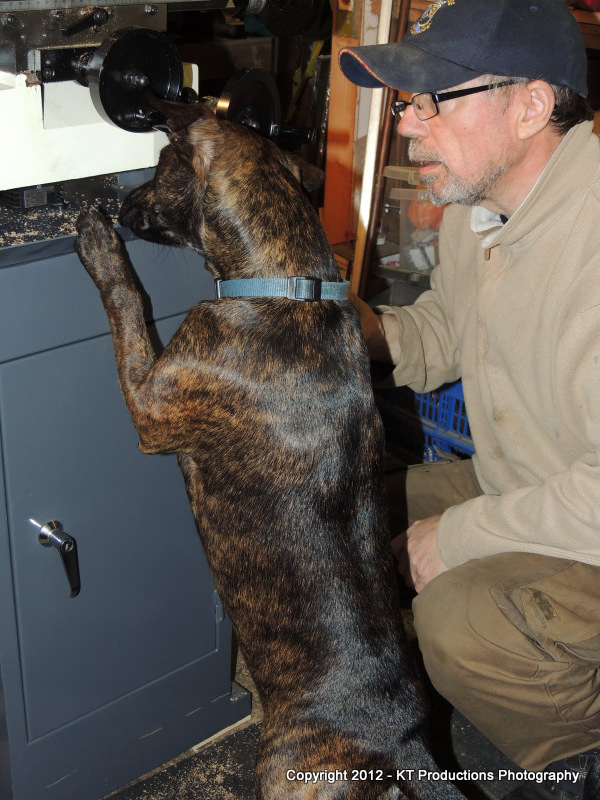
ALFIE wanted to help...

DSCN1034.JPG


He doesn't do metric so I have to use "finger" measures....

DSCN1036.JPG


Apparently I'm about 0.4mm out or "that much" in fingers!

So...without actually spinning the mill while my "fingers" were near it...I expanded it a bit on the Y axis with ALFIE's help....and test fitted the handle....

DSCN1043.JPG


By JOVE! I think he's right! :mrgreen:

DSCN1056.JPG


I tell you what...the DRO is magic for these jobs...totally accurate...a invaluable addition which allows me to creep up on the fit....

DSCN1068.JPG


For the hand tool purists I did actually use my 150 year old block chariot to trim the rest of the ends and if you can see there is a little bit of adjustment to be done on the shoulder...to make a perfect fit but I'll do that when I'm less tired and I will be using the micro shoulder plane by Veritas which Pedder kindly gave me.

DSC_0347.JPG


For those people who think that thing's a gimmick...it is absolutely perfect for precision jobs like this.

More on that tomorrow....

Night guys and gals!

Jimi
 
Lovely update again Jimi. Looks wonderful. Can't wait to see it finished. It's great to see all the photos and the detail, great fun to read.
 
Cheers Morfa!

Yesterday I had a discussion with Richard A and we have discovered that no matter what the width of the lever cap, the length stays the same.

I guess this is a geometry issue for the infill shapes but we are still studying this....meantime...I have marked the final dimensions on the block of brass in readiness for milling:

DSCN1113.JPG


My next job is to sharpen the iron on the little shoulder plane...and if I hear anyone moan about bevels I will send them this to sharpen....

DSCN1115.JPG


:mrgreen: :mrgreen:

I'm used to small chisels so it wasn't too difficult...if you concentrate on the face and then hit the bevel once....

DSCN1116.JPG


So...to put this darling to work...

DSCN1118.JPG


Quite a few tiny areas to level and to correct the profile....

More later

Jim
 
I remember reading somewhere - on lever caps - to drill the hole (for the screw) first then shape around it. Does that sound familiar? Sounds sensible to me.

I hope that the scariest part is over and that you are enjoying it now Jim. You're doing a smashing job.

Don't forget to shape the sides/tops of the back end before you get the handle immovably in - otherwise it could get a little awkward. :)
 
Richard T":2l6s0et2 said:
I remember reading somewhere - on lever caps - to drill the hole (for the screw) first then shape around it. Does that sound familiar? Sounds sensible to me.

I hope that the scariest part is over and that you are enjoying it now Jim. You're doing a smashing job.

Don't forget to shape the sides/tops of the back end before you get the handle immovably in - otherwise it could get a little awkward. :)

Eminently sensible Richard...and I guess that's why you are the sharp bits expert!!! I would have probably got there in the end logically but not necessarily guaranteed! :oops:

The way I will probably approach that is to drill the hole...then centre that with a bolt onto my 110mm rotary table and let the DRO do the arc work. As this will involved reading the Chinglish handbook I am obviously looking forward to that bit! #-o

And yes...the back will be finished before I mount the handle and I might even shape the handle first too! :wink: :wink: 8)

On that subject...how would you shape the tail metalwork? Just round off the corners?

Jim
 
I just wanted to say 'keep it up Jim' - I predict that this thread (and some of your others) will become the new go-to resource for anyone considering making their own infill plane. Really useful attention to detail and discussion of the 'why' as well as the 'how'. Excellent stuff.
 
On the one I made early on this year I just rounded them;

DSCN0399s.jpg


Easy enough on the eye, fingers and wood I suppose but I thought you were thinking about Raquel Walsh's posterior ... (again) ? It's entirely up to you. Rounded at the front with a posterior at the back? (where else ...) The world's your lobster.

One thing I meant to say about rounding over/tapering the tops of the sides - it's quite a job on a plane that long so I used a Dreadnought to do most of the grunt before smoothing with something like a saw file cut and in the tighter concavities, a flap wheel; not in a drill but just held in the hand, pressed and turned into the curves. Works a treat.

The flat on top of the Cupid's Bow is more fiddly though - smooth emery round a dowel is the order of the day for finishing those.
 

Latest posts

Back
Top